 JEREMY RICE
.
January 08, 2020
.
How to
JEREMY RICE
.
January 08, 2020
.
How to
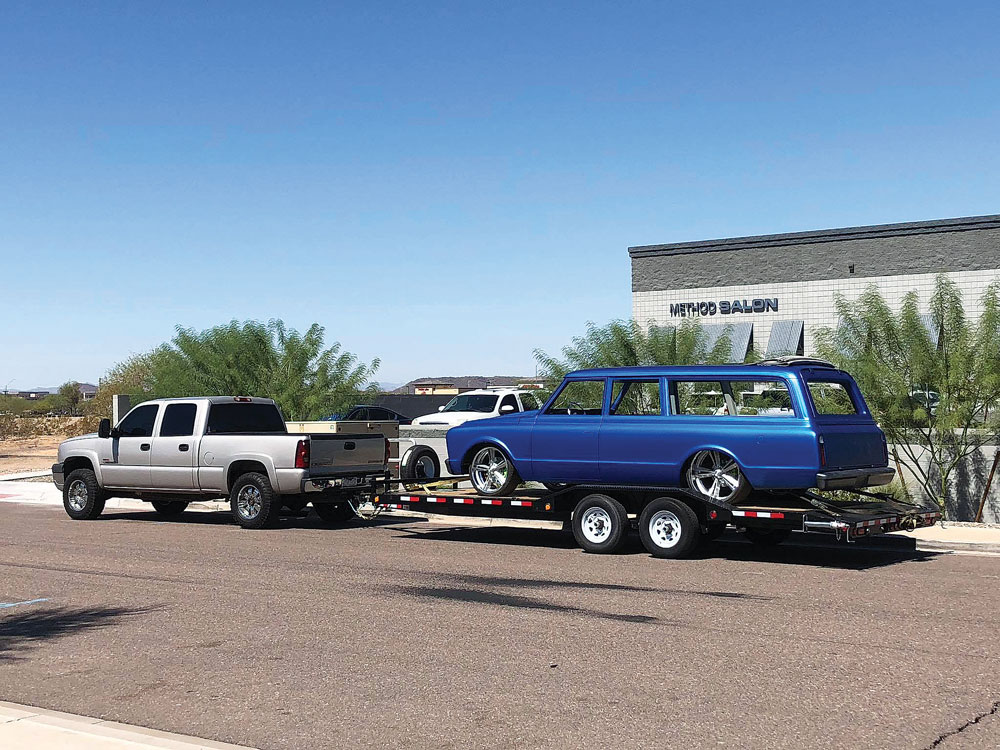
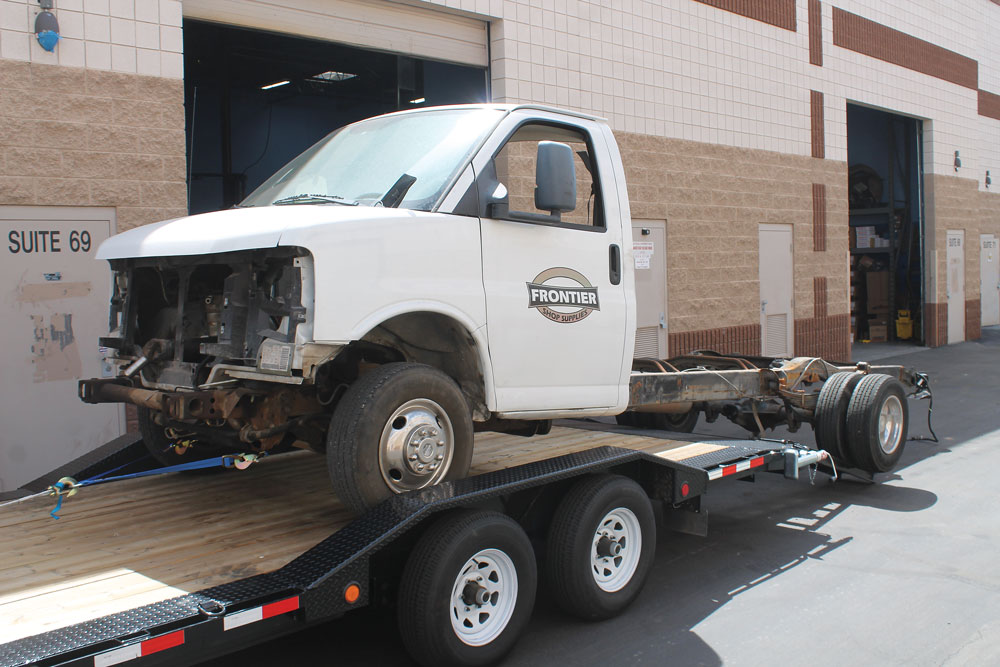
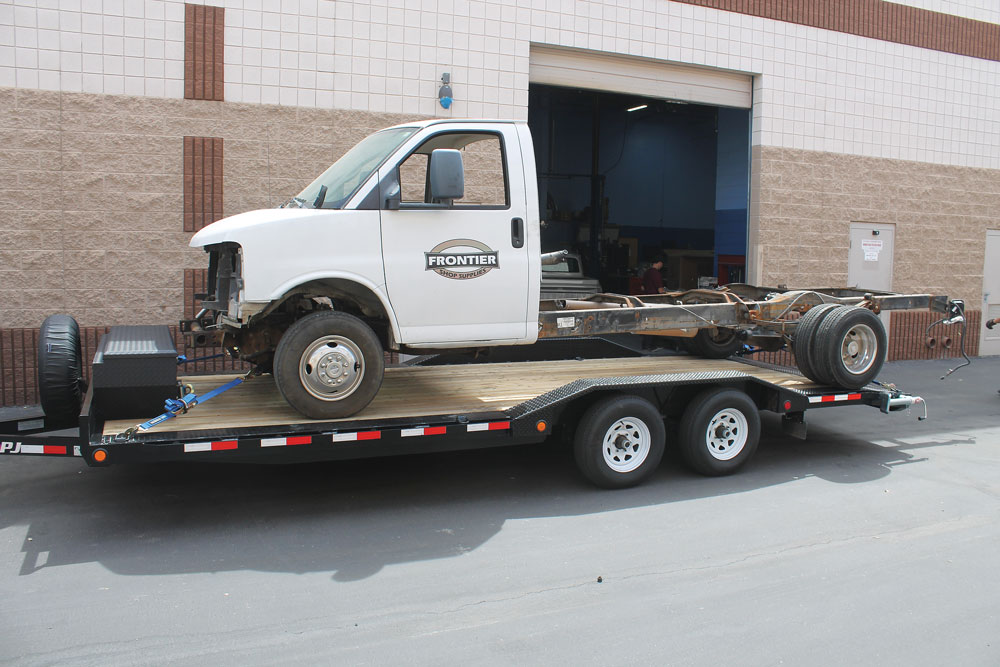
For a truck enthusiast, a trailer is an inevitable need. There will always be the debate about whether a truck should be driven to or trailered to a show, but trailers are much more than just something for towing your show truck. How about the day you bring your new project home? You can’t really drive the “barn find” home from the barn in which you found it. Or, in our case, what if you own a shop and need to trailer a chassis across town to get it powdercoated? There are so many times a trailer comes in handy when you own a truck or a business building trucks.
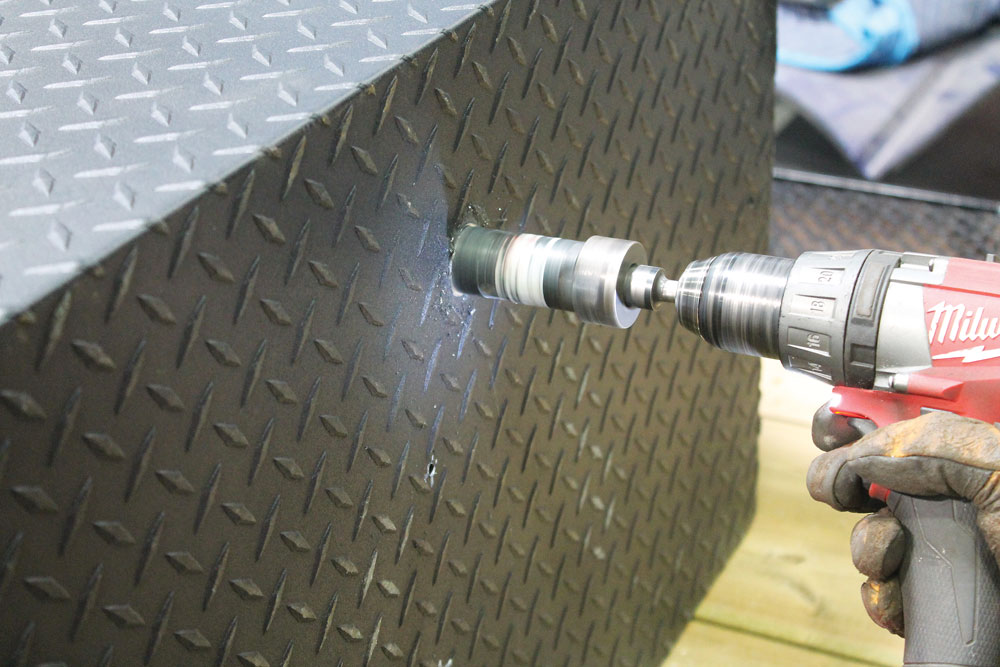
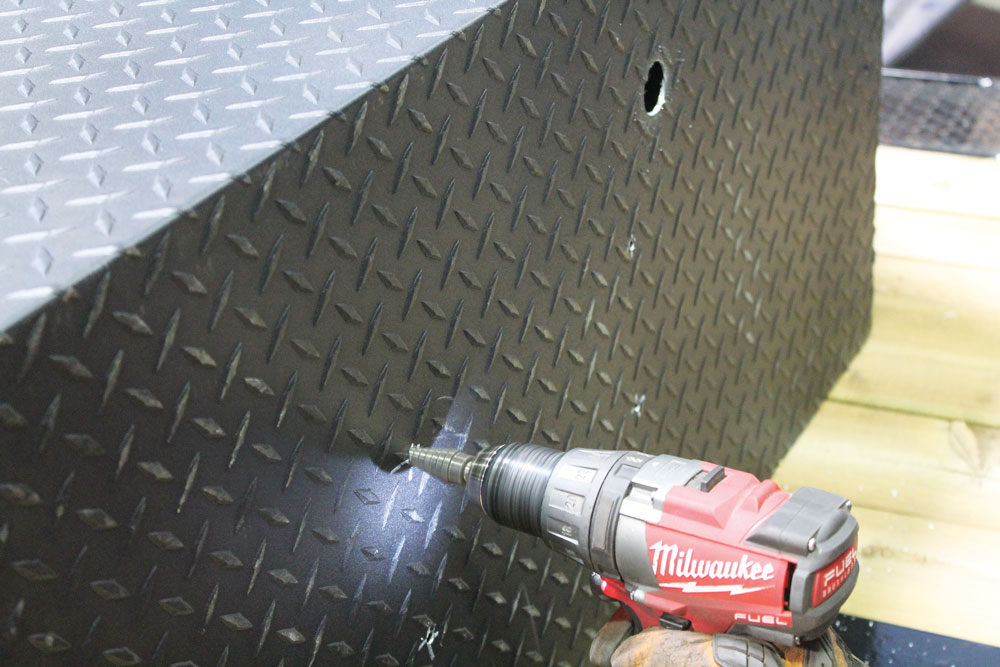
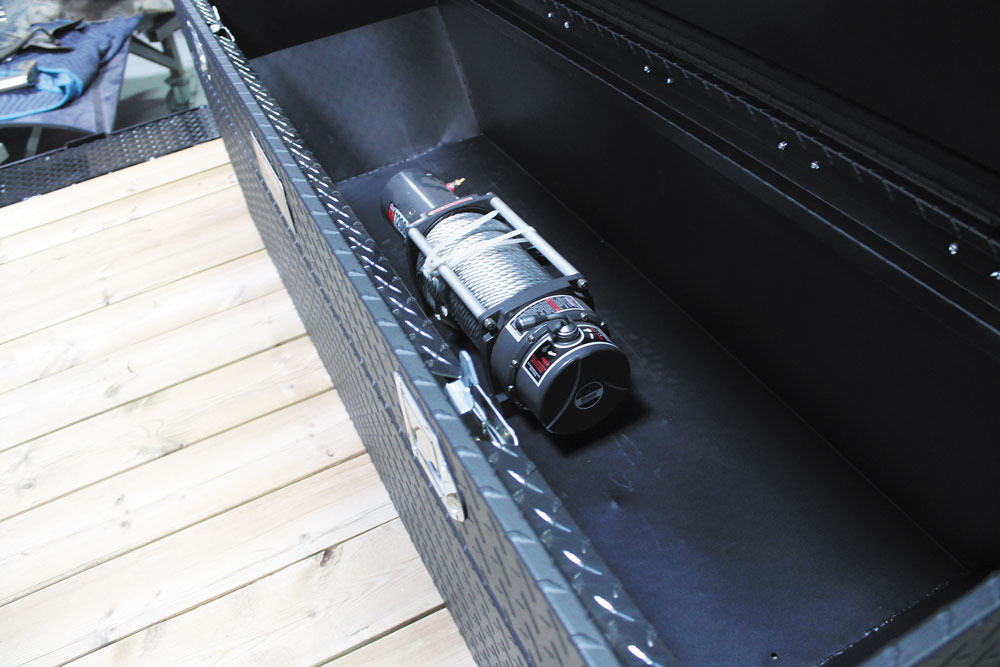
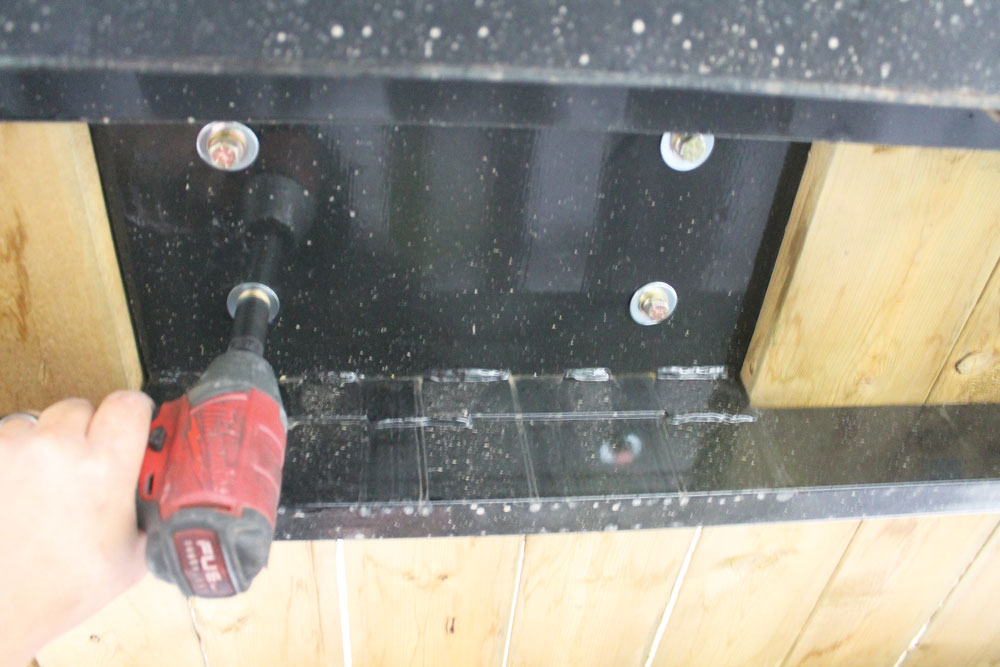
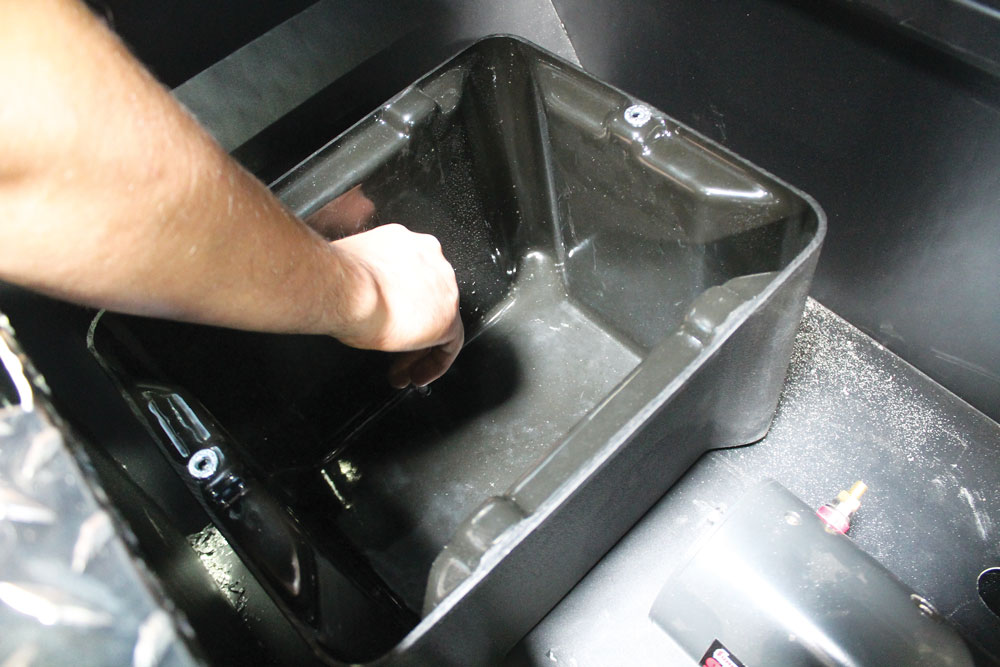
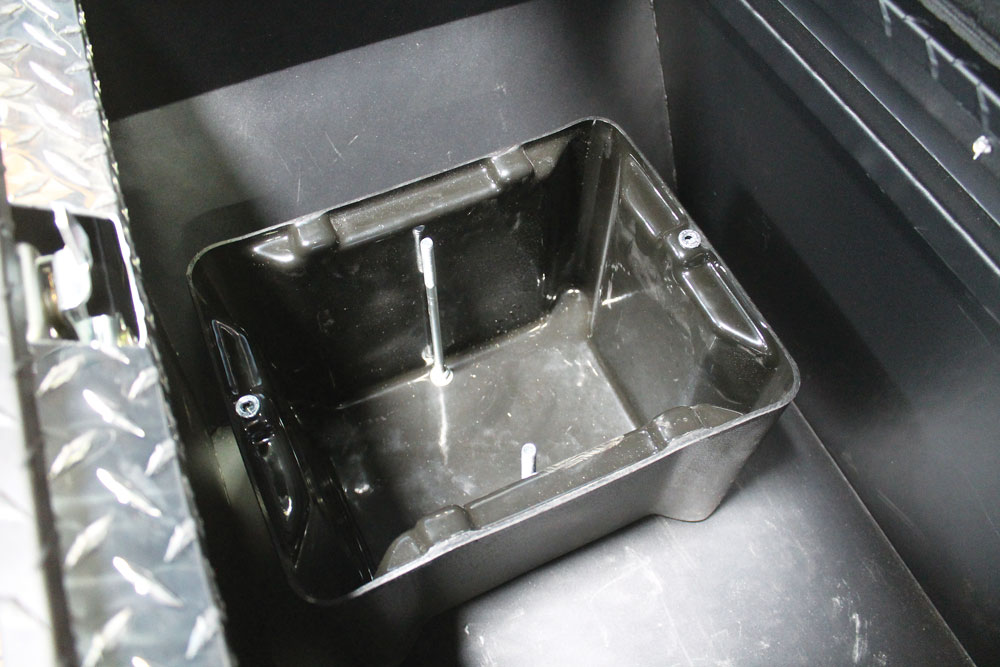
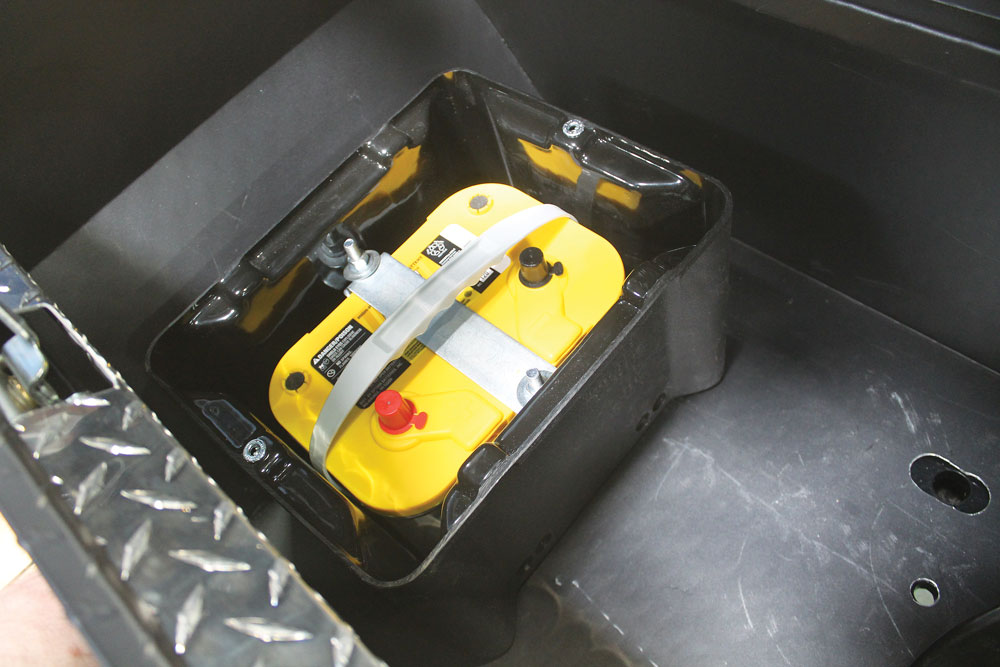
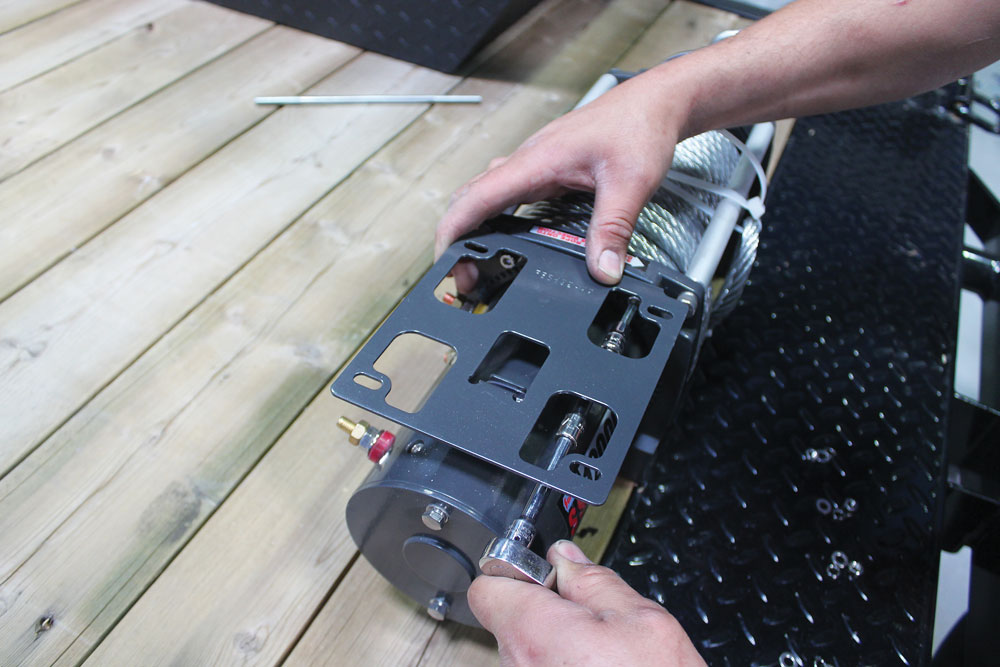
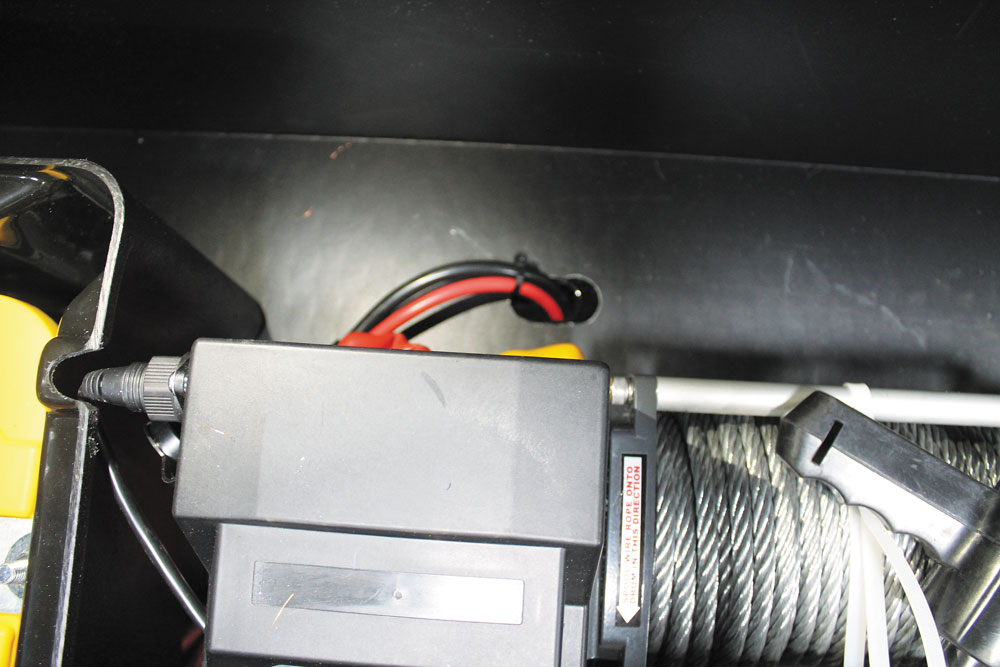
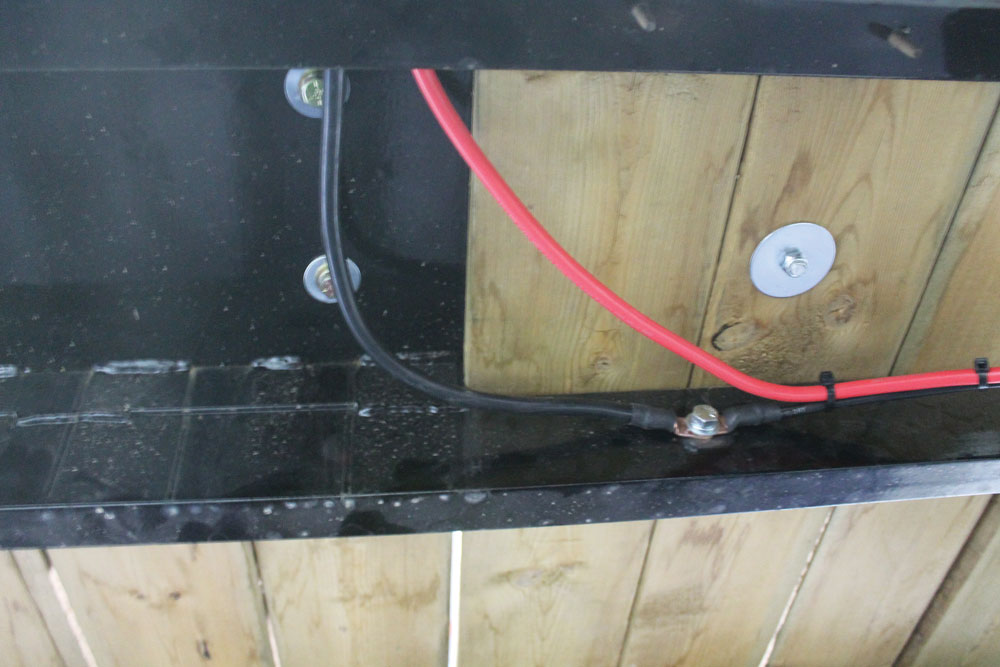
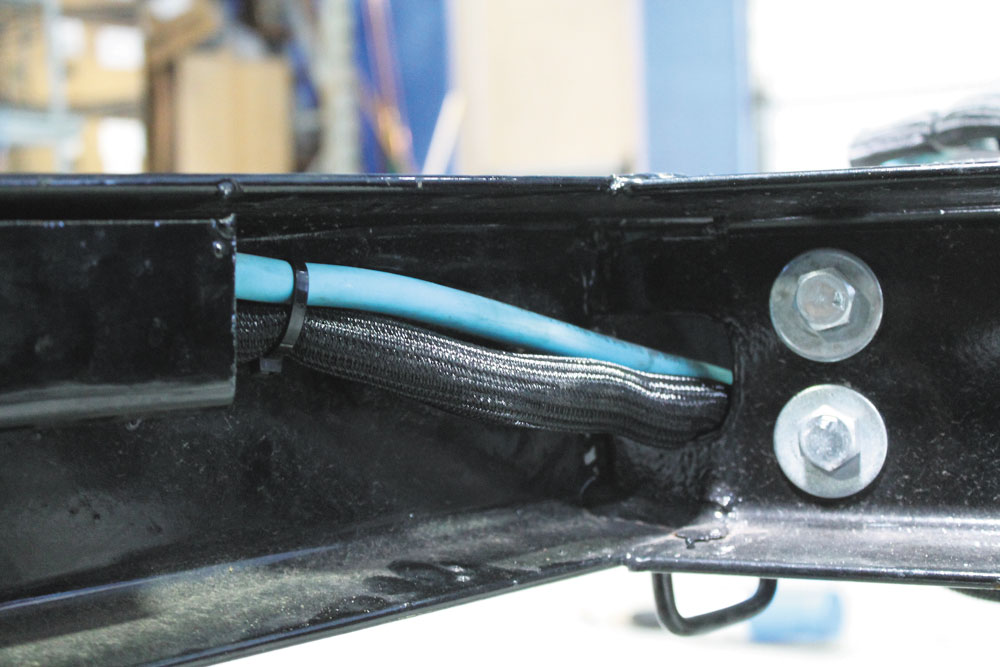
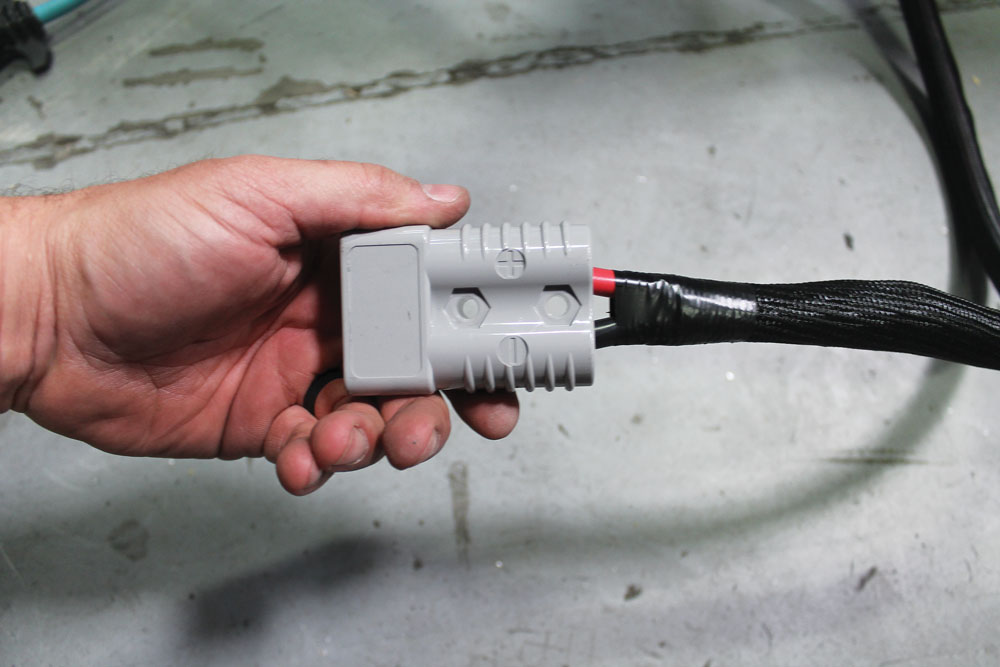
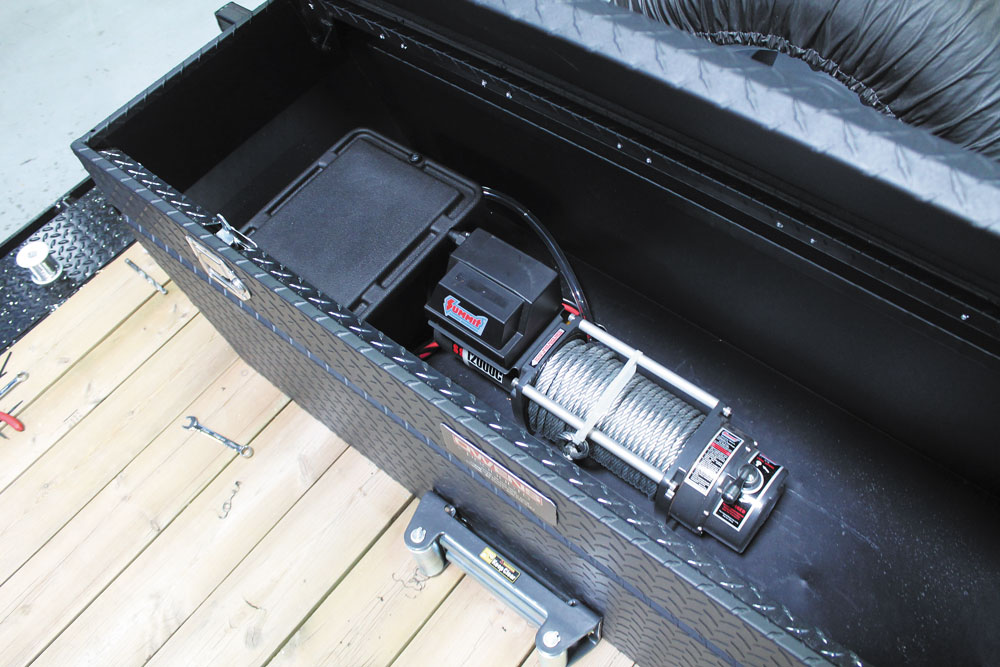
For us, our previous trailer had seen a lot of miles and was getting pretty tired looking. The trailer brakes had gone out long ago, the fenders were banged up and surface rust was setting in. Sure, we could’ve put some work into the trailer and made it nice again, but it was a starter trailer for us. We were ready to step up to something a little nicer. Also, we wanted to outfit our new trailer with some things that would make our lives a bit easier when using it. Security was also a concern we wanted to address.
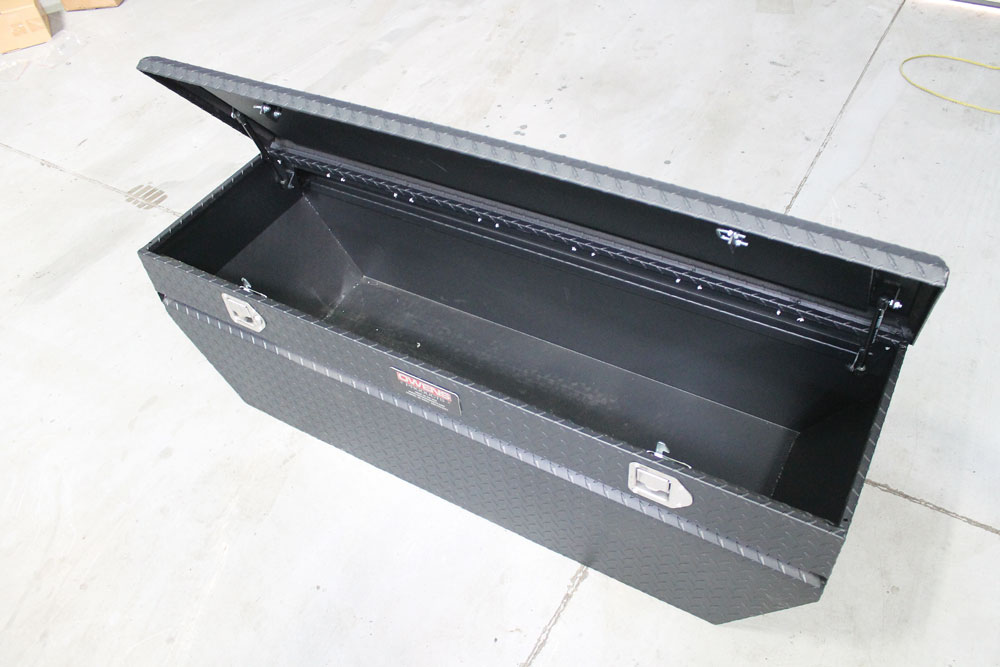
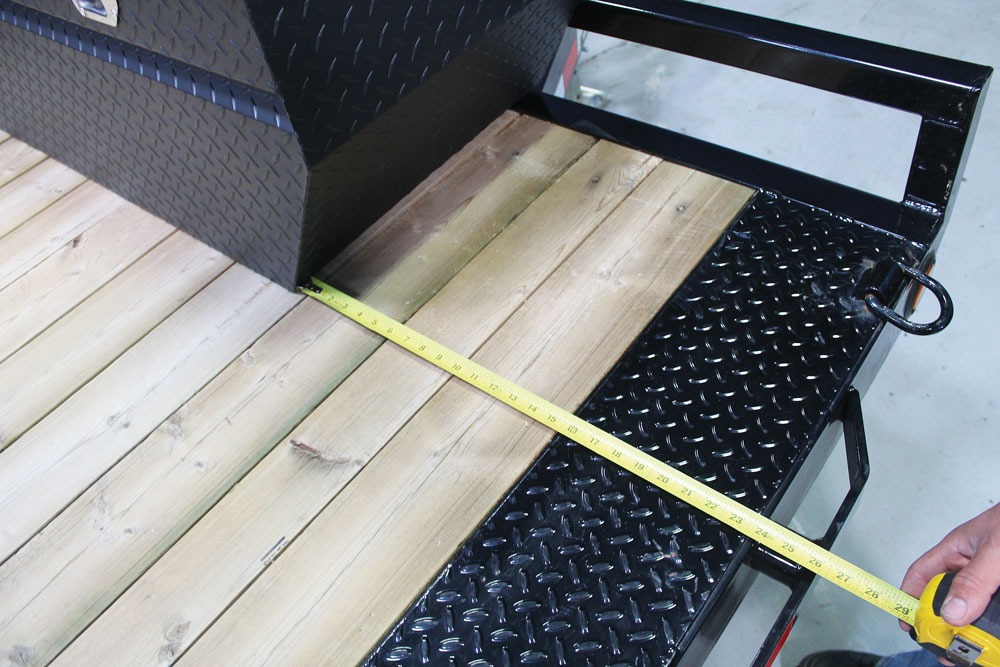
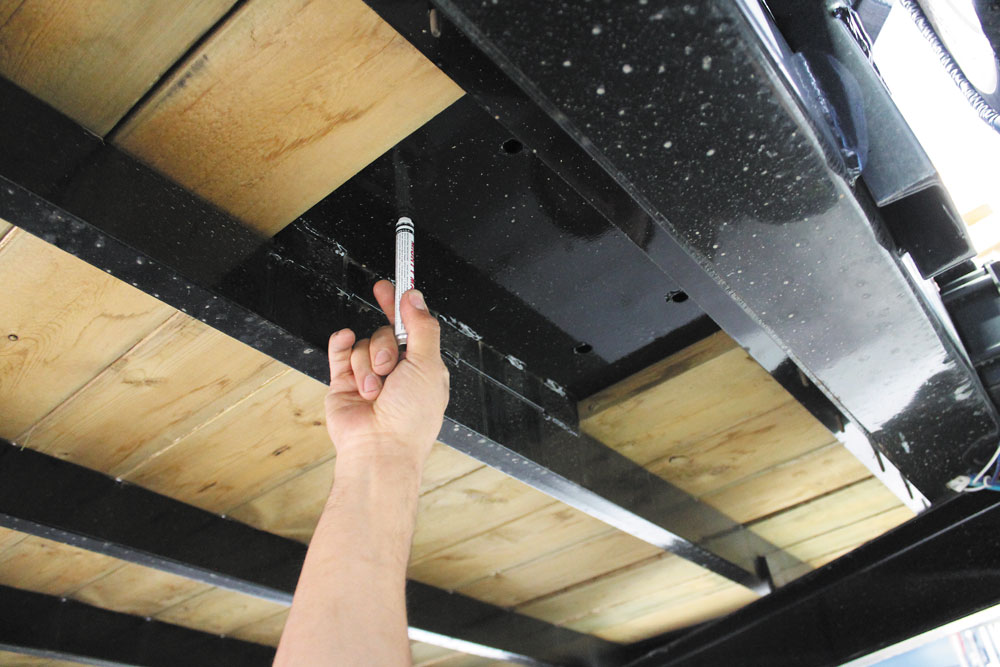
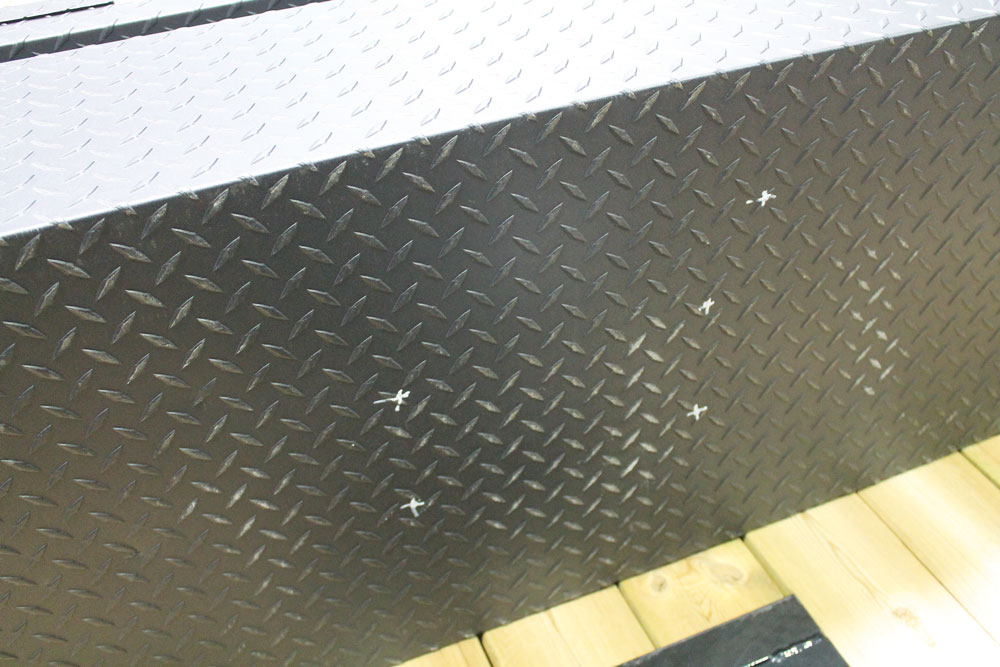
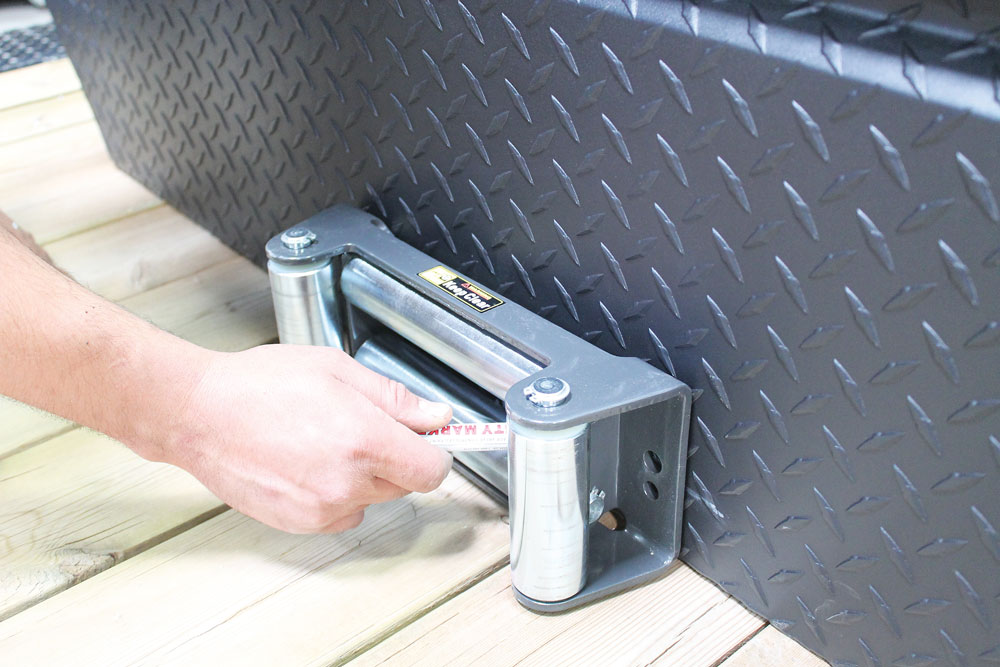
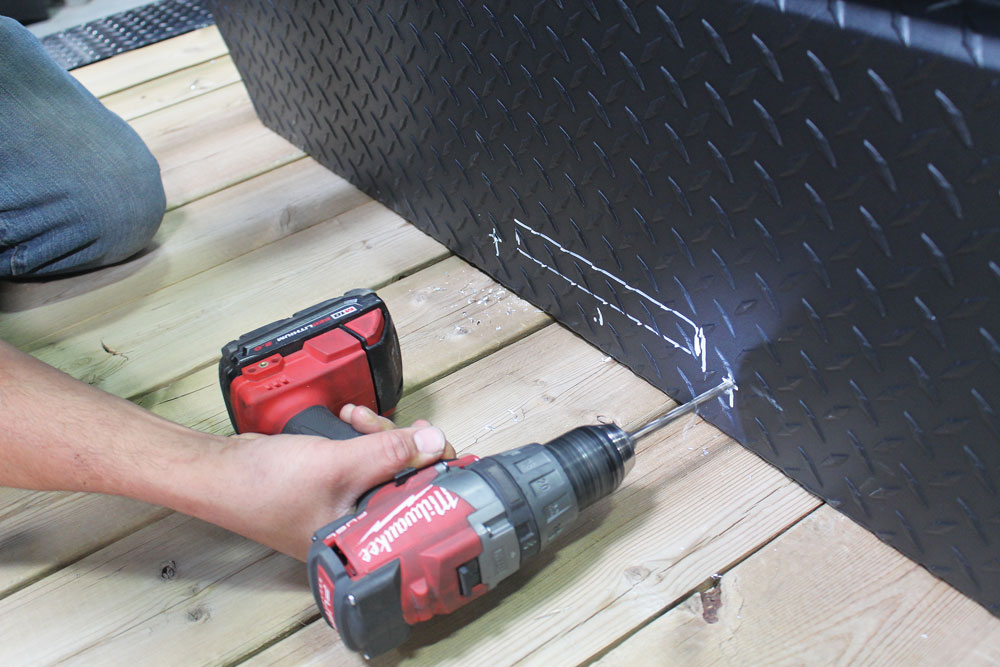
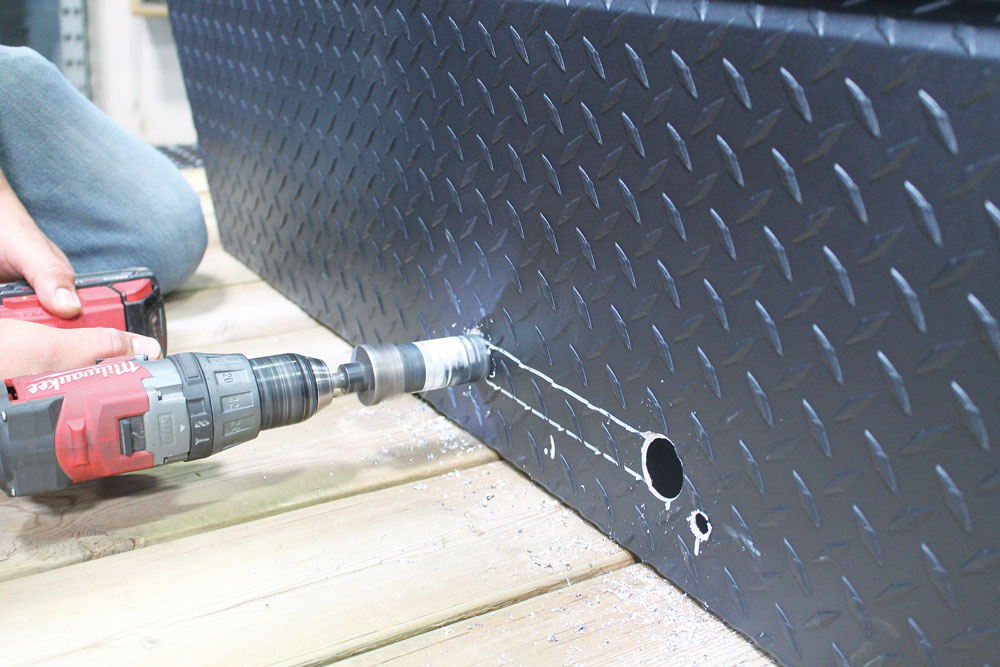
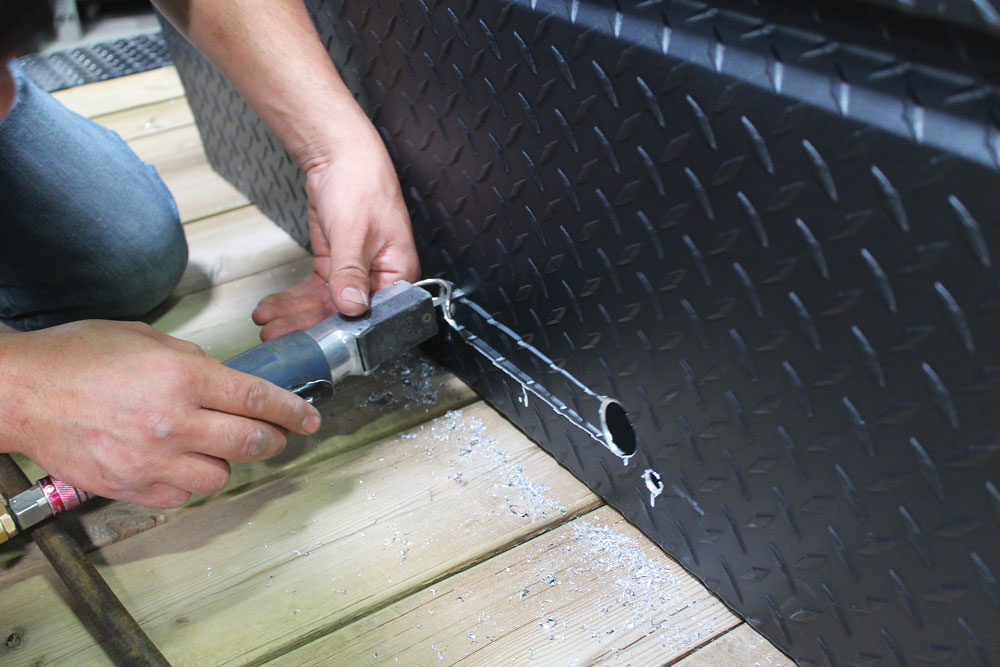
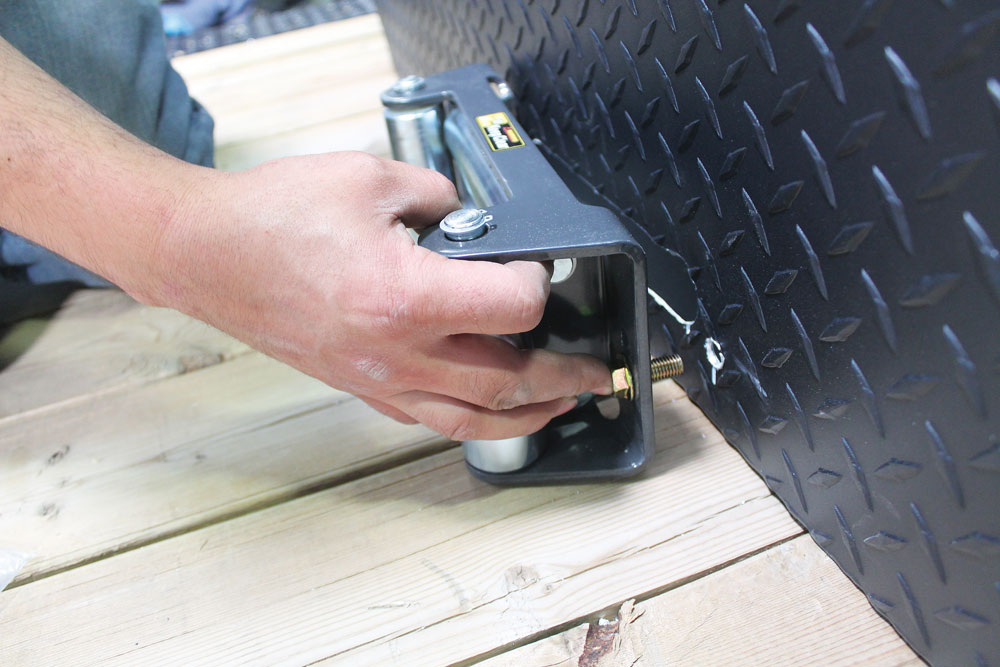
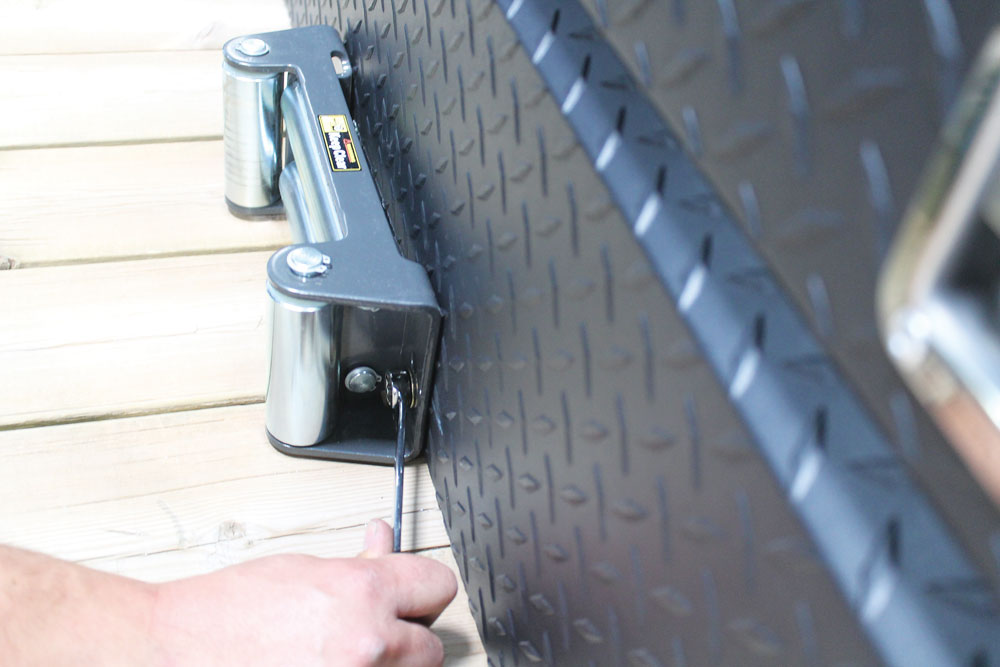
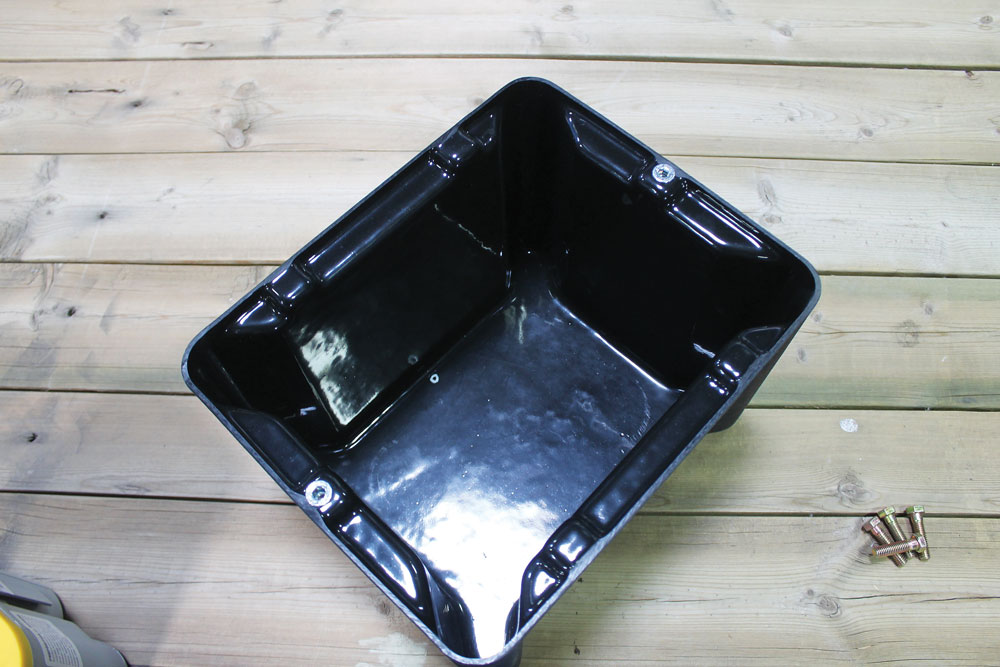
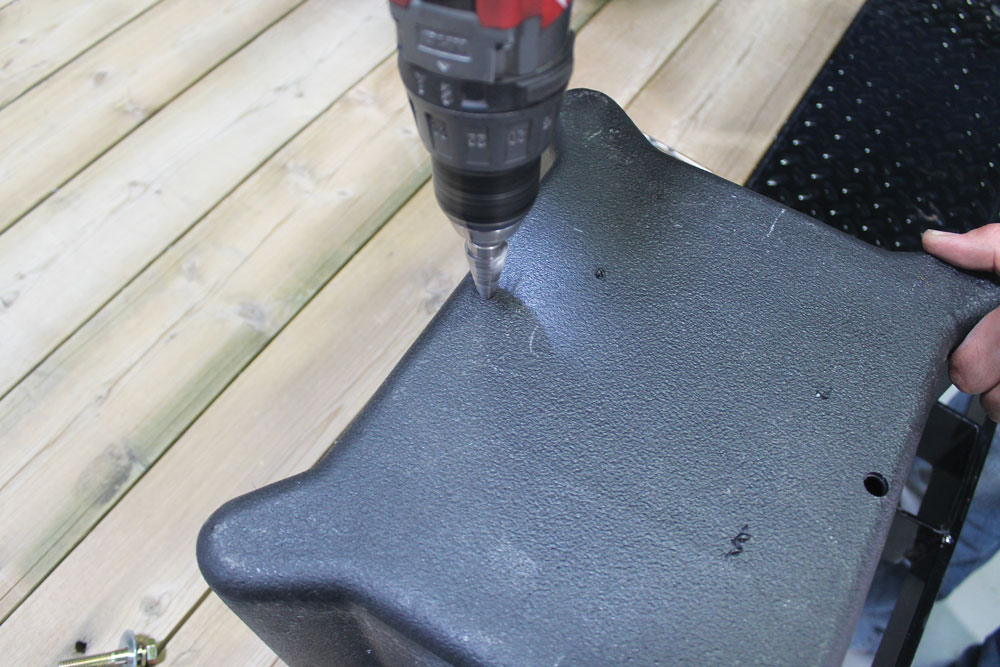
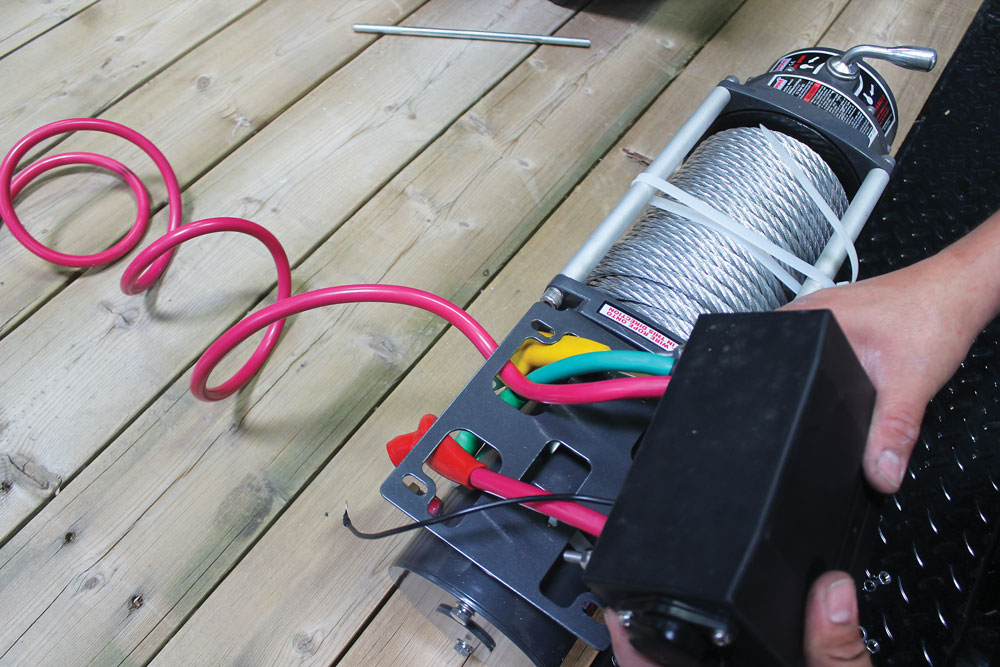
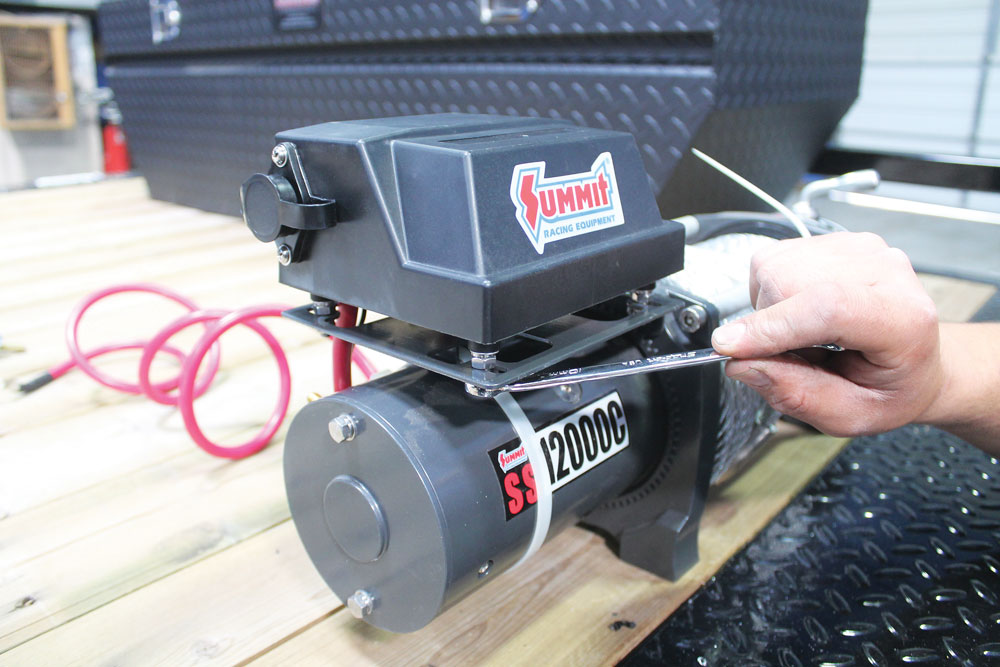
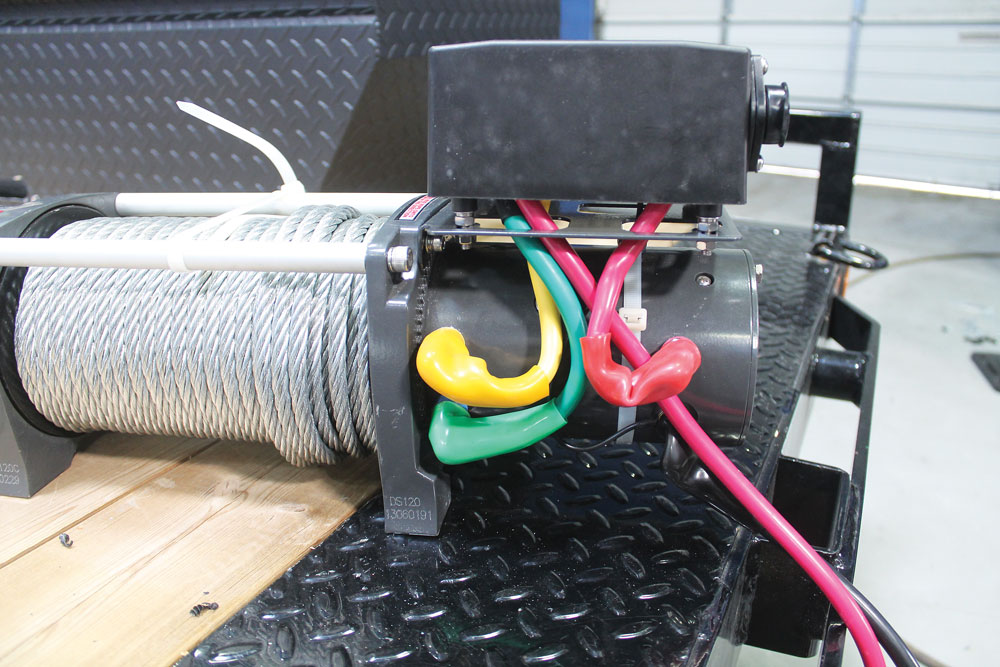
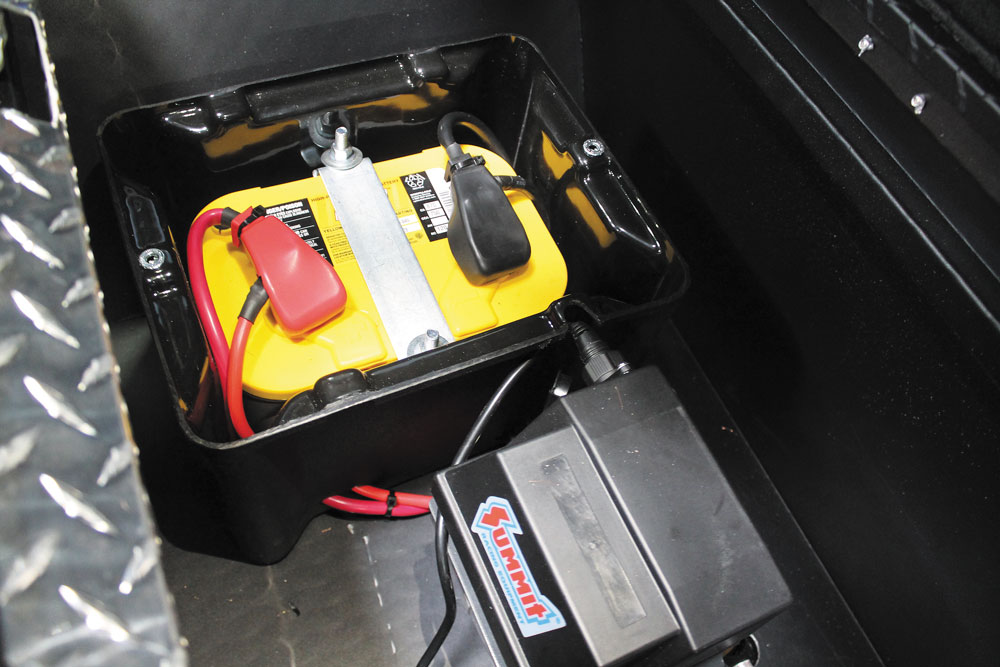
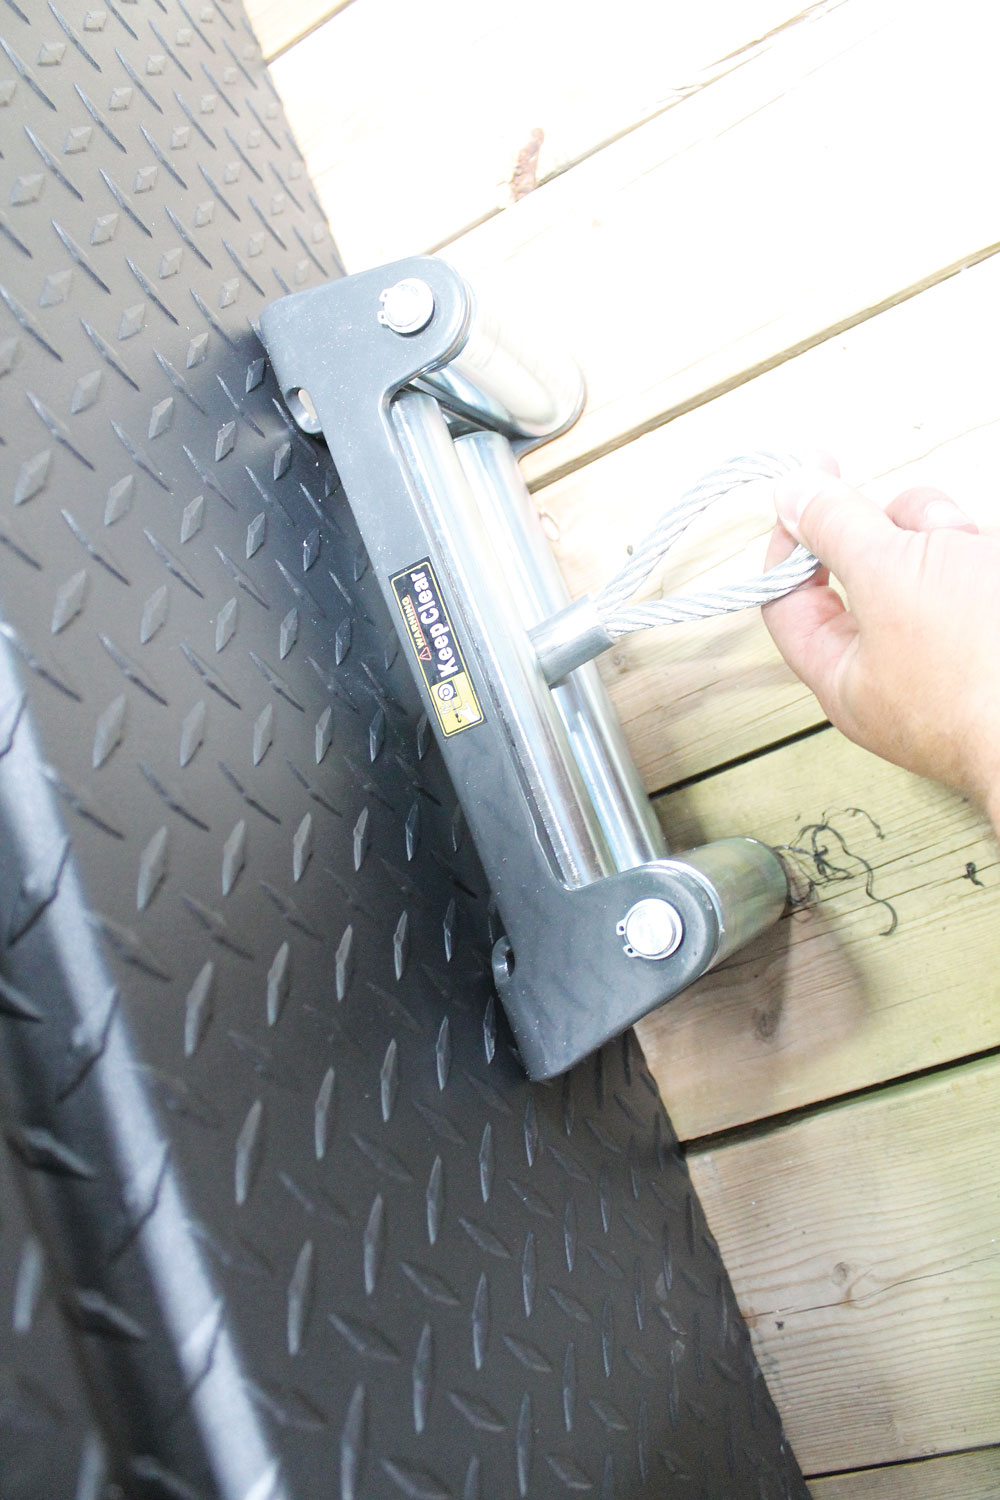
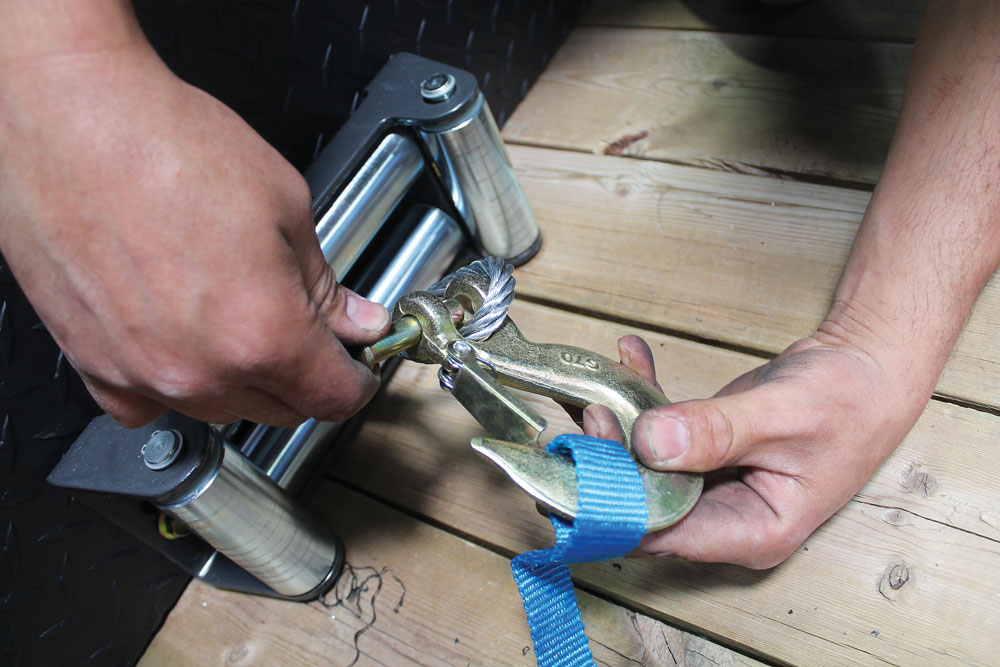
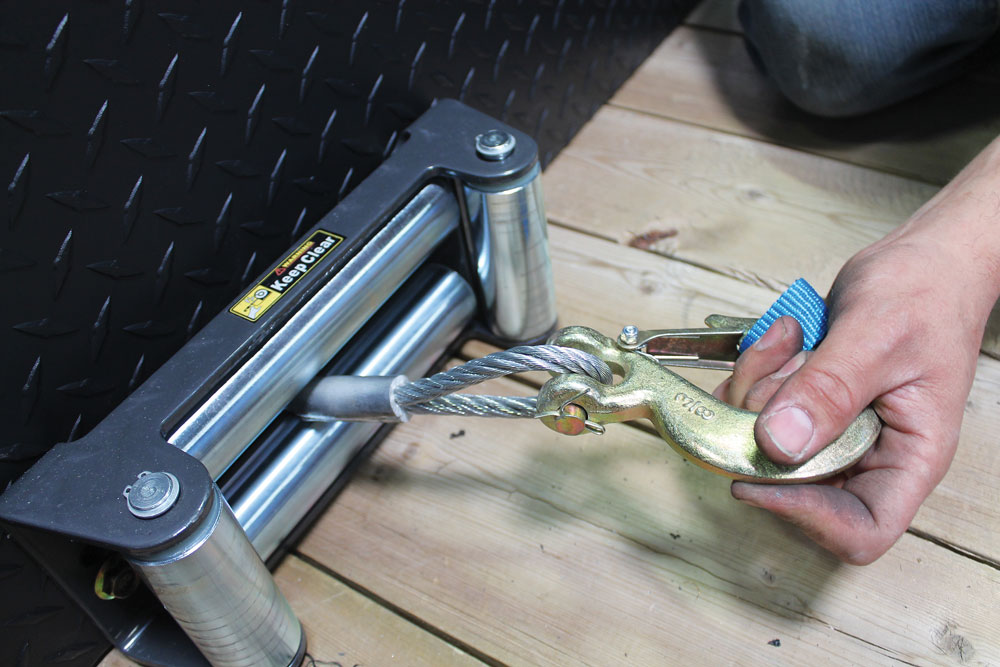
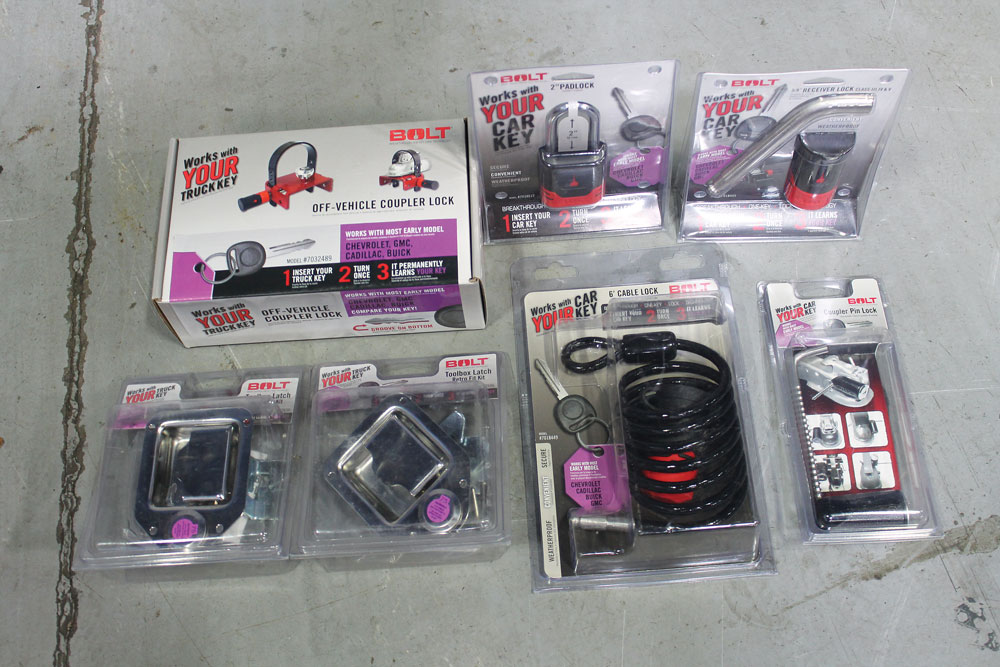
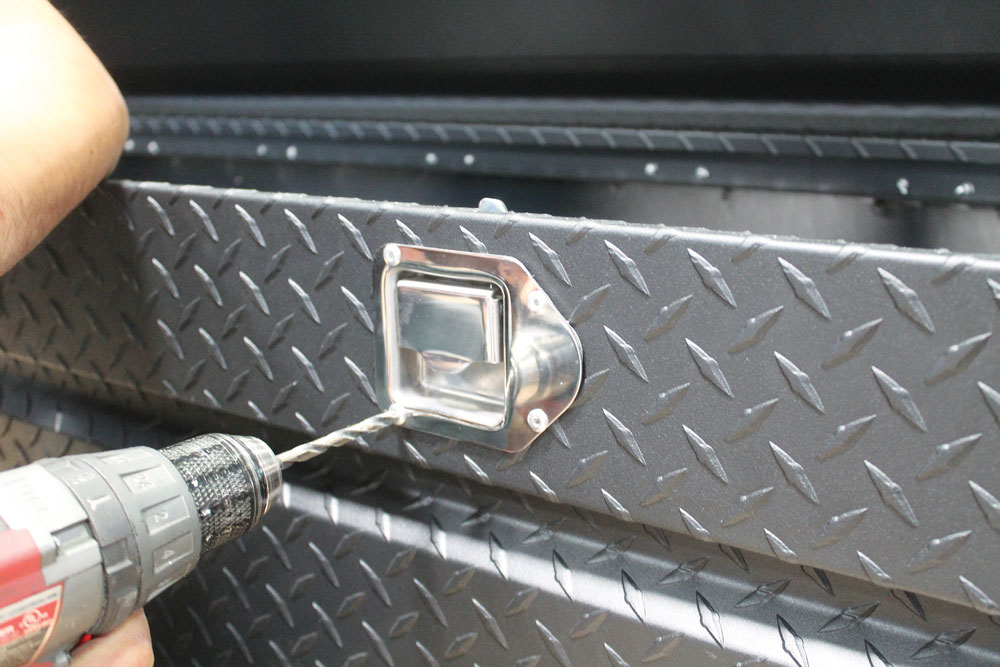
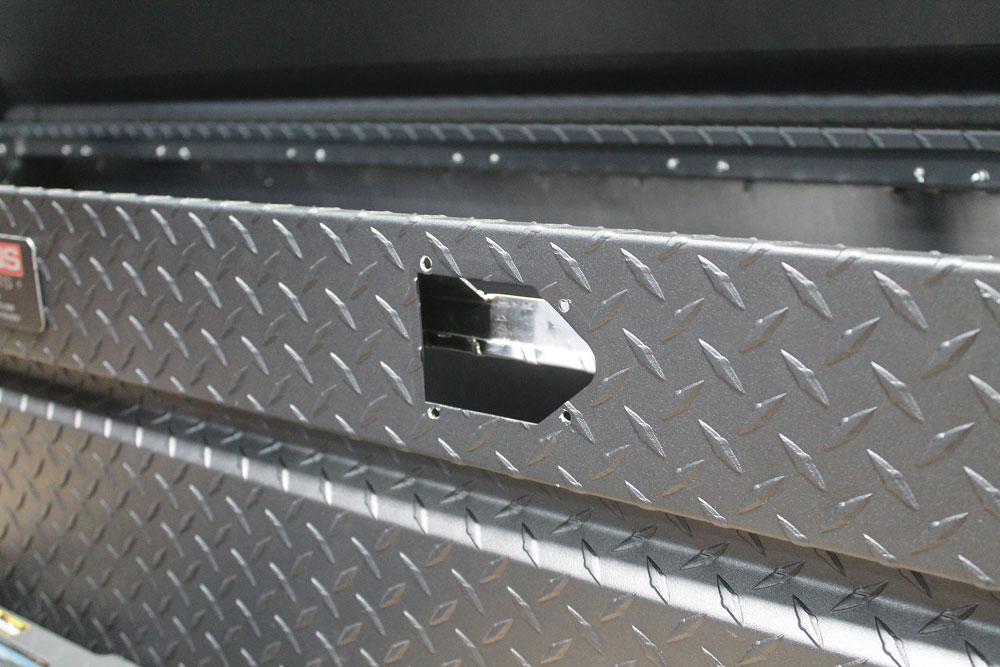
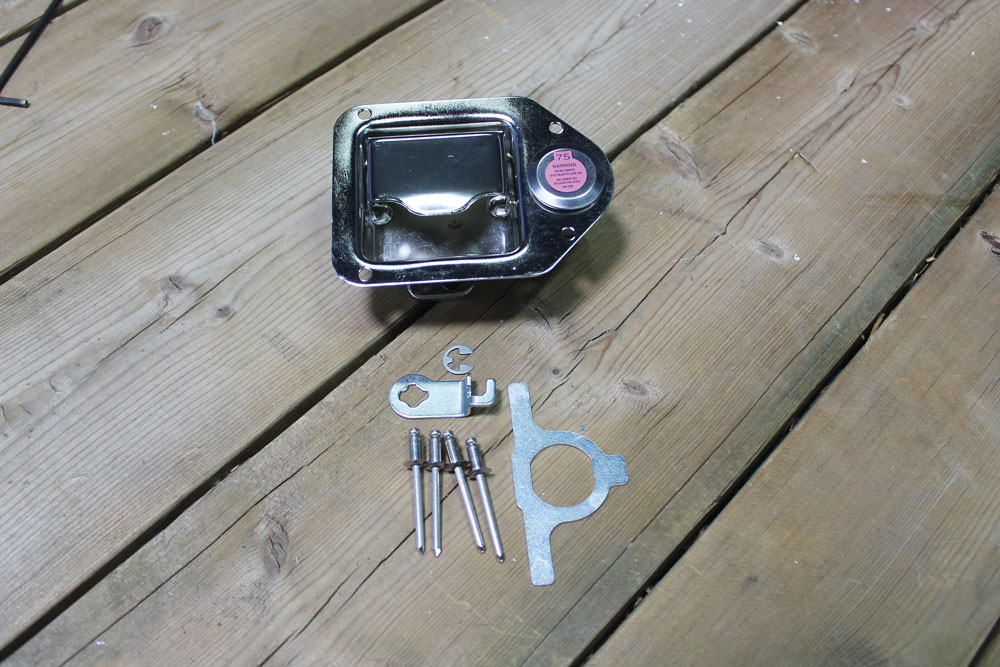
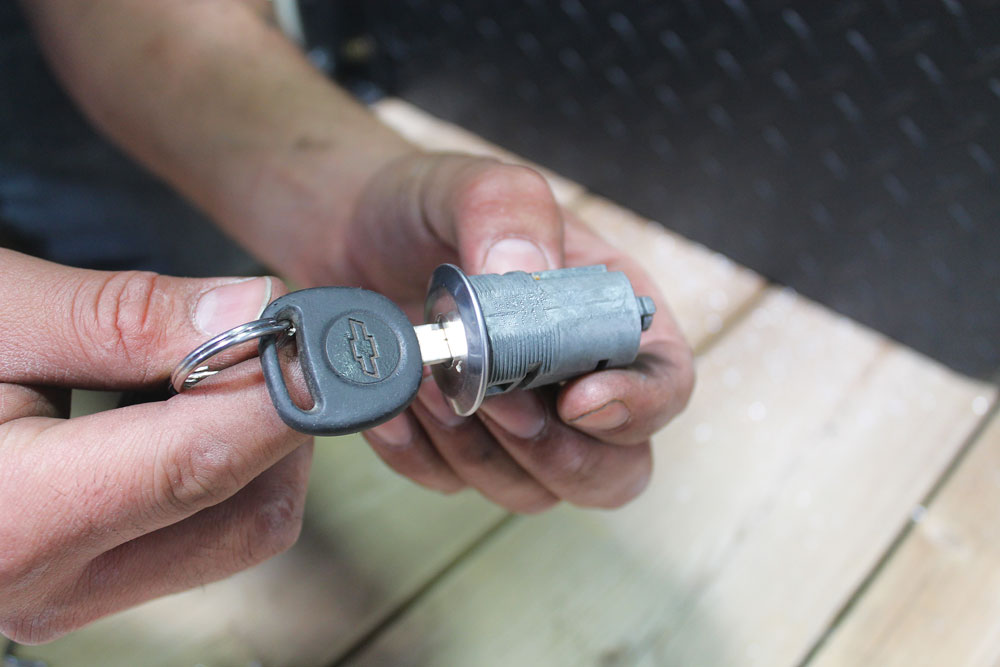
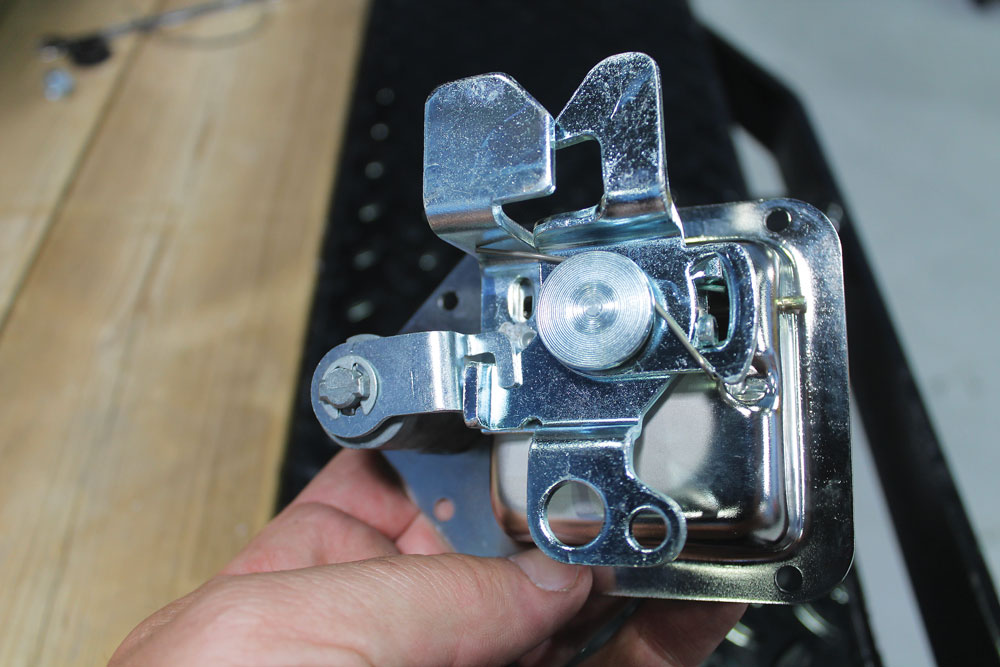
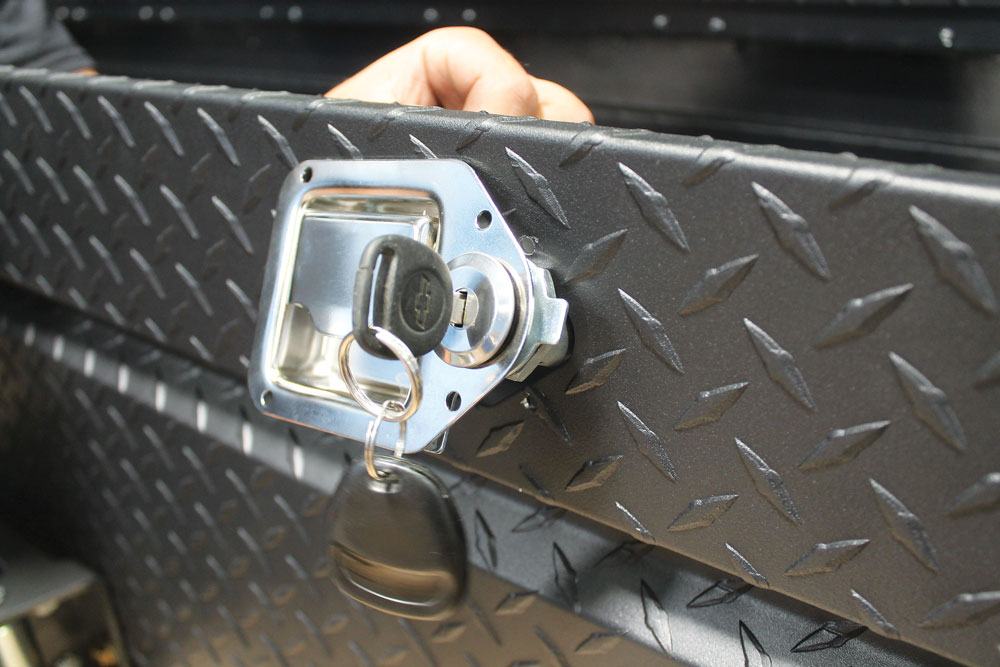
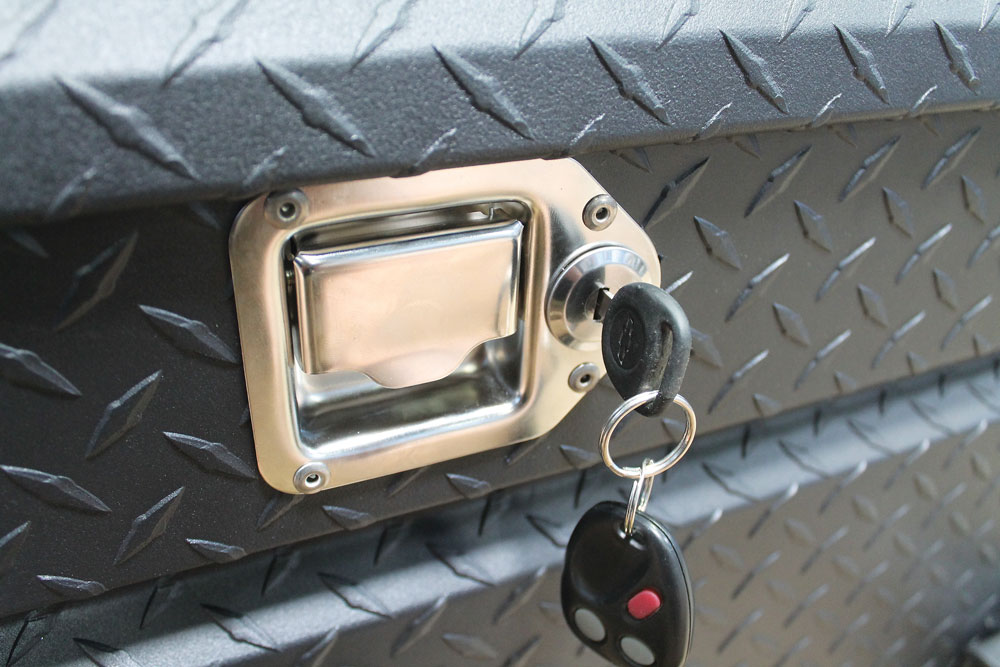
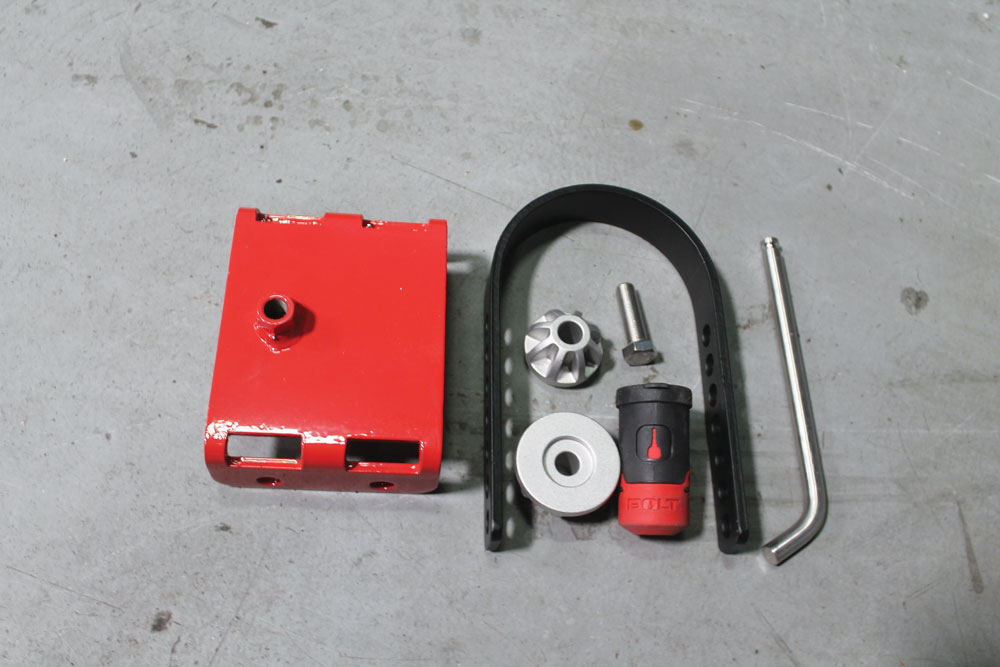
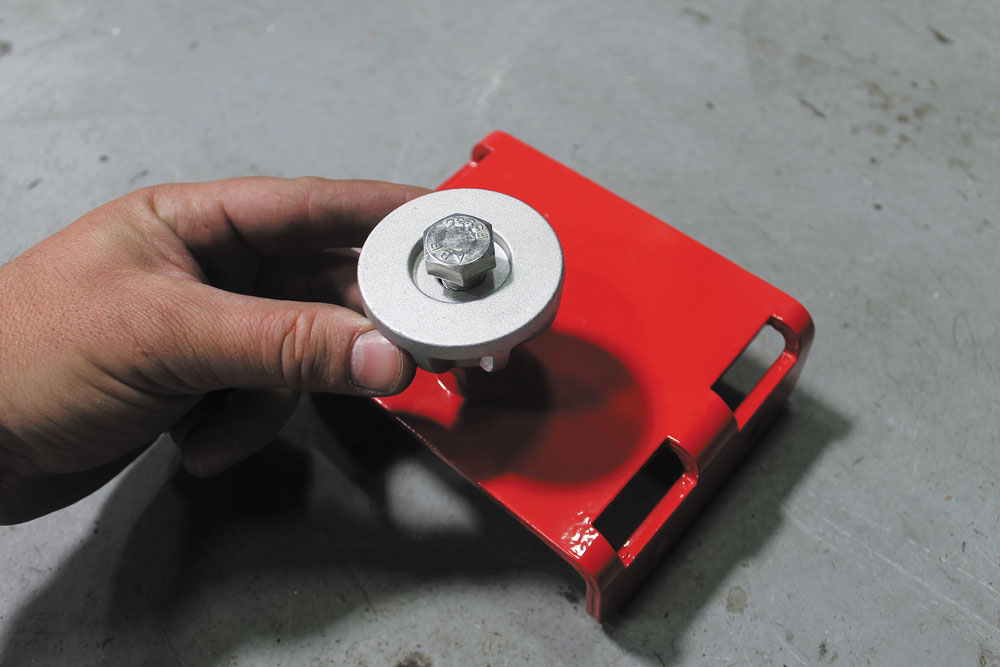
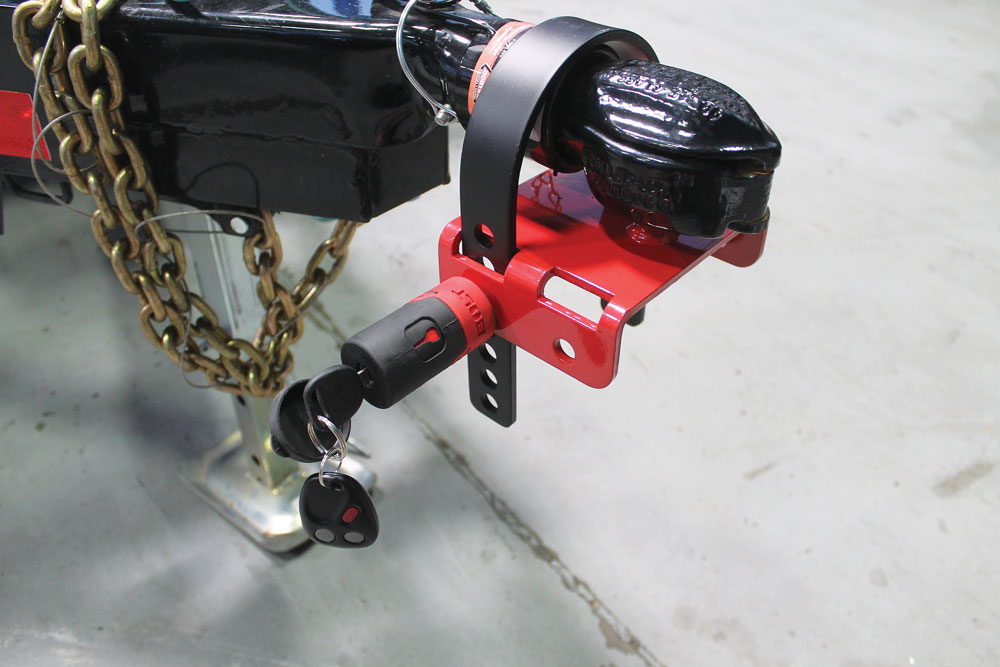
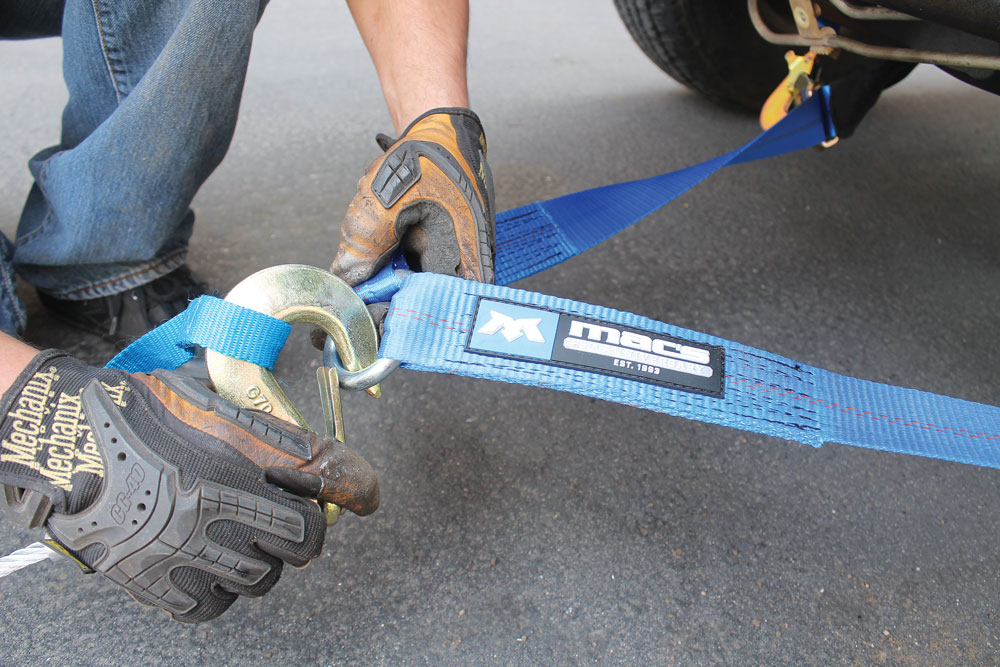
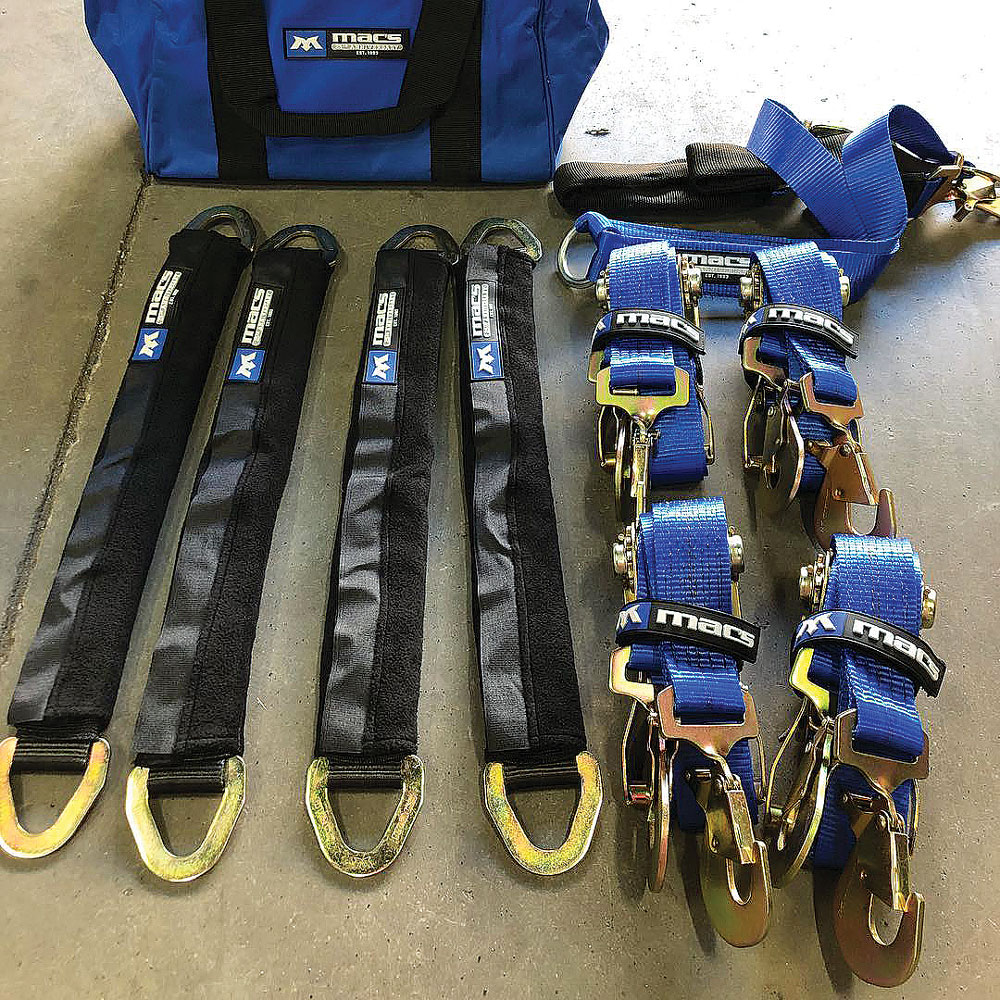
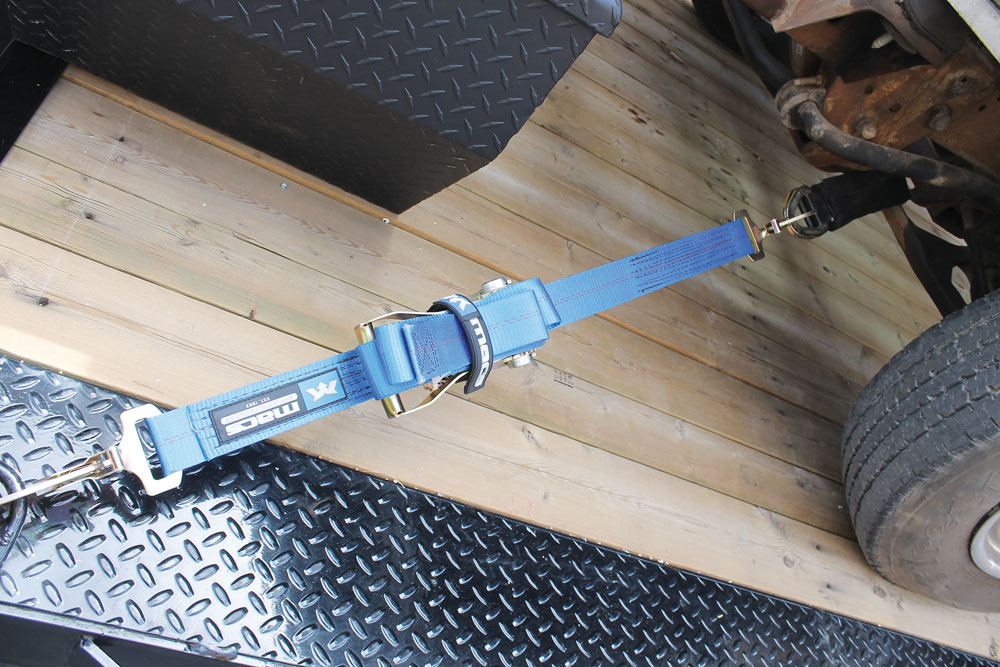
After purchasing our new trailer, we started reaching out to a few companies to help us outfit it. Our first call was to Summit Racing. Not only does the company have all the parts you’d ever need to work on your truck, but it also has a ton of trailer related accessories. We turned to Mac’s Custom Tie Downs to set us up with a complete set of tie downs that we could use to secure any vehicle we put on the trailer. Lastly, we contacted Bolt Lock to help us protect our new investment. Check out the steps we took to outfit our new trailer with some great products that will make using a trailer easier and safer.


C10 Builders Guide
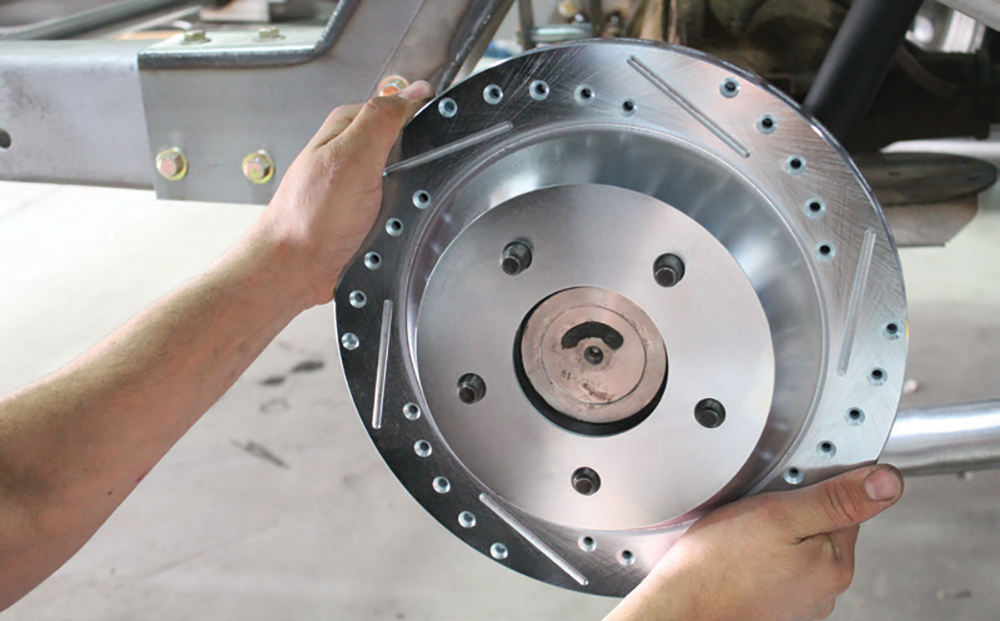
BRAKE AND STEERING UPGRADES WITH CLASSIC PERFORMANCE PRODUCTS WHEN IT COMES TO CLASSIC STREET TRUCK PARTS, CLASSIC PERFORMANCE PRODUCTS IS A NAME THAT IS VERY… Continue reading
JEREMY RICE . August 16, 2019
How to
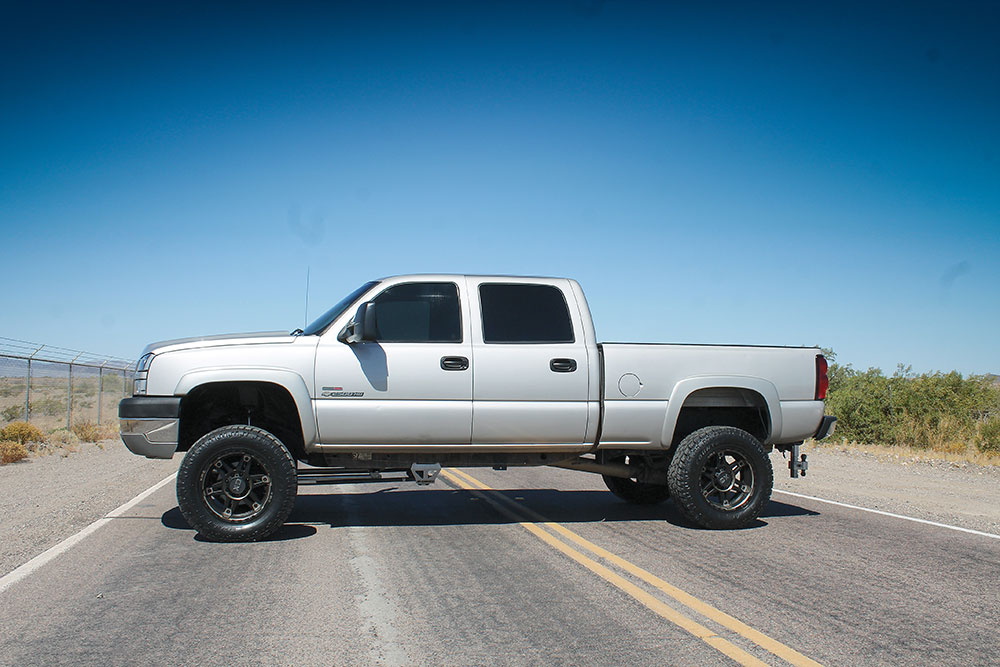
AS THE PRICE OF TRUCKS CONTINUES TO INCREASE, FEWER PEOPLE ARE HEADING TO THE DEALERSHIP TO BUY BRAND NEW VEHICLES. Sure, a 2019 Chevy Silverado… Continue reading
JEREMY RICE . September 16, 2019
Events
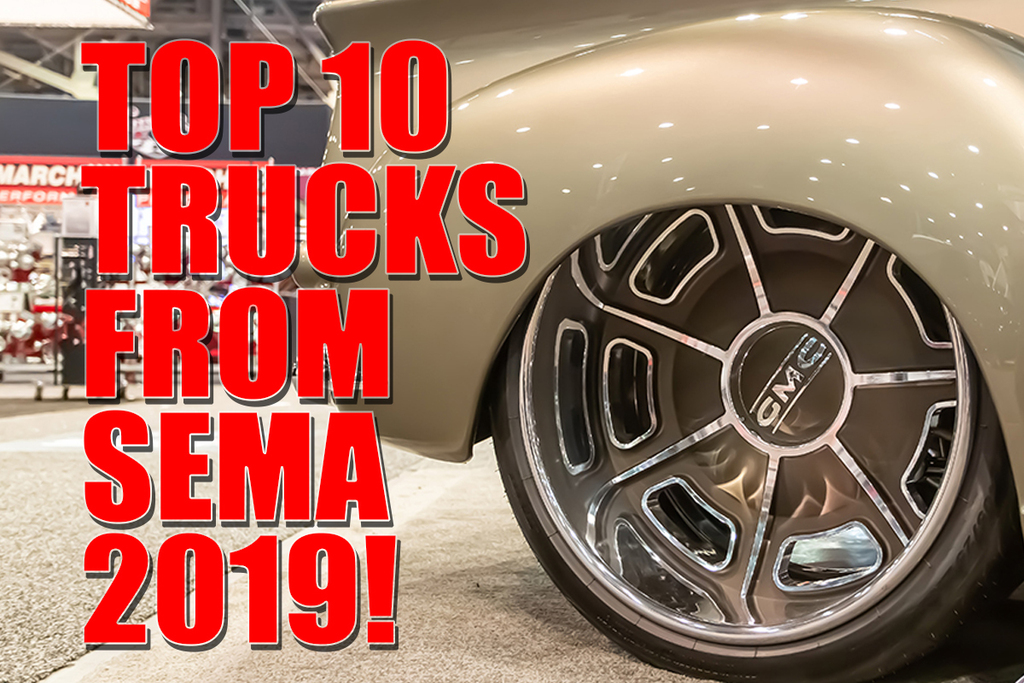
SEMA 2019 was epic! Trucks filled every corner of the Las Vegas Convention Center and our man Solomon Lunger captured each and every one of… Continue reading
Chris Hamilton . November 15, 2019

Share Link