 streettrucks
.
May 17, 2021
.
Department
.
streettrucks
.
May 17, 2021
.
Department
.
Buying a new truck might sound tempting, but there are alternatives that can get you more for less. Sure, we’d all like a brand-new pickup, but once you blow your wad on a high-priced truck, you usually have nothing left to make it look cool. Who wants to drive a truck that looks like the rest? Besides, it sucks to dump a bunch of coin into a truck that will ultimately depreciate.
Throughout the years, we’ve learned that sometimes it’s wiser to snag something older than to buy new. Recently, we were in need of a daily driver and trucks are always handy for hauling tools and parts. We had a budget of less than $10K and knew that not only could we purchase a truck for that much, but we’d have plenty left over to restyle it, as well. If you’re savvy with a set of tools, you can easily improve on a stock truck.
Our search was on for a 1999-2006 Chevy Silverado, and it took some time to shuffle through the many bogus or expired online ads. One thing that can drive the price up or down is the mileage racked up on an older truck. After finding a few good candidates, we made some calls and met up with quite a few sellers. Of course, they always up-sell what they have, and you should make sure you get a solid vehicle.

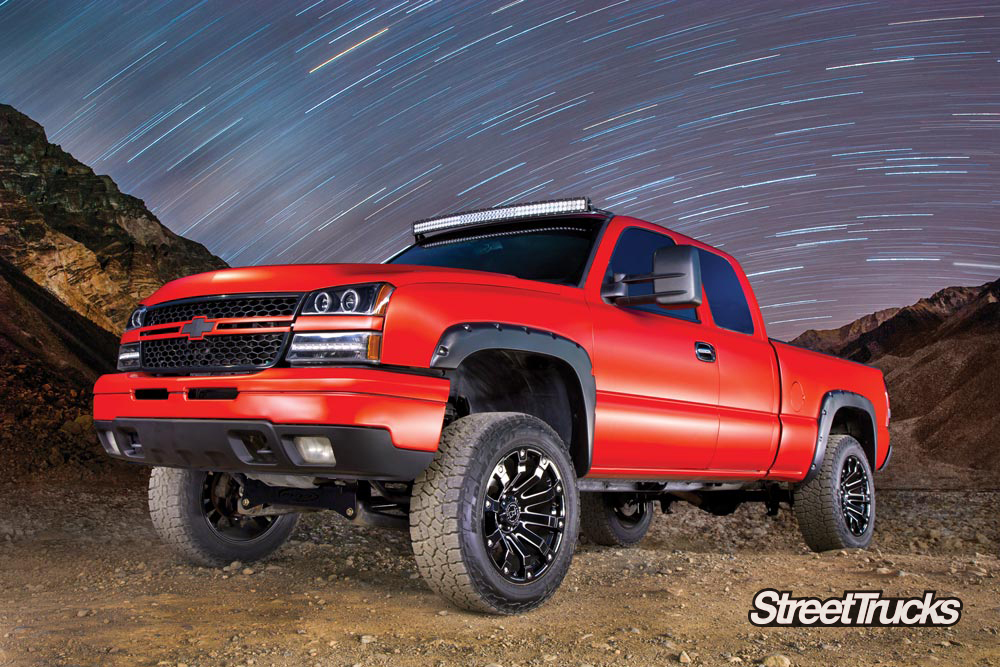
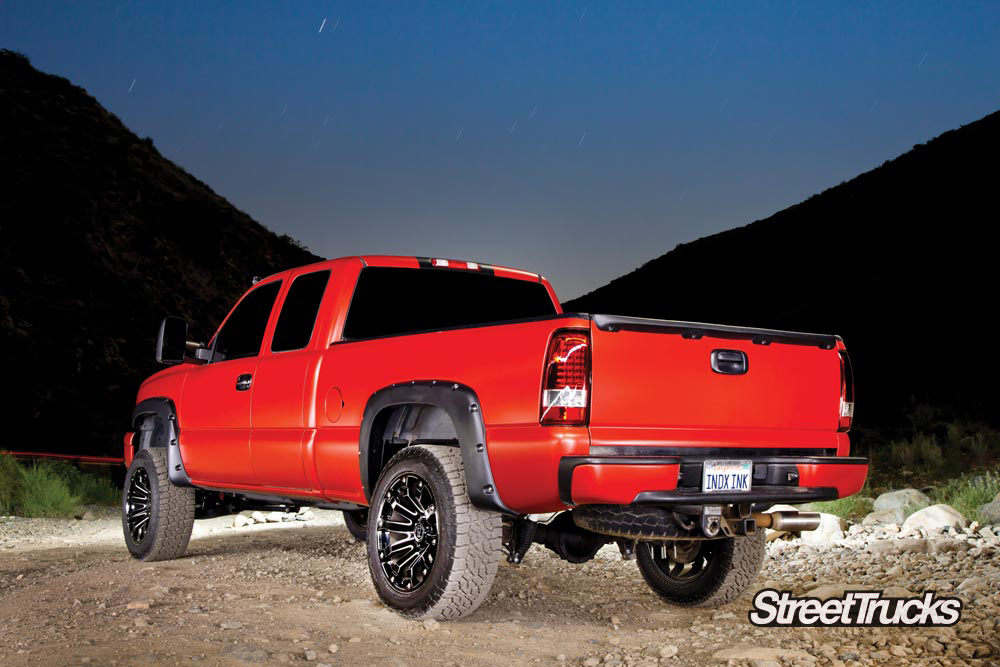
We discovered this ’03 2WD Chevy Silverado 1500 (NBS Chevy) for $3K that had around 150K miles on the engine and a rebuilt transmission with only 1K miles on it. The truck was well used and the paint was plenty scratched. We weren’t worried, though, because the truck was easily wrapped in custom metallic red to make it stand out. We spent another few hundred bones on things like exterior lighting and fender flares.
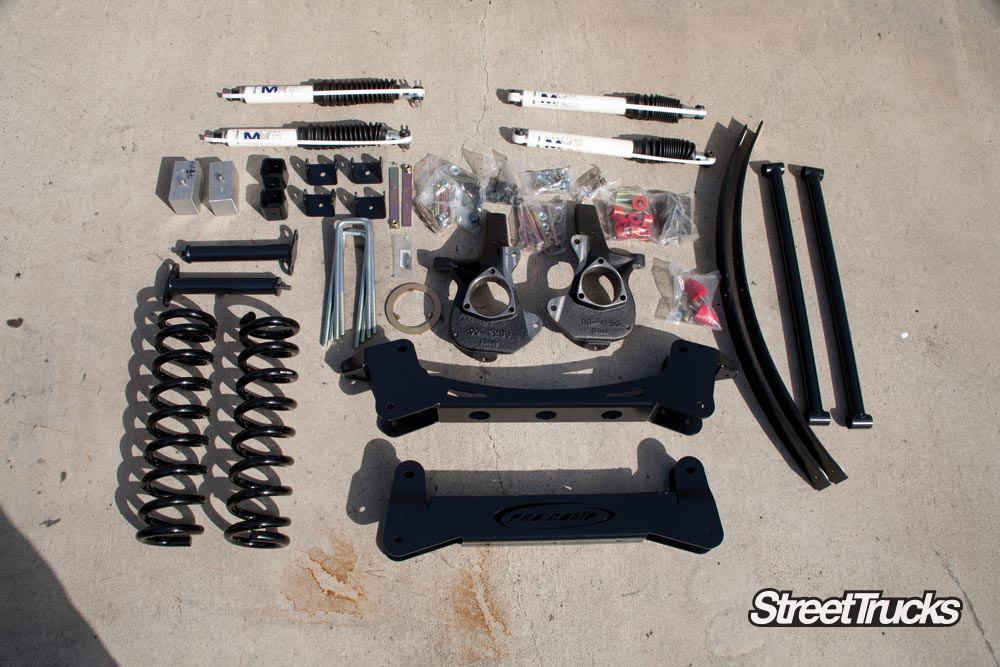
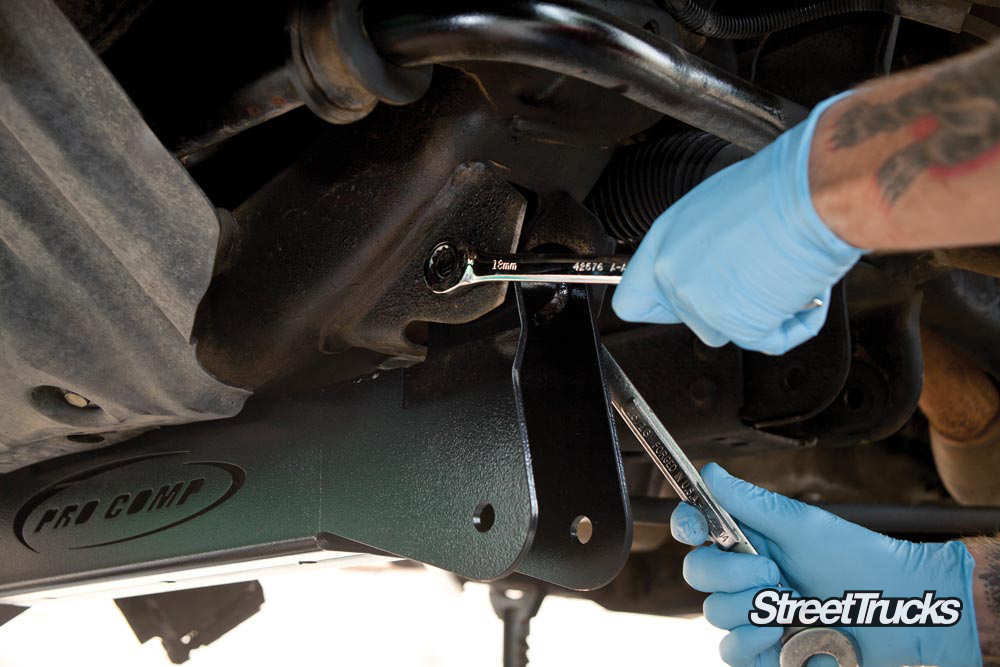
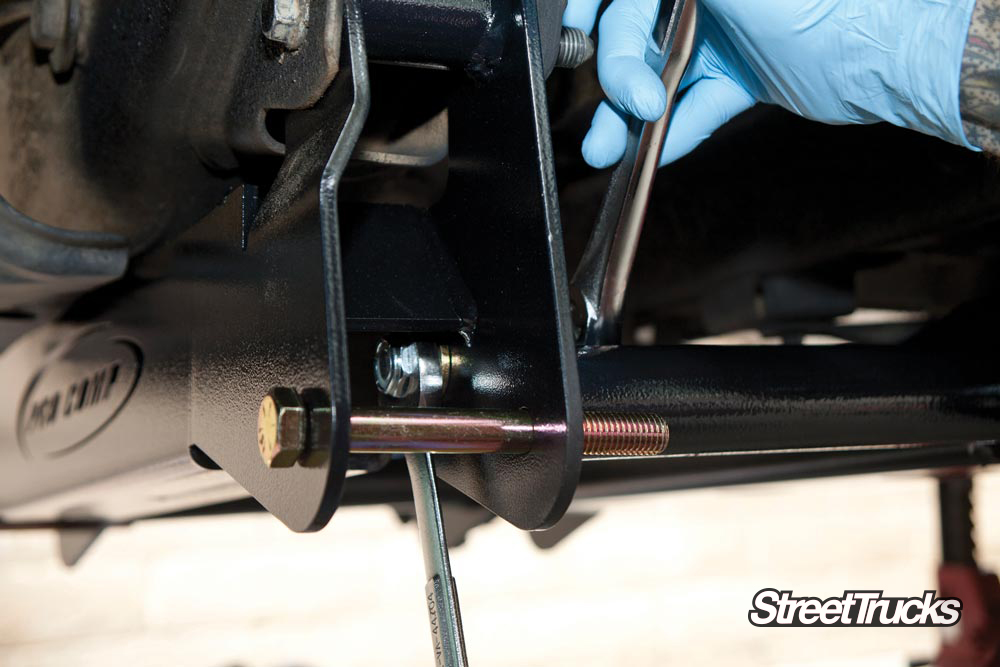
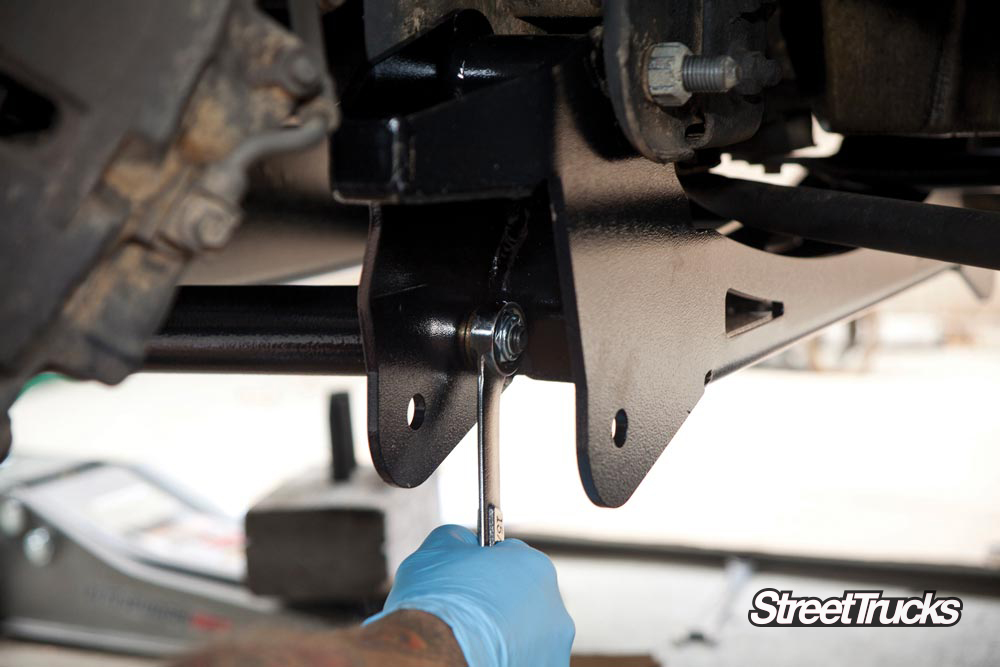
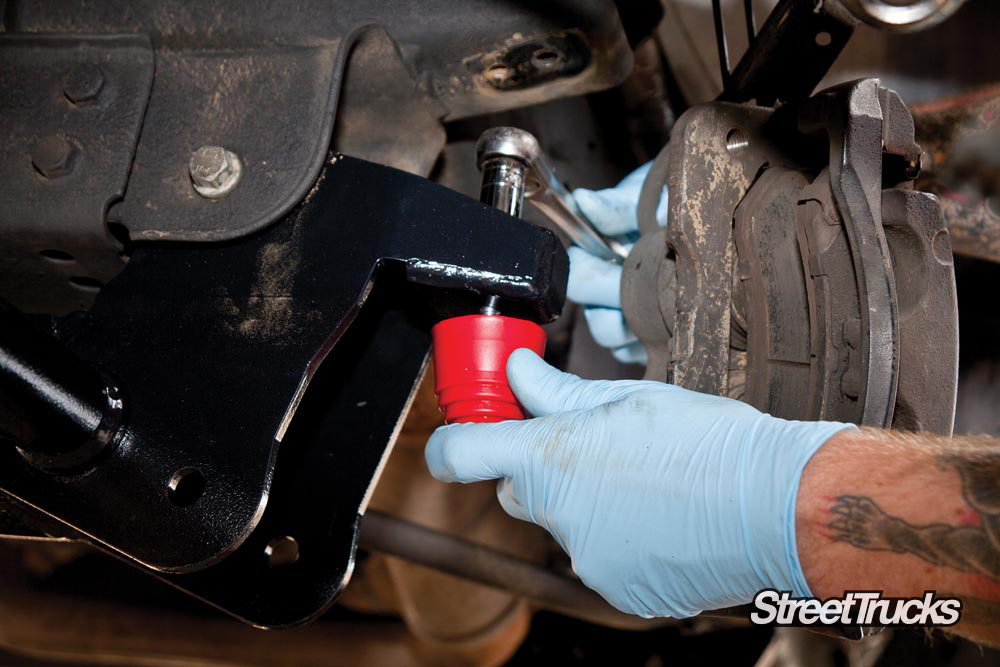
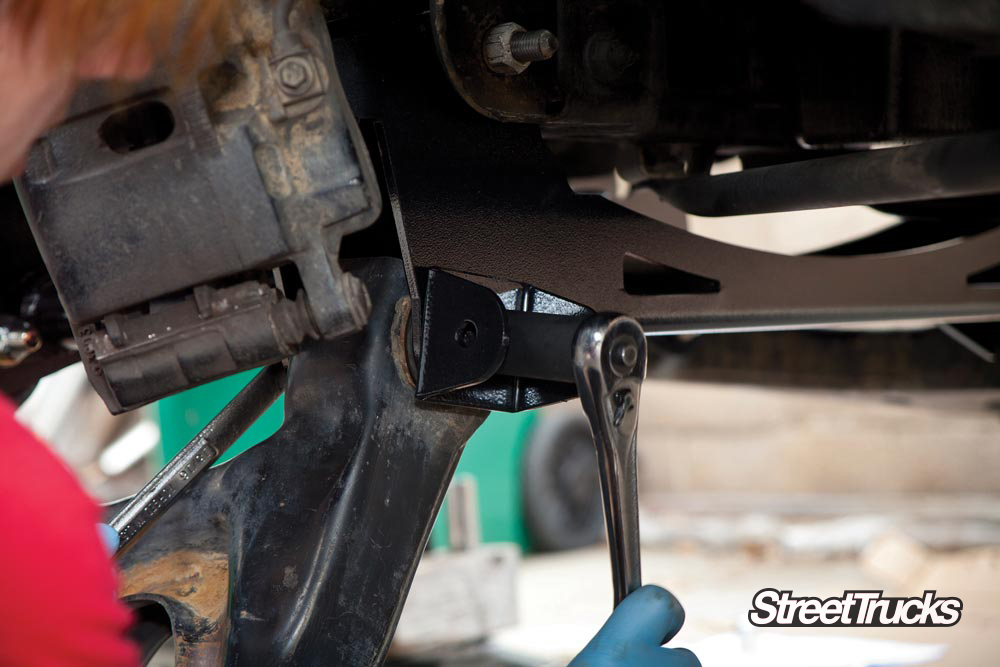
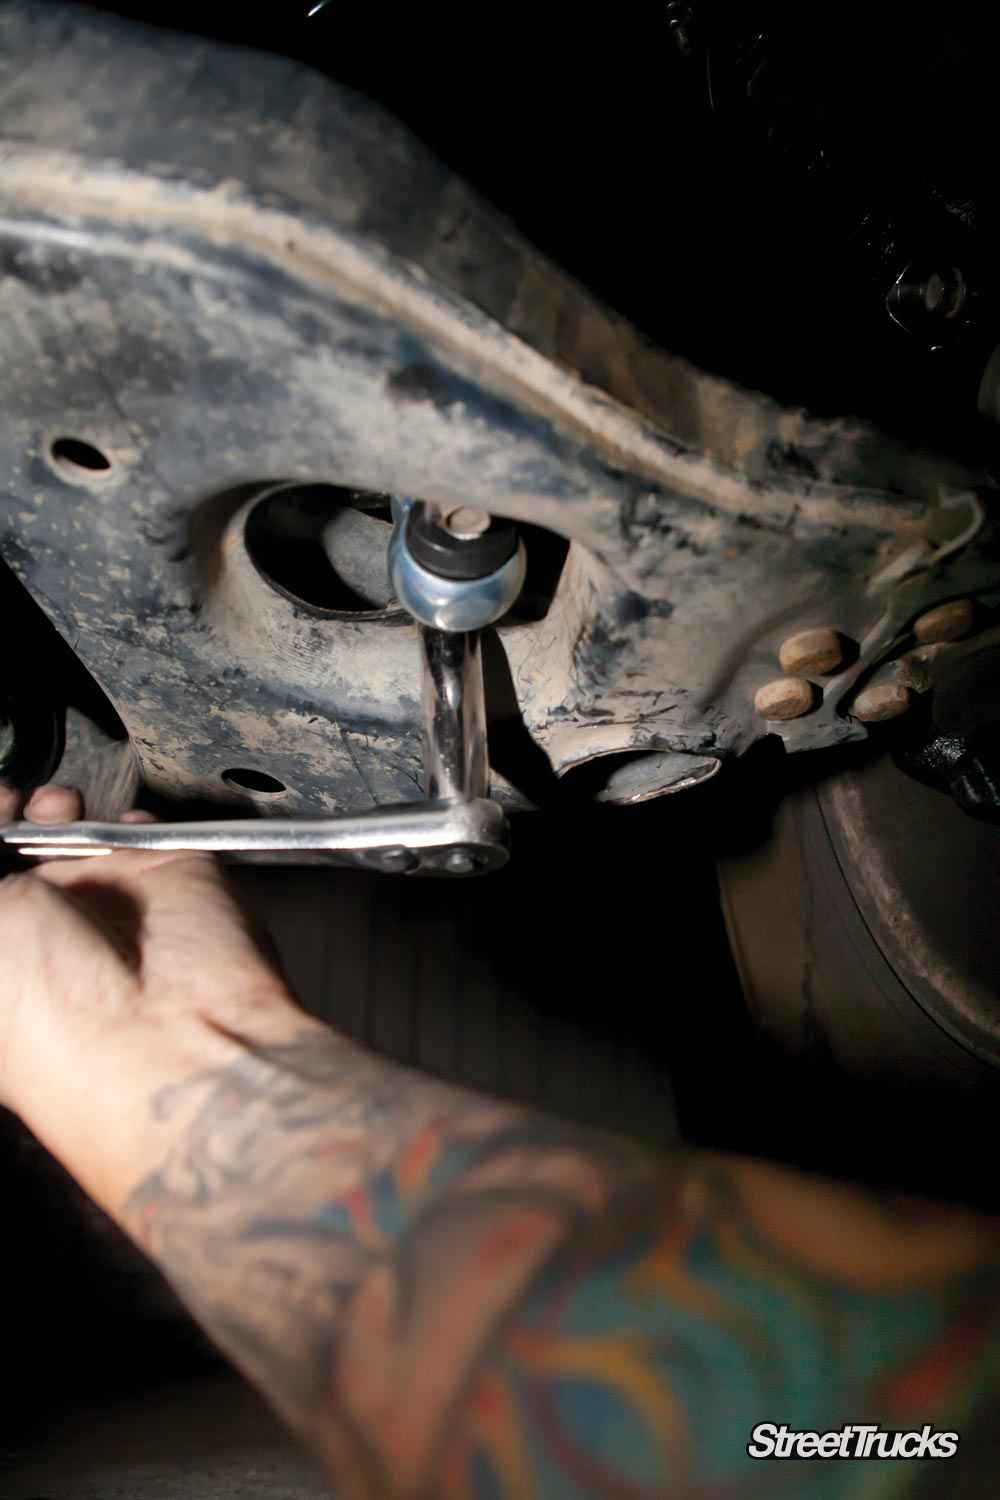
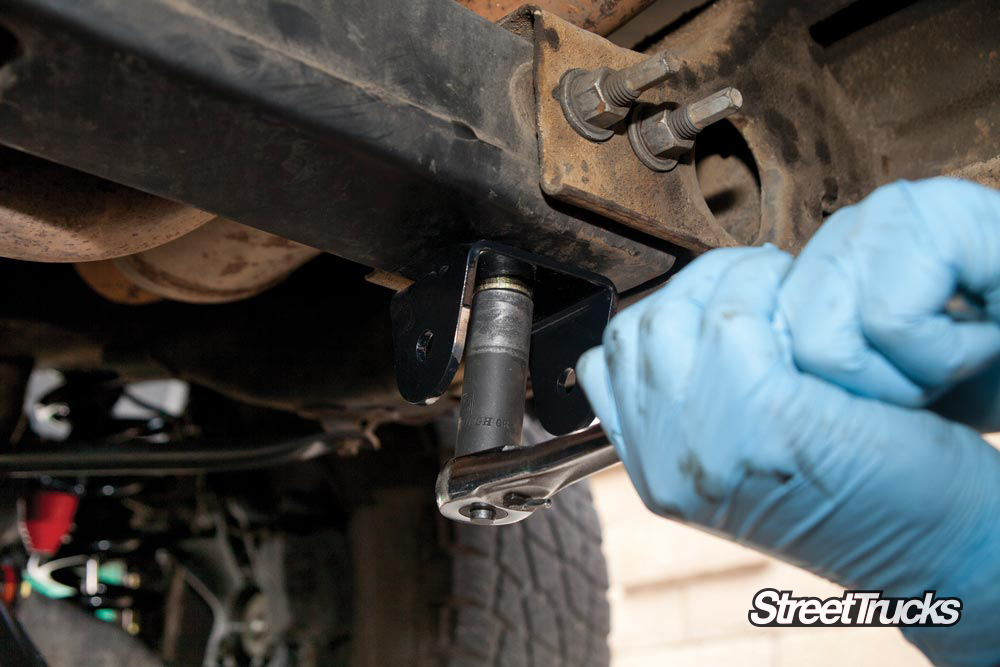
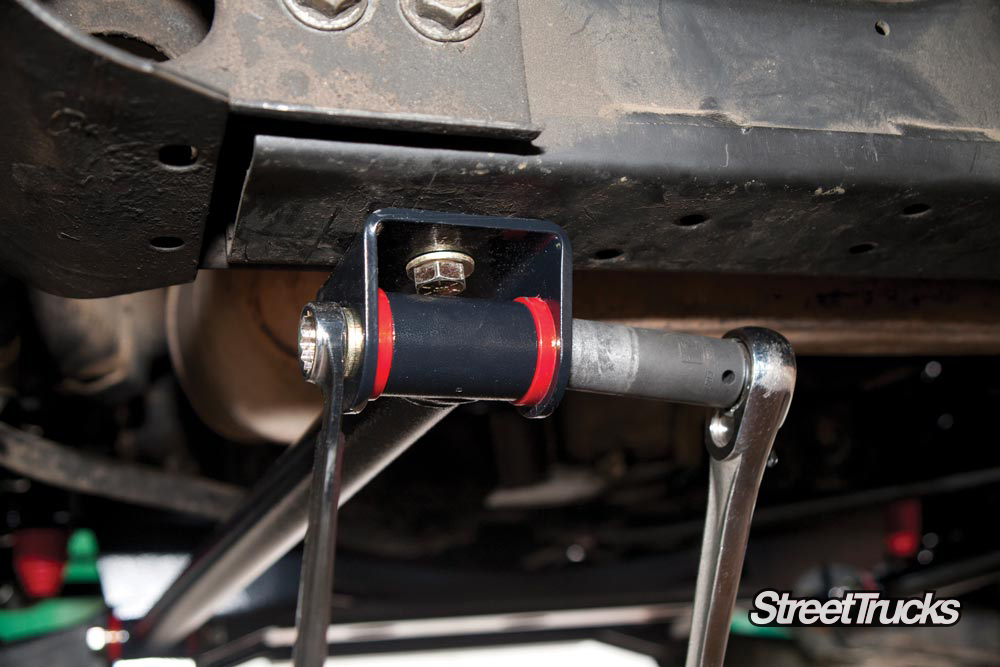
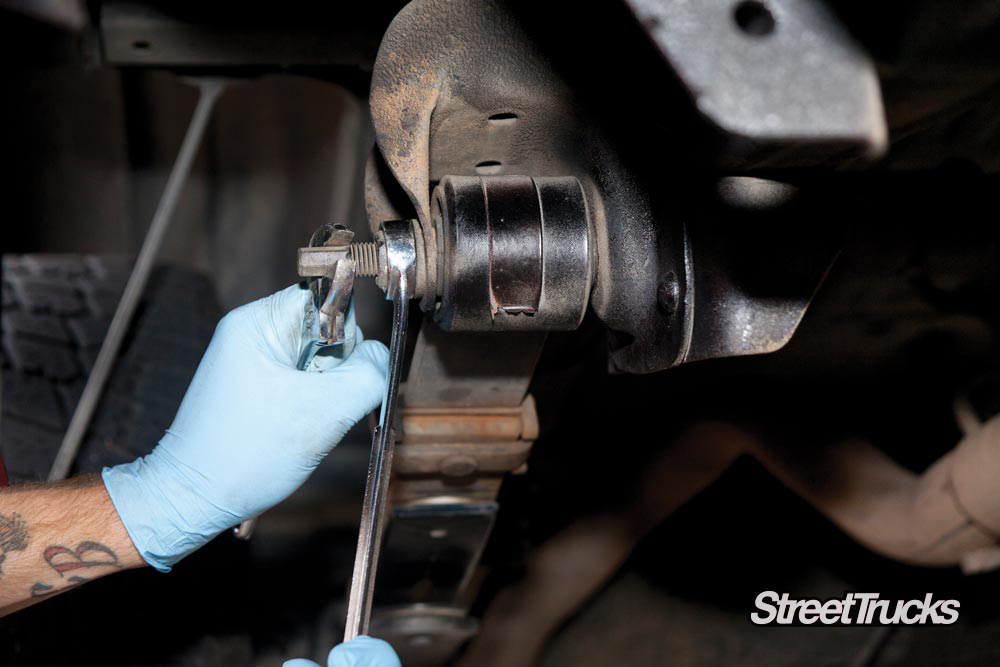
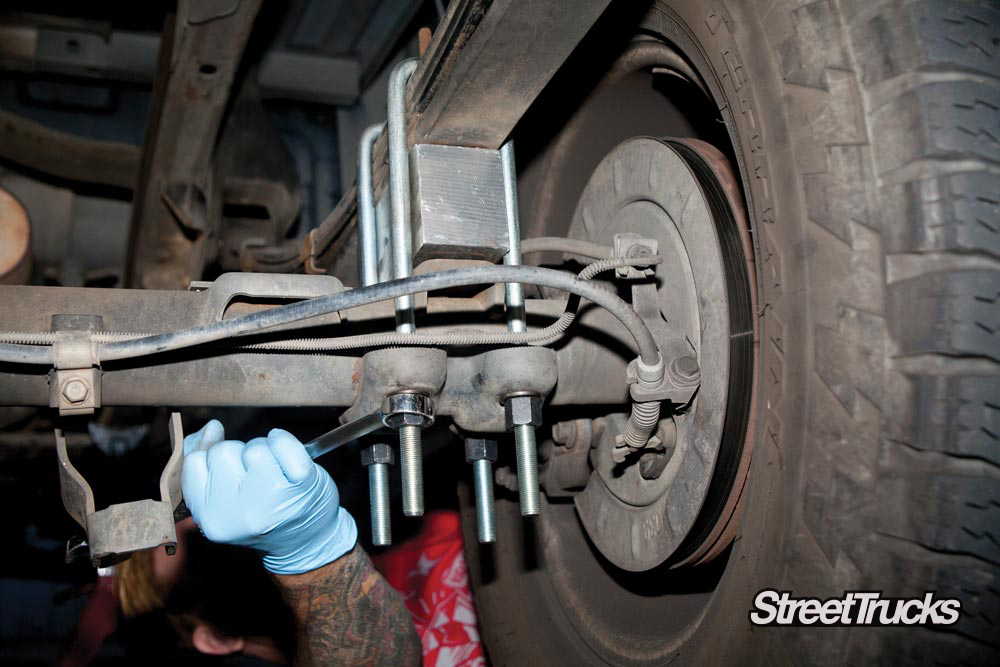
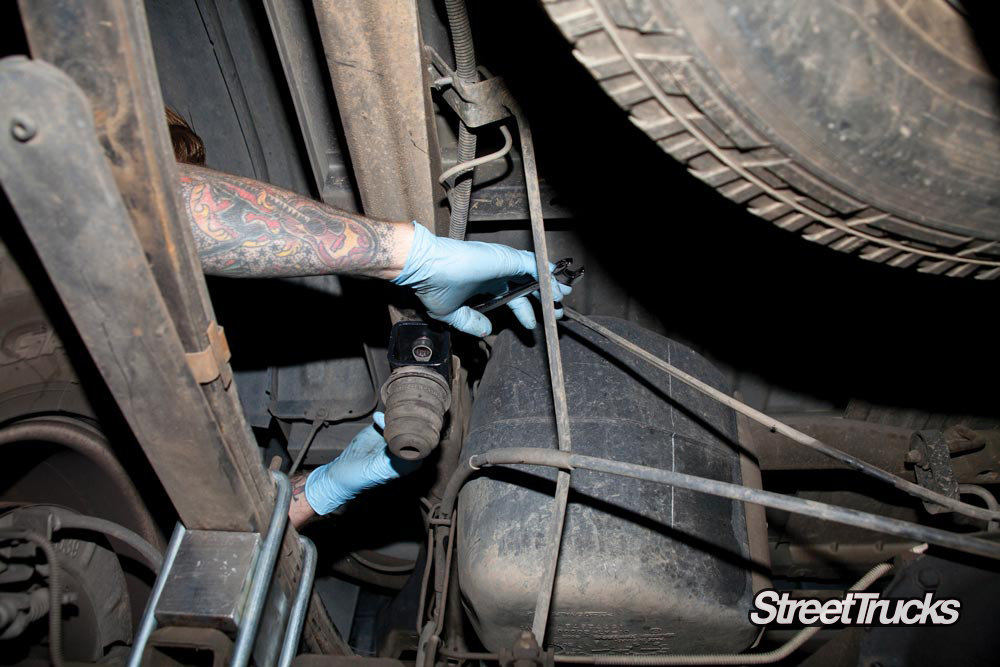
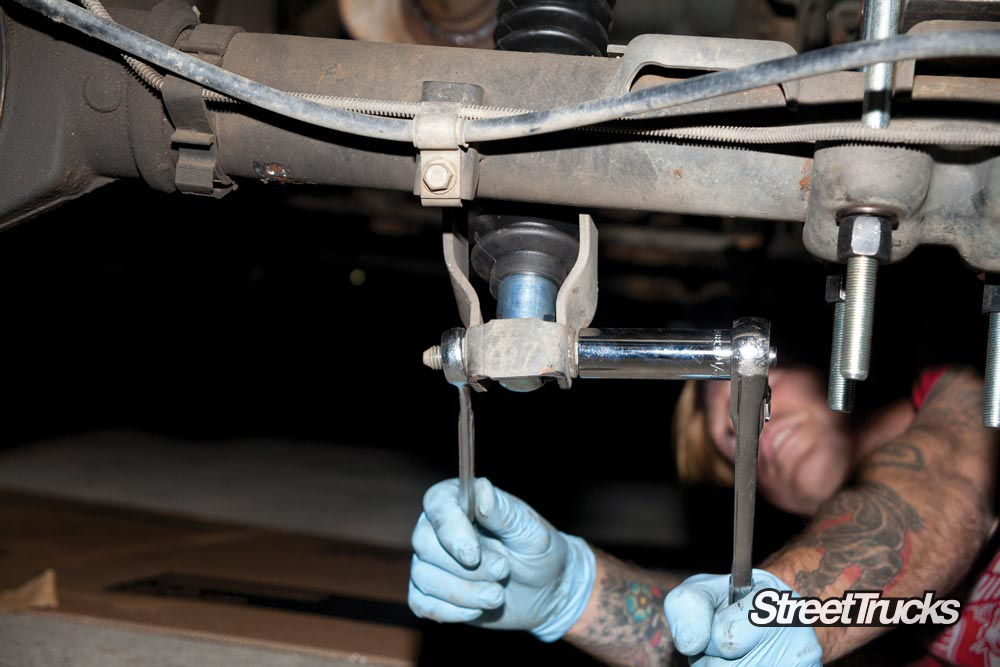
But what’s a custom truck without some sort of height-altering suspension? Though the truck had a mild lift kit, we wanted to mob the streets with a more serious lift. We decided on a Pro Comp 7-inch lift and discovered that Summit Racing Equipment offered competitive pricing. Though Summit has a reputation for having a large stock of performance parts, the company also has plenty of other products like exterior styling, mobile electronics, tools and pretty much anything else you need to revamp any truck.
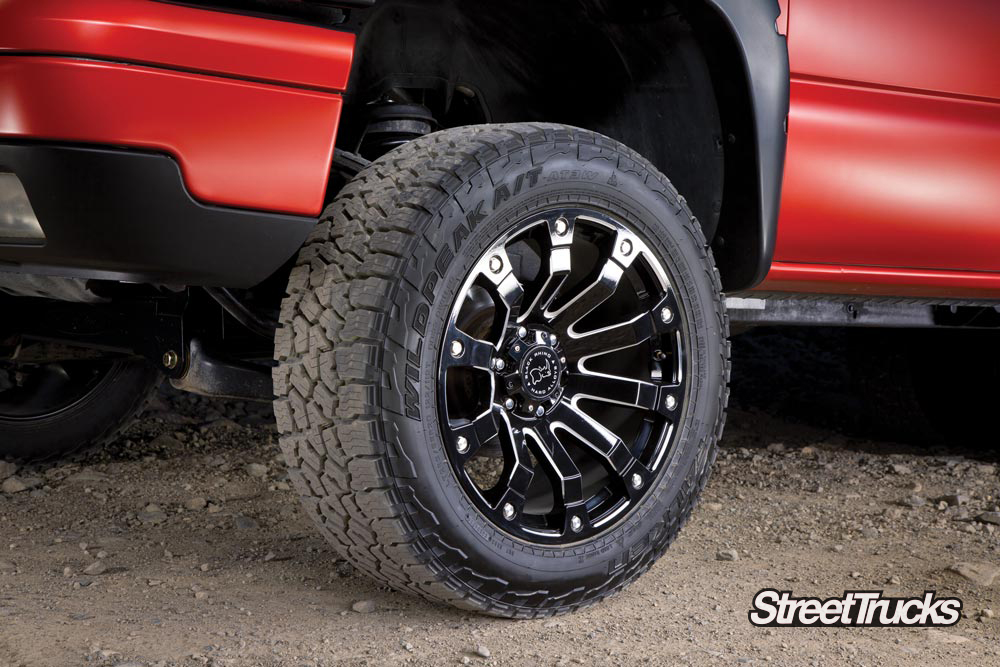
Since the truck had a new look and was getting a taller stance, new wheels and tires were a must. After searching for off-road-style wheels, we took note of some new offerings from Black Rhino Wheels. We wanted to go oversized and picked up a set of 20×10-inch Selkirk wheels. To keep traction on the pavement and dirt, we chose a set of Falken Wildpeak A/T3W in 285/55R20 (33×11.5-inch). These are great all-season tires that are also good for rugged terrain and severe snow conditions, which is especially useful for anyone who lives in higher elevations with frequent surprise snowfalls. We were impressed by the tread design; they are very aggressive for an all-terrain tire. Once they were attached to the truck, we could vouch that traction was great on multiple surfaces and road noise on the highway wasn’t distracting.
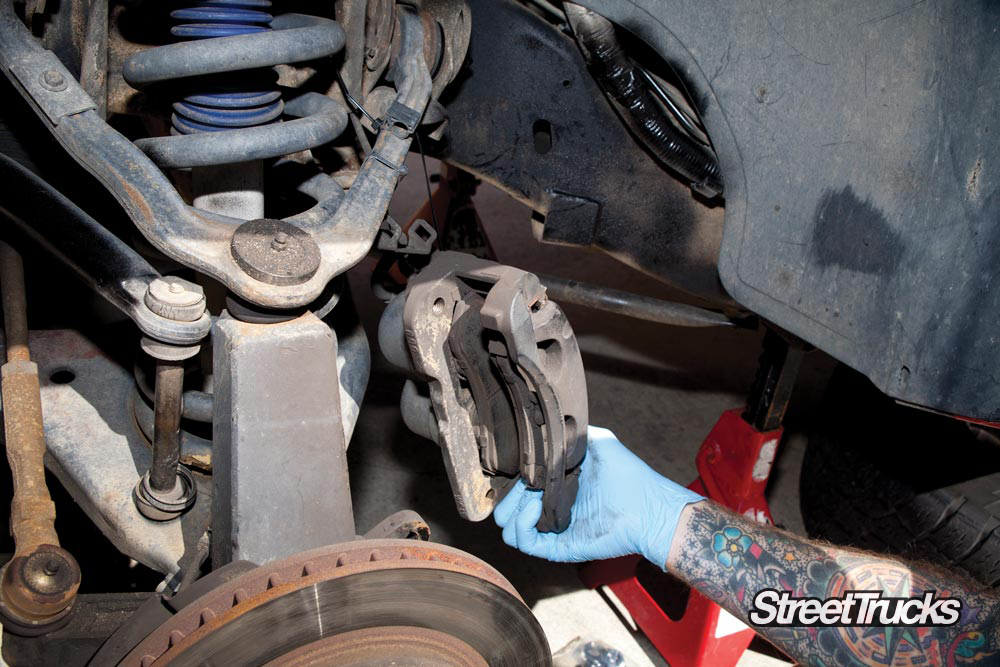
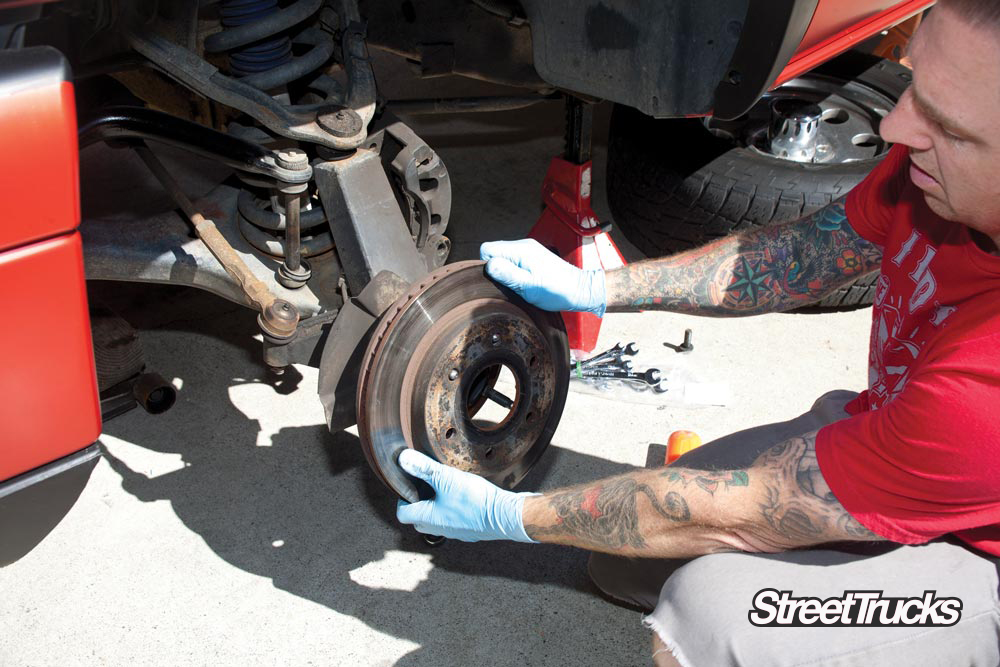
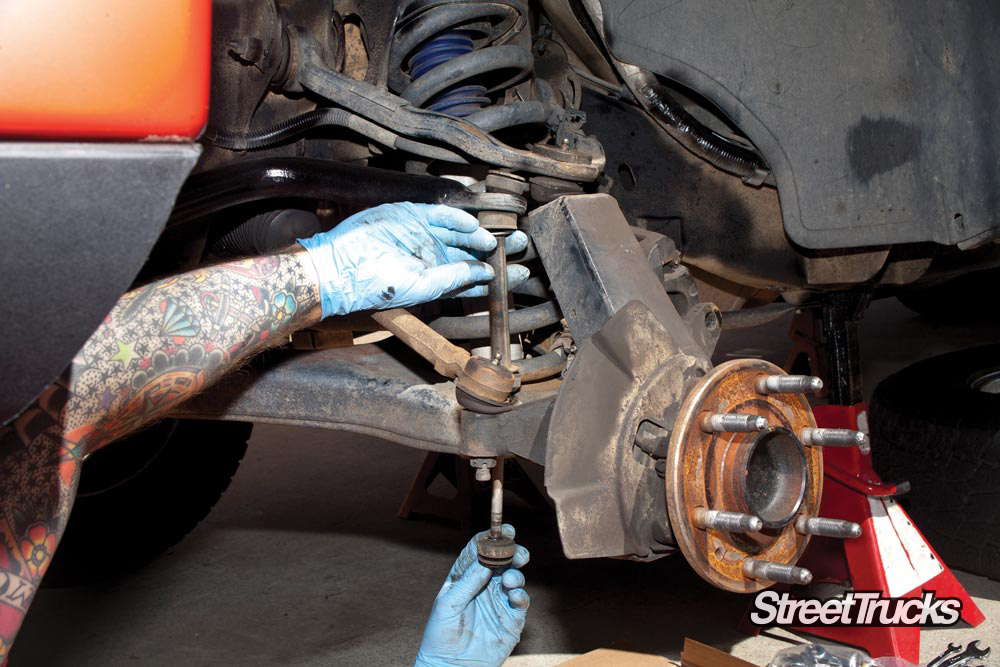
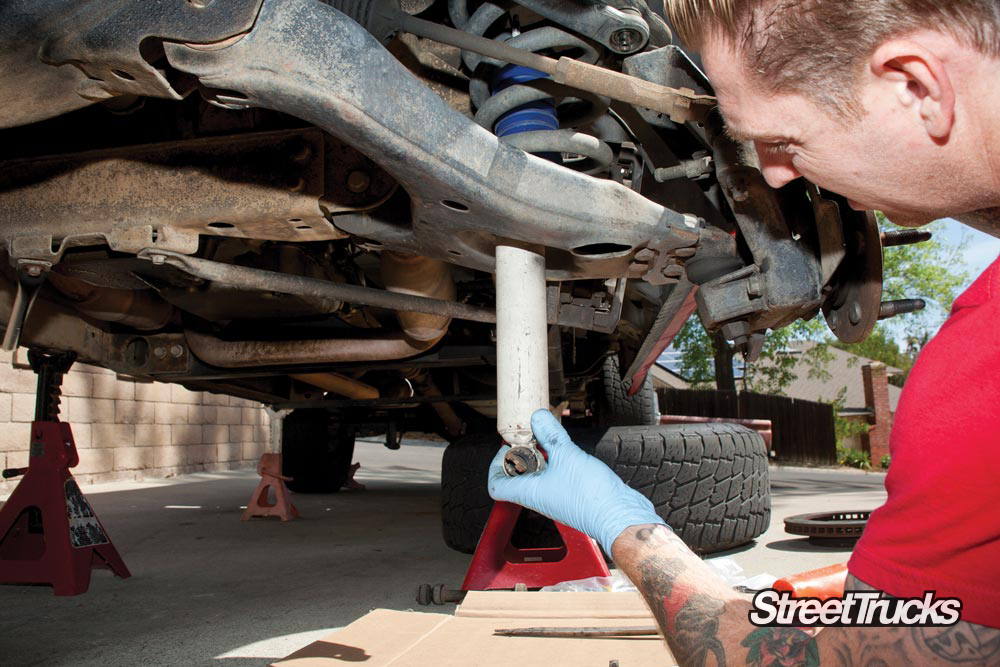
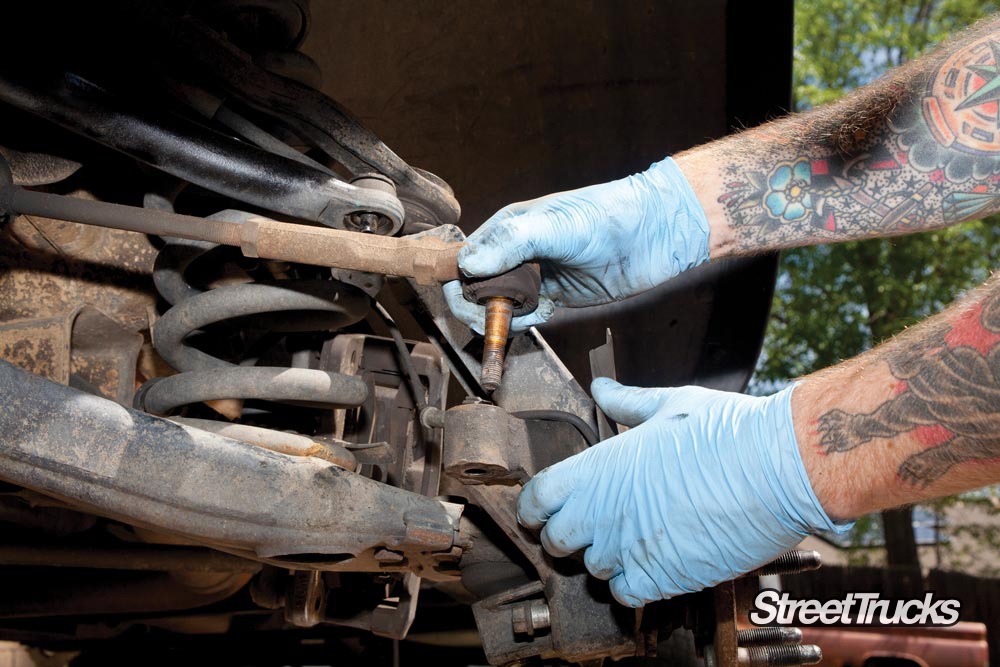
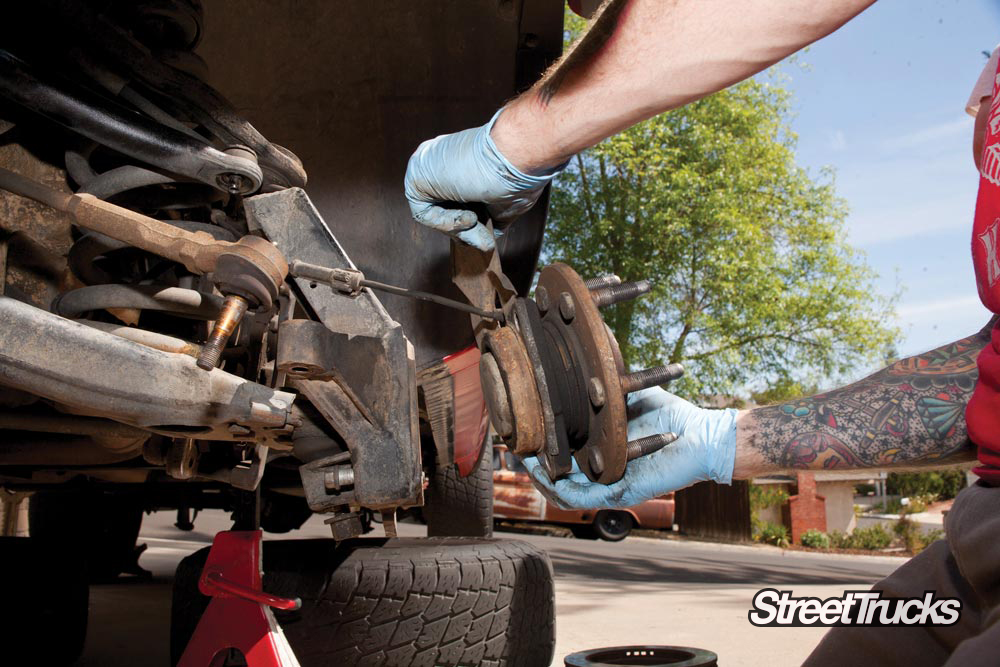
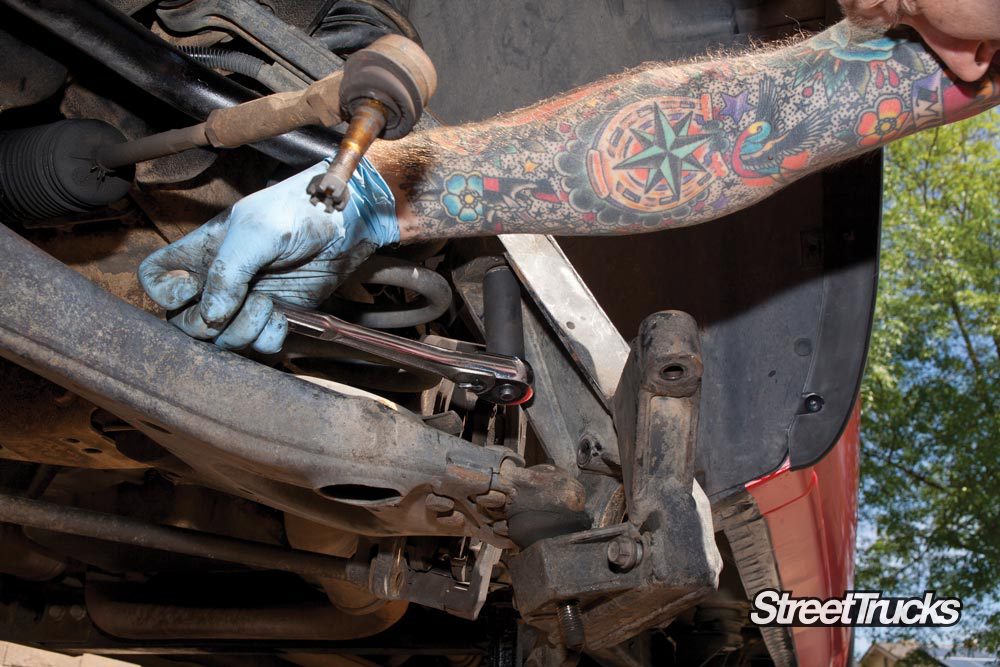
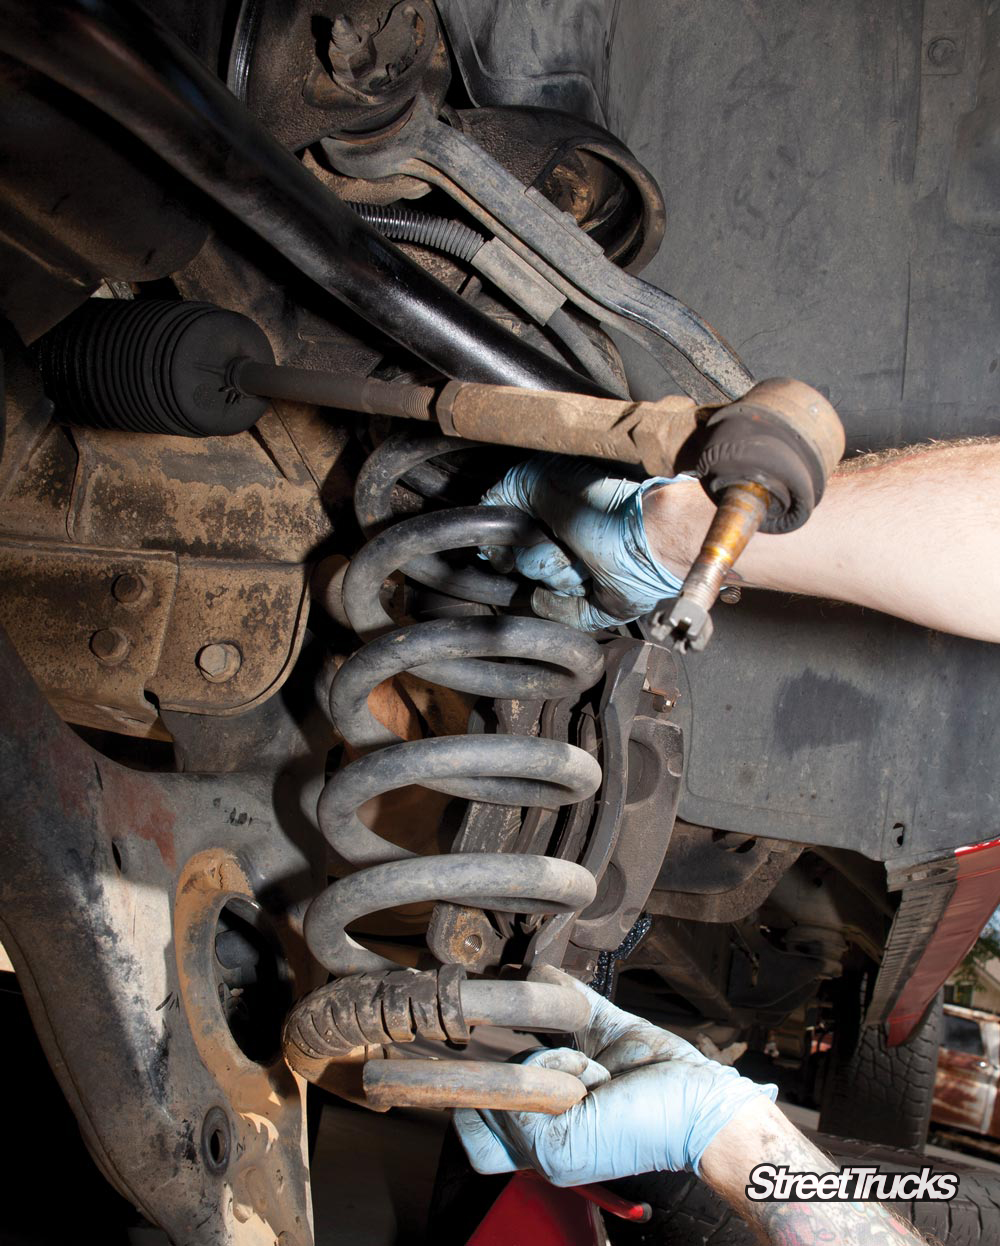
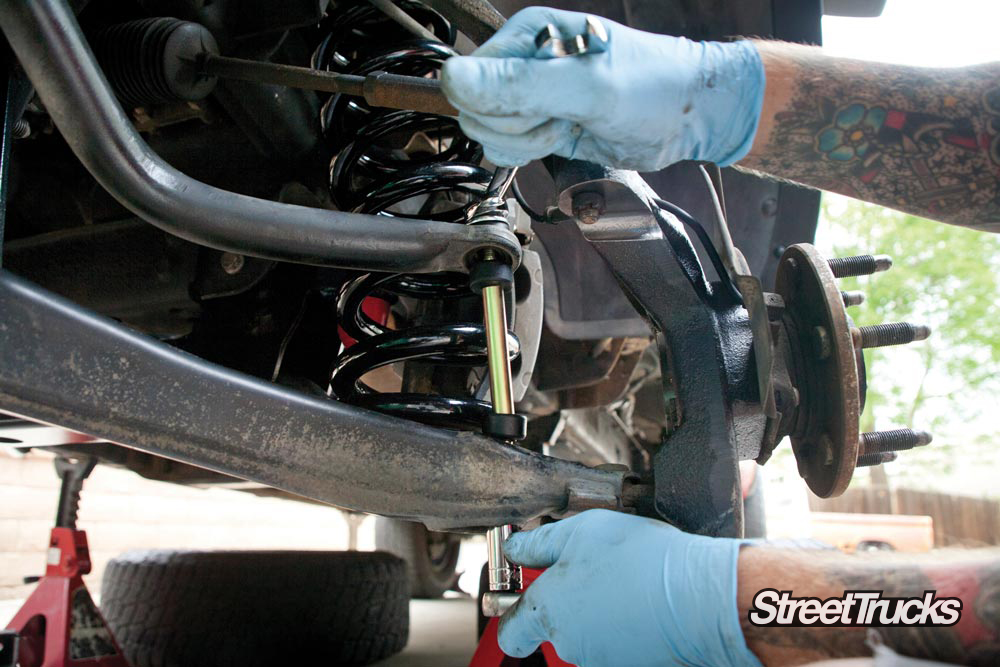
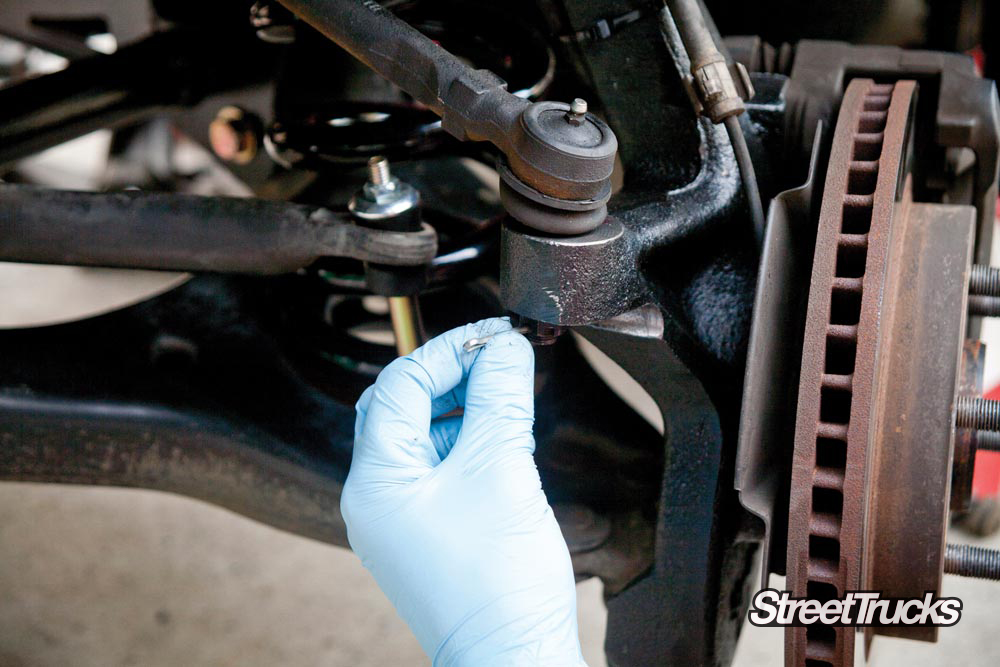
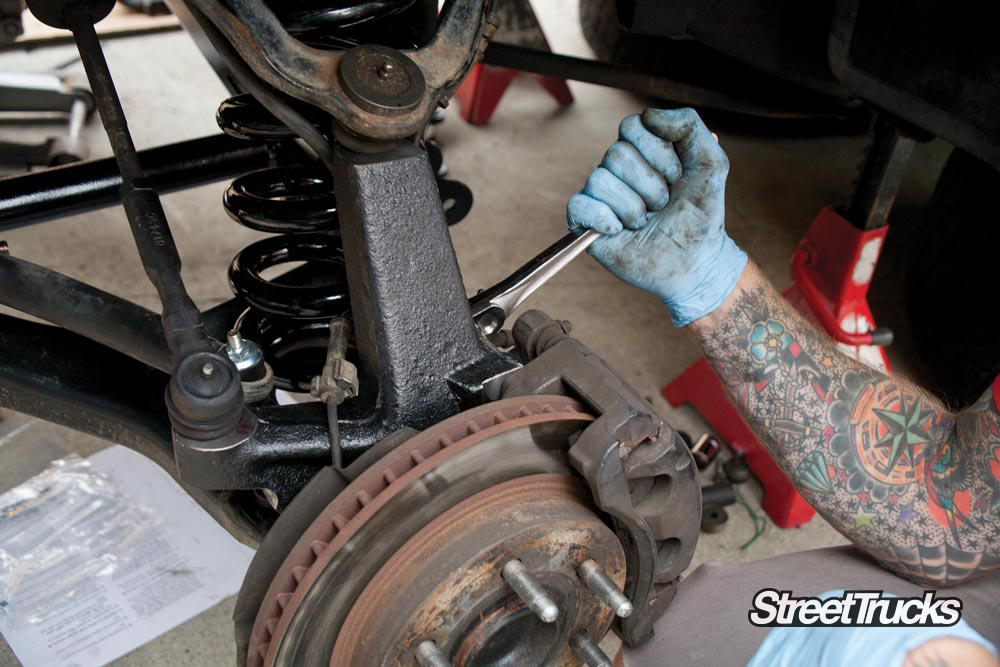
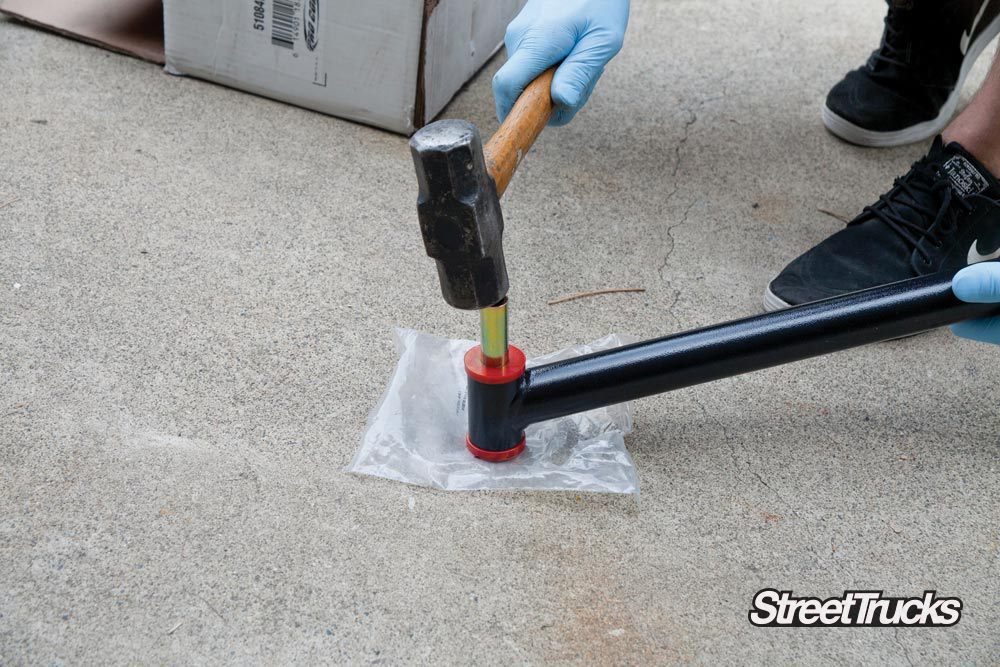
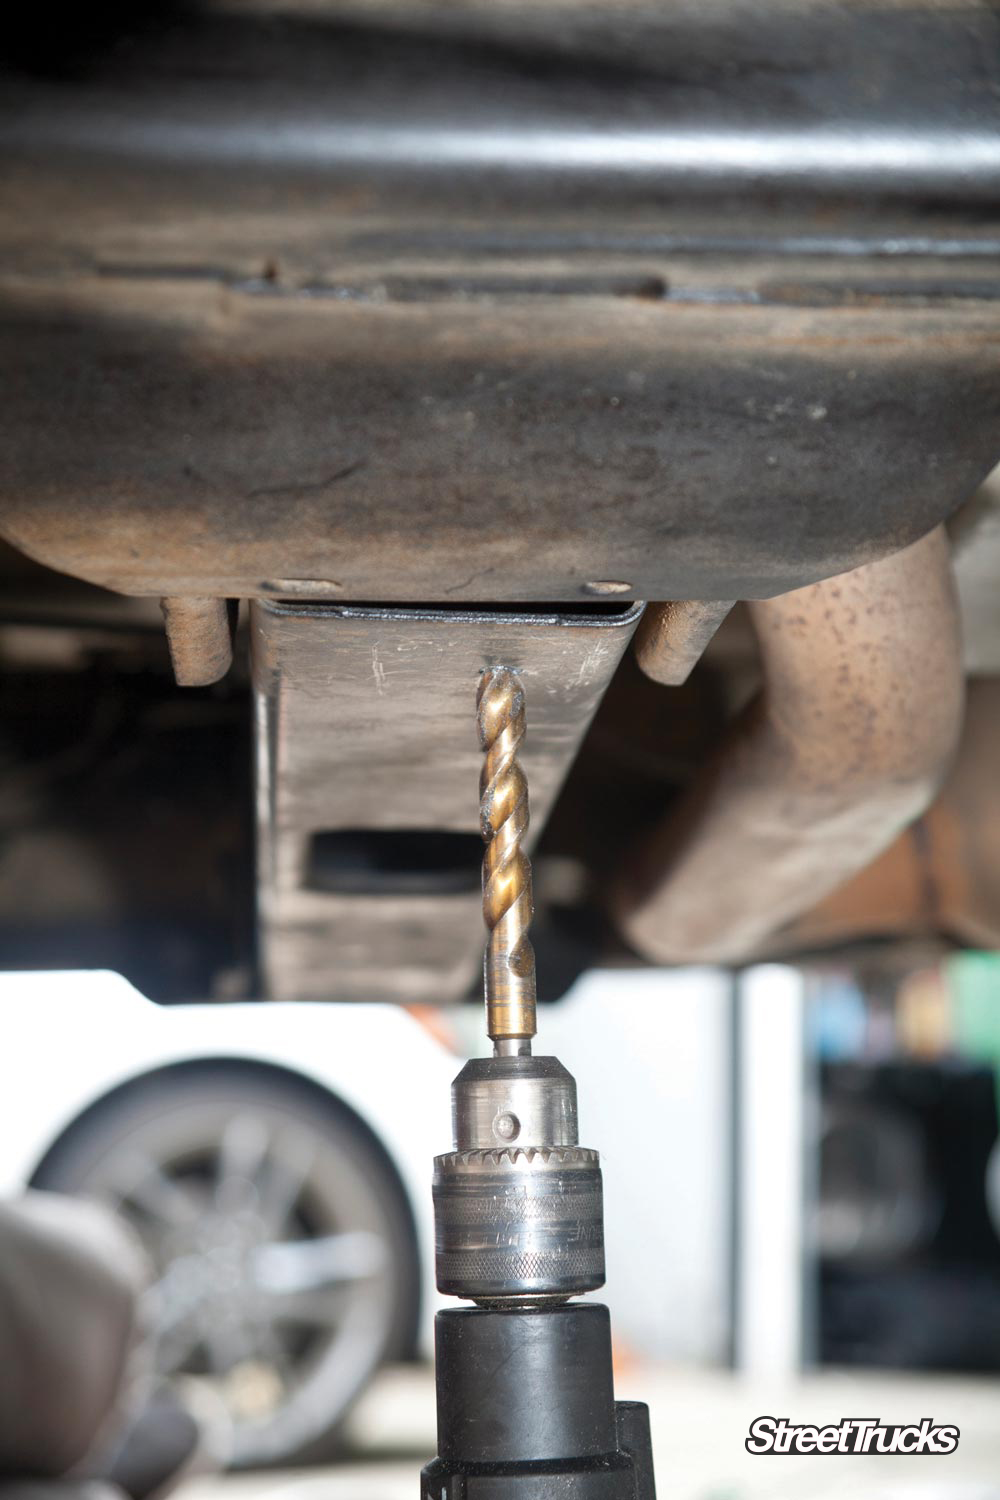
Once we had collected all of the parts, we were ready to tackle the lift. To keep costs down, we took the job into our own hands. We did the lift in the luxury of our own driveway using simple hand tools, a drill, jack and stands. Afterwards, our beater truck shone like a bright, new penny.


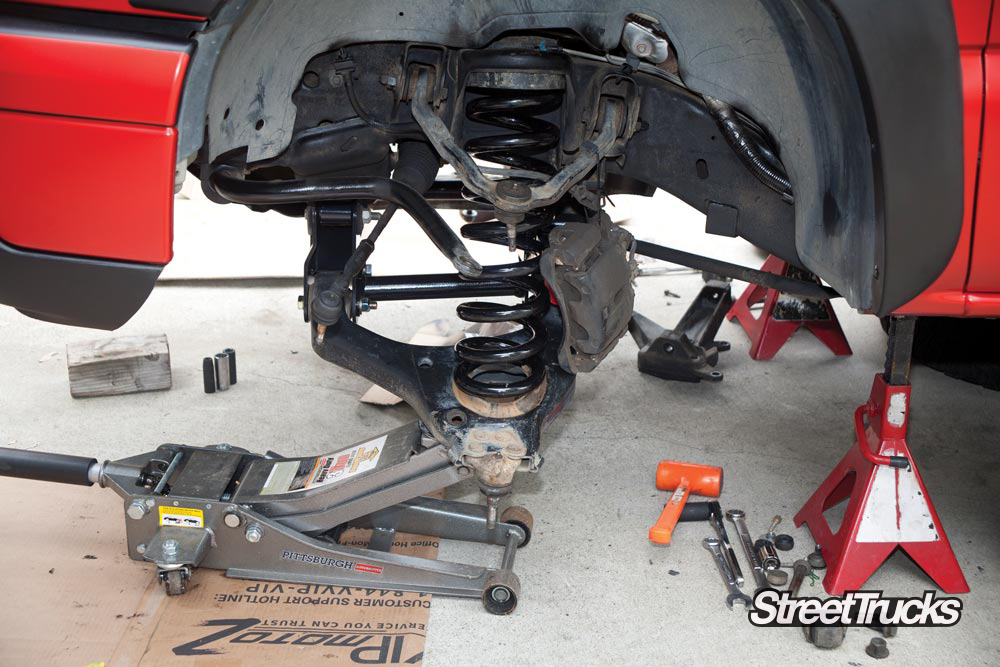


Before the truck was placed back on the ground, we bolted up our Selkirk Black Rhino wheels with Falken Wildpeak A/T3W tires. The 20×10 no-lip concave black wheels definitely complemented the new look of this truck. The 22-inch Falken tires were surprisingly great for driving in various road conditions. The Wildpeak AT3Ws make some noise at highway speeds versus factory tires, but they are quieter than others we’ve experienced. We really liked the aggressive tread design. The tires worked well for this truck, which is driven daily and sees occasional off-road use.
The truck really looks completely different standing tall. Because we purchased a used truck, we were able to create a daily driver that has some serious style. Buying used and working a transformation like this is worth considering as an alternative to buying new.

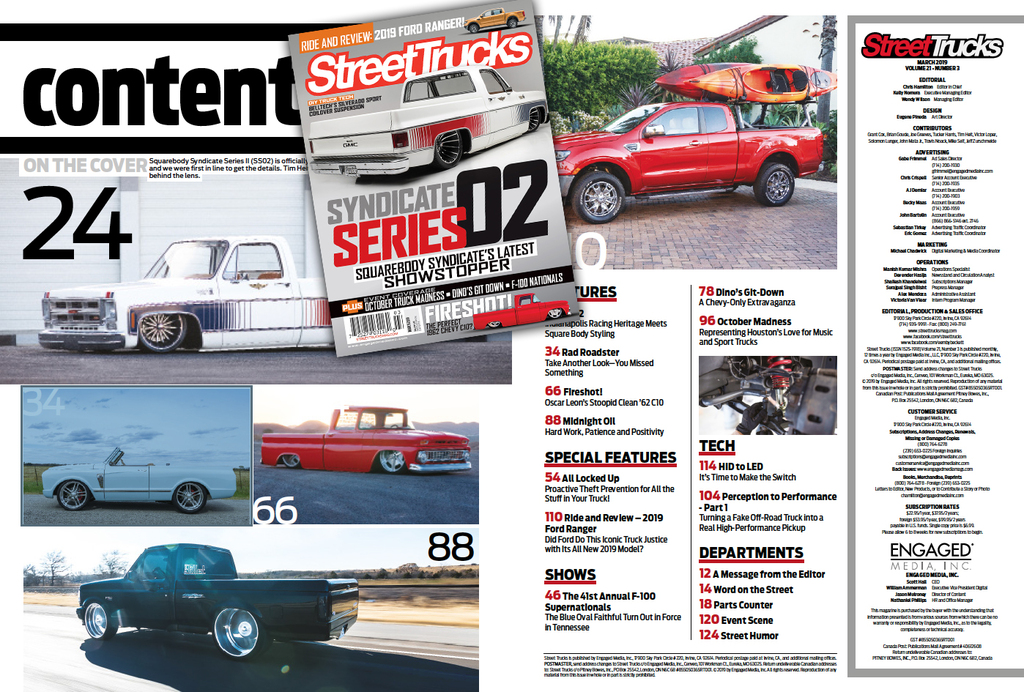
C10 Builders Guide
FEATURES 24 SS02 – Indianapolis Racing Heritage Meets Square Body Styling 34 Rad Roadster – Take Another Look, You Missed Something 66 Fireshot! – Oscar Leon’s… Continue reading
Chris Hamilton . February 25, 2019
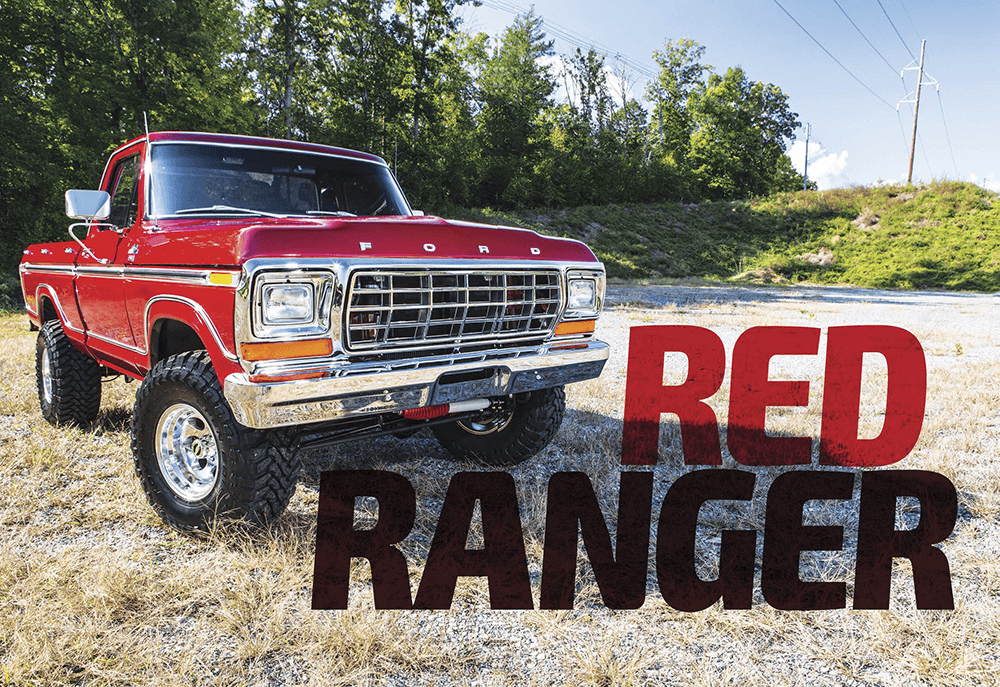
F100 Builders
No, Not that Red Ranger AT SOME POINT IN LIFE, YOU BECOME exposed to a classic truck and it just stays with you. Whatever it… Continue reading
SOLOMON LUNGER . November 24, 2023
Features
A Single Cab, Twin-Turbo Skyscraper! rowing up 30 years ago was a lot different than it is today. Without cell phones and social media, the… Continue reading
Chris Hamilton . June 09, 2022
F100 Builders
The Daily Driven Street Crusher JACI PIATT IS A STUDENT FROM FORT Loramie, Ohio. Like many students, Jaci needed a new set of wheels—but unlike… Continue reading
MICHAEL J. PHILLIPS . September 19, 2024
C10 Builders Guide
The Diesel-Powered C20 Dually Chevy Wished It Made IF IT DOESN’T exist—build it. That’s how this whole custom thing is supposed to work, right? With… Continue reading
John Mata Jr. . March 21, 2024
C10 Builders Guide
Beneath the surface of old restored trucks lies a story, a story about the ironclad American work ethic. Think of the abuse they’ve taken throughout… Continue reading
John Mata Jr. . March 09, 2020


We use cookies to enhance your browsing experience, serve personalized ads or content, and analyze our traffic. By clicking "Accept All", you consent to our use of cookies. Visit our Cookie Policy for more info.

Share Link