 Chris Hamilton
.
May 01, 2019
.
How to
.
Chris Hamilton
.
May 01, 2019
.
How to
.
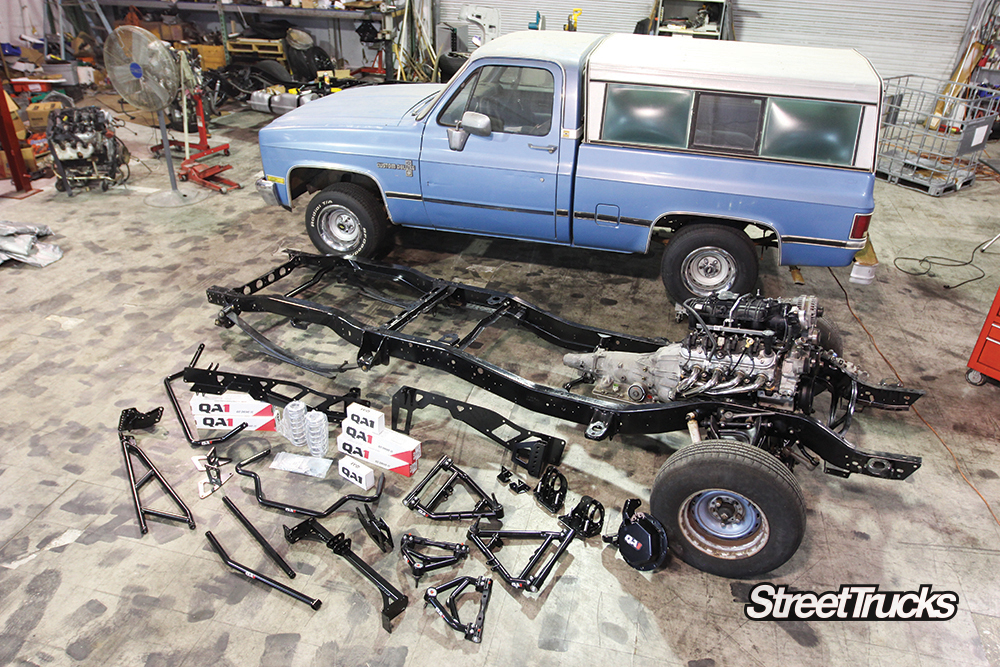
If you’re picking up right where we left off in the March 2019 issue, you know that our goal with this project is to give new life to a slightly old daily driver you may already own. We started with a lifted 2WD Silverado on 35-inch tires. The truck looked nice and sounded great, but the ride quality was good at best, and it was lacking quite a bit of power. So, we decided to give this truck a complete makeover with sport truck styling and real performance to back it up.
In the last year we showed you how simply the front suspension can completely be replaced with coilovers and new spindles from Belltech. We also installed a new beefier sway bar that is included in their Sport Suspension kit. This new set up will bring our previously 7-inch lifted truck down to around 3.5 inches lower than factory stock height. A lower center of gravity and a dramatic drop in weight will finally allow us to feel the true benefits of this recently Procharged 5.3-liter V-8.

In this issue we are going to focus on the rear of our 2011 Chevy Silverado and explain just exactly how these flip kits work. Once we get it on the ground to adjust the coilovers and set the shock rates, we can pull it out of the bays, test the waters and see what we’re working with. Even though it looks great and it’s ready to go, the complete job is only halfway done. We will still need to replace the rear axle gears, re-tune the computer to adjust tire size and the air/fuel ratio, as well as a full alignment using Belltech parts. Keep following along in the future issues and give us your thoughts on the direction we’re headed. Now, back to the shop…


c10
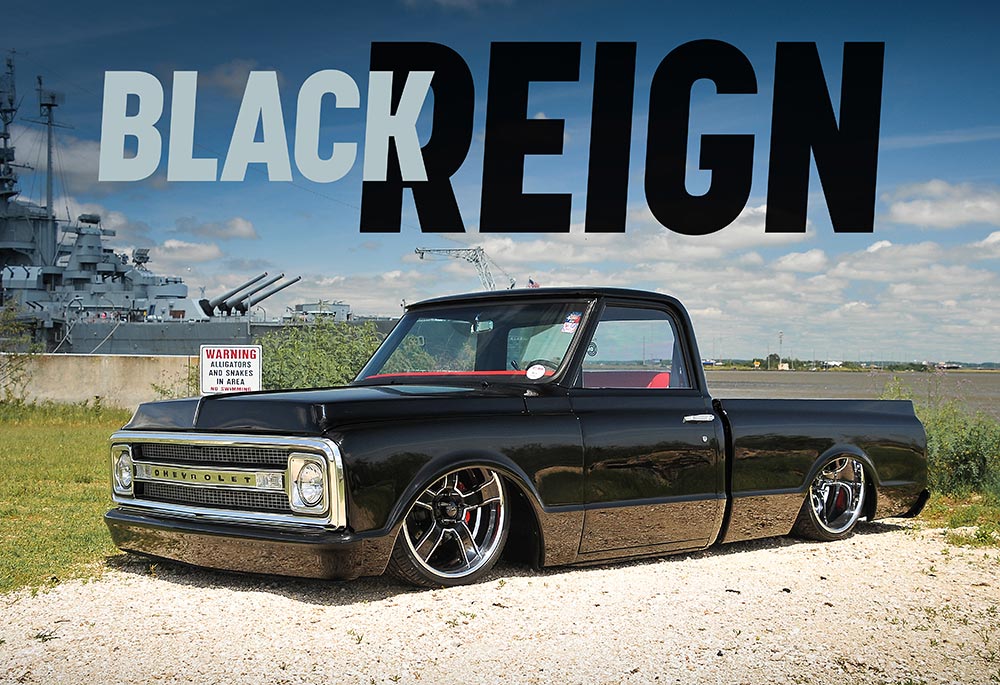
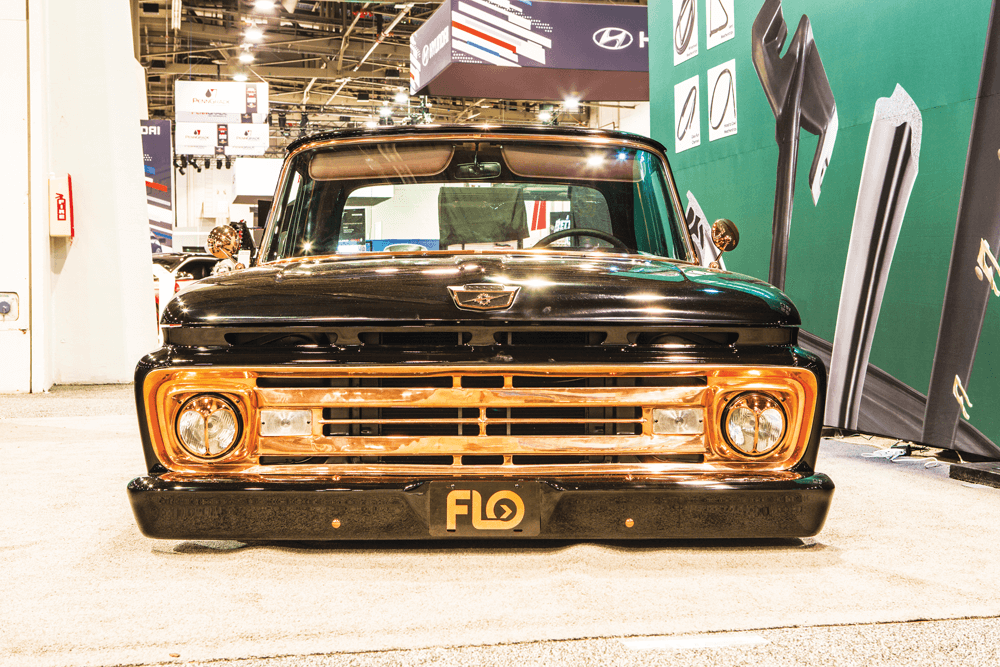
Always Bet on Black Some people have ideas, and some people have contacts—and others have BOTH! Enter Triple C, which stands for Custom Car Consulting,… Continue reading
Phil Gordon . March 14, 2023
America
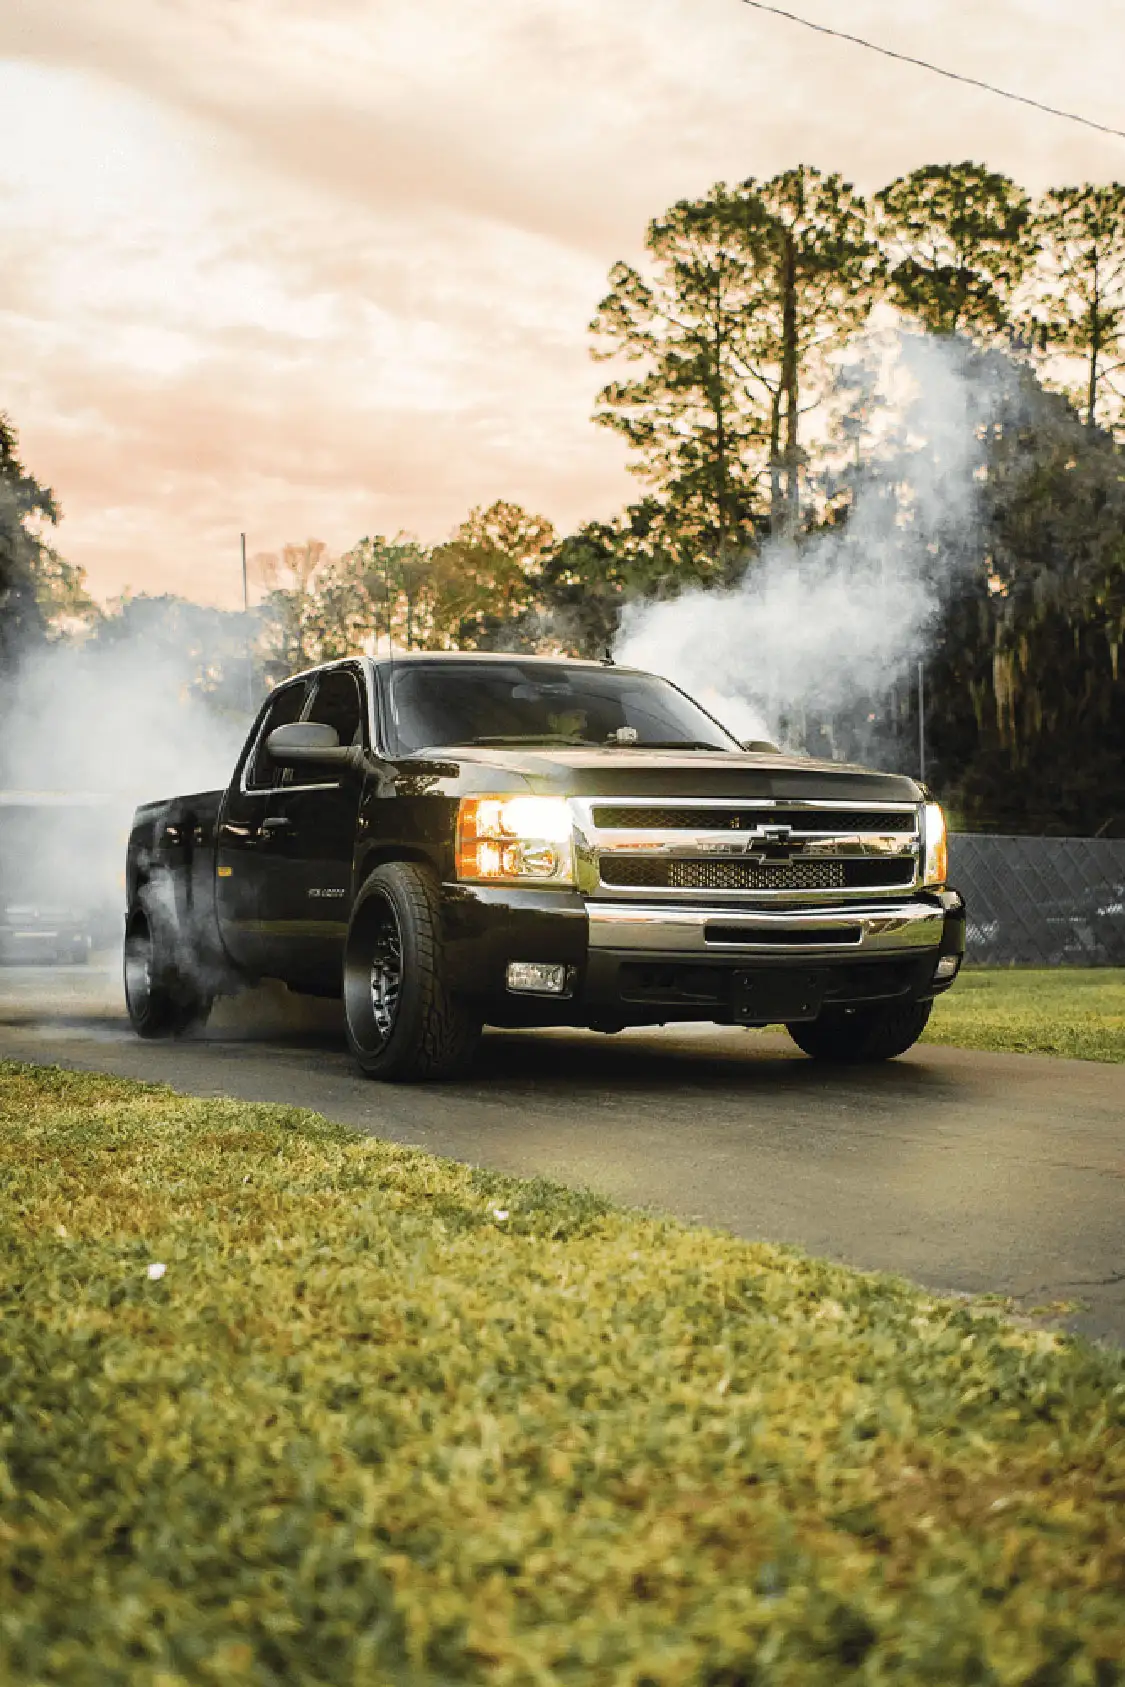
2015 Chevy Silverado was Built for Pure Tire-Shredding Fun! Inspiration can come from anywhere, so for this Chevy Silverado, it’s in your best interest to… Continue reading
streettrucks . February 22, 2021
Editor
Eventos al estilo de Truck Madness están apareciendo por todo el país y el ímpetu está creciendo cada día más! Camionetas realizando maniobras peligrosas pero… Continue reading
VICTOR LOPEZ . May 05, 2021
America
Full Suspension Solution for C10 Square Body Trucks Now available, this C10 Square Body suspension upgrade for all four corners of your square body pickup… Continue reading
Chris Hamilton . May 28, 2021

Department
ON THE COVER: Long-time truck photographer Joe Greeves shot this amazing cover in the legend Don Garlits’ personal driveway! What’s Inside: Subscribe to our weekly… Continue reading
Chris Hamilton . April 28, 2021
C10 Builders Guide
Dino’s Git Down is a once a year event that never let’s down for GM truck enthusiasts around the country. We had the chance to… Continue reading
SOLOMON LUNGER . August 22, 2023


We use cookies to enhance your browsing experience, serve personalized ads or content, and analyze our traffic. By clicking "Accept All", you consent to our use of cookies. Visit our Cookie Policy for more info.
Share Link