Tilt Hood Kit from Copperstate Components

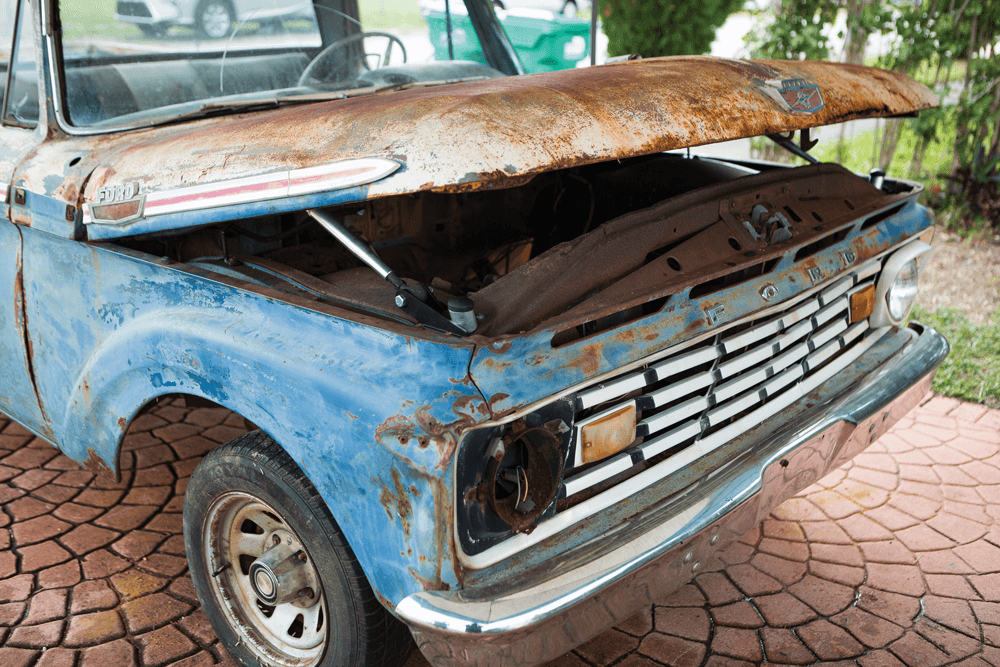
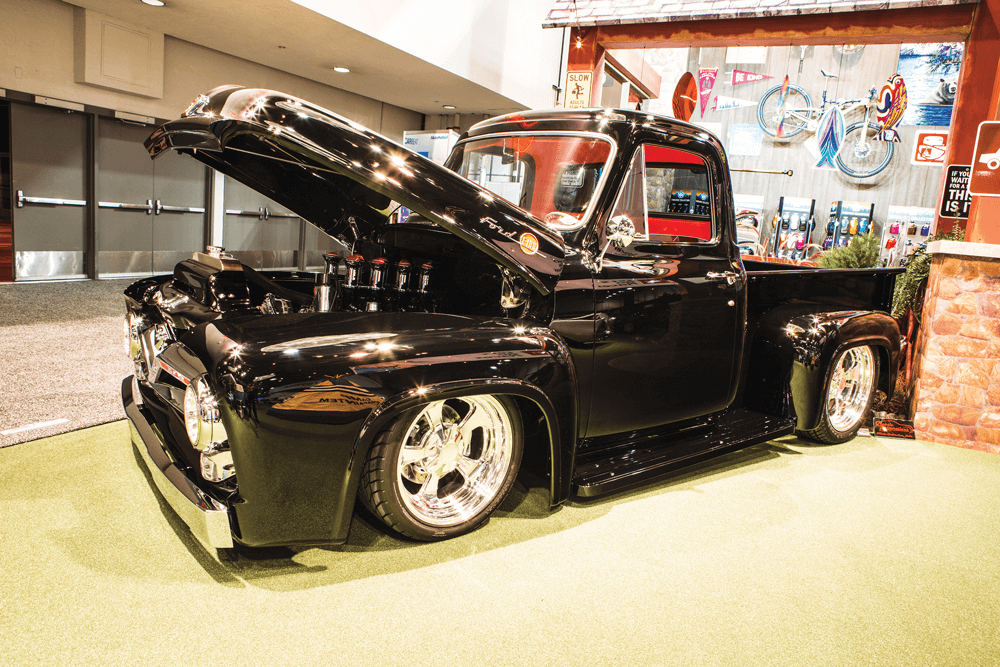
When building custom classic trucks (or any custom vehicle for that matter), the goal is to personalize and customize said vehicle to your specific style and tastes. Generally, to be unique and standout from their more “stock” or factory brethren driving up and down the highway every day. 

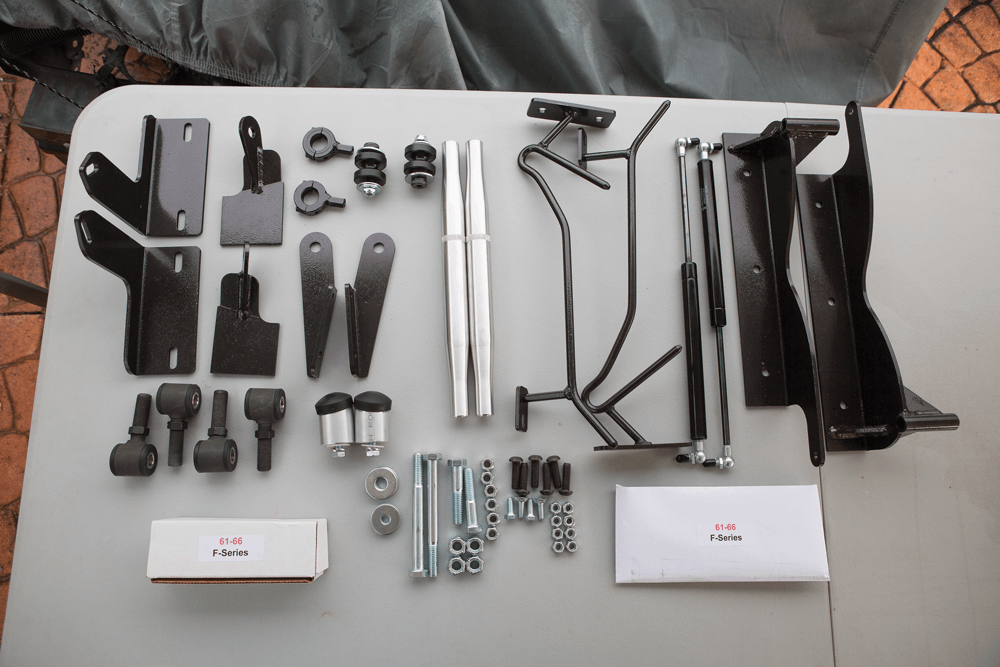
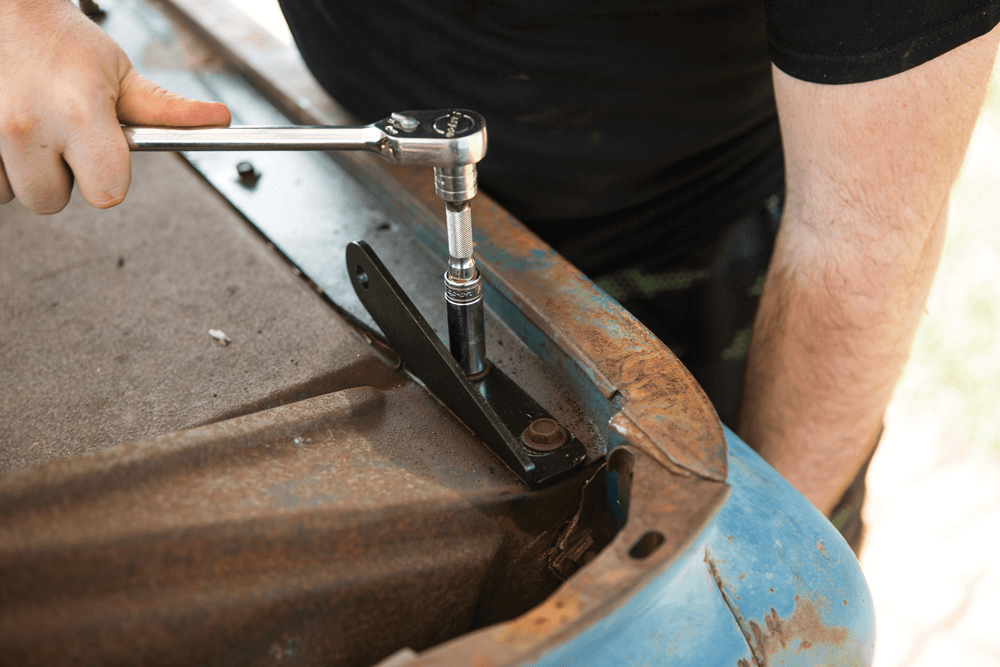
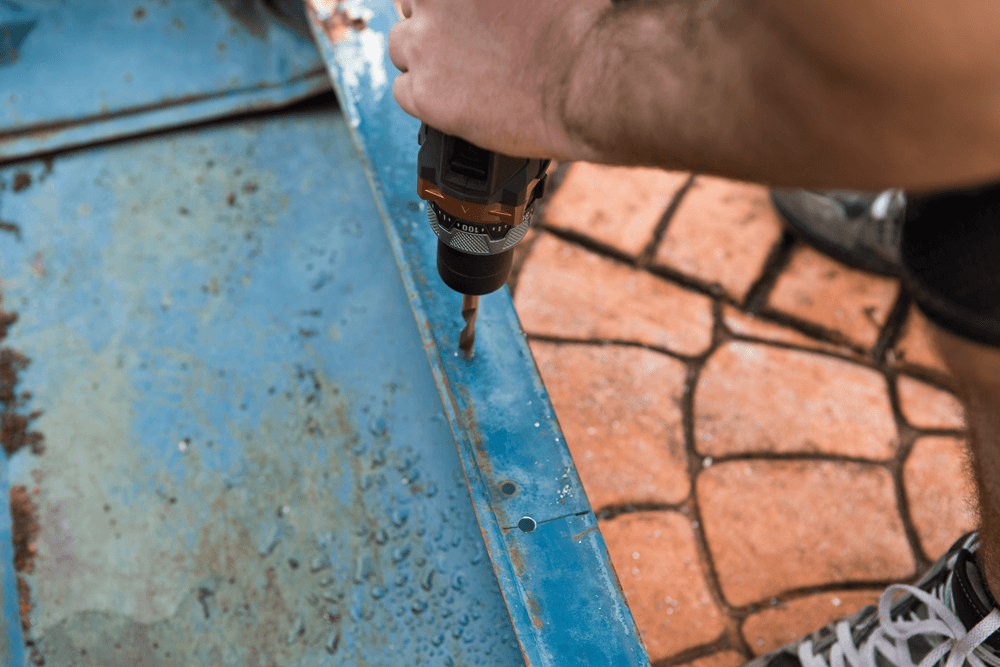
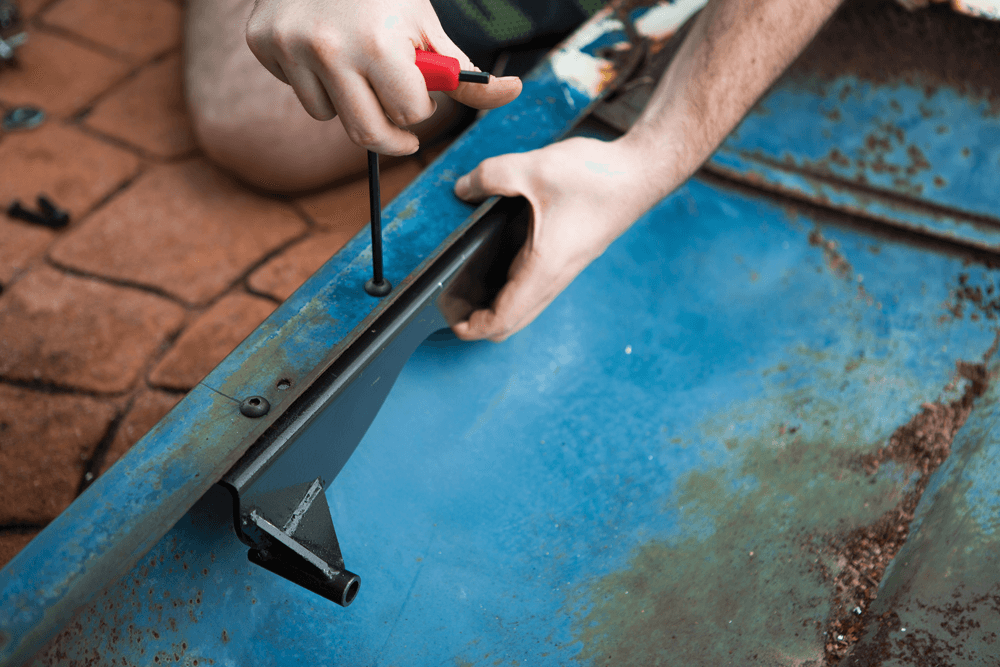
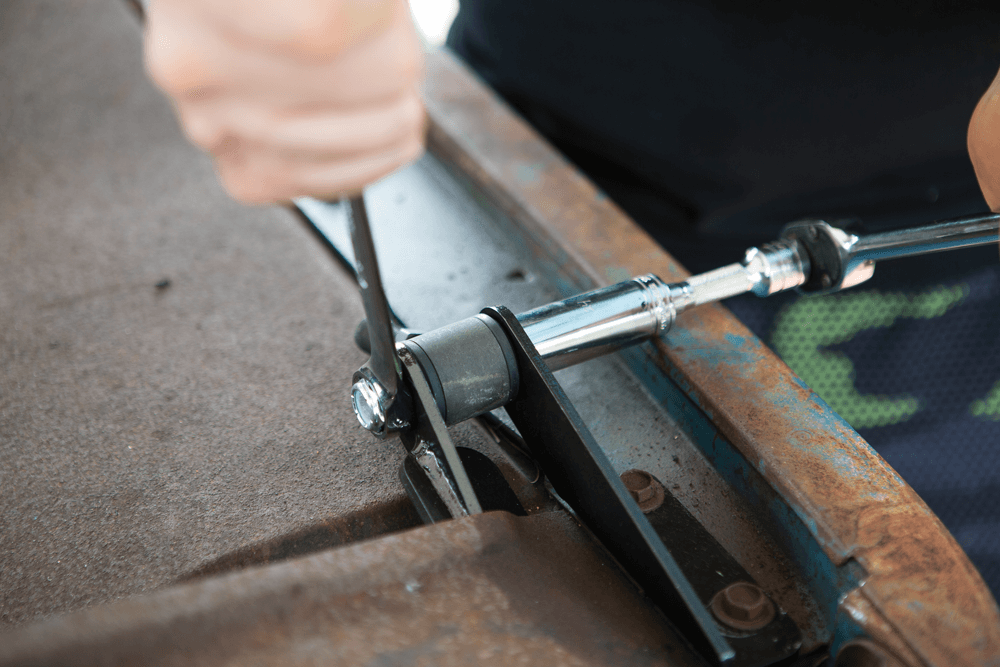
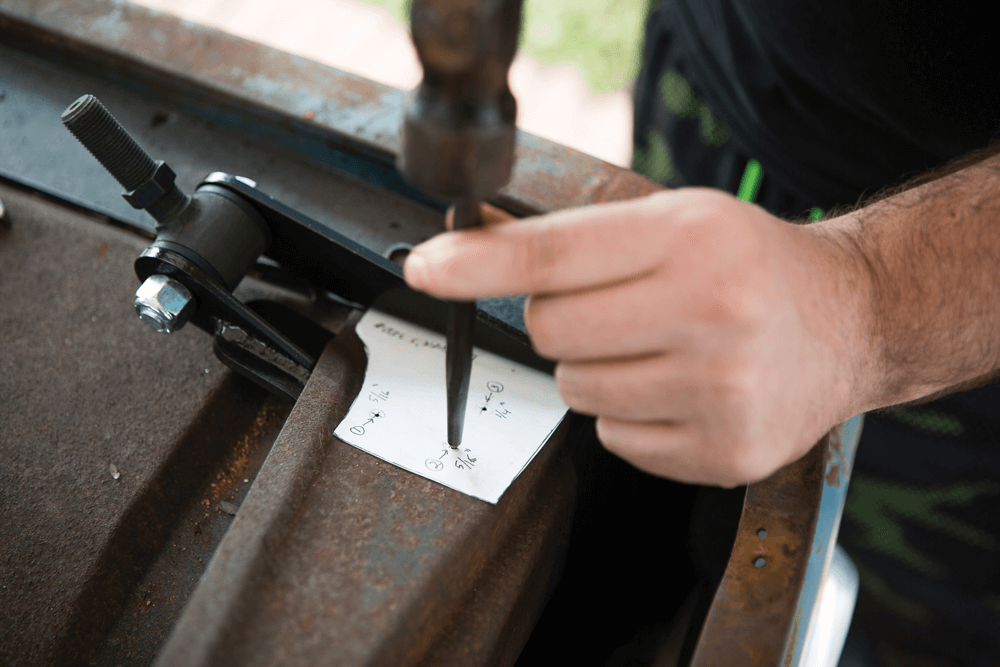
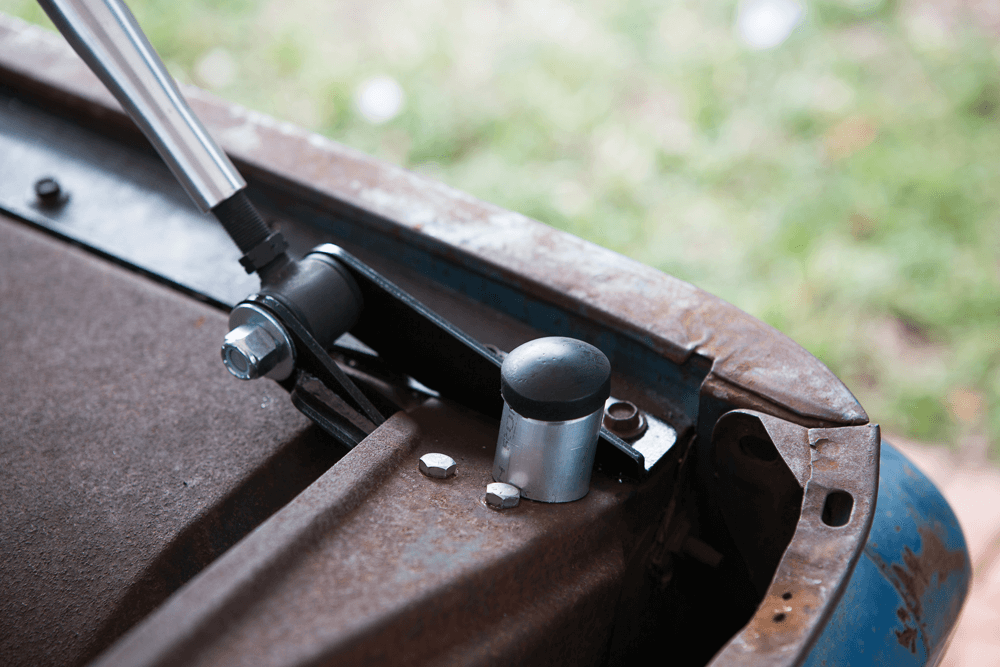
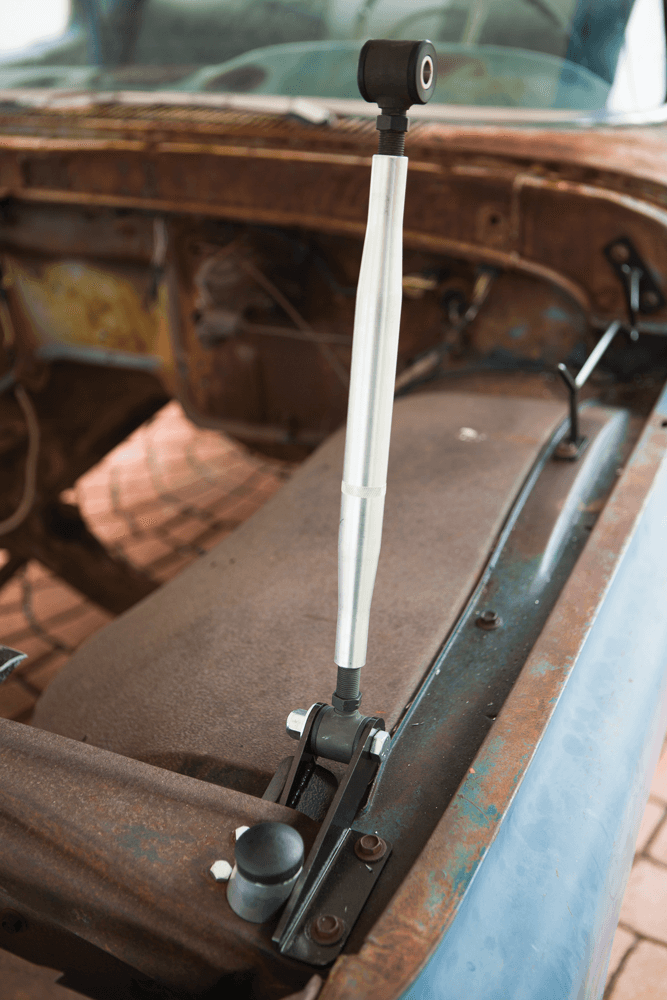
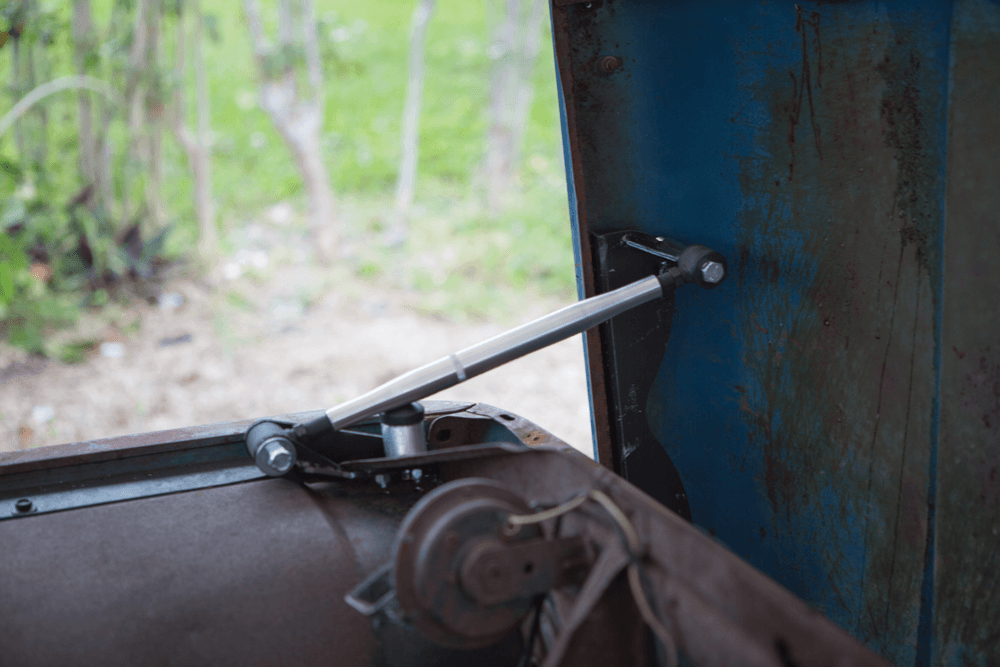
For us F-100 enthusiasts, there are plenty of ways to customize our trucks to stand out, but sometimes these custom modifications get heavy on the pocketbook and your pride and joy sits on the back-burner for far too long. When looking for “weekend” projects that can have a nice impact we came across Copperstate Components and its trick little “Tilt Hood Kit” last year. After seeing the quality materials and components at a show, we wanted to try this install out for ourselves on one of our local project trucks.

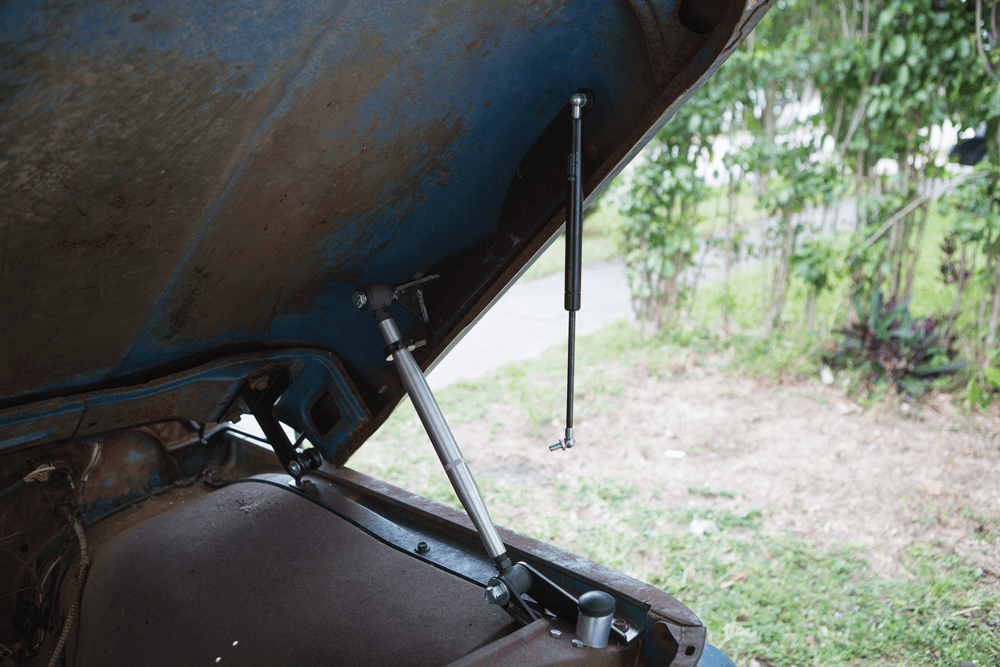
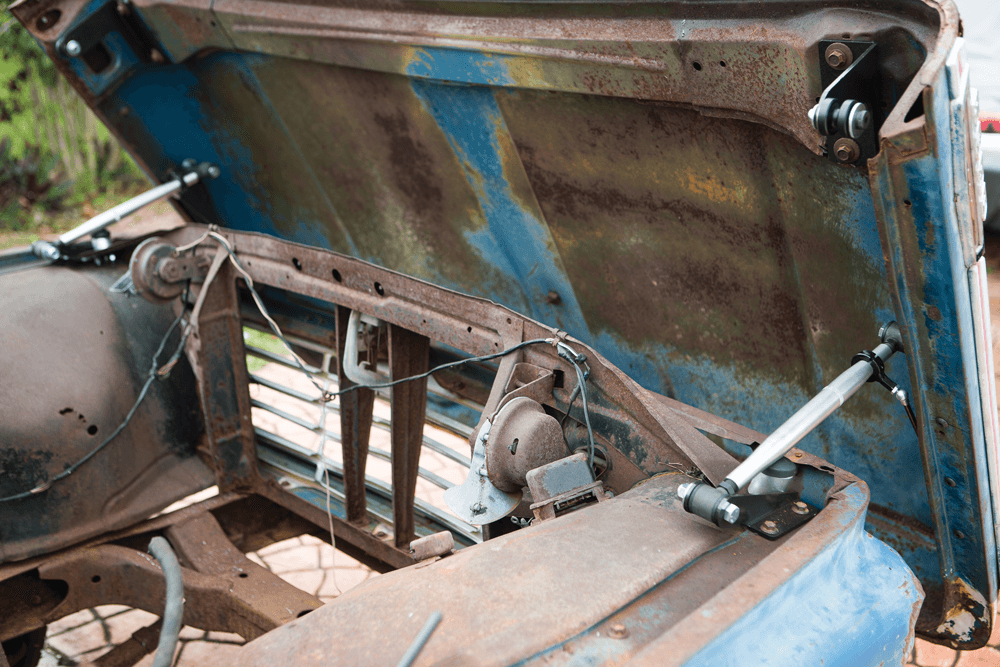
We called up Kevin at Copperstate and he was super helpful right from the start. We decided to do the ’61-’66 Tilt Hood kit on “Project True Blue” so follow along and see just how easy it is to set your classic apart in the comfort of your home driveway in a matter of hours. Quality components and quality people—exactly what the F-100 community is all about!

SOURCE

COPPERSTATE COMPONENTS
602-376-7467
Copperstatecomponents.com


The Copperstate Components kit comes with everything needed so no extra trips to the hardware store required.

Tools required: 1/4-inch, 5/16-inch, 3/8-inch drill bits and drill, 3/4-inch hole saw, 1/2-inch, 9/16-inch, 3/4-inch wrenches or sockets, center punch and a hammer.

We began by removing the hood and factory hinges, making sure to save the factory hood bolts. (Don’t mind our rusty specimen. She’s in good hands!)

Next, we installed the new roller bracket to fender and cowl using the factory bolts.

We installed the roller mount to the hood using factory hood bolts. Tip: Start off with the mount in center of adjustment, side to side and front to back only lightly snugging the bolts. Install the roller to mount, large washer on the outside with the small washer between the roller and mount.

Time to drill. We cut out the drilling template and lined up the outside edge of the template with the side of the hood. The first hole should be at 20 5/16 of an inch from the back edge of the hood. Tape it in place and center punch the holes, remove the template and drill 3/8-inch holes starting with an 1/8-inch pilot hole.

With the holes drilled, we mounted the hood bracket with the 3/8×1.25-inch button head bolts, washer and nylock nut. Tip: Do one side and then turn the template over and repeat on the opposite side. Measure the distance between the two brackets for later use, this should be approximately 65 inches


Next, we remove the two front bolts from fender to core support to install the new L-shaped bracket using factory bolts and again we snug but don’t tighten.


We cut out the next template and lined it up with the core support and let it touch the L shape bracket then enter punched all three marks. Remove the template and drill the top two holes with a 5/16-inch bit. Install two new 5/16×3/4-inch bolts with nylock nut underneath.

Next, we drilled the third hole with a 1/4-inch bit. From underneath we used the ¼-inch hole for the guide and drilled a 3/4-inch hole using a hole saw, from the underside, through the inner fender apron only to allow room to install the bolt into the bump stop bracket.

We built and installed the aluminum links. First we installed the nuts and then screwed the rod ends into the aluminum tubes, 1 RH & 1 LH threads. Copperstate recommends using anti-seize on these. Screw all the way in and then adjust the length to 16-inch center to center. Tip: Knurled end must be towards the front of the truck on the driver’s side and towards the cowl on the passenger side. They have to be opposite or the shocks will turn the tubes and loosen the nuts.

With a helping hand we installed the hood to the rod ends using the 1/2×5-inch bolts. We used one washer over the bolt, slid the bolt into the rod end, and put a washer between the rod end and the hood bracket and then the nylock nut.

Next steps are crucial. We made sure to let the hood roll down slowly with plenty of helping hands. If it doesn’t go all the way down, the hood roller mount might need adjusting to let it go down properly. This can be adjusted to bring the back of the hood up to match the cowl, adjusted sideways to make the side of the hood line up with the cowl.

Check the gap between the hood and the cowl. Raise the hood and adjust the aluminum tubes until the gap is the way you want it. Tighten the nuts on the tubes. Recheck all the gaps and alignment. Tip: If a lot of adjustment is needed, it might help to remove the hood latch until the hood is properly gapped and adjusted, and then reinstall.

Next, we raised the hood until it was as far forward as it will go on the roller bracket and put a small clamp behind the roller to keep it in place. Then we mounted the shock to the hood bracket and mounted the shaft collar to the shock.

With the shocks installed, we went through and final tightened everything. The factory hood release and safety latch will work as it originally did.


And there she is! A cool front-tilt hood that will help you show off your engine bay in a “new light” and set you apart about from them “stockies” out there.

FOLLOW ON INSTAGRAM