 JOSH MCPHERSON
.
December 06, 2022
.
Blood Sweat and Gears
JOSH MCPHERSON
.
December 06, 2022
.
Blood Sweat and Gears
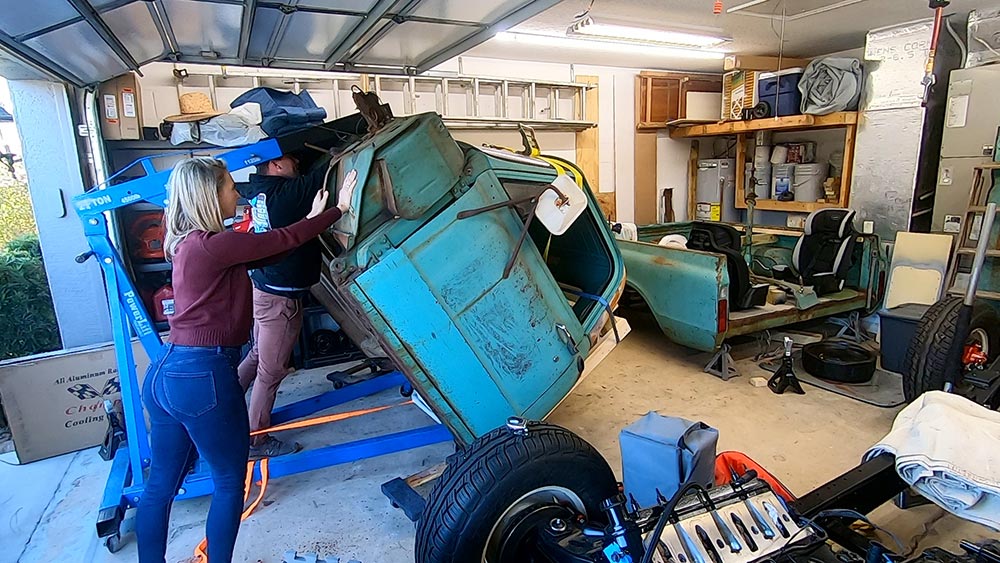
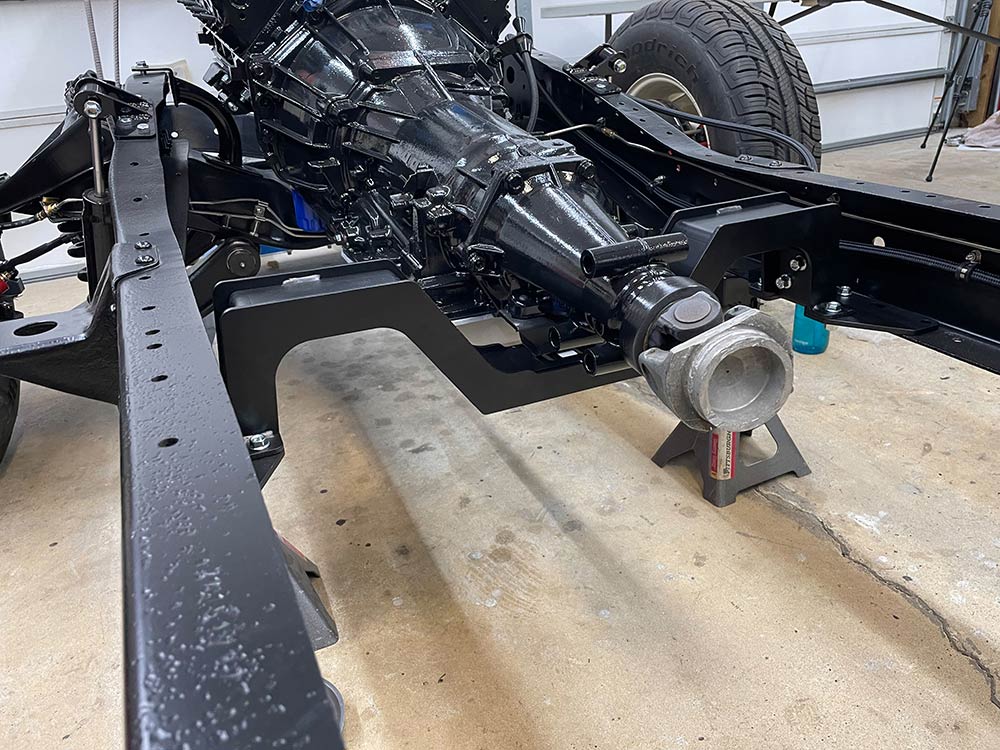
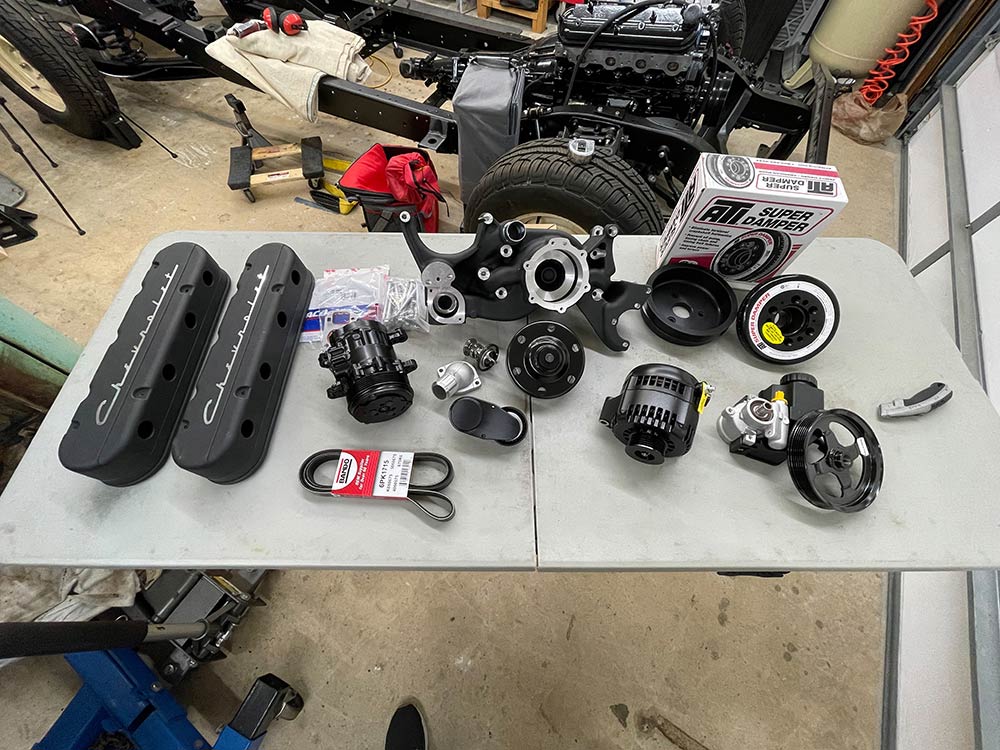
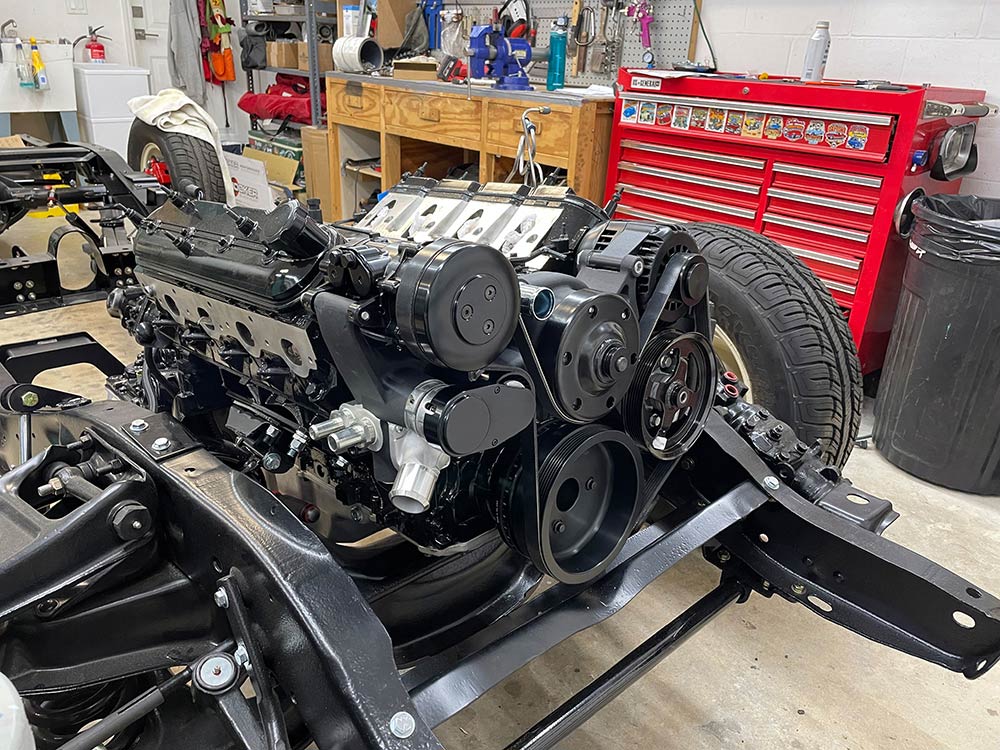
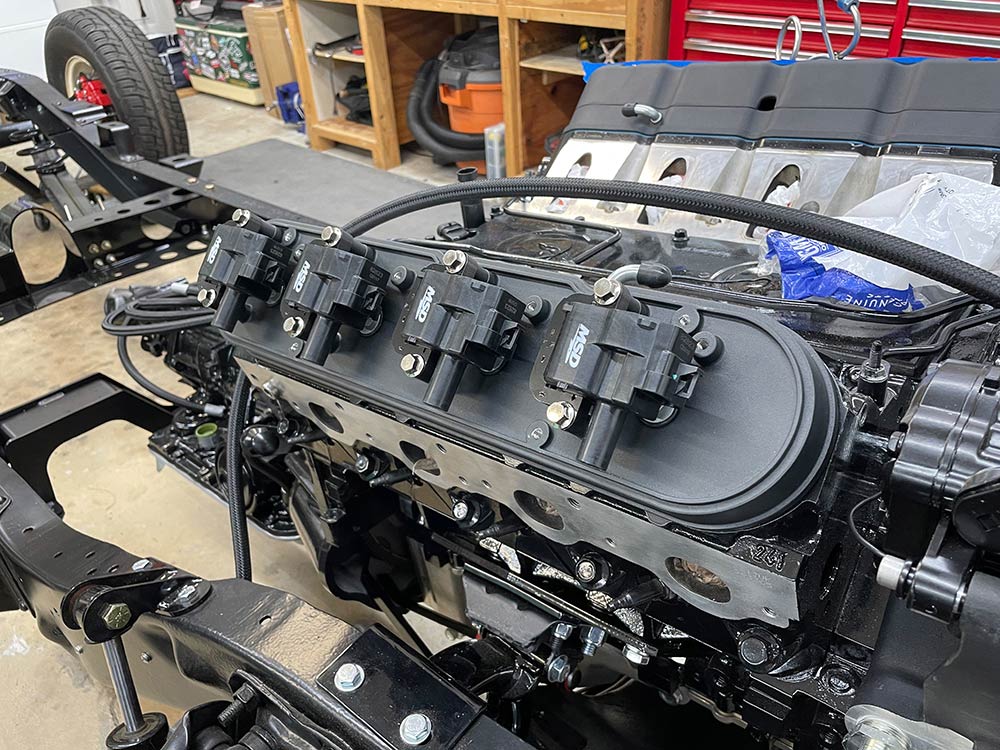
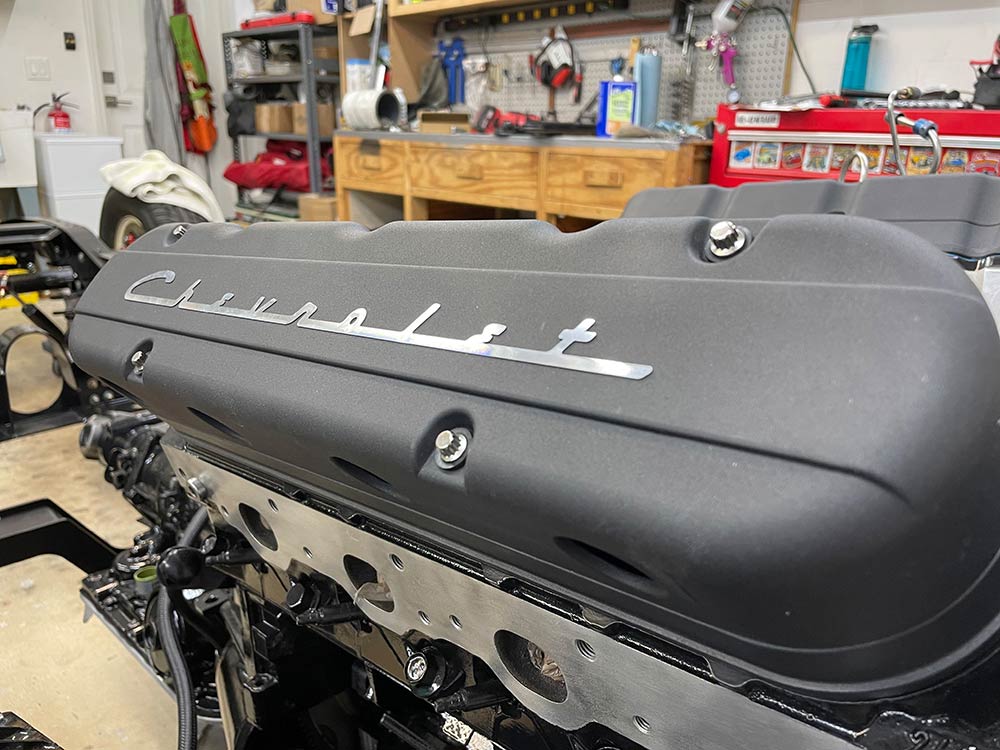
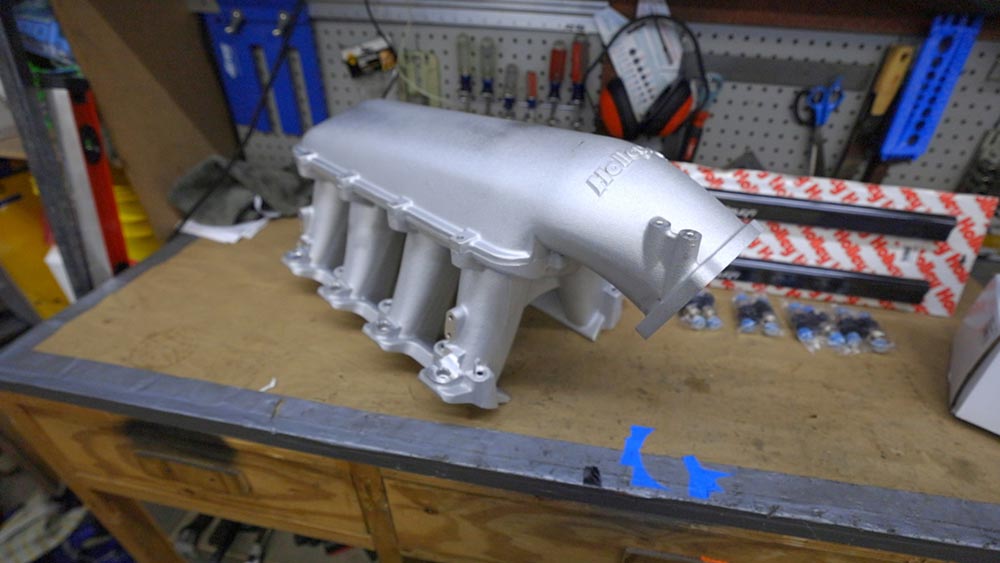
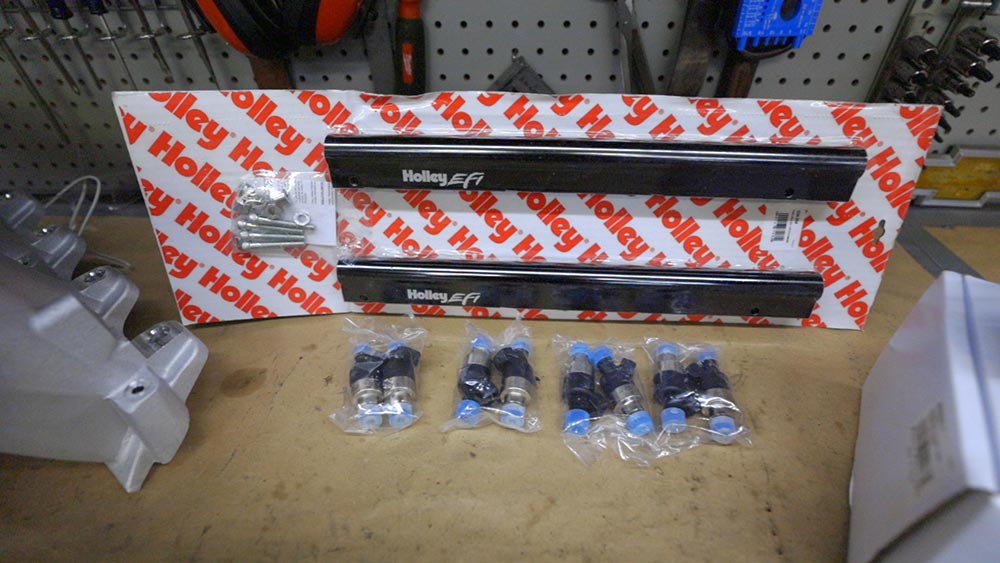
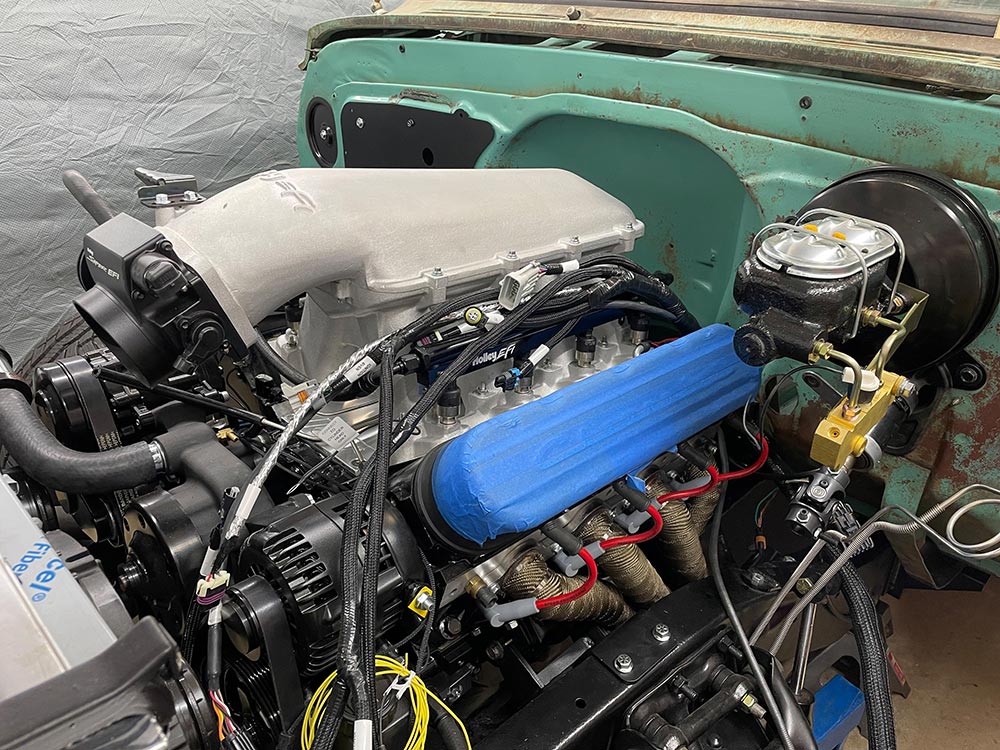
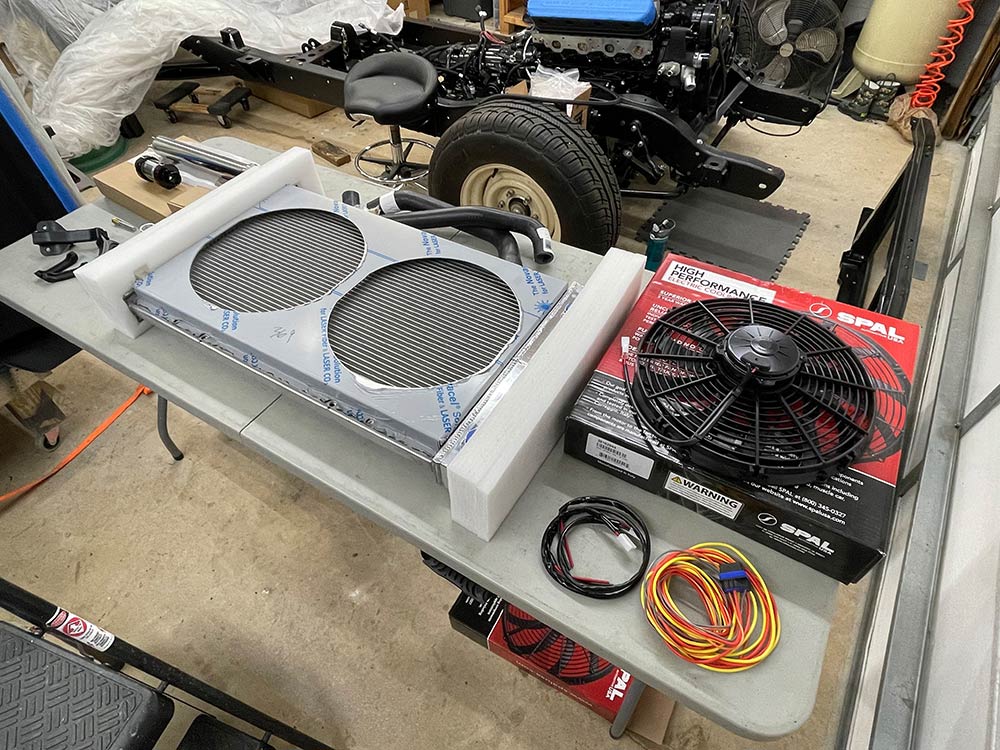
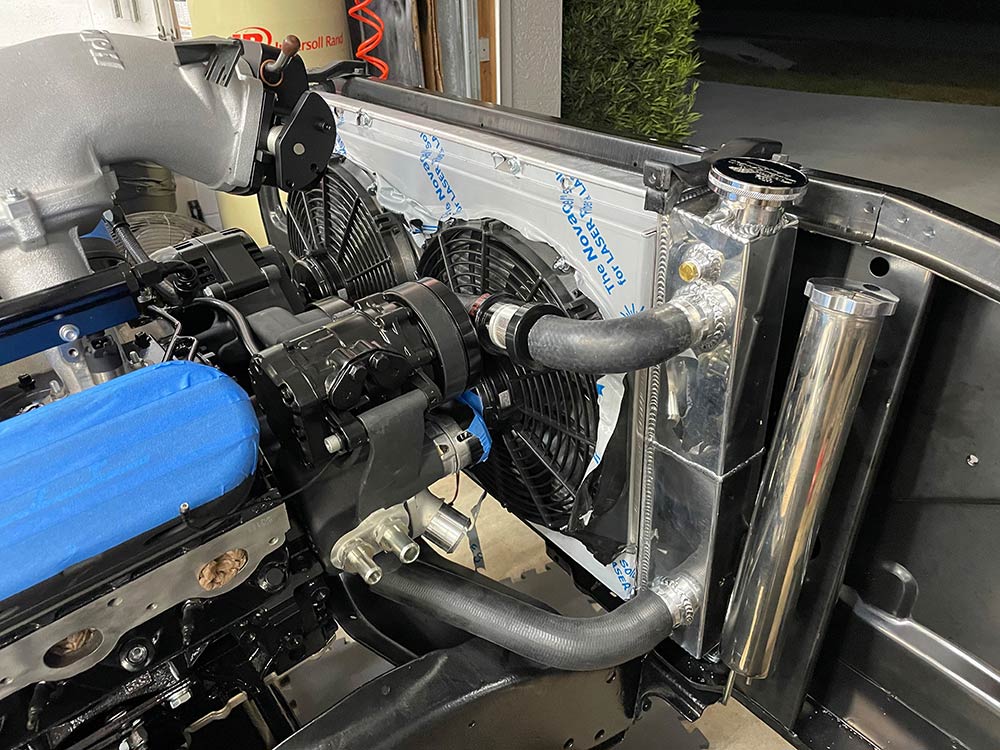
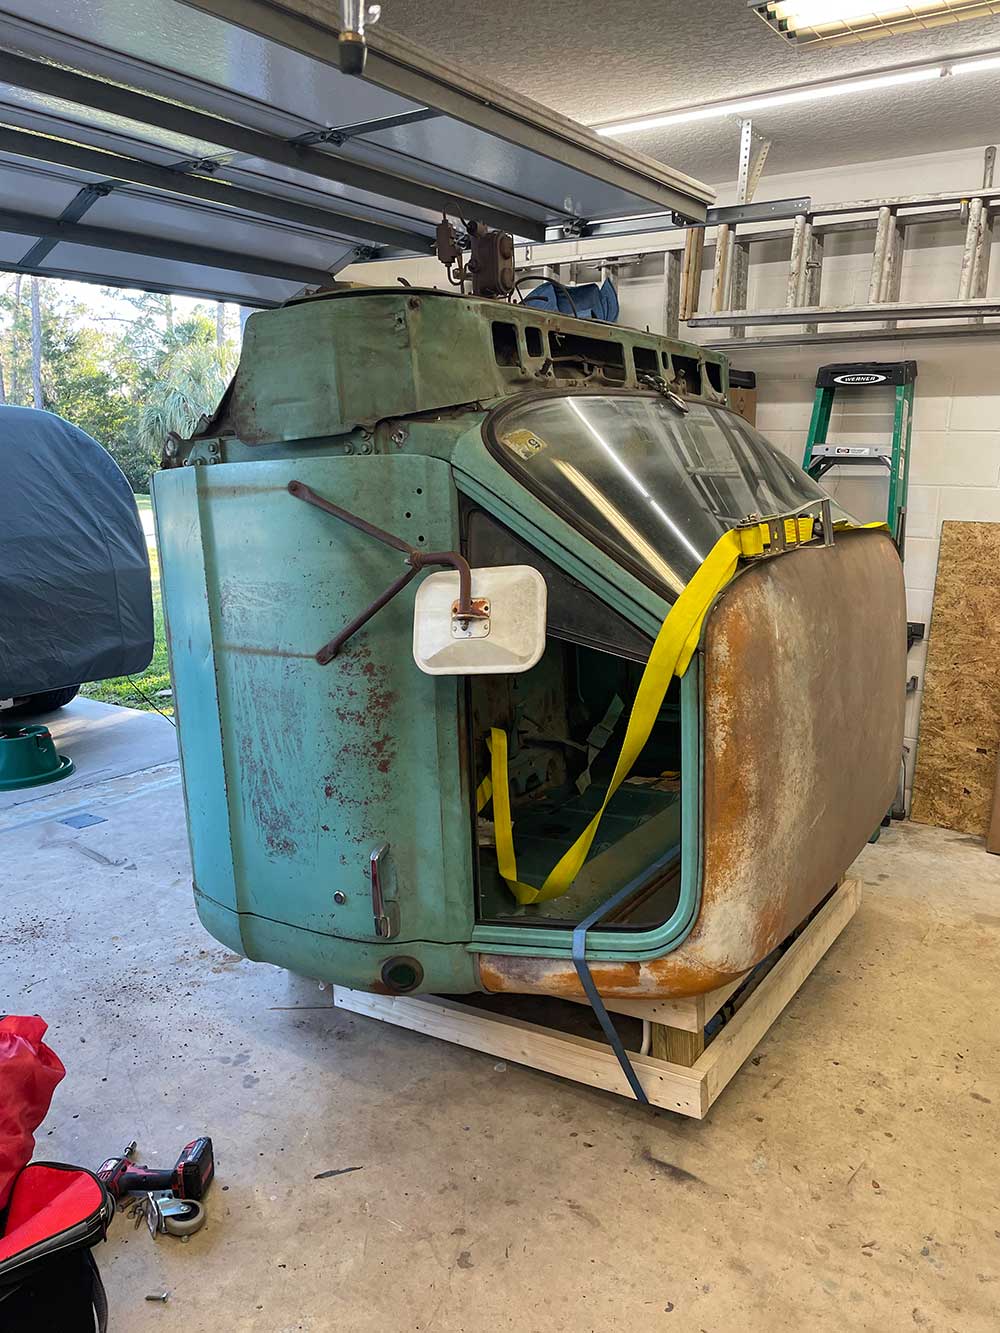
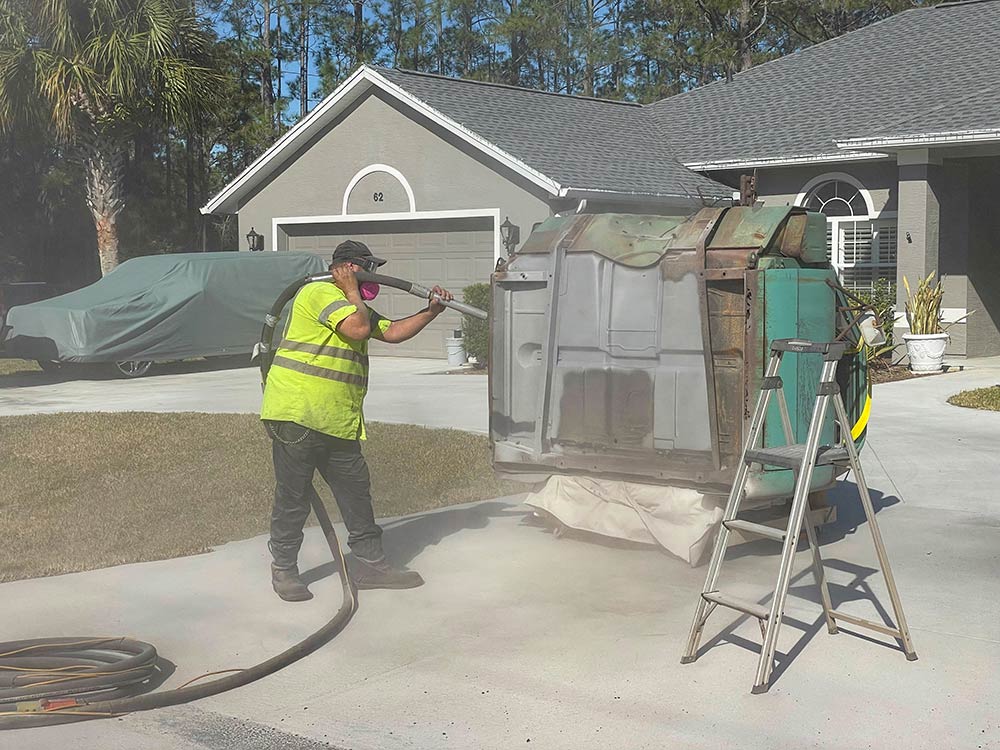
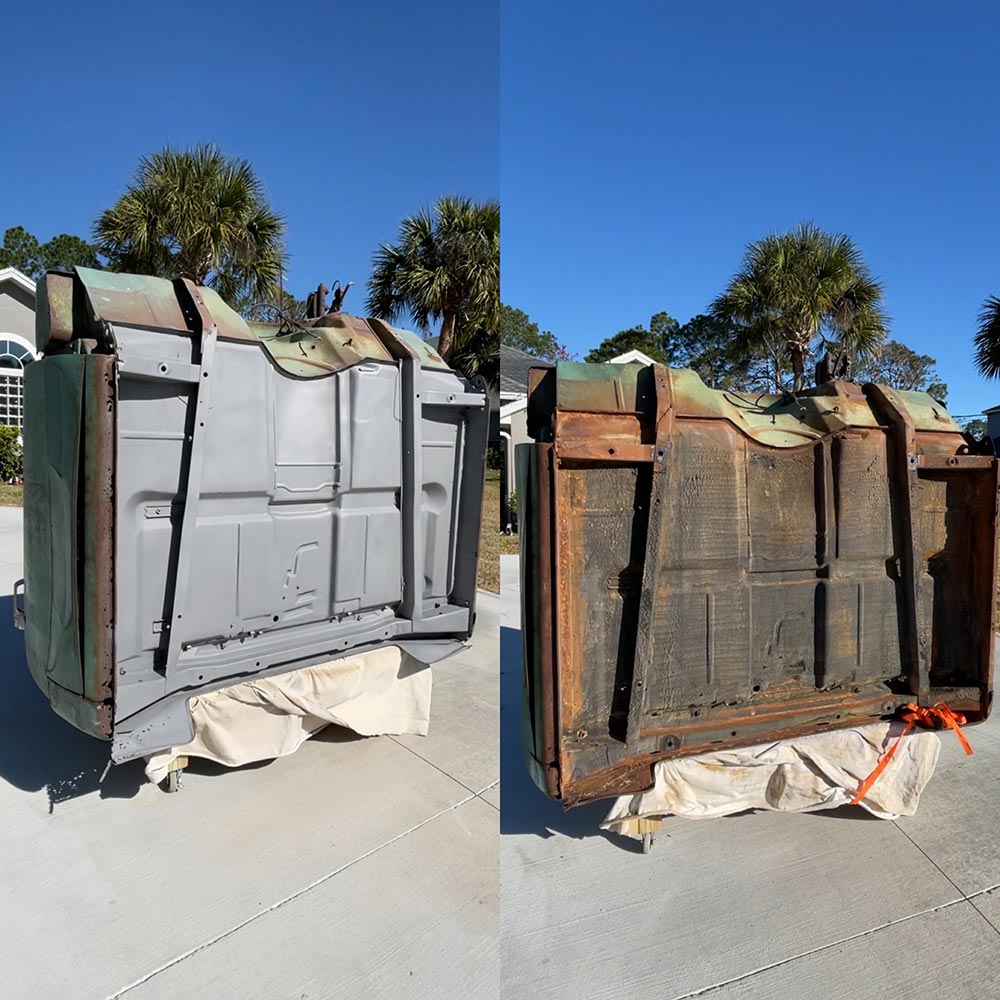
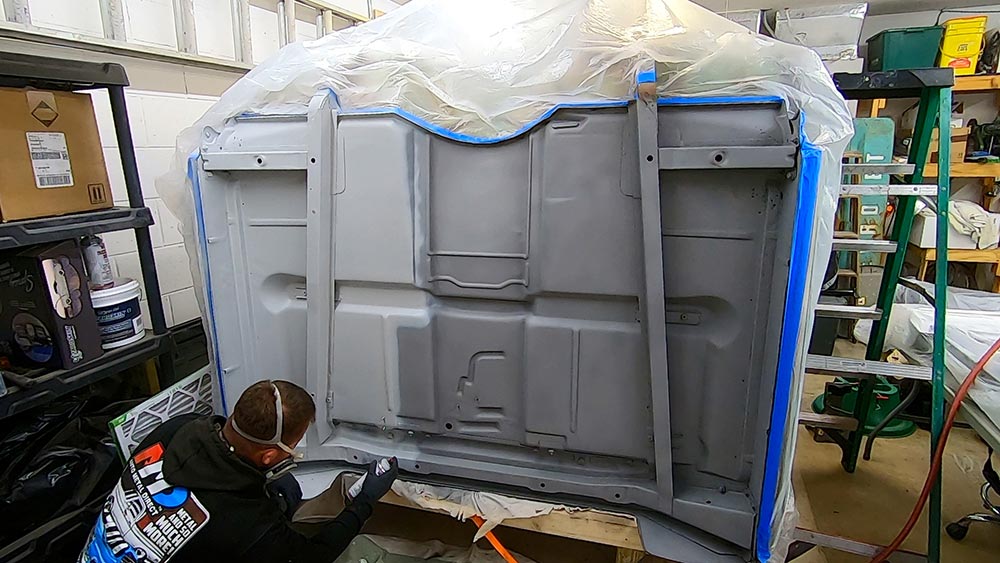
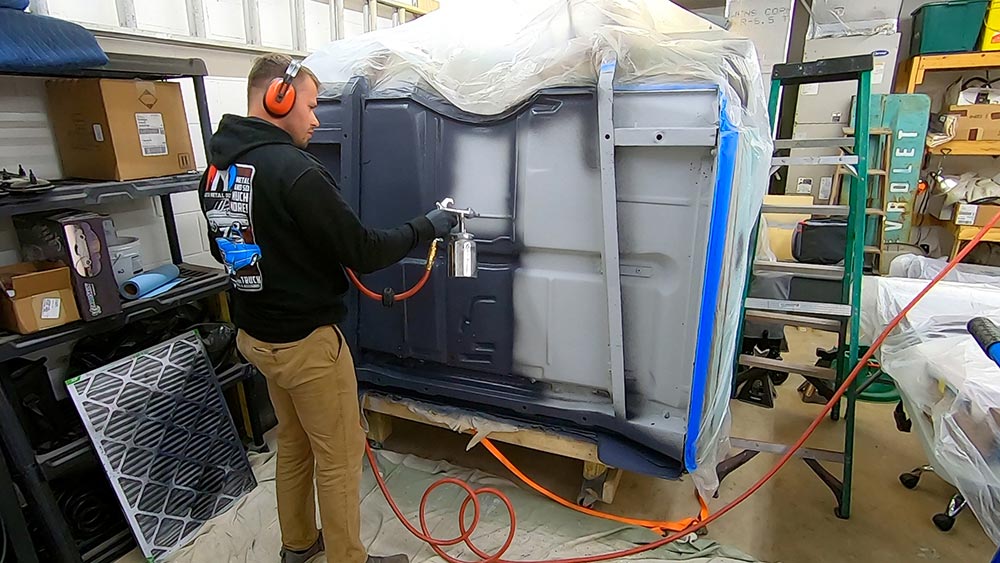
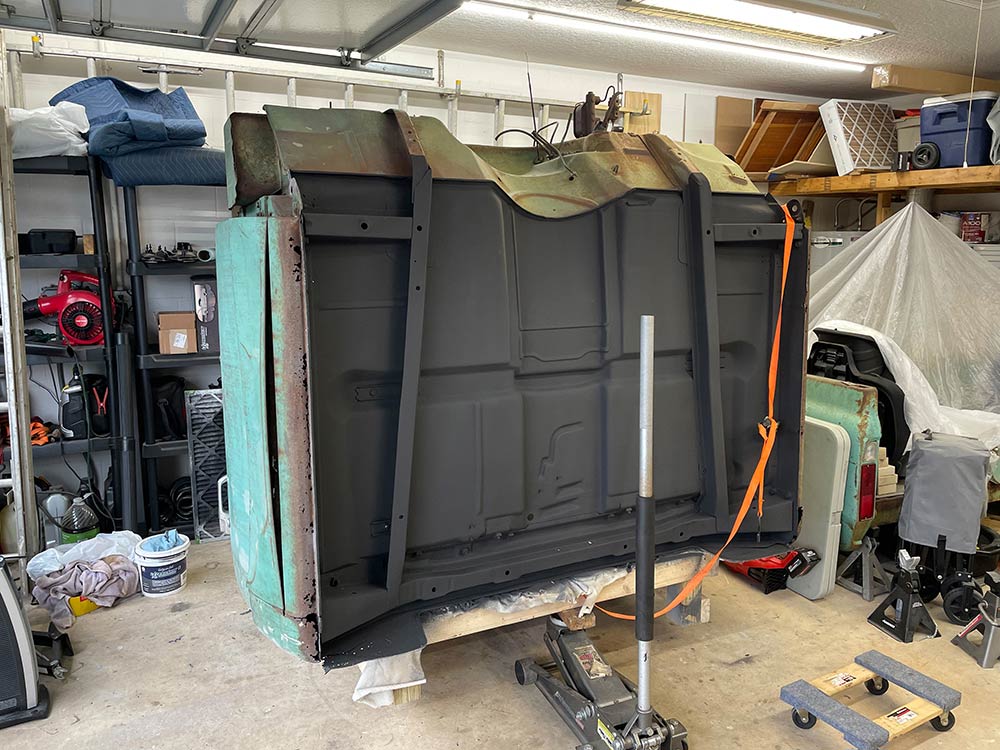
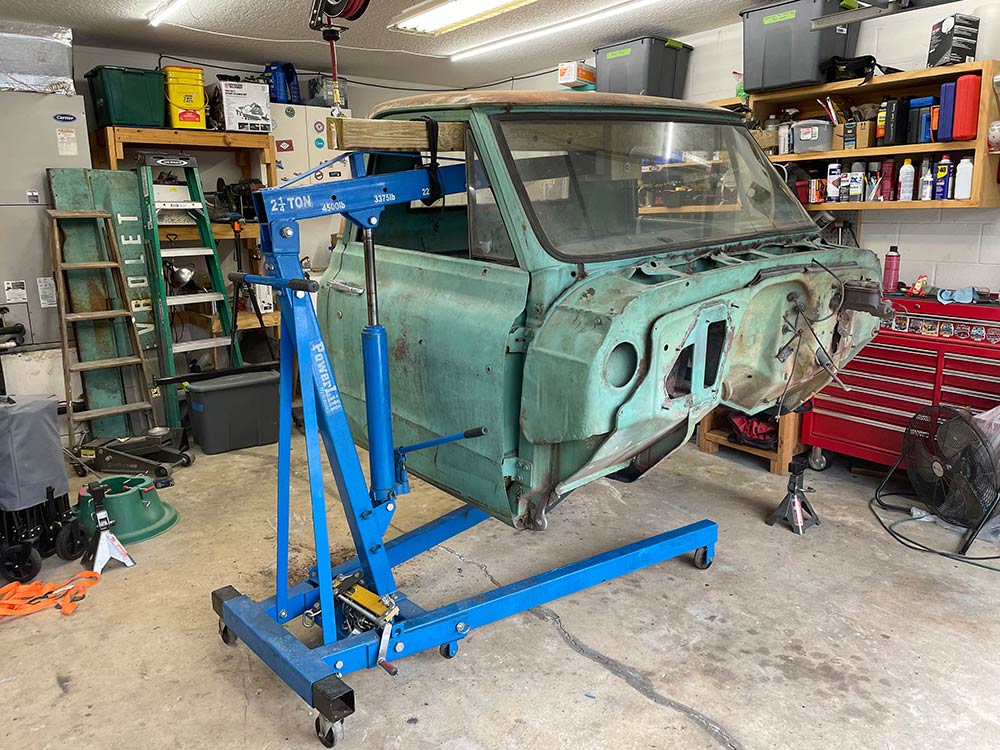
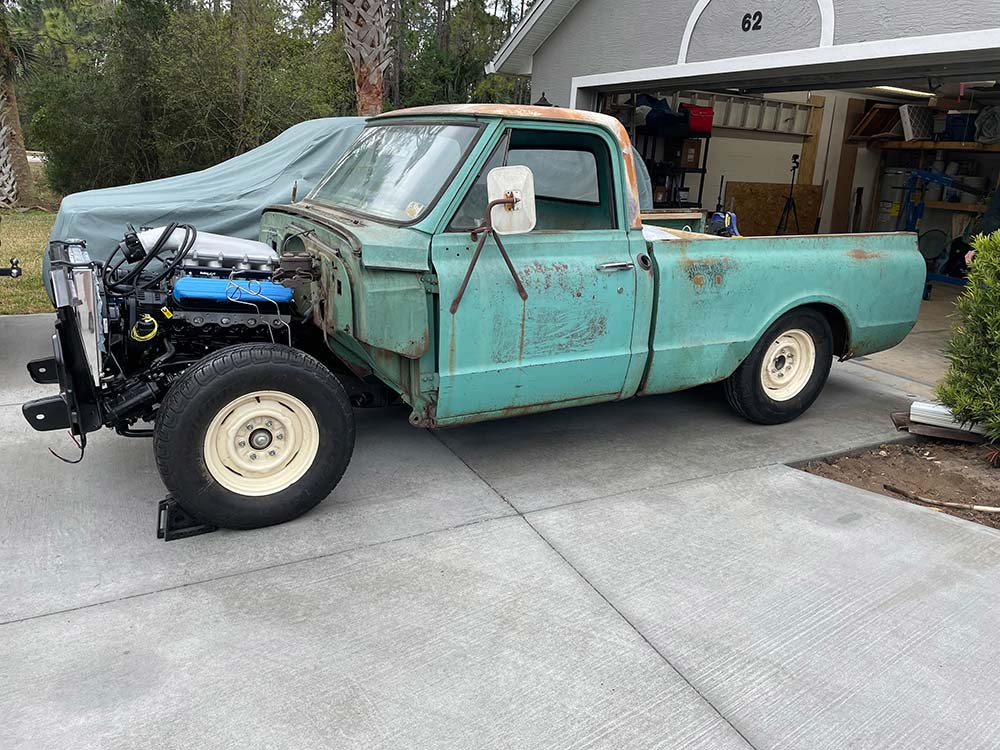
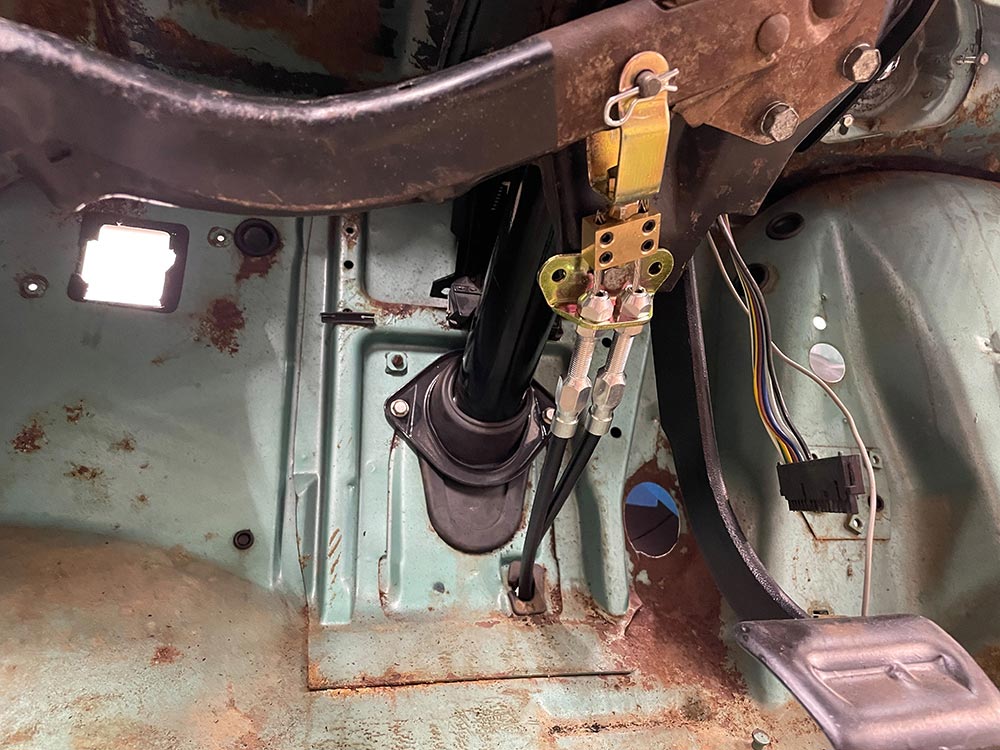
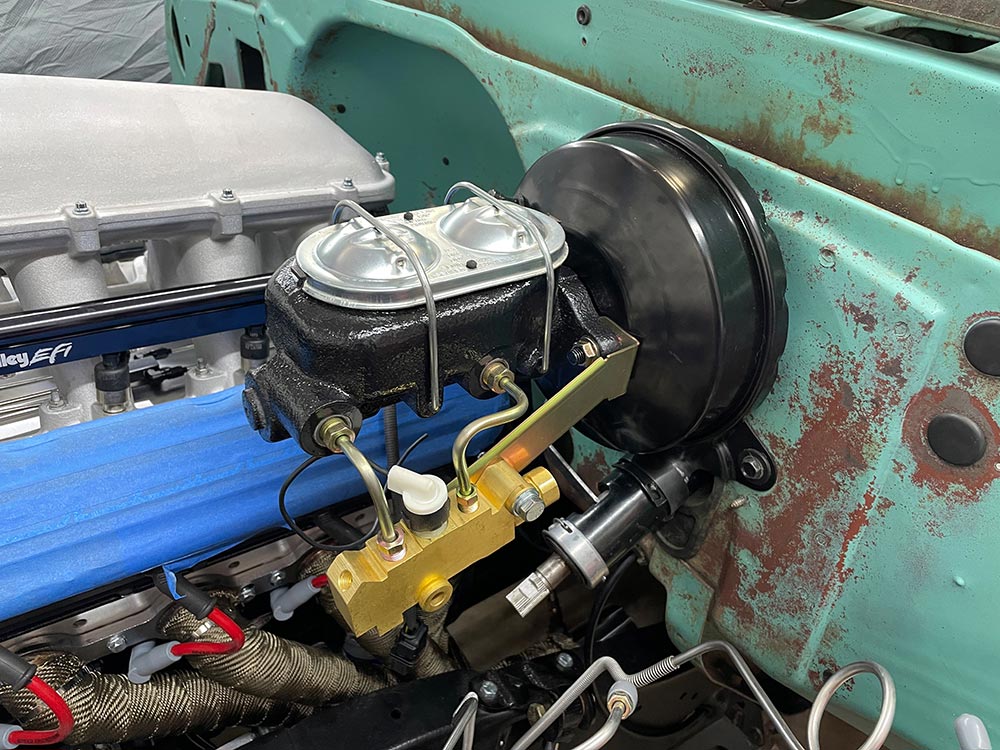
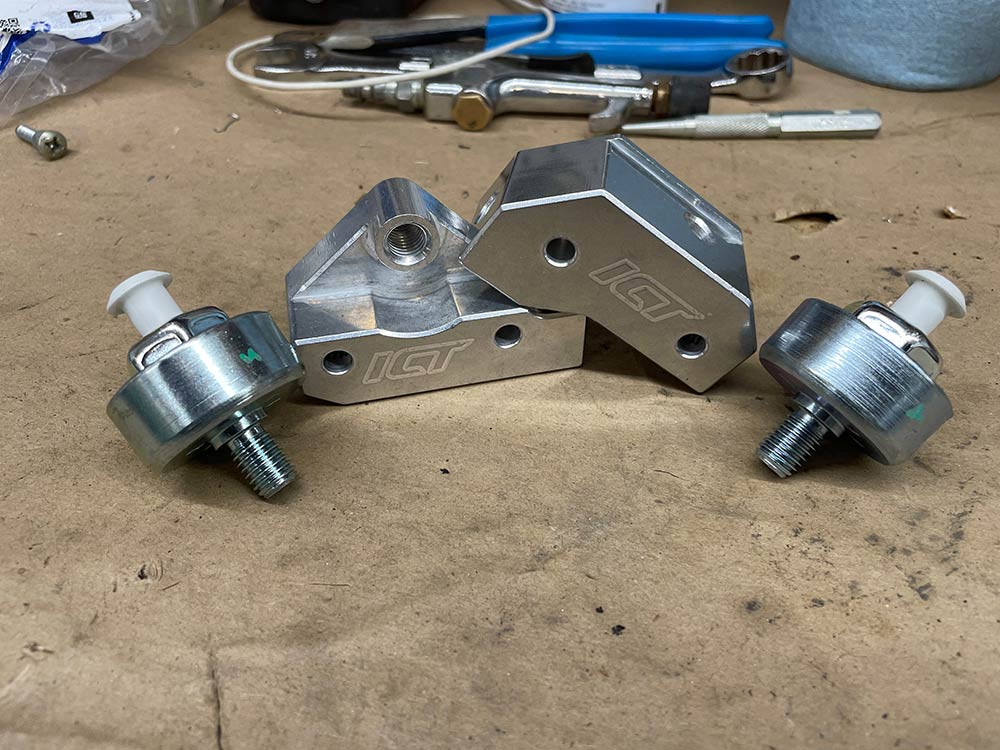
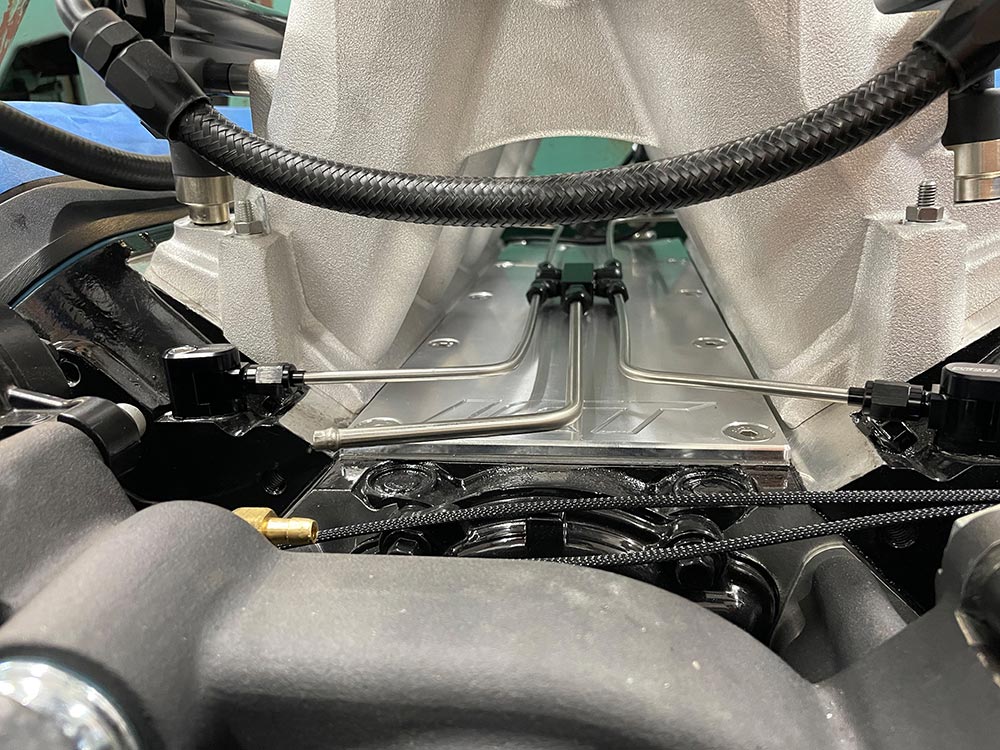
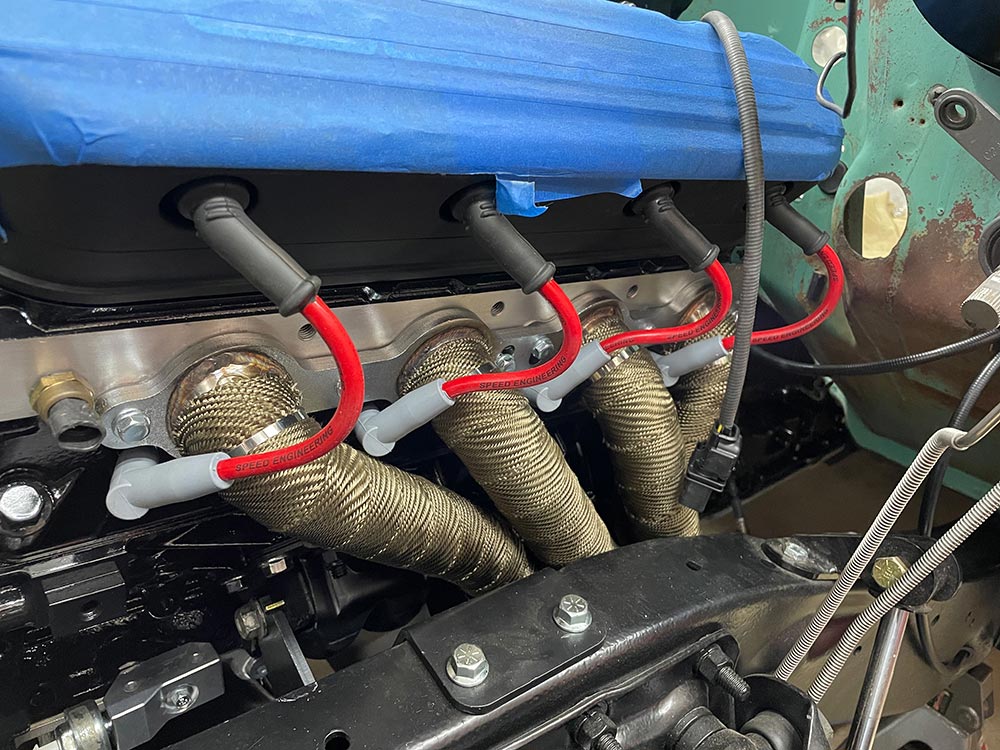
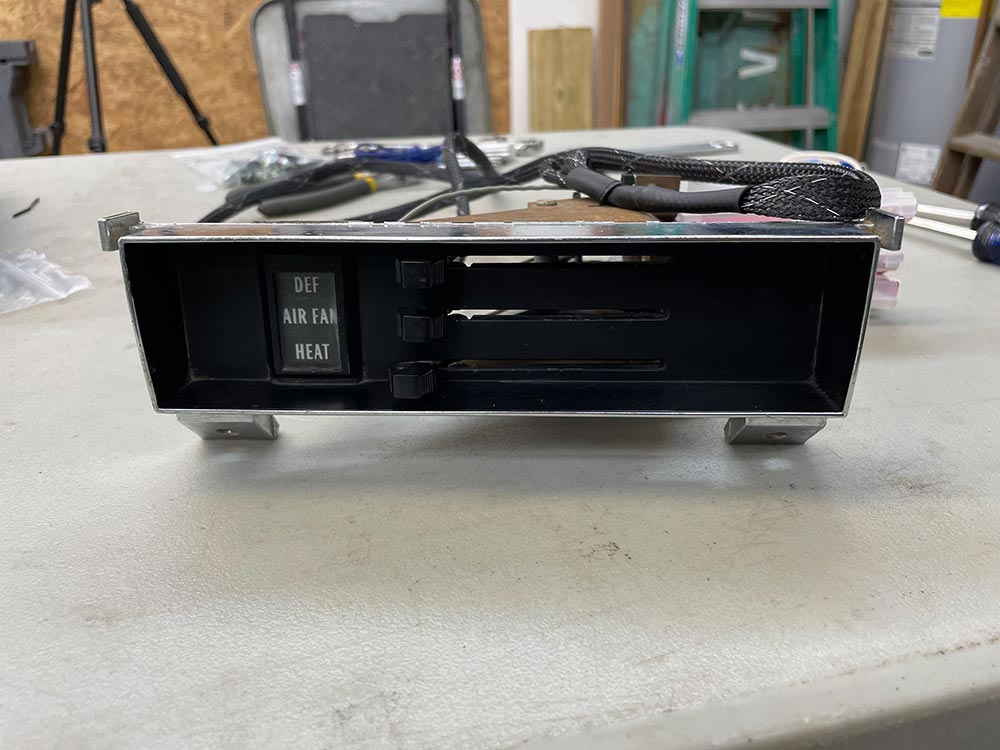
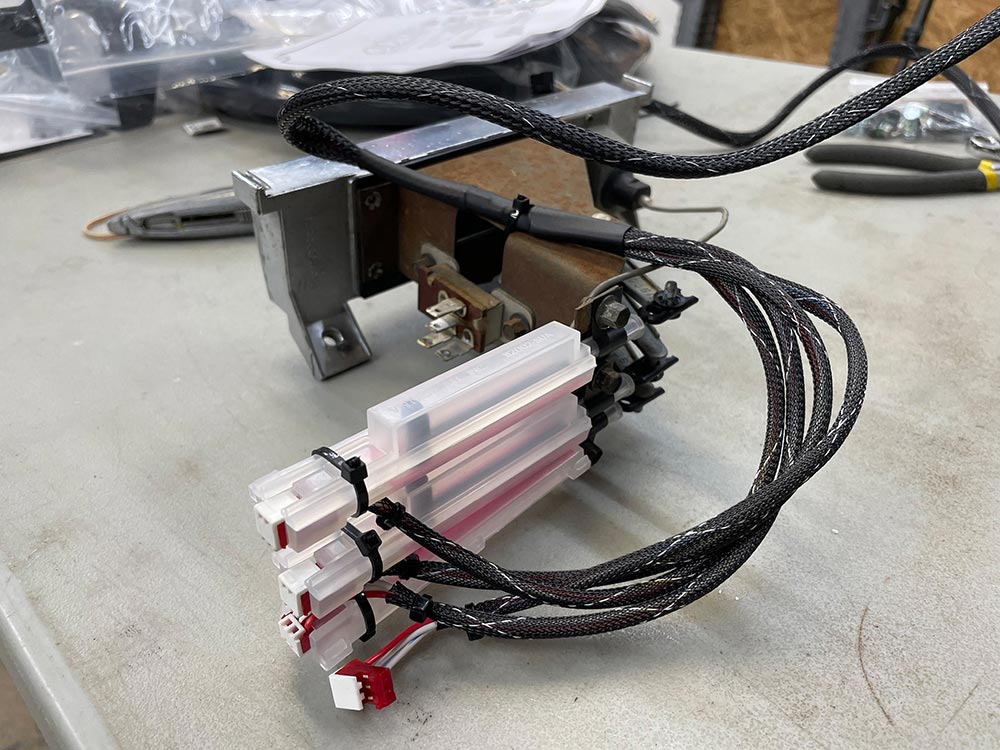
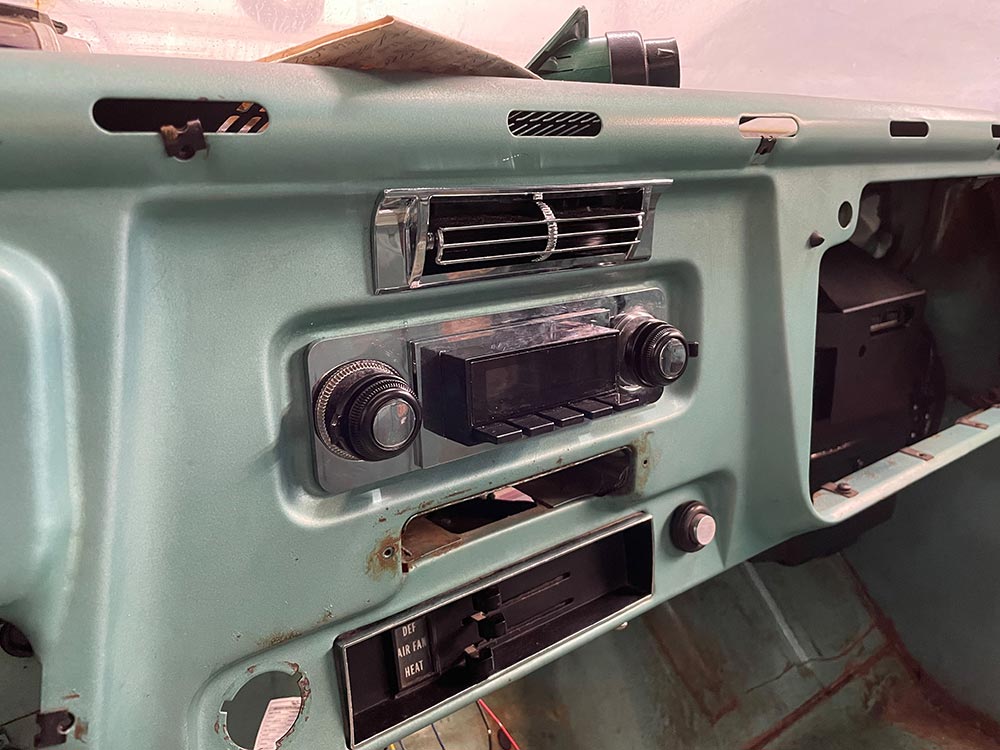
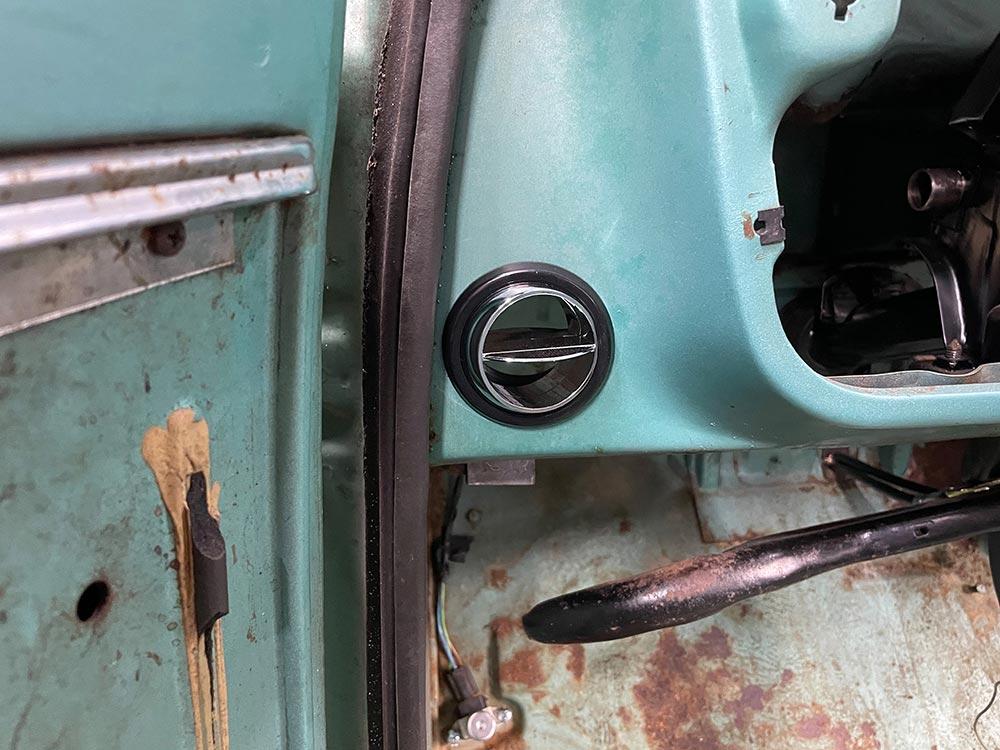
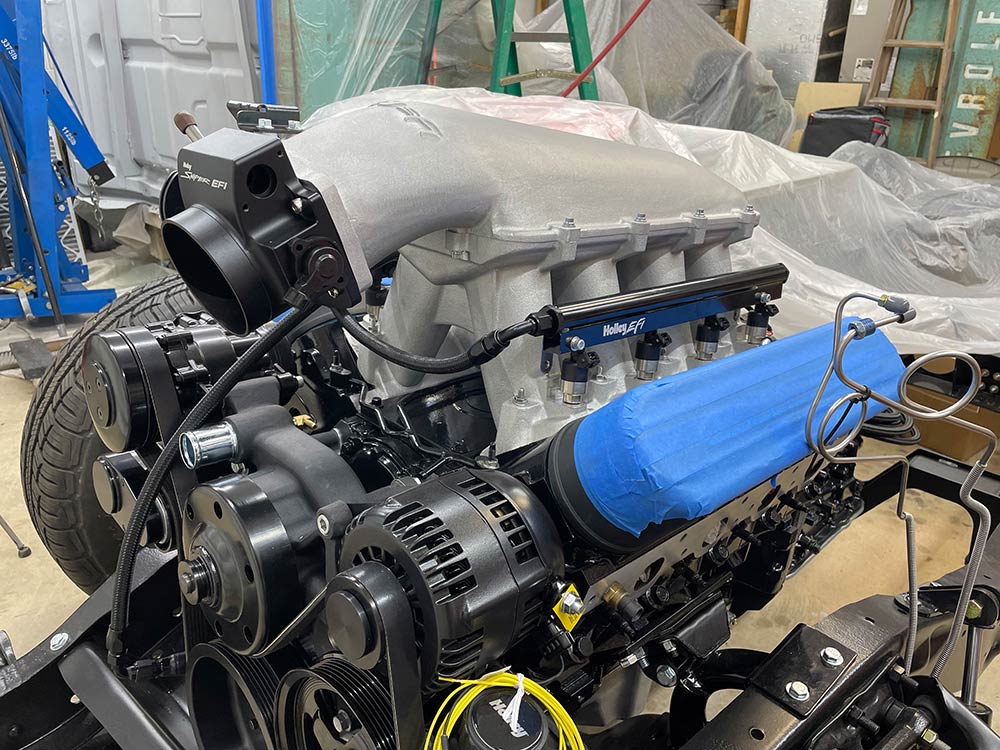
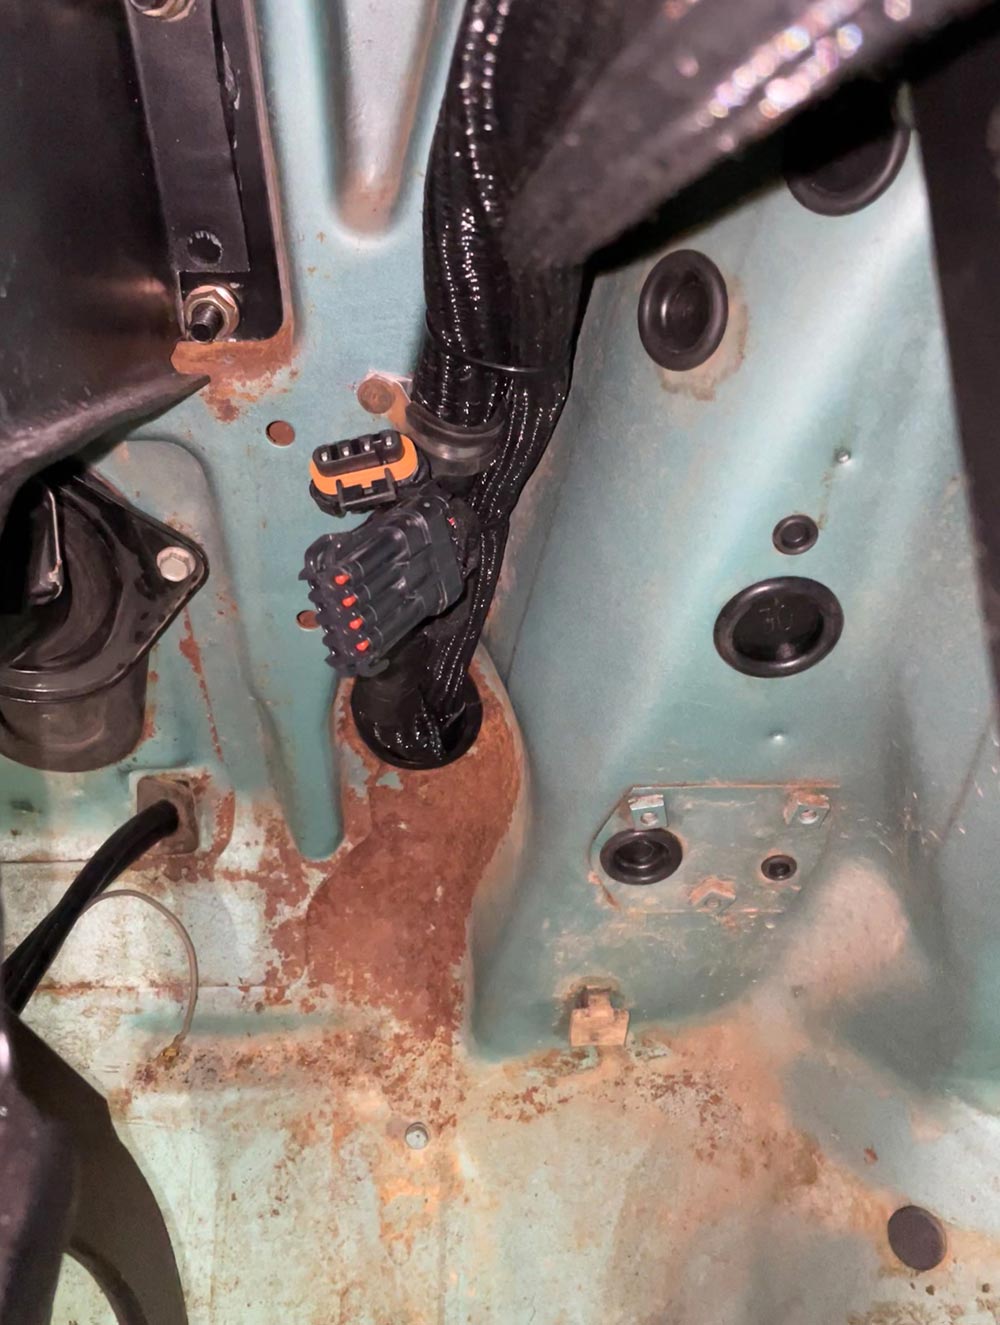
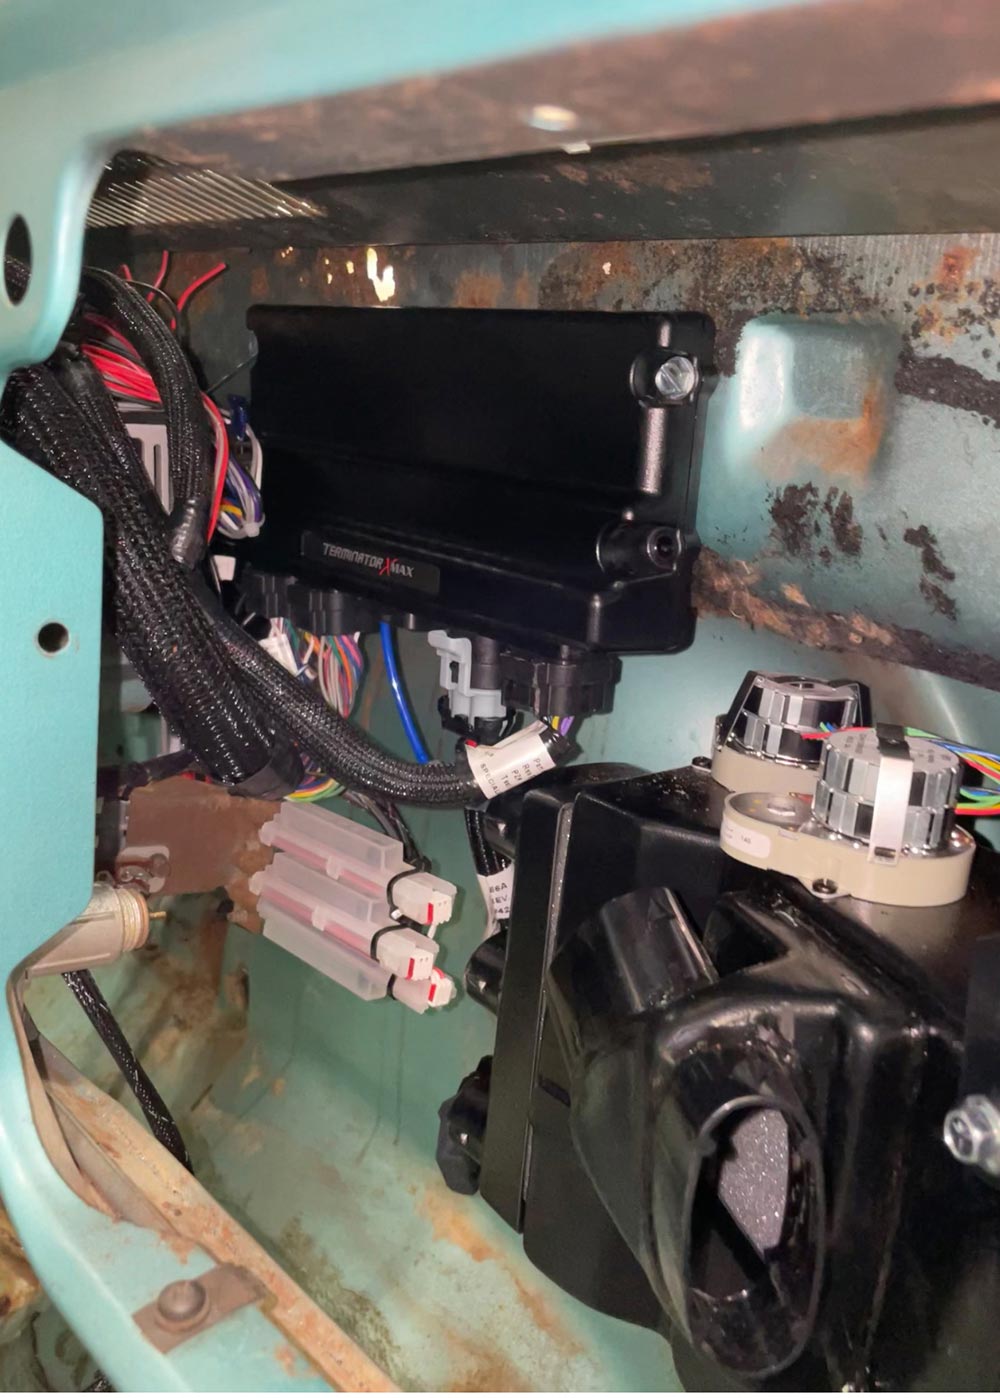
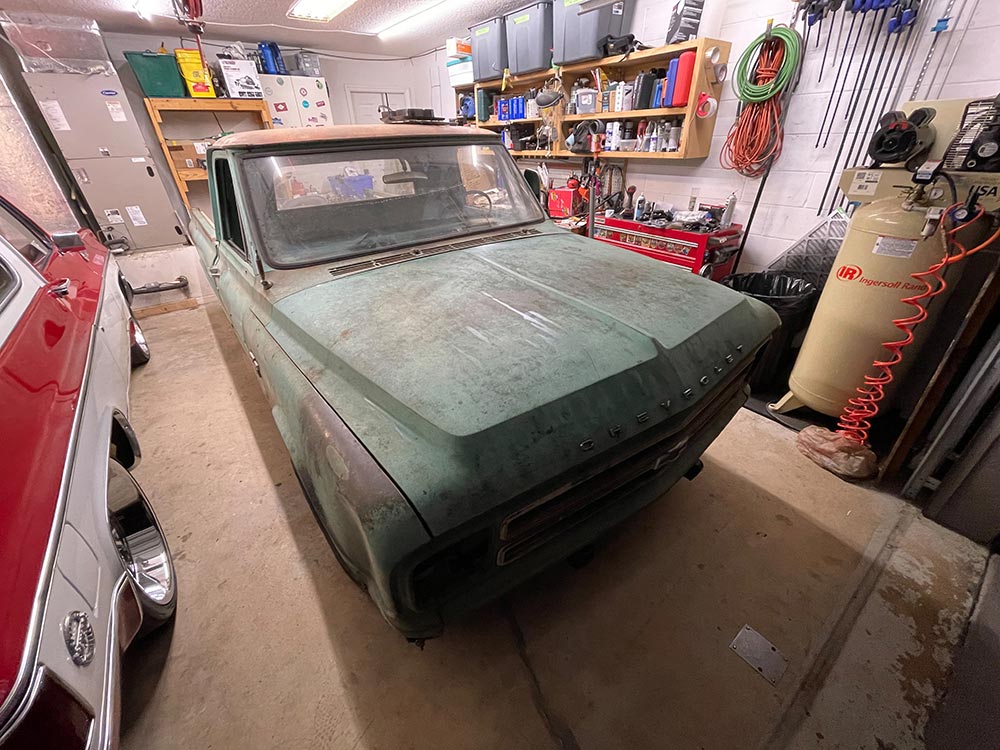
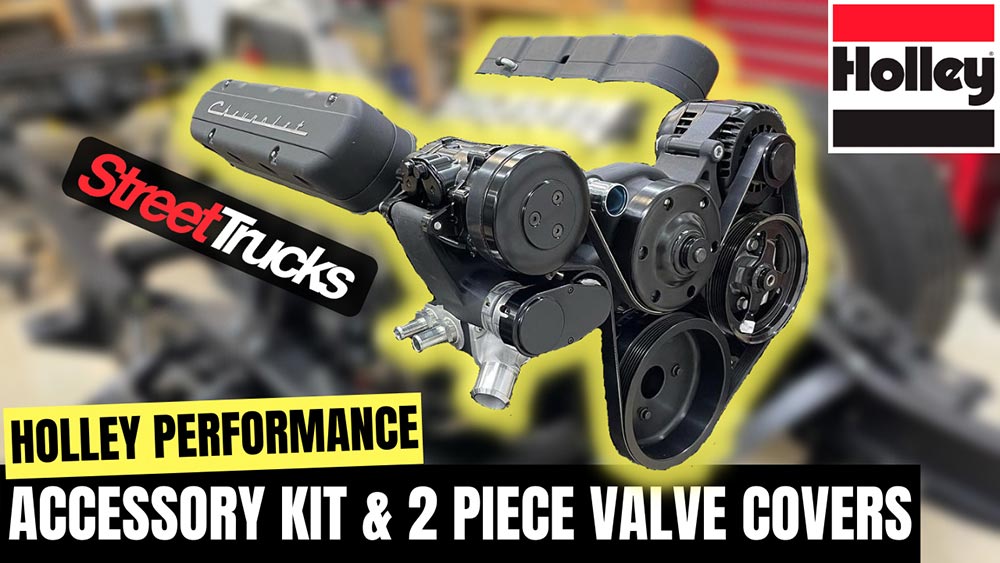
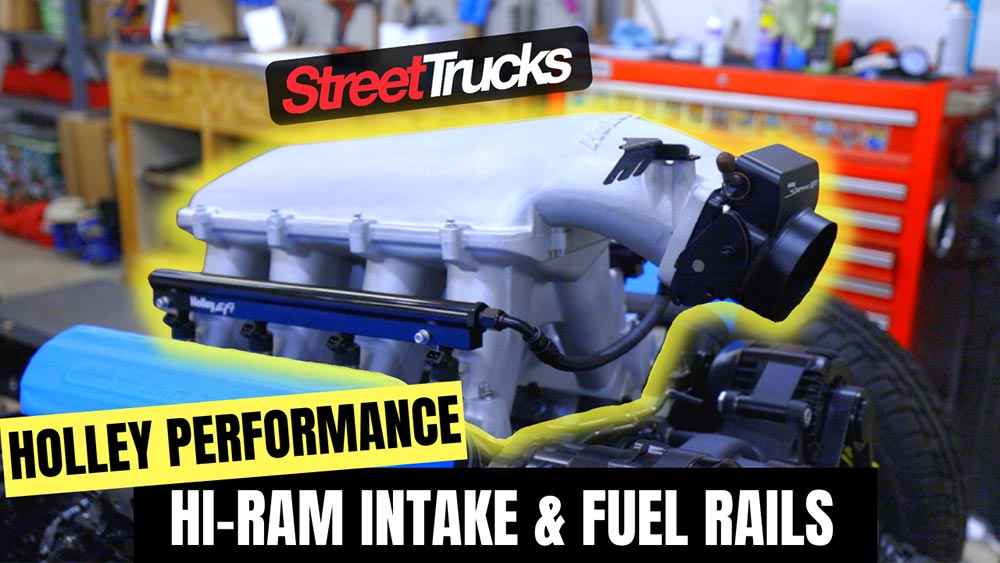
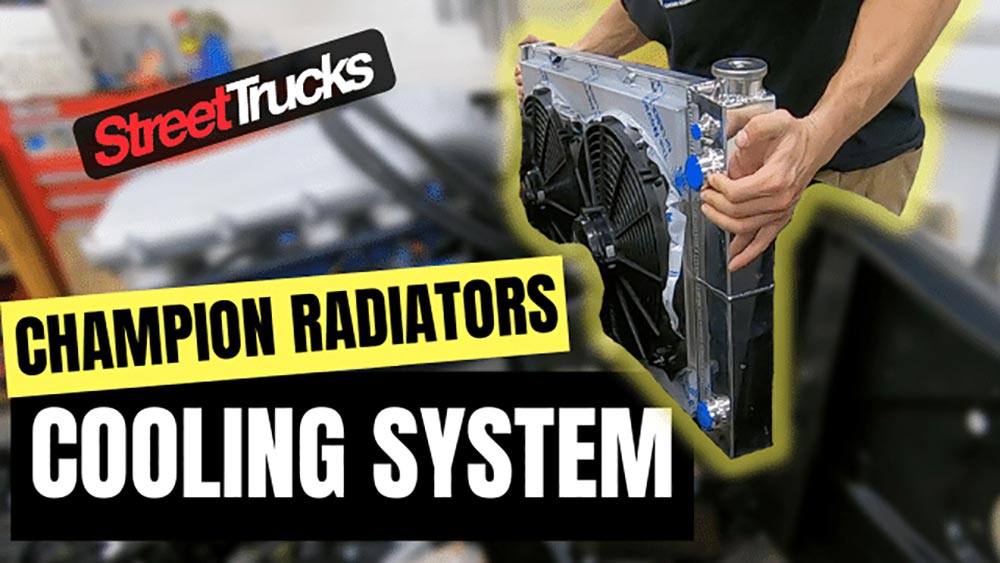
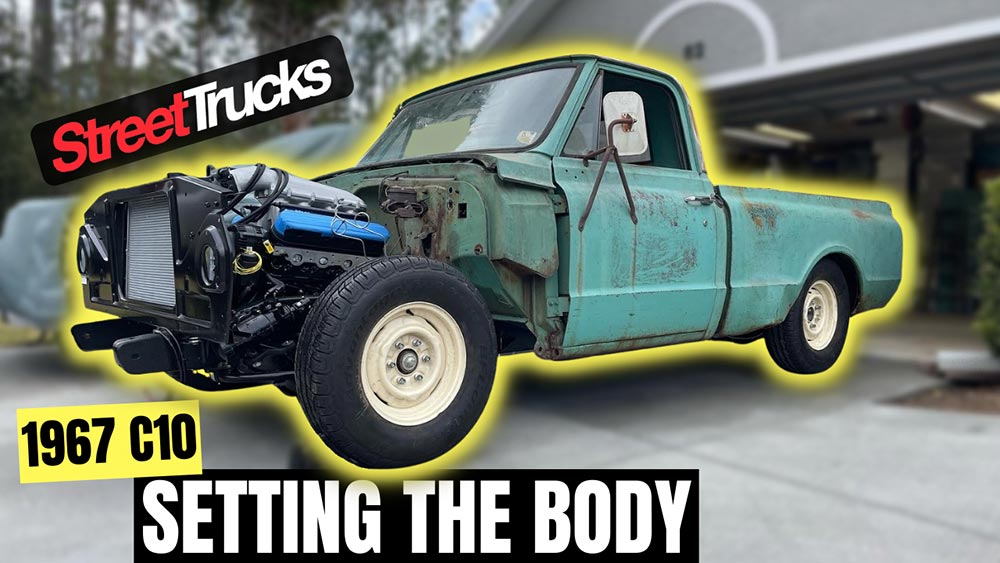
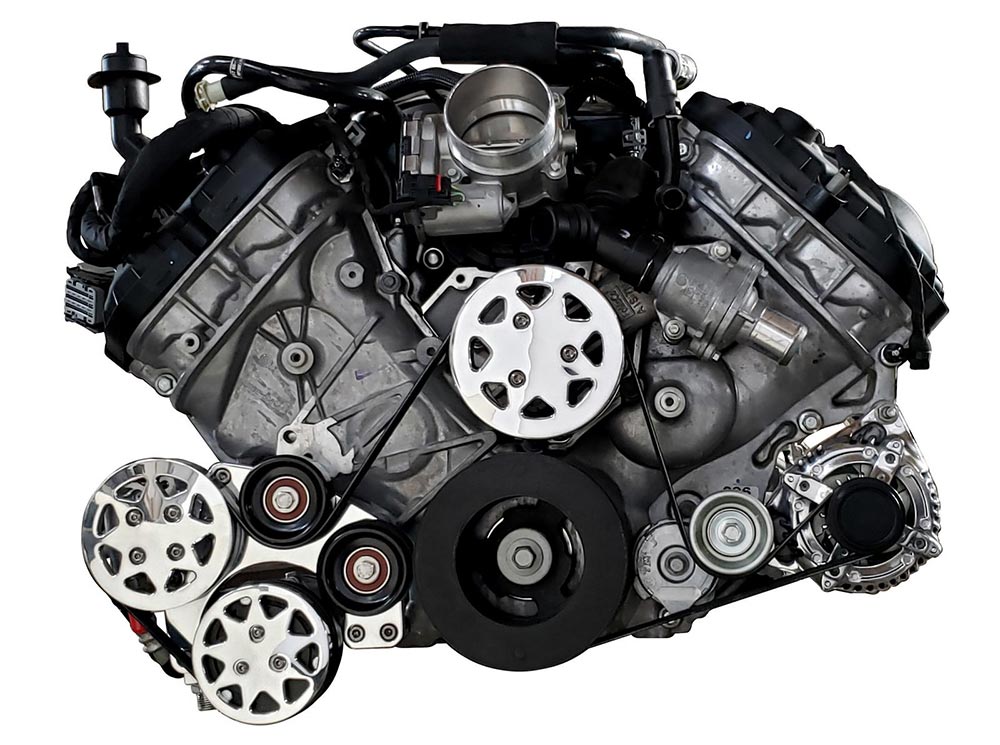
We have been hard at work on Project Last Chance and have made a lot of progress since the last update. To recap, we powdercoated and reassembled the frame with a Boyd Welding fuel cell, installed CPP drop spindles, Performance Online disc brake kit and C-notch, and set the LS1 and 4L60e in place. In this issue we work on installing the rest of our major components and prep the truck for C&K Metal.


Check out part 1 HERE
COOL GEAR
Ford built its trucks to meet a certain standard back in the F-100 days. Now that we have all raised the bar on what we… Continue reading
SOLOMON LUNGER . June 08, 2022
How to
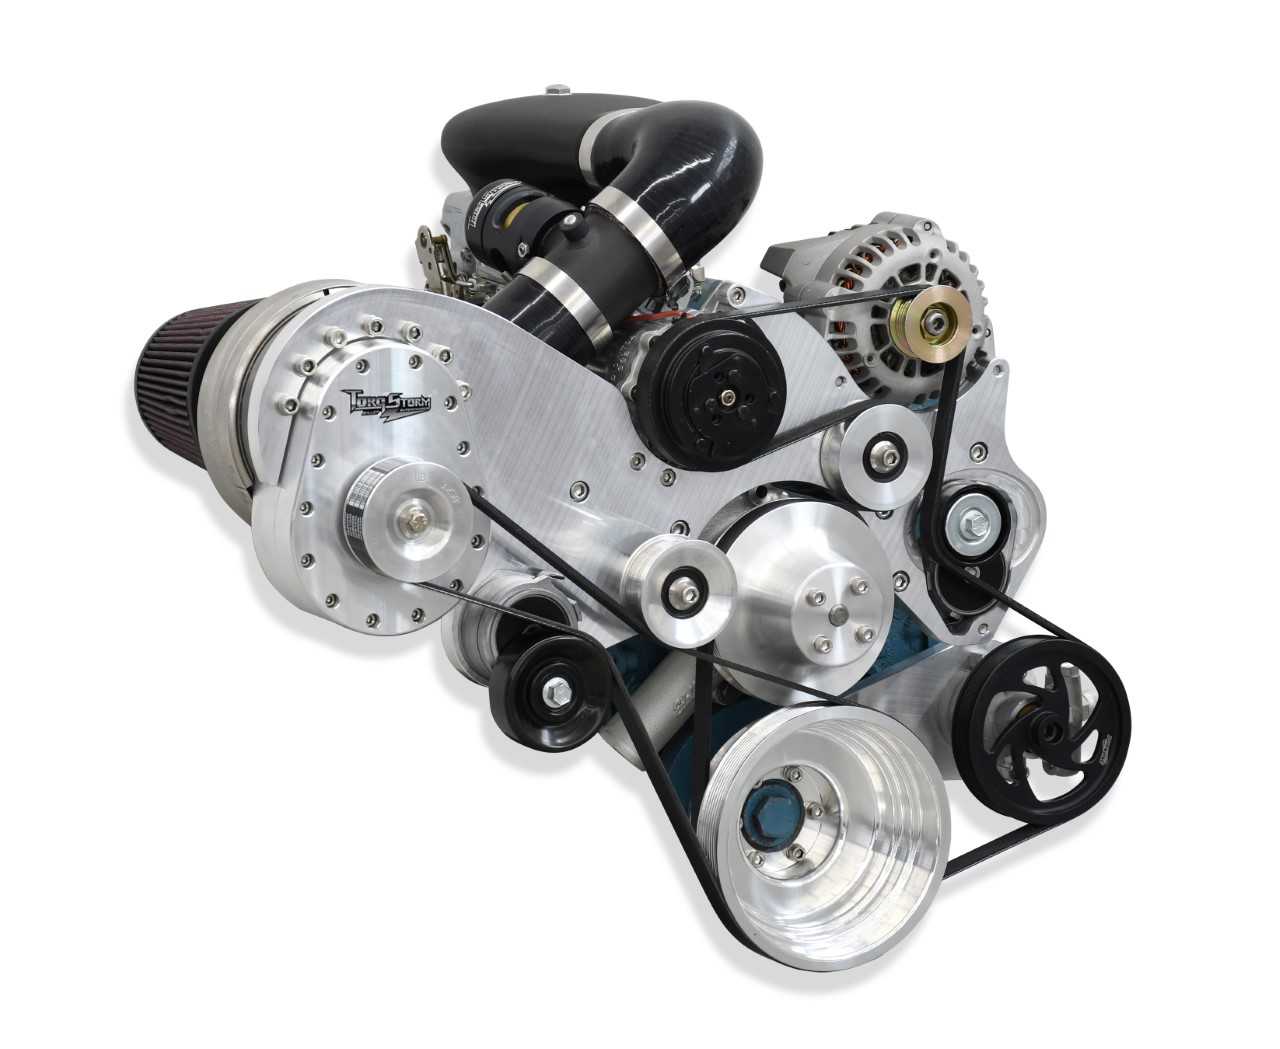
Grand Rapids, MI: TorqStorm’s latest supercharger kit pursues small-block Mopars—the 318, 340, and 360cid units produced between 1967 and ‘93. Subscribe to our weekly newsletter… Continue reading
Chris Hamilton . July 09, 2019
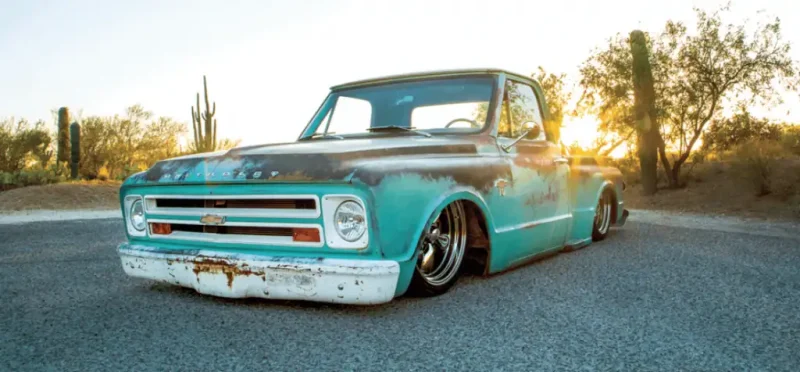
C10 Builders Guide
Cruisin’ in the Southwest In every town there’s a kid who thinks of nothing other than one day driving his very own dream truck. It… Continue reading
John Mata Jr. . April 18, 2022
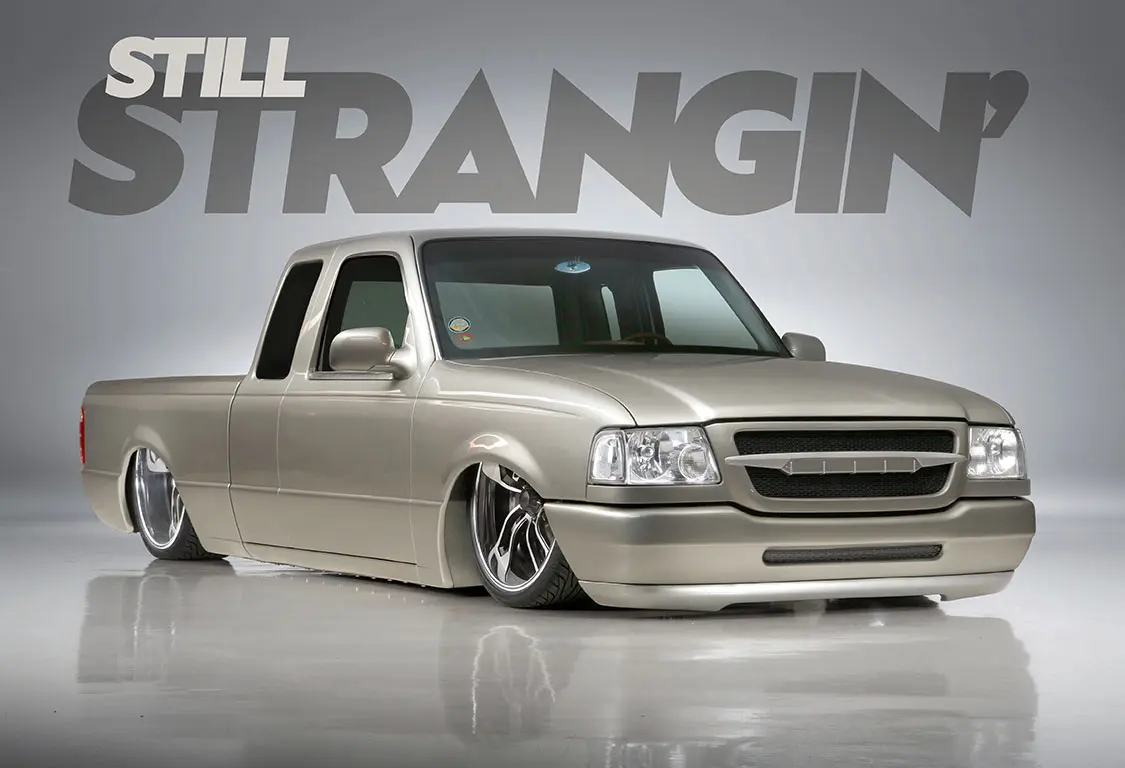
Cover
An Iconic Ranger Gets Some Updates… And a New Owner Let’s start this story off with a little tale from the distant past. When Jim… Continue reading
Mike Self . October 14, 2024
Department
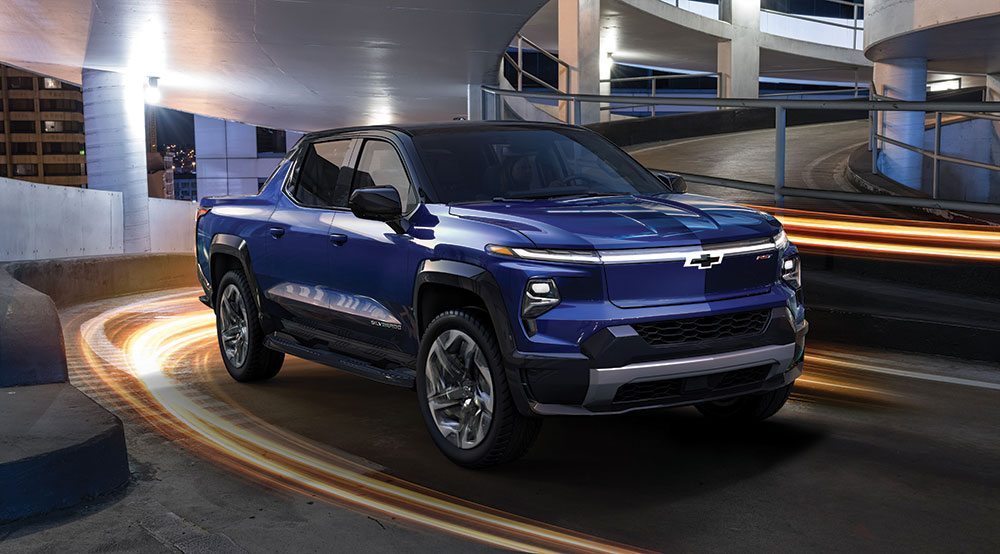
Meet the 2024 All-Electric Chevrolet Silverado Chevrolet recently introduced the 2024 Silverado EV, the reimagining of the brand’s best-selling nameplate. It includes: Expected GM-estimated 400-mile… Continue reading
streettrucks . August 10, 2022

Features
A Tale of an OG Survivor Mini-Truck! This ’85 Nissan 720 is the real deal, born and built in the heyday of the big mini-truck… Continue reading
Nicole Hamilton . February 18, 2021

Share Link