 Kevin Whipps
.
August 12, 2020
.
HEADLINE
.
Kevin Whipps
.
August 12, 2020
.
HEADLINE
.
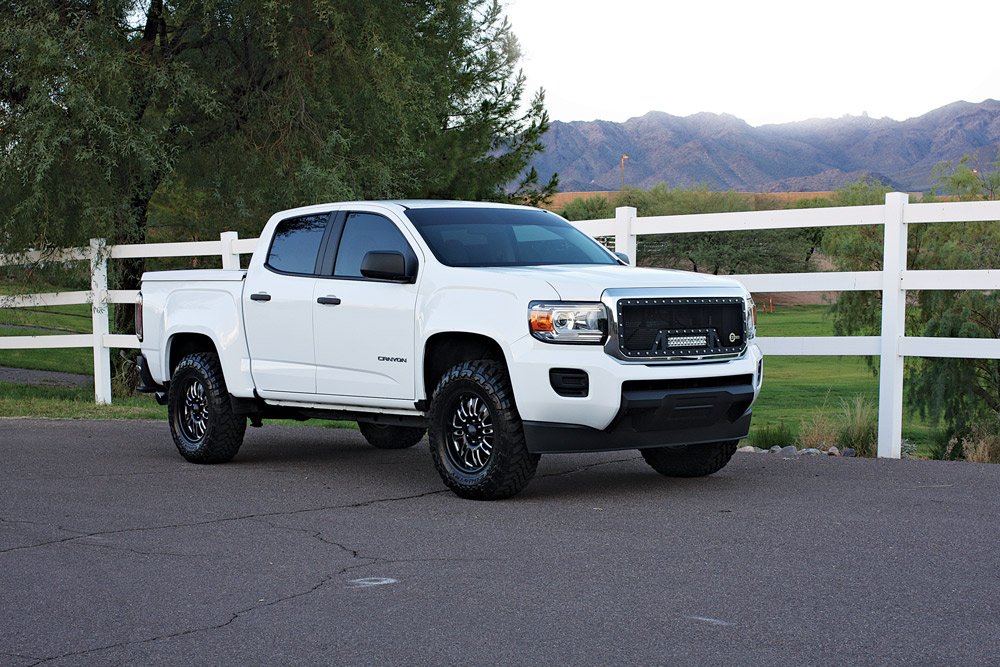
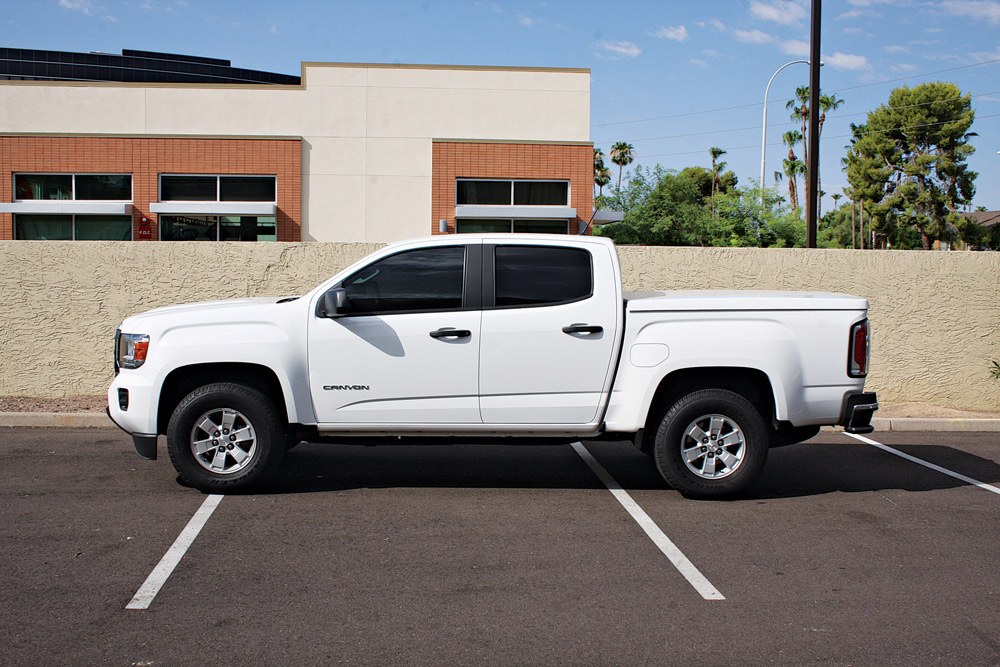
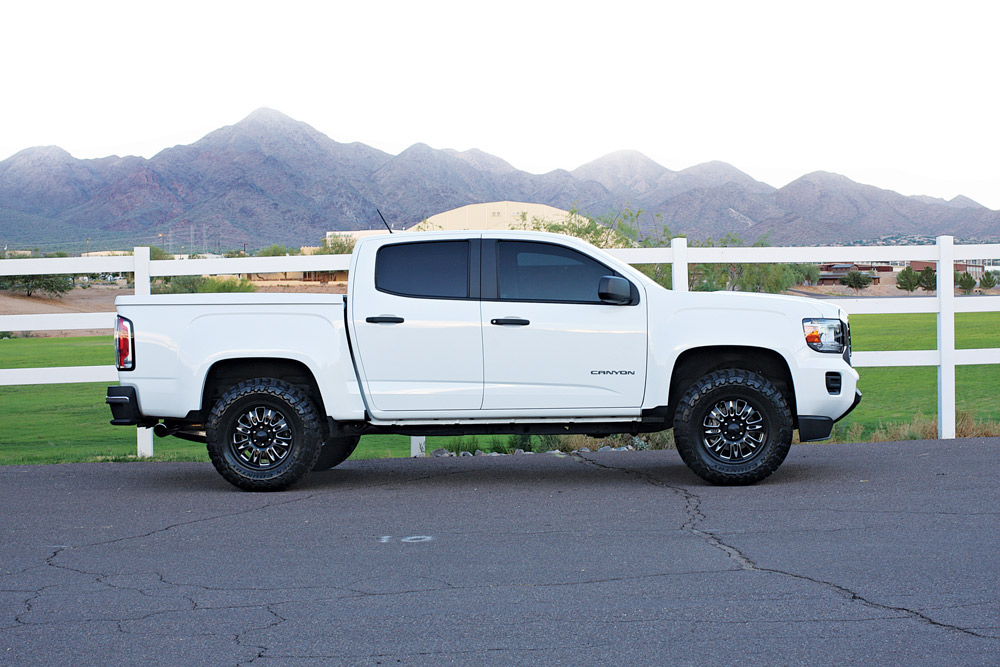
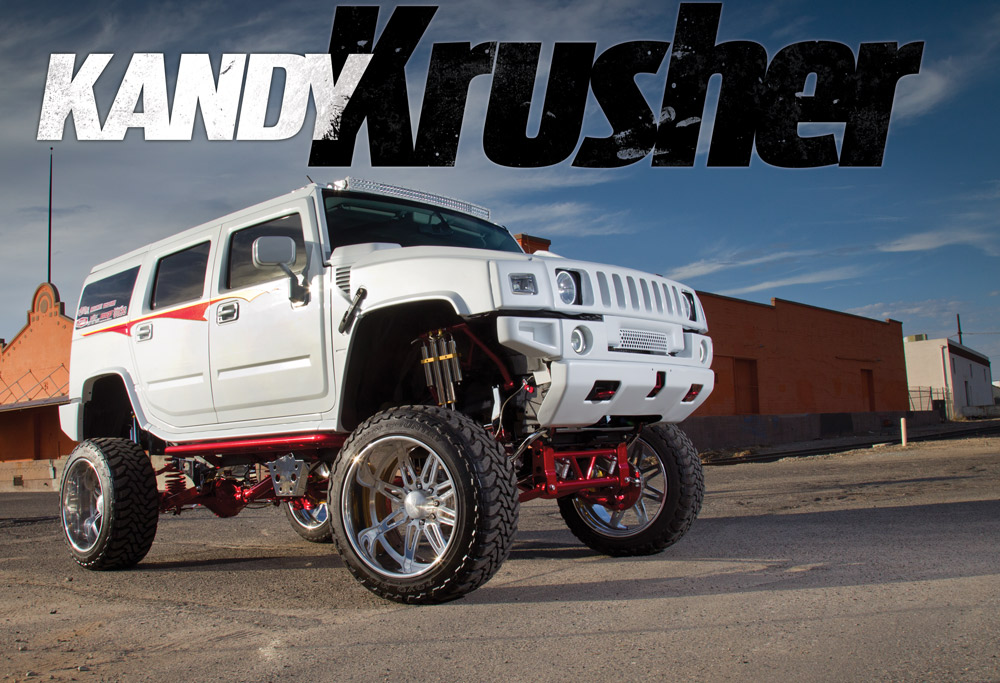
There are a few different motivations for raising your truck. Maybe you want to build the biggest truck out there and go huge with mammoth tires, or perhaps you just want to take your truck out and do some light pre-running so you do a more travel-oriented lift. But for those of you who just want their truck to look a bit more “right,” the solution can be pretty simple.
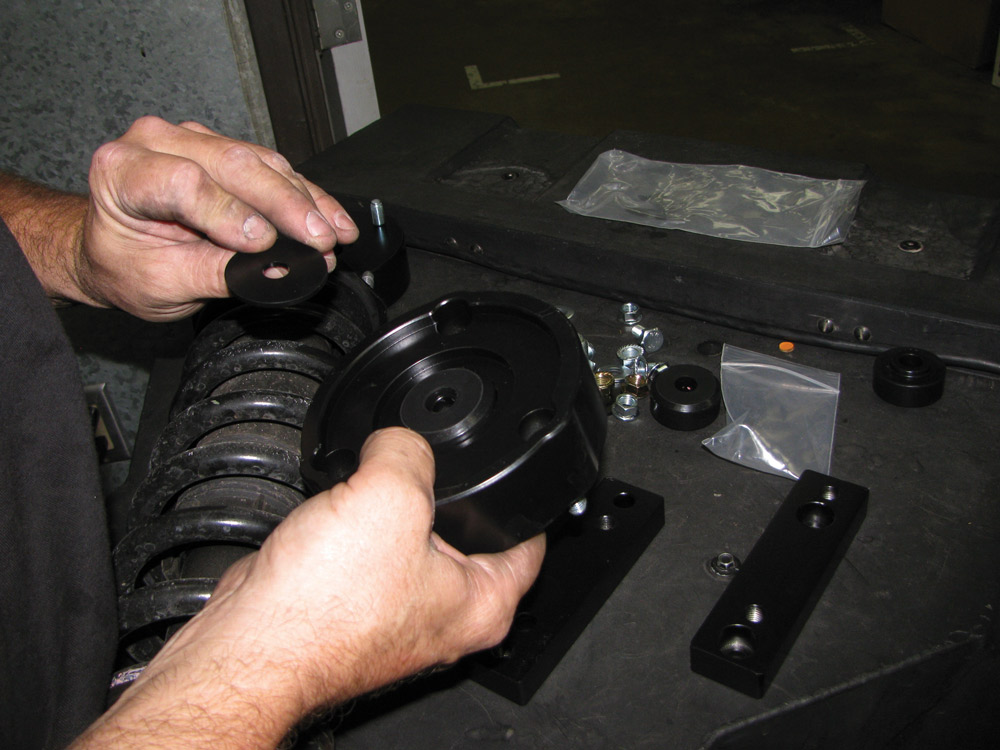
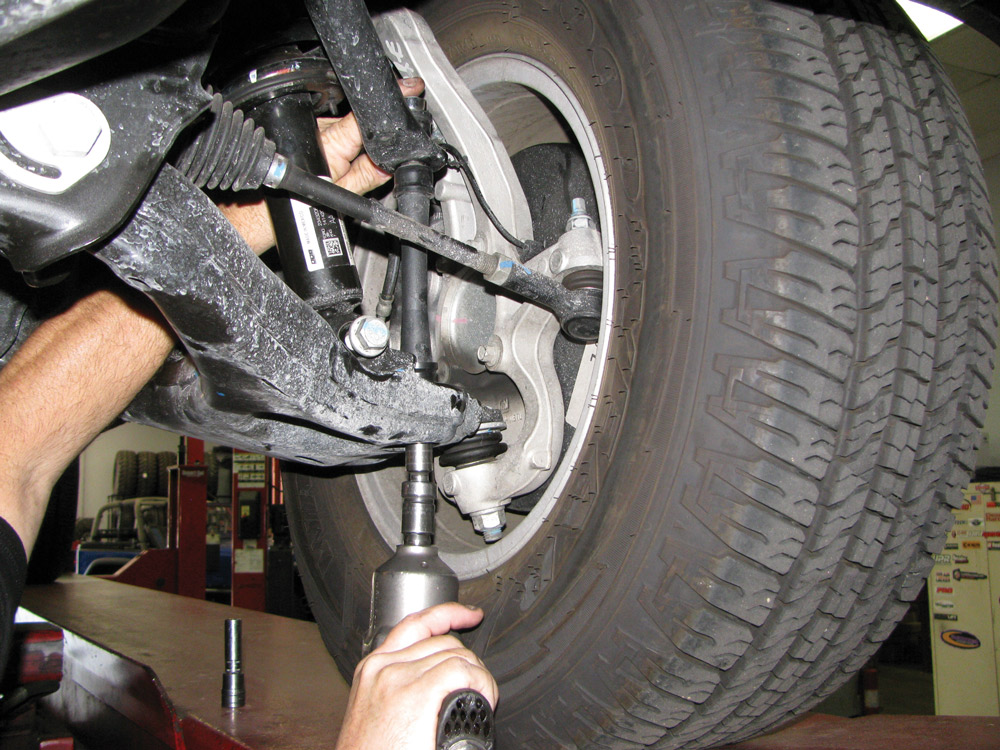
Trucks come from the factory with a slight rake: The nose is lower than the rear so that when the bed is filled with stuff, the truck becomes physically level. That’s fine for normal people, but what if you want to give your truck a mild lift while leveling out the truck in the process? That’s when you go with a leveling kit, naturally.

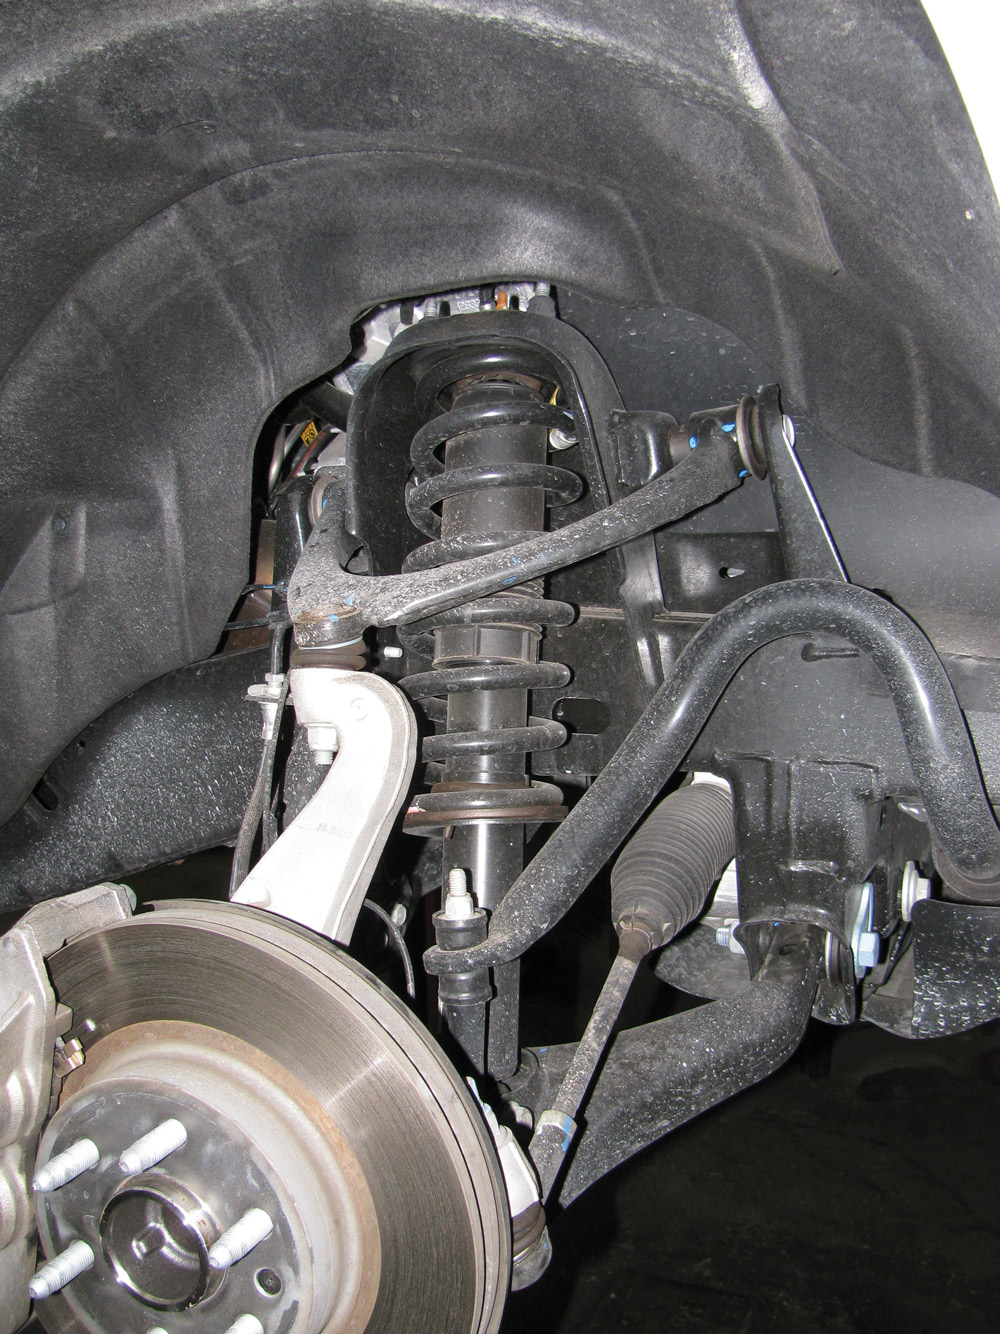
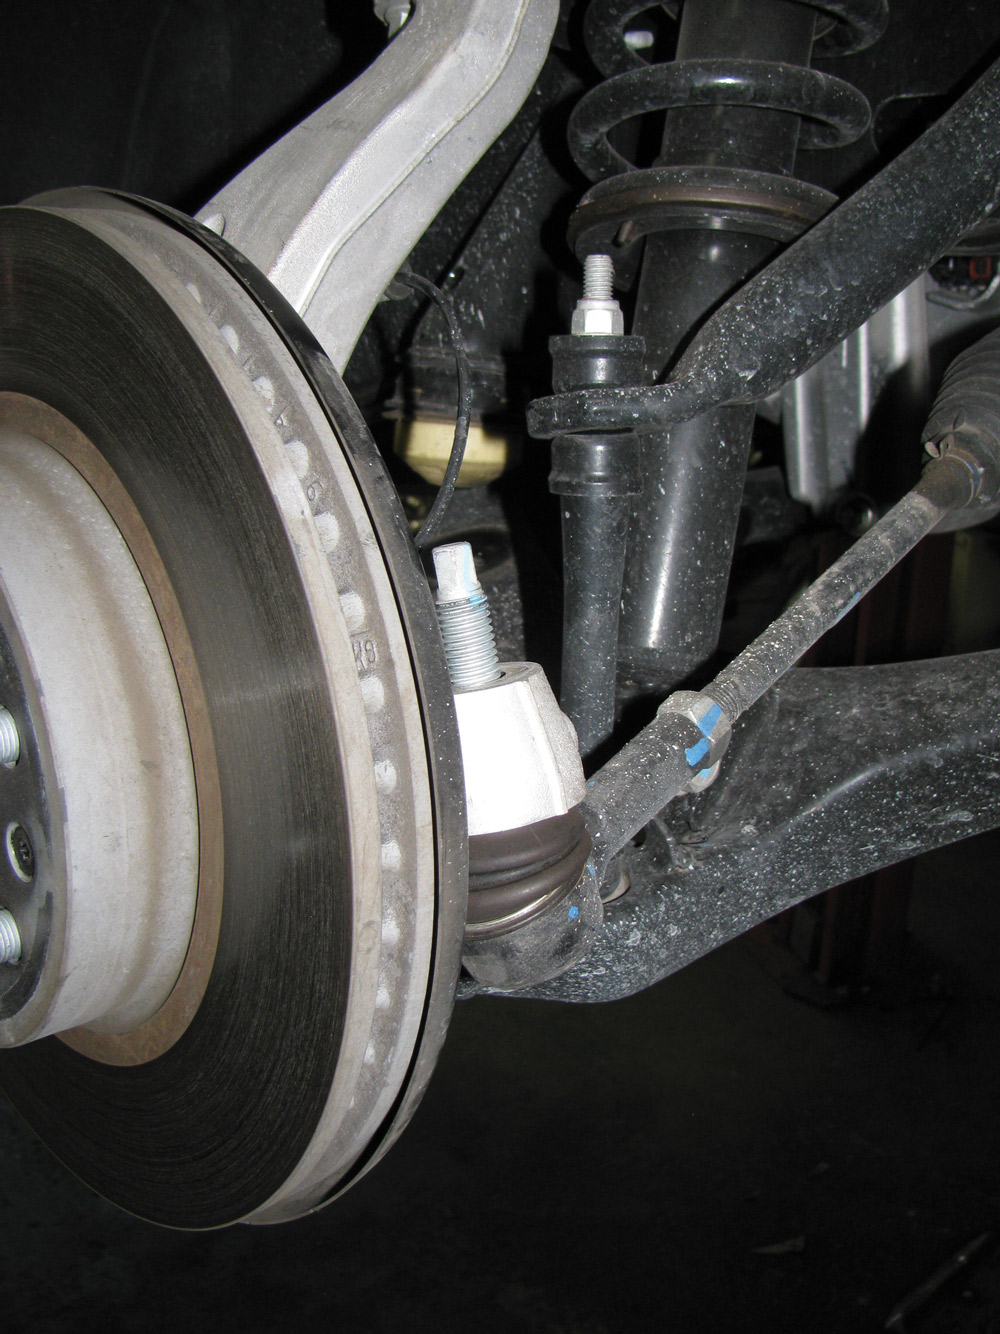
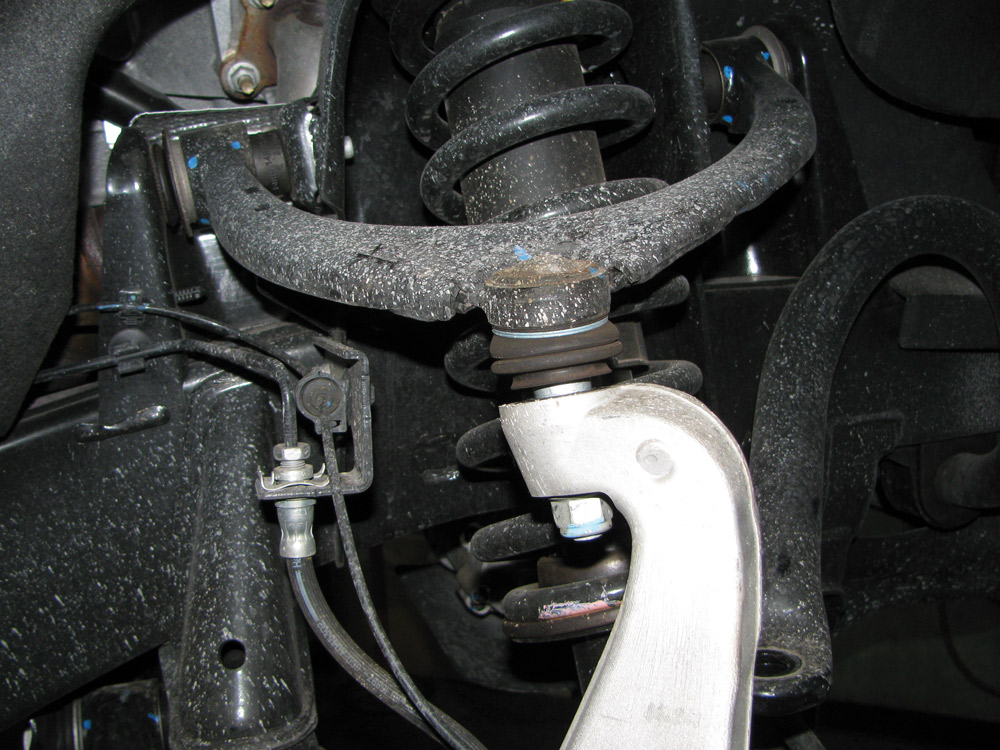
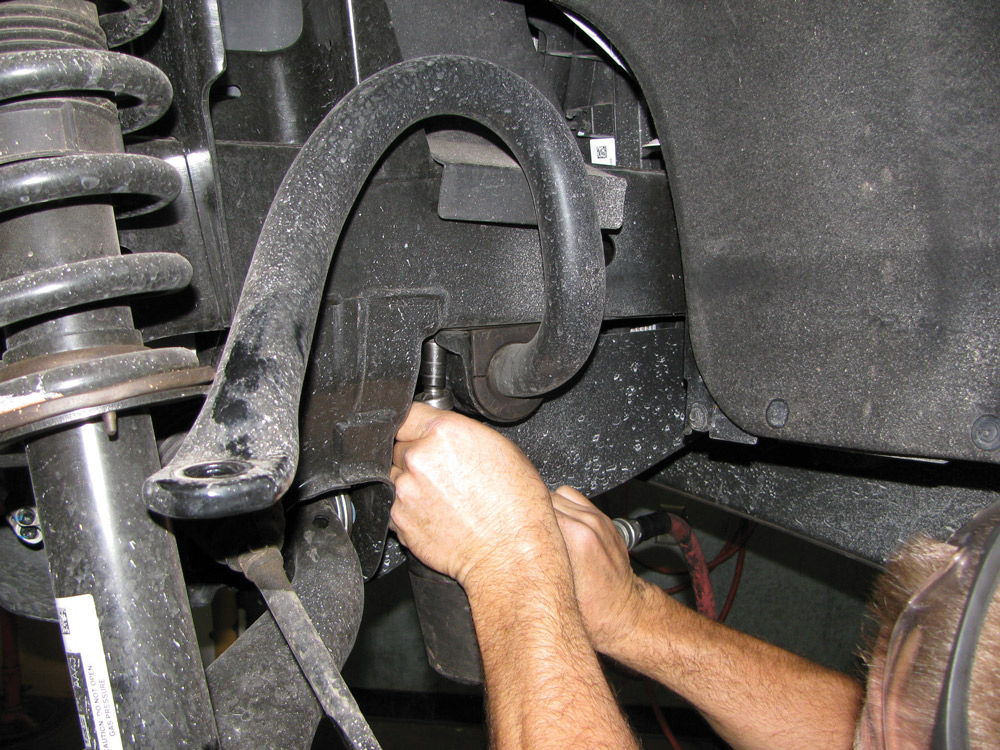
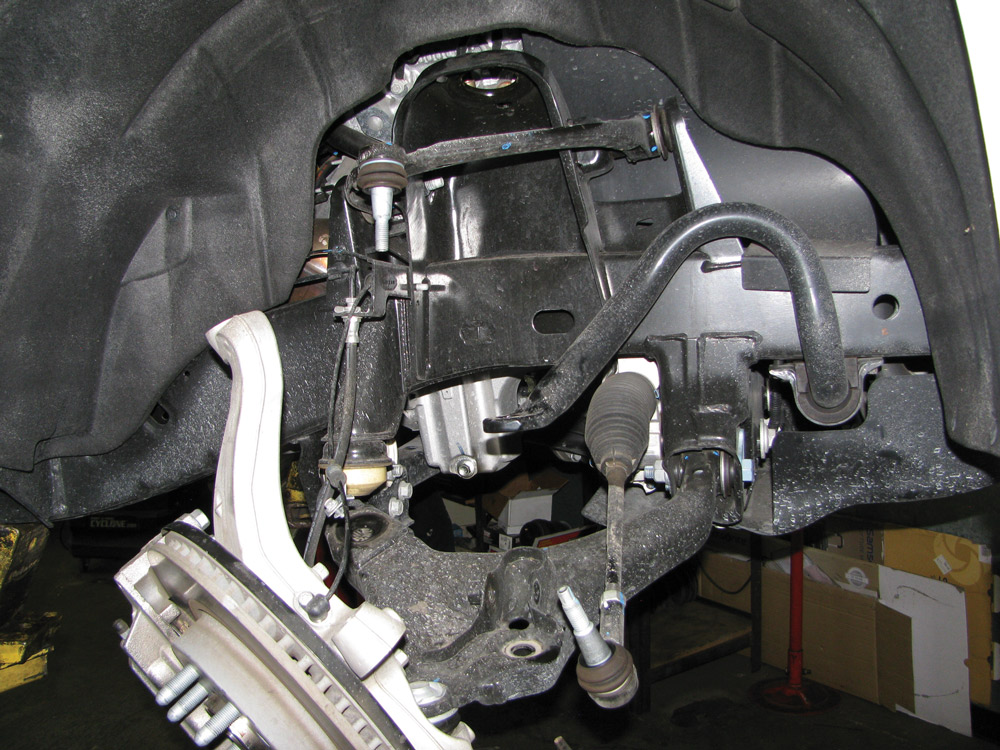
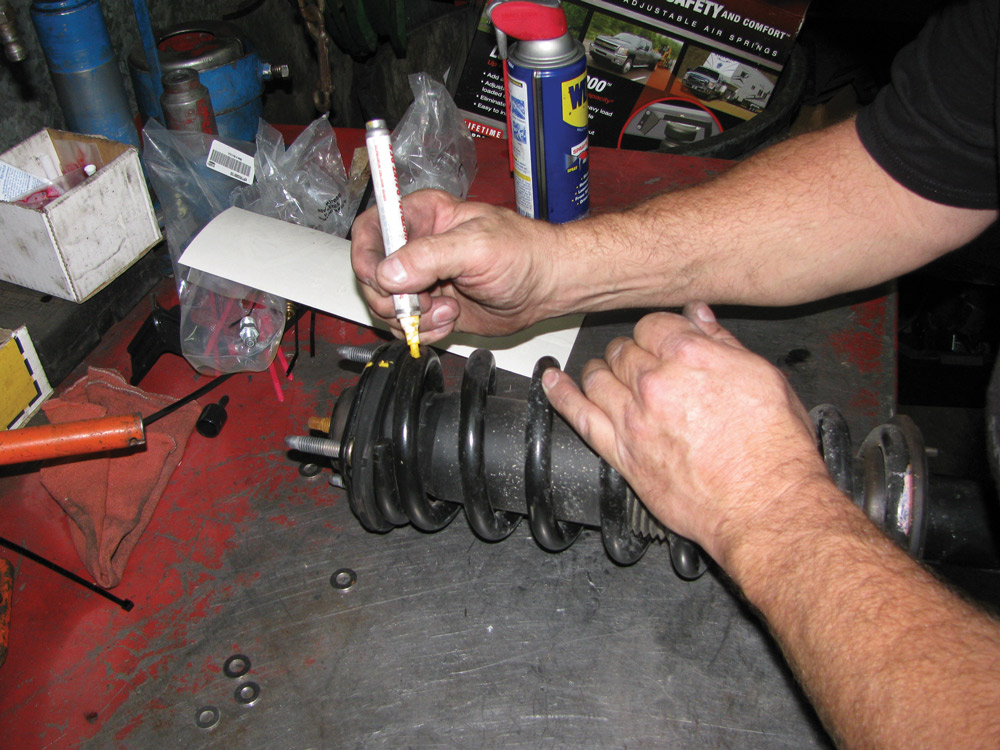
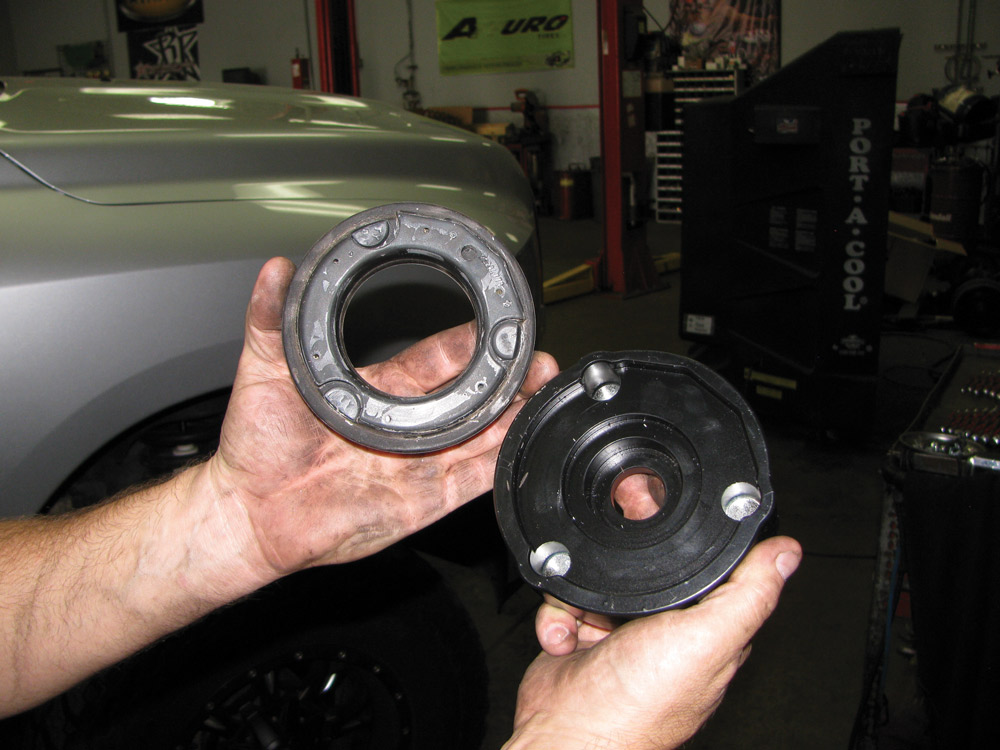
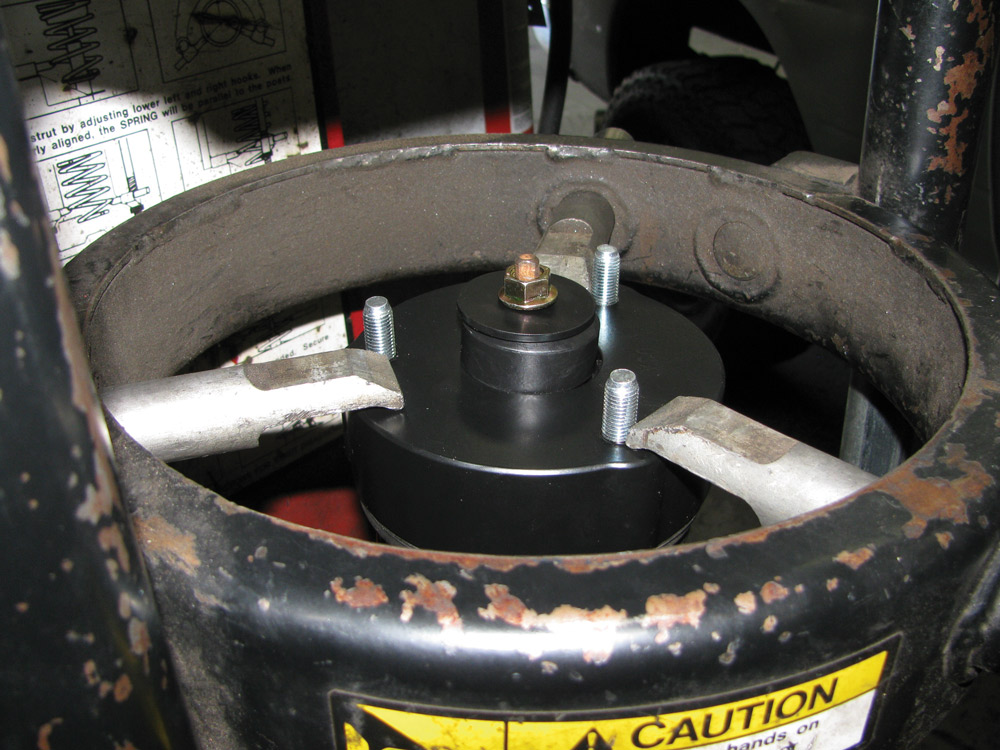
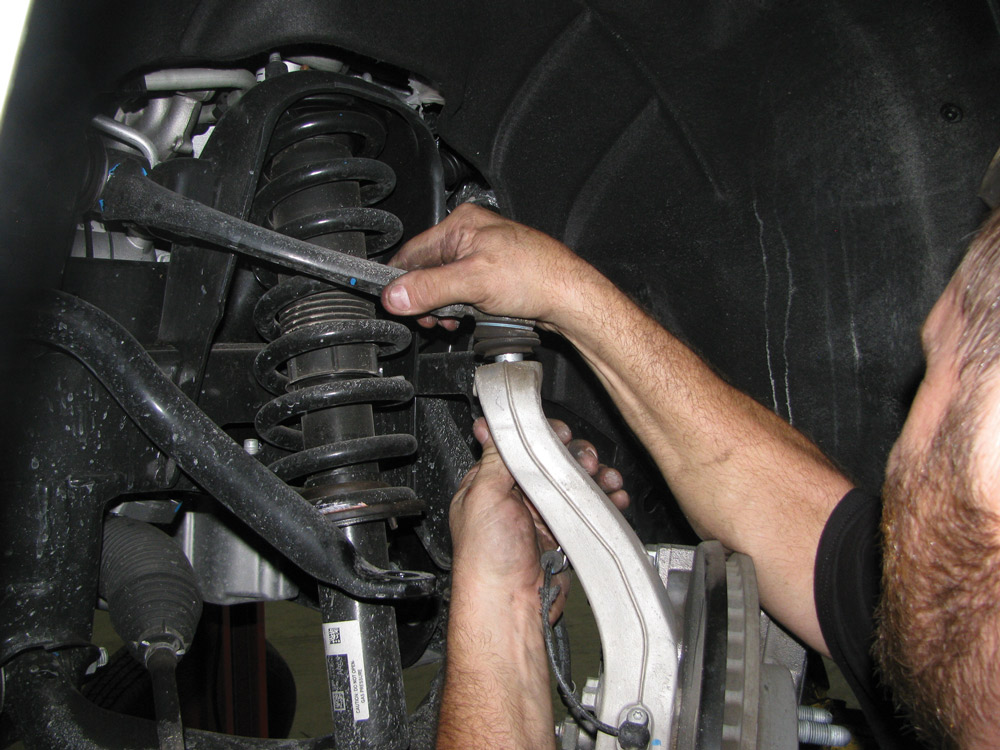
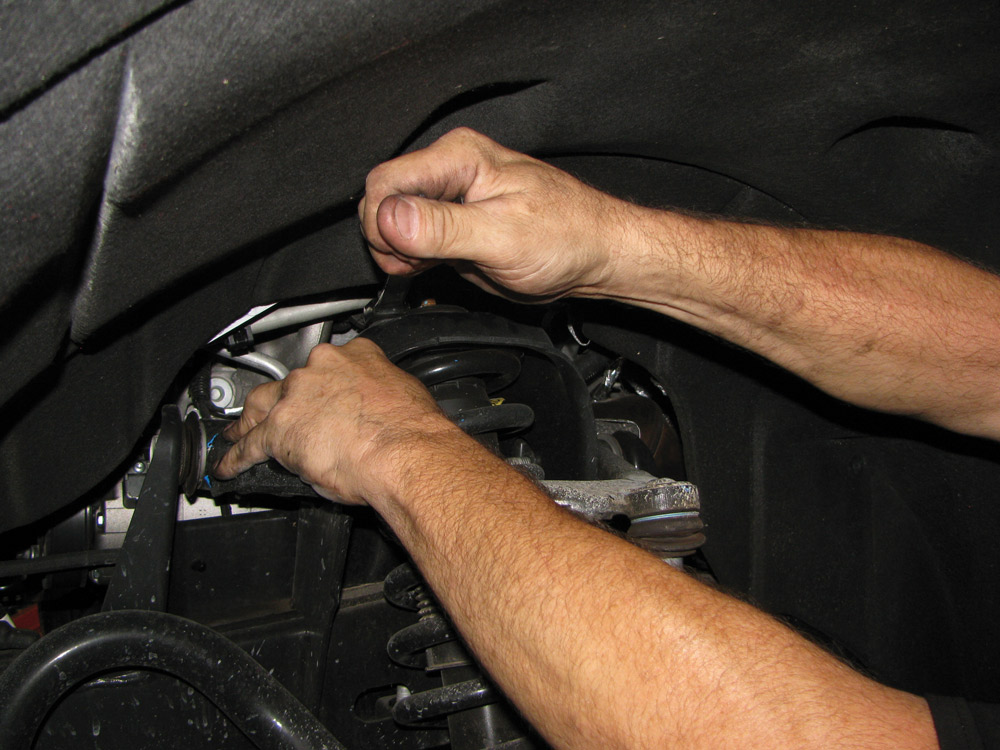
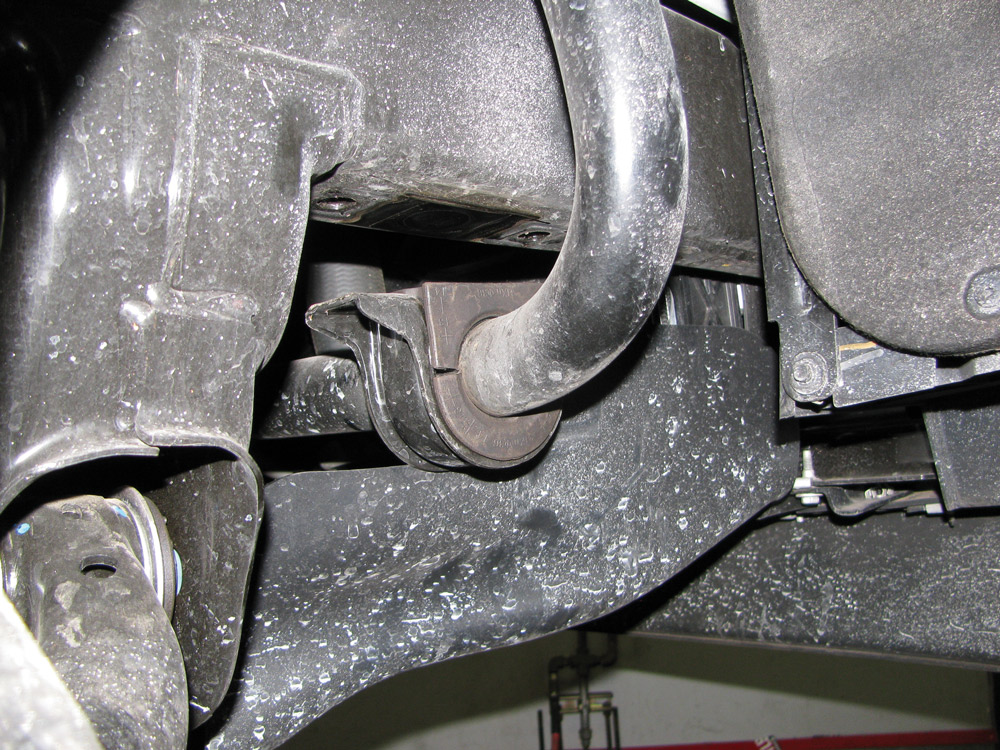
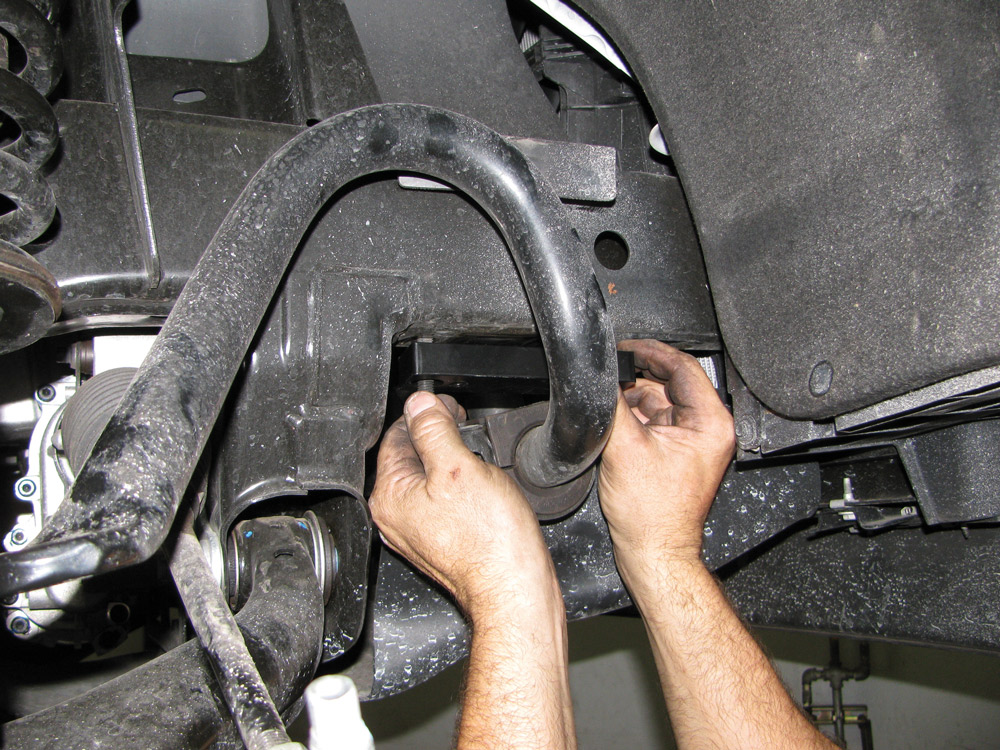
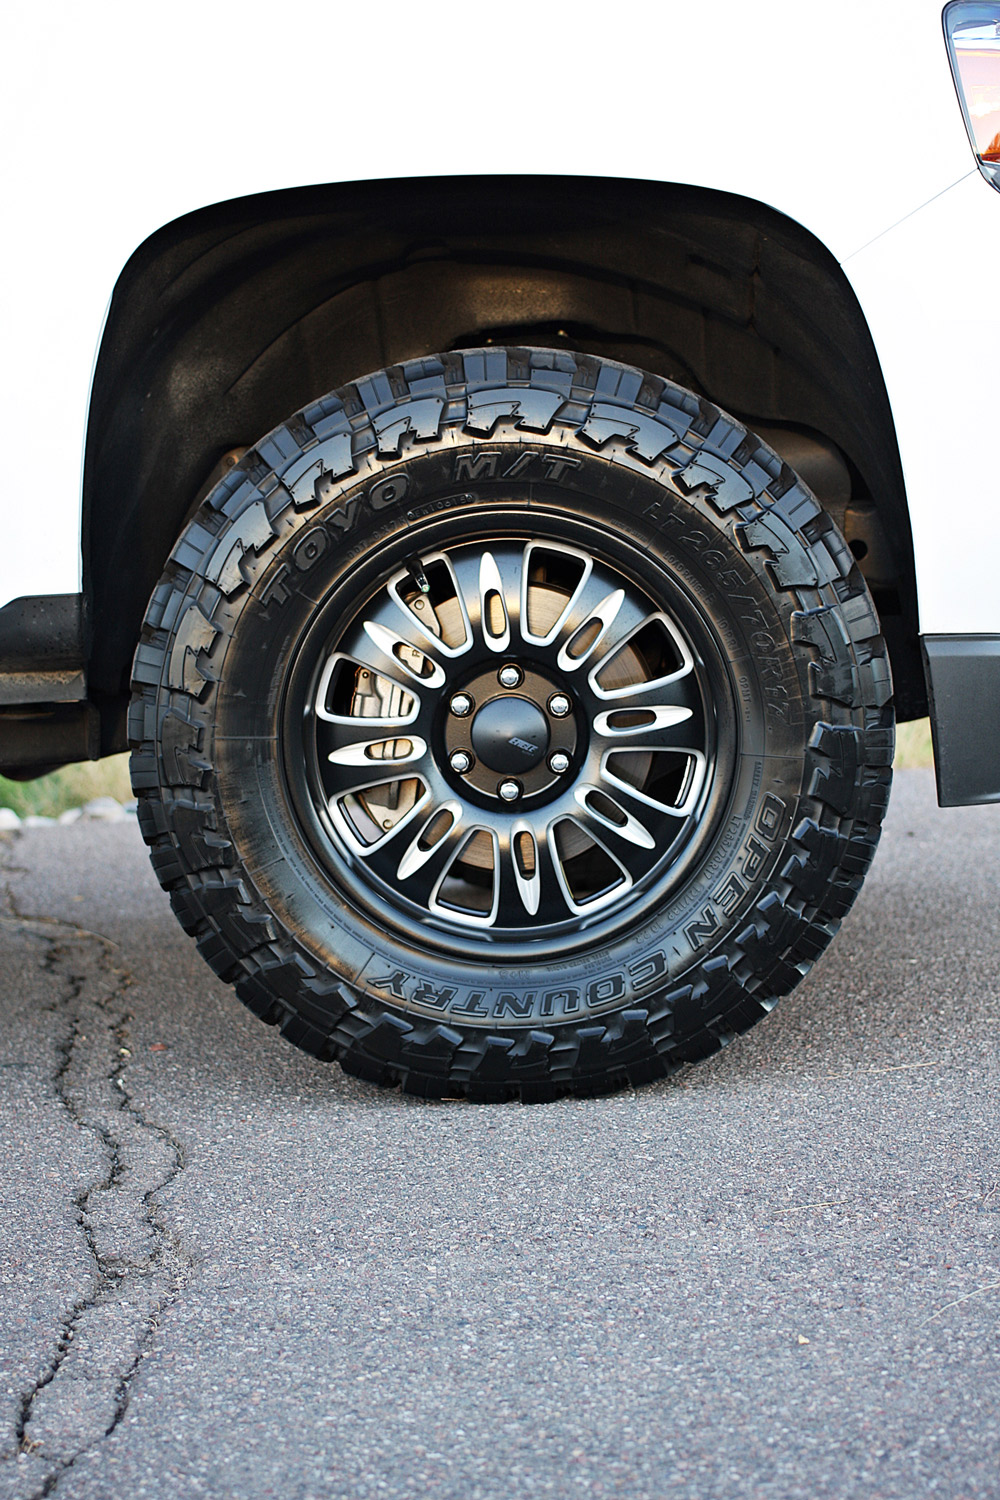
ReadyLIFT makes lots of different types of lift kits, including the leveling kit for the 2015-plus Chevrolet Colorado and GMC Canyon. This is the first year of the new body style (and new suspension), so the fact that they have the kit ready right out of the gate is awesome.
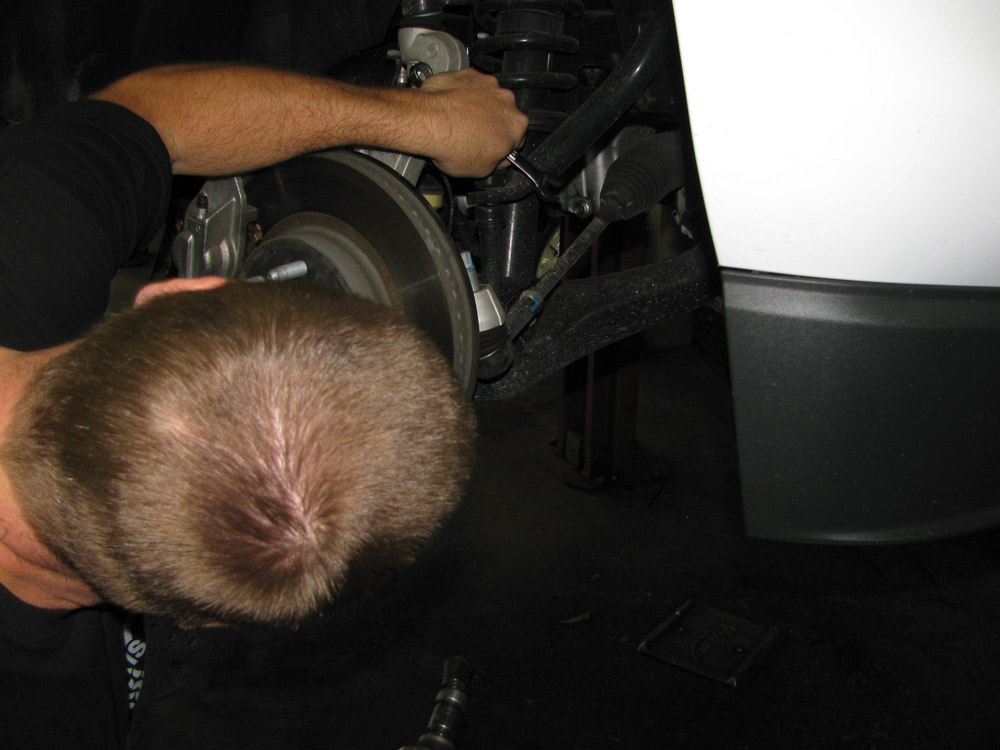
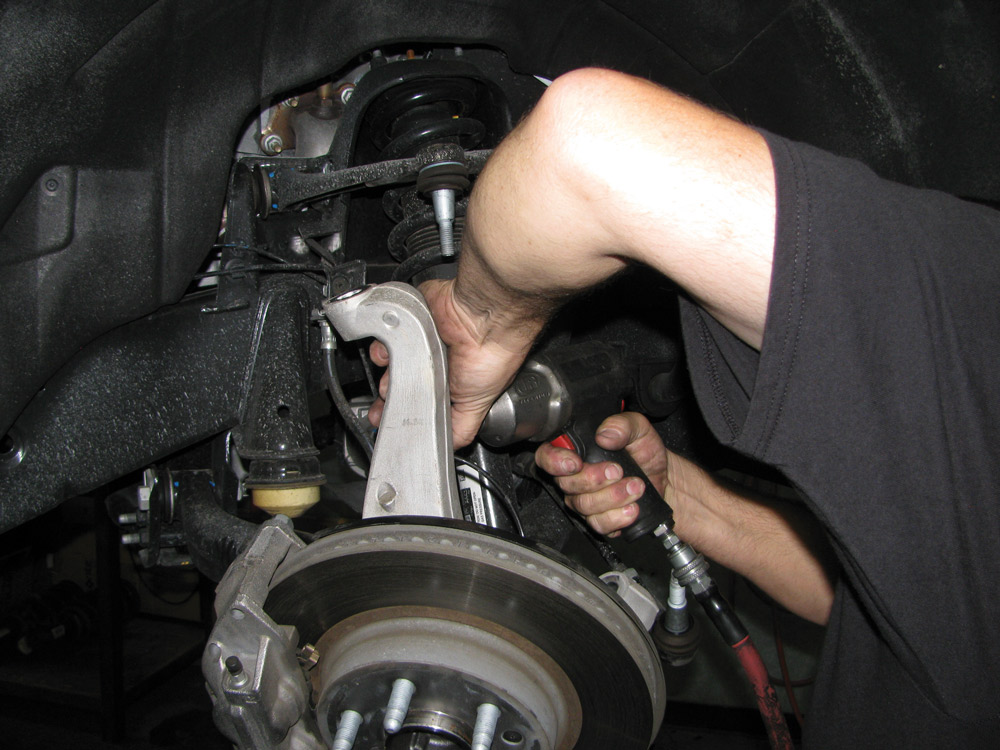
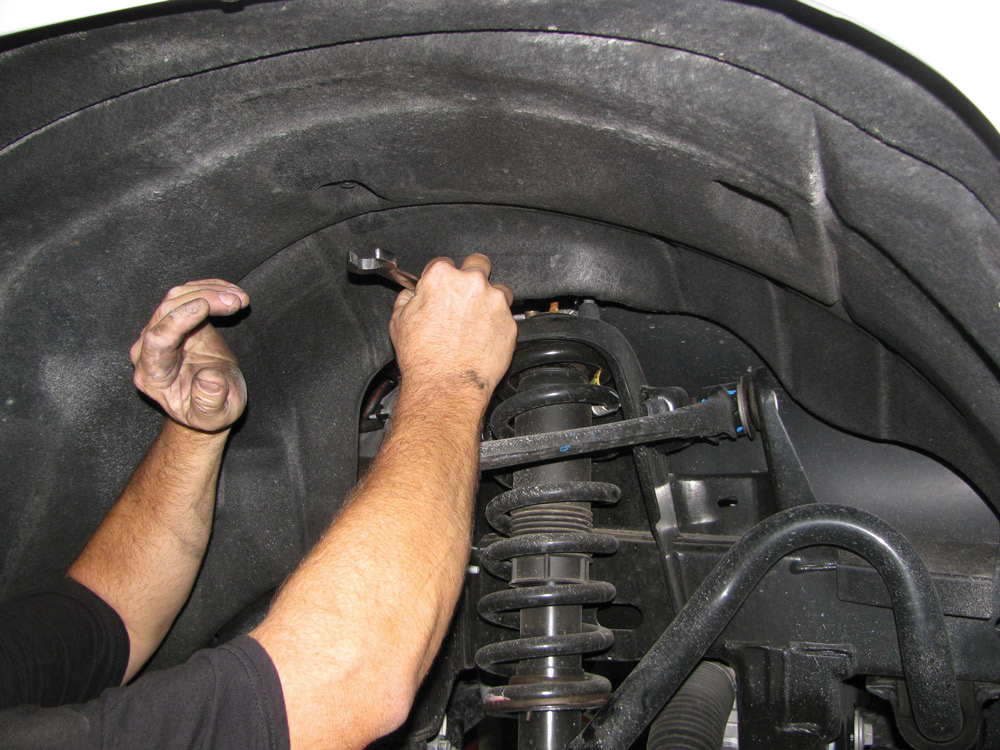
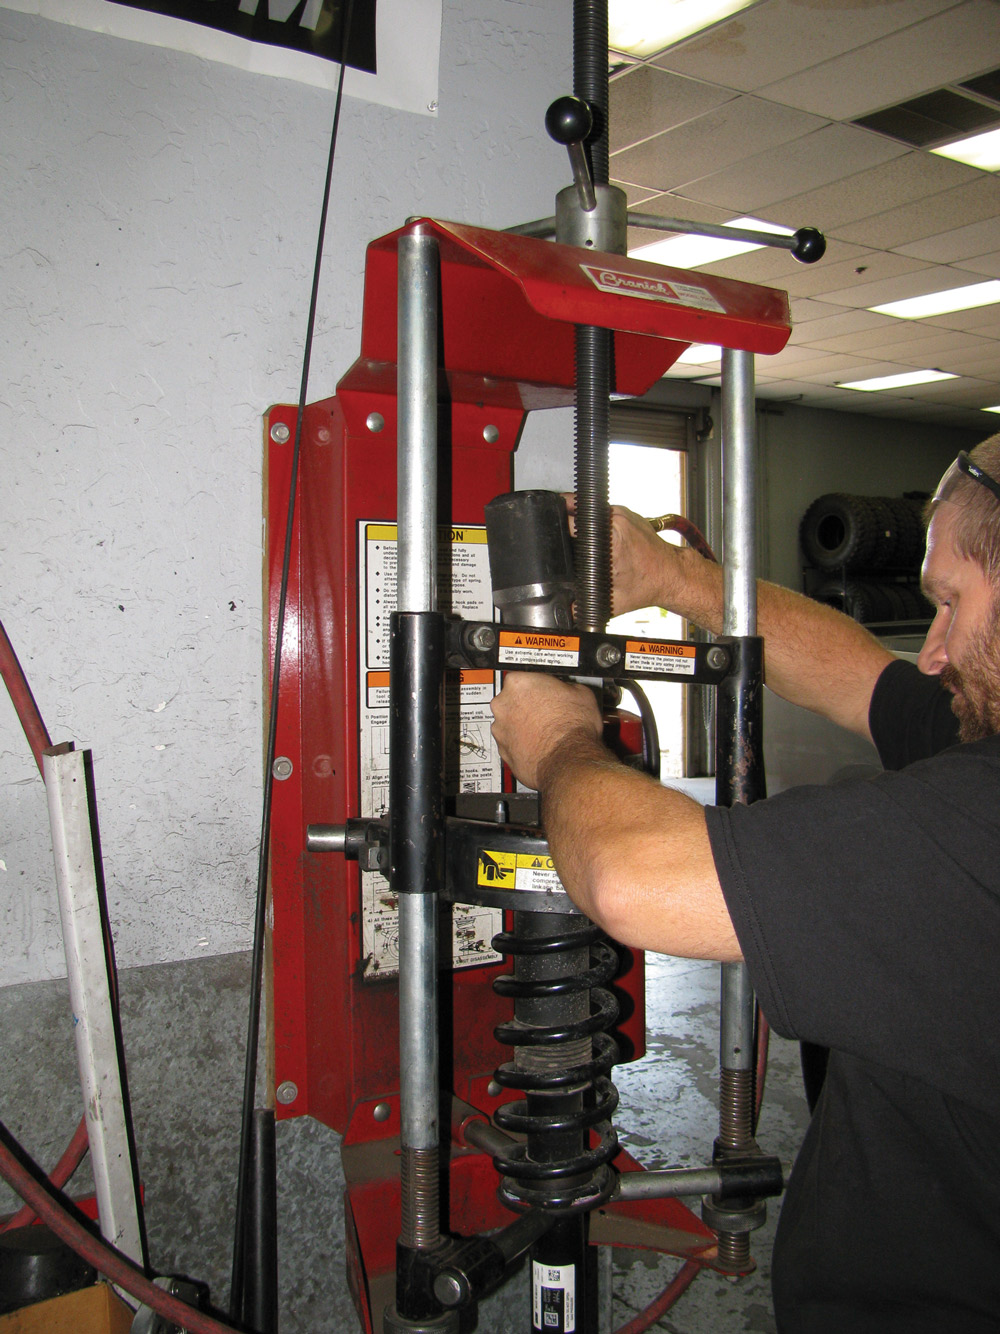
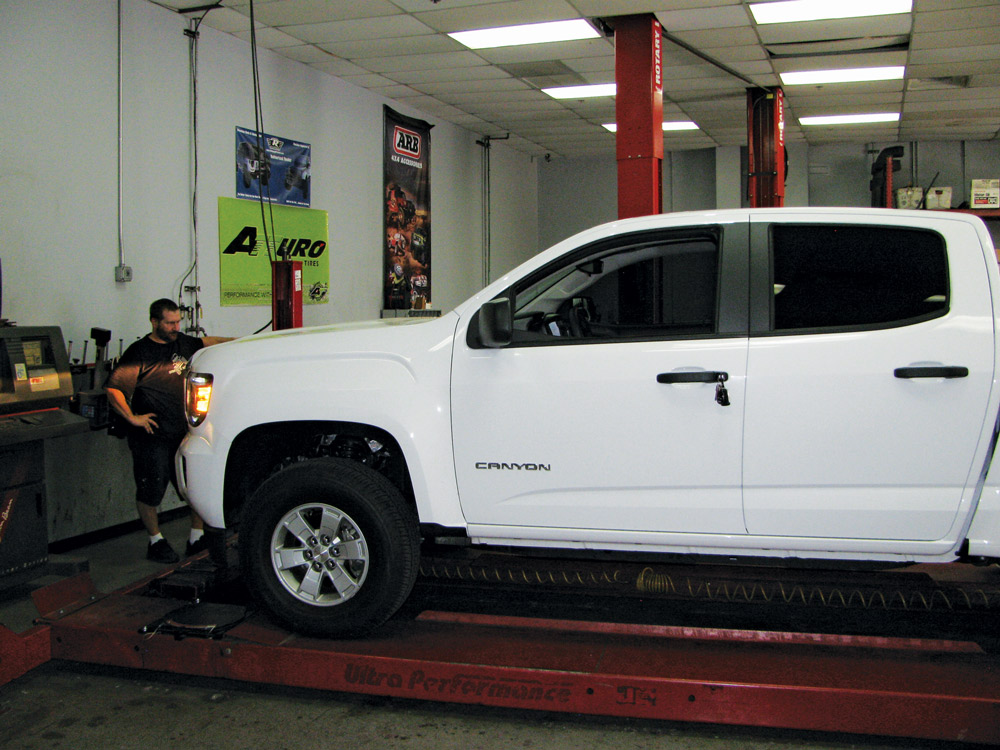
To find out how awesome, we hit up Desert Rat Off-Road Center in Tempe, Arizona to install its leveling kit on a ’15 GMC Canyon crew cab.
[divider]SOURCES[/divider]
Desert Rat Off Road Center
480.838.7800
Desertrat.com
Eagle Wheels
Aewheel.com
ReadyLIFT
877.759.9991
Readylift.com
Toyo Tires
800.442.8696
Toyotires.com


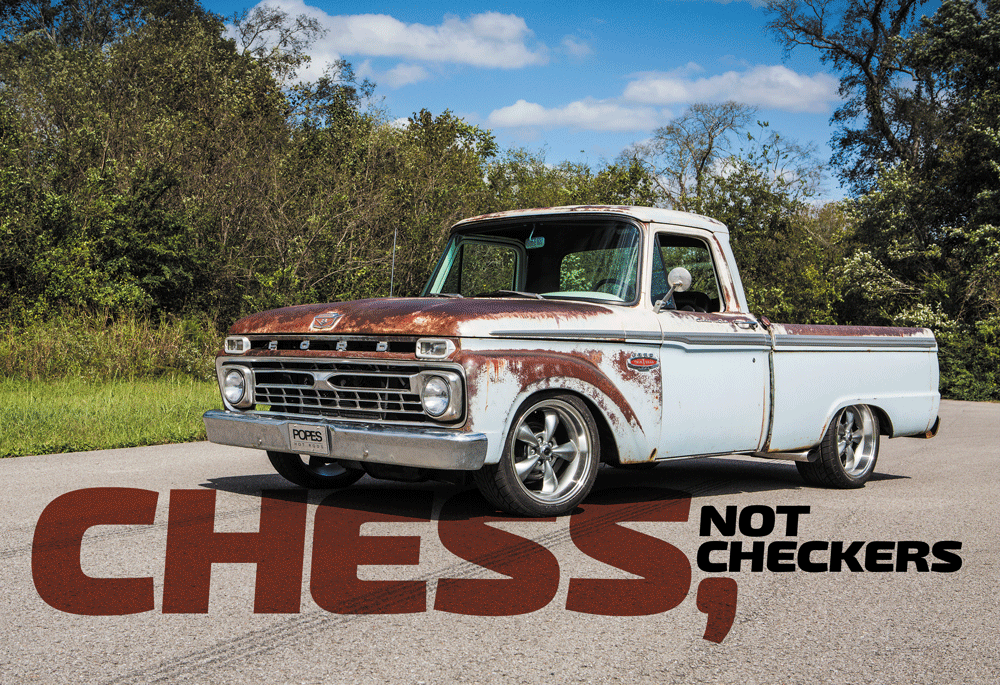
F100 Builders Guide
Sort of like playing chess, the truck game (as some of us call it) is a fun one to play after you get some experience… Continue reading
Ashok Kumar . May 01, 2020
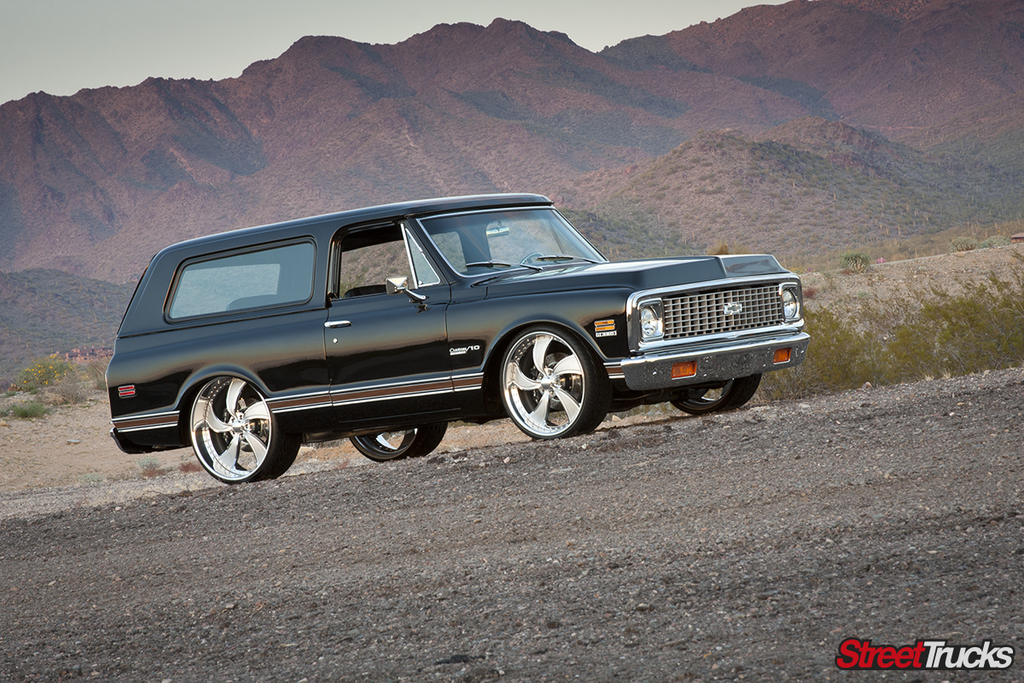
c10
When Frank Nuñez of Phoenix told his friends that he wanted to build a 1967-72 C-10 Blazer on 24s and 26s, many told him that… Continue reading
Chris Hamilton . December 17, 2020
Blood Sweat and Gears
A side from a few hit movies AND an iconic mainstream song from the Smashing Pumpkins, 1979 didn’t offer a whole lot of extremely reference-able… Continue reading
Chris Hamilton . February 01, 2022

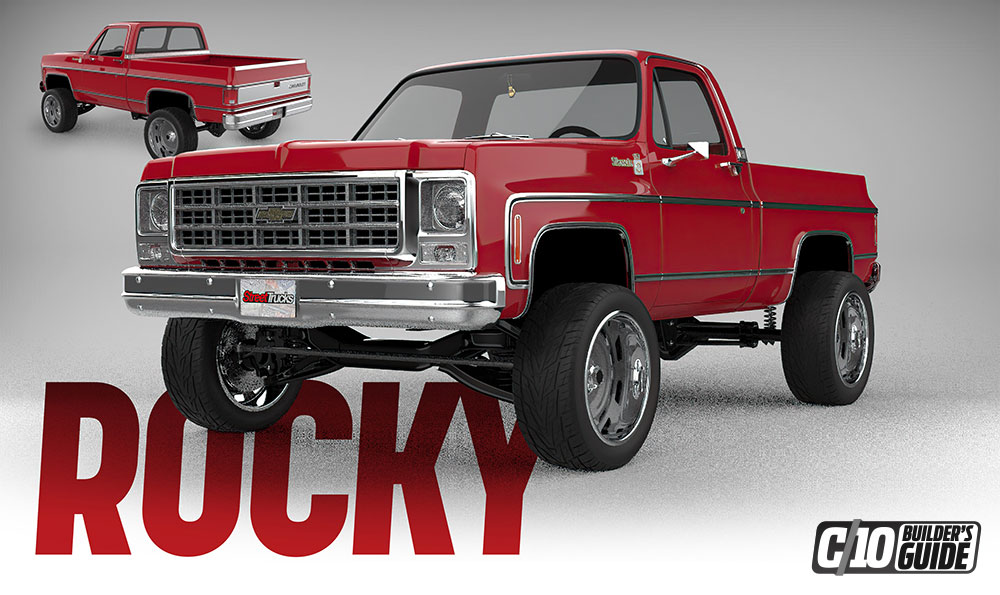
C10 Builders Guide
Wheel and Tire Guide for Classics WHEN IT COMES TO WHEELS and tires, everyone certainly has their own style and favorite wheel company of choice.… Continue reading
SOLOMON LUNGER . November 29, 2019
Industry News
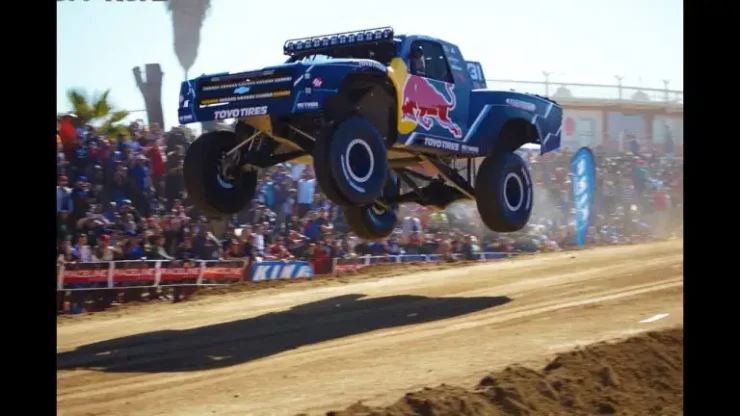
McMillin Leads Championship with 2nd Consecutive 2019 SCORE World Desert Championship Victory ENSENADA, BAJA CALIFORNIA, MEXICO – Andy McMillin and Toyo Tires® won the 51st SCORE Baja 500 this… Continue reading
Chris Hamilton . June 04, 2019
Department
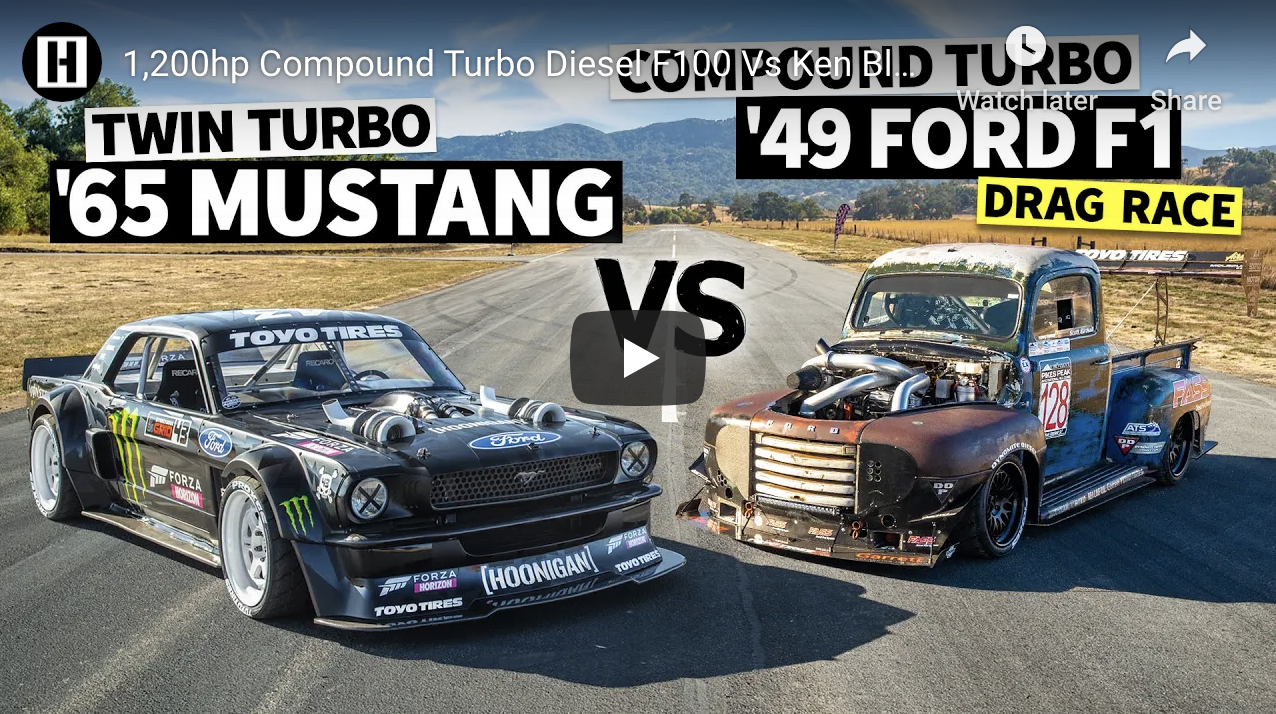
Direct from the Hoonigan YouTube channel! Today’s lineup is one of the finest diesel truck builds that we have ever featured on the Hoonigan channels:… Continue reading
Chris Hamilton . December 07, 2020


We use cookies to enhance your browsing experience, serve personalized ads or content, and analyze our traffic. By clicking "Accept All", you consent to our use of cookies. Visit our Cookie Policy for more info.


Share Link