 SOLOMON LUNGER
.
November 20, 2019
.
F100 Builders
.
SOLOMON LUNGER
.
November 20, 2019
.
F100 Builders
.
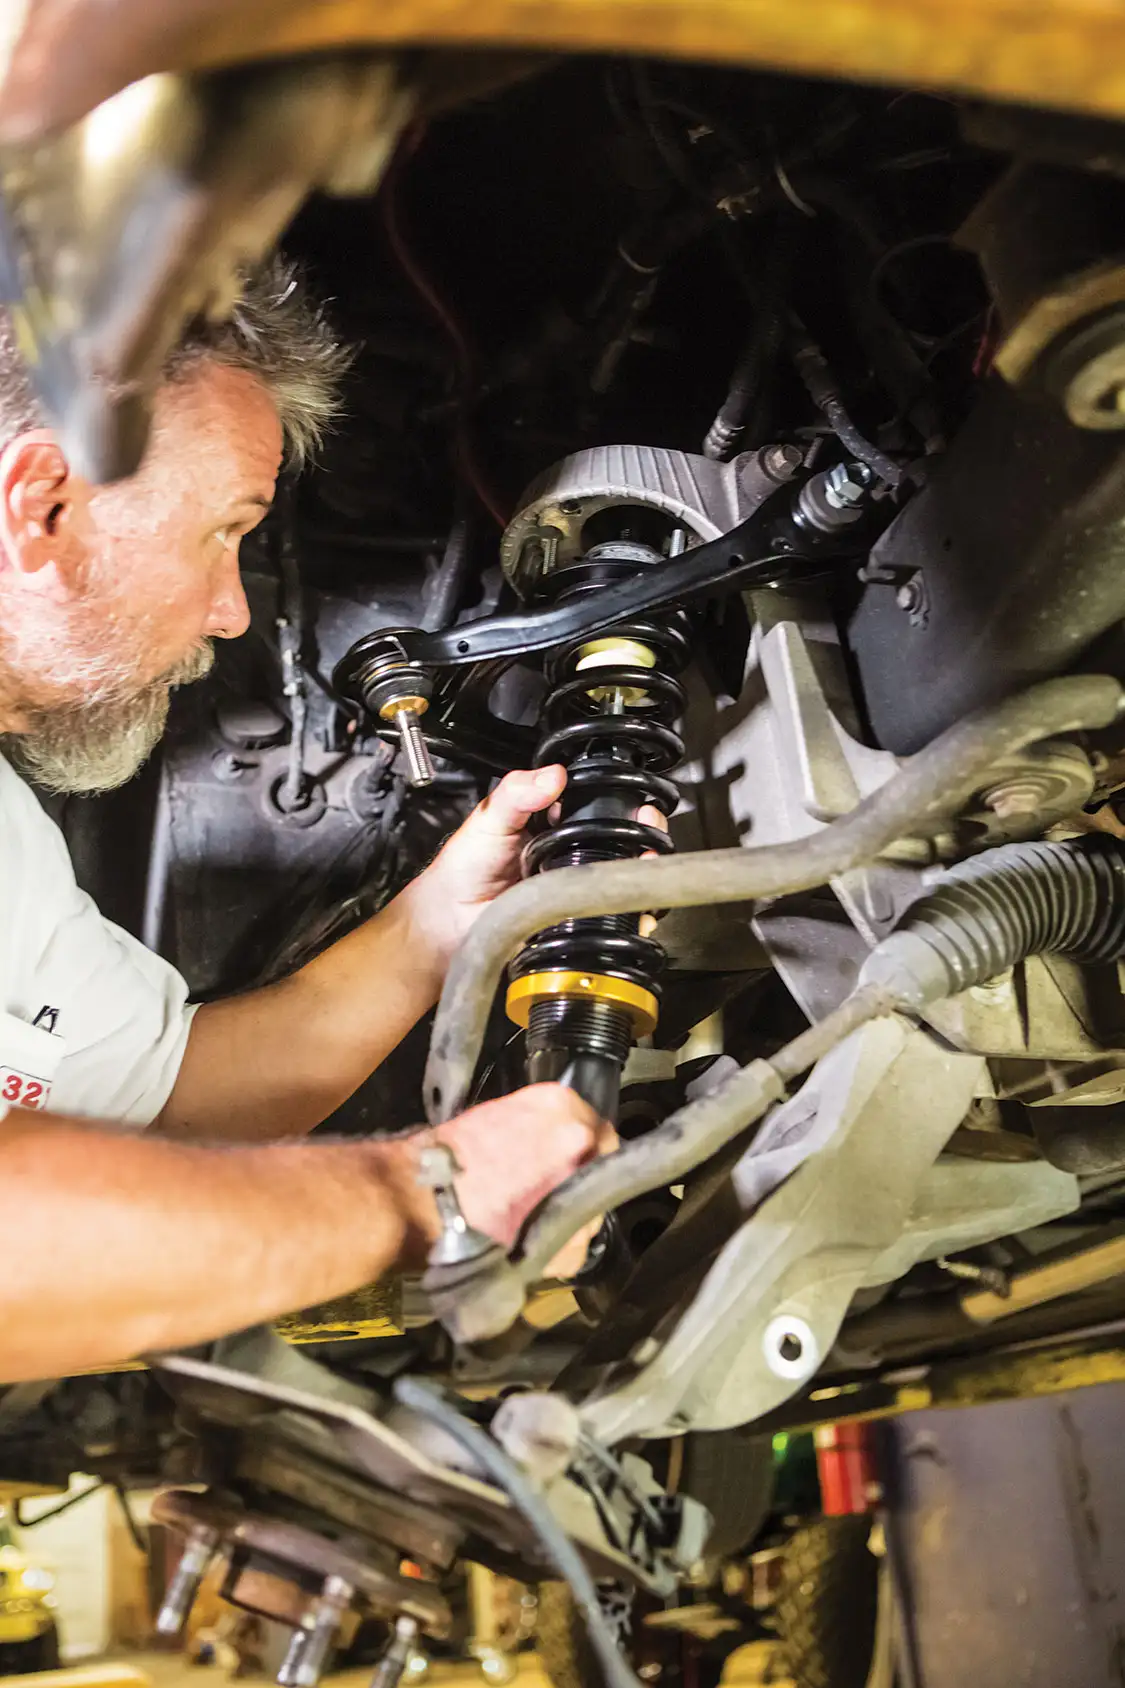
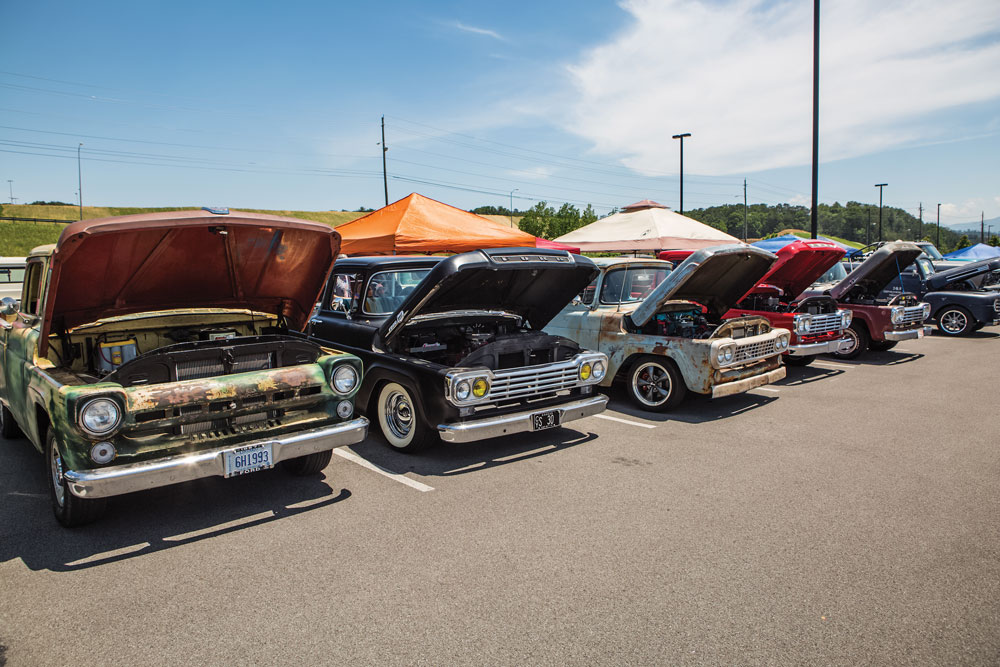
TEAM321 NOW OFFERS ADJUSTABLE coilovers to effectively set the ride height of your Crown Vic front suspension swap. Crown Vic front suspension swaps in F-100s have become popular due to their wallet friendly budget and readily available parts. Besides the CV front ends, another issue facing truck owners is tuning the front suspension to better suit their desired ride height and driving/ handling characteristics.
Considering the Crown Vic was equipped with civilian springs or Police Interceptor springs, F-100 owners had to either settle for the ride height and spring rate of their swap… too soft, too stiff or make due with the limited spring options, which requires spring compressors, potentially cutting coils in a time-consuming trial and error effort that ultimately resulted in what many feel is a compromised ride. Now customers can select their spring rates (with help from Team321) and adjust the ride height with the twist of a spanner wrench.

Installation of Team321’s coilovers is a simple remove and replace. Remove the factory coil spring and shock assembly, save your lower shock mounting hardware and Install the Team321 coilovers. Team321 is all about options. If you already have coilover shocks/springs, they will happily provide the mounts and mounting hardware to fit your choice of shocks/springs. You can purchase your shocks and springs from your favorite supplier and Team321 will sell you the mounts to make it all work. Team321 has been in the suspension business for 20 years and have designed a wide variety of suspensions fitted with coilovers. Follow along as we show you just how easy this swap can be.


C10 Builders Guide
Dino’s Git Down is a once a year event that never let’s down for GM truck enthusiasts around the country. We had the chance to… Continue reading
SOLOMON LUNGER . August 22, 2023
Events
One of the best truck shows on the Gulf Coast is back in 2019 for their annual gathering of custom and classic cars and trucks.… Continue reading
Chris Hamilton . June 24, 2019
Industry News
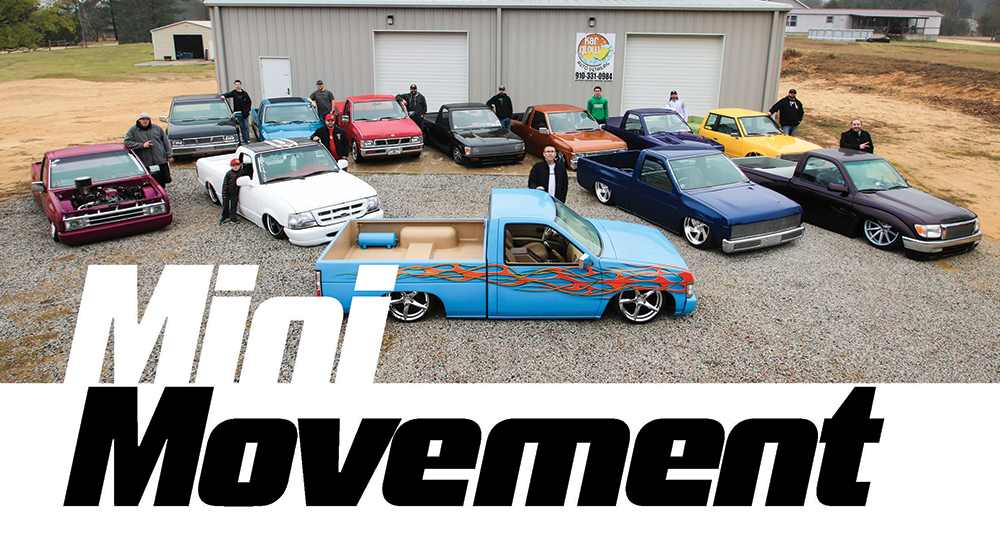
The Rebirth of Slick MINI MOVEMENT (#MINIMOVEMENT) IS SOMETHING I STARTED THREE YEARS AGO WITH THE GOAL OF ENCOURAGING YOUNG PEOPLE TO GET INTO THE… Continue reading
JAMES WHITE . August 02, 2019
Features
If it Ain’t Broke … For the last decade and a half, Heath Spurling of Fort Worth, Texas, has had a hand in the custom… Continue reading
Mike Alexander . July 28, 2023
Features
The Black Sheep of the Ford Family YOU MIGHT RECALL OUR TRIP TO JIMMY’S ROD AND CUSTOM (ST, AUG. 2018, pg. 44) from last issue.… Continue reading
Chris Hamilton . March 25, 2022
C10 Builders Guide
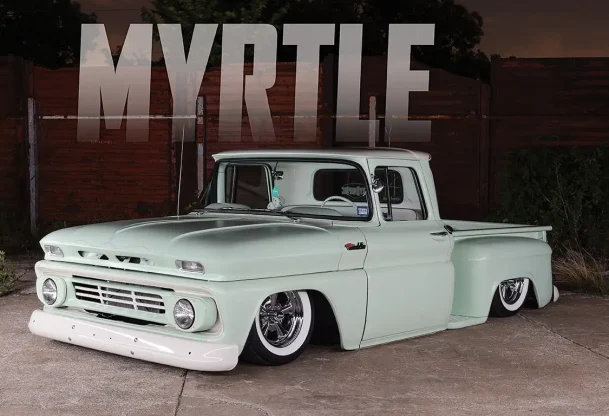
Adjustable C-10 Coil-Over Suspensions Classic Performance Products’ (CPP) complete front and rear coil-over conversion kits for 1963-87 Chevy trucks are fully ride height adjustable from… Continue reading
Chris Hamilton . November 12, 2018


We use cookies to enhance your browsing experience, serve personalized ads or content, and analyze our traffic. By clicking "Accept All", you consent to our use of cookies. Visit our Cookie Policy for more info.

Share Link