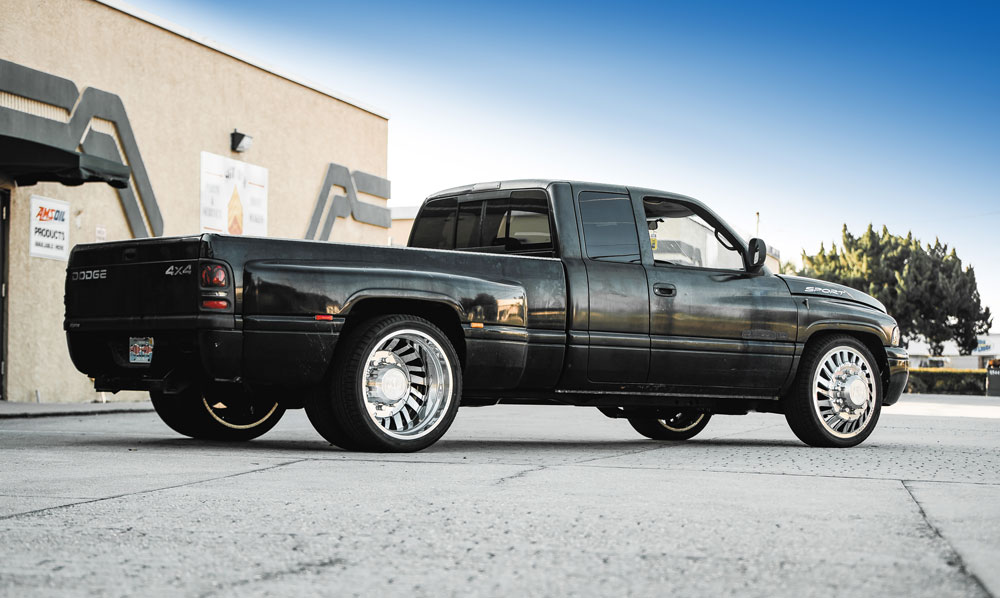
Making its debut at the 1993 North American International Auto Show, the redesigned ’94 Ram was a sales success and named “Truck of the Year” in 1994. Sales increased from 95,542 units in 1993 to 232,092 in 1994, 410,000 in 1995 and 411,000 by 1996 when it was prominently featured as the hero vehicle in the film “Twister.” Sales of this generation peaked at just over 400,000 in 1999 before declining. The purpose of the difference between the light-duty and heavy-duty 2500 trucks was for the heavy-duty 2500 to take the place of the discontinued one-ton single-rear-wheel trucks. Rear axles for the light-duty 2500 trucks were semi-floating, while the heavy-duty 2500 rear axles were full-floating.
*Editor Note: The main difference between the full- and semi-floating axle setups is the number of bearings. The semi-floating axle features only one bearing, while the full-floating assembly has bearings in both the inside and outside of the wheel hub.
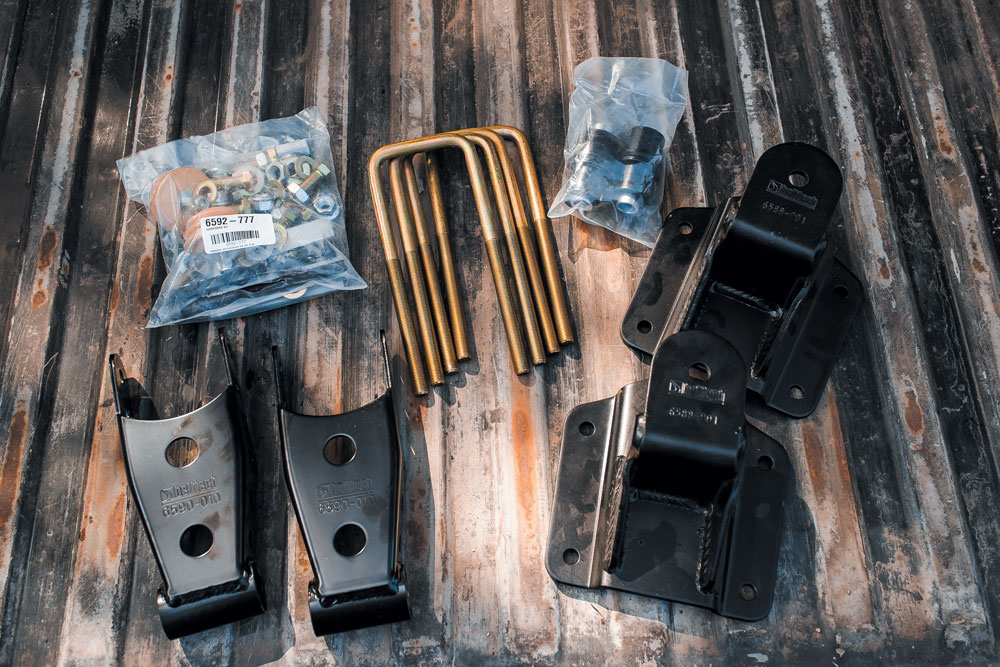
Lowering these massive metal movers needs to be done right the first time. No cheap do-it-yourself routes or hack jobs like cutting springs. Belltech’s complete component lowering kits include all the parts and pieces you need to achieve not only the look you want, but the ride quality, performance and safety you need, all at a price almost anyone can save up for. The kits are made up of a variety of combinations of the company’s individual lowering components as well as all the grade 8 installation hardware and alignment pieces necessary to achieve the advertised lowering amount. The kits can be installed with your basic list of tools, along with a weekend of cold drinks and helpful friends.
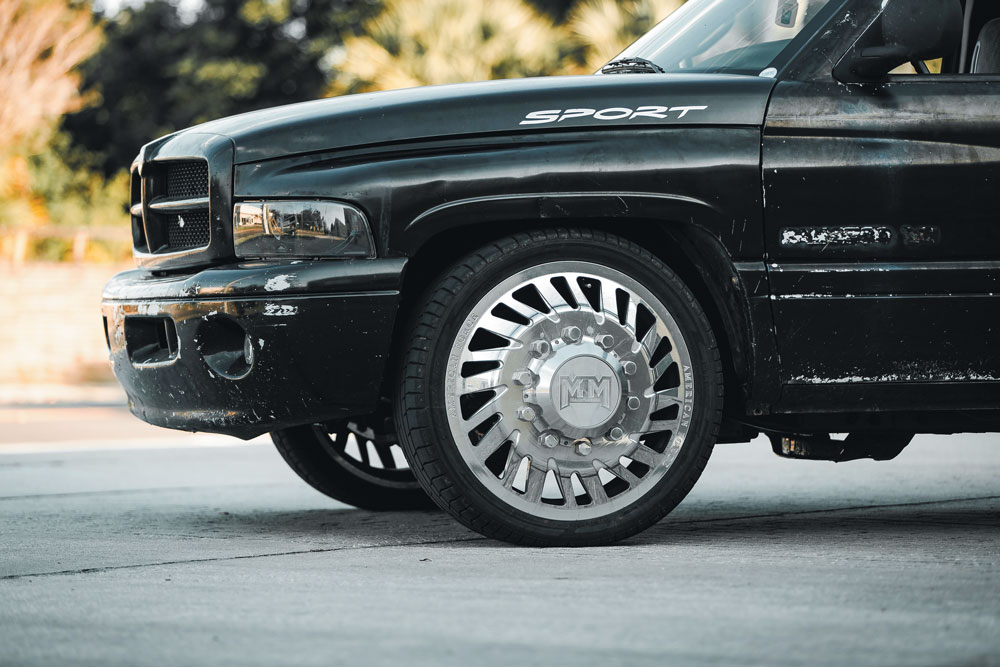
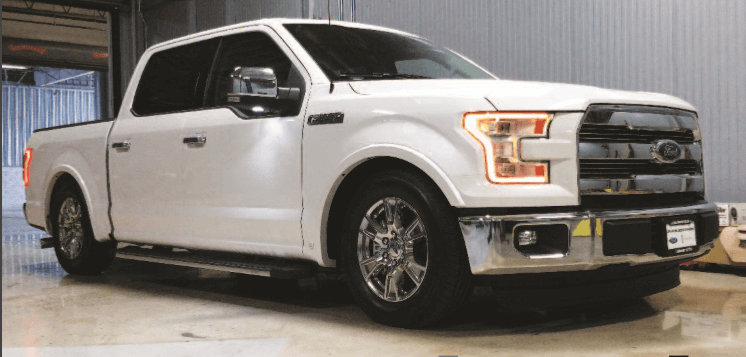
This particular truck is a business vehicle that is on the road more often than not. It needed to be reliable, non-adjustable and comfortable. A Belltech suspension system (Part #824) combined with a set of American Force dually wheels are all that it took to turn this weekend warrior into a daily diva. Let’s follow along with the full install process!
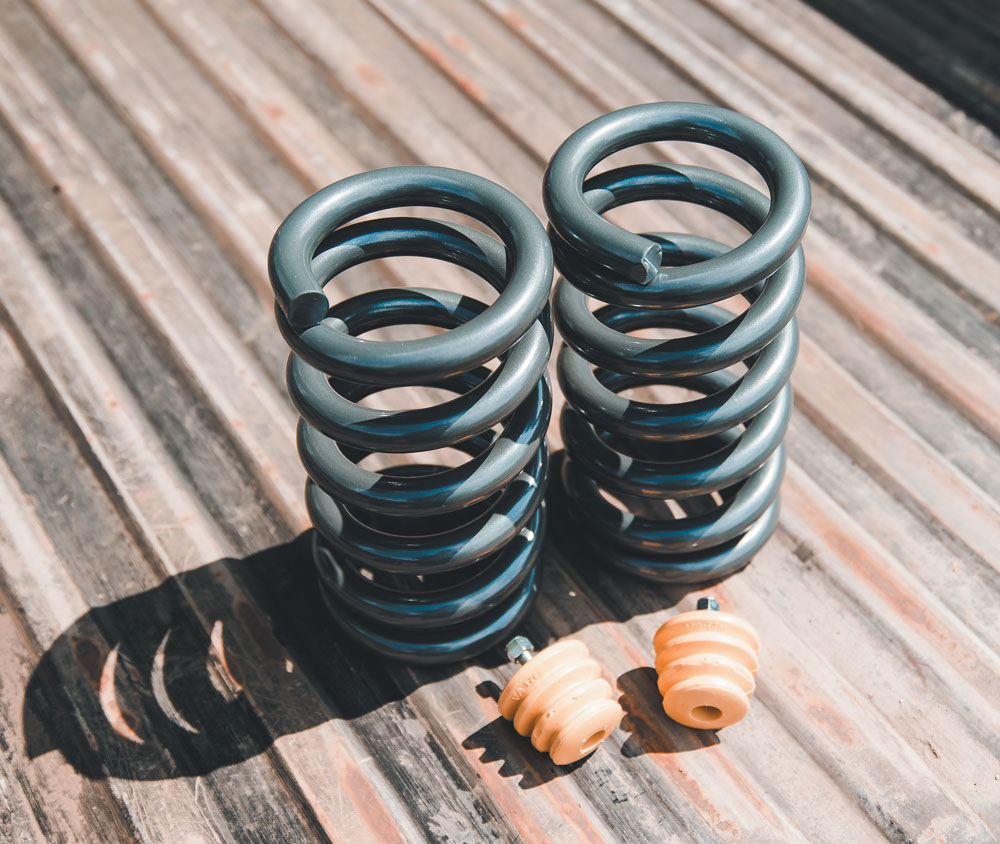
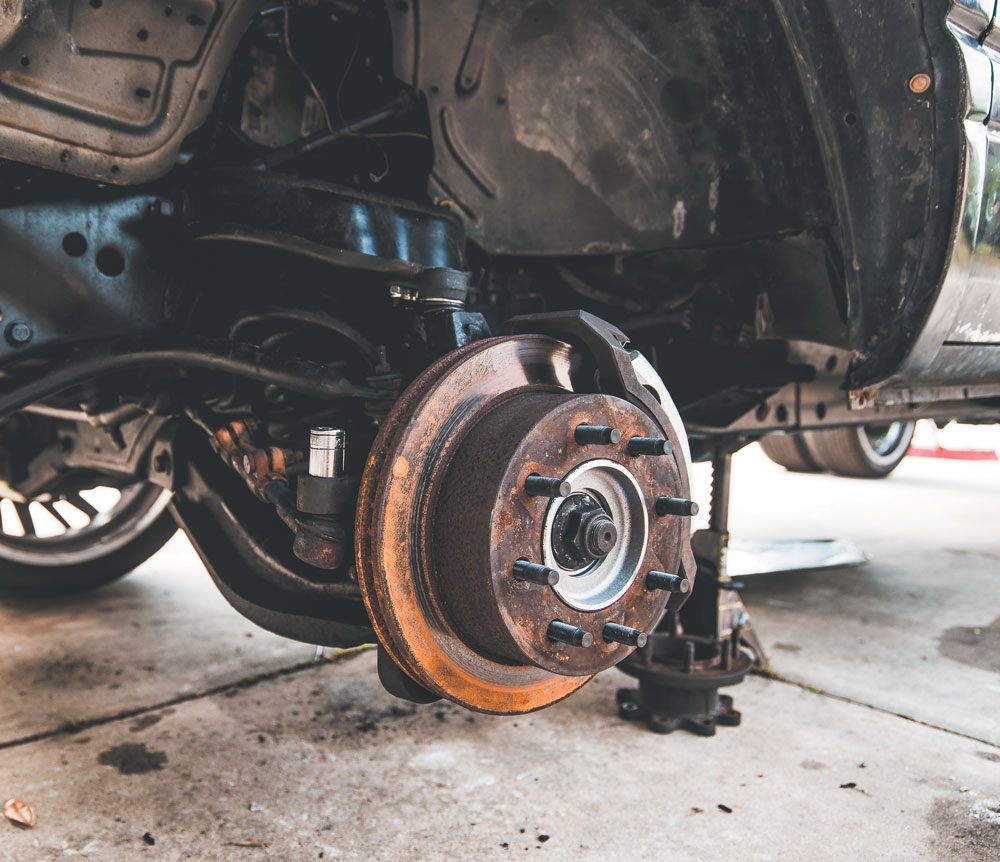
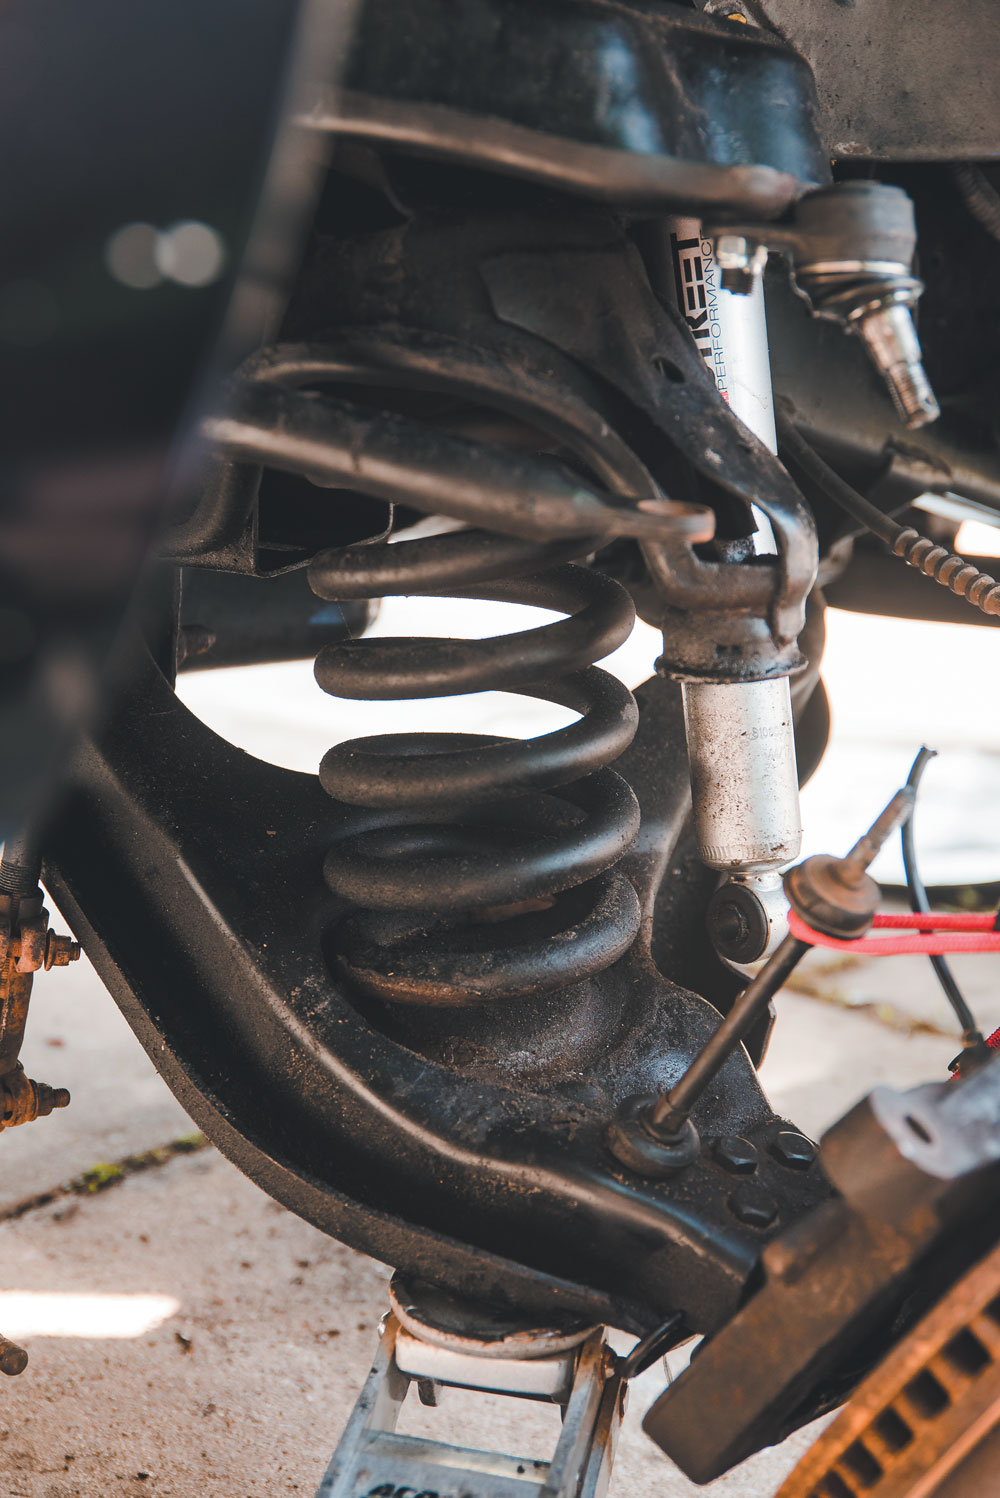
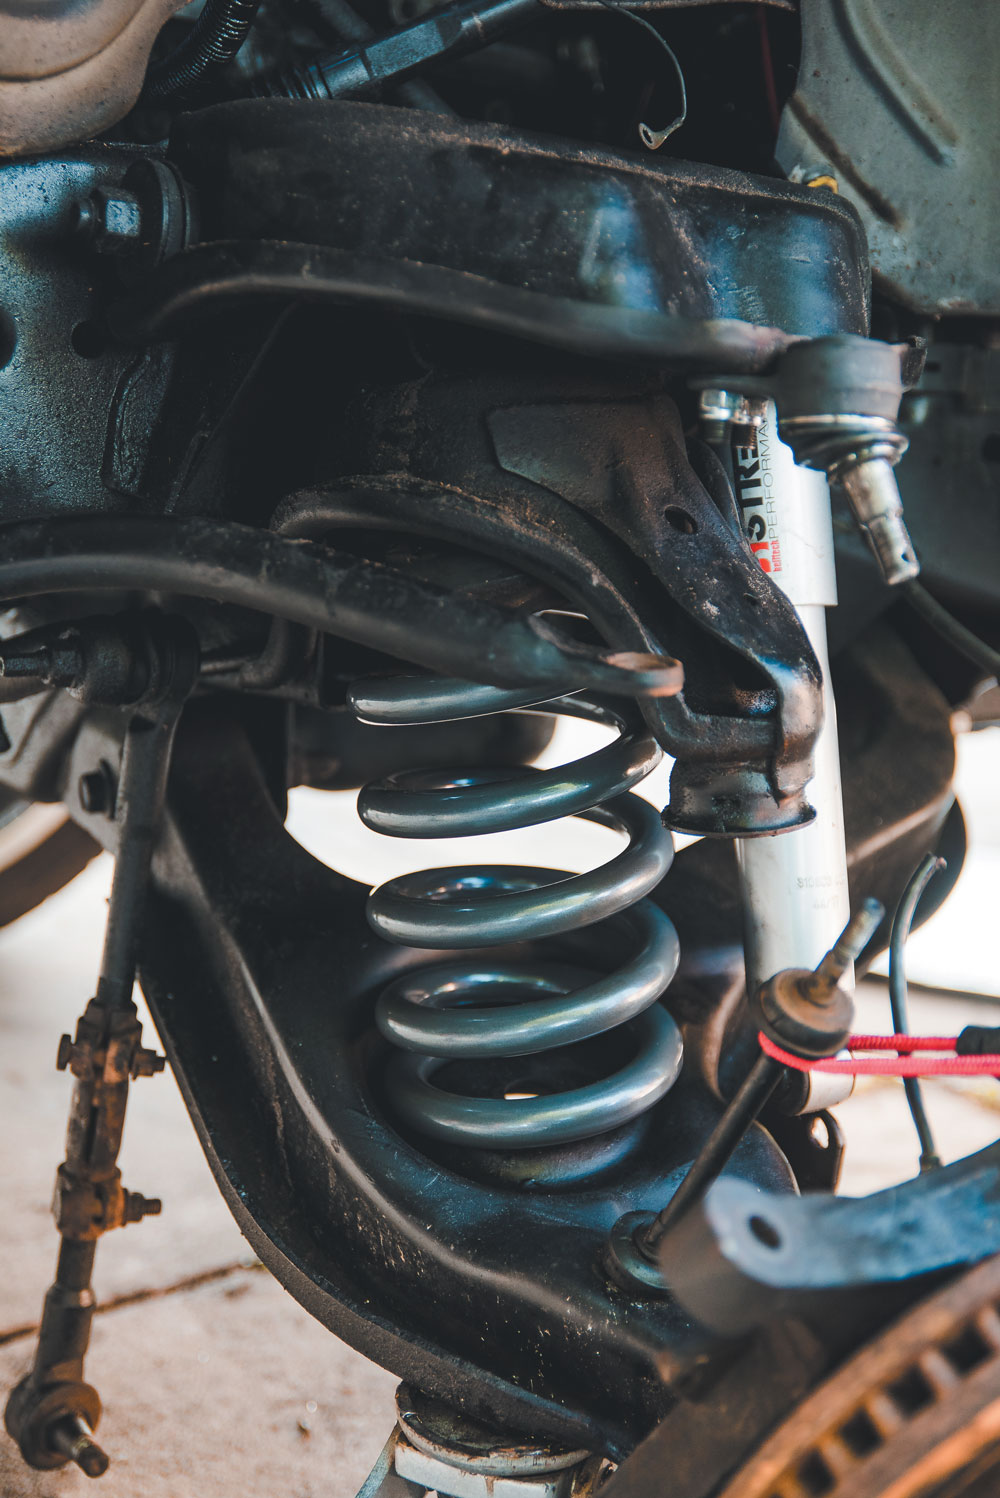
To start this suspension upgrade, as always, we are going to park the vehicle on a smooth, level concrete or seasoned asphalt surface. We also put blocks behind the rear wheels and made sure the truck is in park.Here you can see the finished look we are going to achieve. Three inches doesn’t sound like much, but it makes a massive difference in appearance.For the front, we are installing Belltech’s coil drop kit (Part #4776). This also comes with new shorter bump stops that replace the old onesUsing a properly rated floor jack, lift the front wheels of the vehicle off the ground. Place support stands, rated for the vehicle’s weight, and in the factory specified locations.
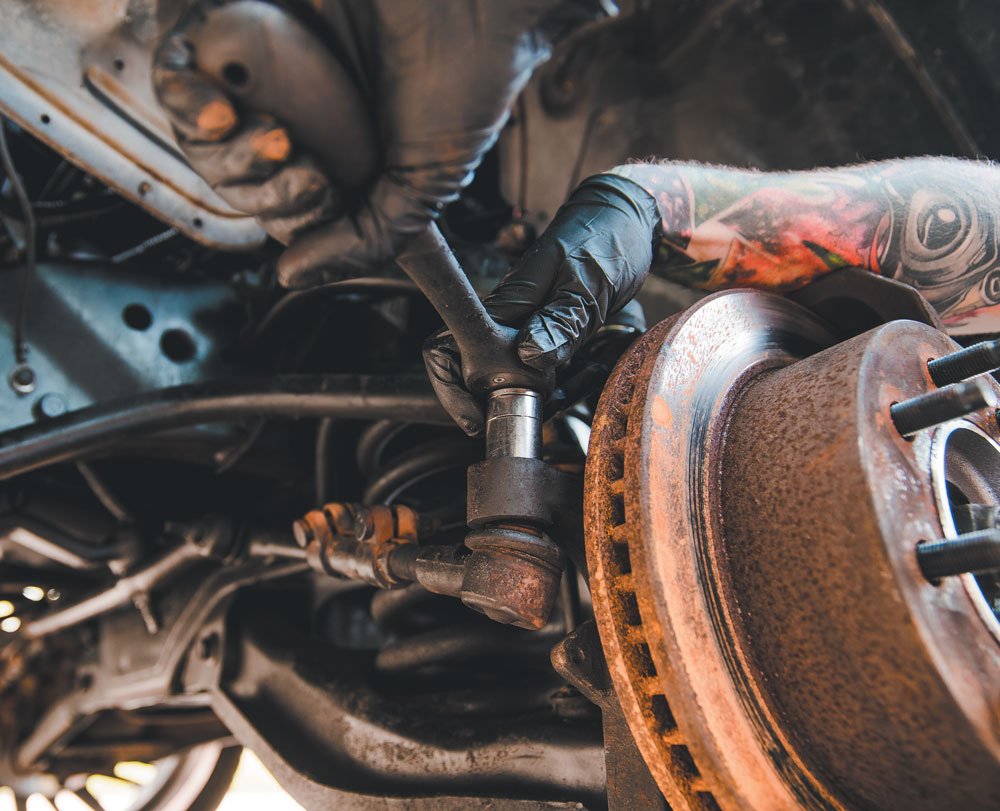
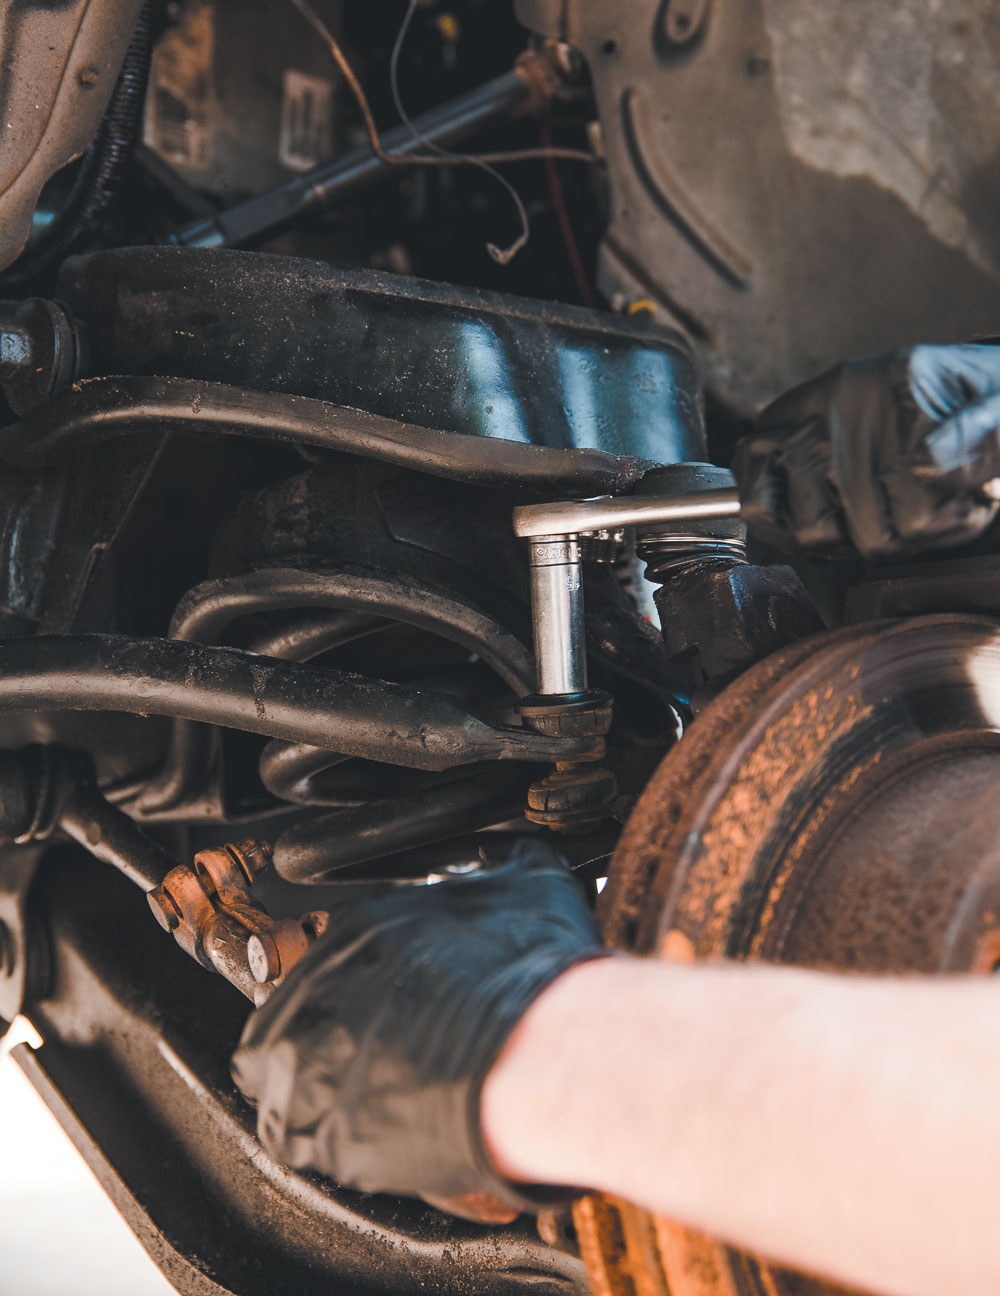
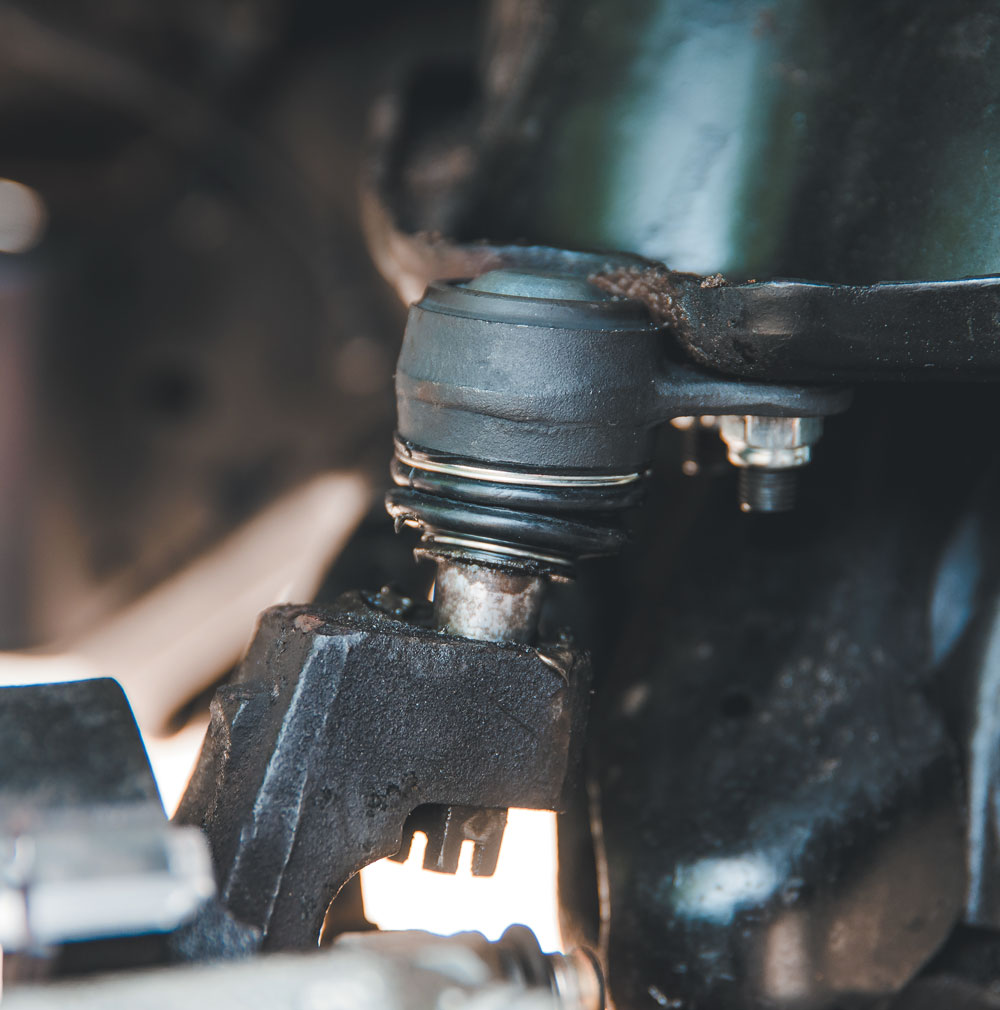
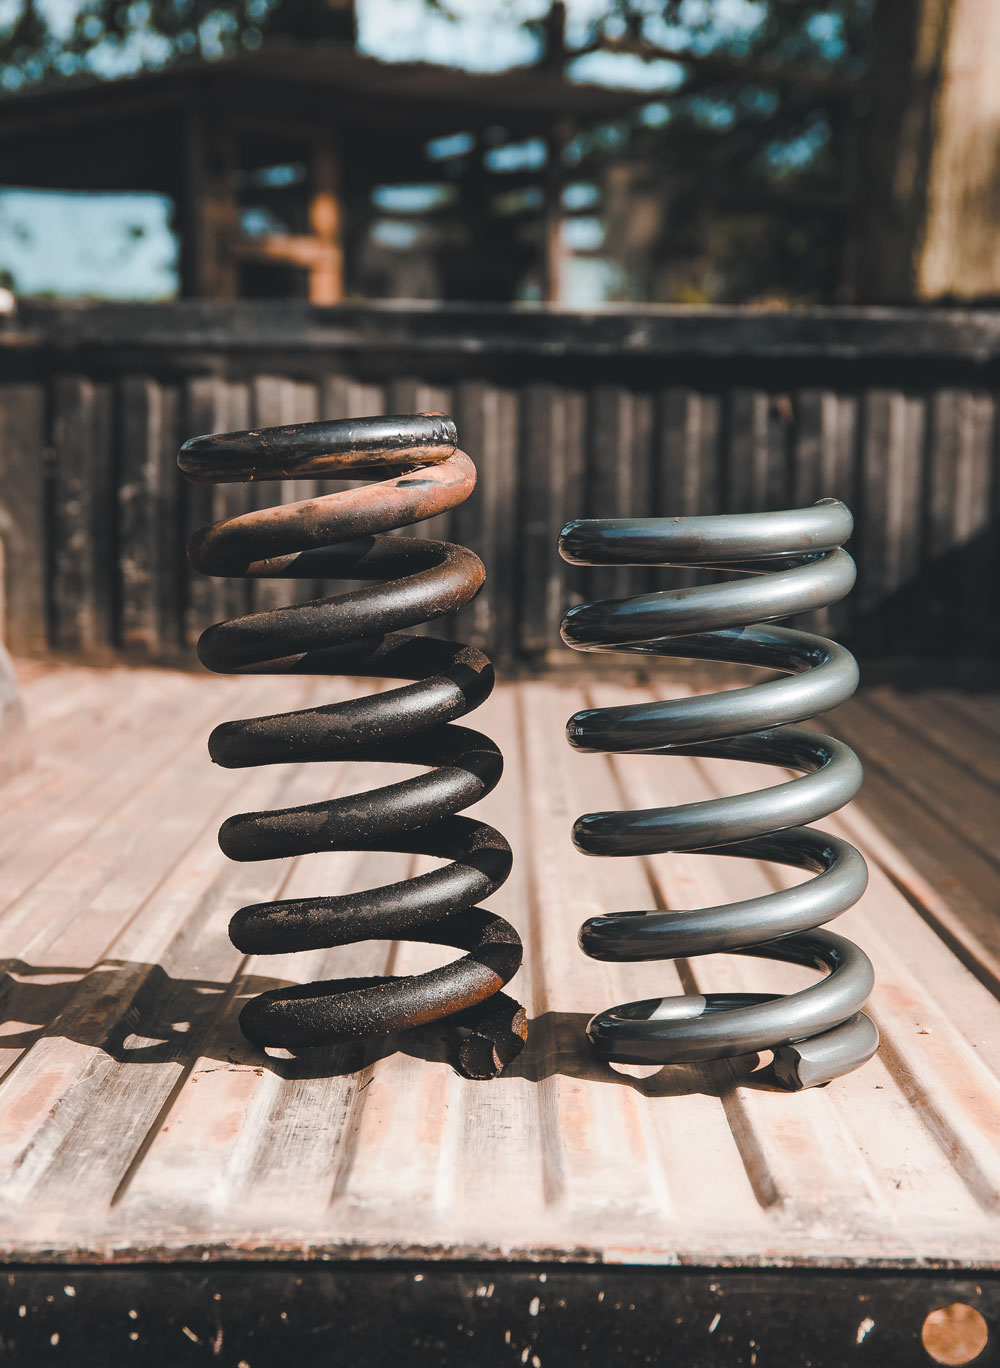
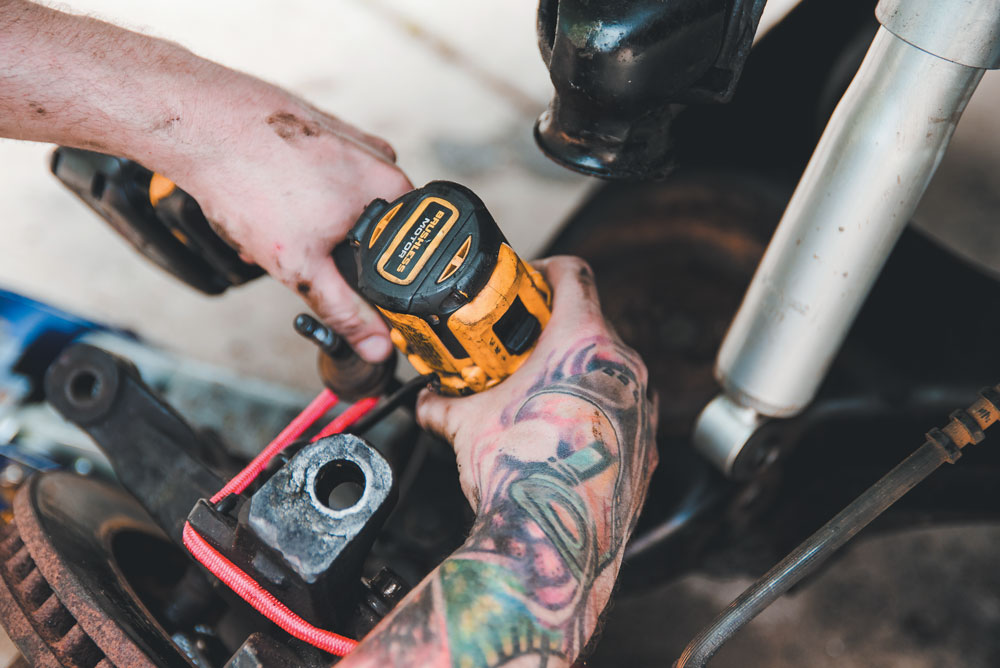
To remove the factory bump stop from the lower control arm, we used a pair of slip joint pliers. Next, we removed the Anti-Sway Bar end-links along with tie rods.Before popping the ball joint, place a hydraulic jack under the lower control arm to put a little tension on it. Loosen the top ball joint nut until it is one-quarter to three-eighths-inch off from the spindle arm, and then strike the spindle arm with a hammer, making sure not to hit the upper control arm.After the spindle pops out of the ball joint, release the tension by lowering the jack before removing the ball joint nut.Here you can see the difference between the stock spring and the new lowered Belltech spring.
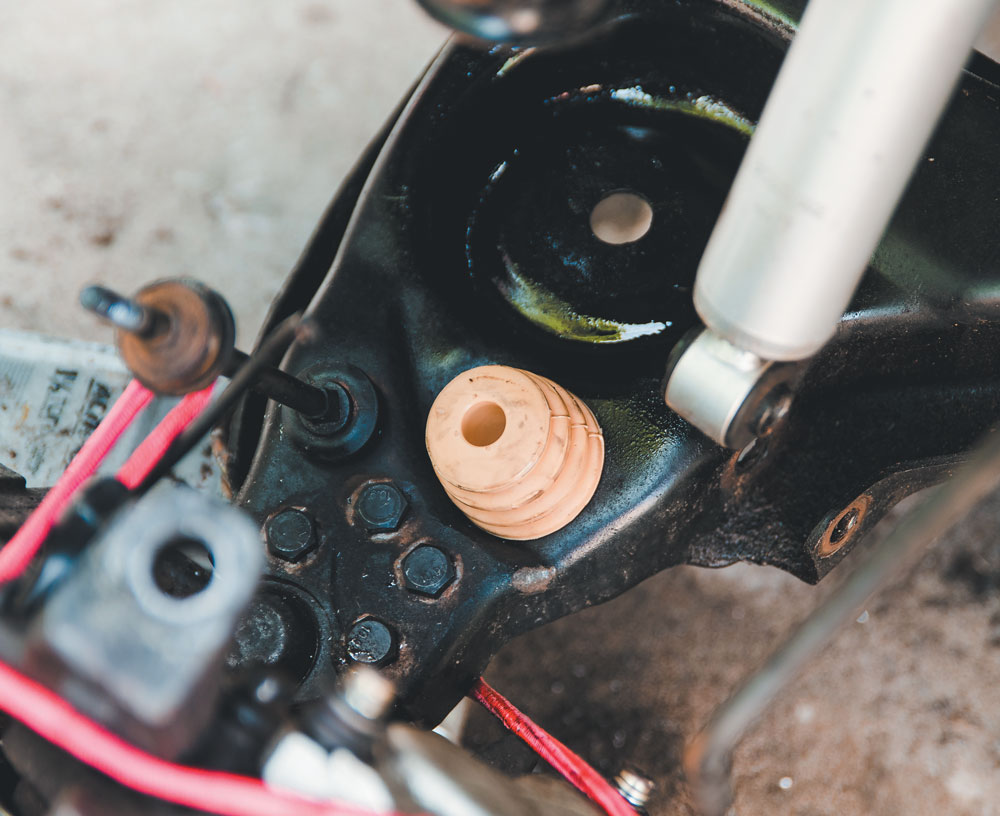
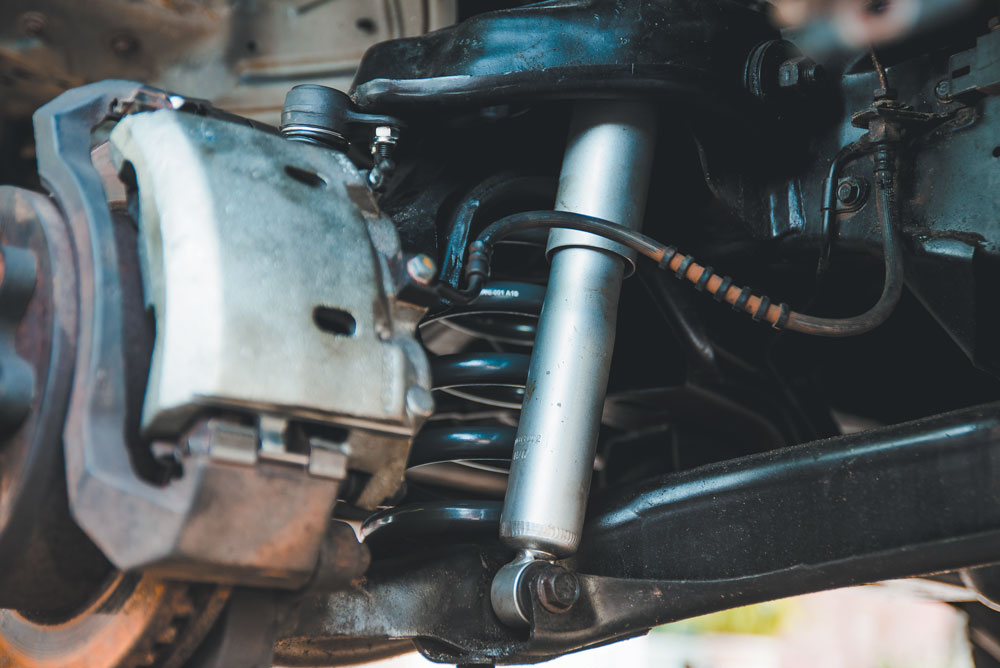
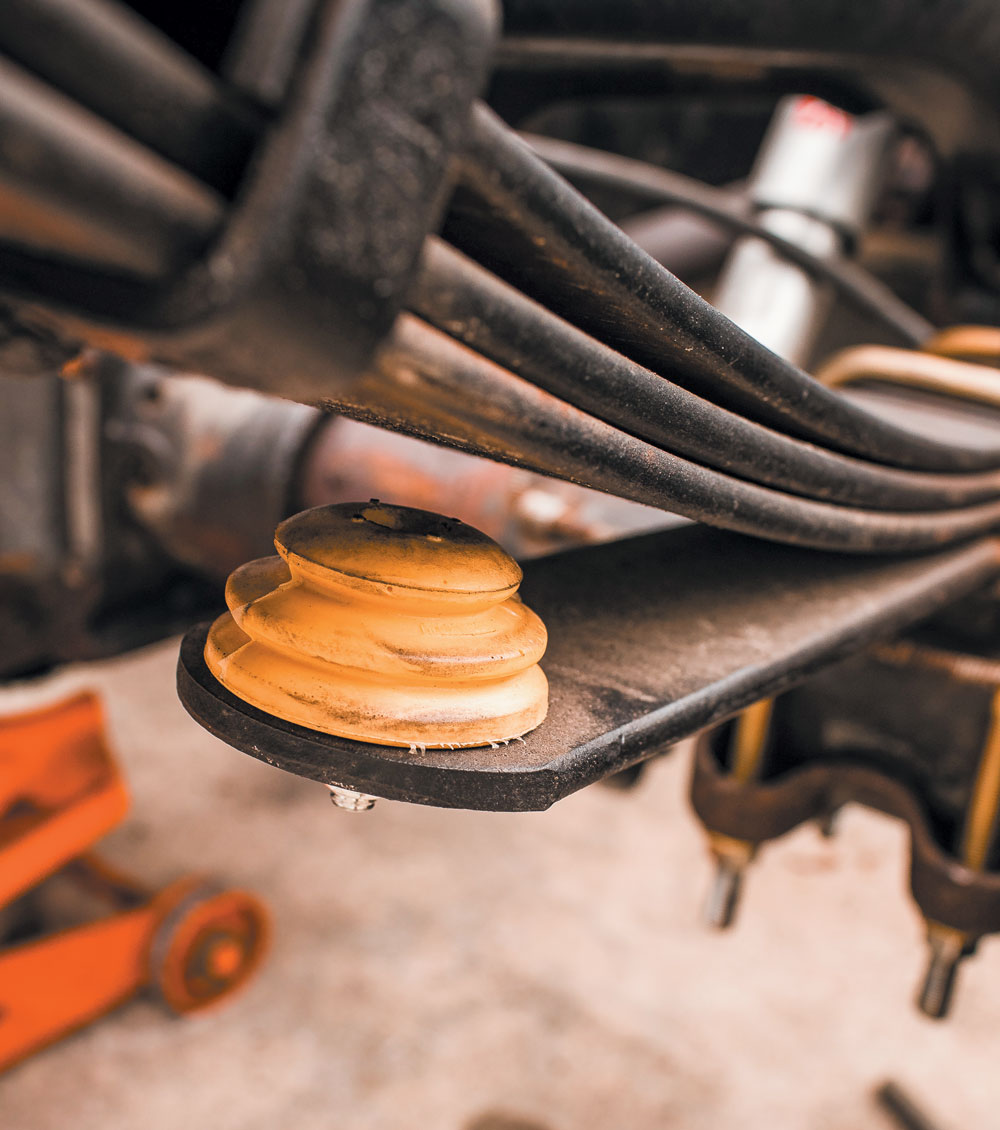
Before installing the new spring, use a three-eighths-inch drill bit and drill through the center of the two rivet heads that secure the bump stop mount. Next, install the supplied urethane bump stop through the rivet hole in the lower control arm.Now the new spring can go in place and the spindle can be bolted to the ball joints.Finally, the new shocks can be installed, and the caliper can be set back into its original location before putting the wheels back on. Time to start on the back!For the rear we will be installing Belltech Shackle and hanger kit (Part #6592). This will give us a 4-inch drop in the rear.
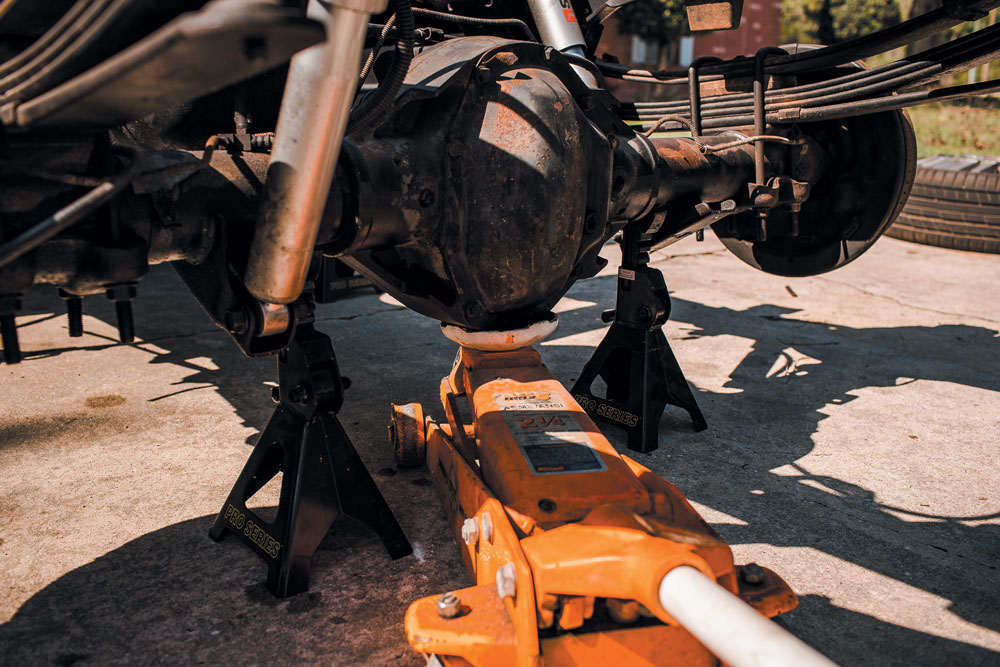
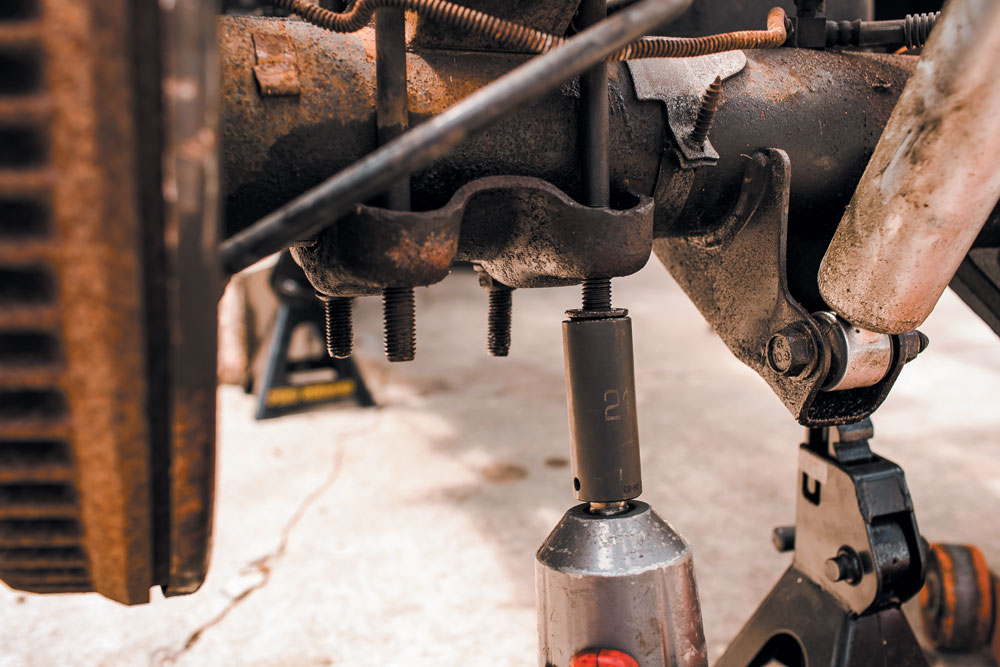
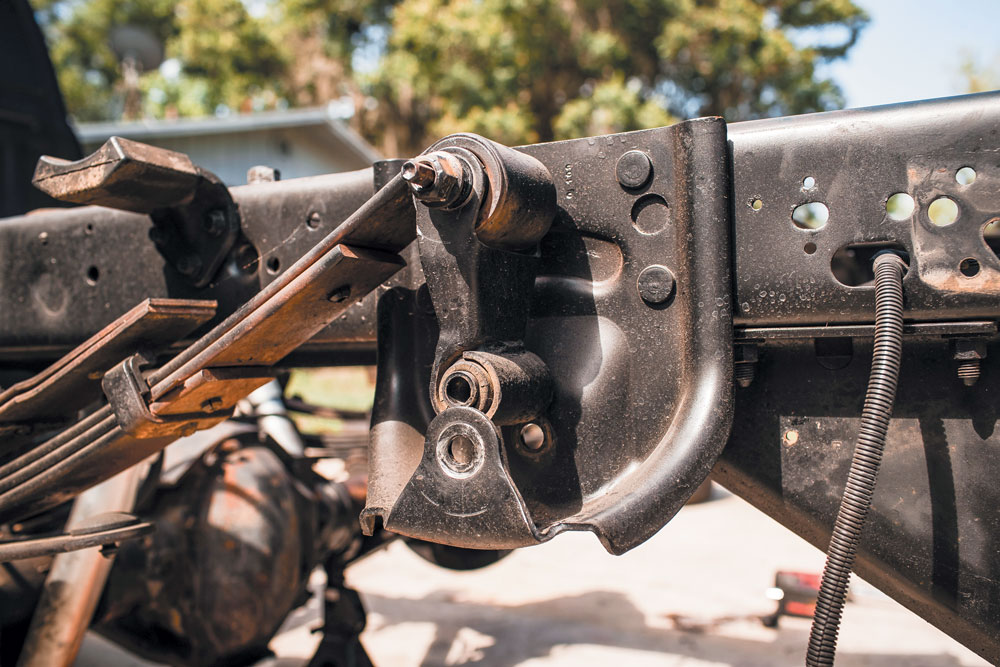
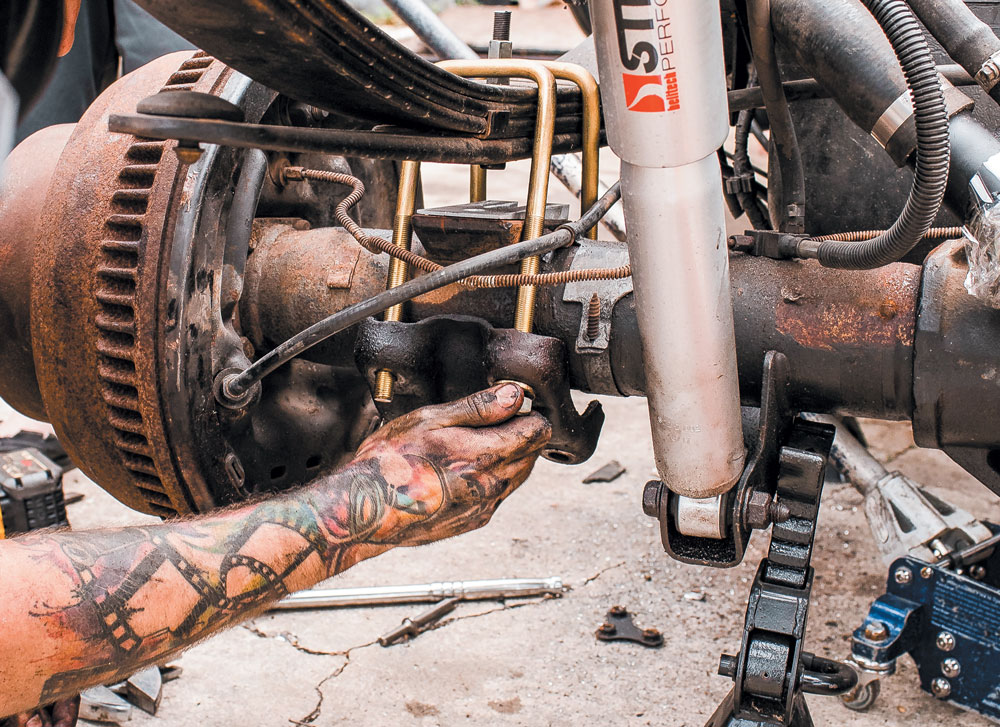
Again, we will jack the truck up and secure it with jack stands. Never take this step lightly; making a mistake once can have devastating consequences.The first nuts to remove are attached to the leaf spring U-bolts. While supporting the leaf spring pack, remove the U-bolt nuts and support plate.Remove the rear lower shackle bolt and jack up the rearend to lift the spring out of the rear shackle mount.Re-install the new Belltech shackle using the original OEM hardware. Don’t tighten the shackle hardware at this point though. We need to leave the hardware loose enough to allow the shackle to rotate when the weight of the vehicle is applied during the final step.
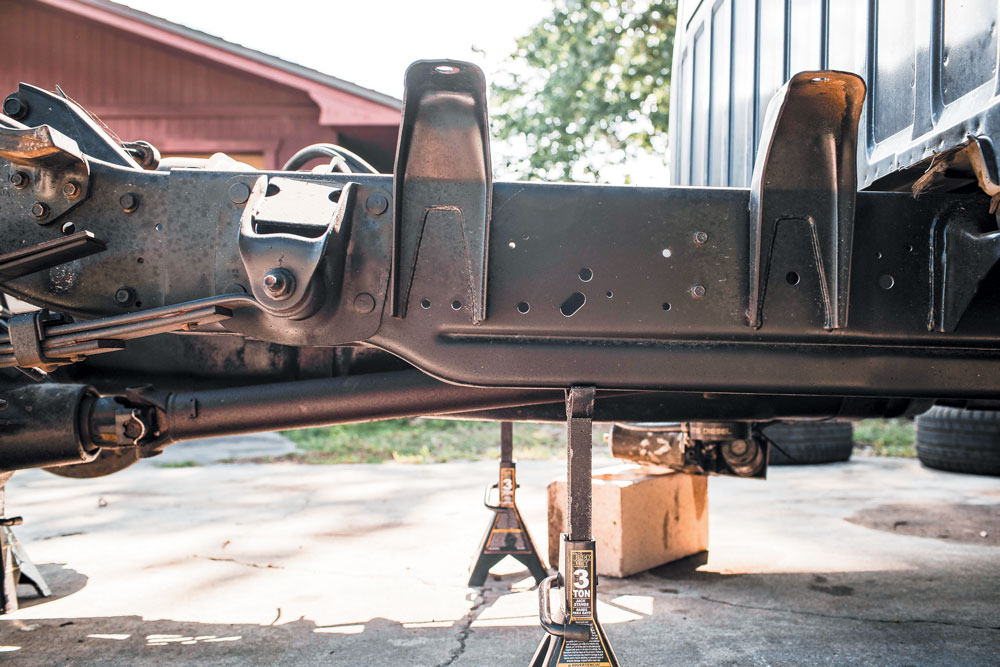
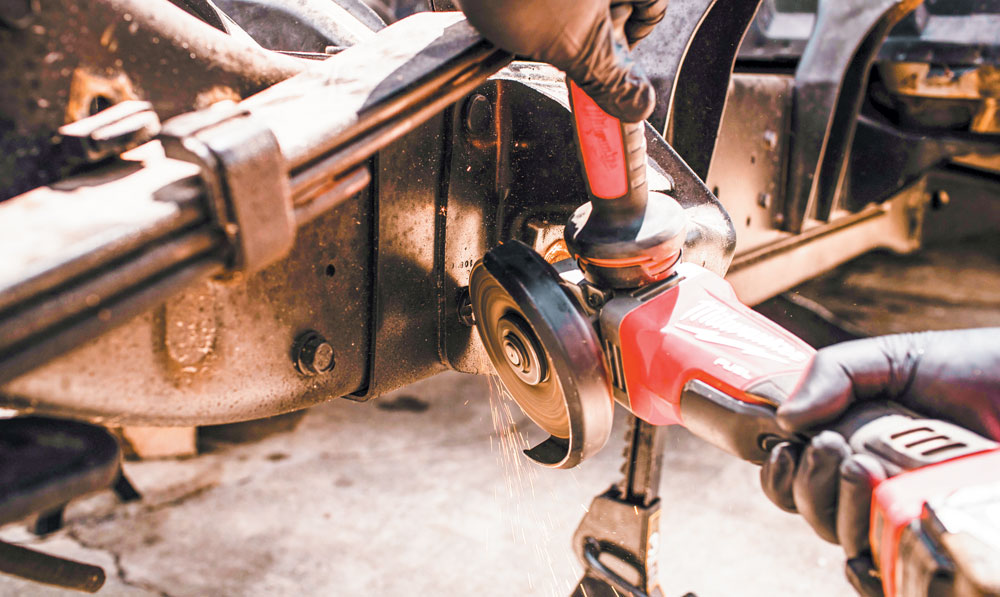
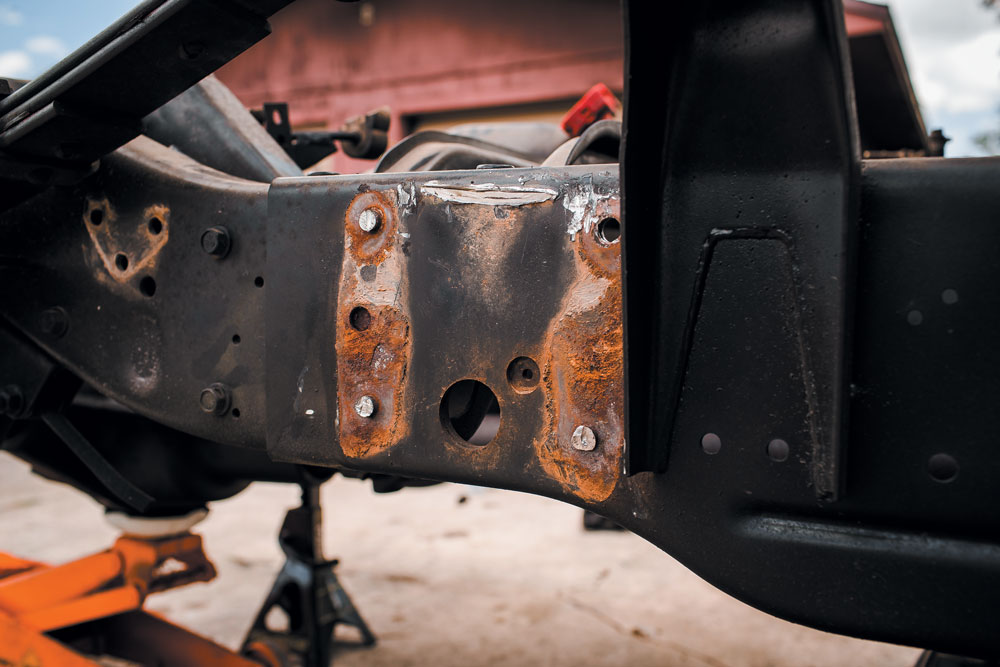
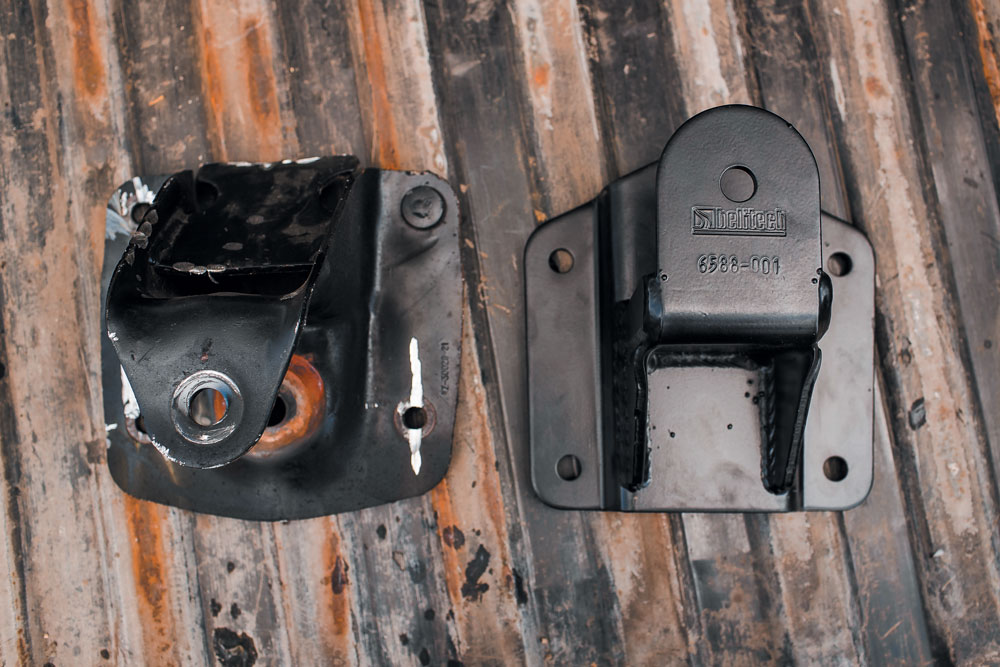
Using a cutting wheel or similar tool, cut a slot through each rivet head on the front OEM spring hanger and remove the rivet heads with a chisel or air hammer.New versus old shows an obvious example of how this drop is achieved. Raise the leaf spring mounting points up to lower the body of the truck.
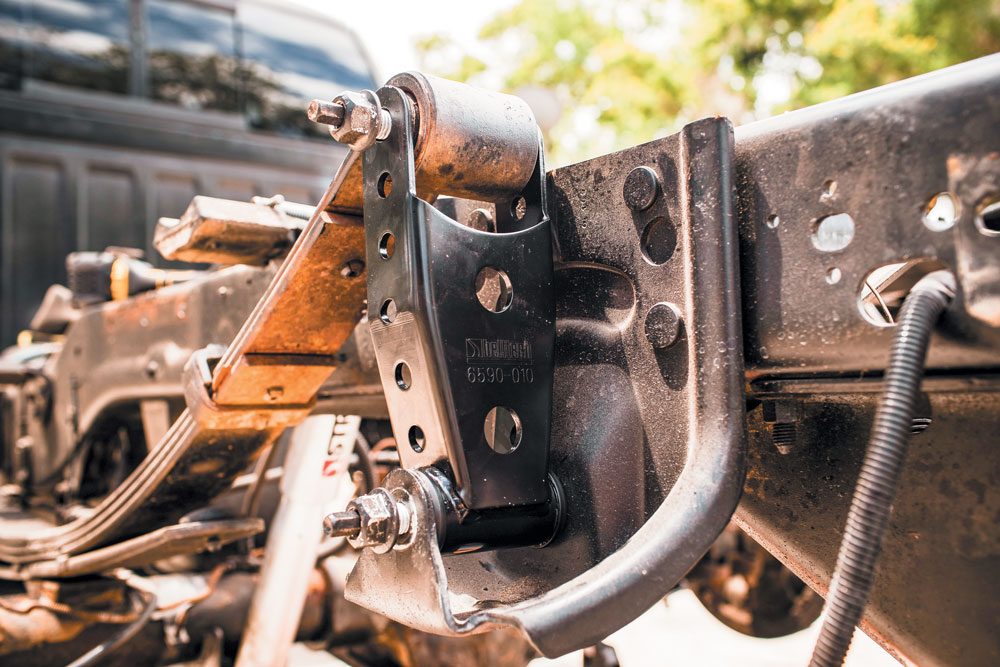
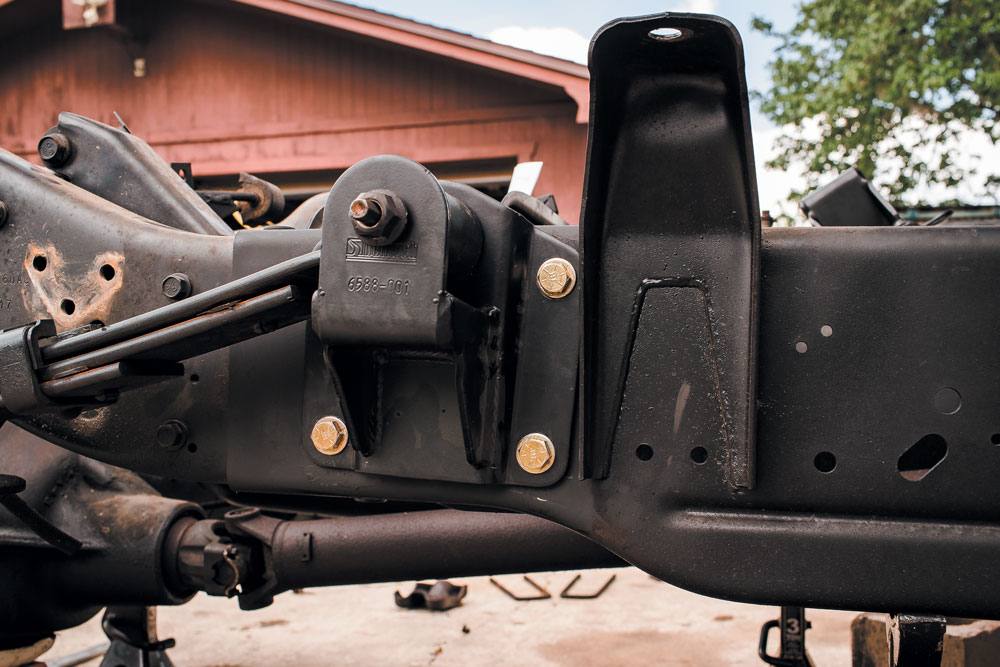
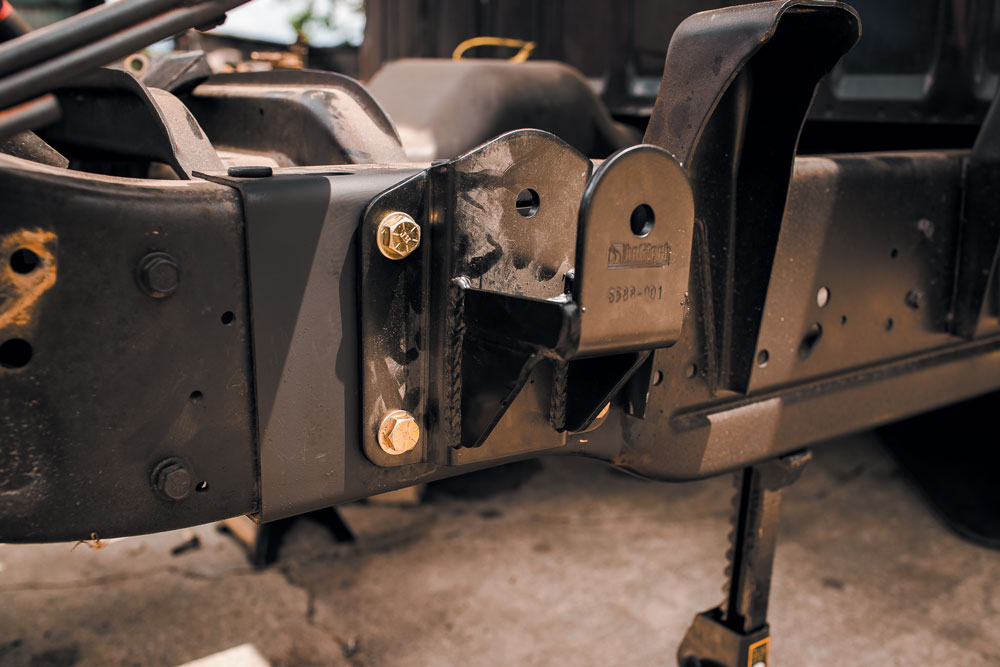
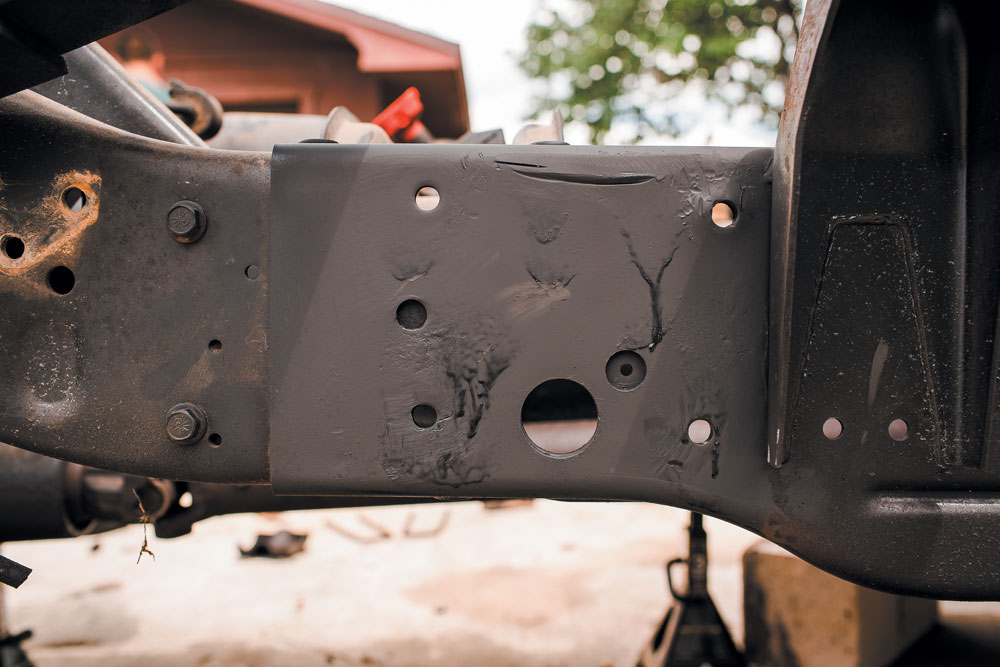
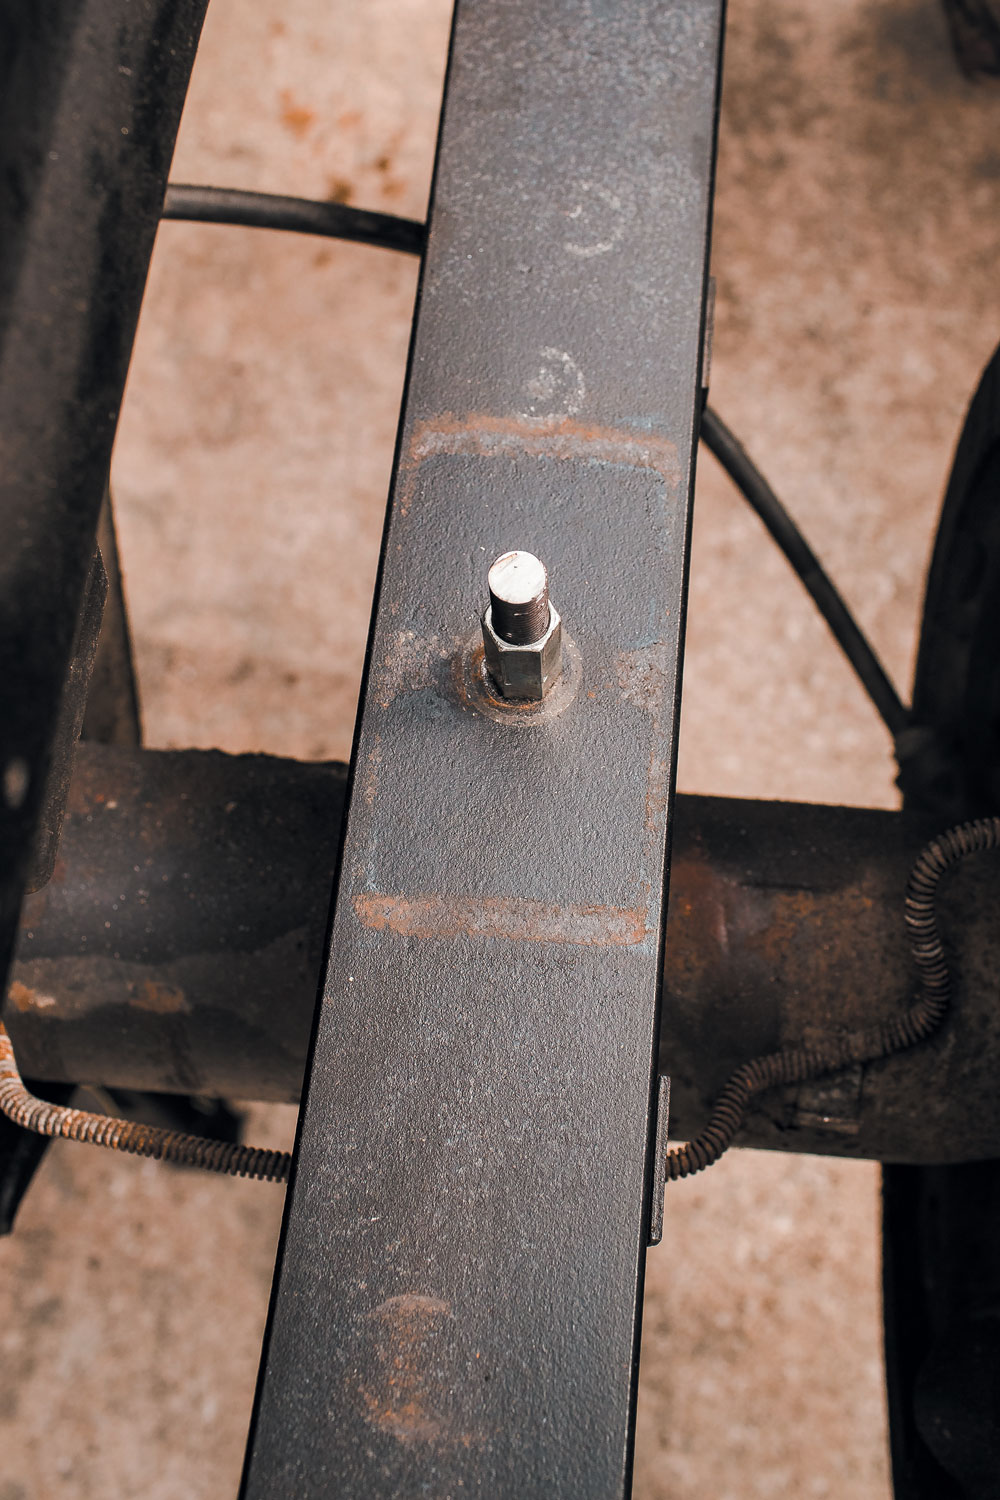
Before installing the new hangers, we painted the area with rust-proof black paint. The new hanger simply bolts into place and the leaf spring can be reattached.Clamp the leaf spring pack together using C-clamps or a suitable clamping device. Remove the factory leaf spring center bolt. Install the kit supplied spring center bolt into the leaf spring center hole, making sure the bolt head is on the bottom of the spring pack.
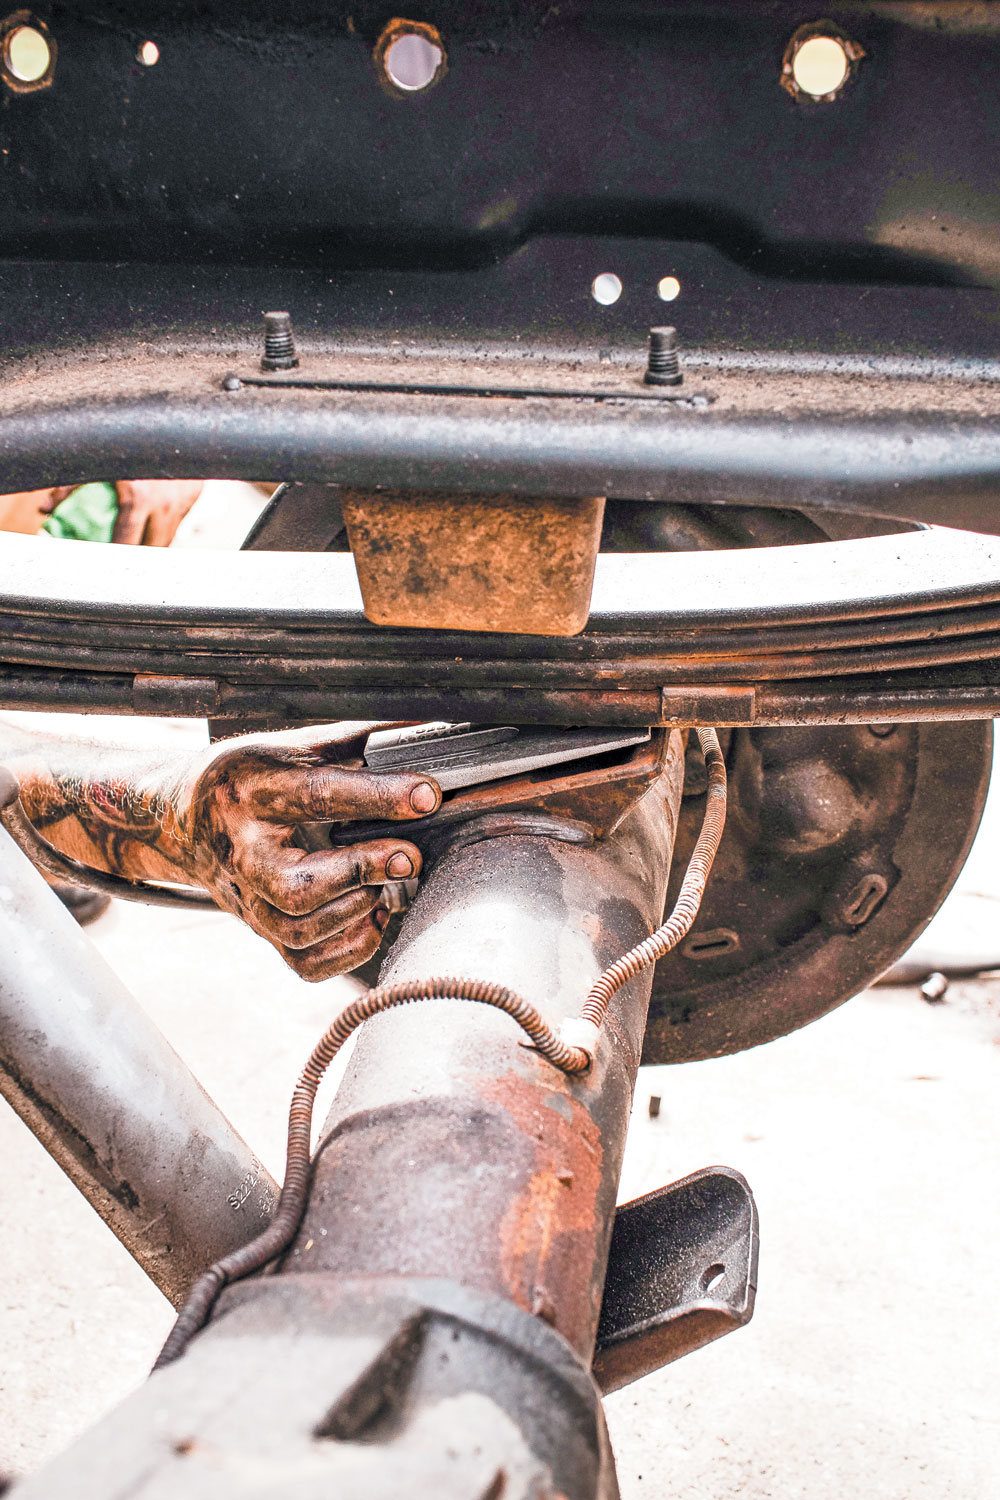
We installed the supplied 4-degree shim on top of the rear axle tube spring pad, making sure the thickest part of the shim is facing forward. Then we raised the rear axle housing until the spring center bolt seats into the hole in the axle pad and re-installed the U-bolts.The final bump stops were installed, and the wheels were ready to go on. This kit went smooth and everything fit as it should.
Chris Hamilton is an automotive journalist, editor, and lifelong truck enthusiast with extensive experience covering custom truck builds, fabrication, performance upgrades, aftermarket products, and a ...
We use cookies to enhance your browsing experience, serve personalized ads or content, and analyze our traffic. By clicking "Accept All", you consent to our use of cookies. Visit our Cookie Policy for more info.


Share Link