DIY Gold and Copper finishing!

All Real Gold Shows Us Some Paint Tricks

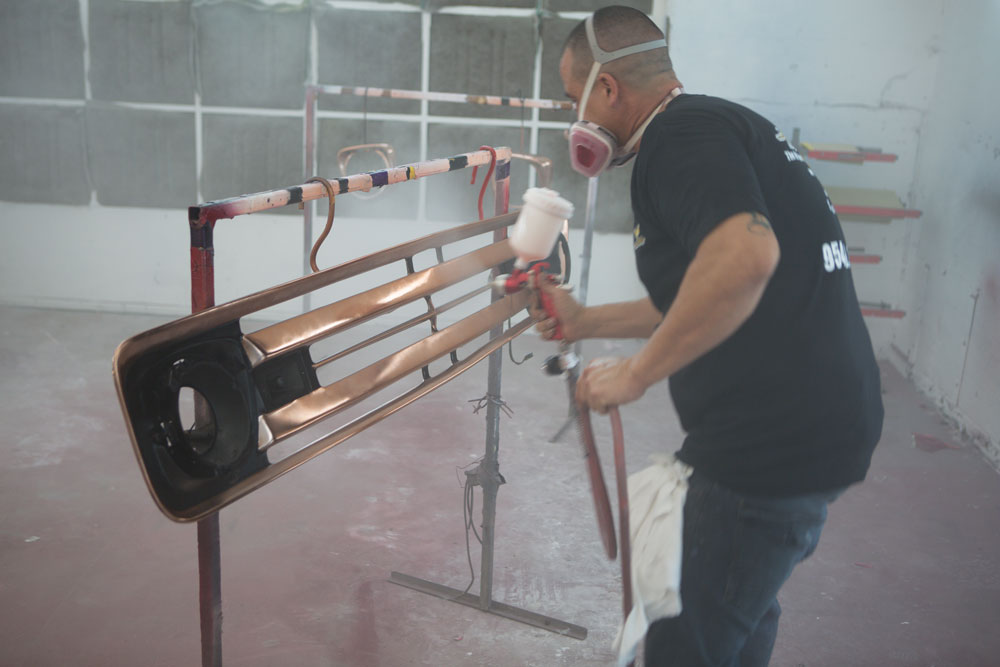
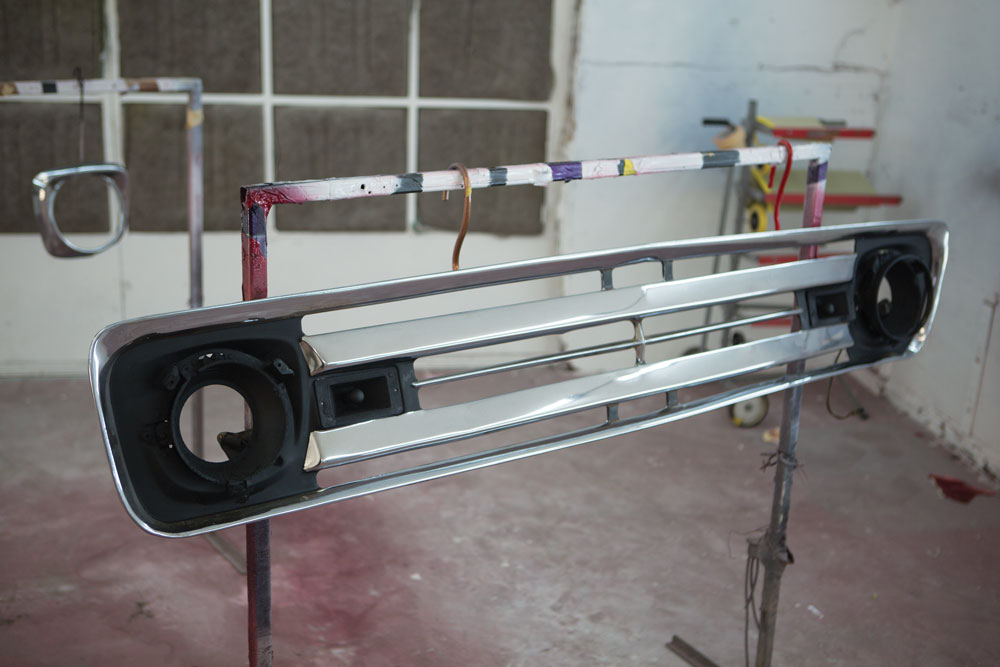
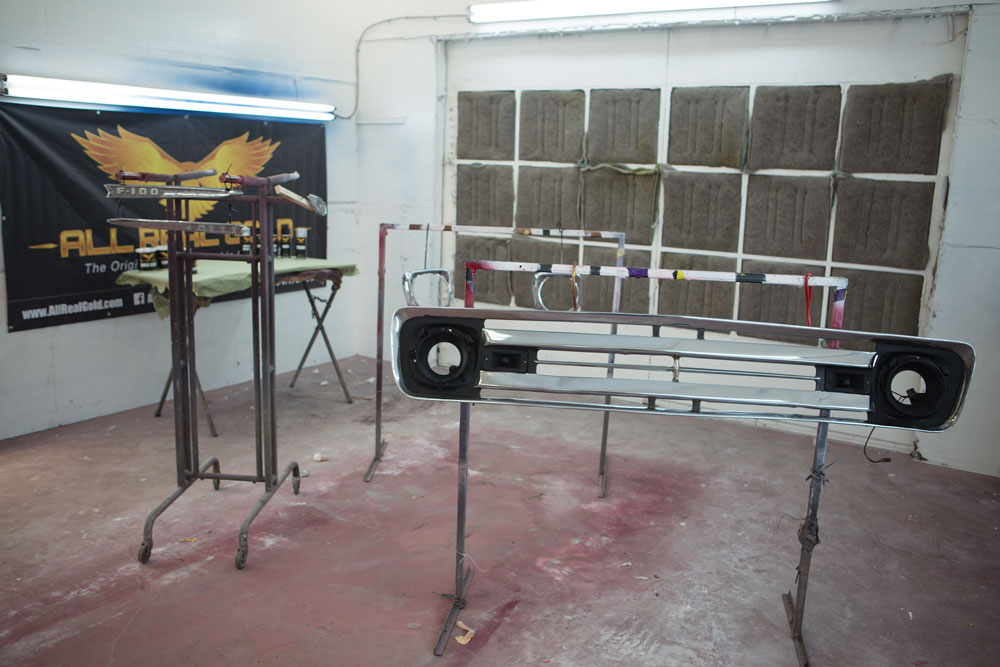
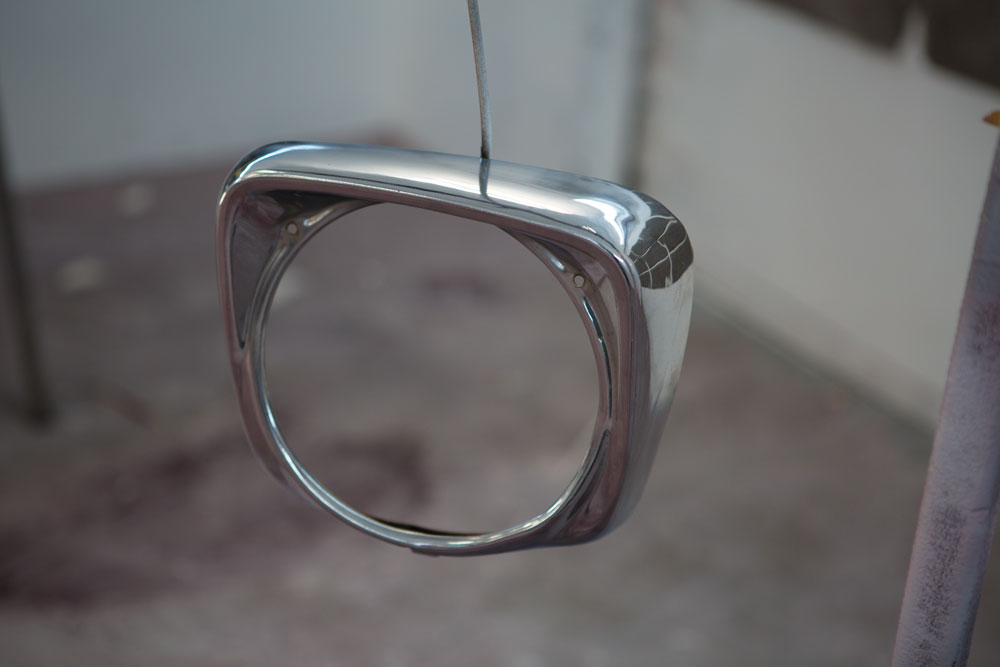
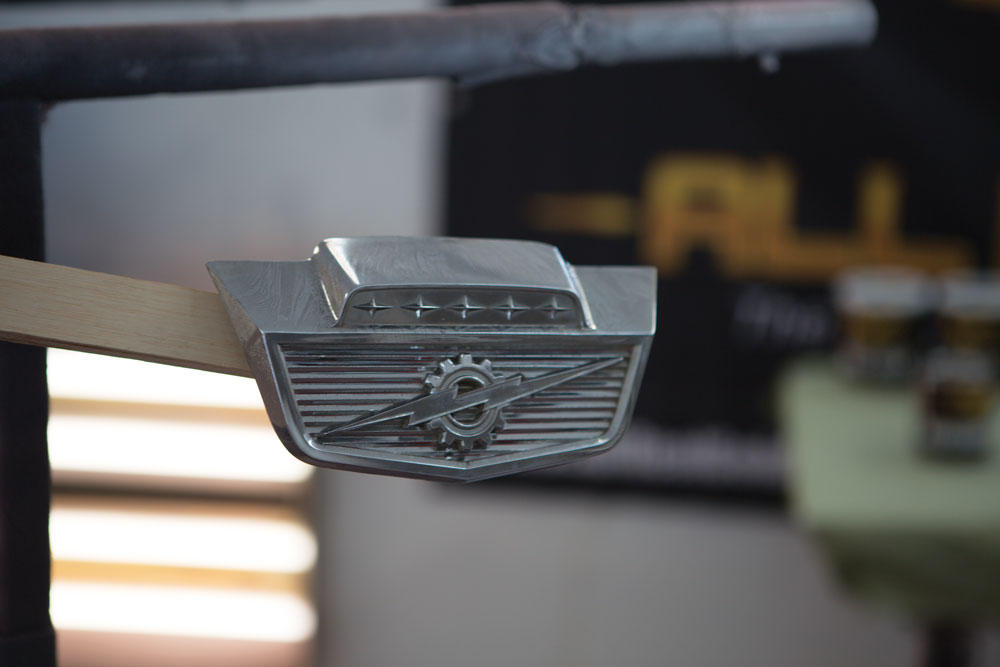
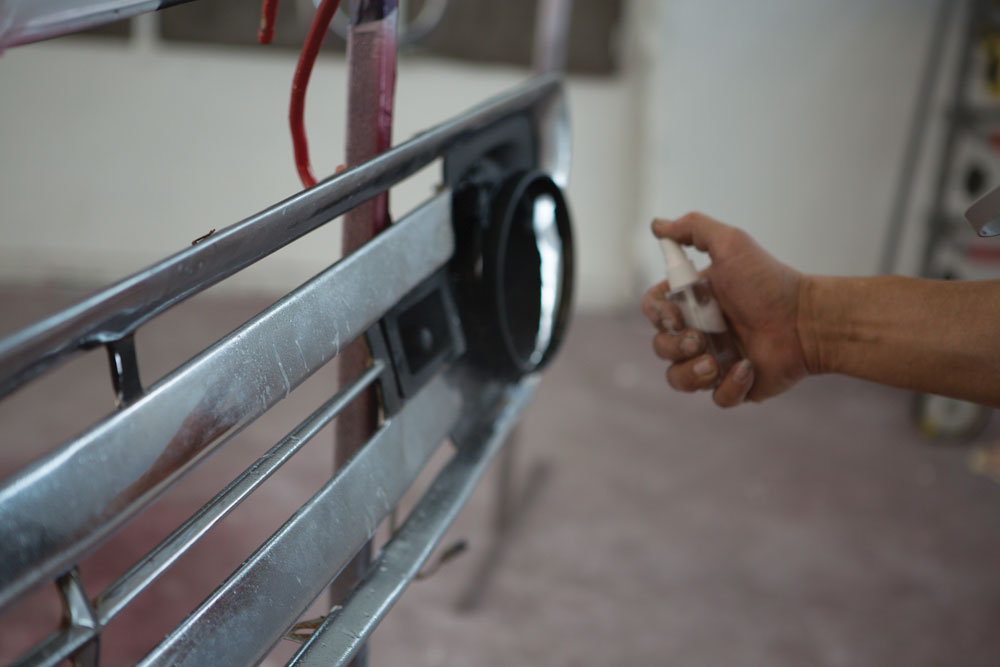
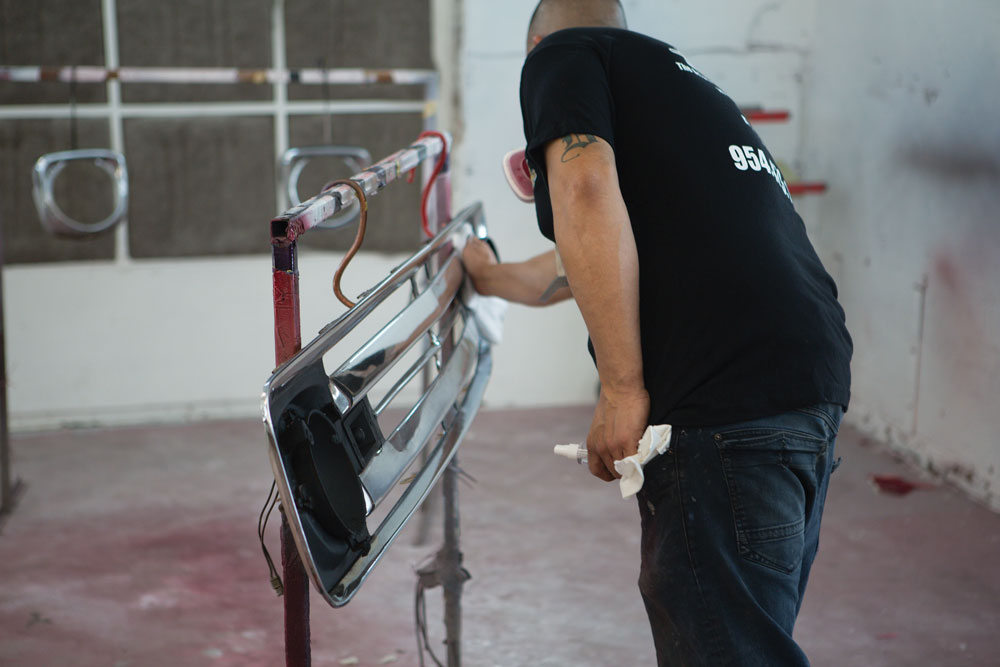
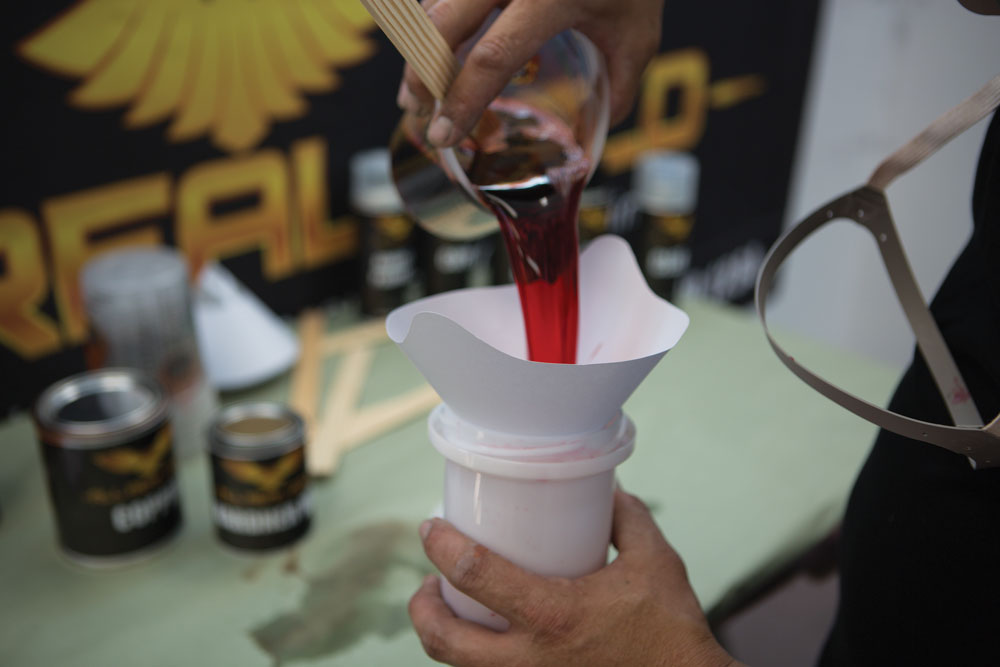
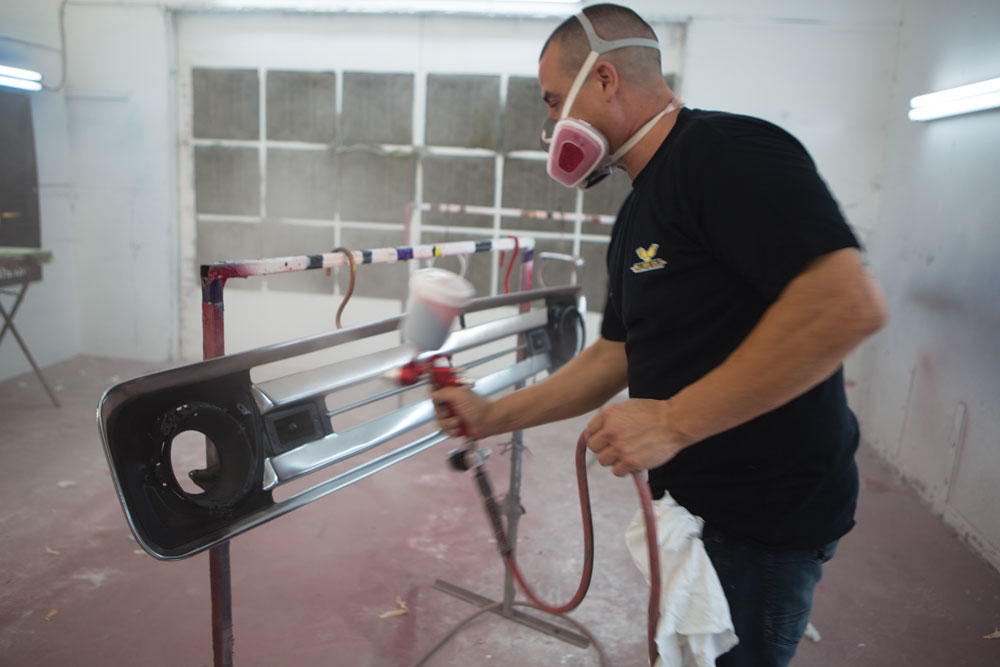
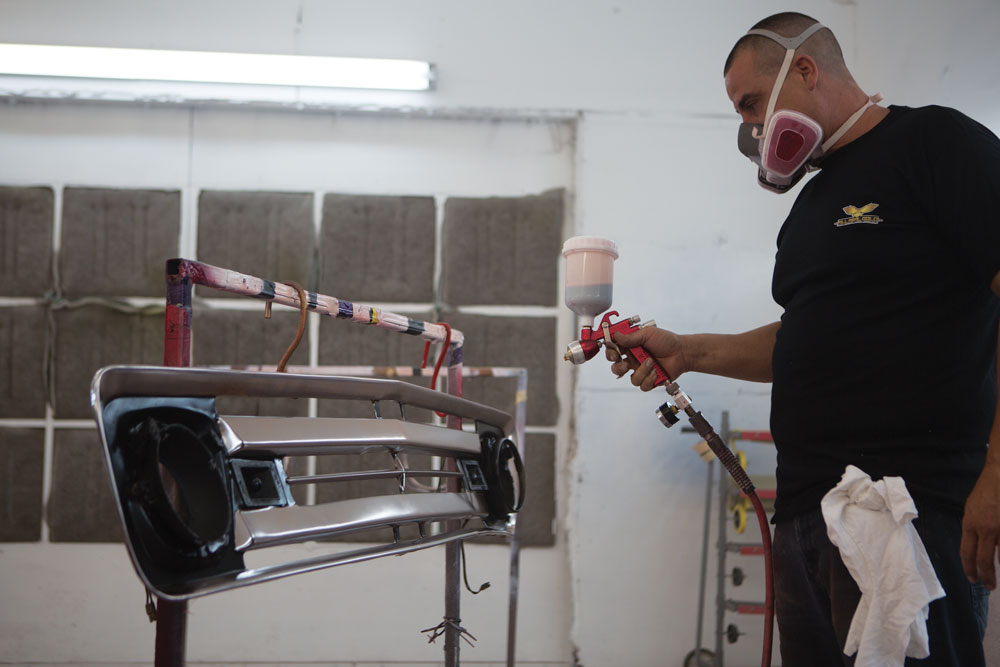
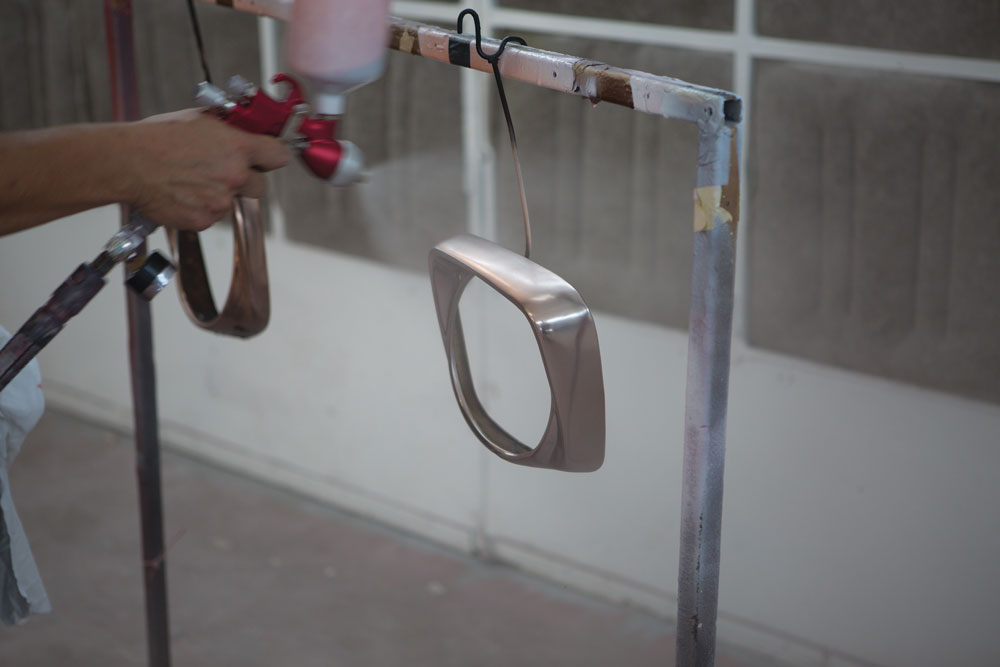
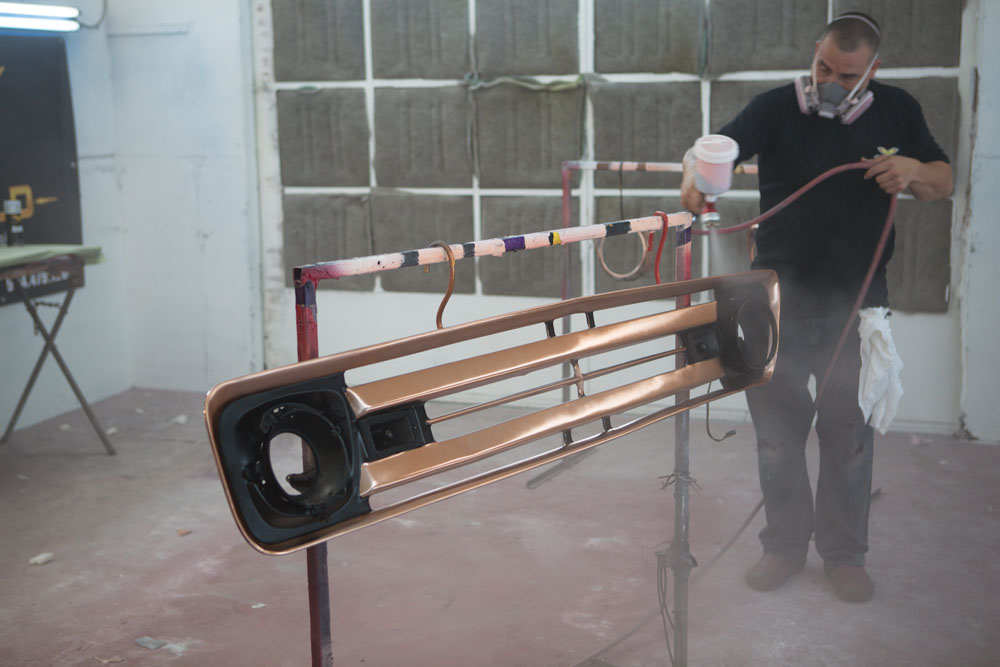
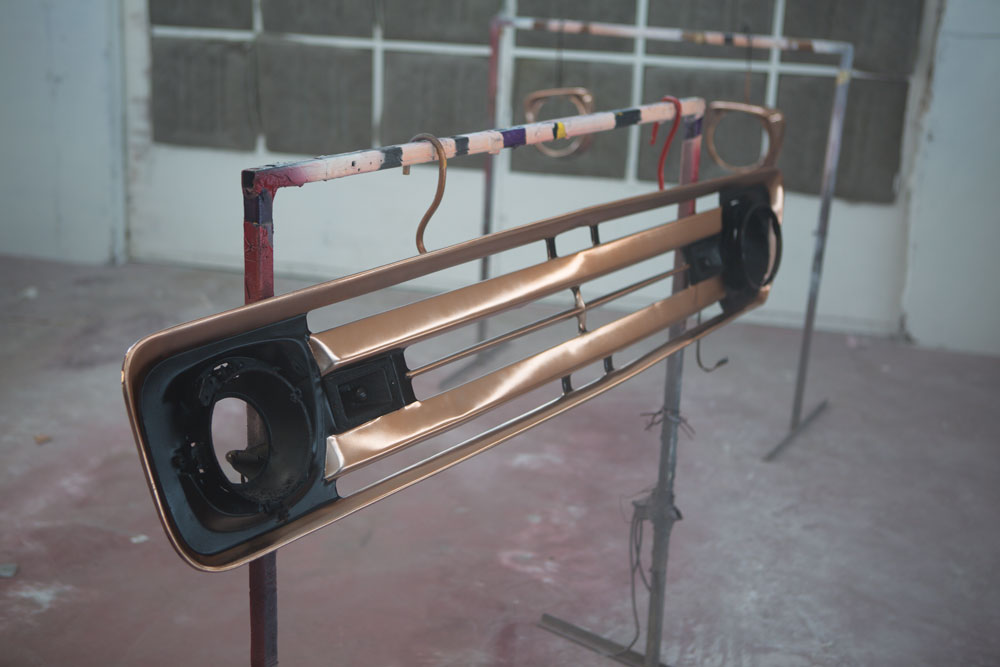
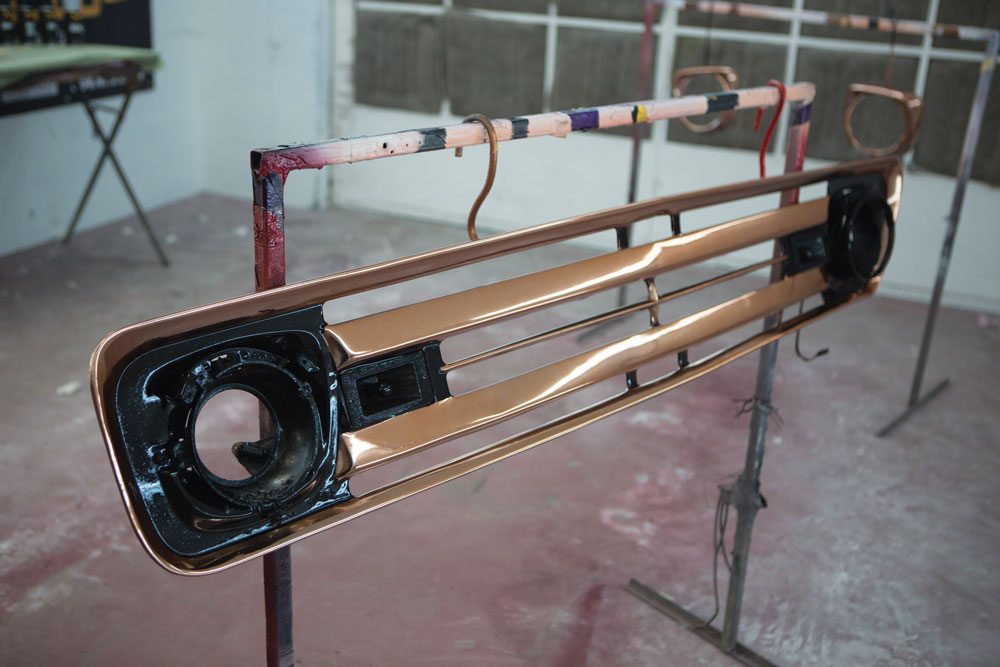
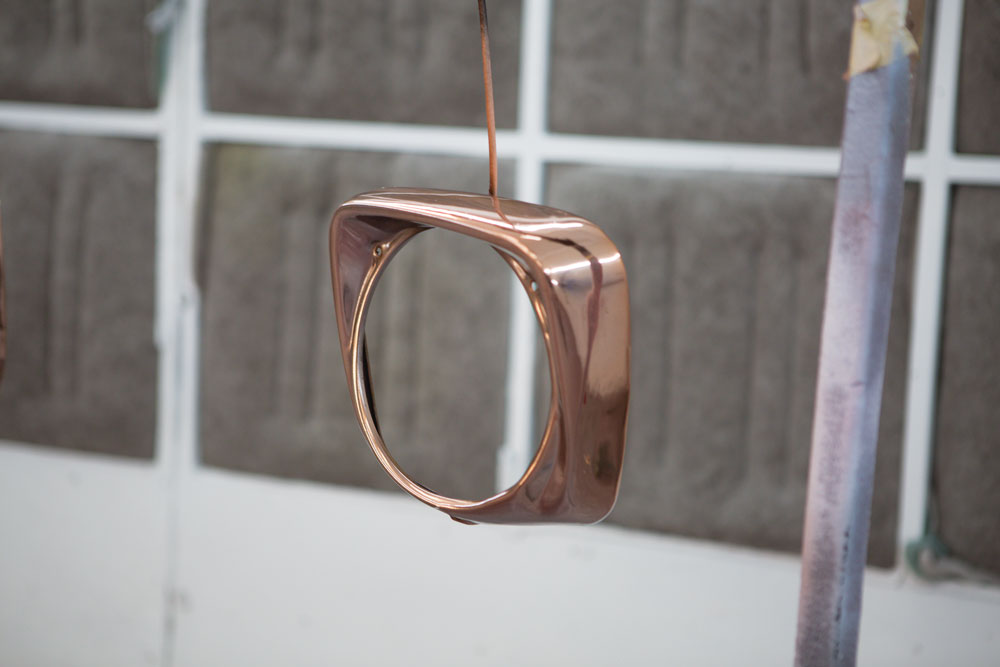
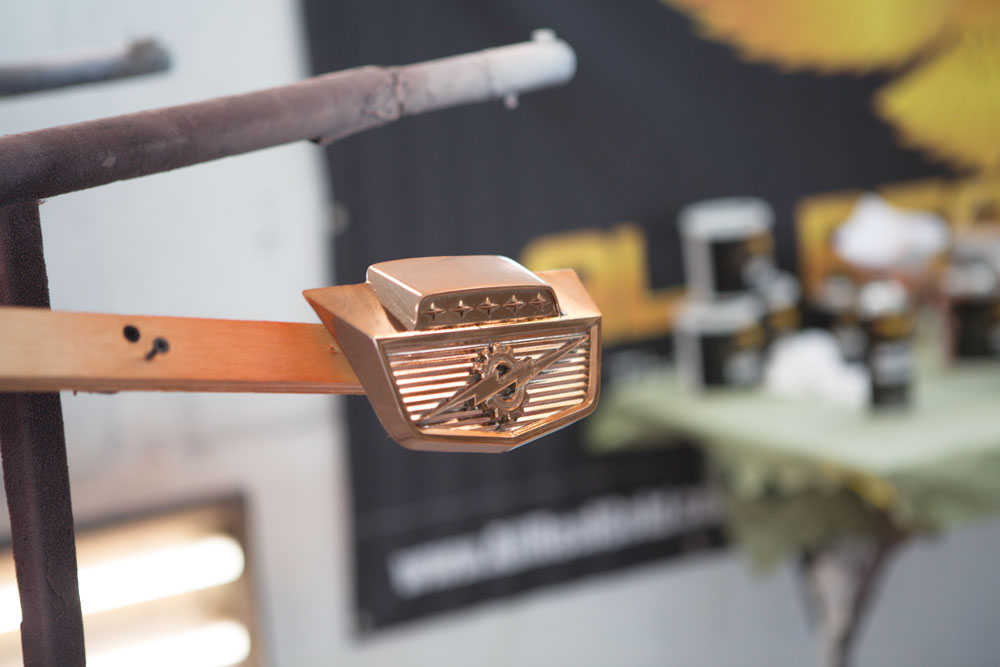
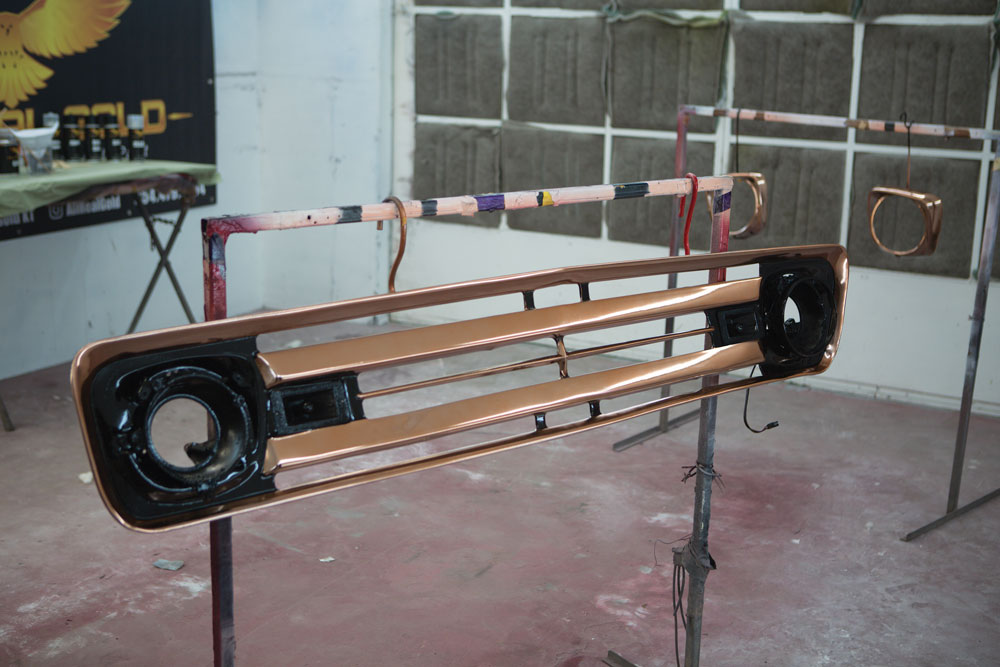
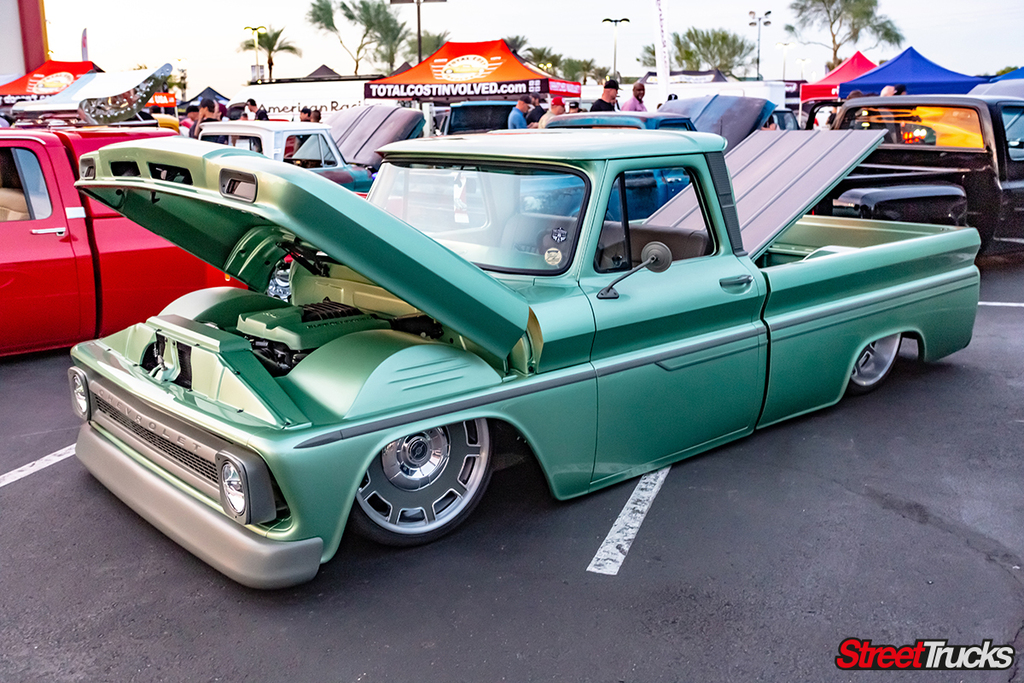
WHEN WE SET OUT TO BUILD THE FLO-100 (our 1962 Ford F-100 SEMA build), we wanted it to stand out in a crowd and do something a bit different. Creating a visually appealing concept that is different than the rest takes a bit of time, vision and sometimes even luck. We happened to come across a company called All Real Gold on Instagram and saw its unique “Copper Paint,” which sparked the idea to really go all out. In the past, a lot of people would send their parts to the chrome shop and say, “Just put the copper on it.” The issue with that is that over time the copper starts to tarnish, and different types of material end up different shades of copper plating so it’s extremely hard to get all of the accent pieces to match properly.

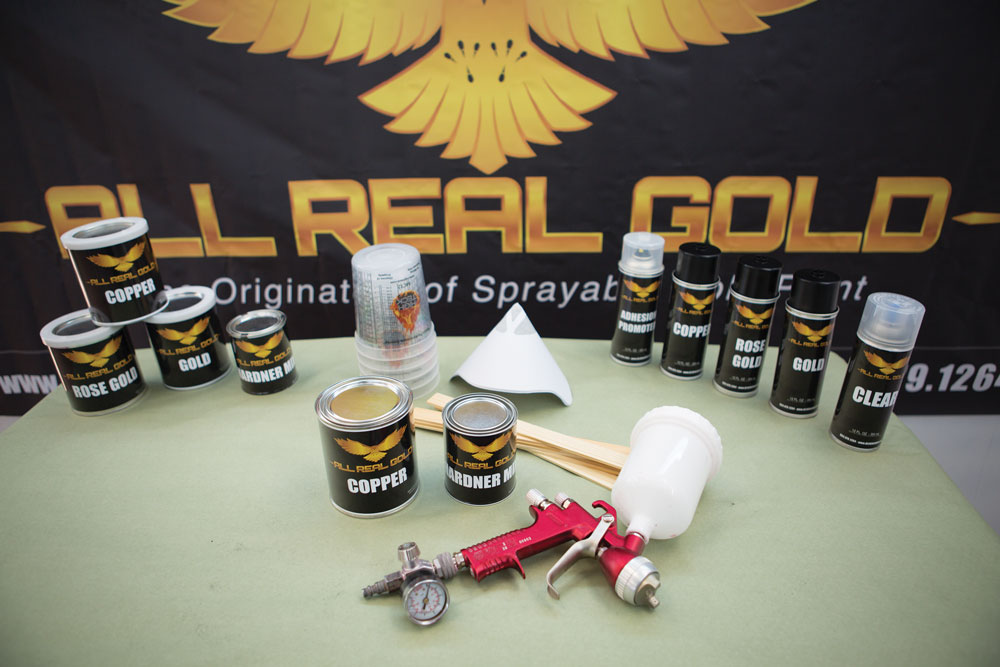
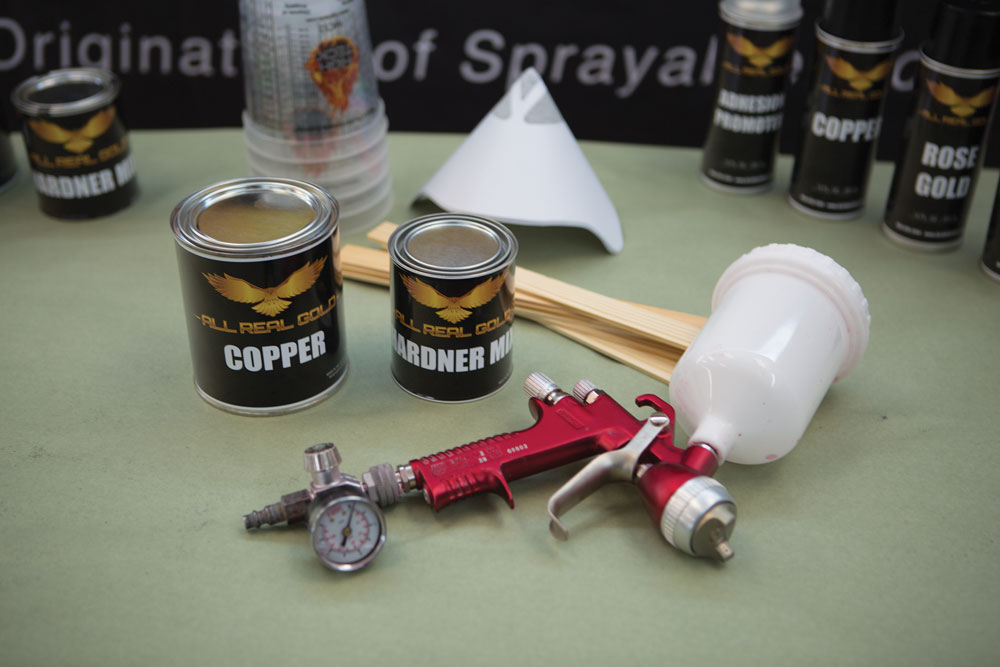
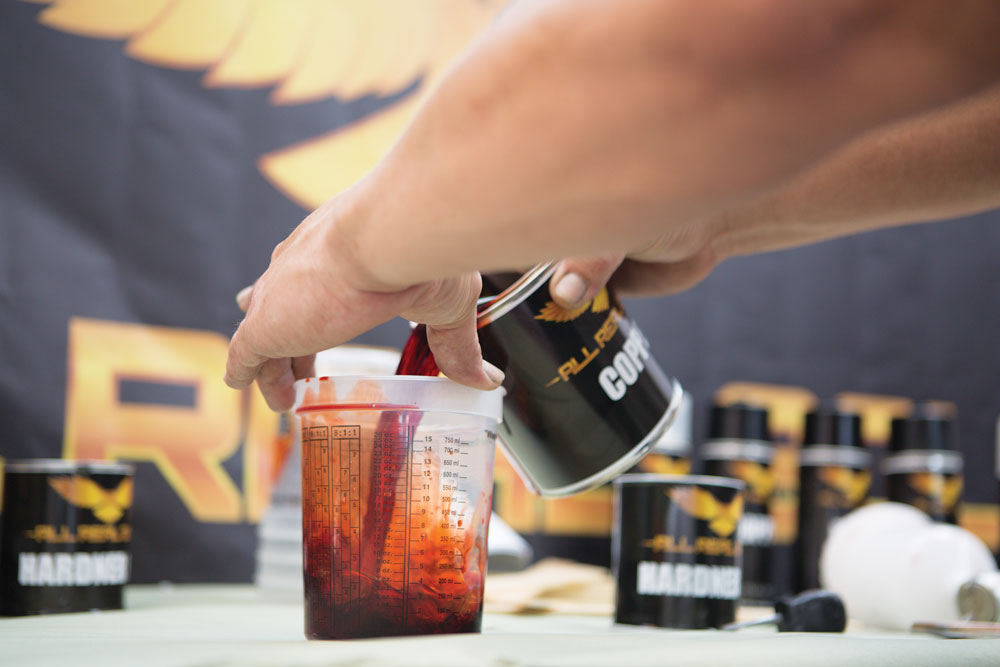
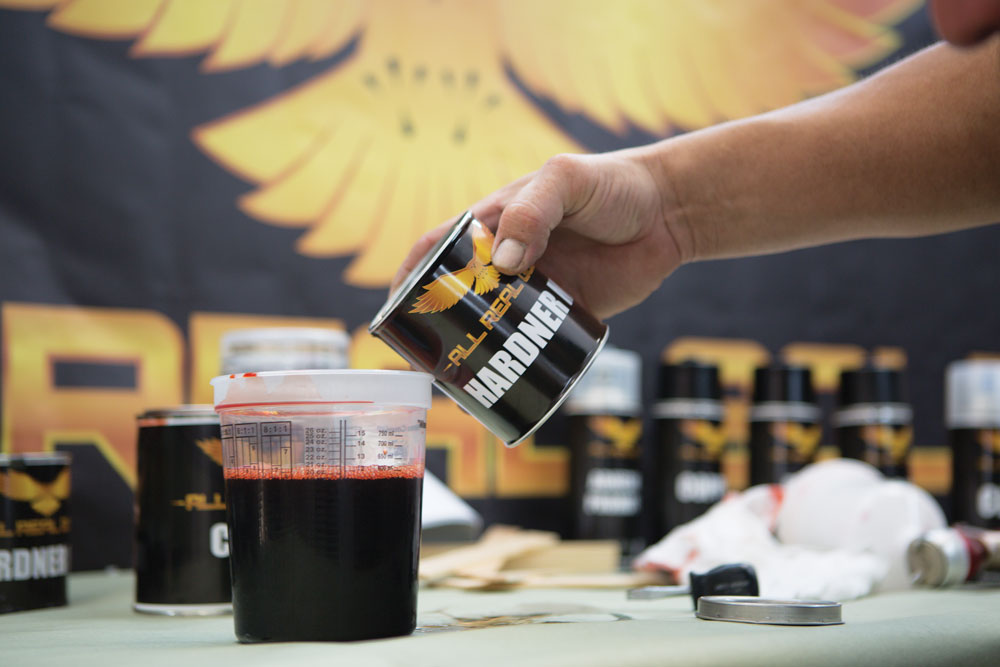
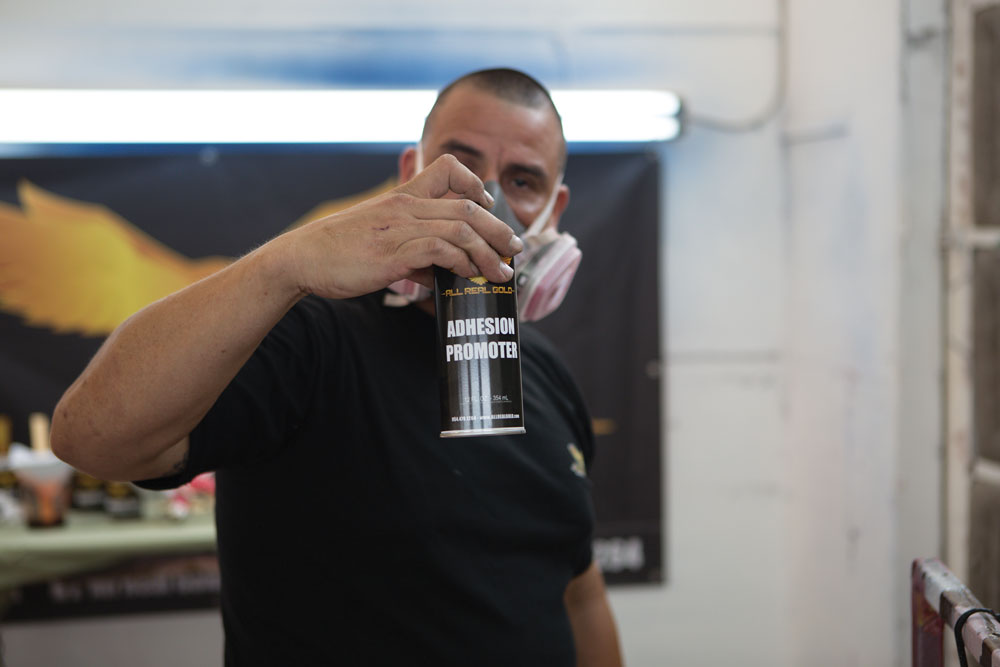
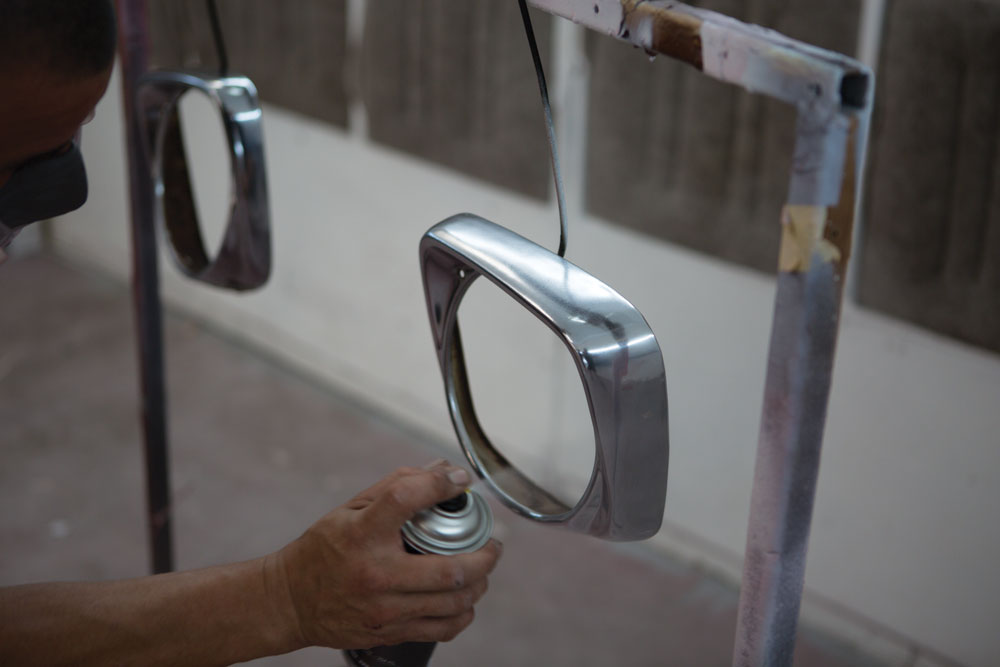
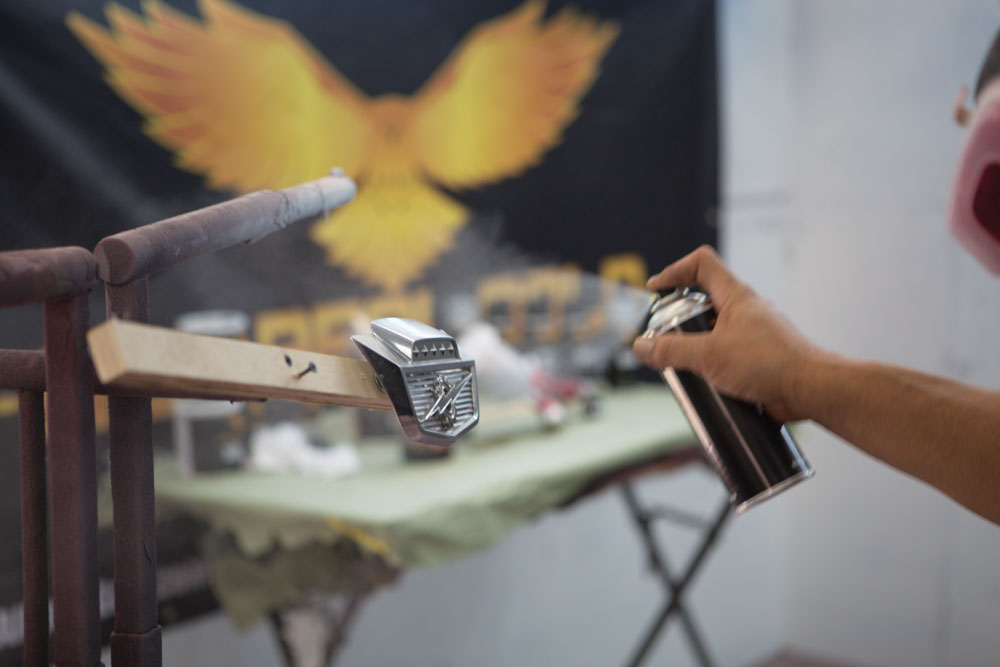
Luckily the engineers over at All Real Gold came up with a urethane product that is applied over chrome to give you a similar effect. The plus side is that it never tarnishes, and using the proper process and clear coat, it will outlast most other coatings.

We chose to go with the All Real Gold Copper finish on the build, and it really brought it to life. All Real Gold also offers Gold and Rose Gold color finishes along with aerosol cans for the DIY’er. If you have the ability or know a good shop, quart kits are available for professional use. The application process is very straight forward. In the meantime, follow along to see the magic unfold on FLO-100.

The prep process is very important. Make sure you strip all of your parts and have ample work space to properly prep each part.

All Real Gold provides complete solutions from aerosol DIY kits to full quart professional series setups.

Just like all paint processes, the finished product is only as good as your prep work. Make sure to clean each part extremely carefully with grease remover and wax to ensure no contaminants are left on your pieces.

Make sure to follow the proper mixing instructions. Here we’re mixing the copper and hardener.
Just like candy paint, timing is crucial. Make sure you’re ready to spray ALL your parts with the mixed paint so you don’t have to waste any materials once they’re loaded into the gun.

Apply two coats of adhesion promoter thoroughly over each part. Since the All Real Gold is always applied directly over chrome or polish, it needs the promoter to properly bond to the material.

When spraying the first coat of All Real Gold, apply a light coat. Don’t try to go too heavy right away. Usually, you will see a tiny change in color, but it won’t be dramatic.

Wait 10 minutes between coats and then apply the second coat of All Real Gold. This coat will be the same as the first—a very light coat. You will not need to see the full color just yet.

Again, let the paint flash for 5-10 minutes in between coats. Once you apply the third and final coat—also a light coat—you will see the Copper very clearly. Similar to a candy, you can go another light coat and it will make it a darker hue depending on the final coloring you’re after.
Wait the proper flash time and spray your clear coat. All Real Gold recommends two to three coats of clear as good protection and shine.

And there it is! Copper paint that will last—and defi nitely the perfect fi nishing touch.

You May Also Like

Behind the scenes at the 2018 Ford F-100 Super Nationals

More Than Four Decades of Ford Fun The beautiful Smoky Mountains offer great views and experiences for those willing. And what better place to host […]