 Phil Gordon
.
April 11, 2023
.
Department
.
Phil Gordon
.
April 11, 2023
.
Department
.
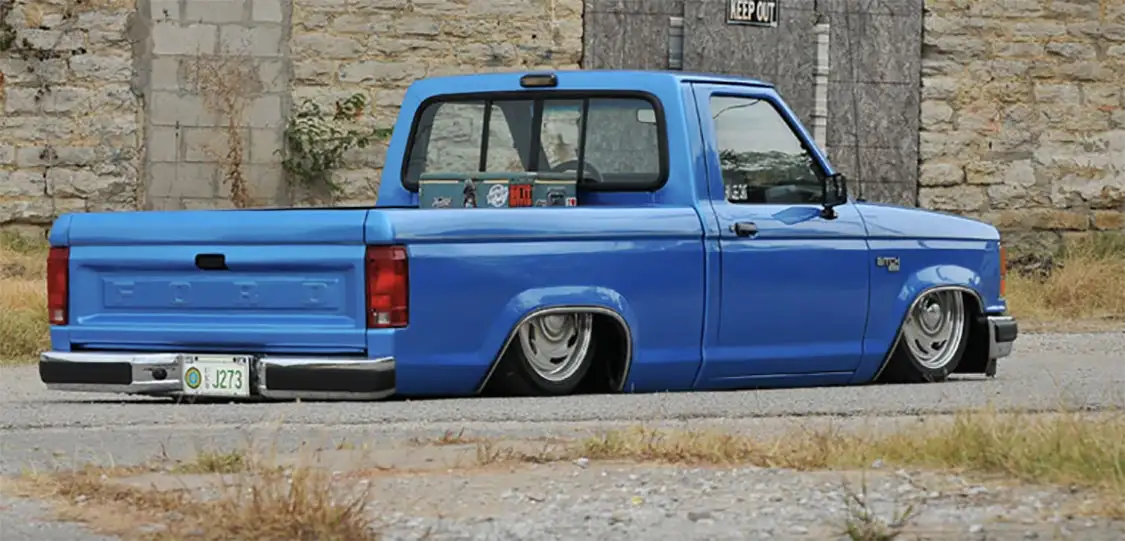
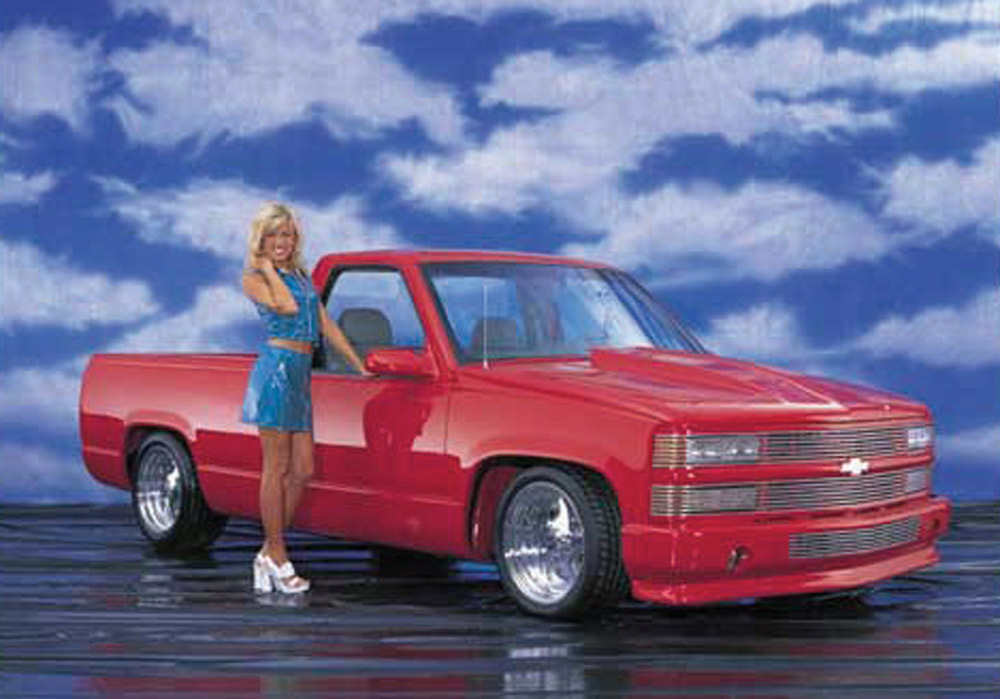
Not every build is a walk in the park. Some build stories have many different components and certain trials and tribulations. Angela Dry from Grove, Oklahoma, is no stranger to adversity. In 2010, she was able to save enough money to buy her truck of choice, an ’85 Ford Ranger. When she finally got the truck home and started to inspect it, she saw the top, bottom of the door frames, and fenders were eaten up by rust. The winter in Oklahoma was likely the cause, with massive snow throughout the entire state in the late months of the year.

Angela brought the Ranger to a shop and they hacked it up by cutting wires that shouldn’t have been cut.”


Not wanting to just scrap the entire truck, Angela set out to find a donor truck to combine with her purchase to make one whole truck. The donor truck came from Inola, Oklahoma, and the frame was removed and added to her ’85 Ranger. Angela brought the Ranger to a shop and they hacked it up by cutting wires that shouldn’t have been cut. Angela’s brother Chris Eaton had to go in and rewire everything to correct the issues this fumble caused.
Chris also handled the stock floor body-drop while the transmission had to be modified via a tunnel in the cabin. Once the body was put back on, the bed floor was raised so it wouldn’t have a hole in it. Angela wanted to learn to weld and her brother was more than happy to teach her because it meant less work for him. She spent countless hours spot-welding and working the body and bed floor. He showed her how to patch rust spots, as well as how to shave the gas door. During the process, her brother accidentally put a huge hole in the tailgate, so Angela put her newfound talents to work fixing it on her own. Her repaired tailgate is what’s on the truck today. Chris, Angela, and her long-time boyfriend, Dustin Darby, brought the truck into the paint booth and added a Nissan Pacific Blue paint to the freshly bodied Ranger.


Turning her attention to the interior, Angela located a set of Chevy Cavalier seats and replaced the dilapidated stock seats. The dashboard was restructured due to all the cracks. New carpet was put in and the door panels were replaced. Local upholstery artist, Debra Siske, added new upholstery inside. Angela was able to find a center console that came from a Ford Explorer that fit between the seats to perfection. Her boyfriend, Dustin, works at a glass company, so replacing the glass inside the truck was relatively simple.


Under the hood, after initially running and driving fine, the stock motor seized on her, adding yet another problem to Angela’s build. Luckily the donor truck’s motor had lower miles and was able to be rebuilt, cleaned, painted, and mounted. Wheel tubs were added for proper fitment, and she decided to go with 17-inch Prime wheels she found in Mississippi to get the Ford rolling on the streets. As it was originally purchased as an ’85 Ford Ranger, the ’92 loaner truck was grafted onto the entire body, so we’ll now call the Ranger a 1992 instead. What made the grafting easy was the fact that the Toyota front clip was used.
Angela wishes to thank her brother for teaching her all the truck and welding skills she now has, her very supportive bearded boyfriend, Dustin Darby, and her two kids, Josie and Joseph, for all their support. As a Cherokee Indian, Angela loves her heritage and has proudly joined the Female Mini-Truckers, with whom she is excited to find camaraderie. With all the bumps in the road she experienced, Angela accurately named her truck The B%#ch.
Angela wanted to learn to weld and her brother was more than happy to teach her because it meant less work for him.”


Owner
Angela Dry
1992 Ford Ranger
Grove, Oklahoma
Chassis
Drivetrain
Body/Paint
Interior
Stereo
Wheels & Tires
How much does it typically cost to bag a Ford Ranger?
Bagging a Ford Ranger involves replacing the vehicle’s suspension with air bags to allow for adjustable ride height and improved performance. Here’s a detailed breakdown of associated costs:
Remember, these estimates can vary widely based on the specific parts chosen and the level of customization desired. It’s wise to allow for a buffer in your budget to accommodate unexpected expenses.
How does the choice between a 2-way or 4-way air suspension system affect the bagging process?
When deciding between a 2-way and a 4-way air suspension system for the bagging process, each option has unique implications for the overall project and outcome.
Ultimately, choosing between a 2-way or 4-way air suspension system impacts the complexity, control, cost, and potential need for vehicle modification. A 4-way system enhances precision and flexibility but at the expense of higher complexity and cost, making it ideal for those who prioritize enhanced performance and handling in their vehicle customization projects.
What is the general process for bagging a Ford Ranger?
Chris also handled the stock floor body-drop while the transmission had to be modified via a tunnel in the cabin. Once the body was put back on, the bed floor was raised so it wouldn’t have a hole in it. Angela wanted to learn to weld and her brother was more than happy to teach her because it meant less work for him. She spent countless hours spot-welding and working the body and bed floor. He showed her how to patch rust spots, as well as how to shave the gas door. During the process, her brother accidentally put a huge hole in the tailgate, so Angela put her newfound talents to work fixing it on her own. Her repaired tailgate is what’s on the truck today. Chris, Angela, and her long-time boyfriend, Dustin Darby, brought the truck into the paint booth and added a Nissan Pacific Blue paint to the freshly bodied Ranger.
What modifications are necessary for wheels and tires when bagging a Ford Ranger?
Under the hood, after initially running and driving fine, the stock motor seized on her, adding yet another problem to Angela’s build. Luckily, the donor truck’s motor had lower miles and was able to be rebuilt, cleaned, painted, and mounted. Wheel tubs were added for proper fitment, and she decided to go with 17-inch Prime wheels she found in Mississippi to get the Ford rolling on the streets. As it was originally purchased as an ’85 Ford Ranger, the ’92 loaner truck was grafted onto the entire body, so we’ll now call the Ranger a 1992 instead. What made the grafting easy was the fact that the Toyota front clip was used.
Bagging the Ranger came with its own set of challenges. First, expect to spend at least $1,200 in parts to get the suspension ready for the transformation. If you’re new to welding or have never tackled suspension work, it’s wise to consult a professional. For those considering bagging only one end, starting with the front is often recommended due to its impact on vehicle handling and aesthetics.
When it comes to the wheels, Angela ensured they would fit perfectly by adding wheel tubs. It’s crucial to remove the interior fenders for clearance, allowing the wheels to sit just right under the body. These modifications not only gave Angela’s Ranger a sleek, grounded look but also maintained the functionality she desired.
By blending these technical adjustments with her vision, Angela transformed the Ranger into a head-turning street machine, seamlessly merging practicality with style.
What specific changes need to be made to accommodate the wheels when bagging a Ford Ranger?
The interior fenders need to be removed to ensure the wheels fit properly during the bagging process.
What skills are necessary to perform the bagging modification?
Skills in welding and suspension work are crucial for successfully completing the bagging modification.
What are the necessary components for bagging a vehicle?
Front Suspension: Slam Specialties 2,600-pound air bags, Thorbeck Brothers upper and lower control arms.
To fully bag a vehicle, you’ll need more than just the suspension components. Here’s a breakdown of what you should consider:
Together, these components create a system that not only enhances your vehicle’s performance but also its aesthetic appeal.
Is there a cost consideration for these components?
Yes, the cost of these components can add up significantly, highlighting the financial investment required for a complete air suspension setup.
What additional components might be needed beyond the suspension itself?
Beyond the core suspension parts, you’ll also require items like notches and shocks to ensure the system integrates well with your vehicle and functions correctly.
What are the basic components needed for an air suspension system?
To set up an air suspension system, you’ll need components such as a four-link setup, air bags, air lines, a compressor, valves, and tanks.
Is it necessary to cut the bed for axle clearance during the bagging process?
When approaching the bagging process, it’s essential to consider whether modifications like cutting the bed are necessary for axle clearance. Depending on your setup, such as opting for a 2-way (FB) or a 4-way (FBSS) system, the requirements can vary.
In some cases, cutting the bed for axle clearance is unavoidable to ensure smooth operation and prevent any interference. Consulting with a professional who can evaluate your specific setup and make the necessary adjustments, such as adding wheel tubs, can make all the difference. This not only improves fitment but also enhances the overall performance and appearance of your vehicle.
Will the rear bed be modified for axle clearance during the installation?
There is a consideration for cutting the bed to ensure adequate axle clearance.
Can the bagging process be done by oneself, and how difficult is it?
Angela wanted to learn to weld and her brother was more than happy to teach her because it meant less work for him. She was eager to dive into projects, but when it came to bagging a truck, she realized the need for caution. Her brother explained, “If you’ve never done this kind of work before, it might be worth considering hiring a professional.”
He shared his own experience, “I can weld, but I’ve never tackled suspension work myself. It’s a whole different beast.” Angela appreciated his honesty, understanding that suspension work involves more than just welding skills. The complexity of installing air suspension, or “bagging,” requires careful attention, especially the rear, which demands more effort.
Angela’s brother advised her to tackle the front part first if she wanted to try, as it was less daunting—mostly involving welding in the bag cups and connecting the airline. But he emphasized that the rear might be best left to someone with experience.
For Angela, learning to weld was a step toward independence, but she also recognized the wisdom in knowing when to seek help, ensuring her projects were not just done, but done right.
What skills are necessary to complete the bagging process?
Proficiency in welding and experience in suspension work are crucial for undertaking the bagging process effectively.
Should a beginner attempt the bagging process alone?
It’s advisable for beginners to seek professional help if they lack welding or suspension experience, as attempting it alone could be challenging.
Are larger rims compatible with a bagged vehicle, and what modifications might be necessary?
Under the hood, after initially running and driving fine, the stock motor seized on her, adding yet another problem to Angela’s build. Luckily, the donor truck’s motor had lower miles and was able to be rebuilt, cleaned, painted, and mounted. Wheel tubs were added for proper fitment, and she decided to go with 17-inch Prime wheels she found in Mississippi to get the Ford rolling on the streets. As it was originally purchased as an ’85 Ford Ranger, the ’92 loaner truck was grafted onto the entire body, so we’ll now call the Ranger a 1992 instead. What made the grafting easy was the fact that the Toyota front clip was used.
When it comes to choosing rims for a bagged vehicle, size matters more than you might think. Angela considered going beyond the 17-inch wheels but was cautious about the potential complications. If you decide to opt for rims larger than 18 inches, be prepared for some significant modifications:
These considerations highlight why Angela opted for the 17-inch wheels, balancing style with practicality. This strategic choice allowed her build to maintain both its sleek appearance and functional integrity, ensuring her truck was ready to hit the streets without unnecessary complications.
What specific modifications are needed for larger rims on a bagged vehicle?
To accommodate rims over 18 inches, you may need to reposition engine components and modify the fenders in the bed to ensure the truck lays evenly.
What considerations should be made regarding welding skills and suspension work experience?
Angela wanted to learn to weld, and her brother was more than happy to teach her because it meant less work for him. She spent countless hours spot-welding and working the body and bed floor. He showed her how to patch rust spots, as well as how to shave the gas door. During the process, her brother accidentally put a huge hole in the tailgate, so Angela put her newfound talents to work fixing it on her own. Her repaired tailgate is what’s on the truck today. Chris also handled the stock floor body-drop while the transmission had to be modified via a tunnel in the cabin. Once the body was put back on, the bed floor was raised so it wouldn’t have a hole in it.
Before embarking on a similar journey, consider the following:
Angela’s story illustrates the value of learning and gaining experience, but it also serves as a reminder that not everyone will have a skilled mentor at their disposal. Assess your skills honestly and consider professional help if needed to avoid costly mistakes.
What are the risks or recommendations for someone lacking these skills?
If you lack experience in welding or suspension work, it’s advisable not to undertake this project on your own due to potential risks and complications.
What level of welding and suspension work experience is needed?
It’s crucial to have a solid understanding of welding and suspension work before attempting this project yourself.
What financial investment is required for parts when undertaking this kind of work?
You should anticipate spending at least $1,200 on parts alone for this type of project.
What are the considerations for maintaining a daily driver after bagging a Ford Ranger?
When maintaining a daily driver like a Ford Ranger, especially after installing a bag suspension system, several factors come into play. Firstly, consider the financial aspect. It’s essential to budget for modifications and any potential repairs. Unexpected costs can arise, particularly after initial installations.
Wheel and Tire Selection: Choosing the right wheels and tires is crucial for ride quality and durability. Opt for smaller rims, such as 16 or 17 inches, paired with thicker tires. This setup not only enhances comfort but also helps absorb road impacts better, reducing the risk of damage on rough surfaces.
Road Conditions: If you often drive on challenging roads, pay close attention to tire quality. Indiana roads, for example, can be tough on vehicles. High-quality tires with good shock absorption will help mitigate adverse effects from bumps and potholes.
Usage Purpose: Your vehicle’s purpose as a daily driver necessitates balancing performance with practicality. Avoid overly flashy modifications that might hinder everyday usability. Focus on reliable and robust setups that ensure the Ranger remains functional for daily commutes.
By considering these aspects, you can maintain your Ford Ranger effectively as a daily driver, ensuring it remains both dependable and enjoyable to drive.
Has anyone bagged their Ford Ranger themselves, and how difficult was it?
Angela wanted to learn to weld and her brother was more than happy to teach her because it meant less work for him. She was eager to dive into projects, but when it came to bagging a truck, she realized the need for caution. Her brother explained, “If you’ve never done this kind of work before, it might be worth considering hiring a professional.”
He shared his own experience, “I can weld, but I’ve never tackled suspension work myself. It’s a whole different beast.” Angela appreciated his honesty, understanding that suspension work involves more than just welding skills. The complexity of installing air suspension, or “bagging,” requires careful attention, especially the rear, which demands more effort.
Angela’s brother was clear: “You will spend at least $1,200 in parts.” This was a significant investment, and Angela knew it was important to weigh the costs against her skills and time. He also pointed out, “If you don’t know how to weld, or have never done any suspension work, don’t try and do it yourself.” This wasn’t just a casual project; it required expertise and precision.
Angela’s brother advised her to tackle the front part first if she wanted to try, as it was less daunting—mostly involving welding in the bag cups and connecting the airline. But he emphasized that the rear might be best left to someone with experience. His advice was practical: “If you are going to bag just one end, do the front first.” This approach allowed Angela to build her confidence and skills gradually.
For Angela, learning to weld was a step toward independence, but she also recognized the wisdom in knowing when to seek help, ensuring her projects were not just done, but done right. Her brother’s insights helped her understand both the financial and technical challenges of bagging a truck, reinforcing the importance of preparation and expertise.
If I want to bag only one end of the vehicle, which should I start with?
Start with the front end if you are planning to bag only one part of the vehicle, as it is generally less complex than the rear.
What skills are necessary to successfully bag a vehicle?
You need to know how to weld and have experience with suspension work. If you lack these skills, it’s advisable to seek professional help.
How much should I budget for parts when bagging a Ford Ranger?
You should plan to spend at least $1,200 on parts for the project.
How can one manage costs for bagging a Ford Ranger over time?
Managing costs for bagging a Ford Ranger can be a strategic process if approached thoughtfully. Here are some ways to make it more manageable:
Remember, these estimates can vary widely based on the specific parts chosen and the level of customization desired. It’s wise to allow for a buffer in your budget to accommodate unexpected expenses. By carefully planning and prioritizing, you can achieve the desired modifications without financial strain.

Department
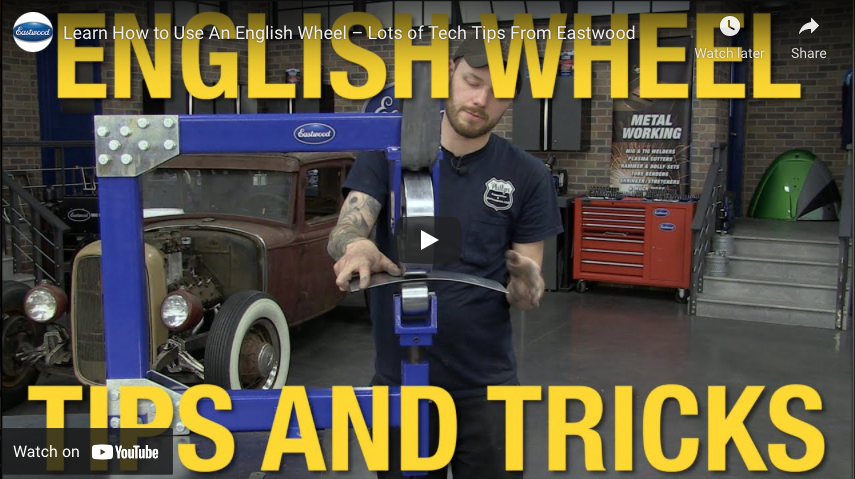
In this video Mike Phillips from Phillips Hot Rod and Custom gives us some tips and tricks for properly using the english wheel to create… Continue reading
Adam Johnson . March 08, 2022
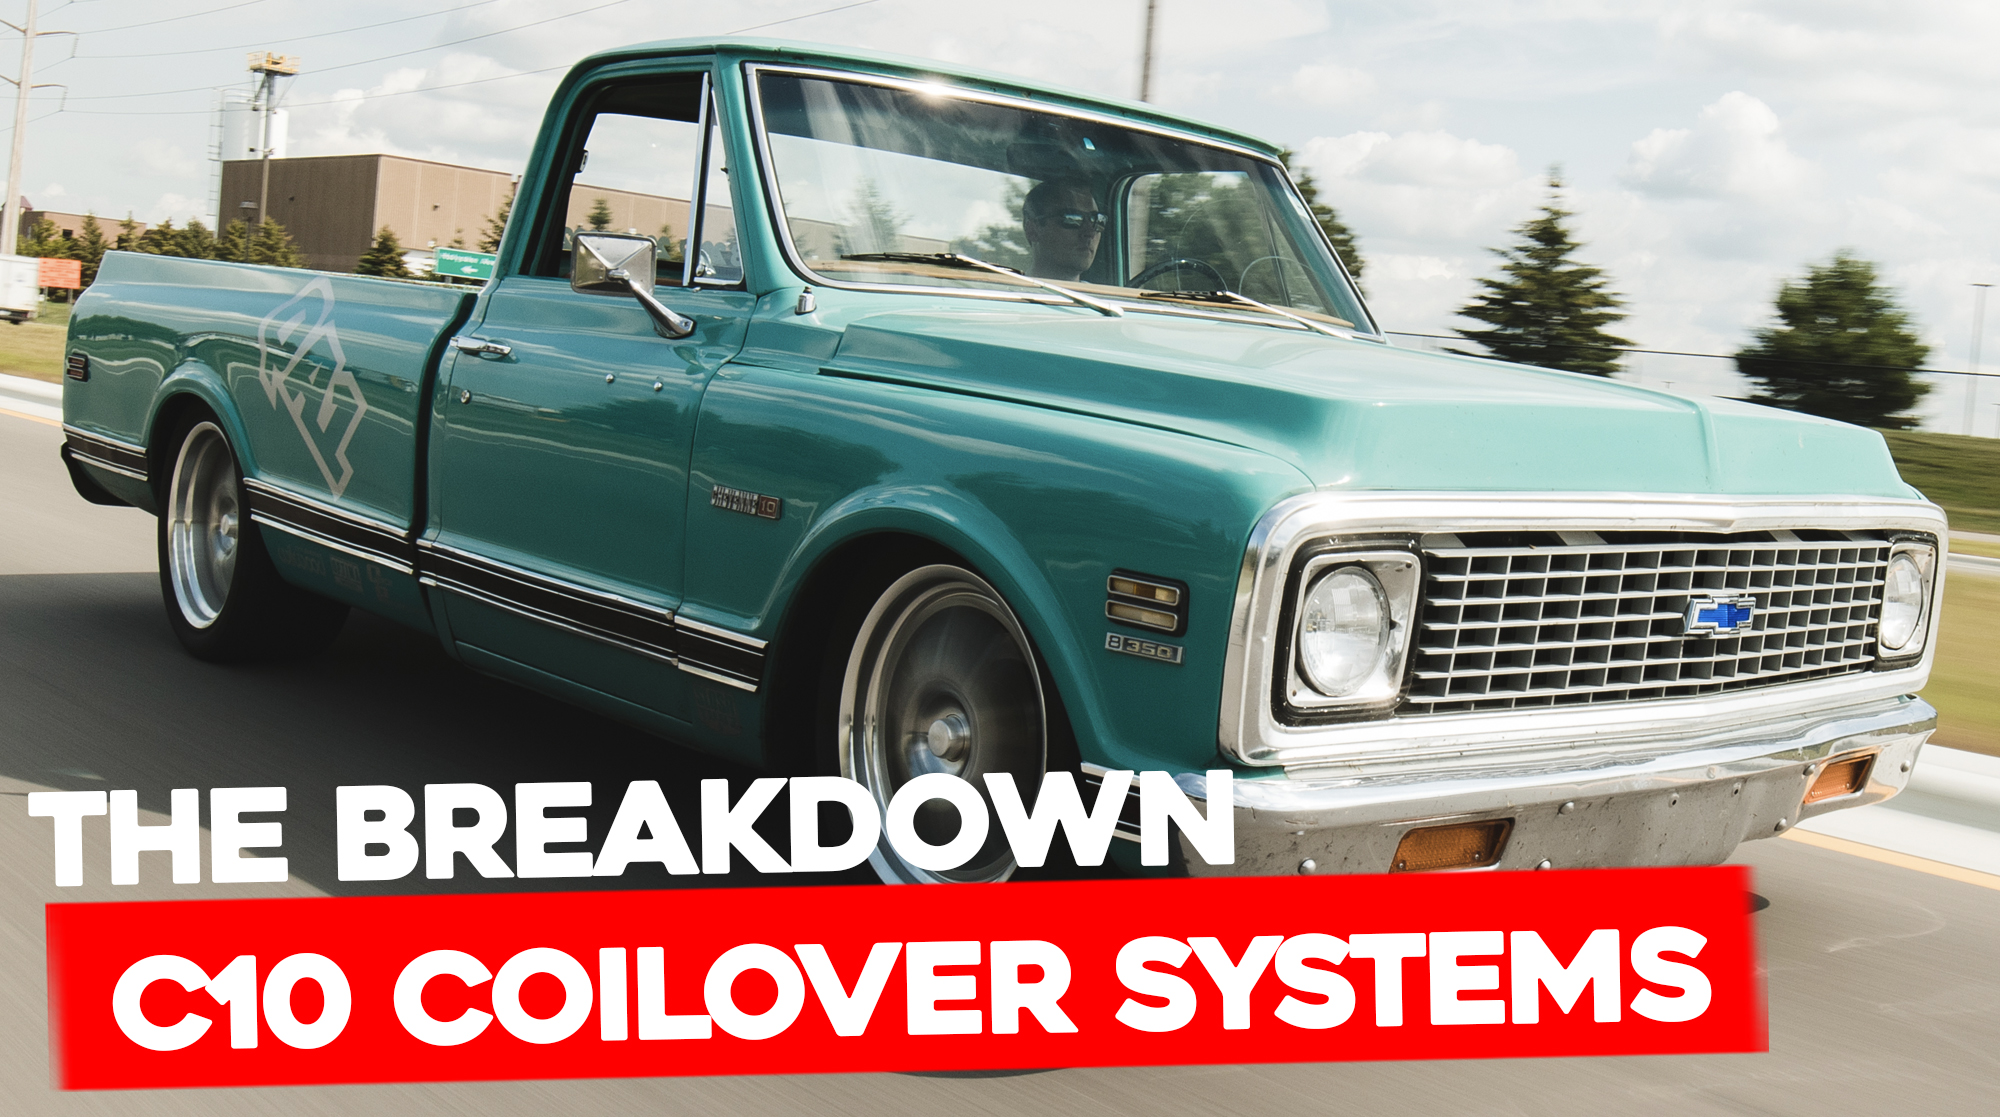
C10 Builders Guide
Adjustable C-10 Coil-Over Suspensions Classic Performance Products’ (CPP) complete front and rear coil-over conversion kits for 1963-87 Chevy trucks are fully ride height adjustable from… Continue reading
Chris Hamilton . November 12, 2018
Department
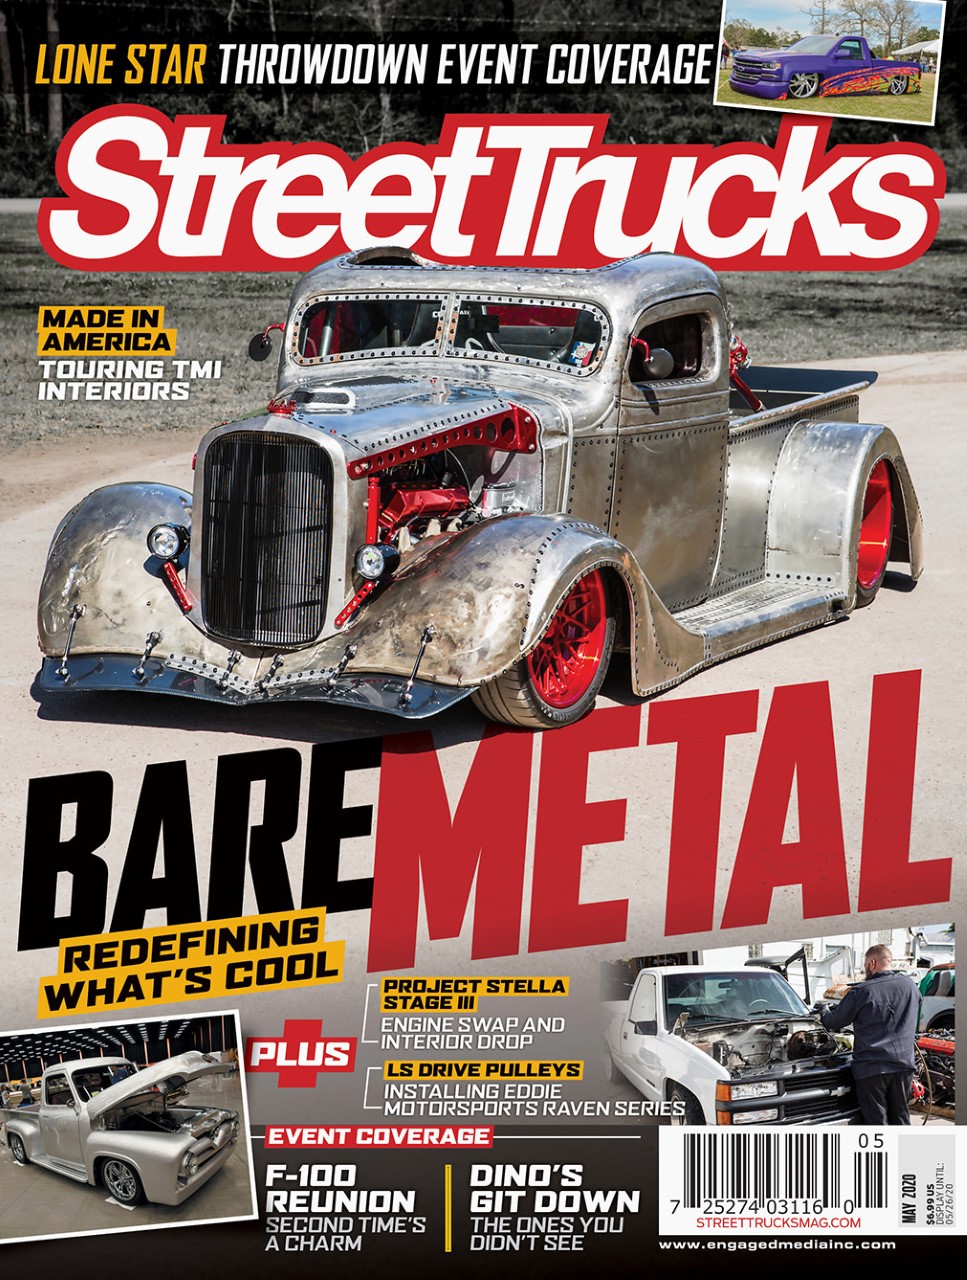
Here’s What’s Inside! FEATURES Pharr Out 1958 Chevrolet Apache Dream Comes True Bare Metal Reinventing What’s Cool Family Affair Building an ’86 Mazda B2000… Continue reading
Chris Hamilton . April 02, 2020
Features
A Body style that sparked an Entire Culture If you’re an avid reader of Street Trucks from the very beginning, you might remember way back… Continue reading
streettrucks . September 04, 2020
Blood Sweat and Gears
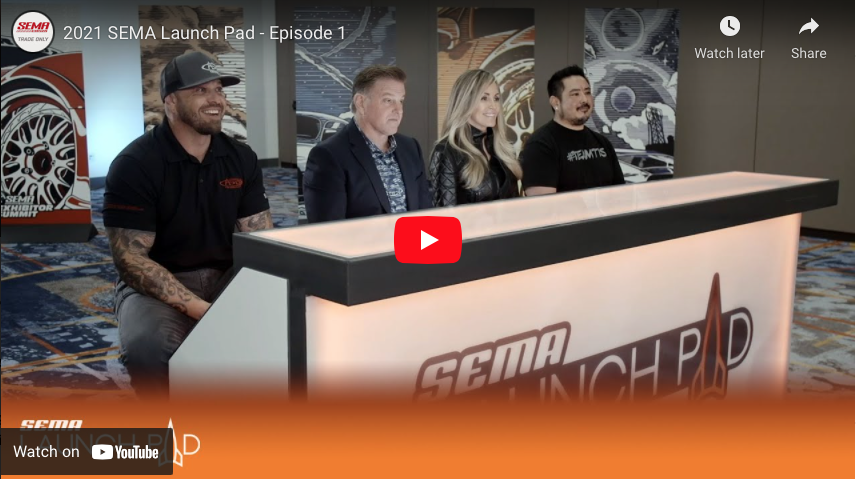
The SEMA Launch Pad is the automotive specialty equipment’s ultimate competition for budding entrepreneurs who are ready to introduce their products to a worldwide audience.… Continue reading
Adam Johnson . October 28, 2021

Department
Living the Life and Printing the Passion The latest issue of Street Trucks is loaded with builds that’ll keep you flipping pages and maybe even… Continue reading
Chris Hamilton . May 07, 2025


Share Link