 JEREMY RICE
.
September 05, 2025
.
How to
.
JEREMY RICE
JEREMY RICE
.
September 05, 2025
.
How to
.
JEREMY RICE
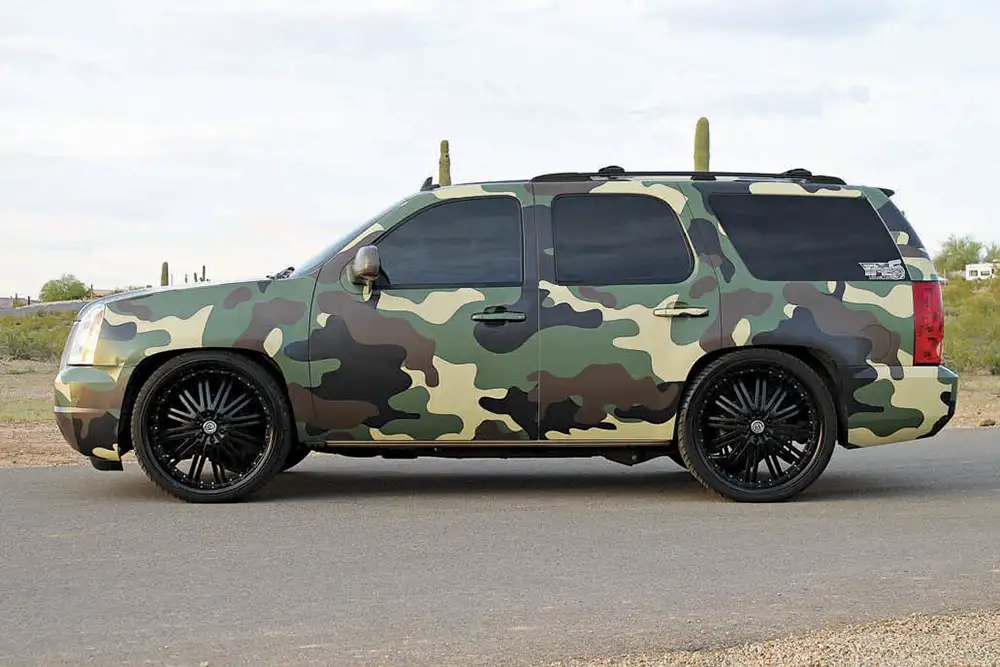
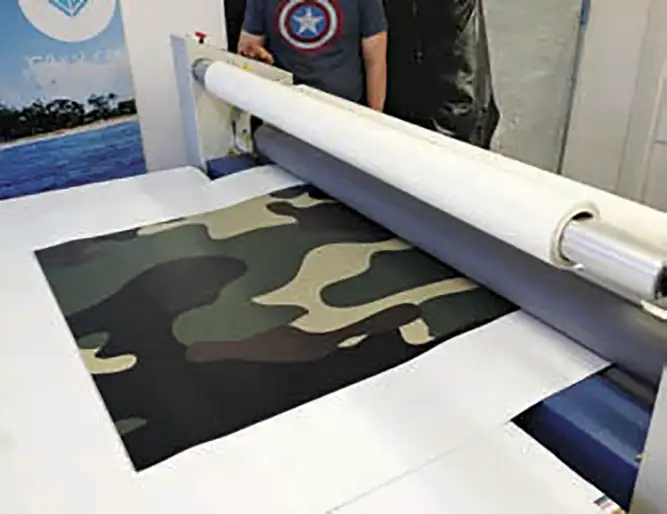
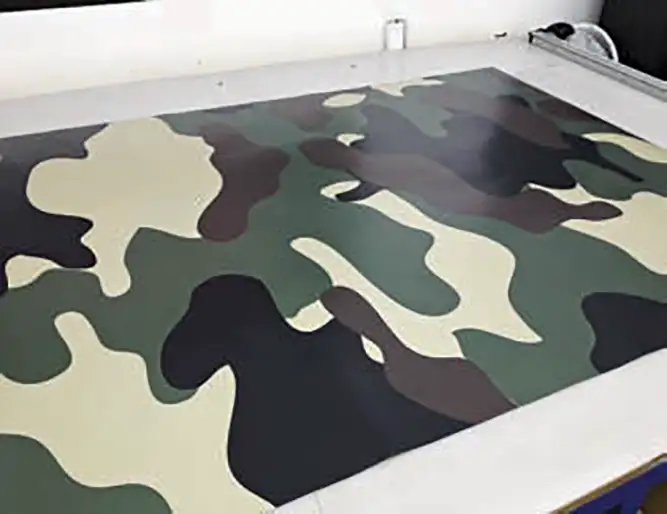
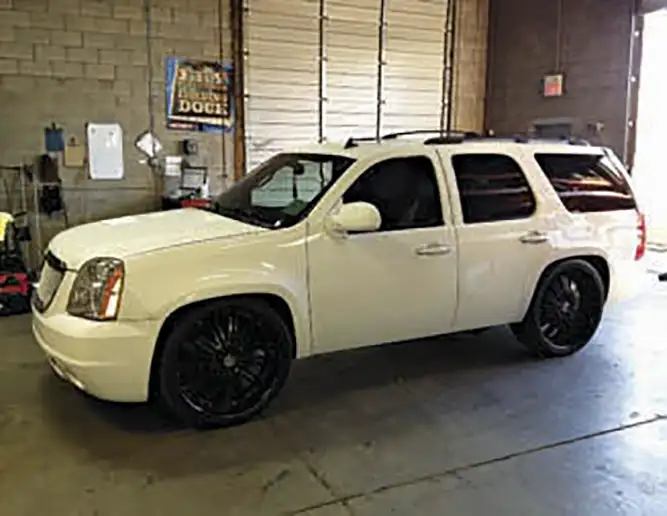
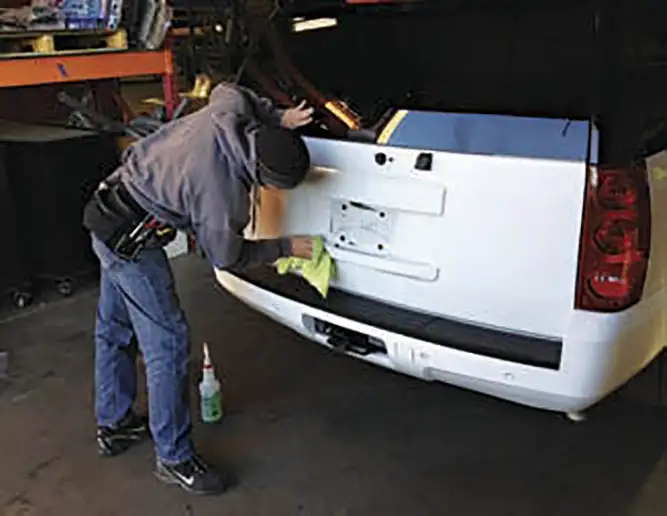
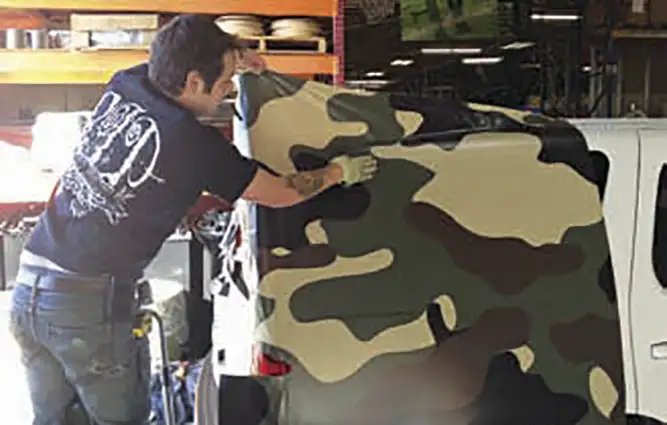
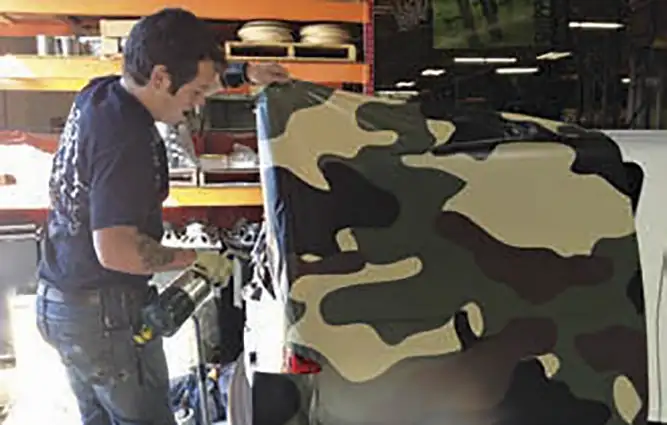
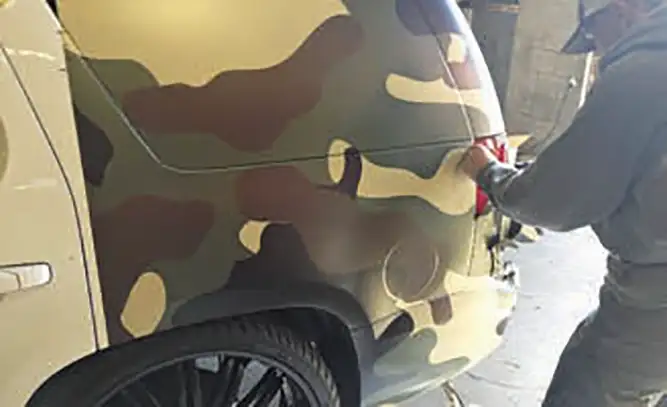
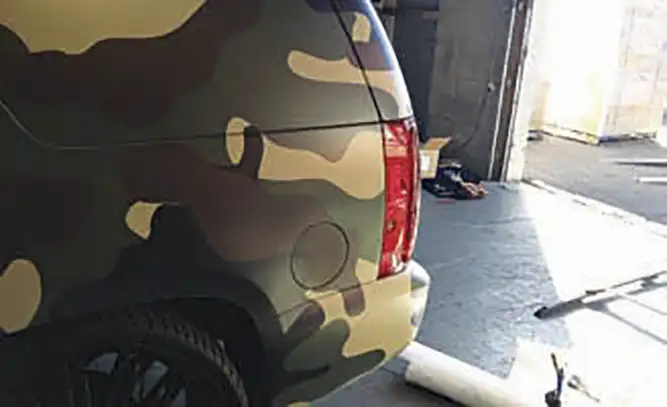
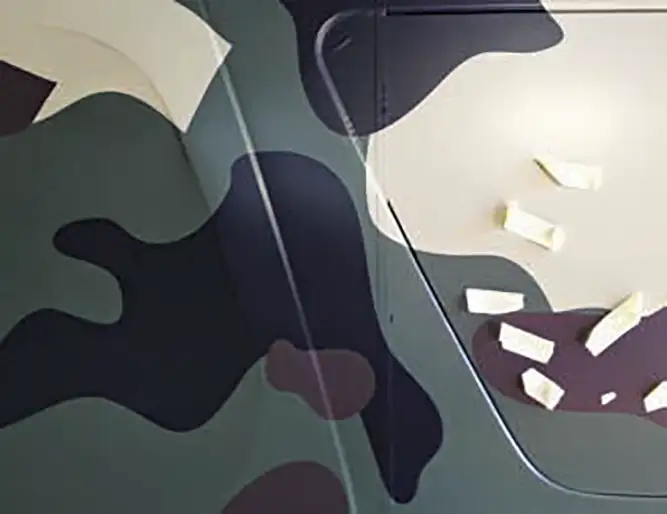
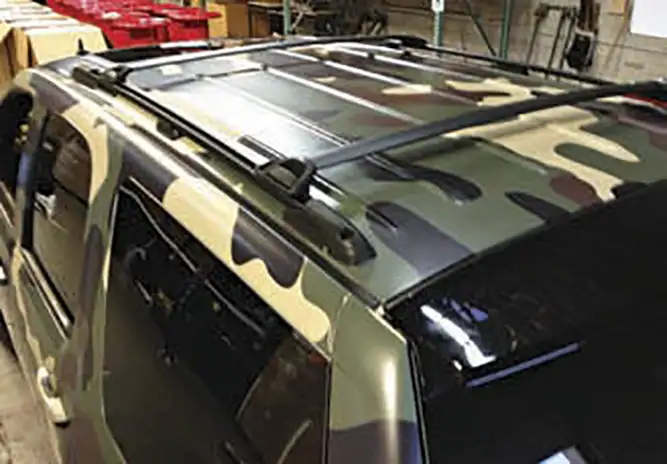
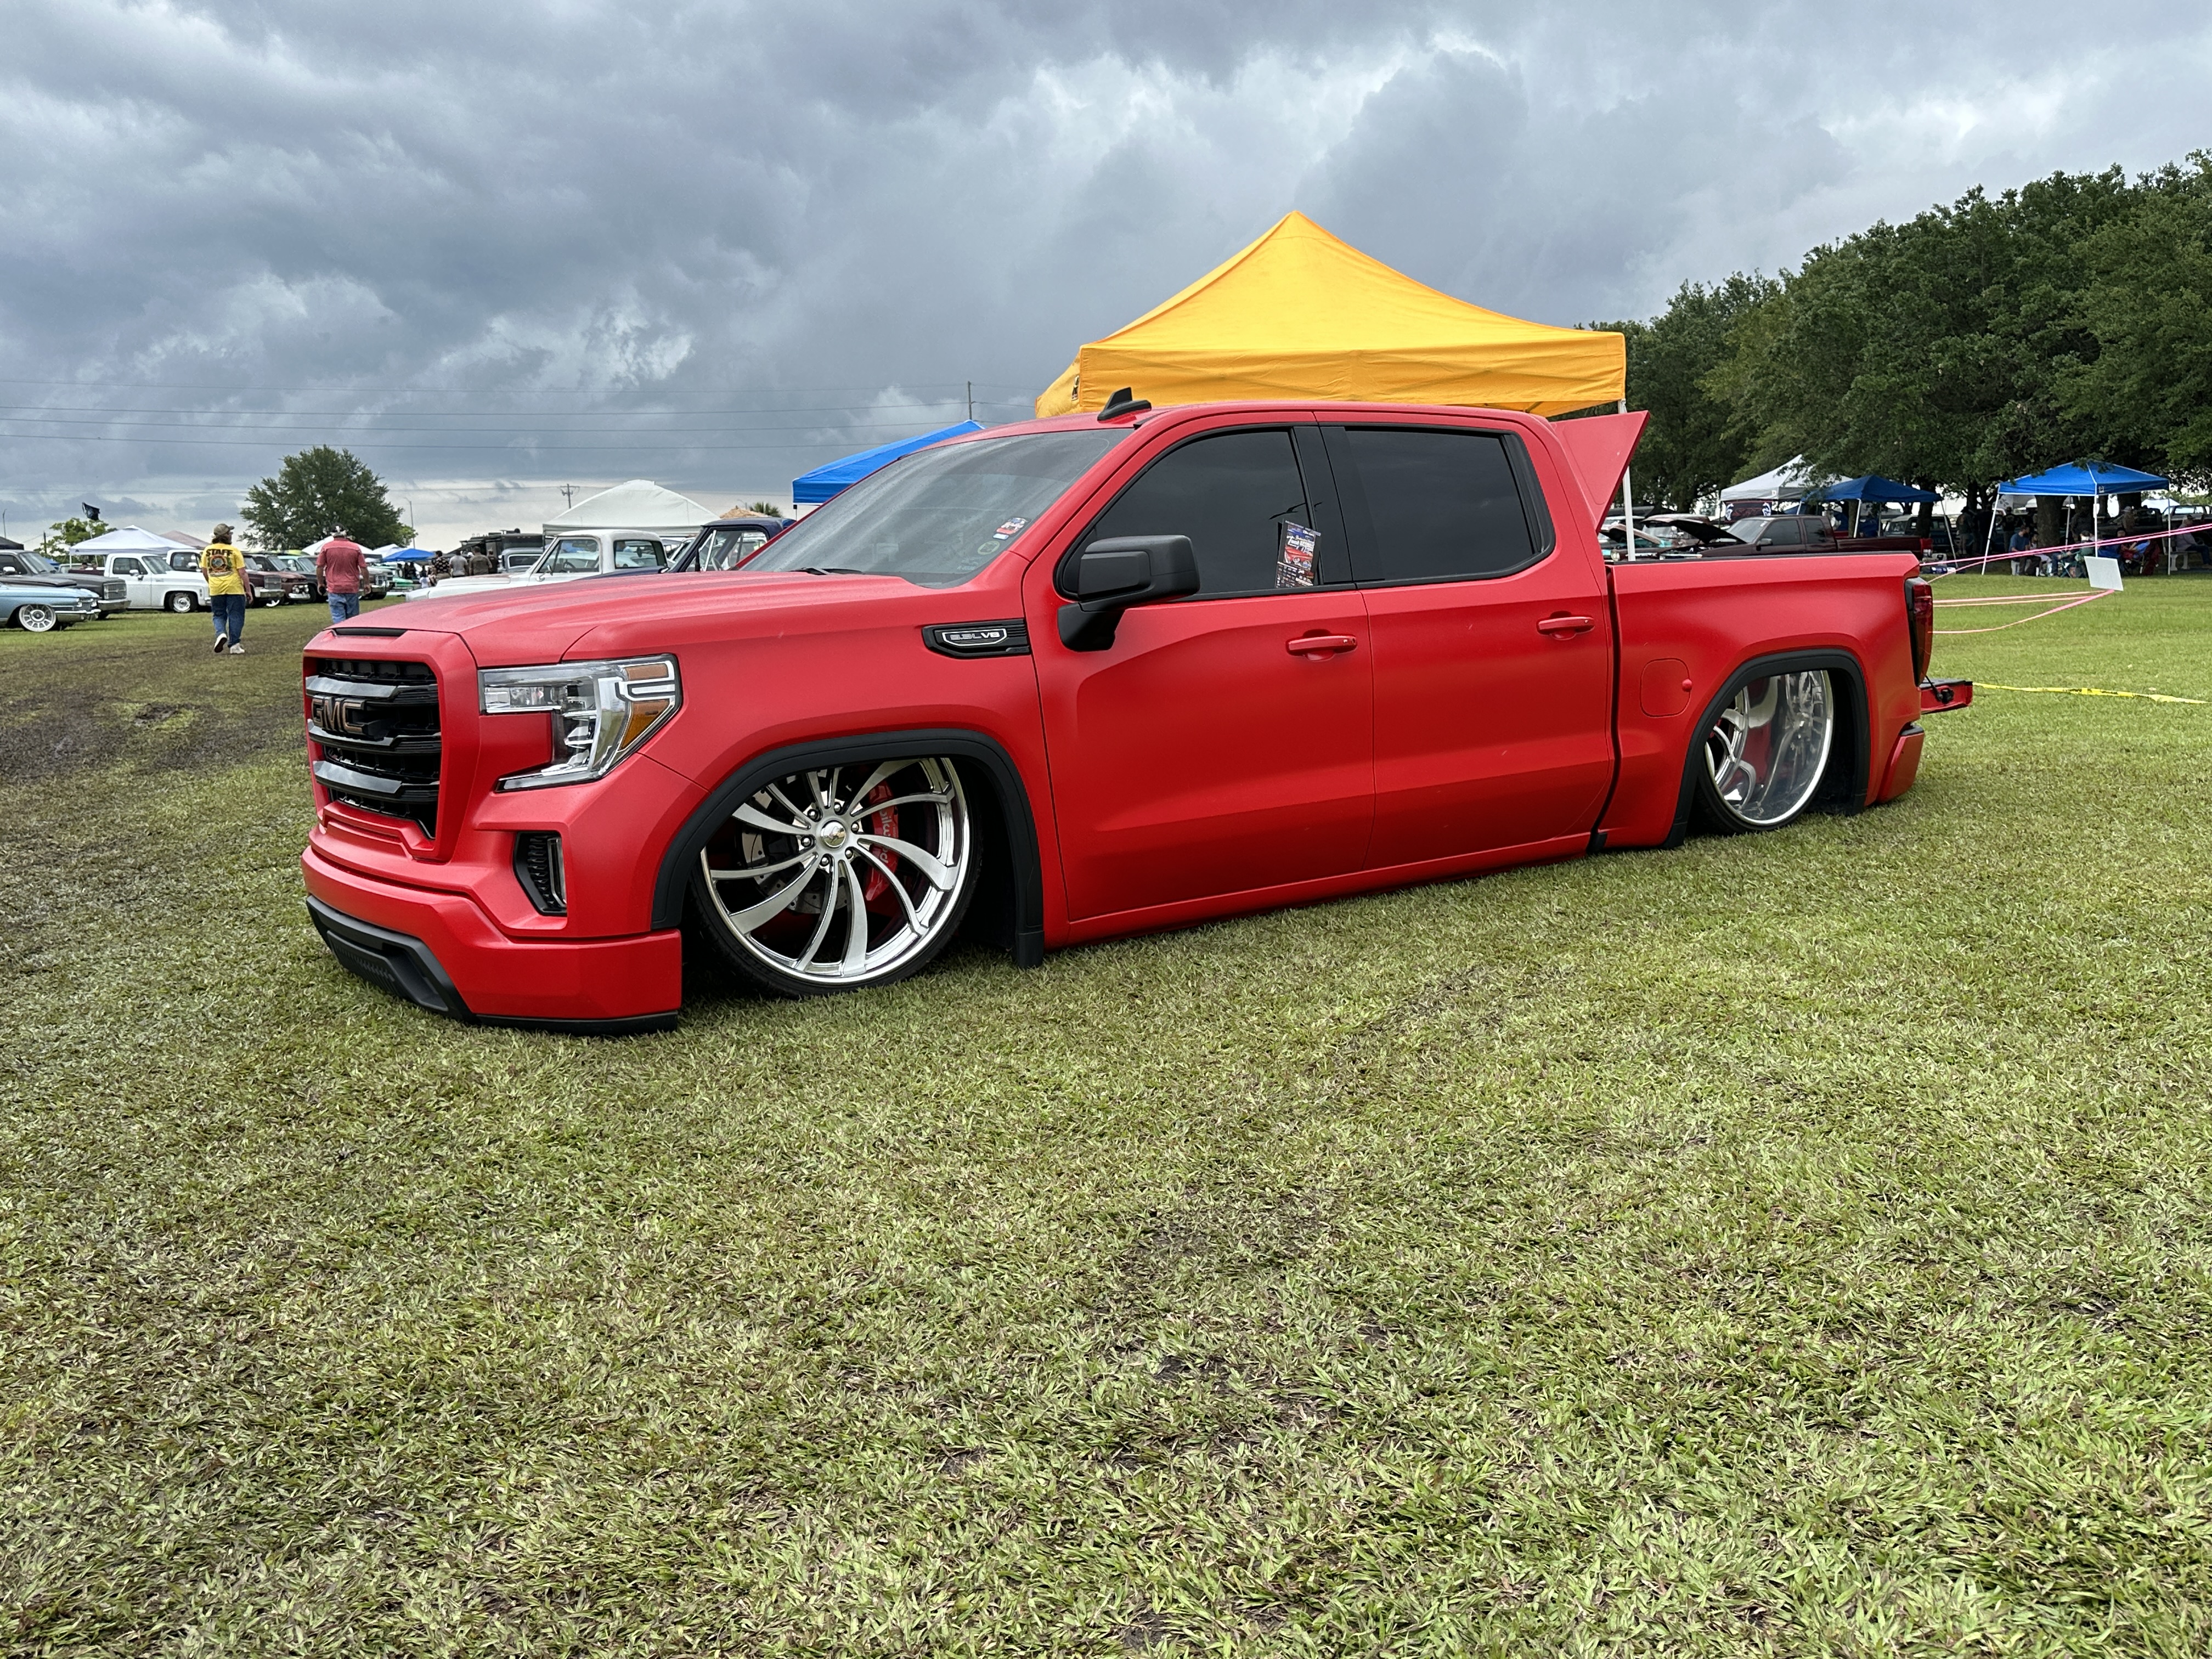
The quickest way to completely change the entire look of any truck’s exterior is a vehicle wrap. Vehicle wraps are exactly what the name implies, the exterior of the vehicle is completely covered with a special vinyl designed for automotive use. The vinyl materials are offered in several basic colors and even custom versions like carbon fiber and chrome. They can also be done in different finishes, such as gloss, flat and matte. The coolest thing about the wraps is that they can be printed on stock vinyl with any design imaginable, and that’s exactly what we did with this truck.
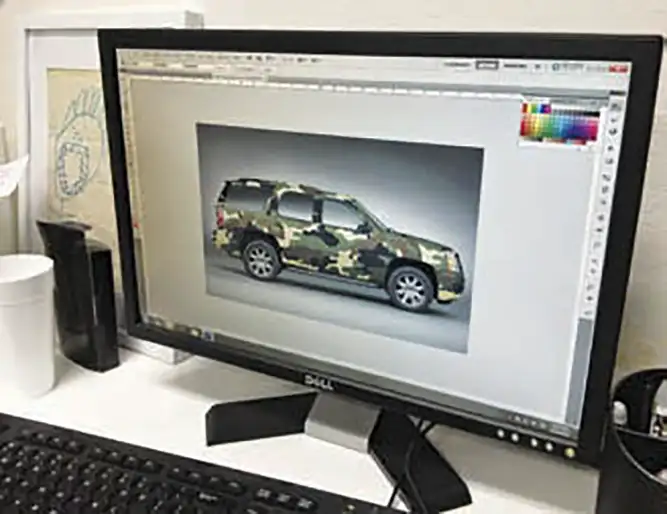
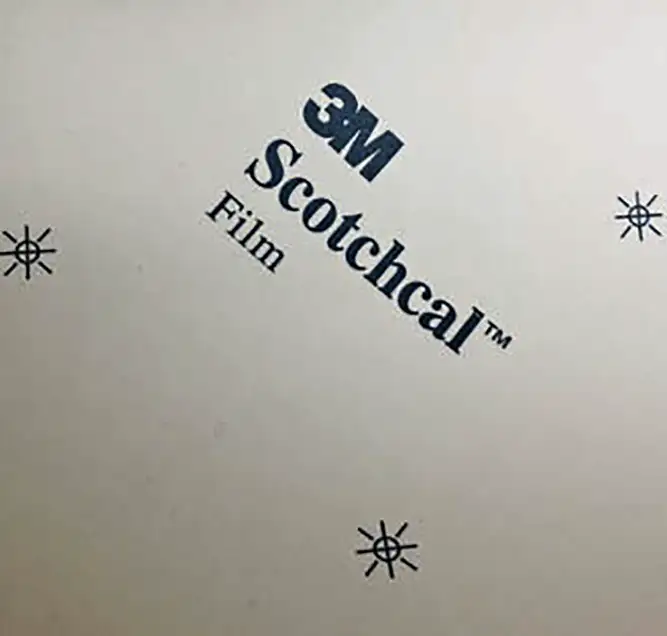
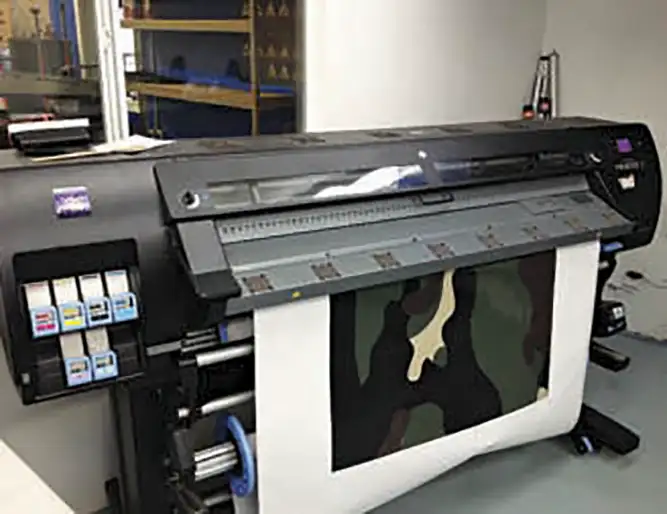
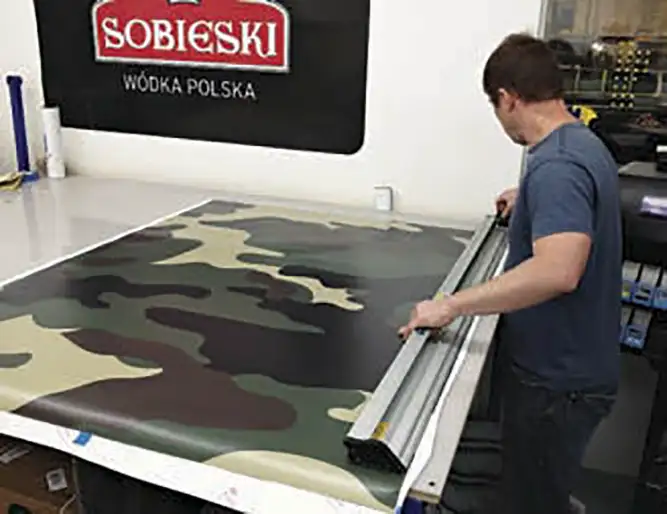
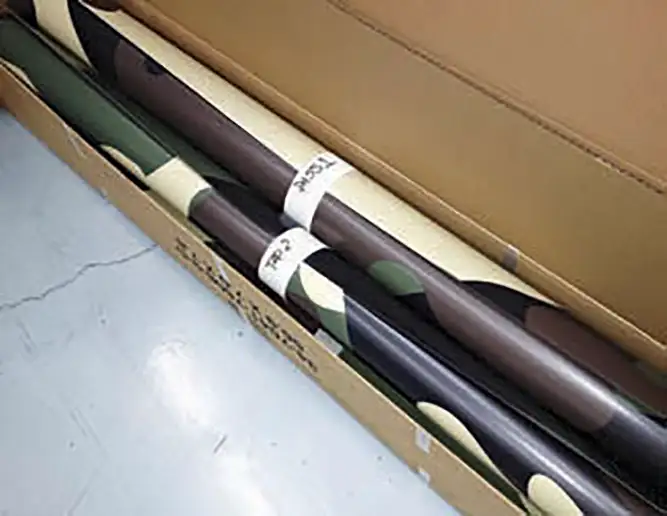
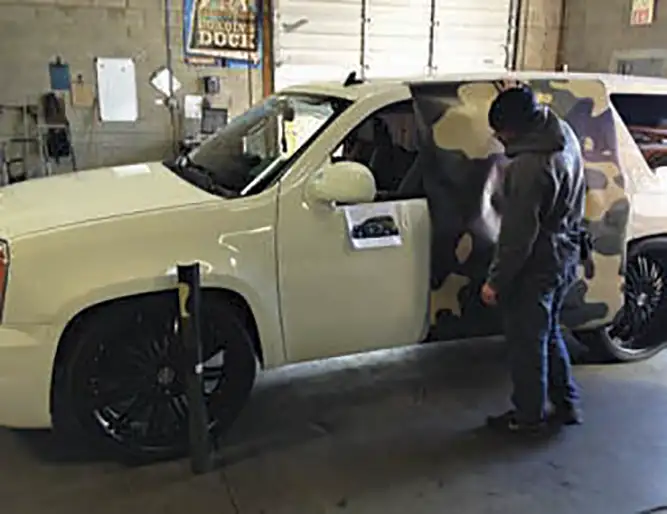
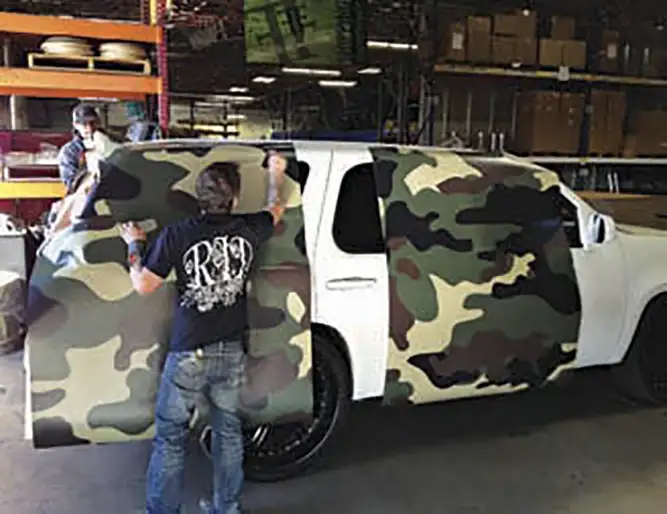
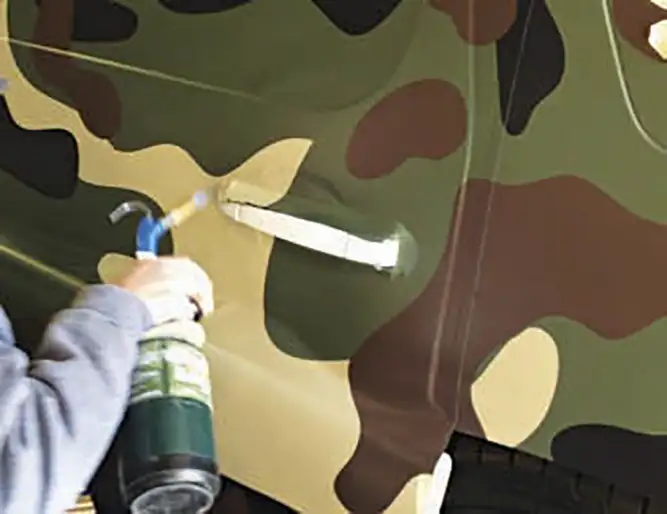
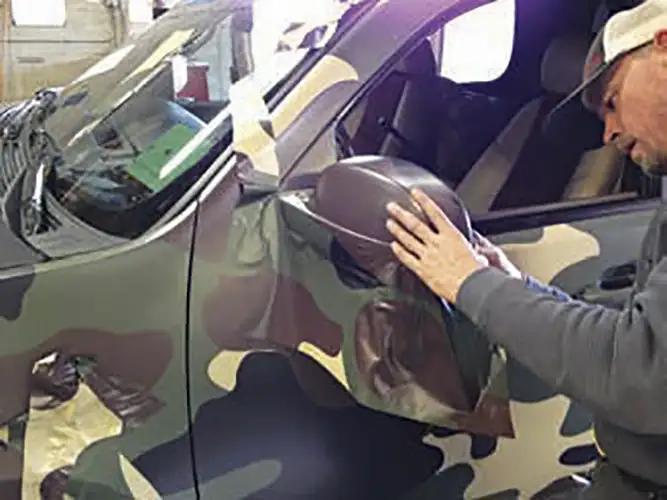
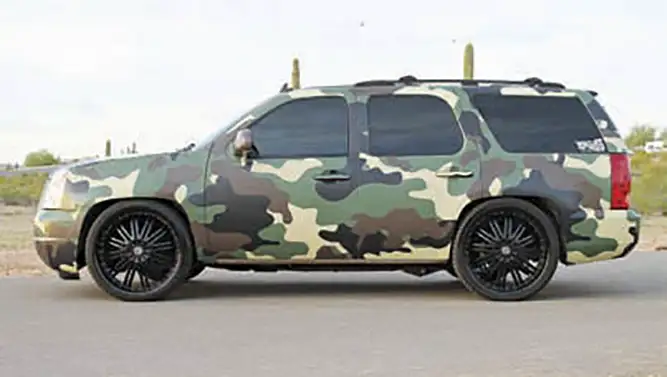
Tre5 Customs was recently approached by an aspiring MLB pitcher about wrapping his Yukon in a camouflage design to put it in a league of its own at the ball field, so they called upon good friend Jim at Fry Media to handle the job. Fry Media houses several large format printers and experienced designers who were more than ready for the custom camo job. They also only use genuine 3M materials and 3M-certified installers to perform tasks in-house.

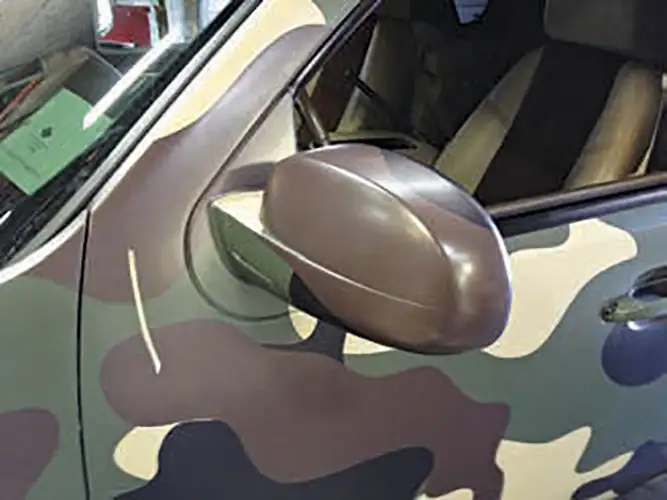
Compared to a completely new paint job a wrap is less than half the cost, but the biggest dif- ference is time. We hung out down at Fry Media in Phoenix for a day as they transformed this ’07 GMC Yukon in just under eight hours. ST


FRY MEDIA
Frymedia.com
602.454.0701
TRE5 CUSTOMS
Tre5customs.com
602.284.2466
3M
3M.com

Department
This years Battle in Bama truck show was a spectacular event that showcased some of the most impressive trucks in the country. Despite some inclement… Continue reading
STREET TRUCKS STAFF . May 08, 2023
Blood Sweat and Gears
PRI President Dr. Jamie Meyer, right, interviewed PFI Speed Owner Brent Leivestad, whose shop was hit with an $180,000 fine for selling race parts.… Continue reading
Adam Johnson . September 09, 2021
Tech
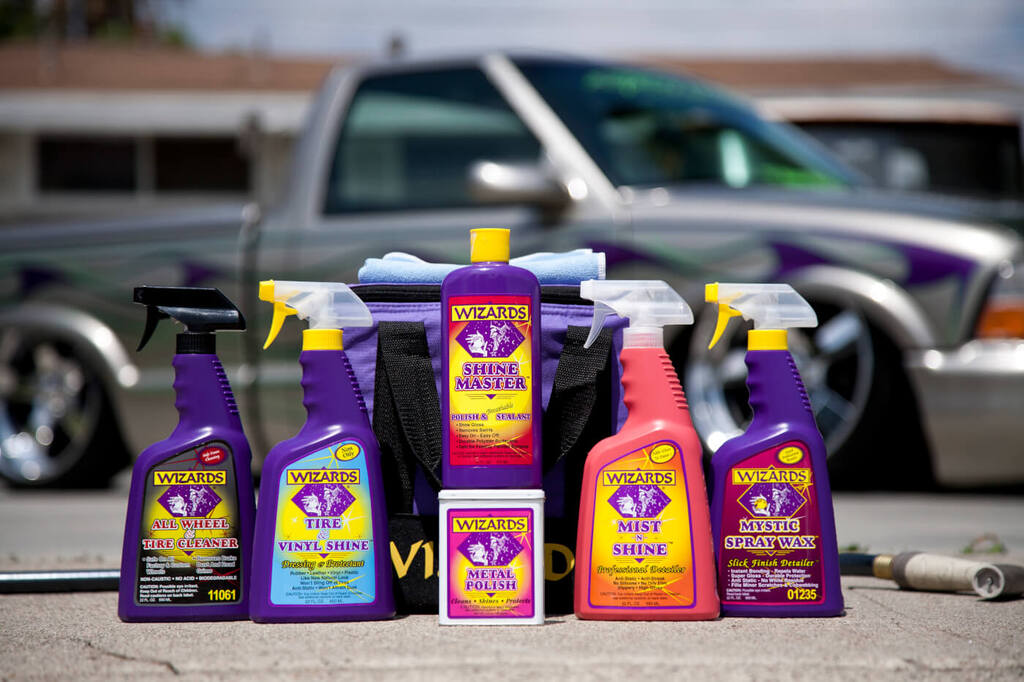
We truck guys can be really demanding when it comes to what we expect from cleaning products. This especially goes for those of us who… Continue reading
streettrucks . February 19, 2018
Features
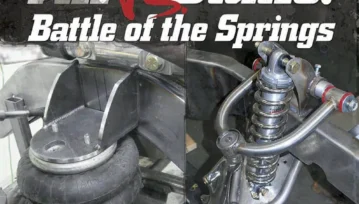
Aftermarket Suspension Systems Explained There’s an ongoing debate about which suspension system is the better choice for classic or late model trucks. Similar debates and… Continue reading
MARCEL VENABLE . February 05, 2026
C10 Builders Guide
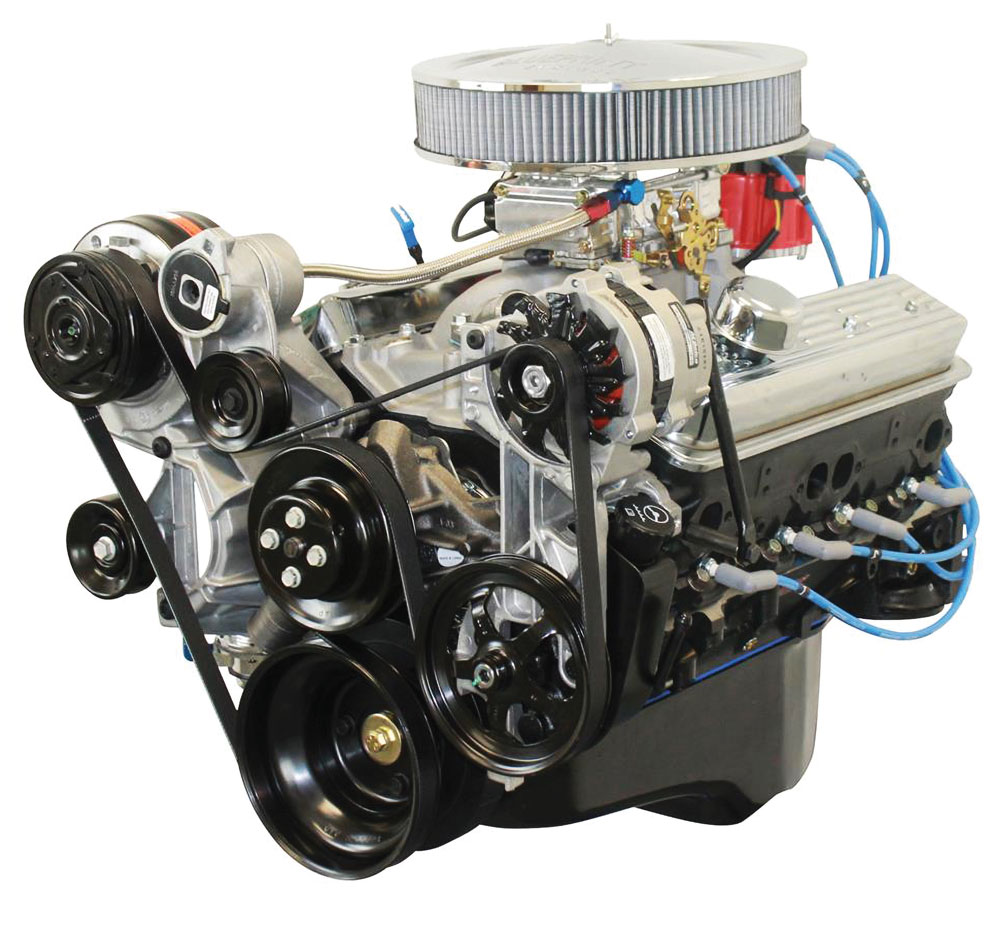
Small Block Serpentine YOU CAN NEVER GO WRONG WITH BASIC BLACK. TAKE EDDIE Motorsports’ Raven Series S-Drive Serpentine Pulley Drive Systems. They feature CNC-machined billet… Continue reading
C10 Builder’s Guide Staff . December 19, 2019
Department
FEATURES Seasons of Change – Life Lessons Learned from a Truck Named Charlie Blazin’ – A Tale of Two Covers Deputy Dually – Douglas County’s… Continue reading
Chris Hamilton . September 28, 2021


We use cookies to enhance your browsing experience, serve personalized ads or content, and analyze our traffic. By clicking "Accept All", you consent to our use of cookies. Visit our Cookie Policy for more info.

Share Link