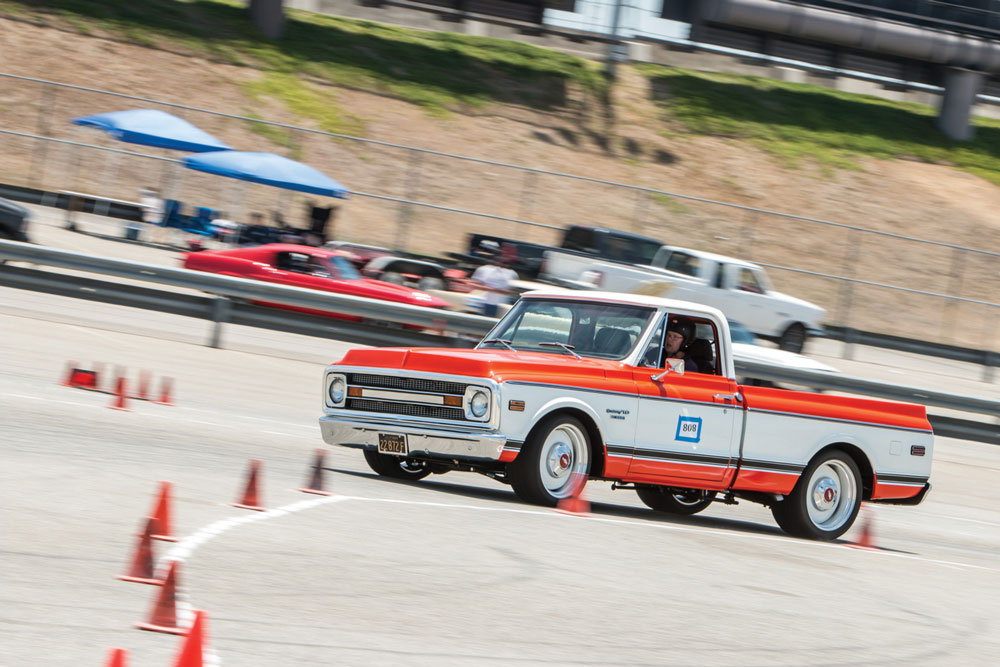
With the recent announcement of the 2022 Hot Rod Power Tour locations and dates, we have committed to join this exciting five-day road trip tour and enjoy the activities all along the way. We don’t just plan on going to hang out though. We’re looking to compete with the best and make some new friends in the industry. To do that, we need a good truck to travel over 2,000 miles while competing at each and every stop.
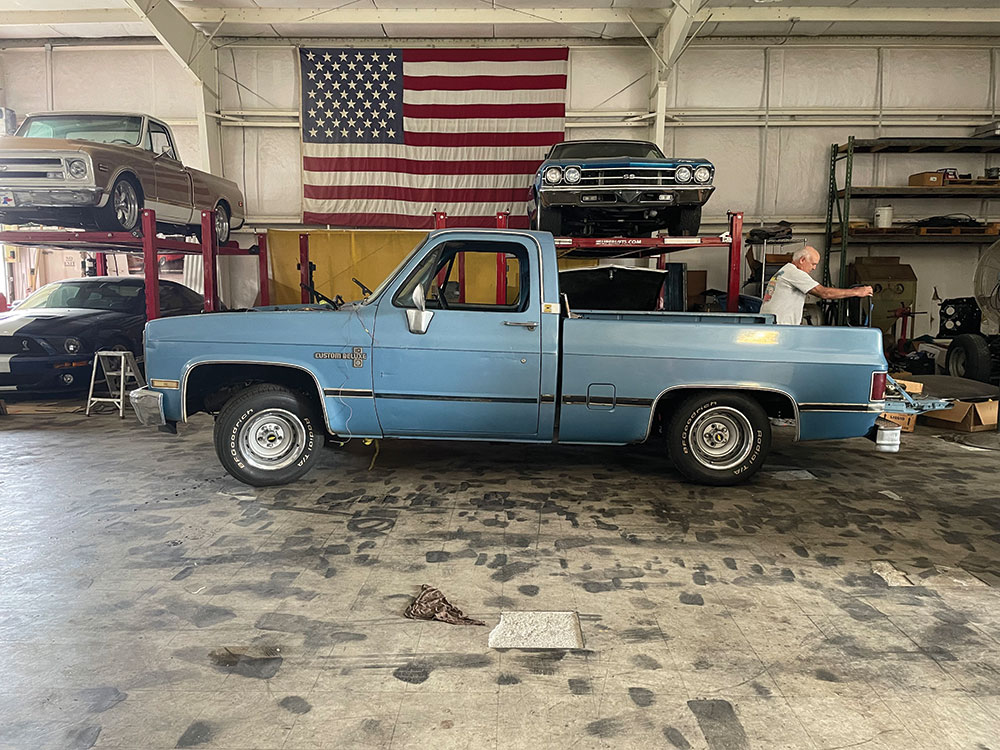
Project BlueBlood is our very own blue Bow Tie build, and we are turning the wrench ourselves the entire way to the Power Tour, which means lots of late nights and bloody knuckles are in our future.
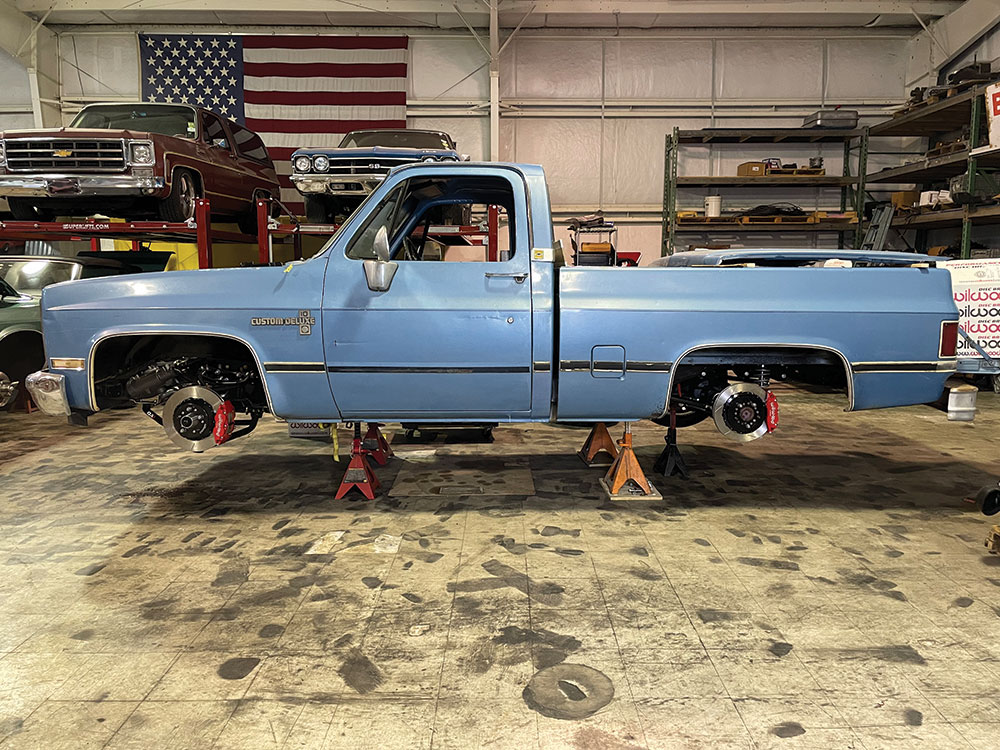
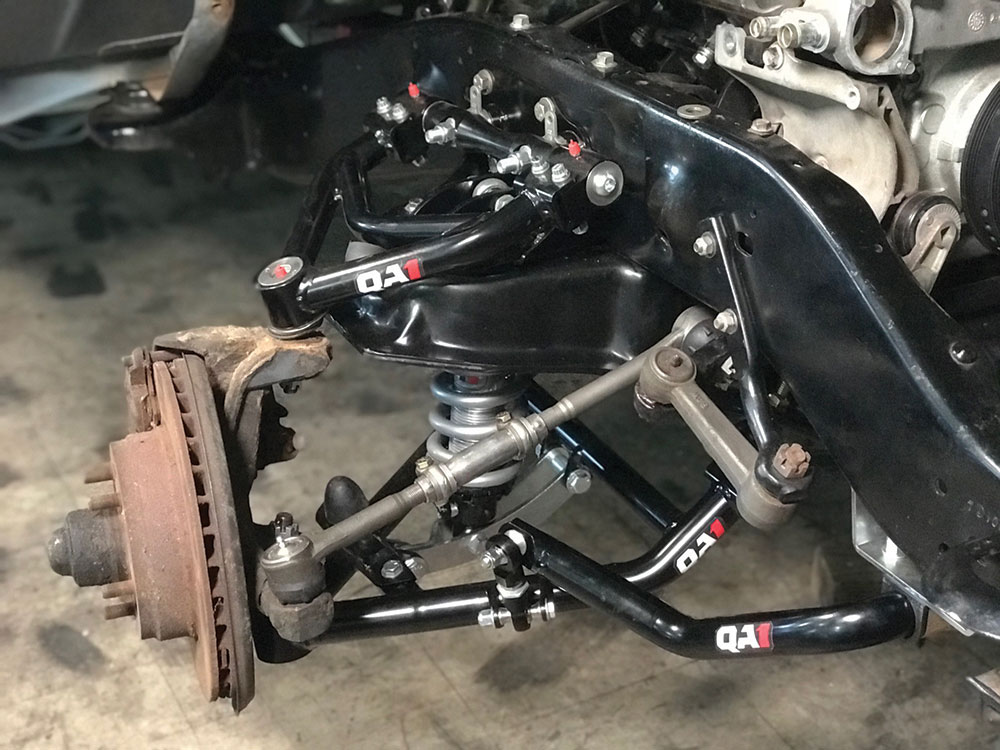
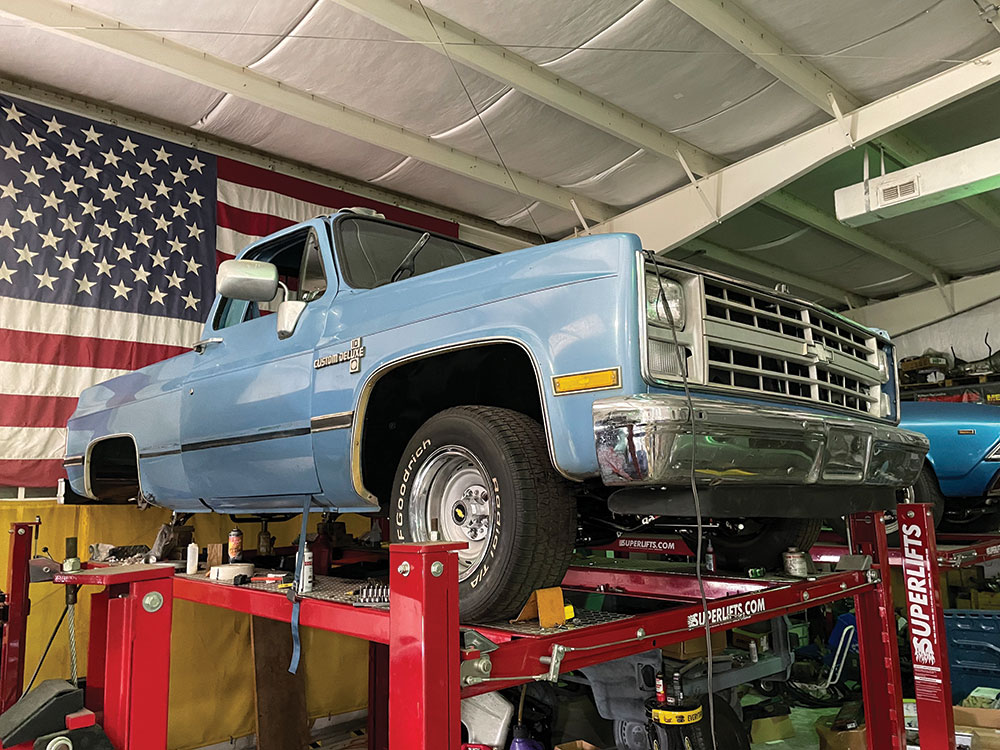
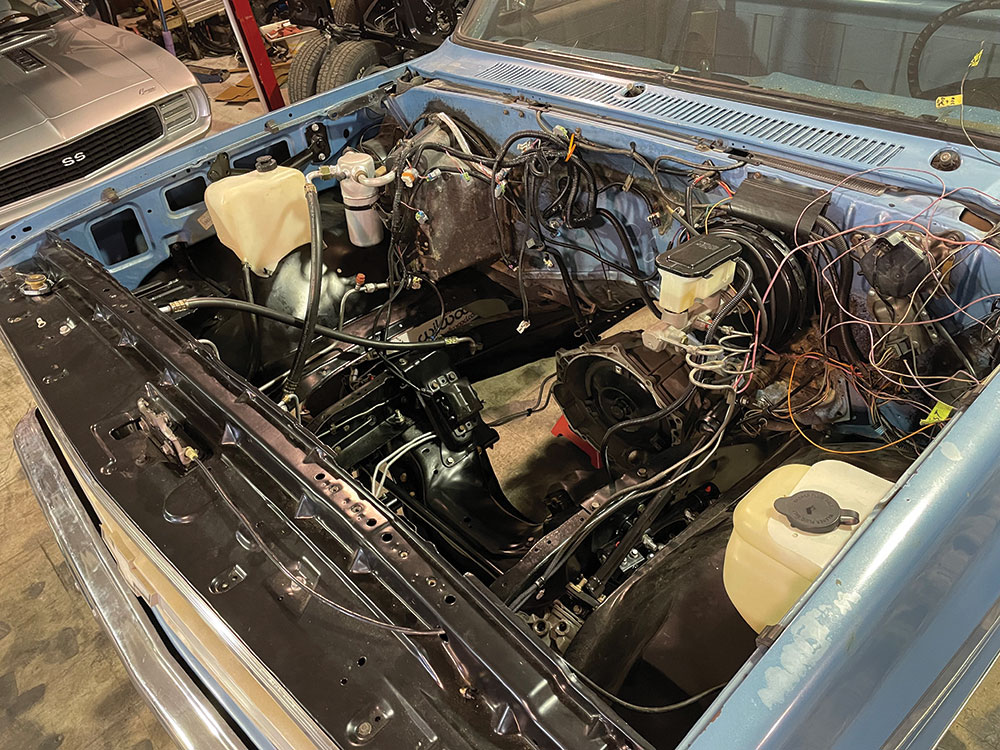
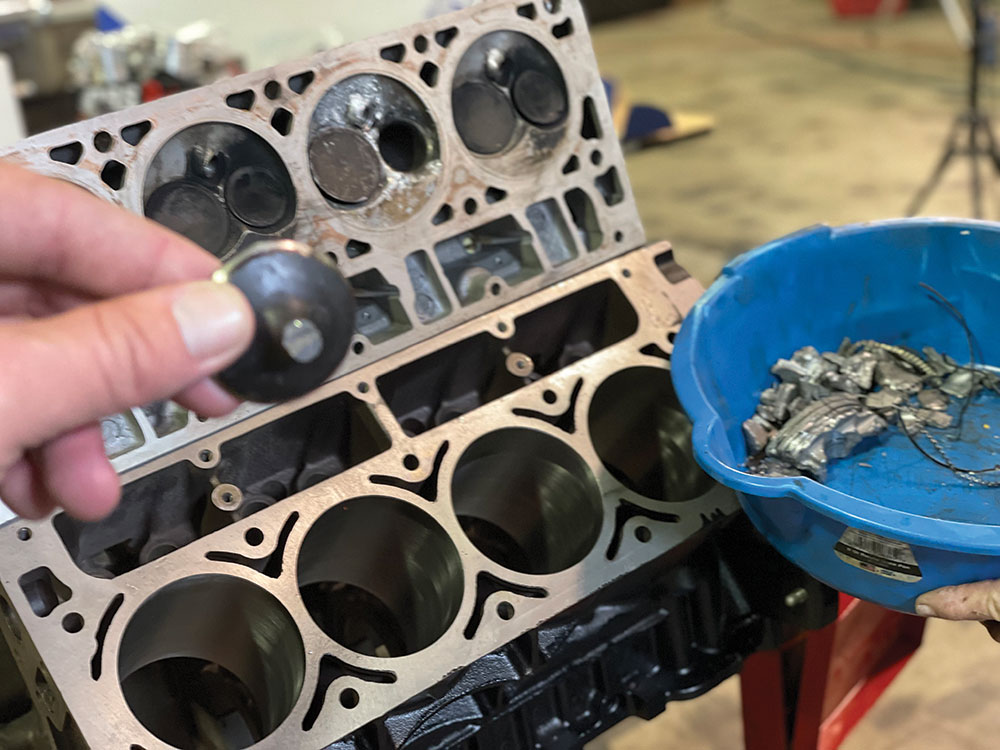
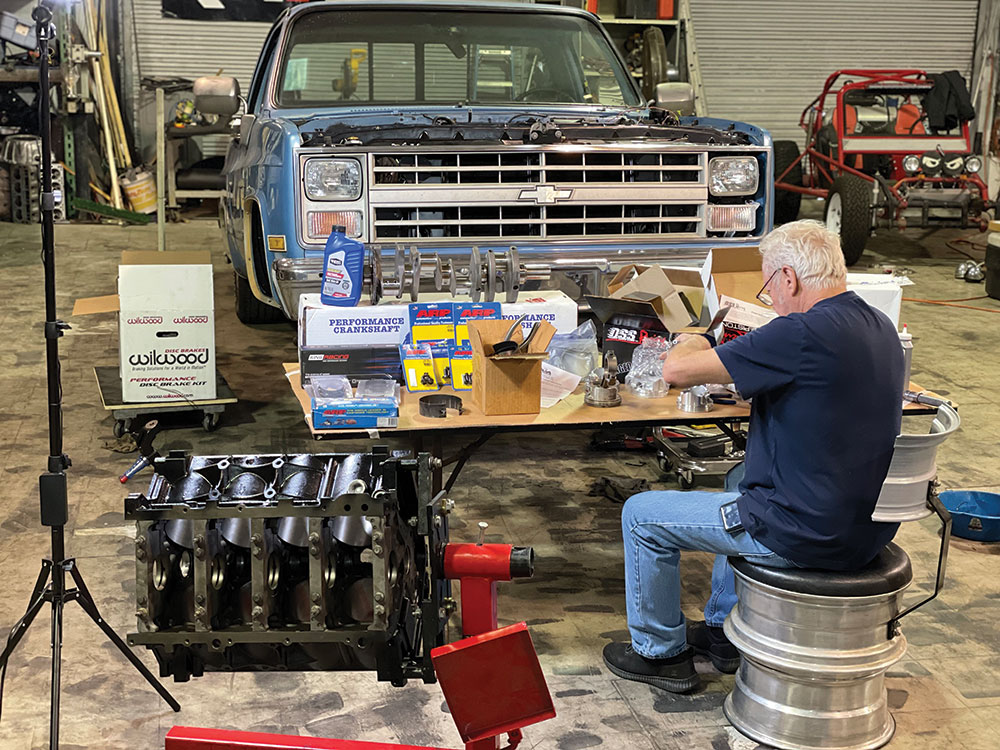
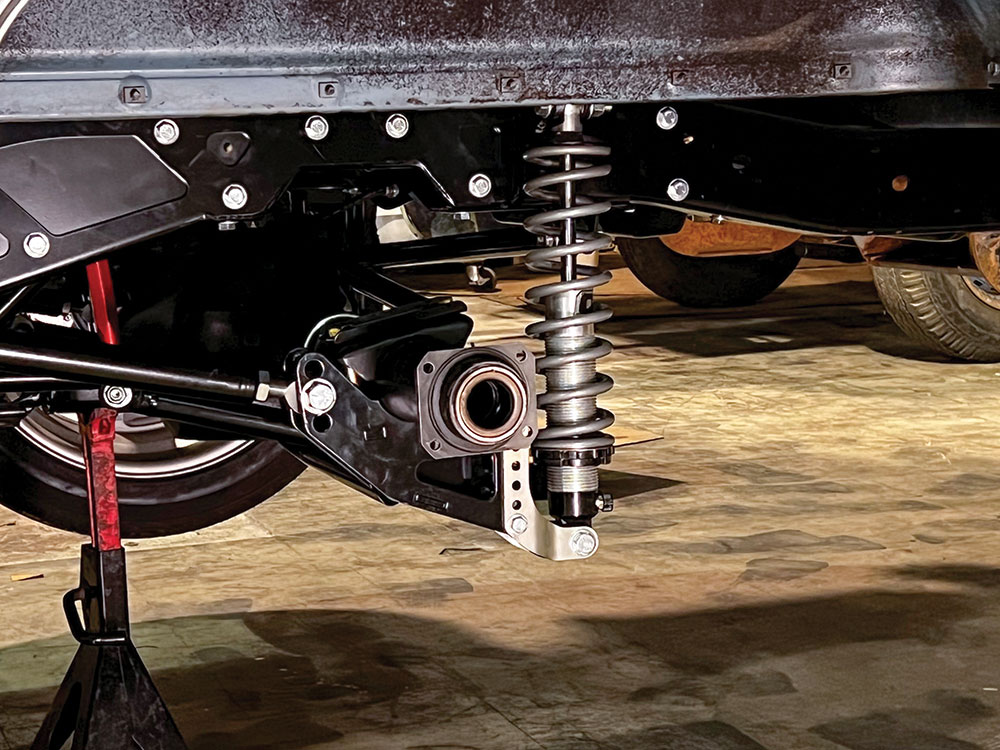
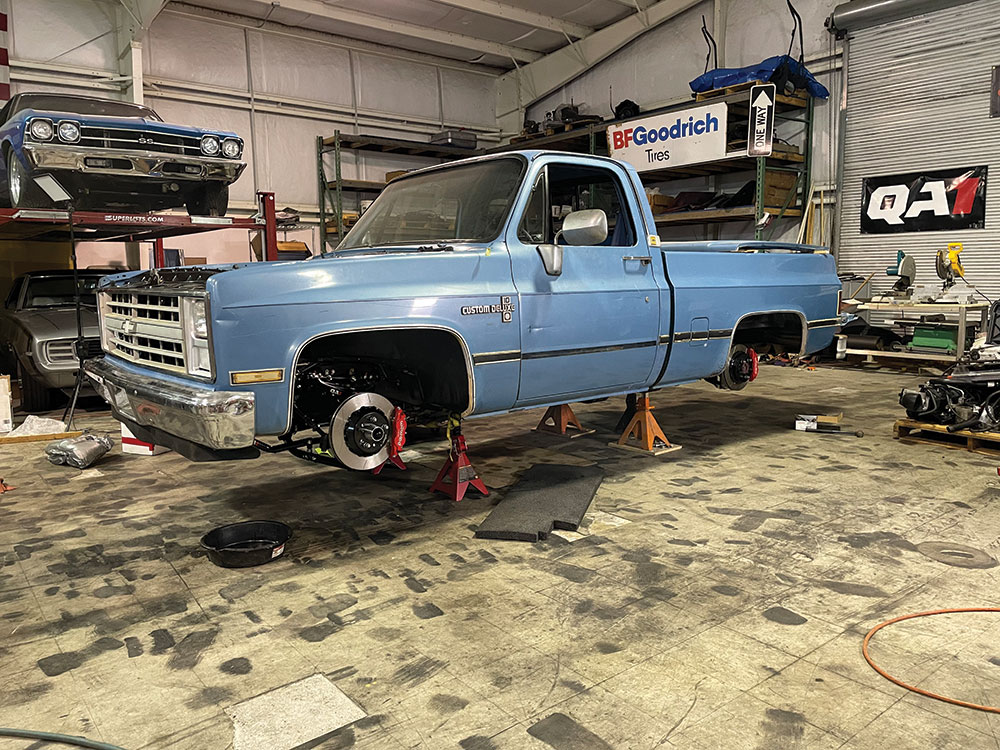
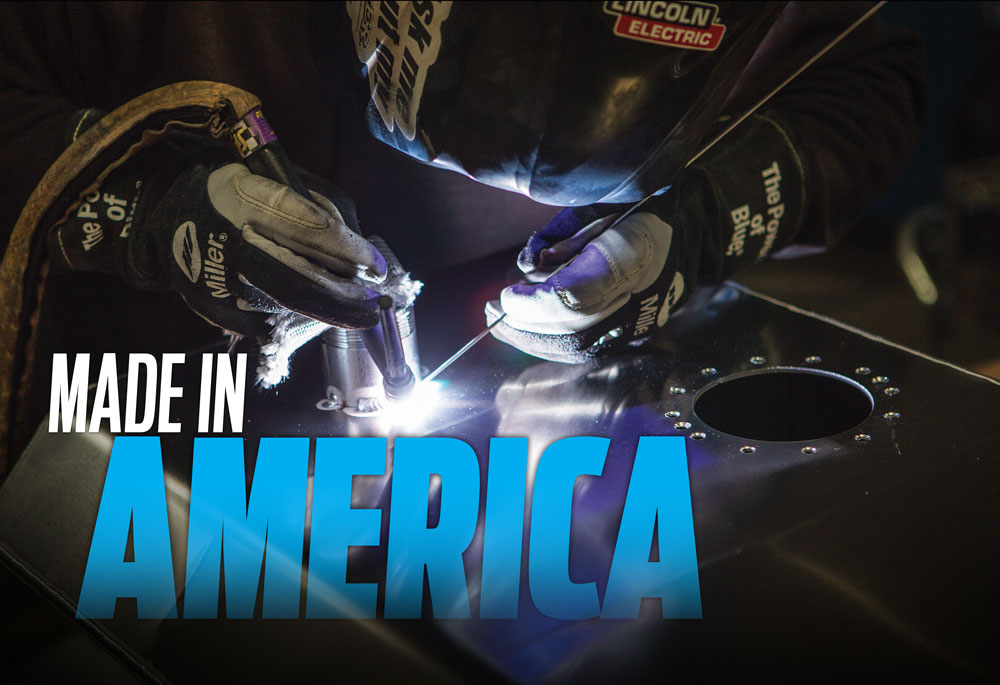
Because we recently replaced the suspension on this 1985 Chevy Squarebody with new coilovers from QA1, we chose to take this truck on the tour, which means we have a whole lot of work to do. The last time we left it, the new 6-liter engine was installed, and we turned over and instantly grenaded it. We received this used block from a buddy, but clearly the conditions weren’t as they were stated. This is a great learning lesson for us when buying used engines, and the next time we will do some additional research, but for now, we rebuild. We also know that stopping is something that’s extremely important and often underappreciated on long road trips. We don’t want to have any issues in that area, so we went with the premier package. Follow along as we rebuild our 6L LS and install the brakes on this ’85 Chevy Squarebody.
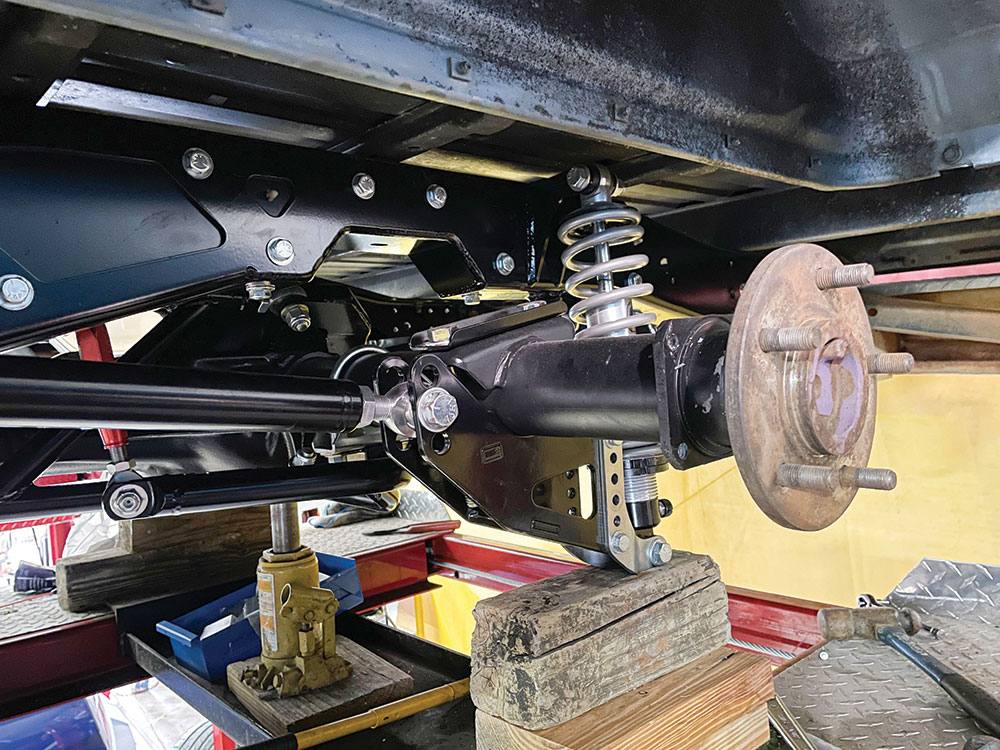
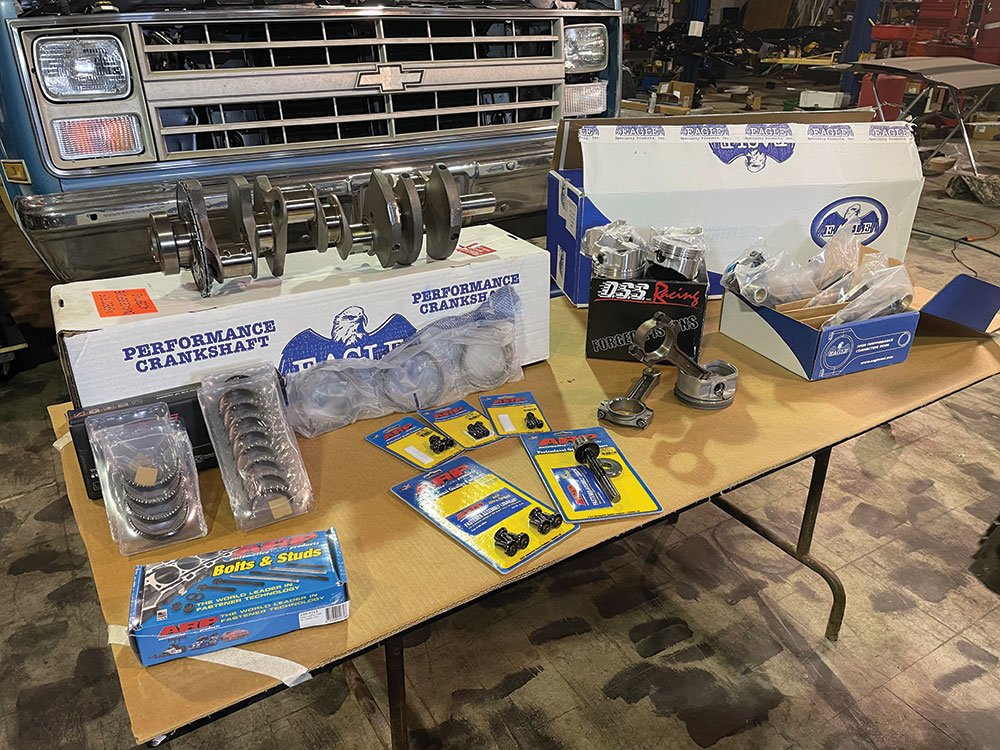
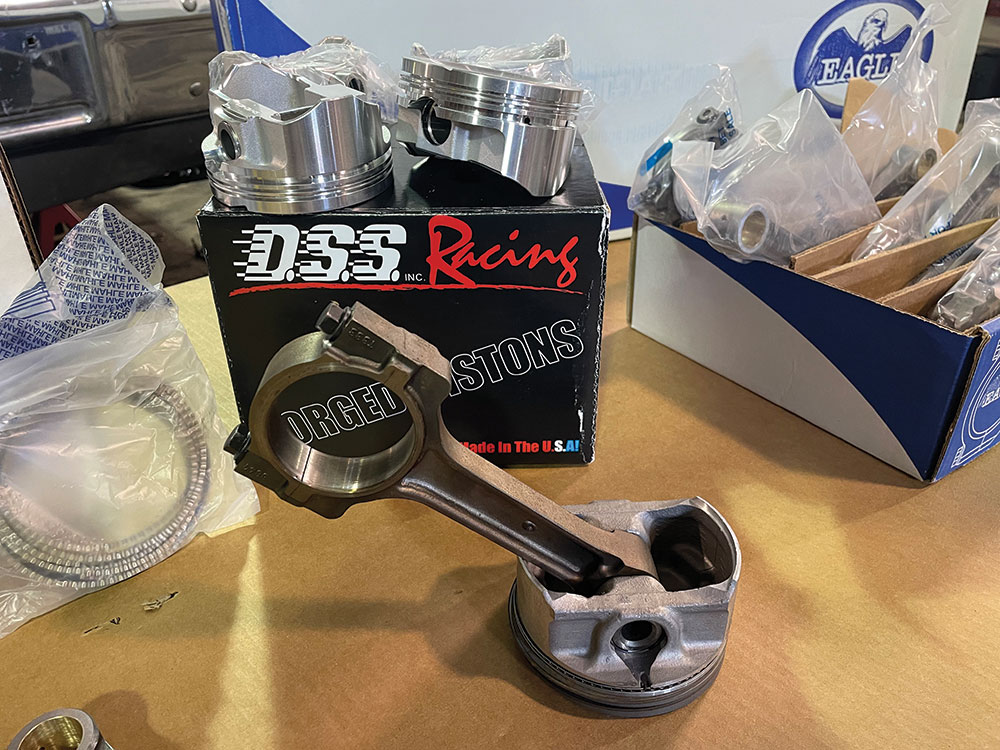
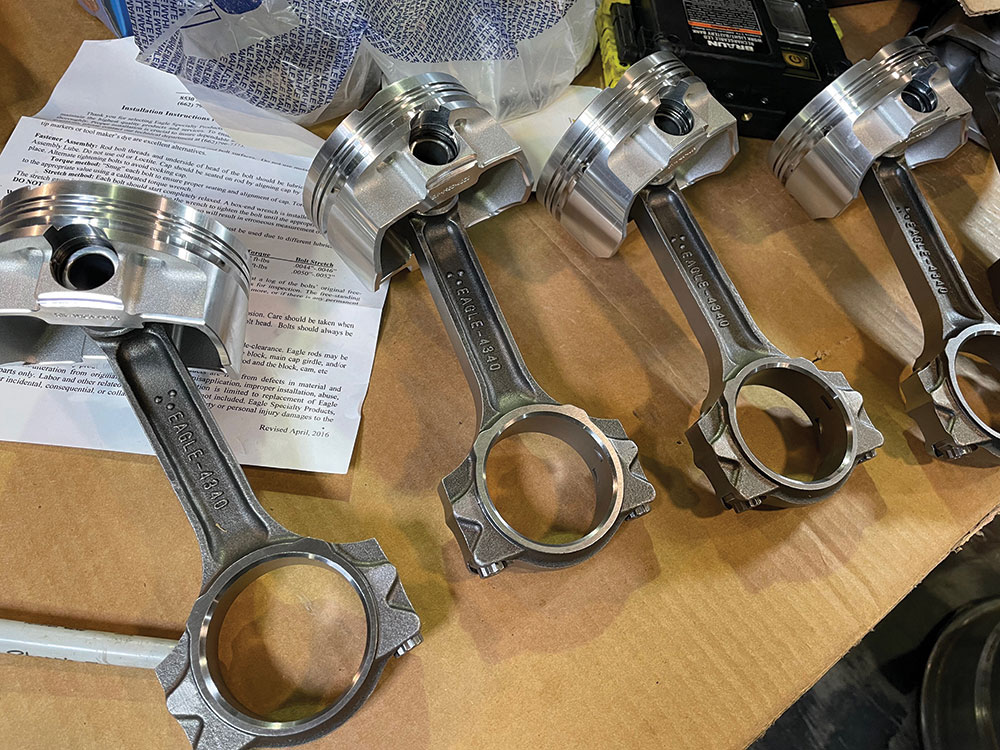
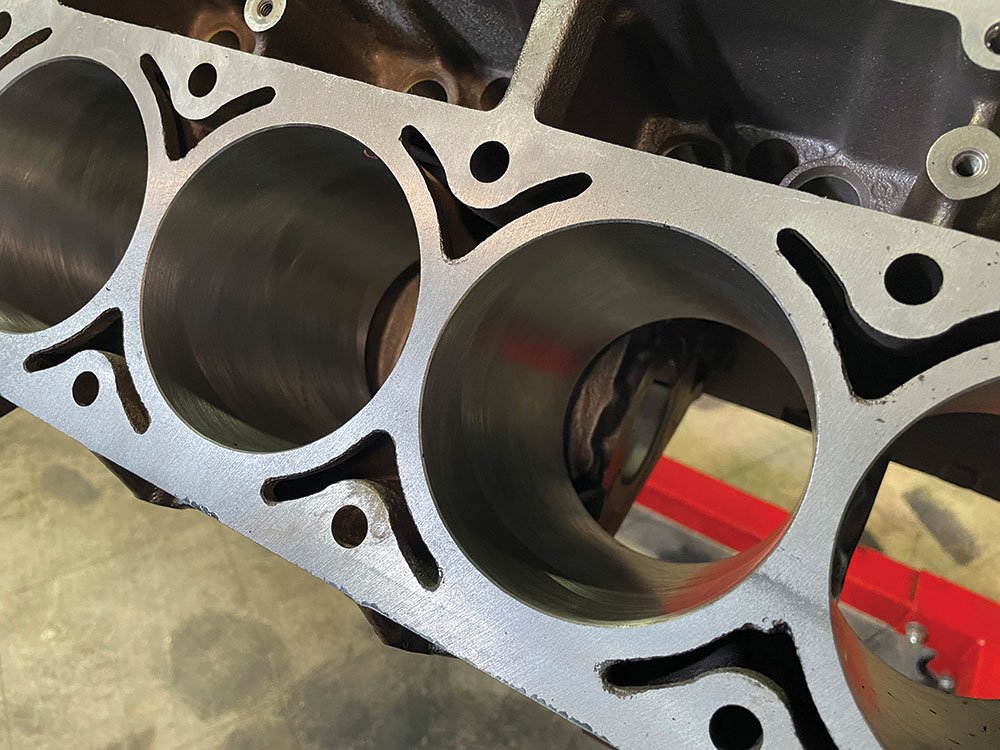
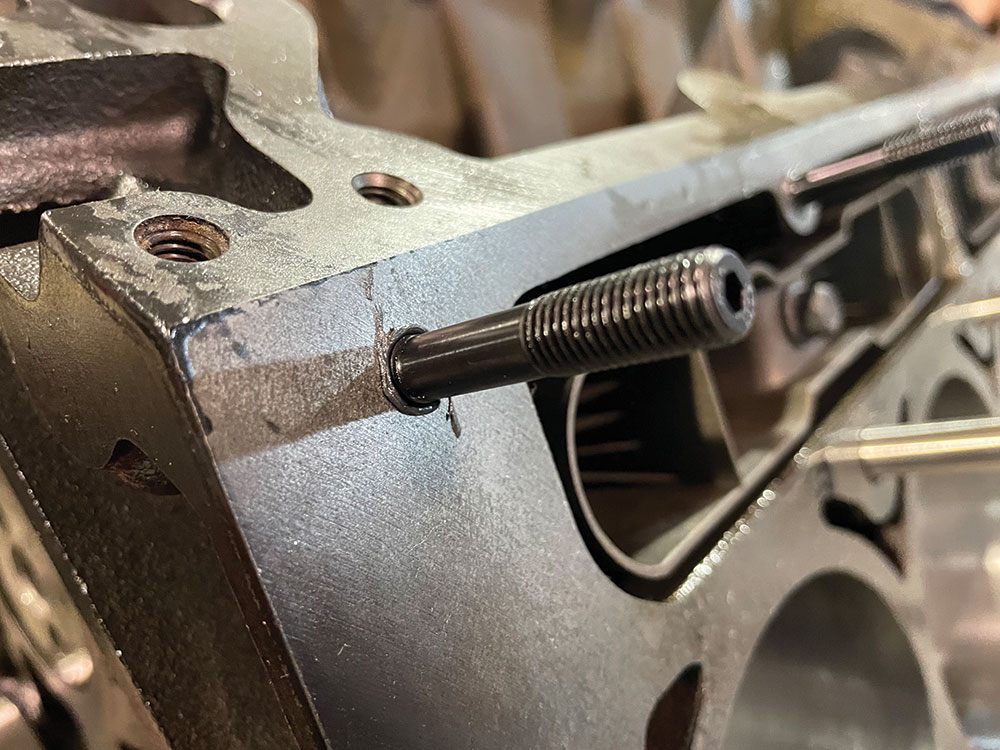
1(a)01(b) If you remember, we recently installed a new QA1 coilover suspension, which looks amazing. But those front brakes have got to go.02(a) We set the truck aside for now after taking out the engine, but it’s coming back off the lift very, very soon.2(b)03. Here you can see where the heads were destroyed when the engine was unstable.04. This Eagle Performance kit came with everything we needed, including DSS Racing forged pistons to replace the originals.05. A closer look at the DSS Racing forged pistons.
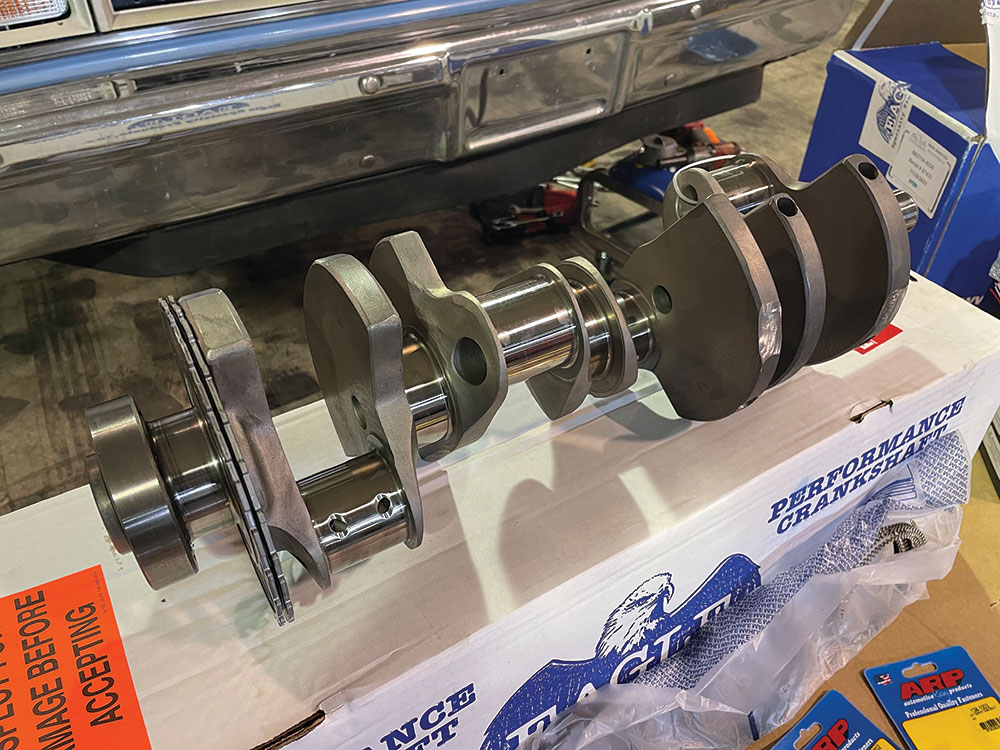
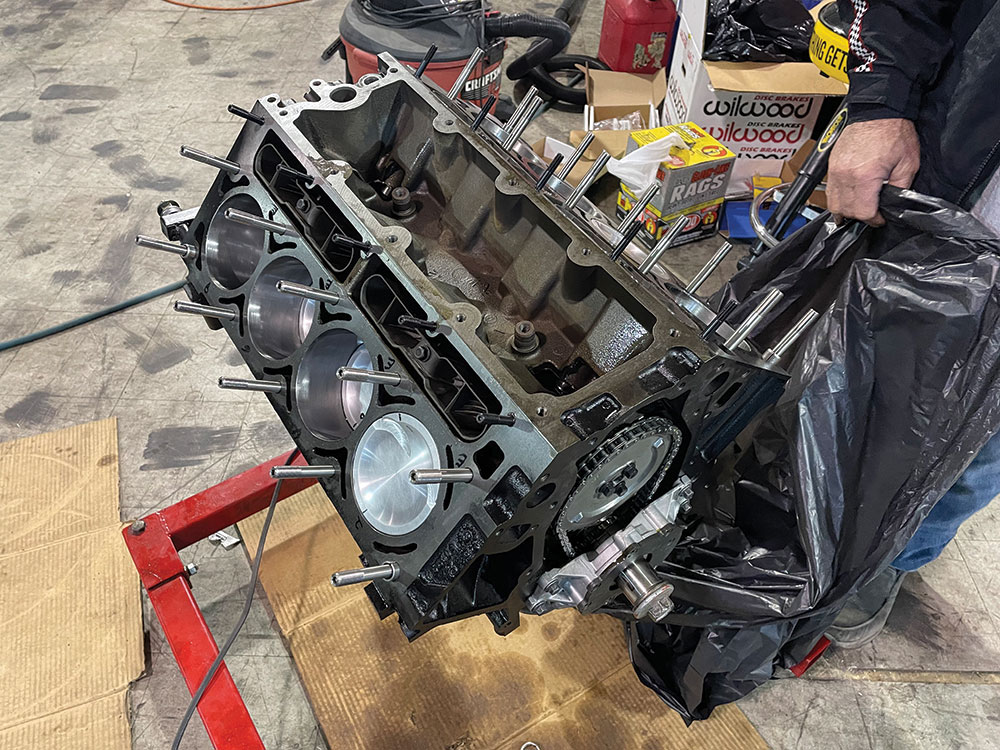
To rebuild the block, we ordered a new front rotating assembly directly from Summit Racing. With other companies generally being out of stock, Summit Racing had these parts in stock and to our door within two days. So impressive!
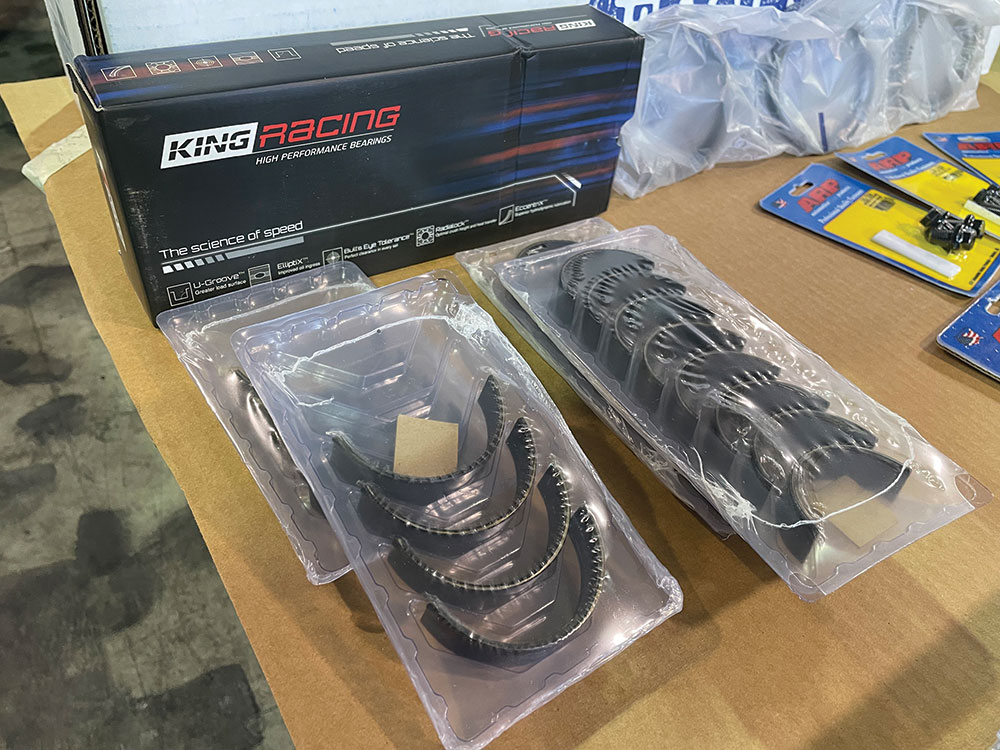
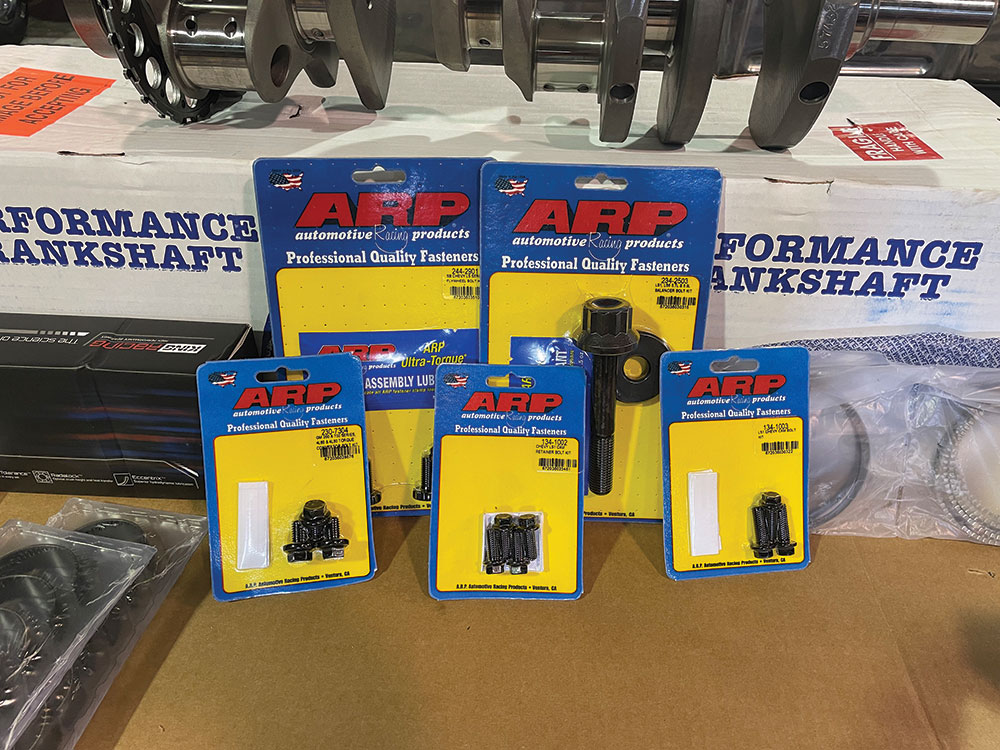
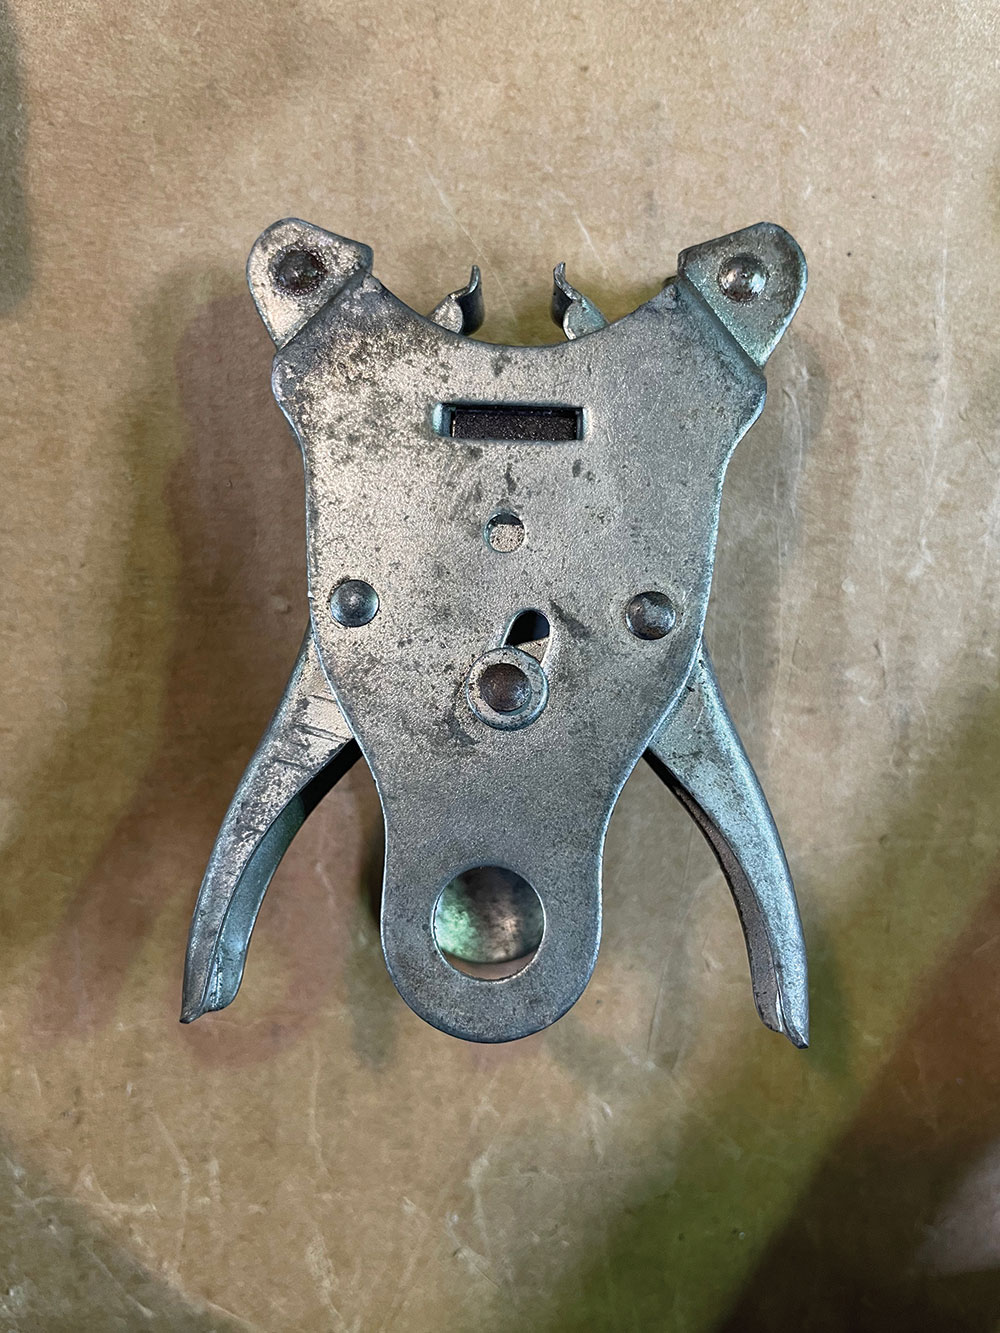
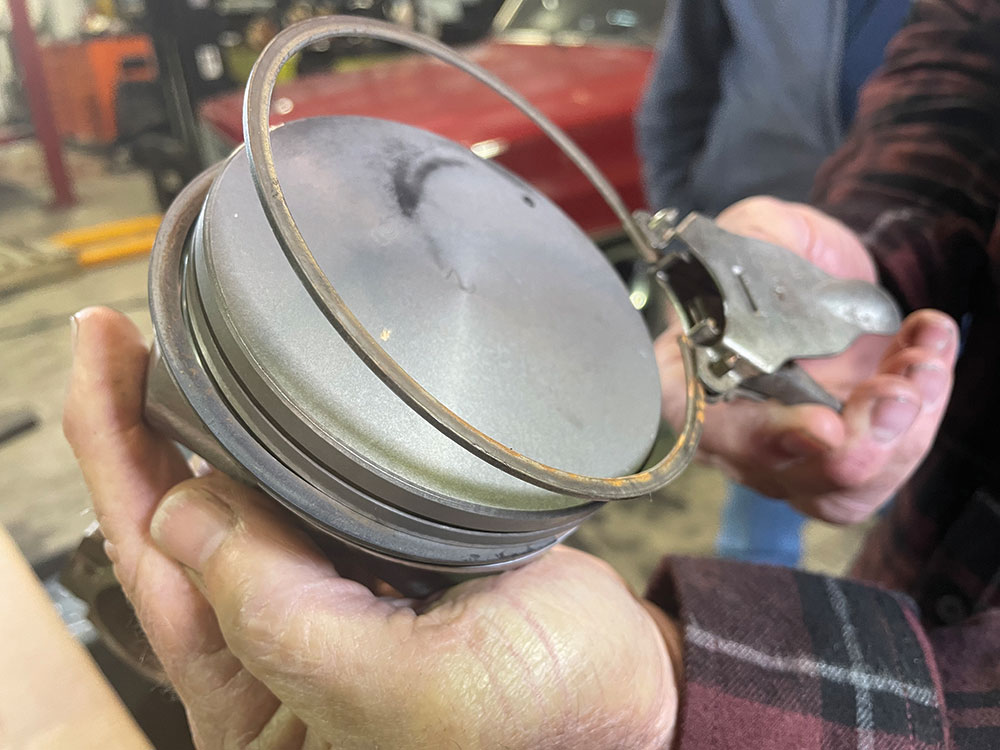
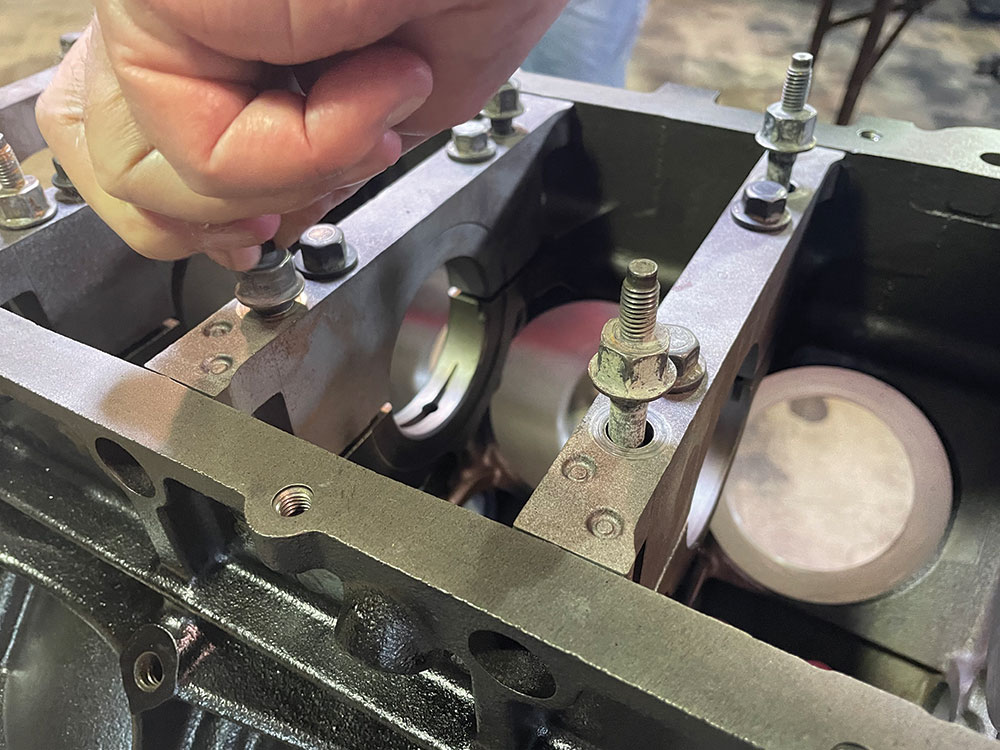
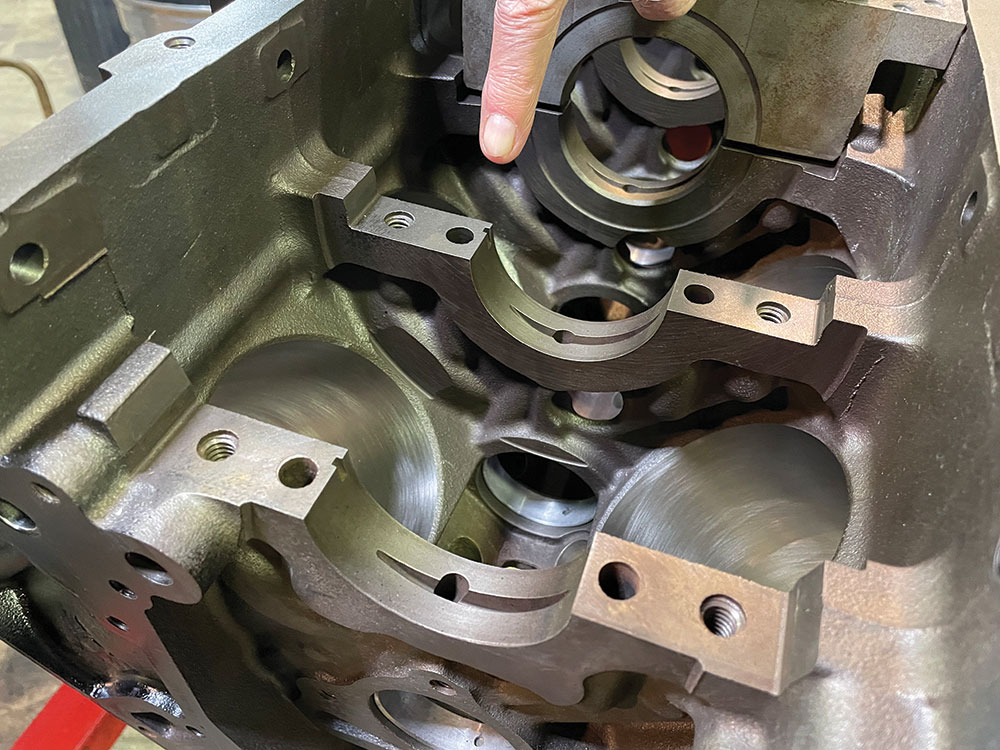
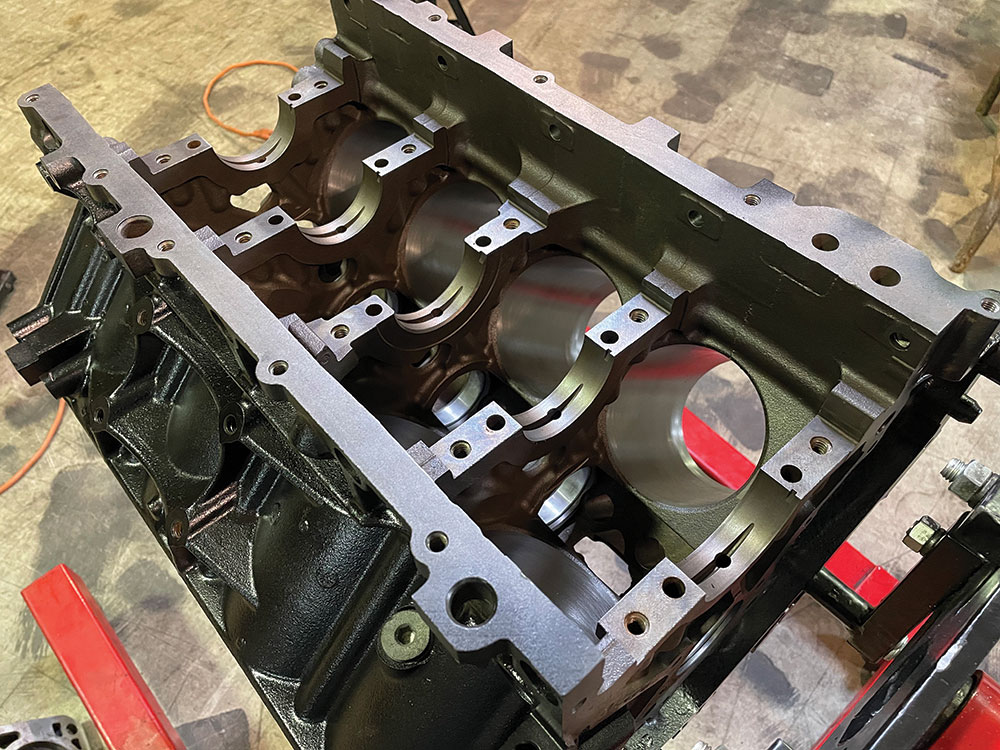
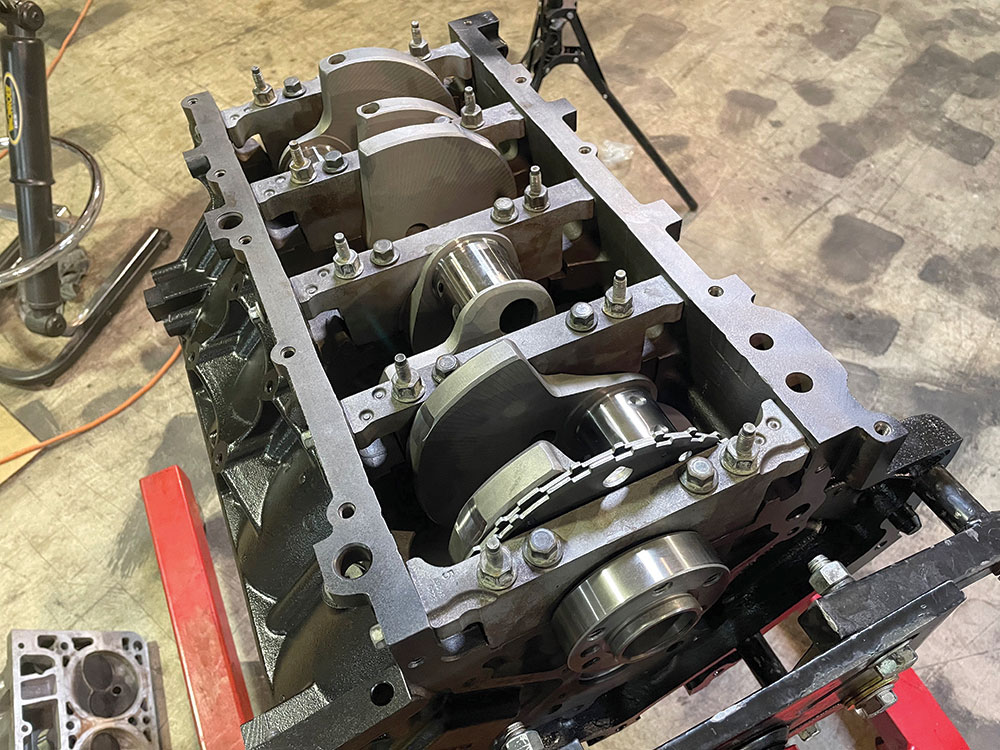
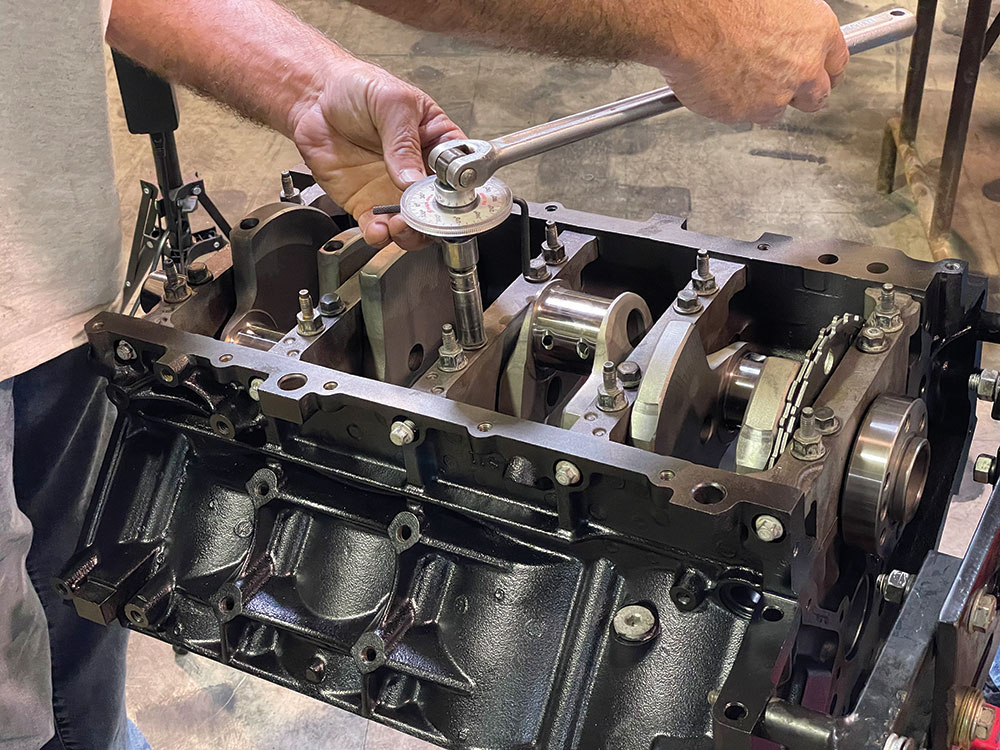
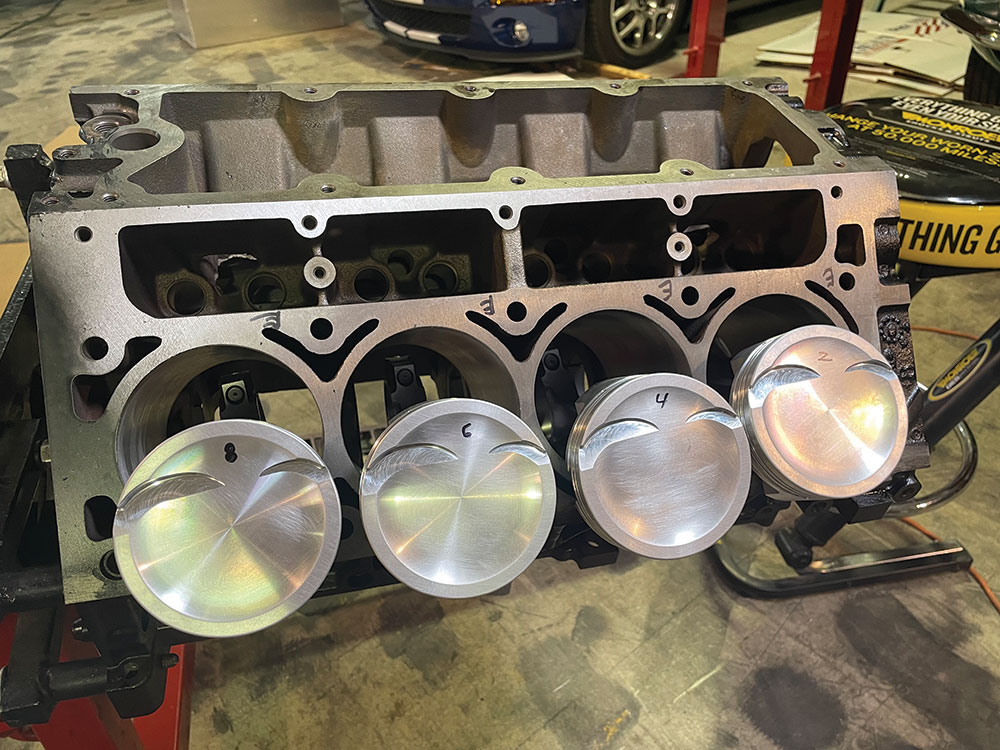
06. This kit also included these King Racing high-performance bearings.07. To bolt this block together, we chose ARP bolts. If you’re not familiar with this company, jump on www.streettrucksmag.com and search ARP. They are the best in the business.08(a) Before the pistons can go into the engine block, new rings need to be installed. Have you ever seen or used a tool like this?8(b)8(c)09. The pistons look like a work of art once they are fully assembled and ready to be installed.10. The walls of the engine block needed to be re-worked at a local machine shop before being rebuilt.11(a) First we need to install the new Eagle Performance crankshaft. So we spun the engine around and unbolted all of the cradles.11(b)12(a) With the path clear, the new crankshaft is simply slid into place and bolted back together.12(b)12(c)13. Everything needs to be bolted to factory spec, so be sure to follow the guidelines provided in the kit.14. As each piston is lined up, it’s marked so nothing gets out of place.15(a) Now the ARP bolts and studs can be installed while we wait for the heads to be machined smooth.15(b)16. With the truck off the lift, it’s time to put it on some jack stands so we can tackle the brakes.17. With the original brakes removed and the axle shafts out, we can begin installing the new pieces.18. This Chevy C10 Squarebody kit from Wilwood is the perfect combination for this project. It converts the rear end to a disc brake and uses some very impressive hardware to keep it all assembled.19(a) The first thing to install is the brake housing bracket which holds the brake caliper.19(b)20(a) With the axle slid into place, we can now attach the rotors using a few lug nuts to keep it in place.20(b)21(a) Next is the brake caliper bracket. This is simply bolted into place, and then the caliper can be added.21(b)22. An amazing combination of engineering and product design. We simply can’t say enough about this great company.23. Turning to the front, we removed the original spindle and brake caliper and replaced it with this new 2-inch drop spindle from Wilwood.24. The first piece to be installed on the new spindle is the brake hub, which includes the bearings and cotter pin.25(a) This brake rotor and caliper setup for the front is designed to bolt together smoothly and simply.25(b)26. The rear calipers are four-piston, while the front calipers are six-piston.27. The front bolts together a lot like the back with some easy bolt together brackets with perfect clearances and tolerances.28. With a front end complete, the combination of Wilwood brakes and QA1 suspension is perfect for this road trip. Now to decide which wheels to bolt on!29. We will follow up in the next issue and hope to see everyone on the 2022 Hot Rod Power Tour. Look out for project BlueBlood, and if you see us give us a shout!
Chris Hamilton is an automotive journalist, editor, and lifelong truck enthusiast with extensive experience covering custom truck builds, fabrication, performance upgrades, aftermarket products, and a ...
We use cookies to enhance your browsing experience, serve personalized ads or content, and analyze our traffic. By clicking "Accept All", you consent to our use of cookies. Visit our Cookie Policy for more info.


Share Link