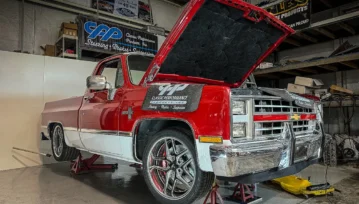
When we wrapped up Project Rocky, our 1979 Chevy C10 that we restored from salvage scrap to SEMA standard, the truck stood as a testament to sweat equity. Powered by a Summit Racing 5.3L LS crate engine pushing north of 400 horsepower through a new Monster Transmission 4L60E unit and perched on BDS Suspension lift components with Rough Country spindles, Rocky still drove like a 45-year-old classic. The aggressive stance on 33-inch Toyo Open Country tires and 22-inch American Force wheels, combined with the extra heft from modern upgrades like the Performance Online disc brakes, introduced a touch more body lean than we’d like around corners or long runs. It’s a common story with these squarebody icons: great straight-line grunt, but a reminder that 40-plus-year-old engineering needs a nudge to keep pace with today’s demands.
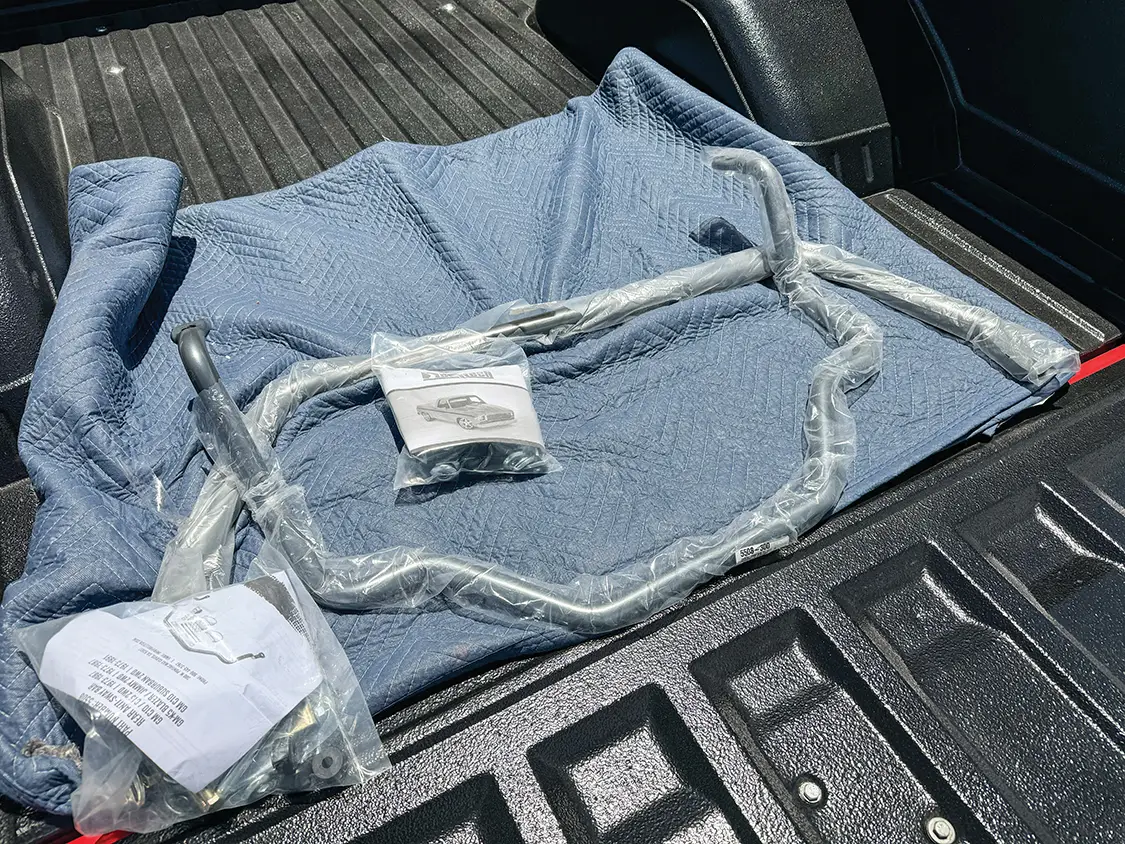
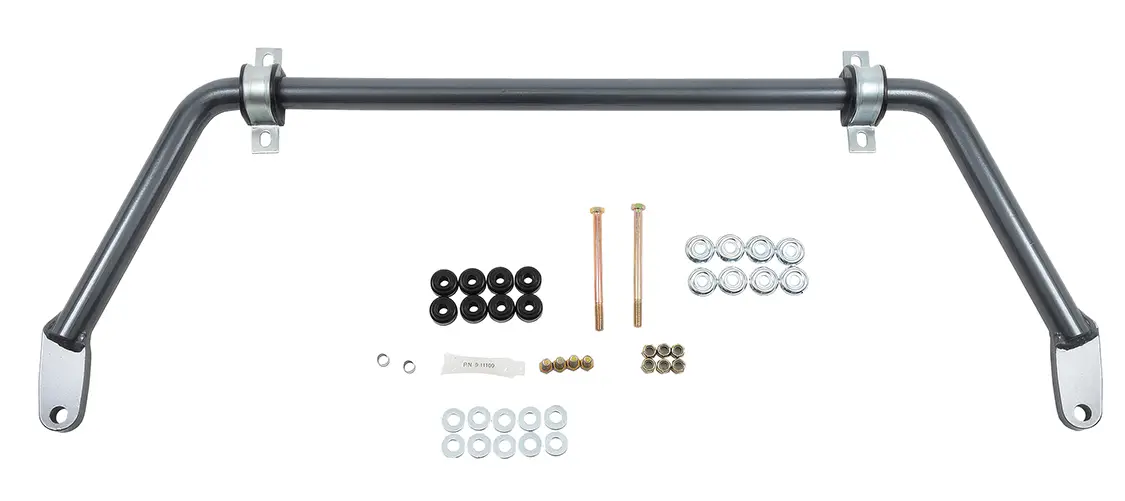
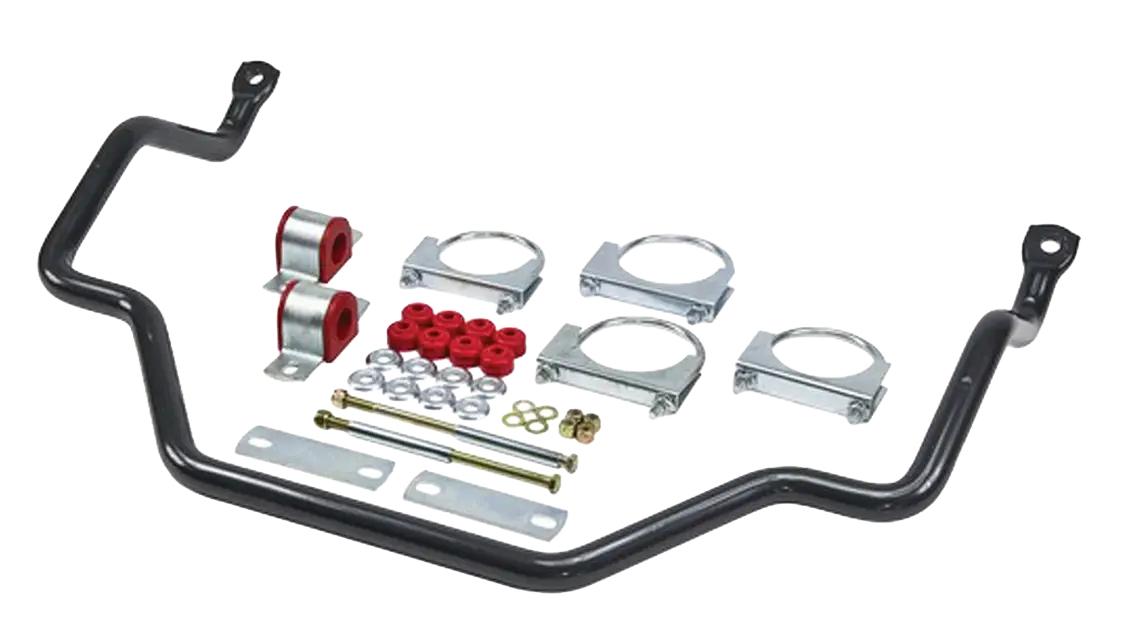
Enter the next chapter: tightening Rocky’s chassis integrity and dialing in sharper handling with a trio of targeted upgrades from Belltech and Ridetech. We’re installing Belltech’s front antisway bar (PN 5404) and rear antisway bar (PN 5508), both engineered in the USA from cold-formed steel with a durable powdercoat finish. The front bar measures 1-3/8 inches in diameter and tips the scales at 32.7 pounds. The rear clocks in at 1-1/8 inches and 29.8 pounds, packing high-quality hardware for a straightforward bolt-on fit onto our ‘79 C10. These aren’t gimmicks; they fix body roll, sharpen steering response, and restore that planted feel without sacrificing the truck’s compliant ride over potholes or gravel hauls.
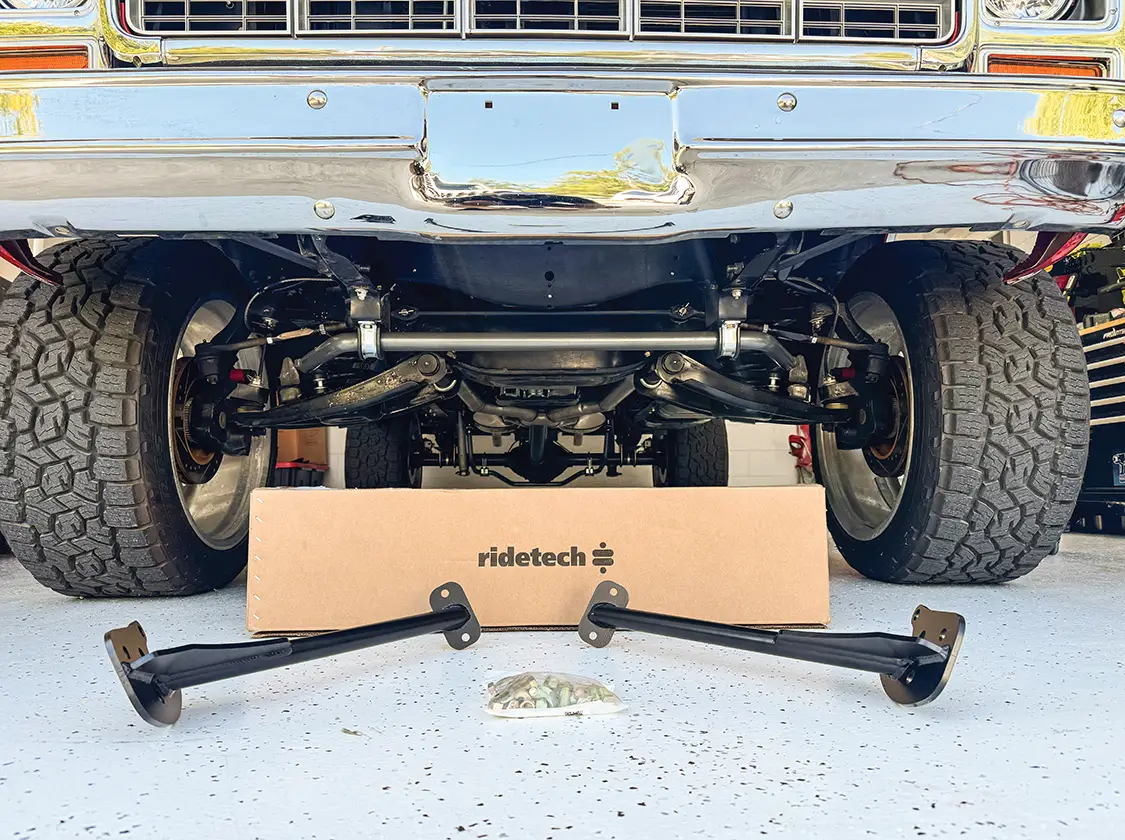
To tie it all together, we’re adding Ridetech’s front frame braces (SKU 11369550), which bolt into place and stiffen the front clip against twisting forces. In a lifted setup like ours, where torque from the LS and weight from the beefy suspension add stress, these braces enhance durability and precision, ensuring Rocky tracks true. Total investment? Around $1,000, which is money well spent for a truck that could be as much a daily driver as it is a show-stopper.
This install, done in our Ocala shop over a weekend with basic tools and a few drill bits, builds on Rocky’s restored factory frame for longevity. It’s the kind of practical upgrade that turns good into great, reminding us why we wrench. Follow along as we walk through the steps, and consider running these products on your own squarebody. Your cornering ability and driving confidence will thank you.
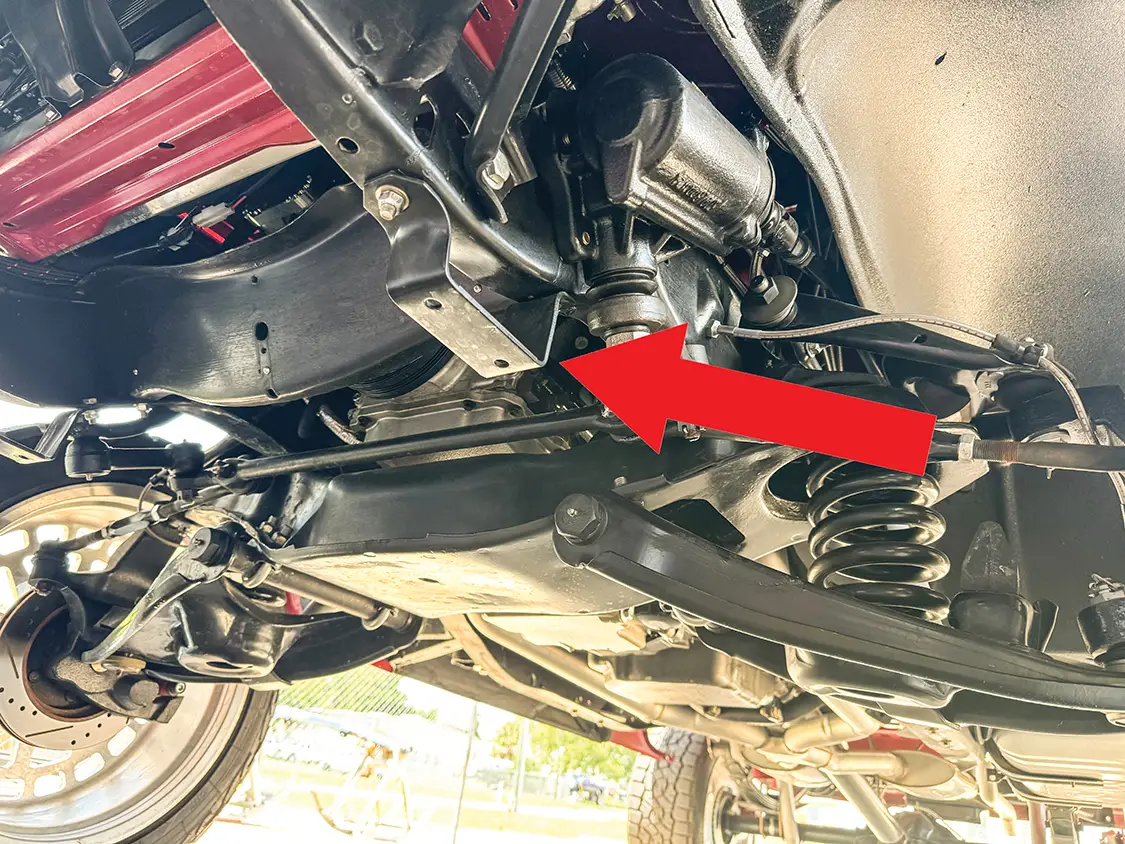
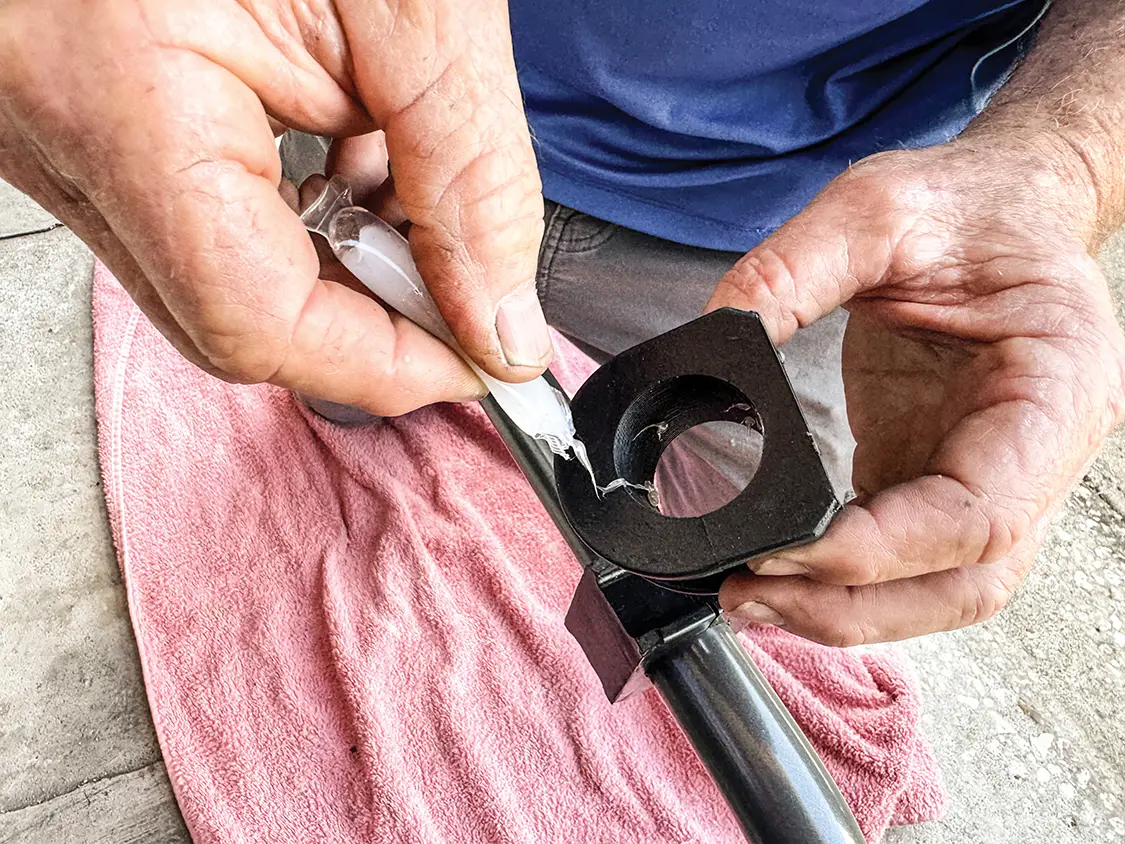
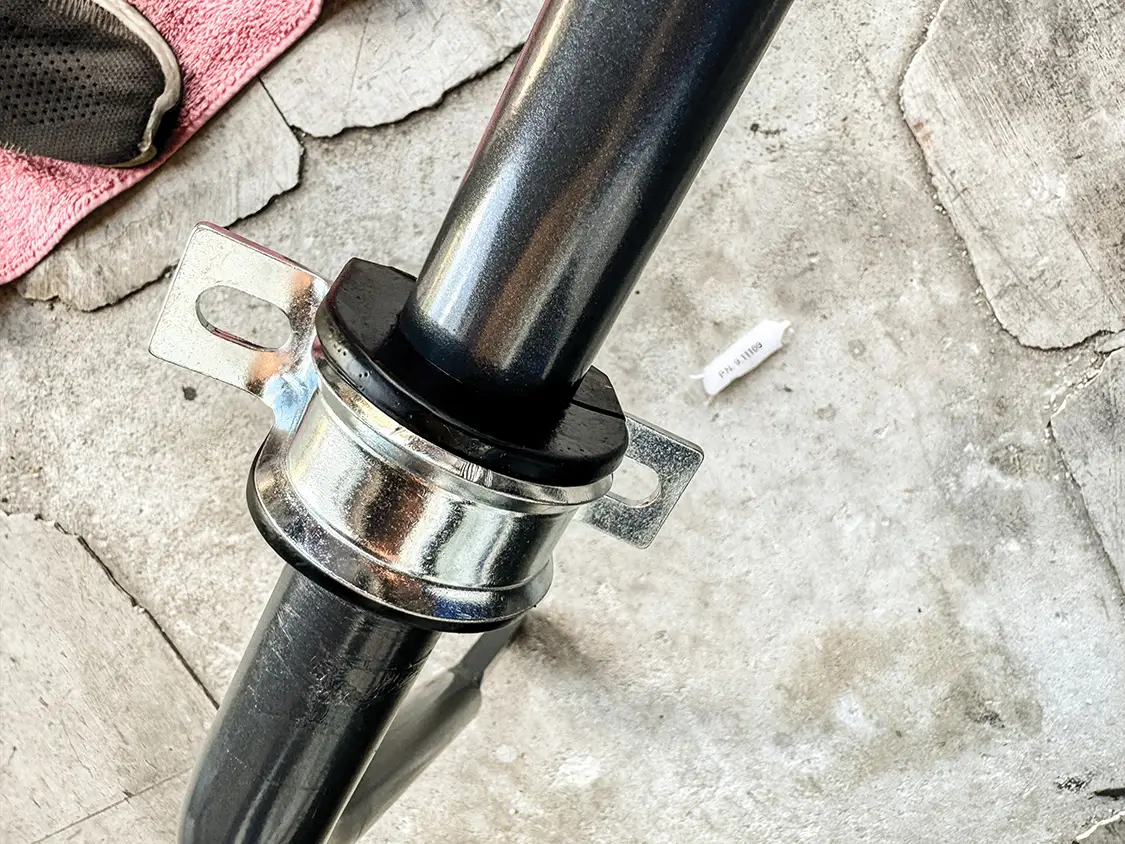
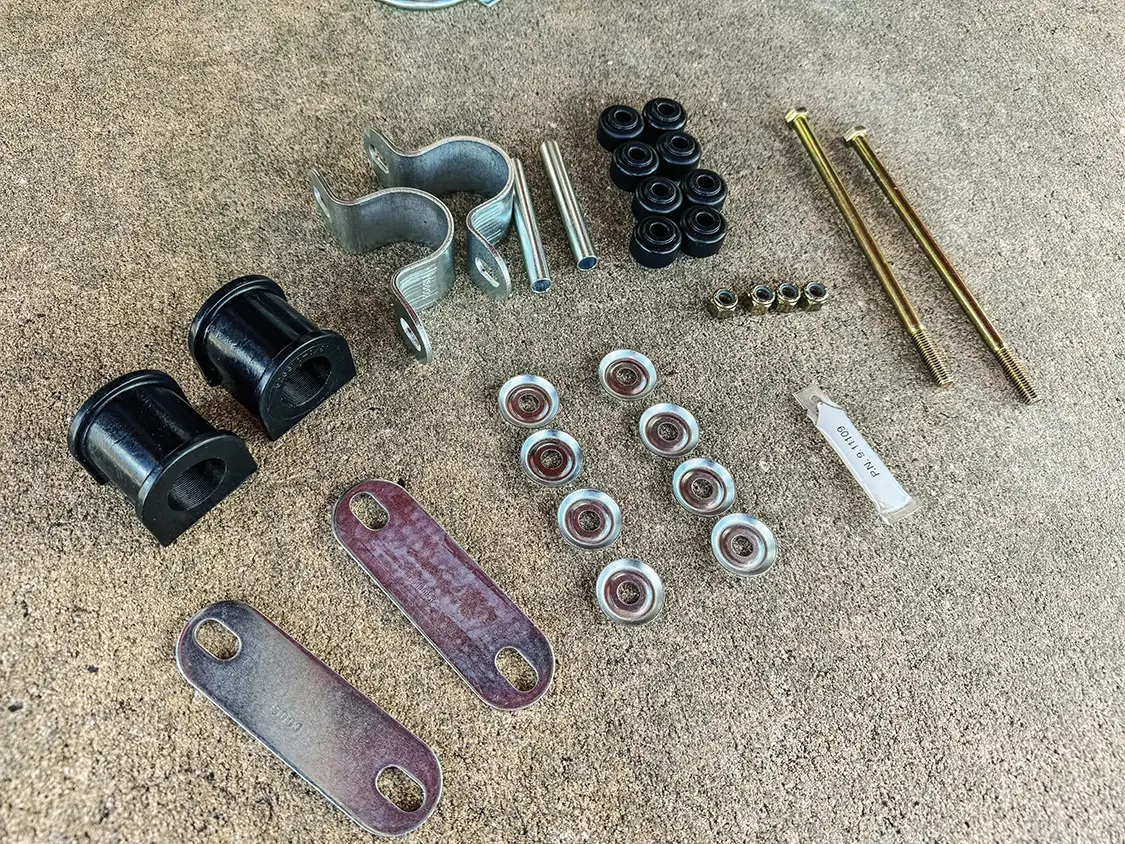
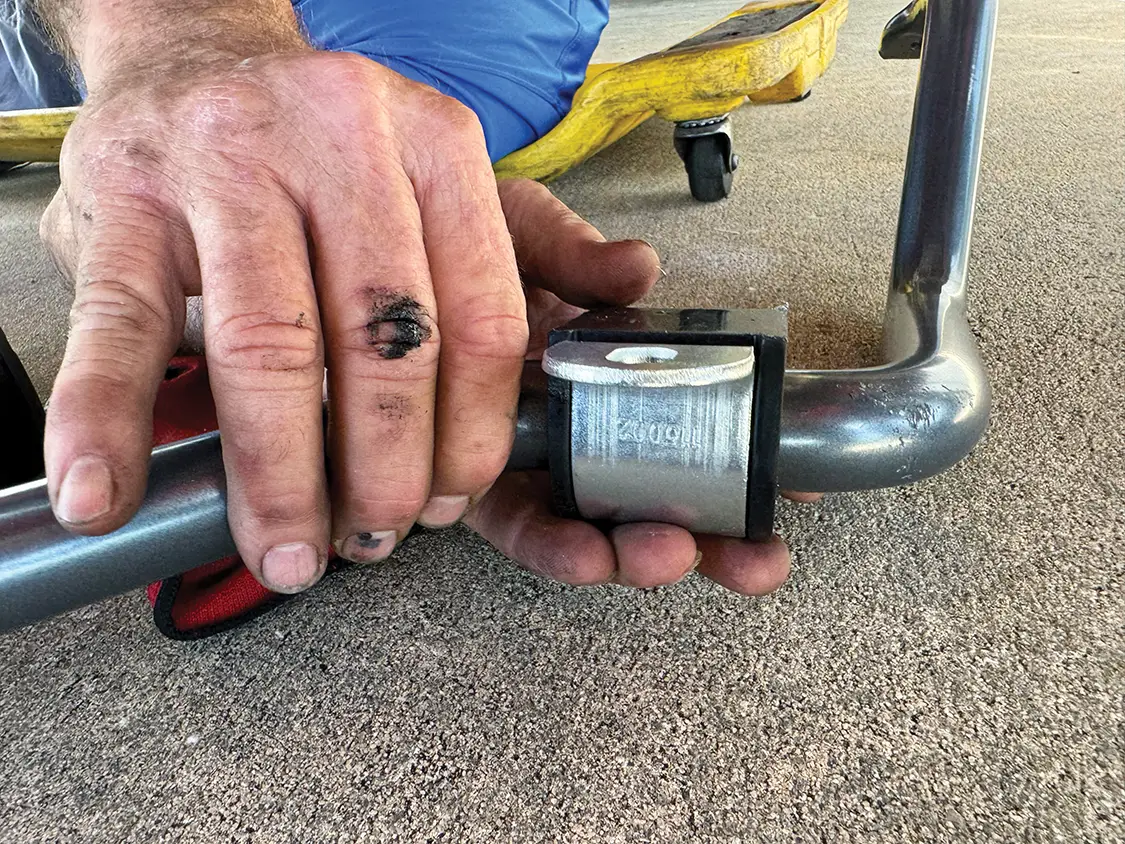
With the truck back at our shop, we unboxed the front and rear Belltech sway bars first. These bars are fully coated, all hardware is provided, and they are ready to bolt in right out of the box.Before we started, we needed to make sure we still had the sway bar mounting brackets on our truck. These do unbolt, so if you do a frame-off restoration like we did, make sure you don’t throw these away.Belltech’s 1-3/8-inch front antisway bar (PN 5404) is built in the USA from cold-formed steel, powdercoated for durability, and ready to bolt in place of the factory unit on 1973-’87 C10s.Belltech not only supplies the rubber bushings for the mounting location, but they also ship the lubricant needed to help them last.With the rubber around the sway bar, we could slip on the metal mounting brackets that came with this kit.
These brackets simply bolted to the factory mounts using the hardware provided.
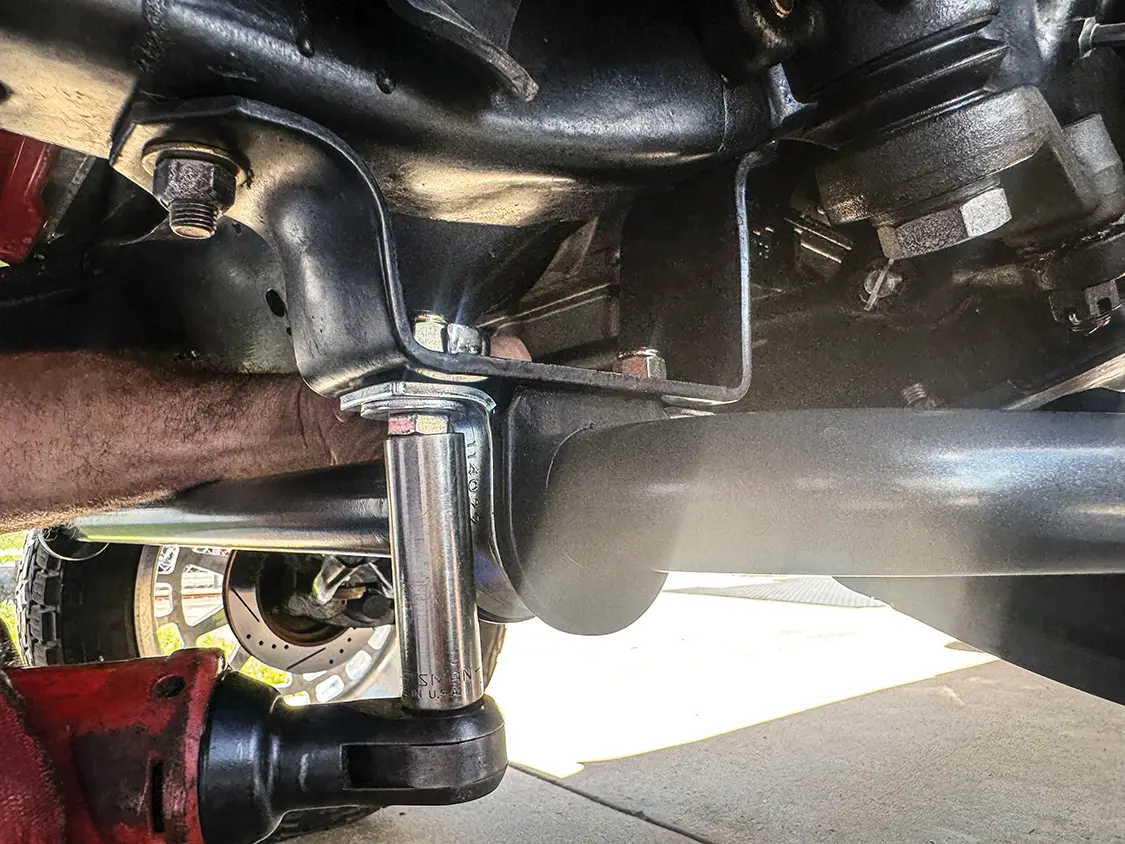
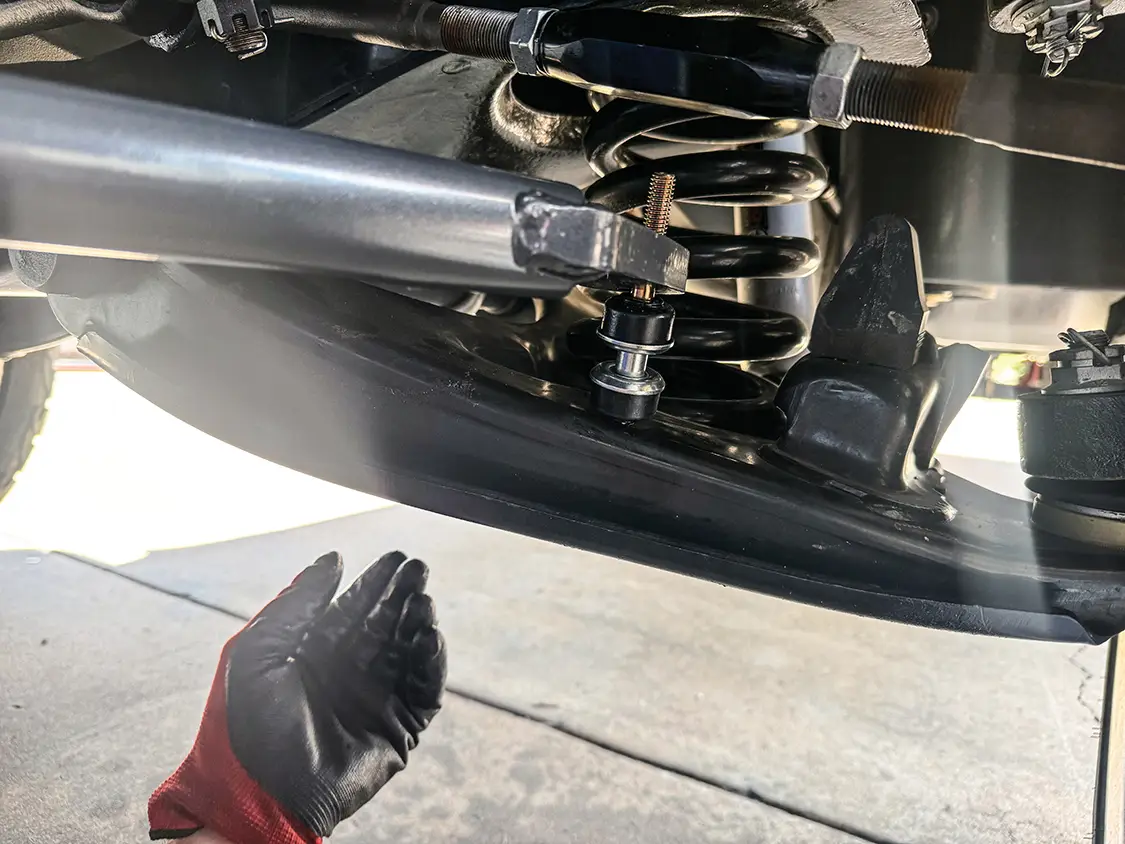
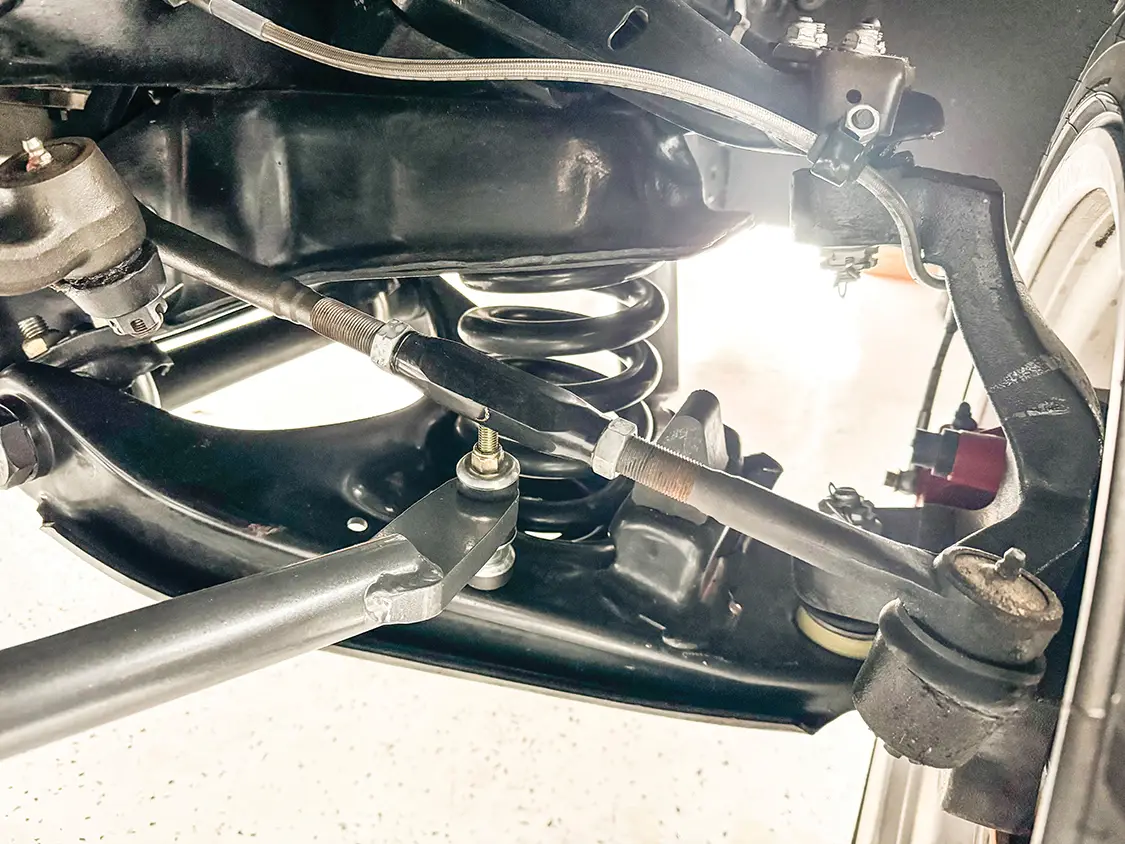
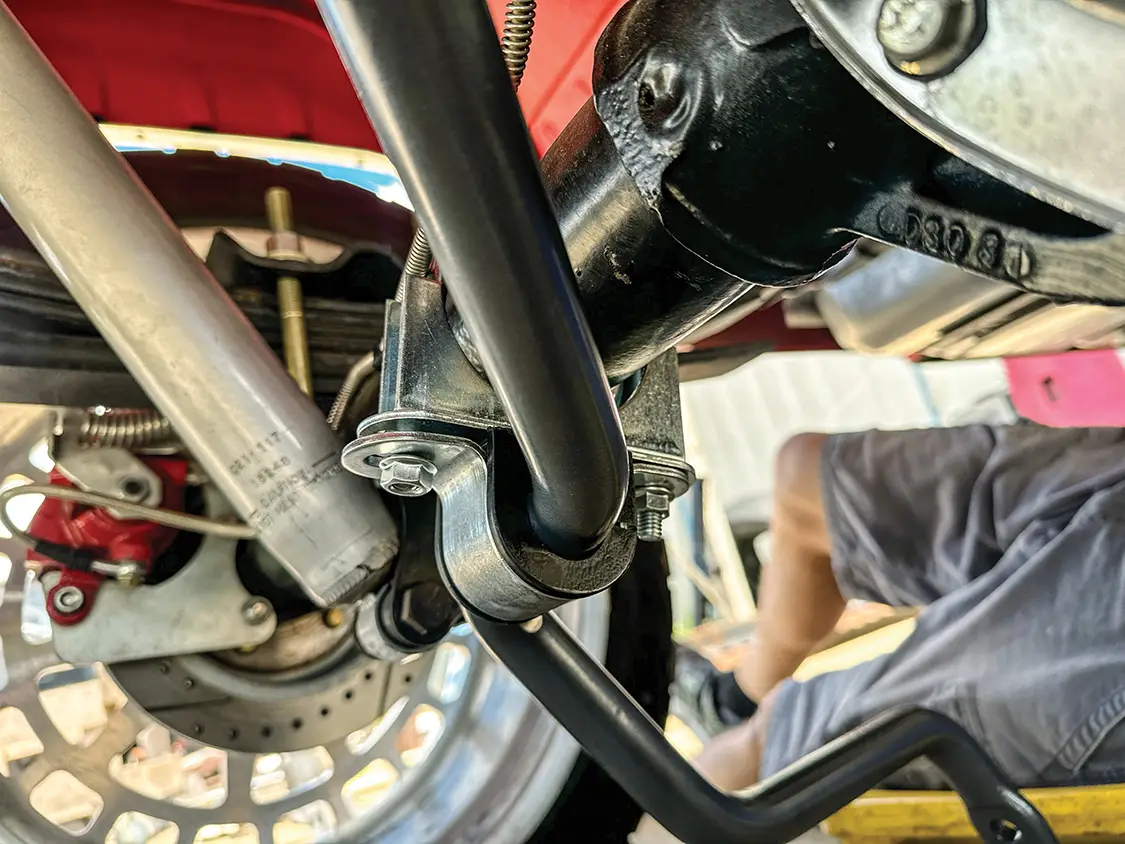
The ends of the sway bars could then be bolted to the lower control arms using the sway bar endlinks that Belltech included in the kit.Here is a look at the endlinks installed on the lower control arms. Even though our truck is lowered, these link bars fit perfectly and are the ideal length.Now that the front sway bar is fully installed, we could move to the rear—after taking a prideful look at the final install, of course.Belltech’s 1-1/8-inch rear anti-sway bar (PN 5508) is also USA-built from cold-formed steel with a tough powdercoat finish. At 29.8 pounds, it bolts straight onto 1973-’87 C10 pickups and is a good value at $359.
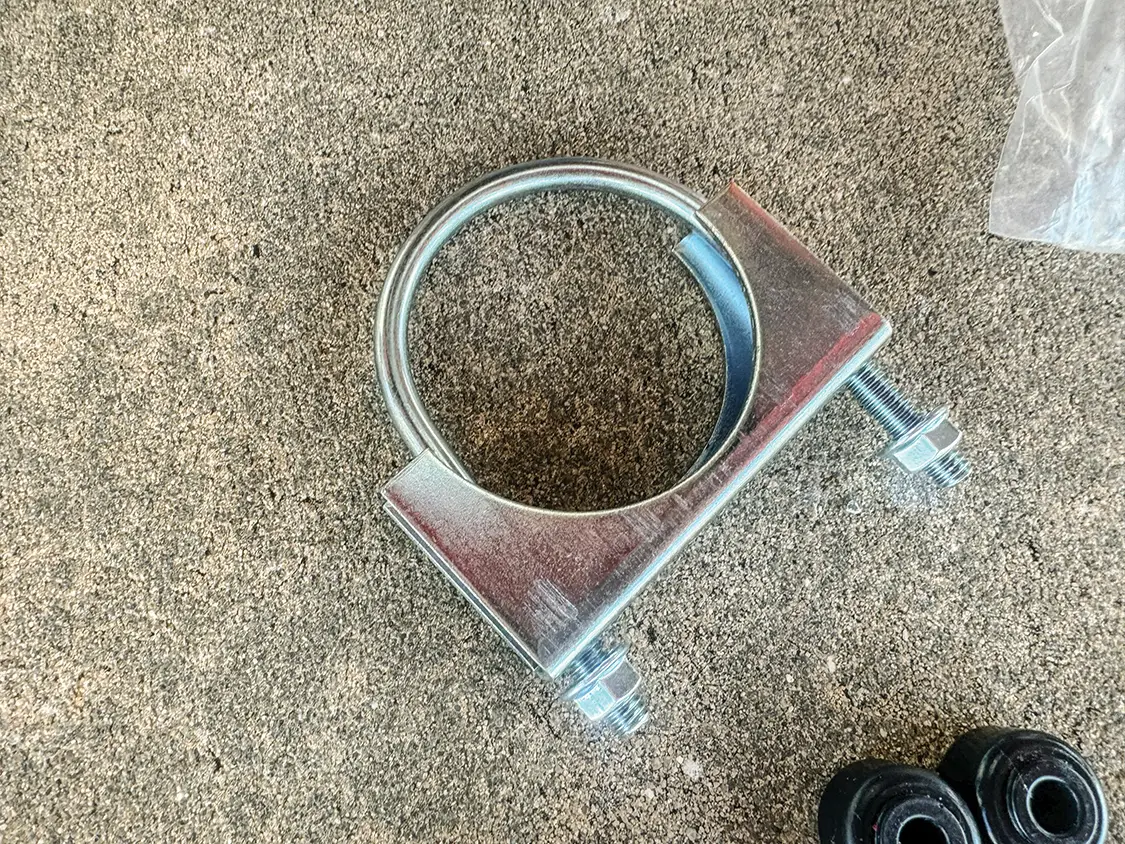
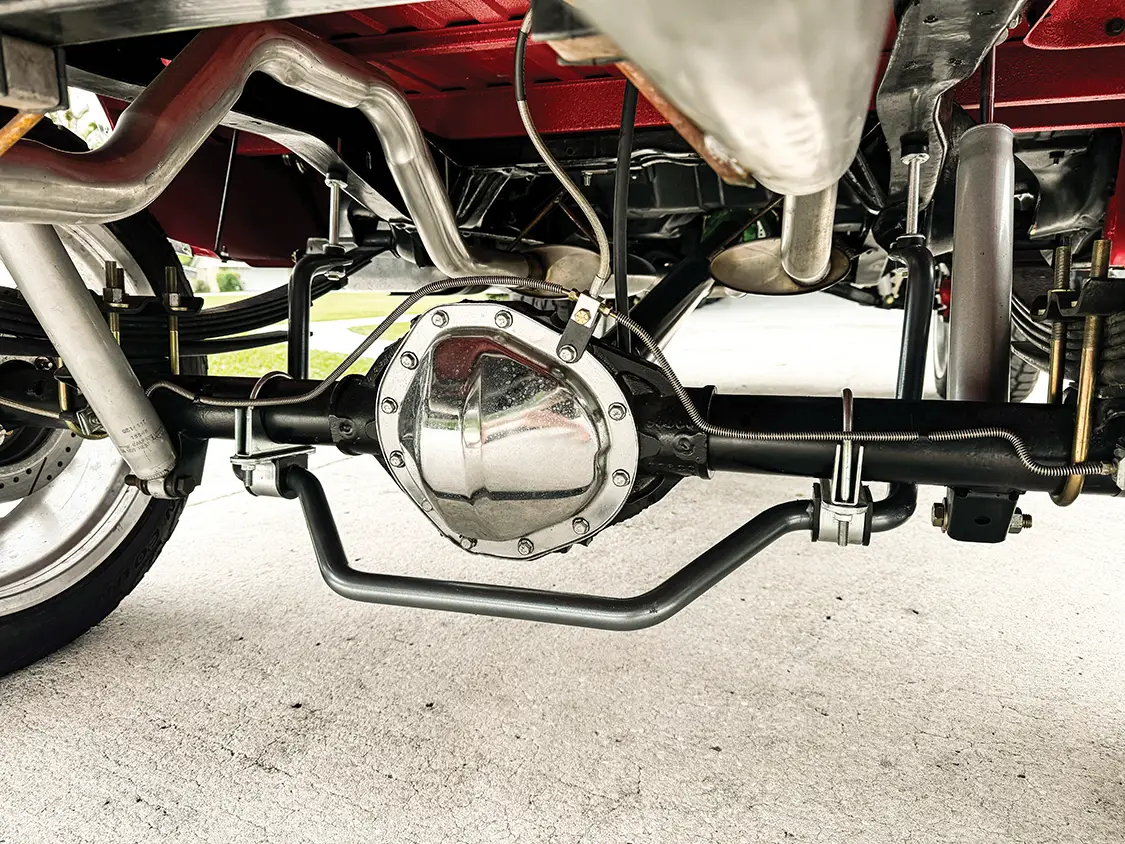
This rear kit not only comes with the sway bars but also the mounting U-bolts for the rear axle and the link bars that mount to the frame.The first step was to attach the U-bolts to the rear axle, keeping them loose until the bar is fully mounted.
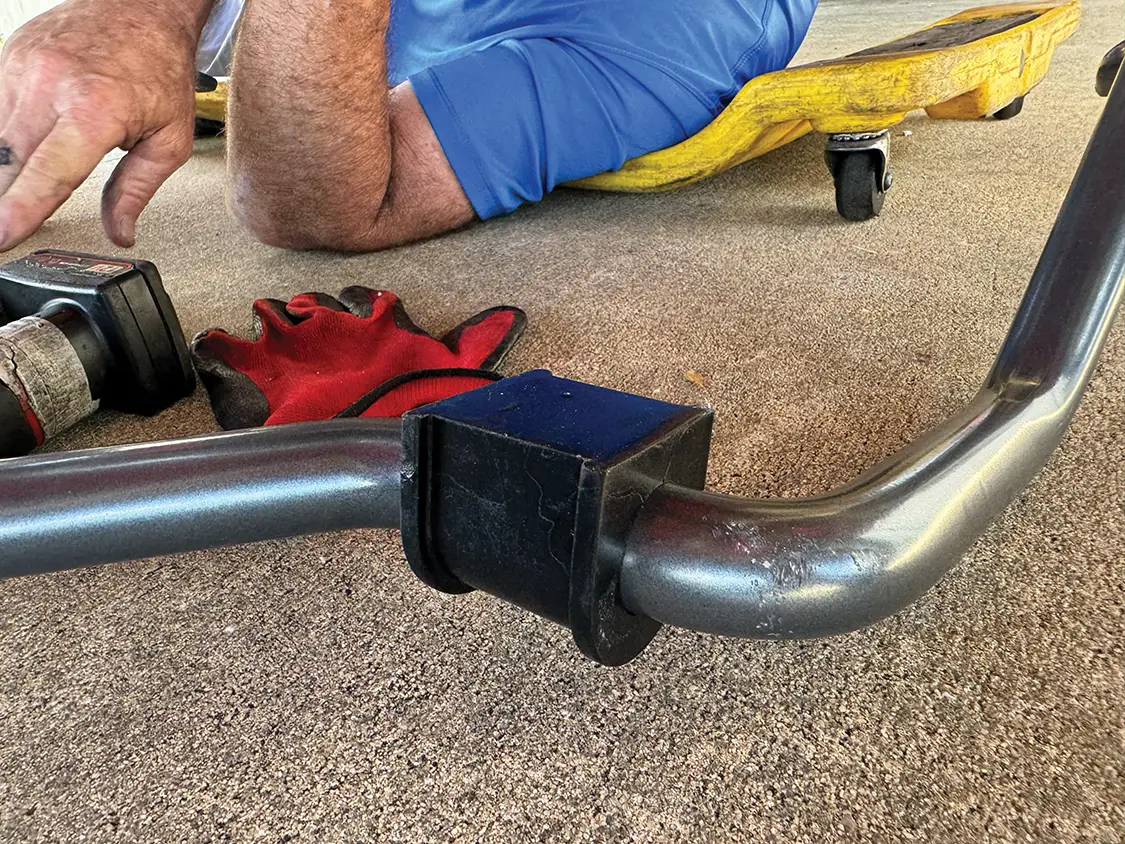
Just like the front, the rubber bushing was lubed up and slipped over the sway bar along with the mounting bracket.Next, we bolted the sway bar to the U-bolt brackets, keeping them loose until it’s fully assembled.
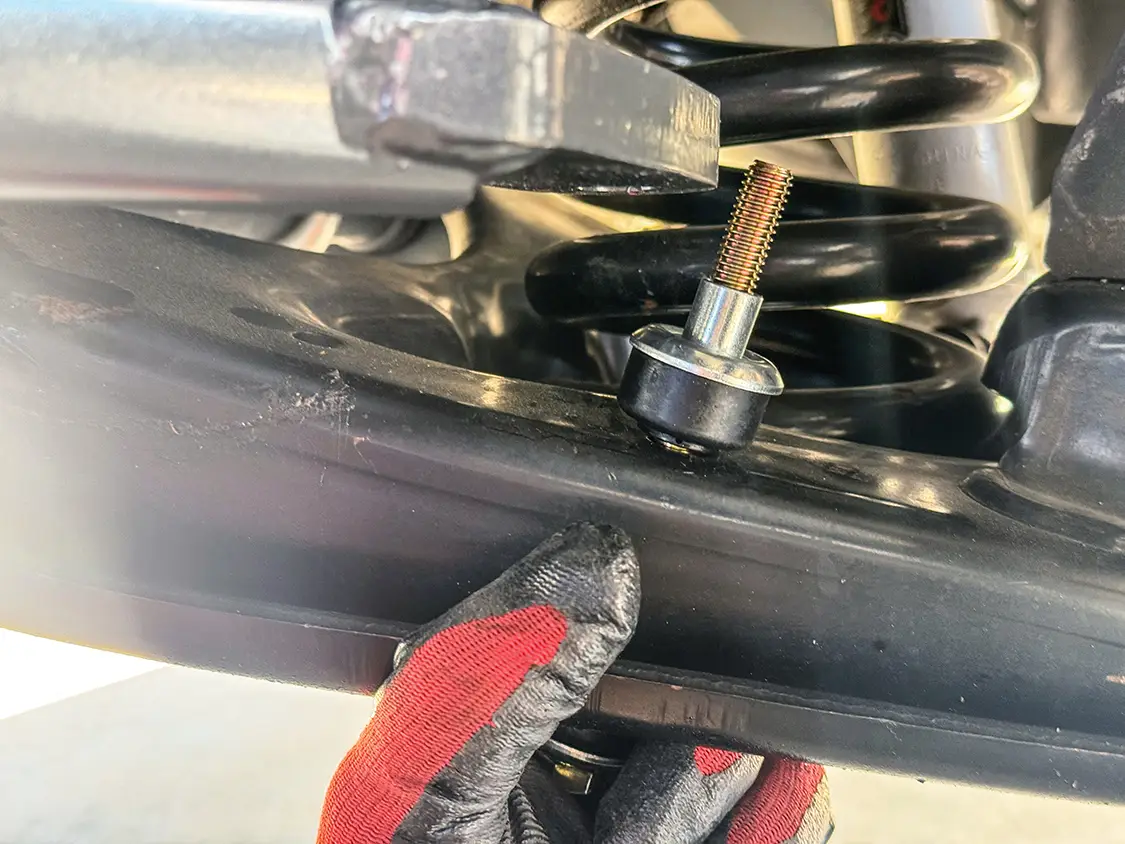
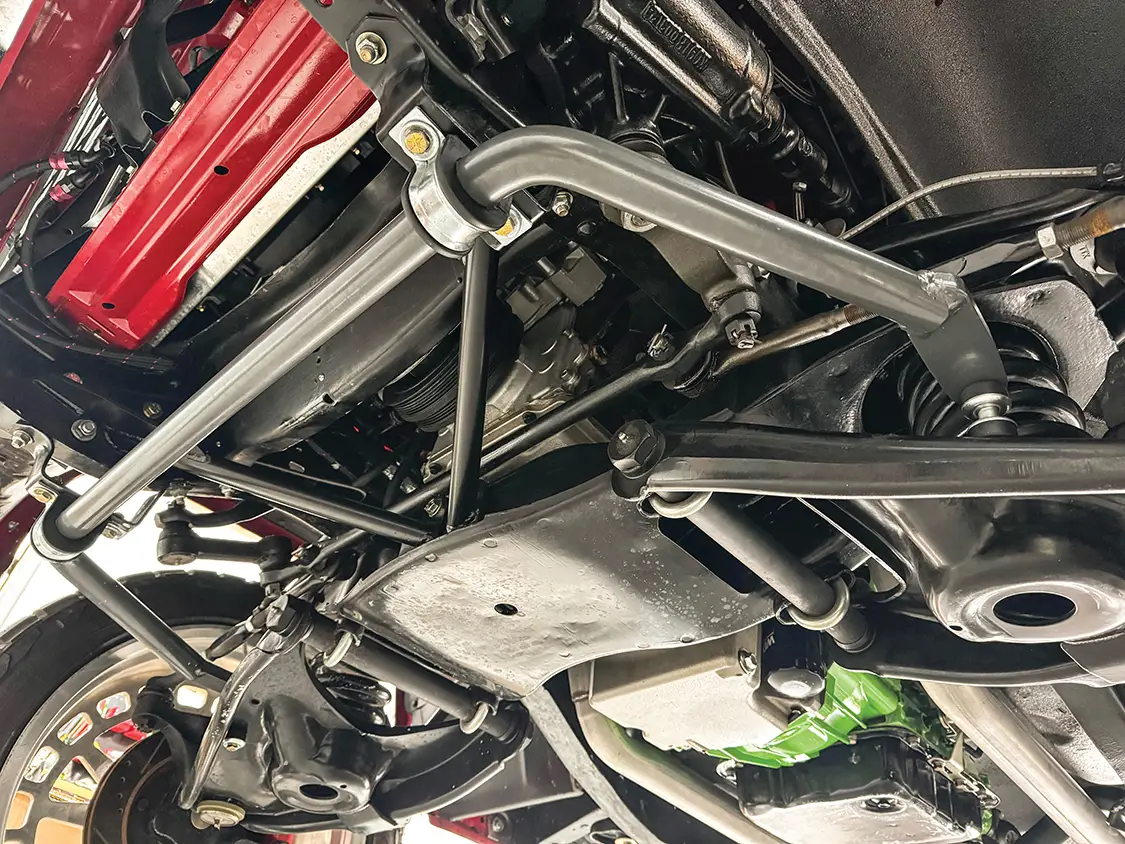
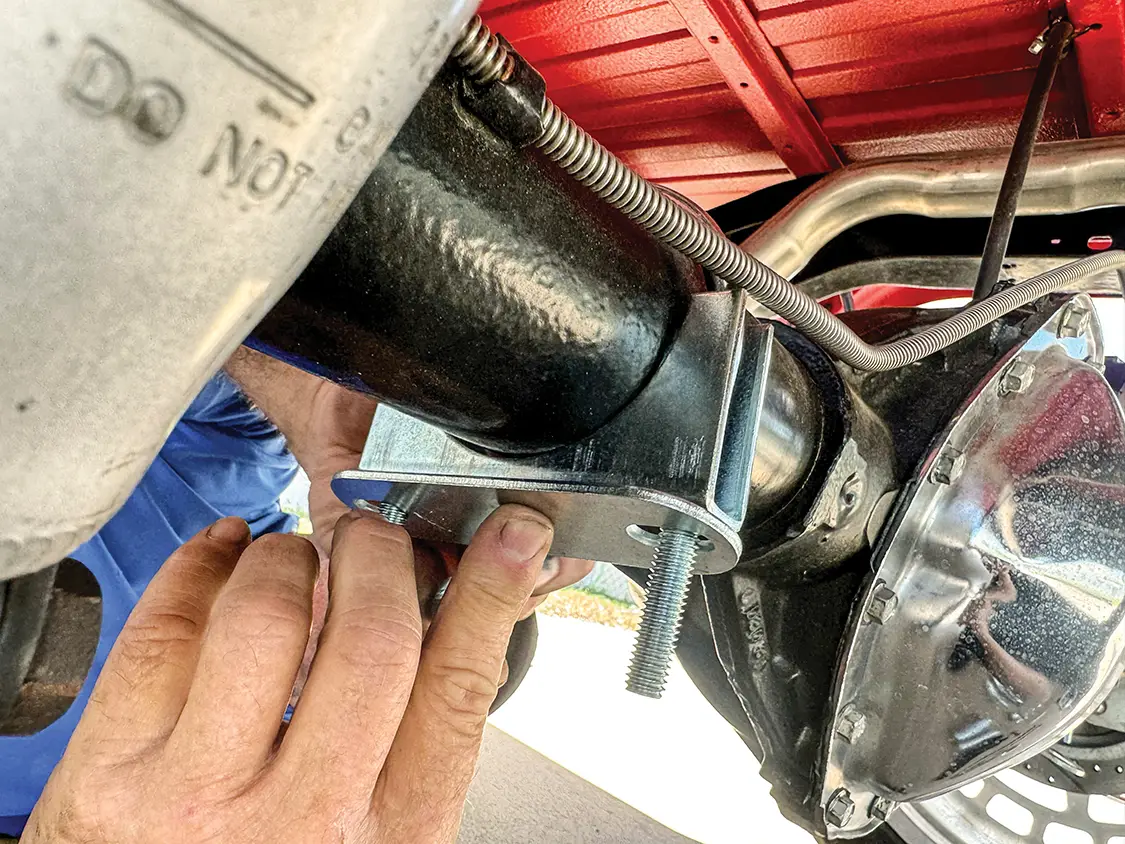
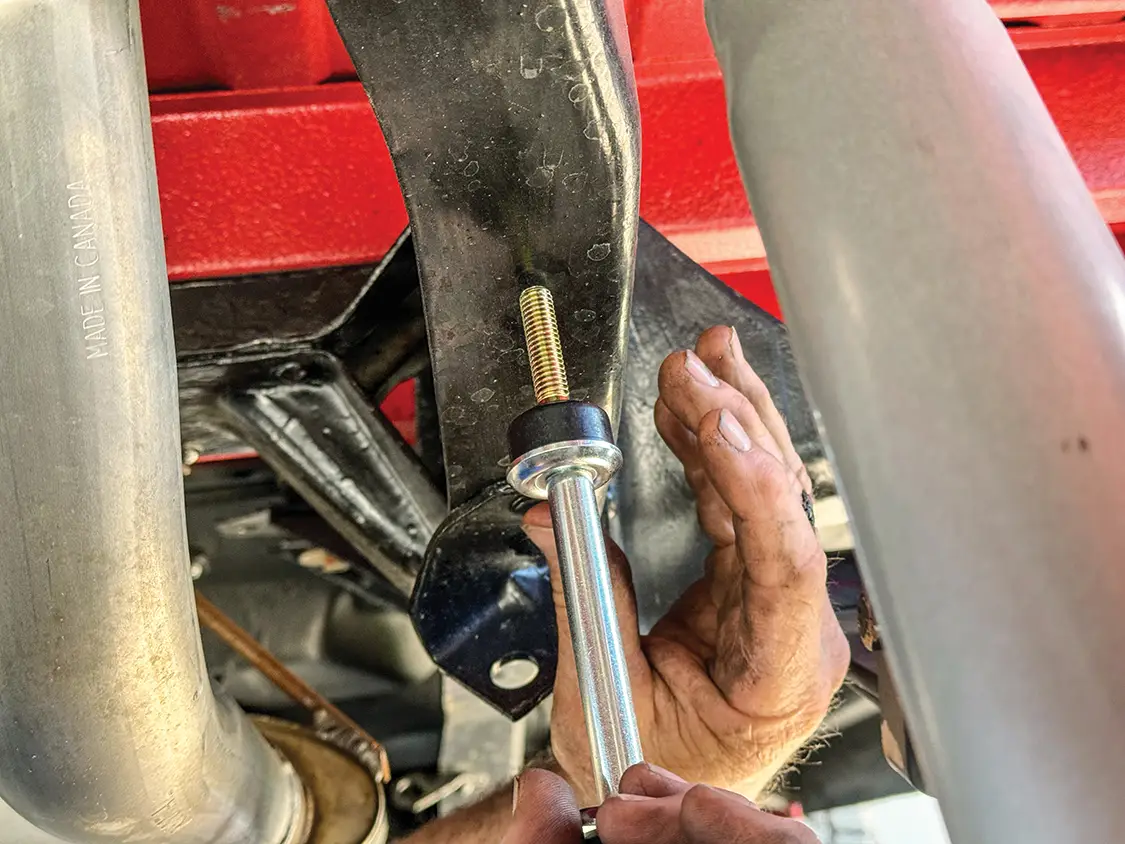
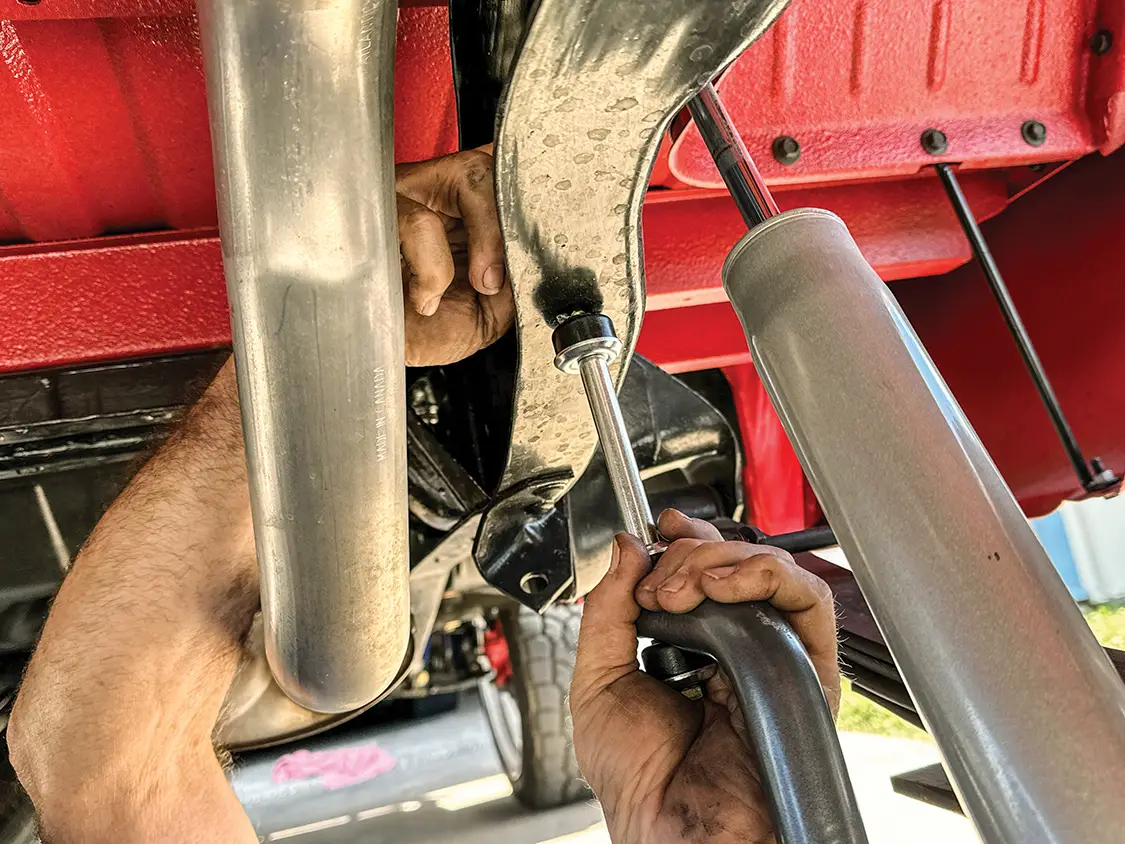
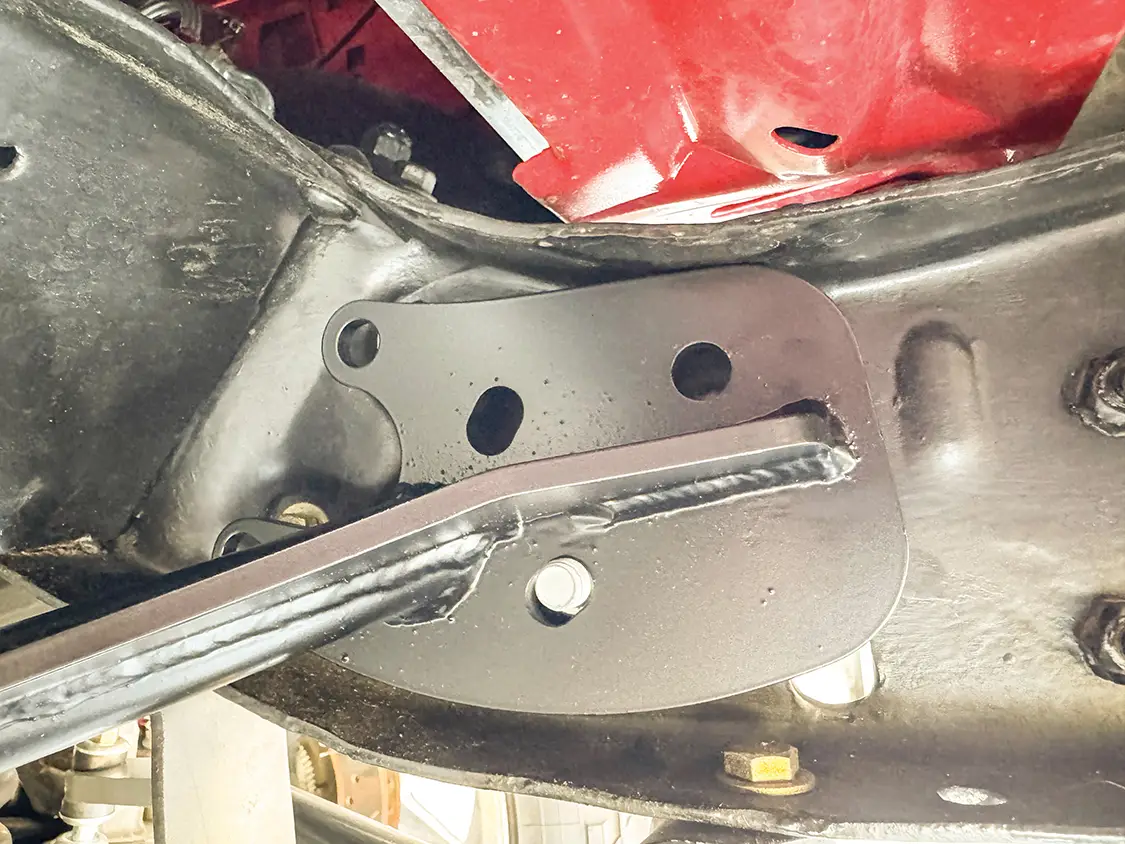
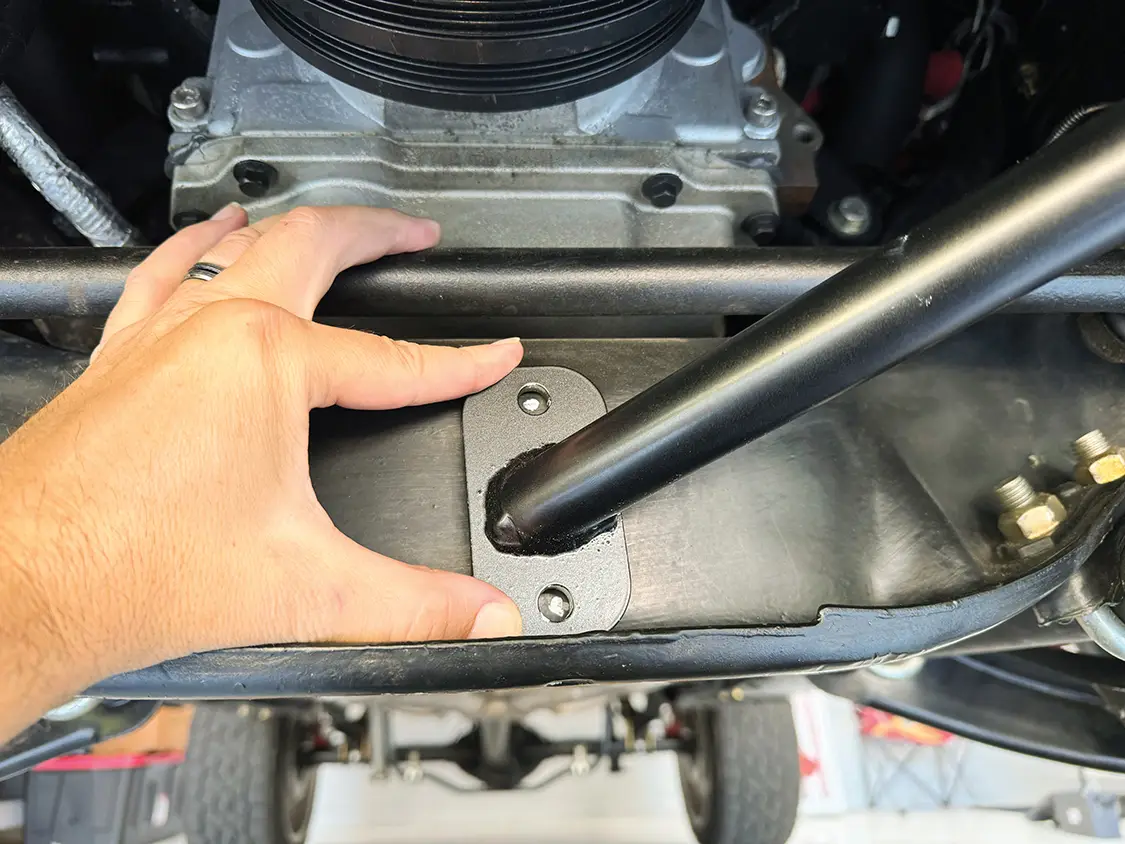
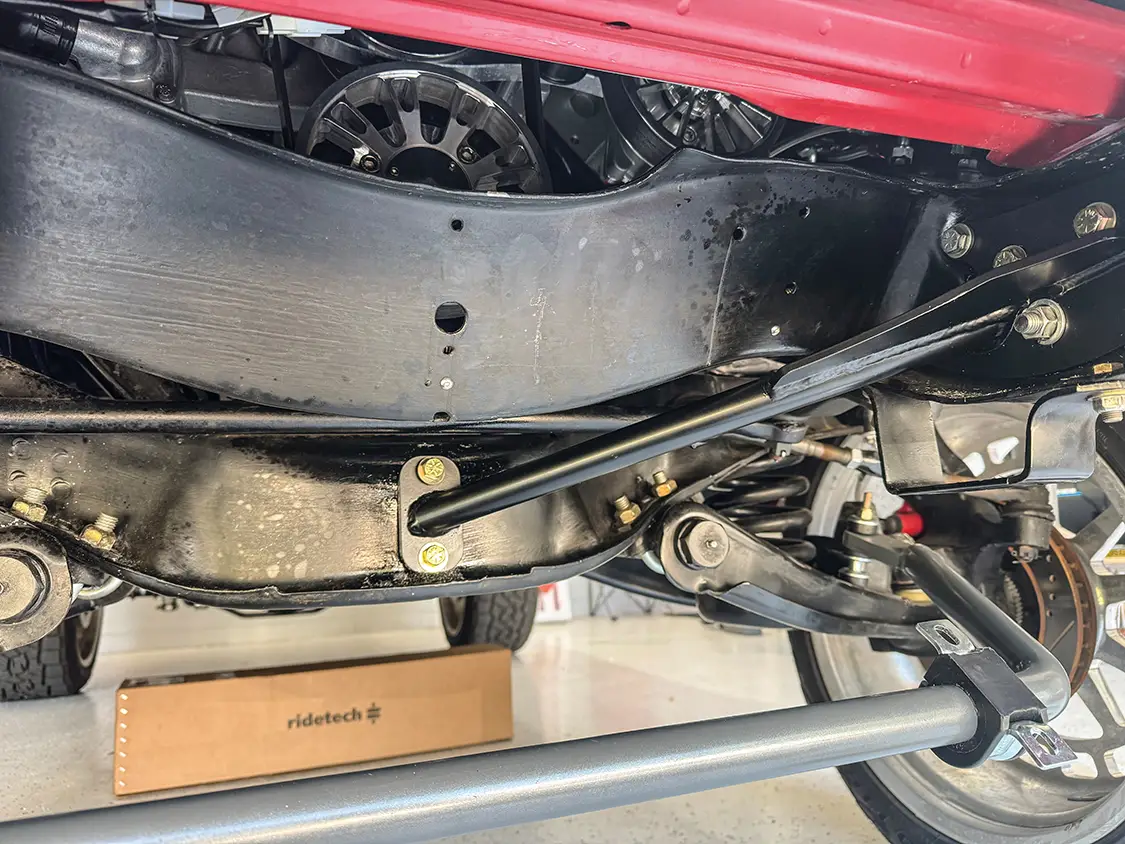
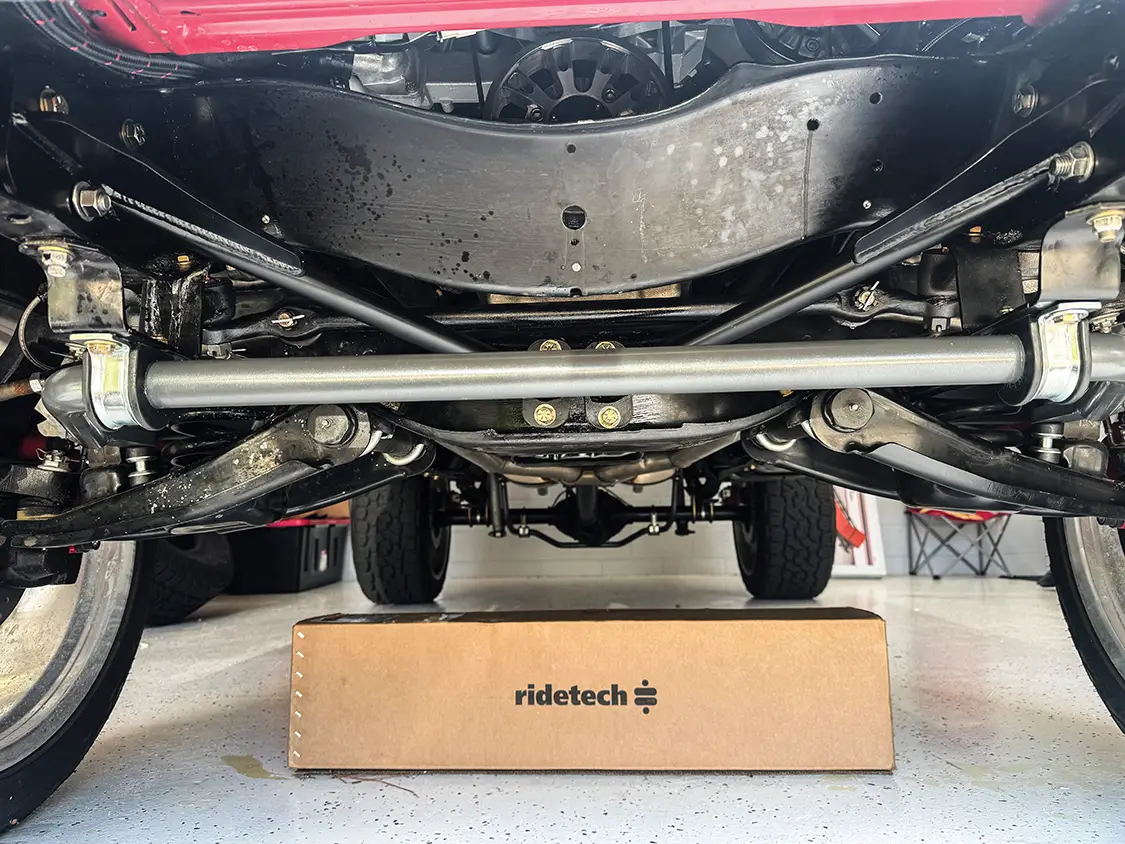
To mount the front of the sway bar to the framerails, we marked the location where the endlinks line up and drilled the appropriate holes into the frame.With the holes drilled, we simply slid the threaded rods through the frame and bolted them in from the top side.Here is a great look at the rear sway bar fully installed. Again, this bar fit on our lifted truck right out of the box without using any special-length sway bar links.We then moved on to the frame brace from Ridetech. These braces mount from the frame to the crossmember, which will dramatically strengthen the front end of our 45-year-old truck.
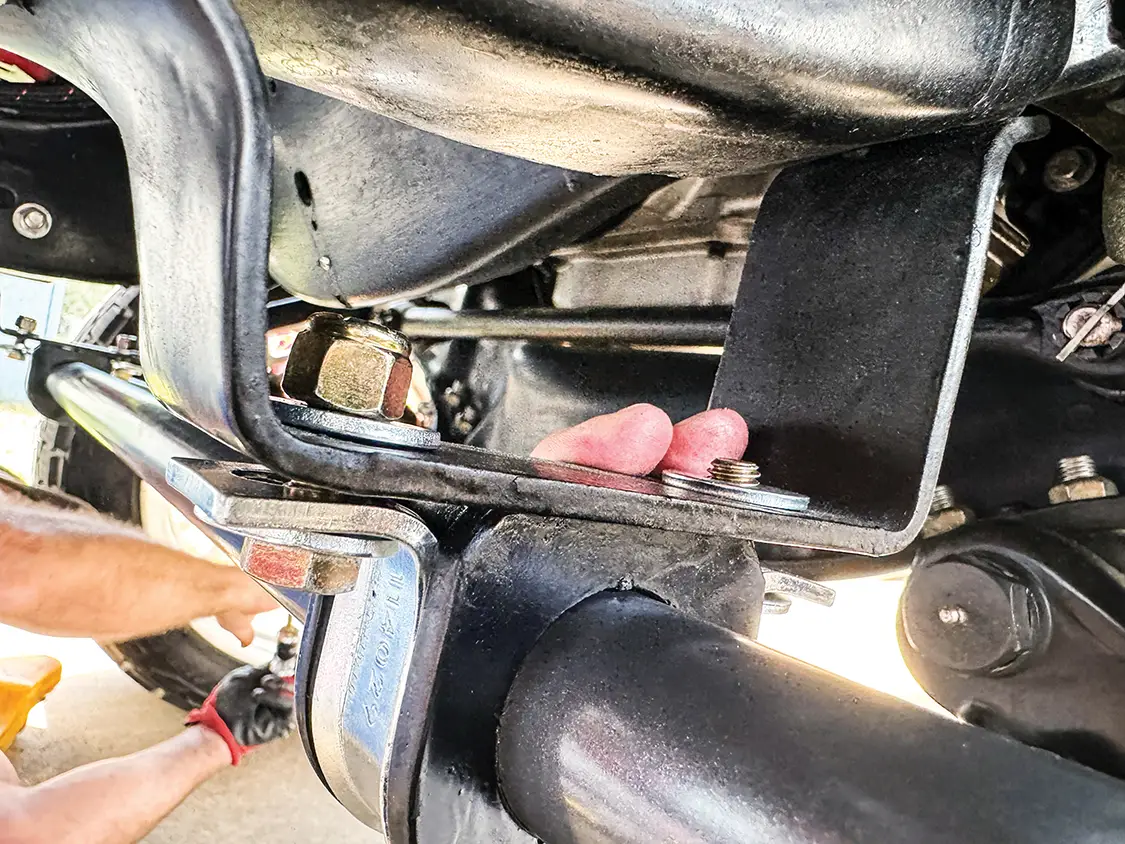
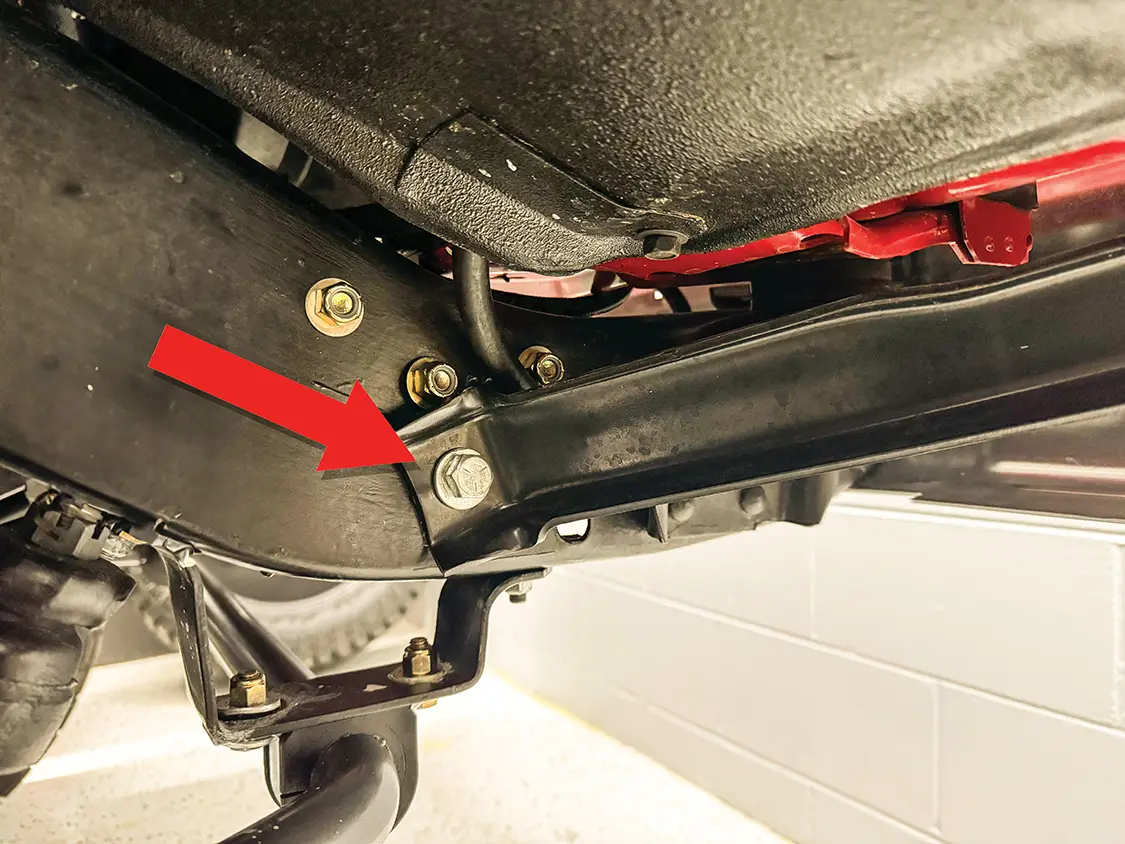
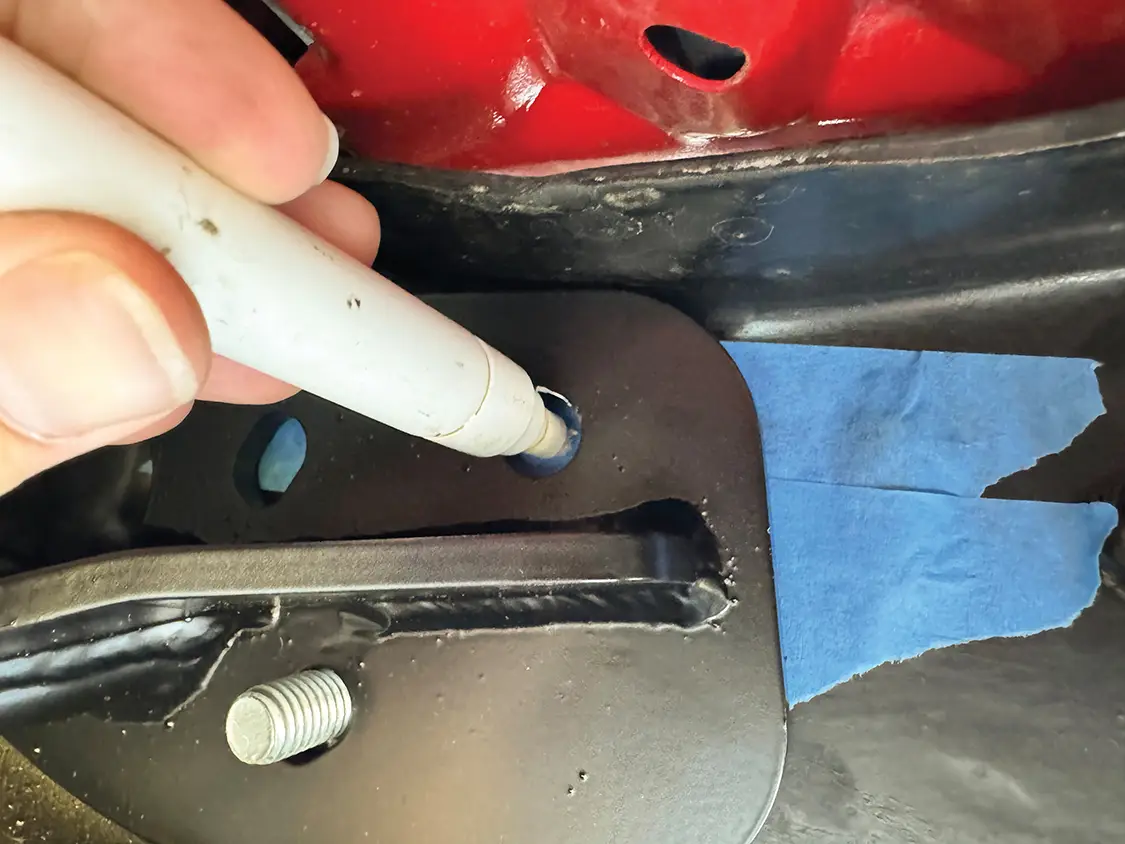
Before we started the install, we removed the nut that holds the bumper bracket to the frame.
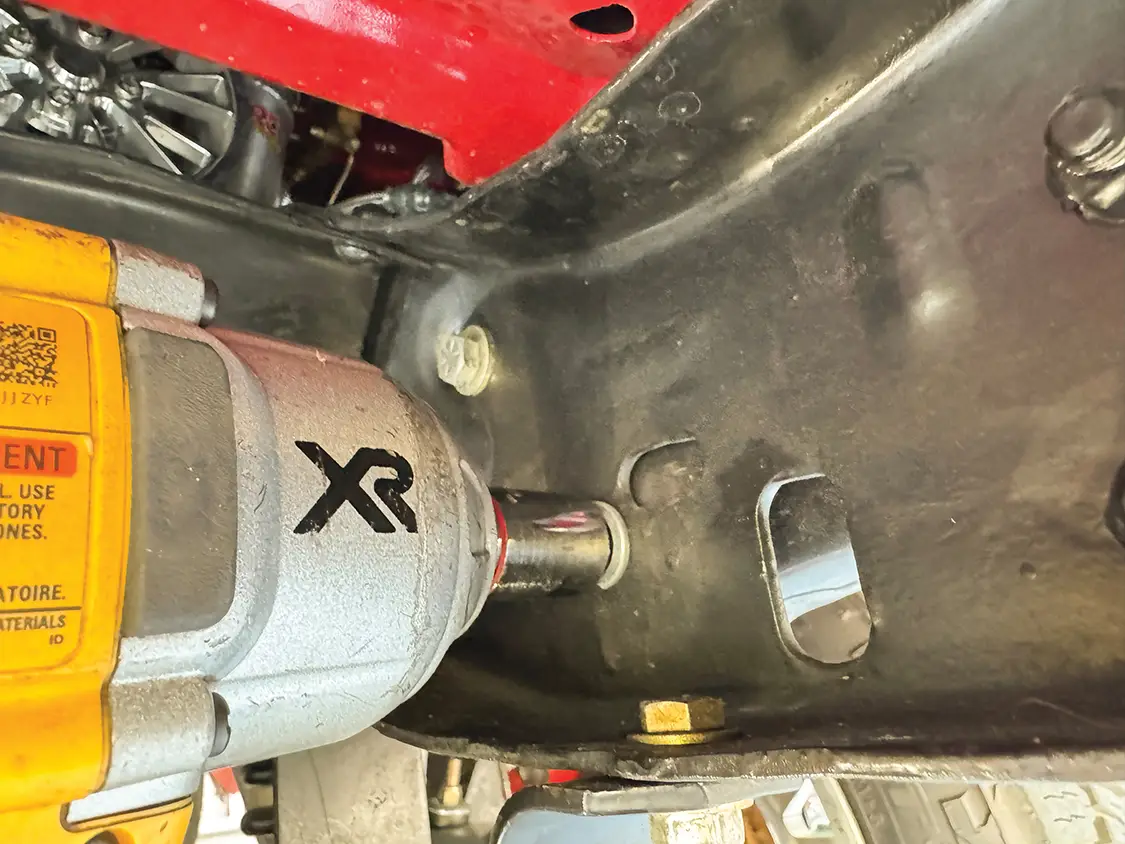
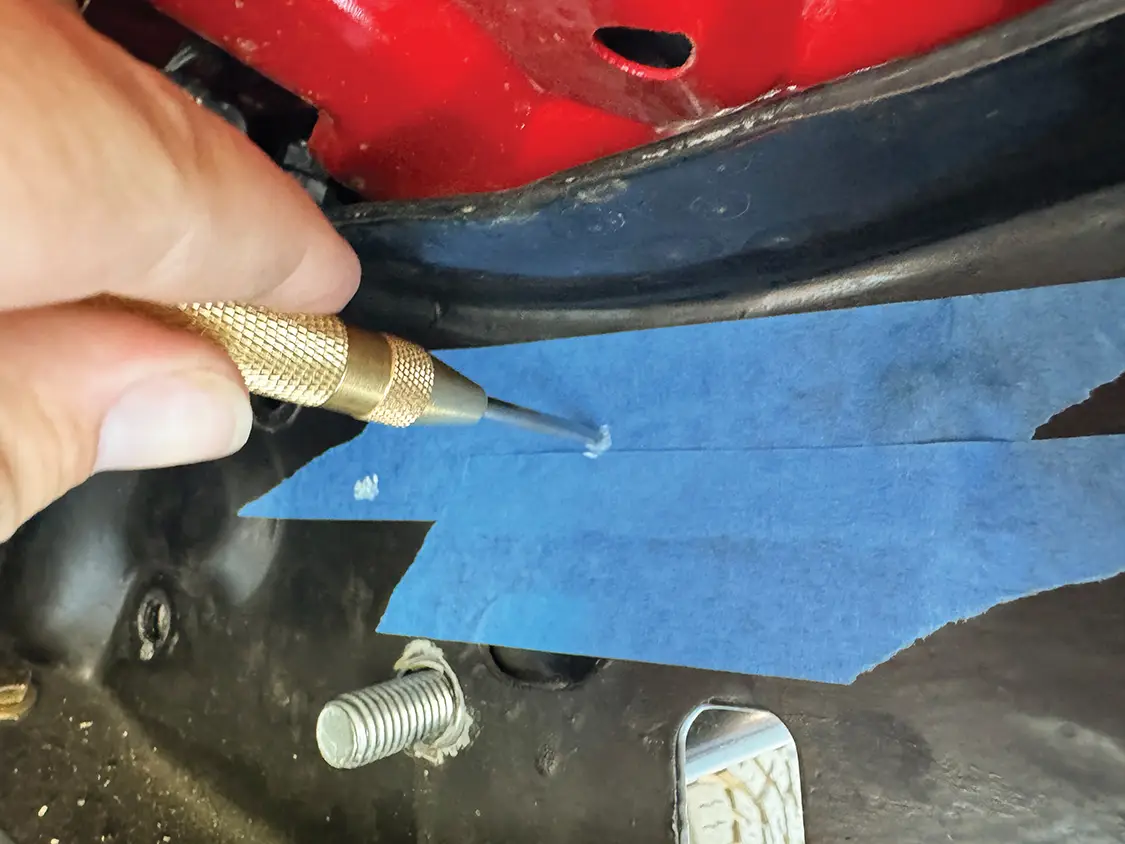
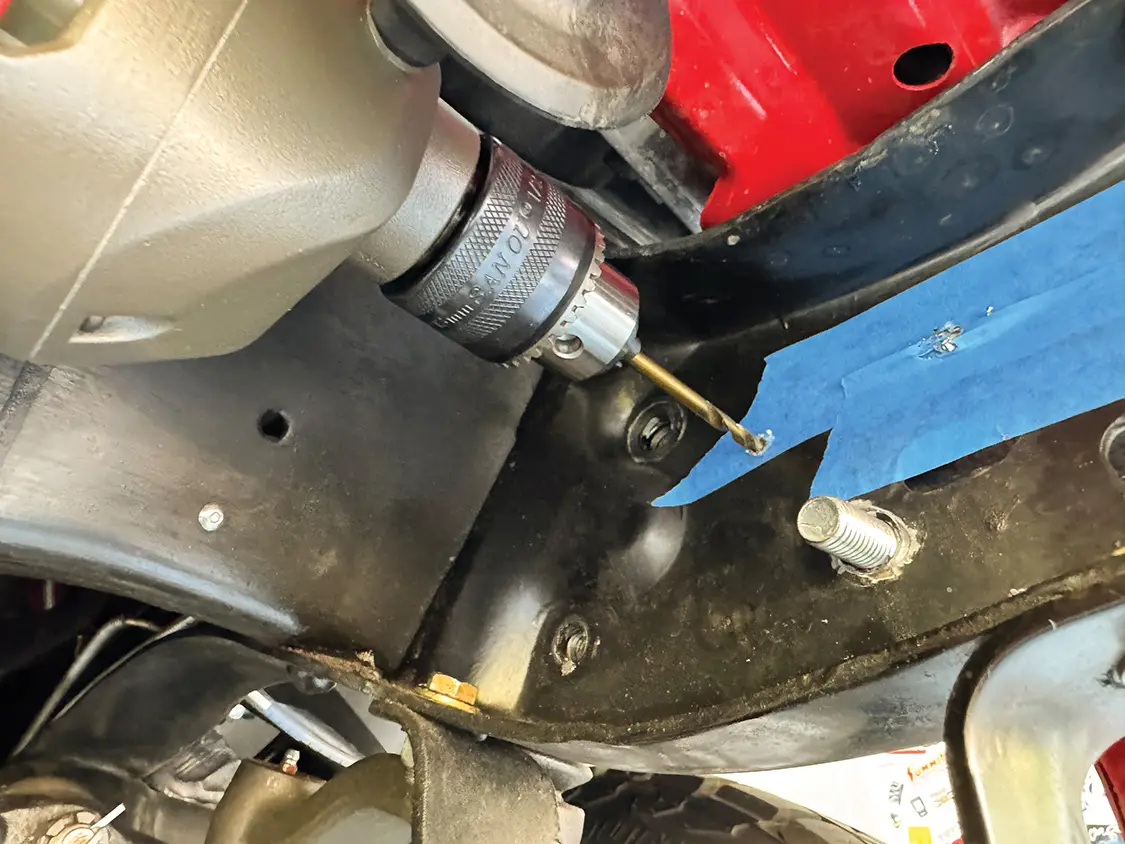
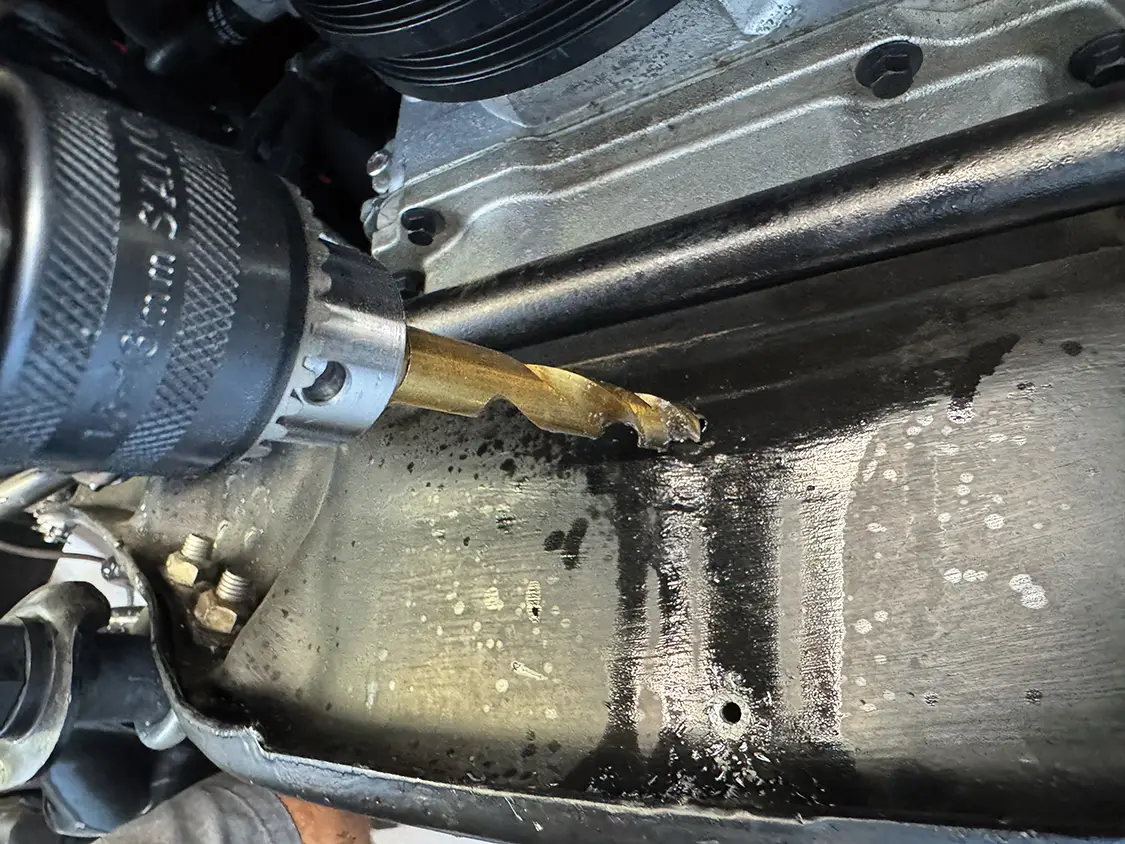
We then held the frame brace in place and figured out where we needed to drill some holes.After adding some tape to the frame, we marked out hole locations to drill them in the perfect spot.These frames are not easy to drill into, so using a punch to guide the drill bit is highly recommended.First, we drilled a pilot hole, which made the path for the larger drill bit much simpler.Moving to the crossmember, we followed the same steps—line up the brace, mark the hole, and drill away.
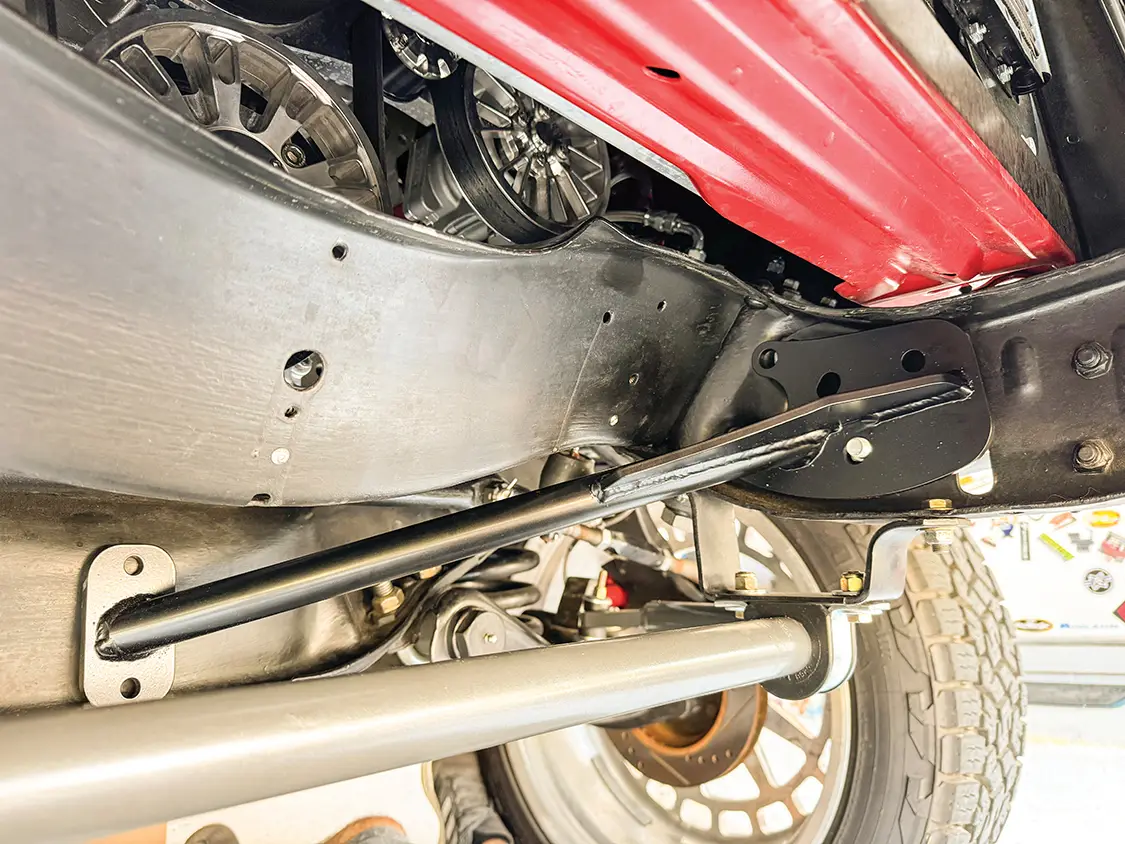
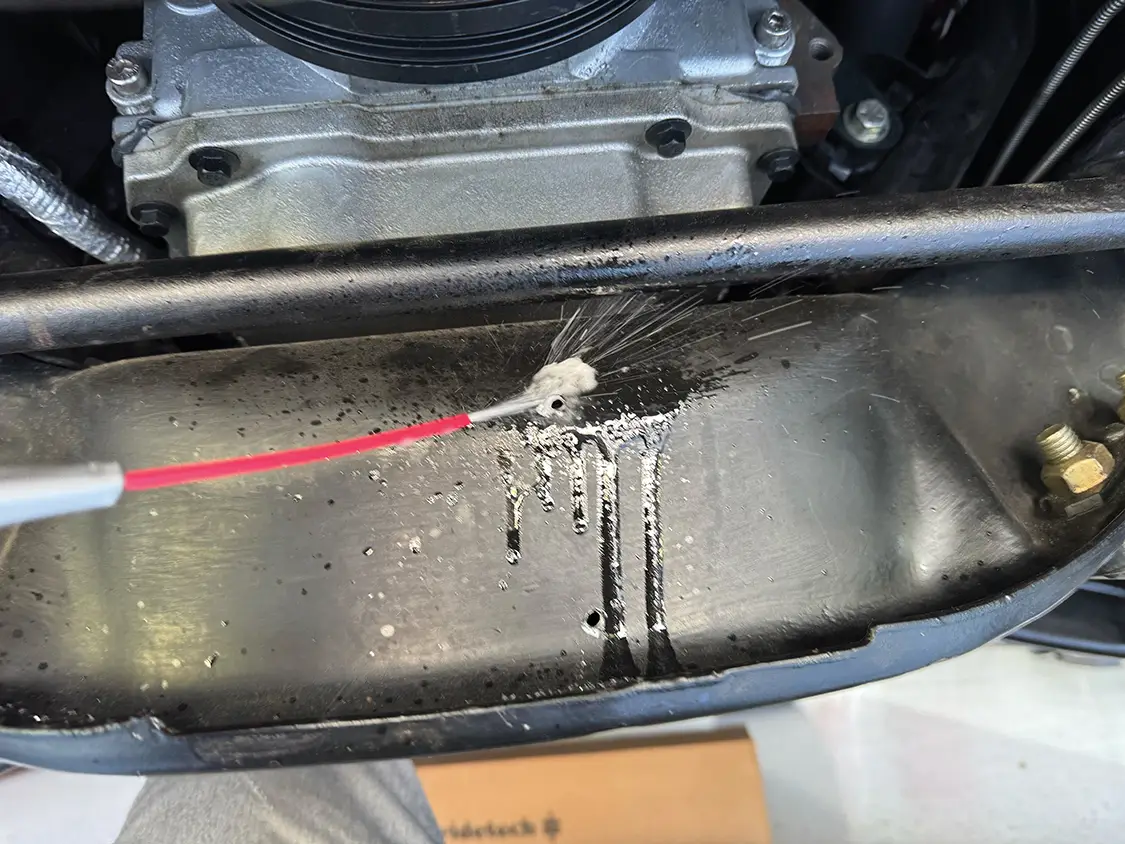
The crossmember is a bit thicker, so this time we used a healthy amount of WD40 to avoid overheating the bit.Now that we have one side complete, we could move to the passenger side and repeat the process.The completed install looks great, and let me tell you, it makes a massive difference in the driving experience. If your truck is a little loose in the front end, don’t sleep on this upgrade.
Chris Hamilton is an automotive journalist, editor, and lifelong truck enthusiast with extensive experience covering custom truck builds, fabrication, performance upgrades, aftermarket products, and a ...
We use cookies to enhance your browsing experience, serve personalized ads or content, and analyze our traffic. By clicking "Accept All", you consent to our use of cookies. Visit our Cookie Policy for more info.


Share Link