Stock trucks are something most of our readers try to avoid. Sure, when it comes to work trucks, owners keep them stock for most of their working lives. But for us gearheads, we can’t leave anything alone and always have to tinker on our trucks.
Suspension upgrades seem to be one of the first “must haves” in our world. Personally, every vehicle I currently own is lowered, and that mod was planned shortly after purchase, right behind window tint.
Several suspension companies out there make lift kits, lowering kits, and even track suspension kits for just about every truck on the planet. When vehicle manufacturers redesign a truck, aftermarket companies try to adapt a kit for the new configuration. Sure, you can cut apart your truck and add an air-bag suspension, but for most people, the work, cost, and hassle to do this is beyond their grasps or out of their ability to do it themselves.
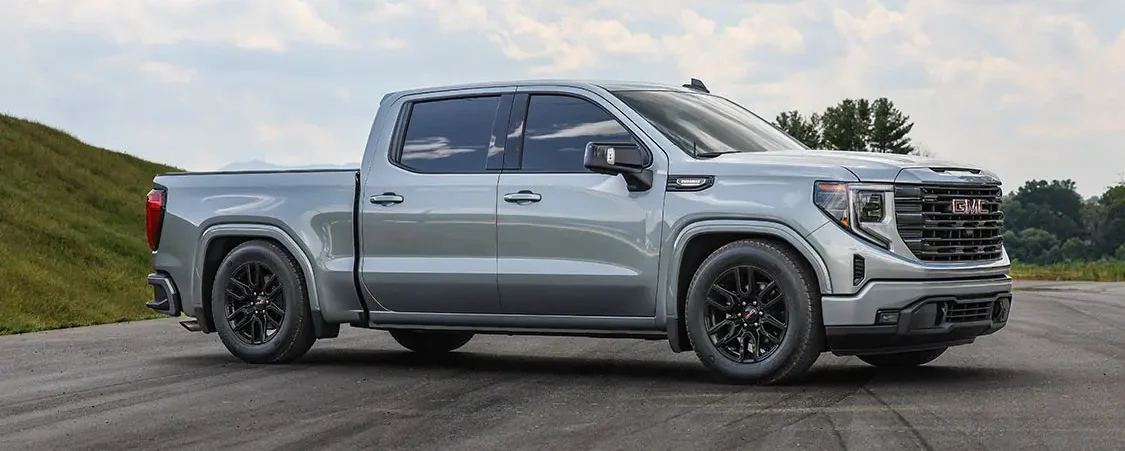
Adjusting the altitude of your truck is still within reach thanks to companies like Belltech. For this project, a ’23 Sierra 1500 4WD, the company offers a few options for lifting and lowering to fit everyone’s individual needs. I’ve wanted a static-dropped, super-clean daily driver for a while and figured it was time to build one that fit what I wanted, so I reached out to Belltech to see what my options were.
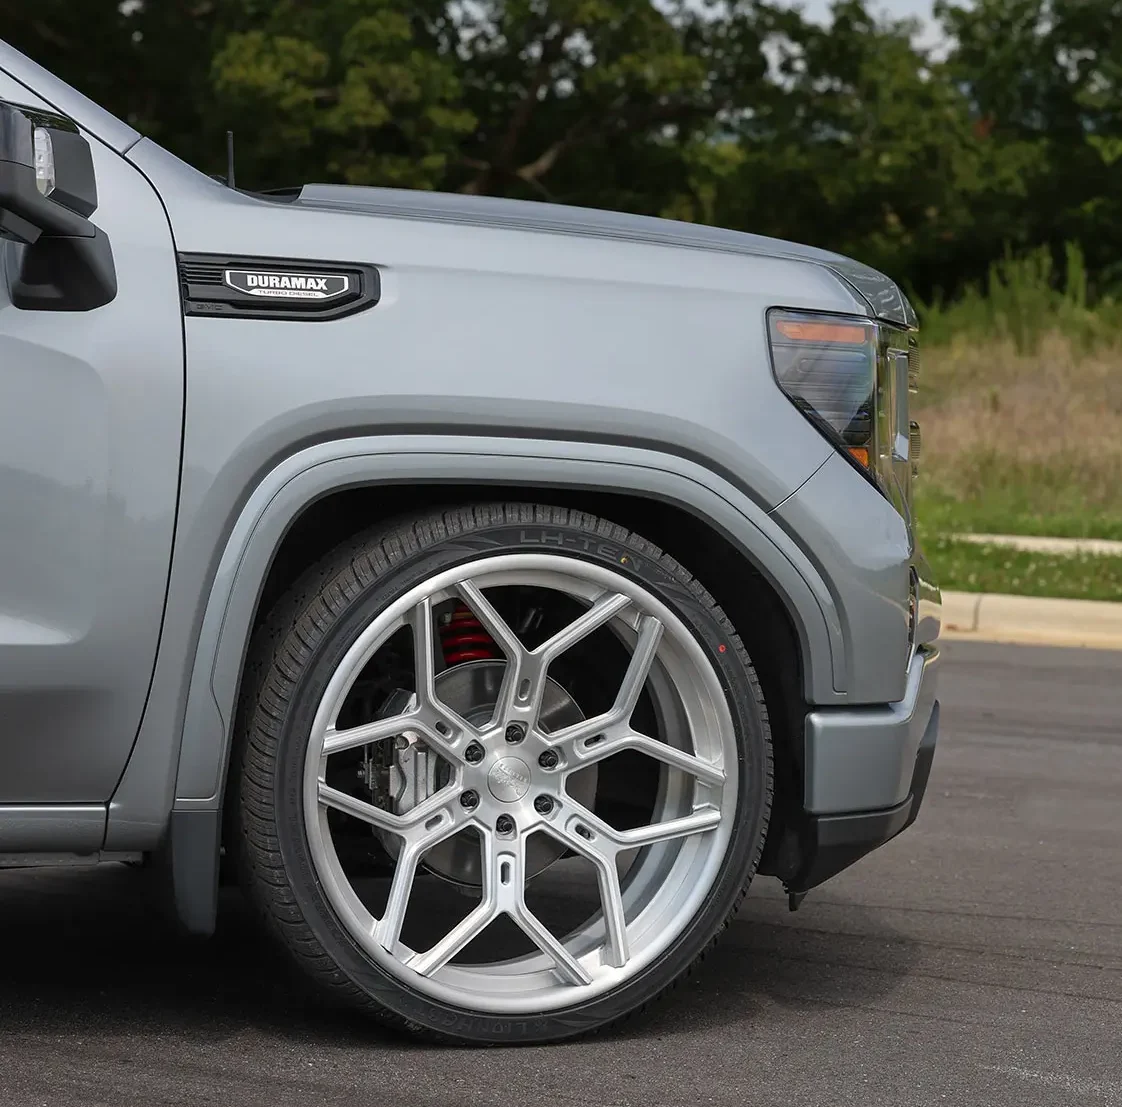
AFTER
This truck is a four-wheel drive. Most people would ask, “Why would you lower a 4WD?” For my specific needs and because we get a couple small snowstorms a year, keeping the 4WD working was a priority, but I also knew wanted to sport-truck look with this build. These new trucks aren’t like the older, solid front axle trucks from back in the day. Modern suspension is pretty much the same on a RWD and 4WD version, so with a mild drop, the front CV axles can still work as planned.
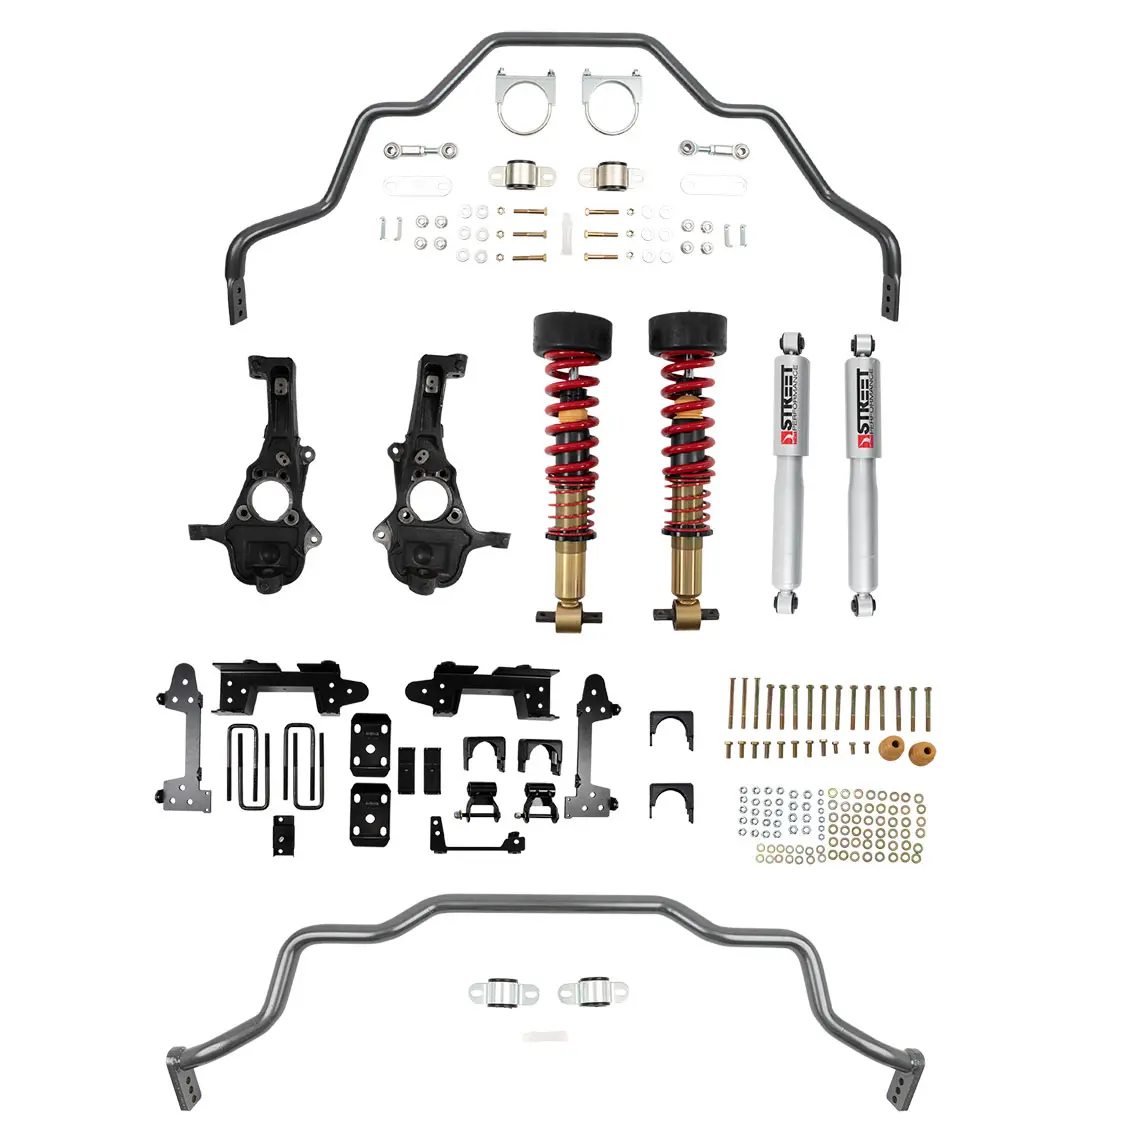
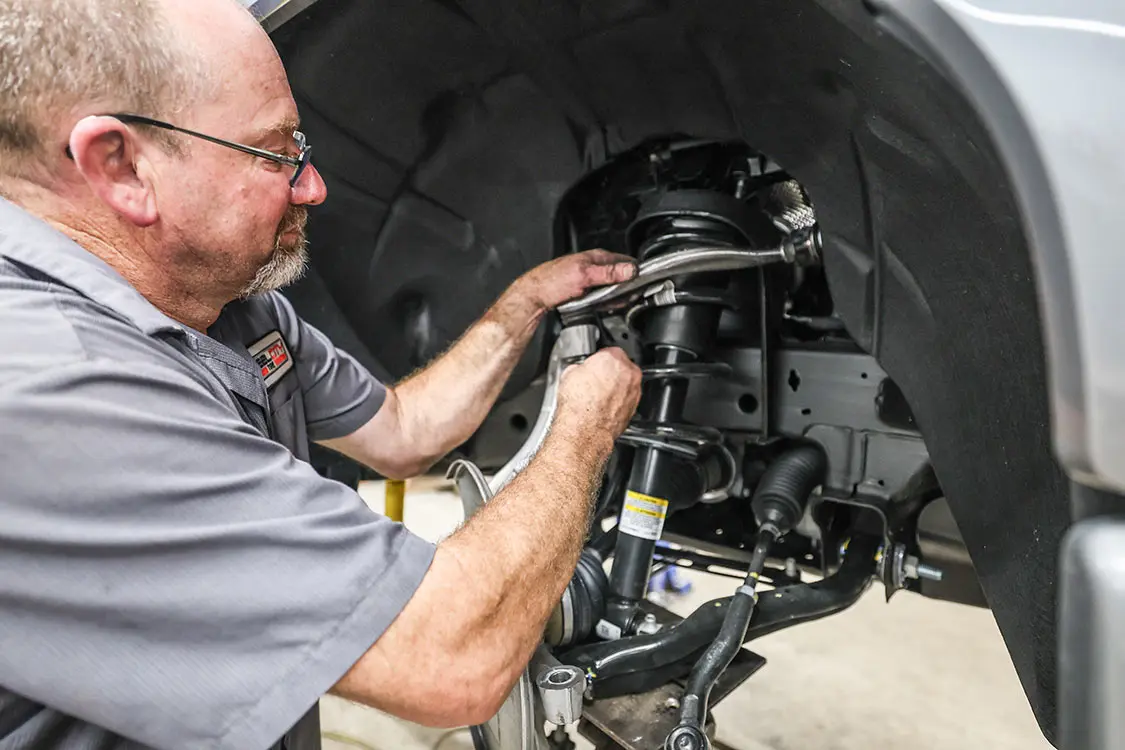
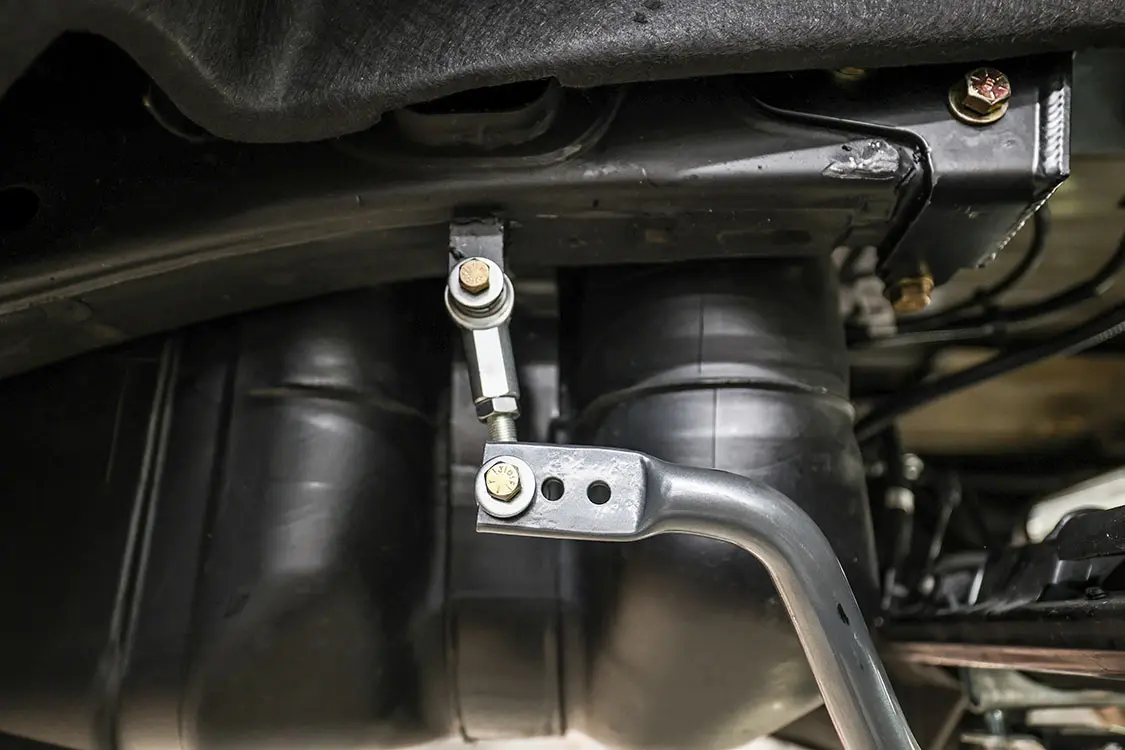
Knowing I wanted this truck to handle and drive as well as stock if not better, I opted to go with Belltech’s upgraded kit that upgrades the front coil springs to a full strut replacement coilovers, upgrades the front sway bar, and adds a rear sway bar. With this kit, Part #1041 HK with a $2,573 retail price utilizes a front 2-inch drop spindle and up to 3 inches more drop with the adjustable coilovers. The rear consists of a leaf spring flip kit, new rear shackles, and a bolt in C-notch.
DIFFICULTY LEVEL: INTERMEDIATE
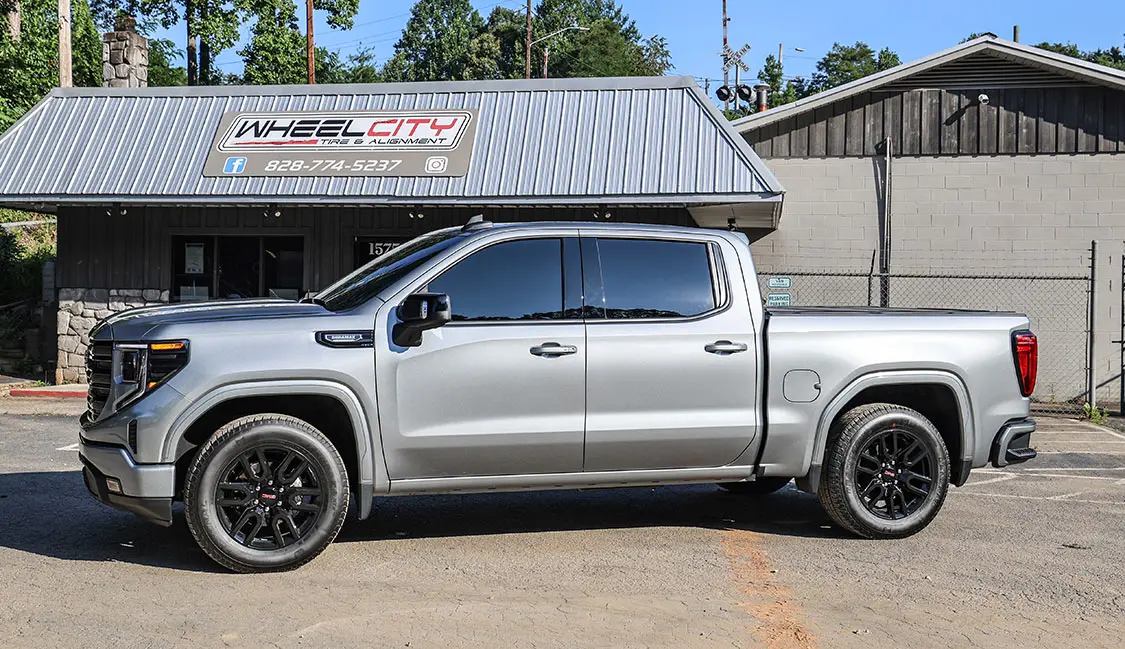
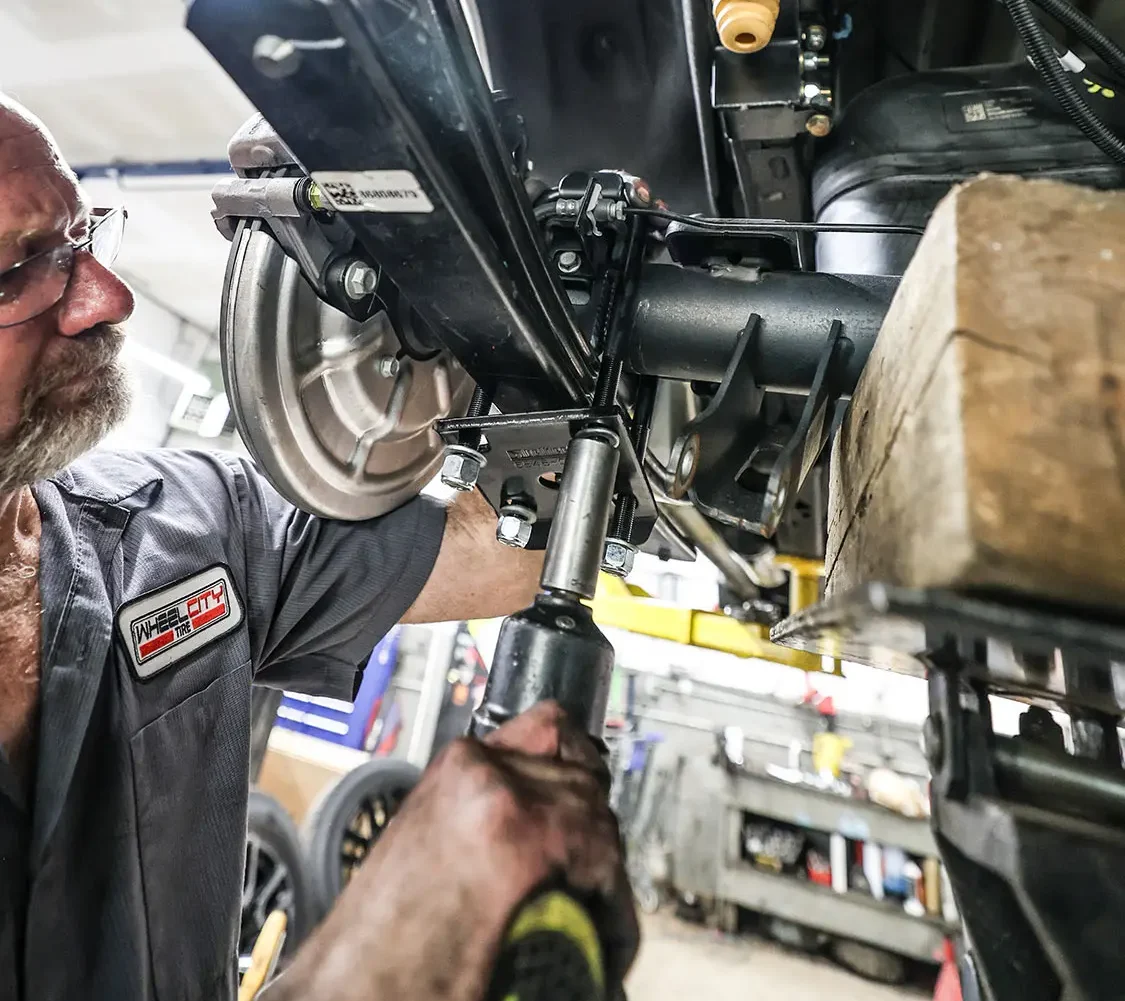
I would say this is a mid-level difficulty installation, but if you are mechanically inclined with a good tool stockpile, it’s something you can do in your garage. Cutting the frame to bolt in the new notch was honestly the most time-consuming part of the whole install. Yes, it can be done on jackstands, but I opted to team up with a local shop, Wheel City Tire & Alignment, to do the install on a two-post lift to make things easier. The installation plus the alignment took a full day; I’m sure taking photos slowed the process a bit. But you could easily do this on jackstands in a weekend.
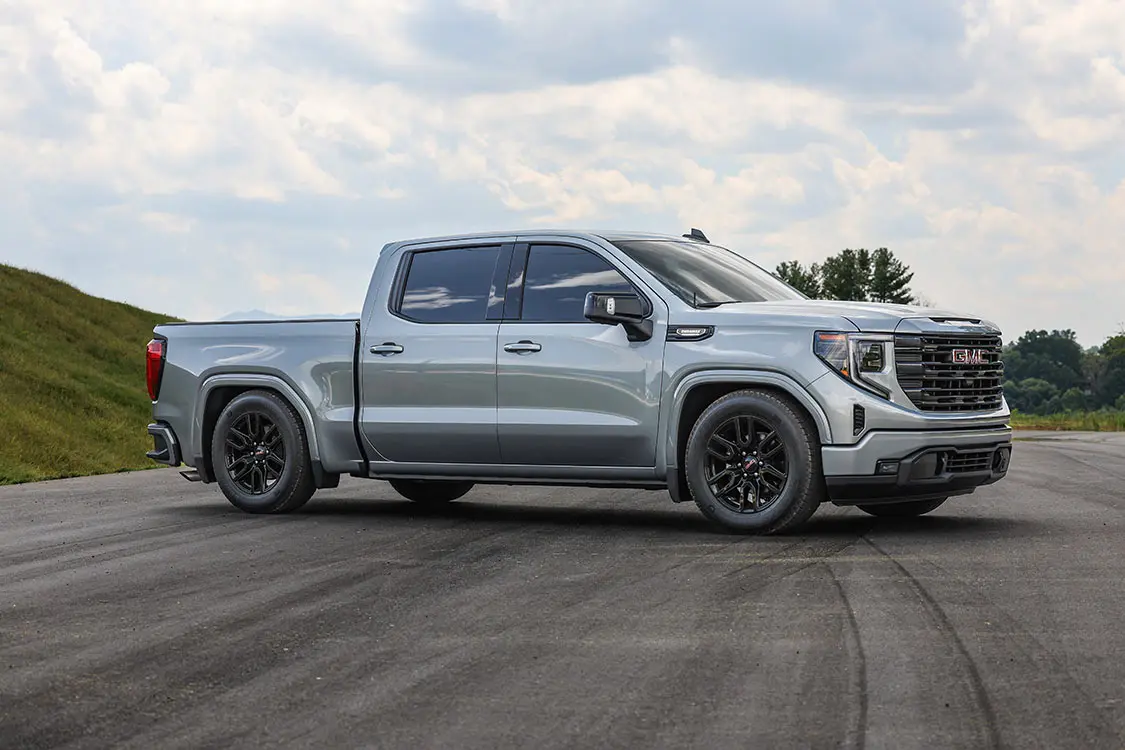
Once the install was finished, the truck went on the alignment rack. Belltech designs its components so that the truck aligned back to factory specs, preventing excessive tire wear. The stock wheel and tire setup fits perfectly with this lowering kit as you can see in the photos, but I also added a set of 26×10 Dropstars Billet Wheels, model number B61 with a $1,468 retail each. These wheels were wrapped in 305/30-26 Lionhart LH-TEN tires with $175 retail each. This gives me the option to roll on the 26s but swap to the stocks during the winter if I wish and have zero issues with either set.
Follow along with this quick glimpse into what is involved in installing the kit. Yes, there are several steps left out due to space, but the high points are hit so you can see the main steps to judge whether it’s something you want to do or leave to a local shop. After driving the truck, I honestly couldn’t tell it was lowered.
FRONT
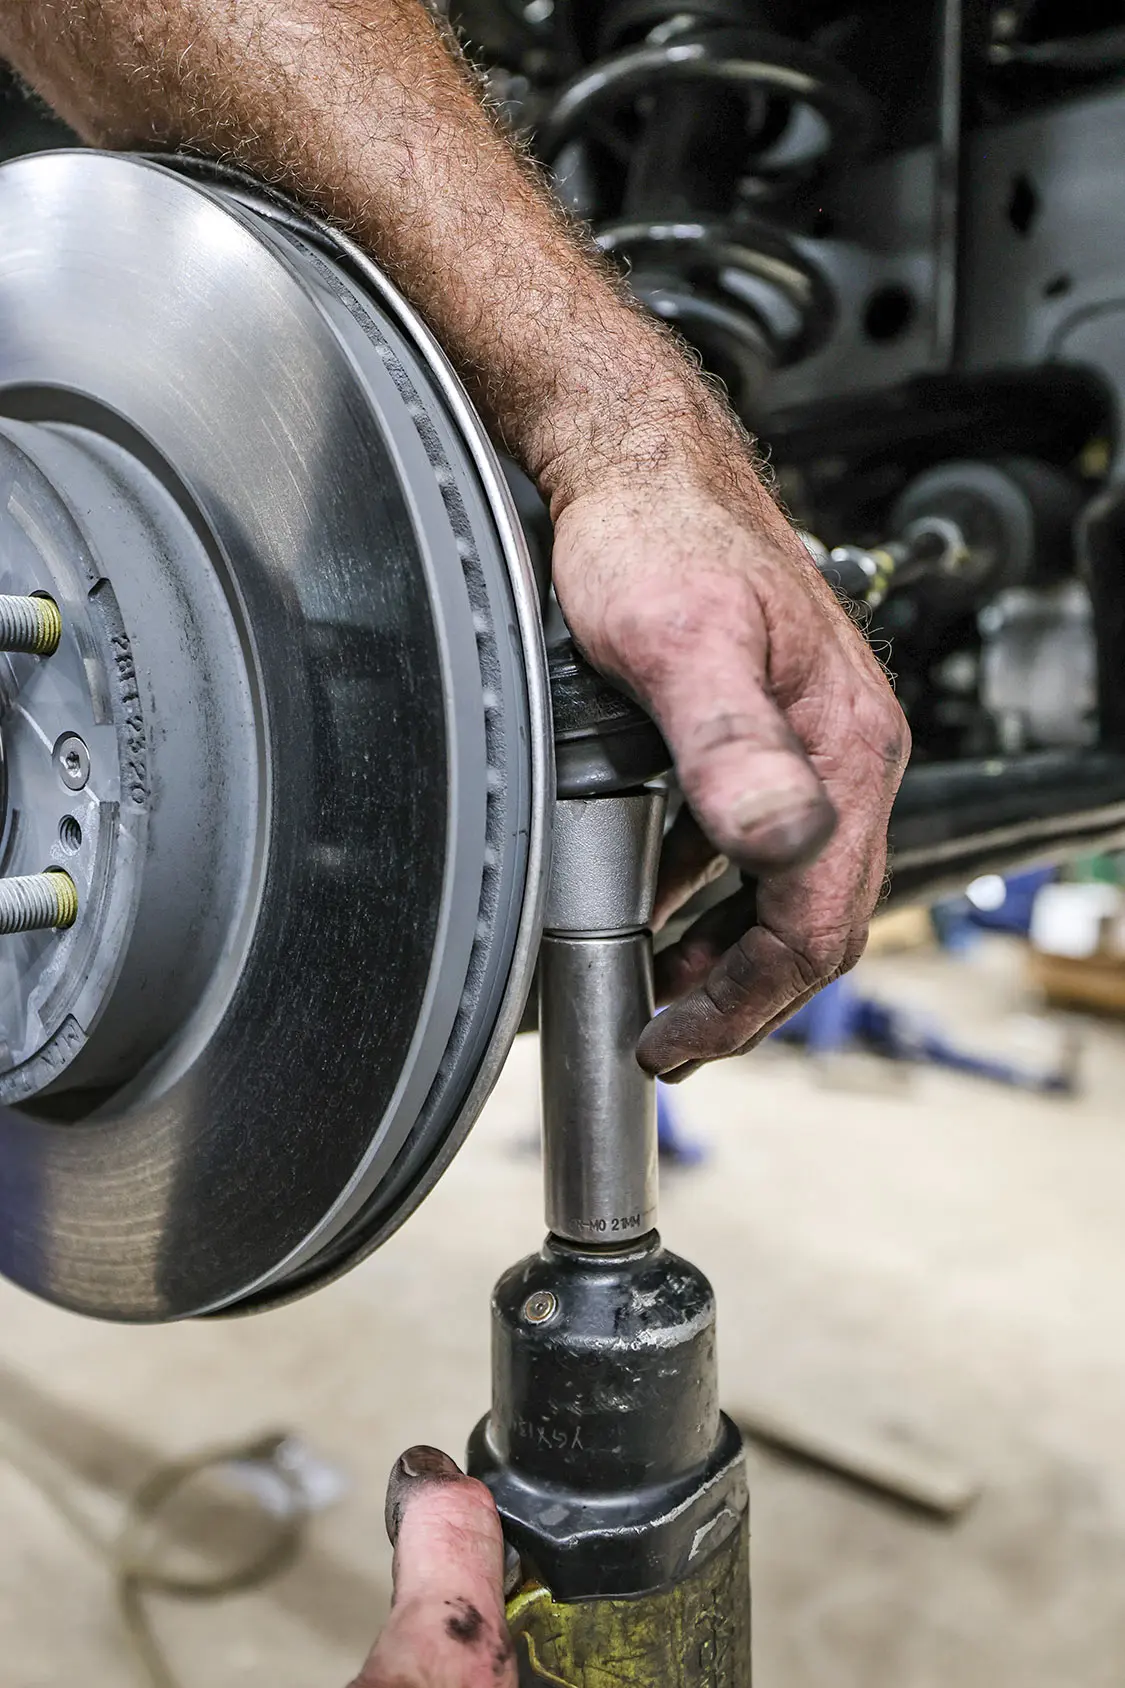
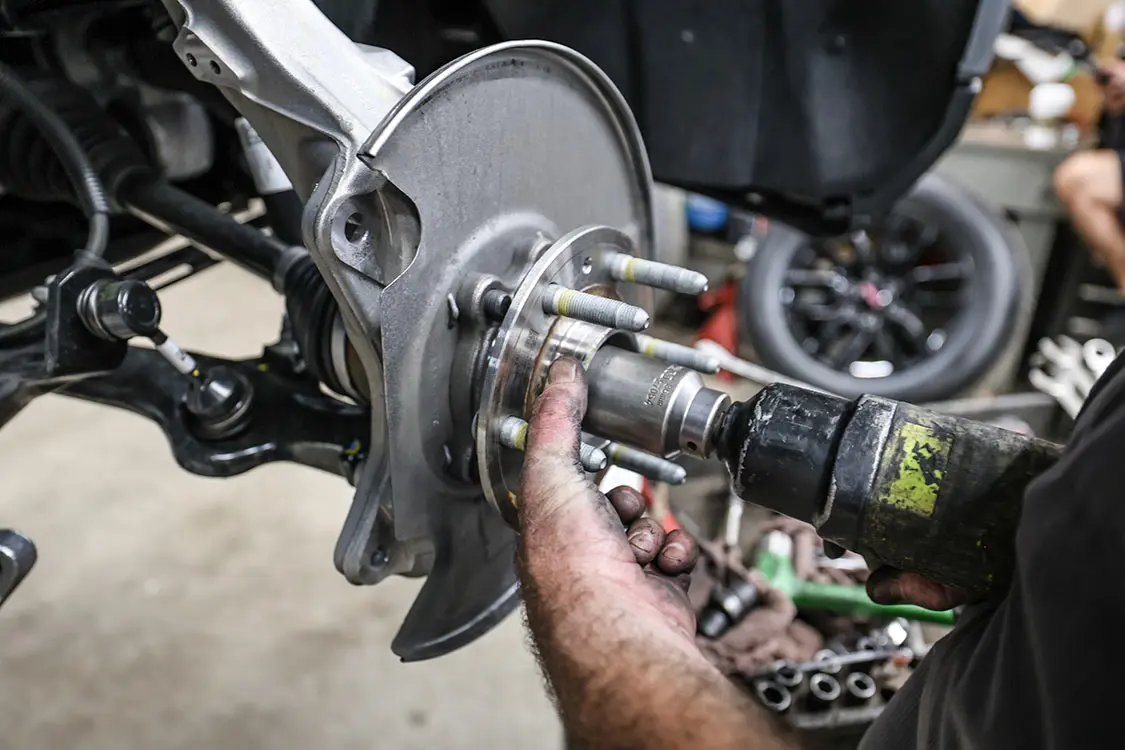
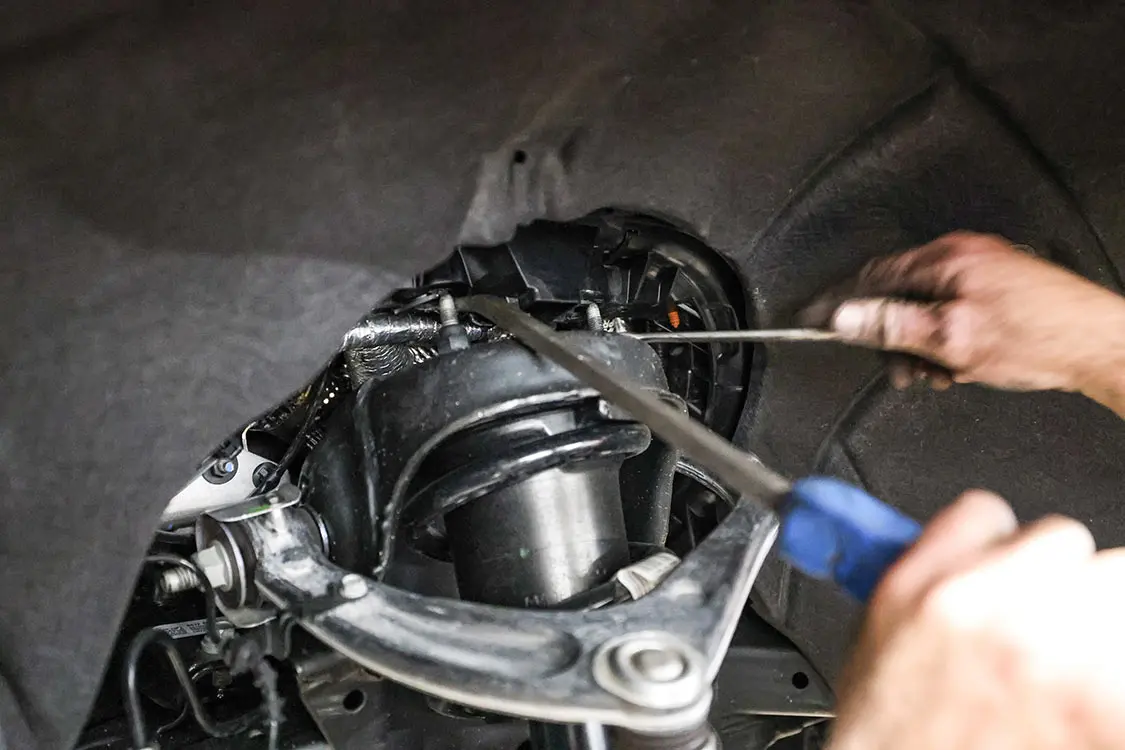
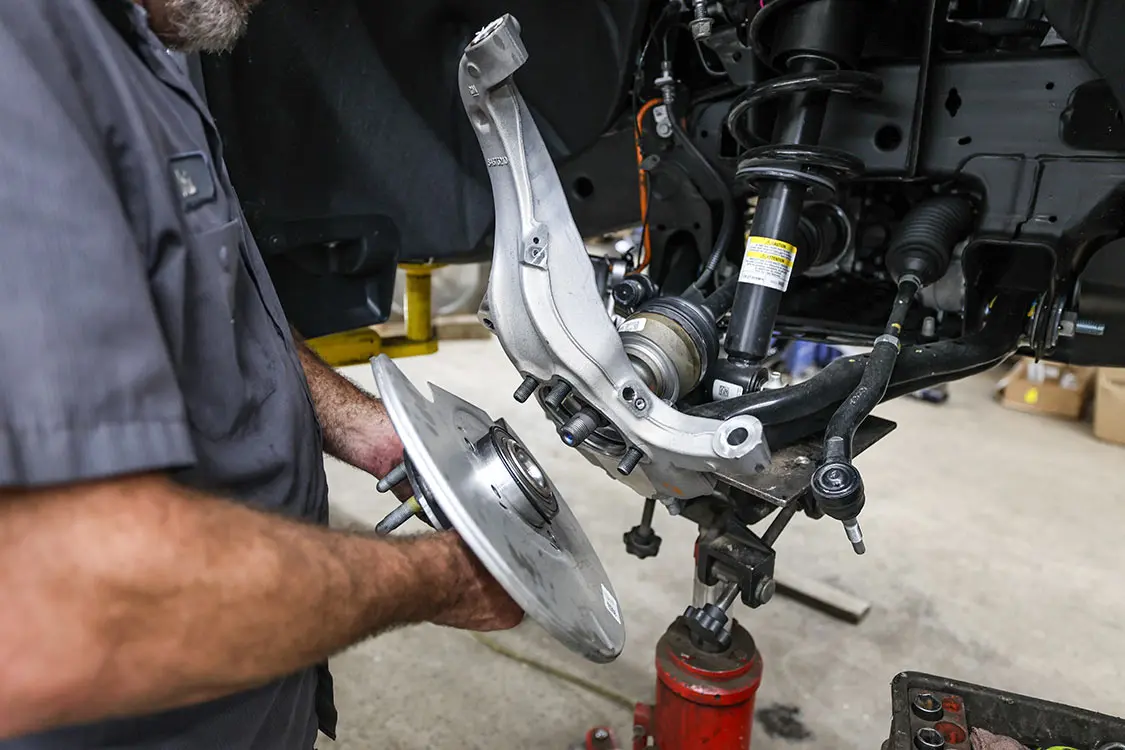
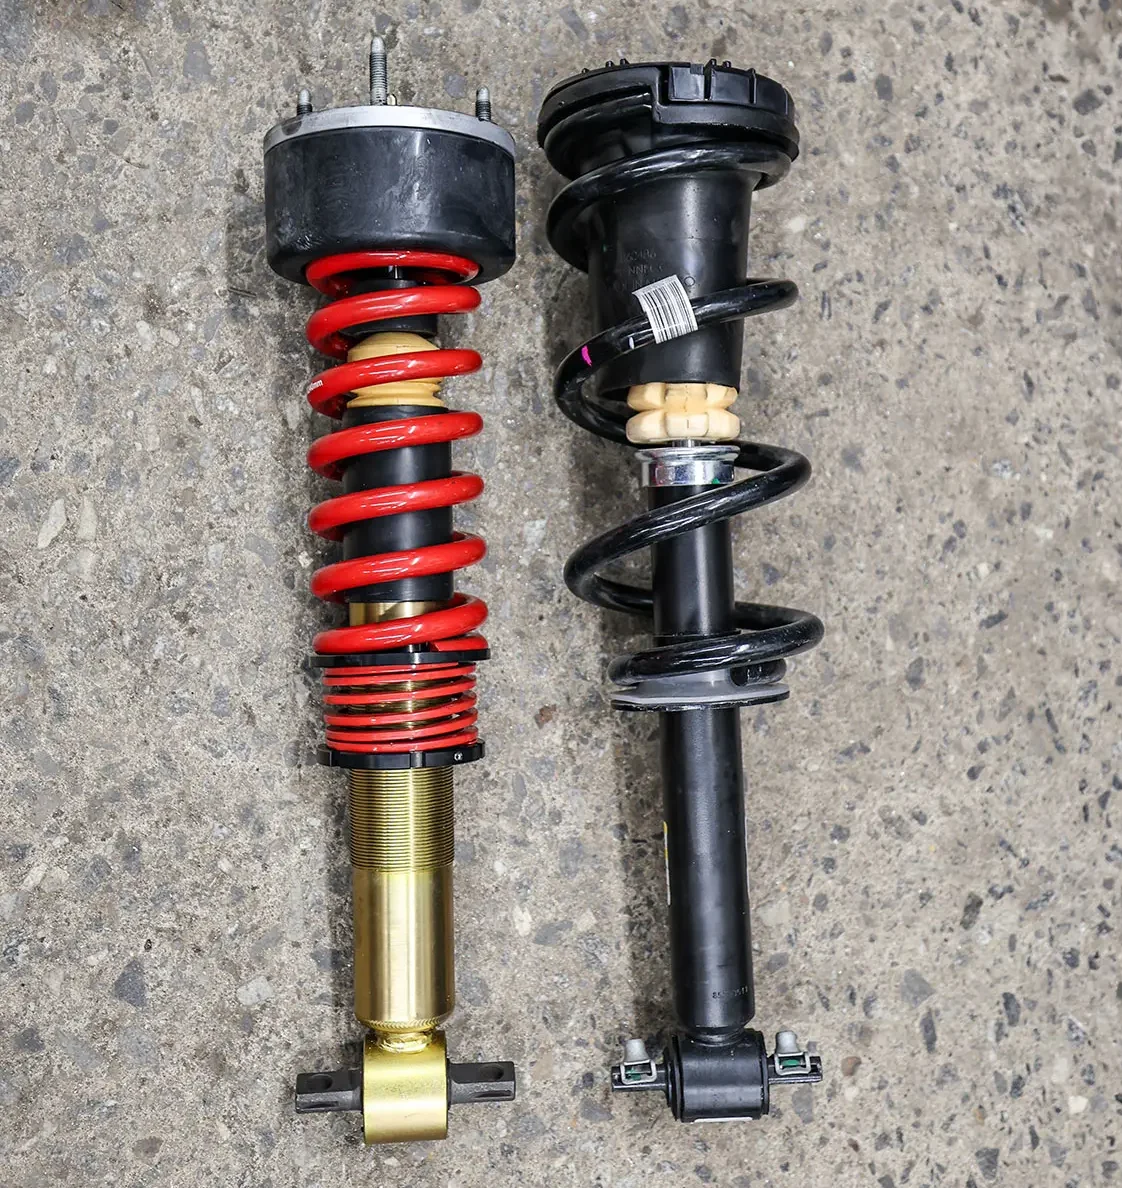
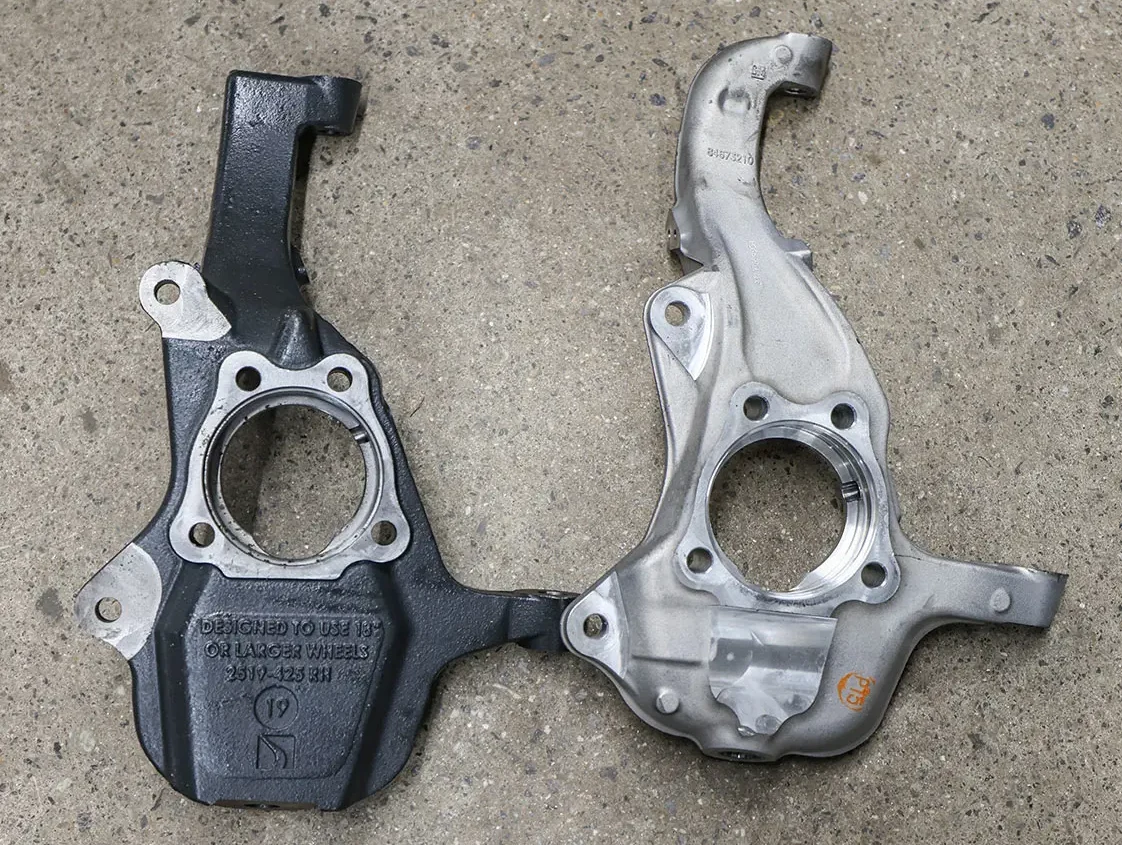
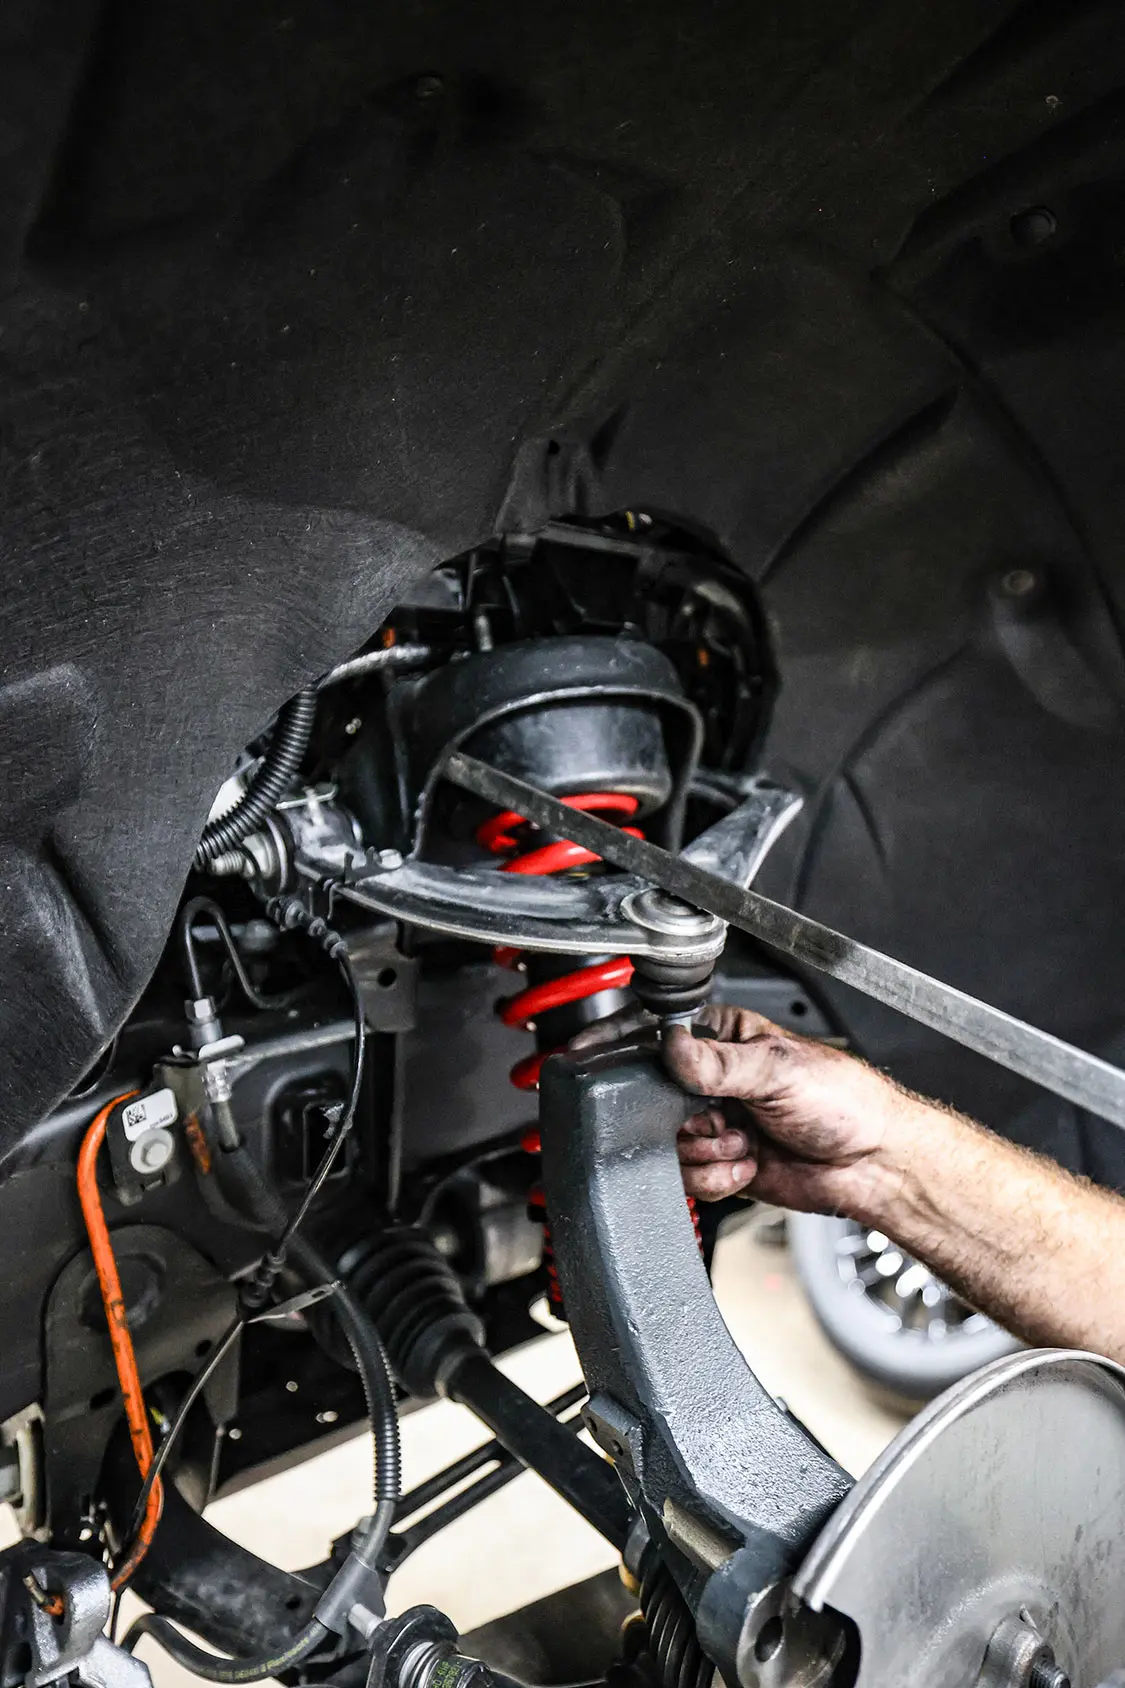
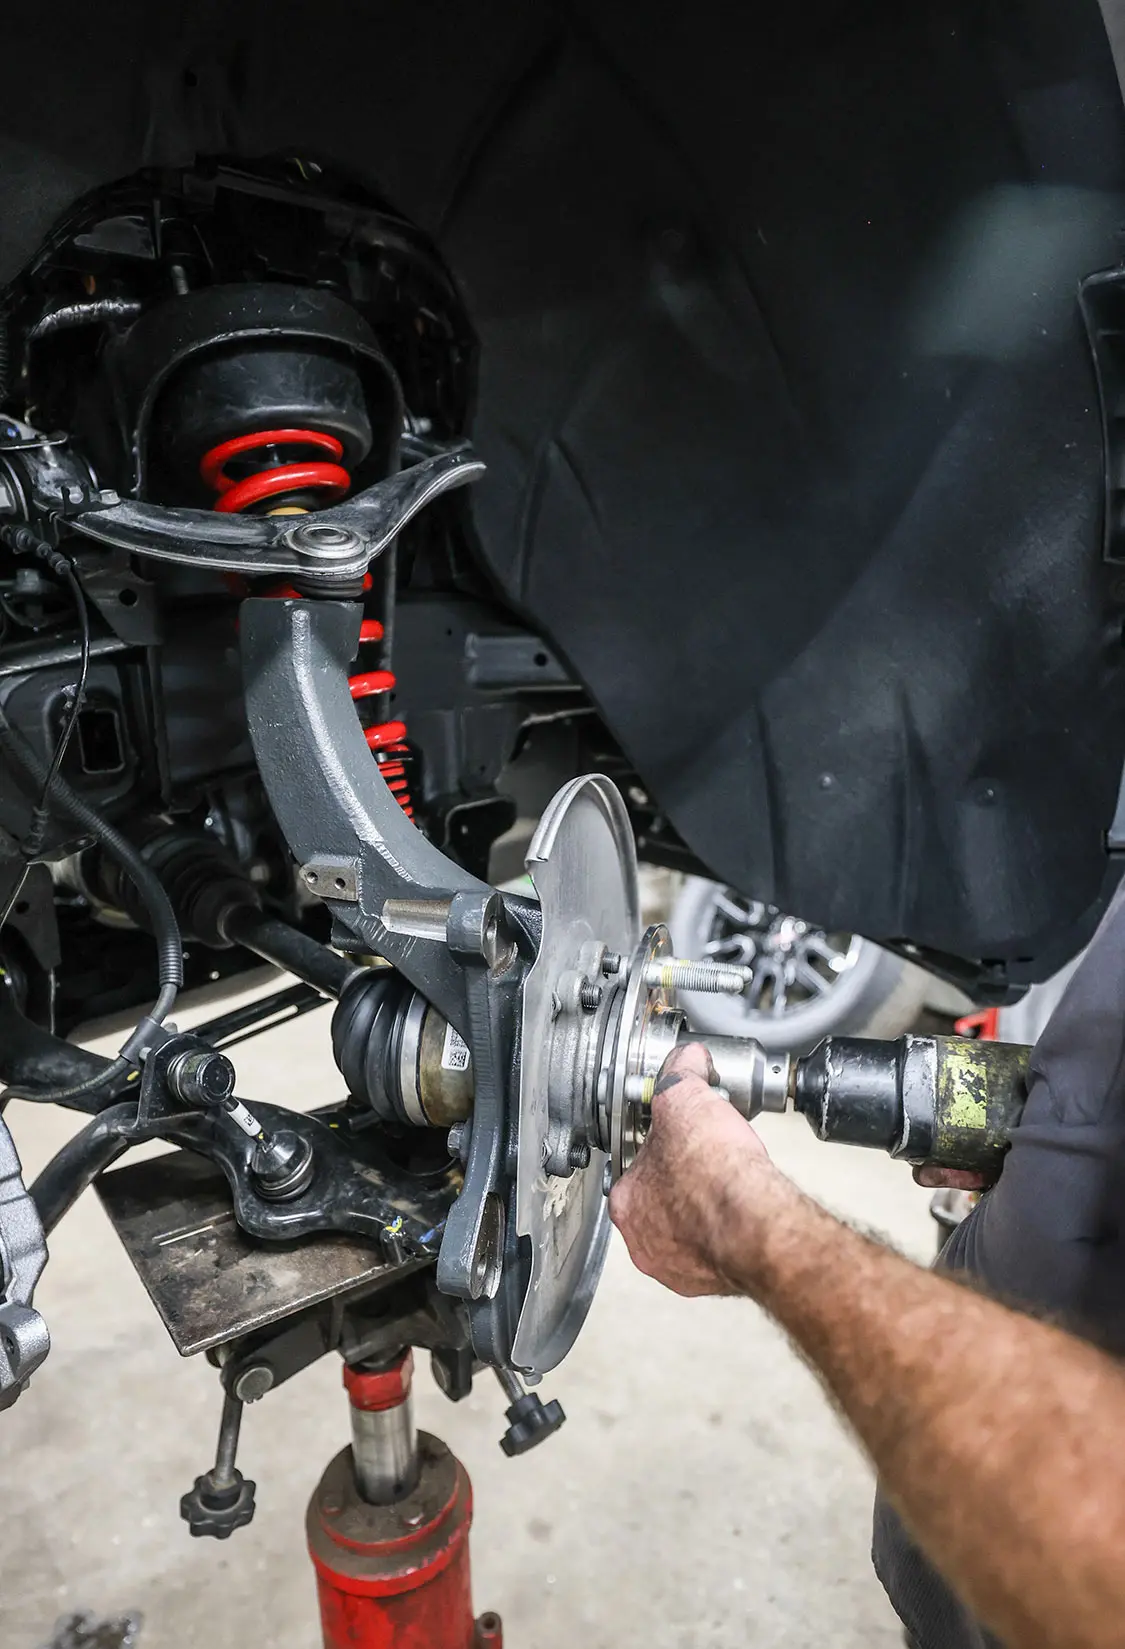
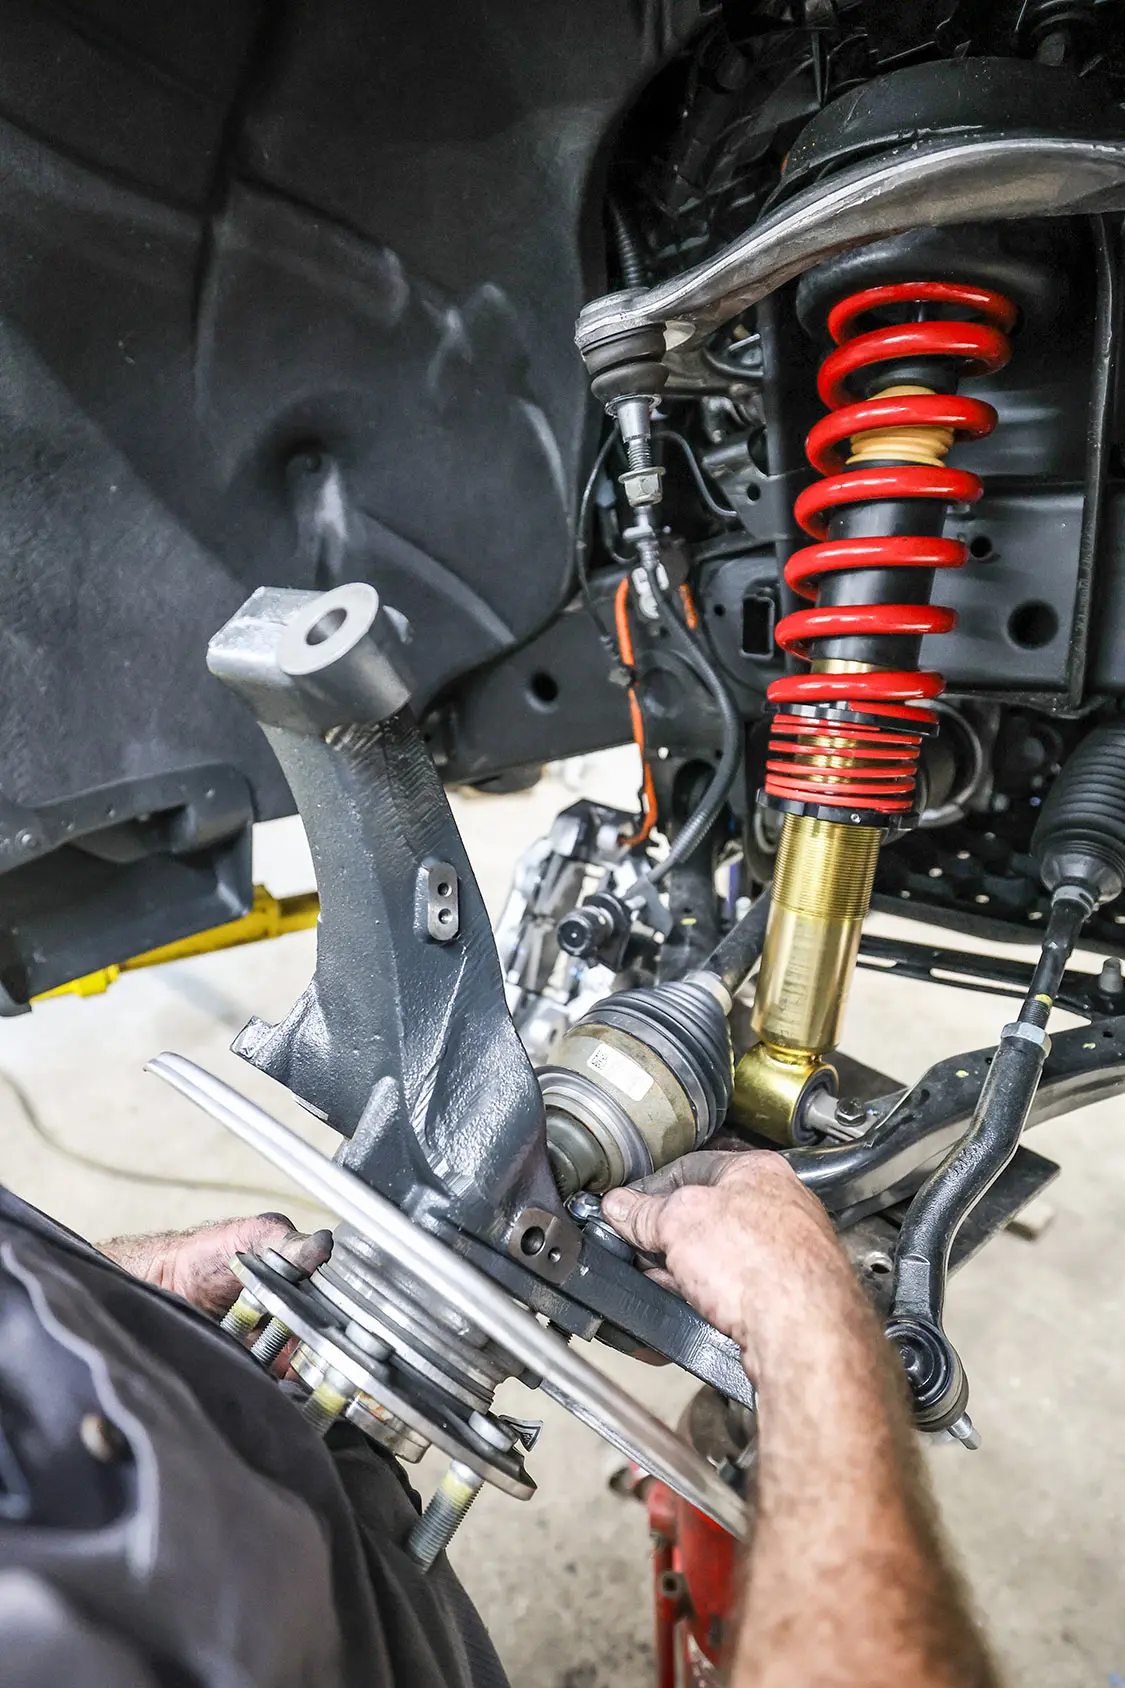
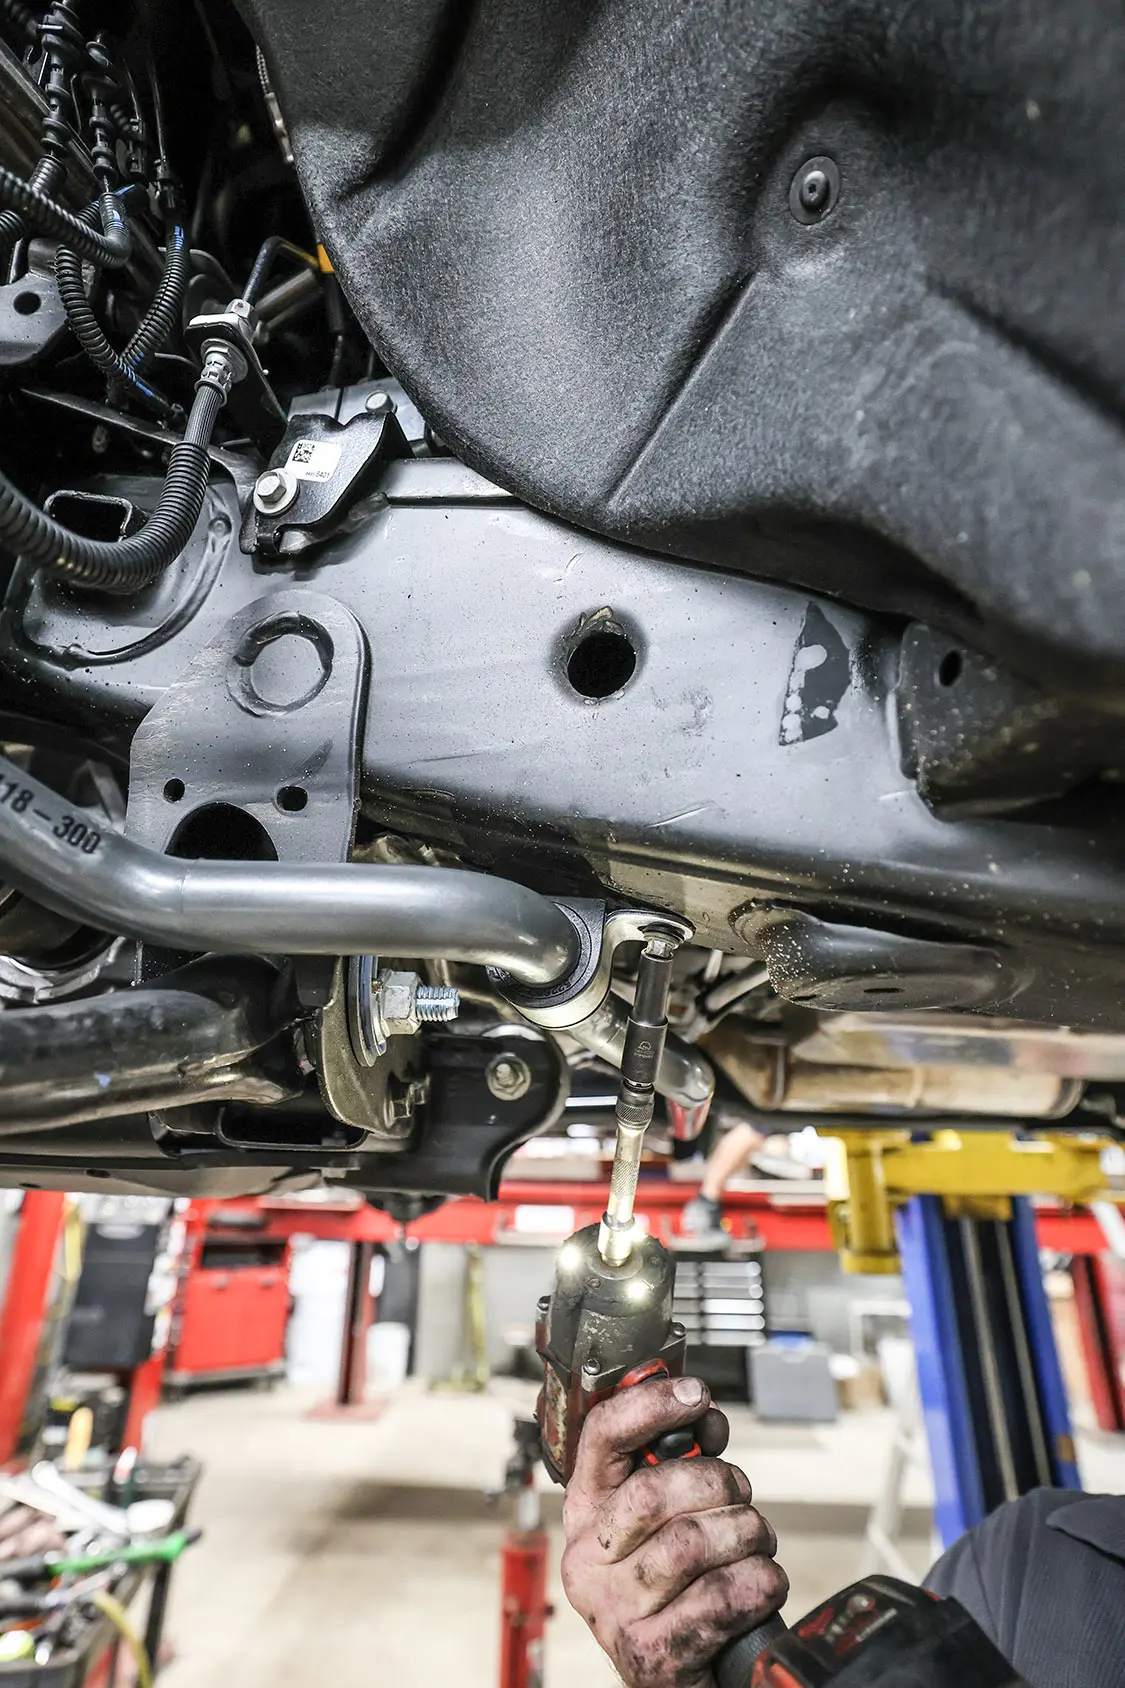
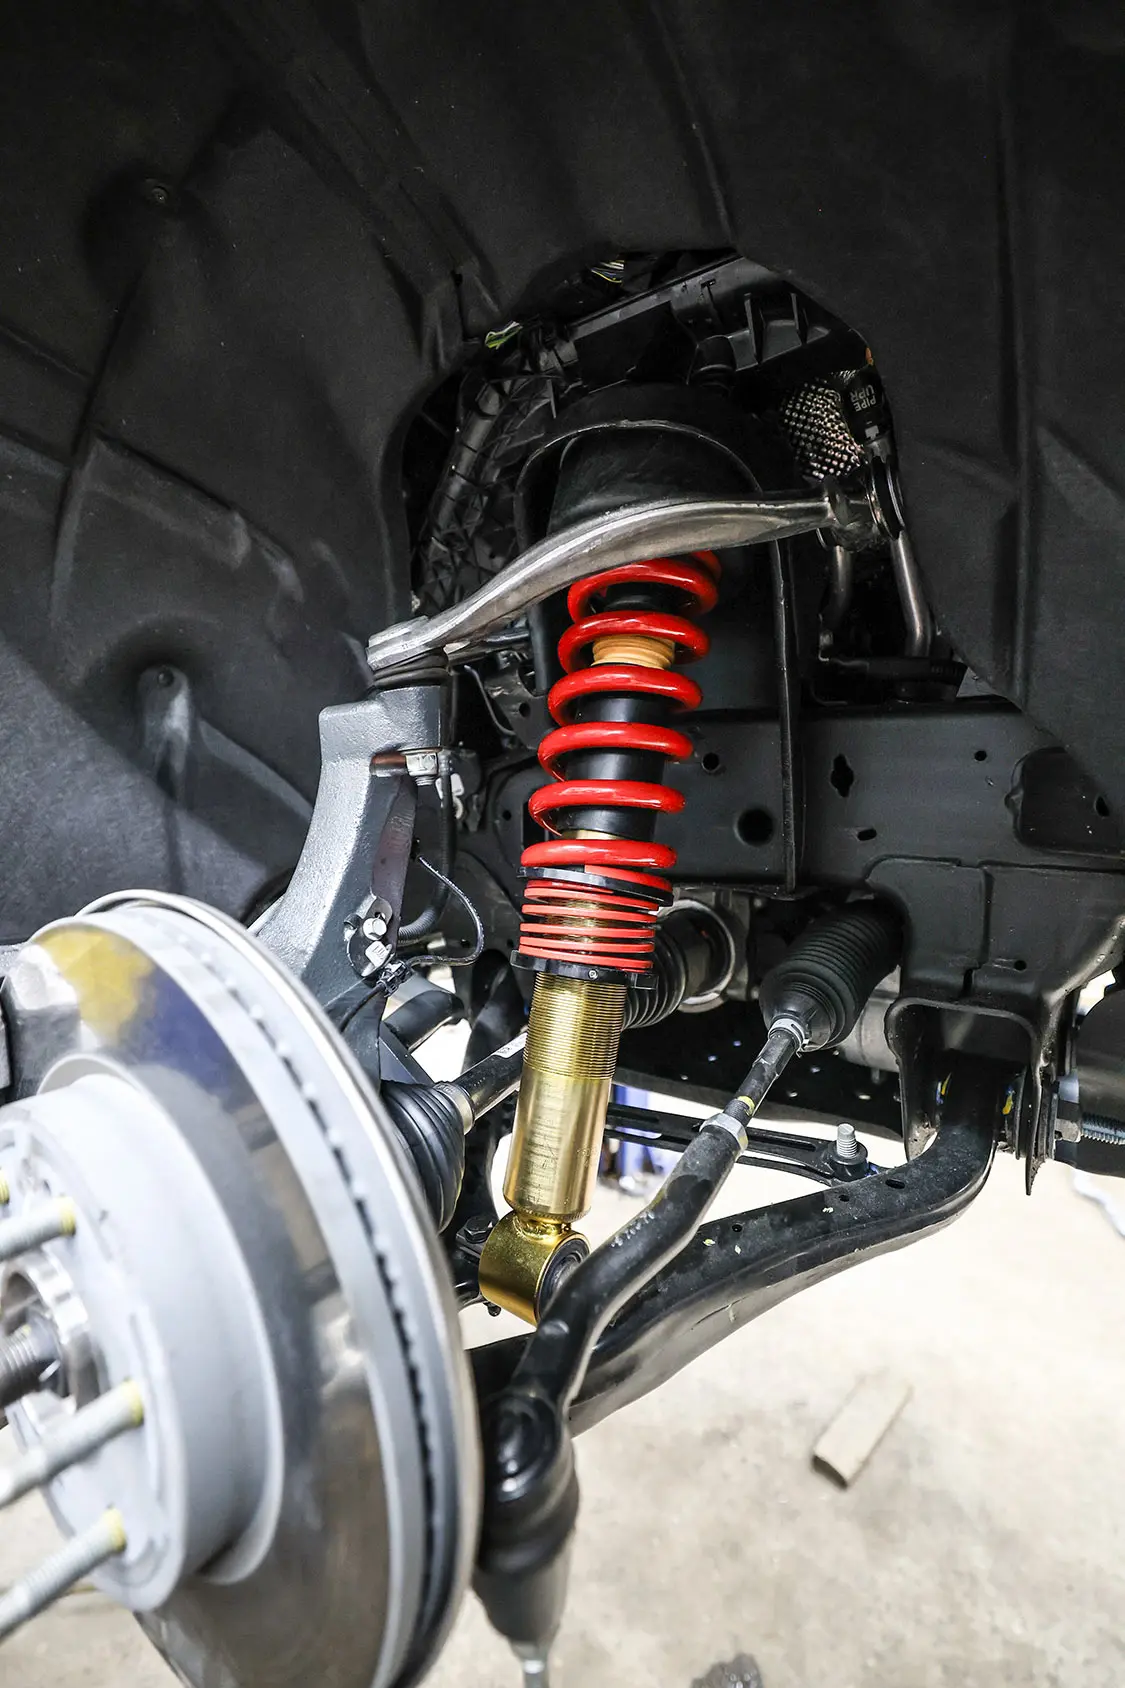
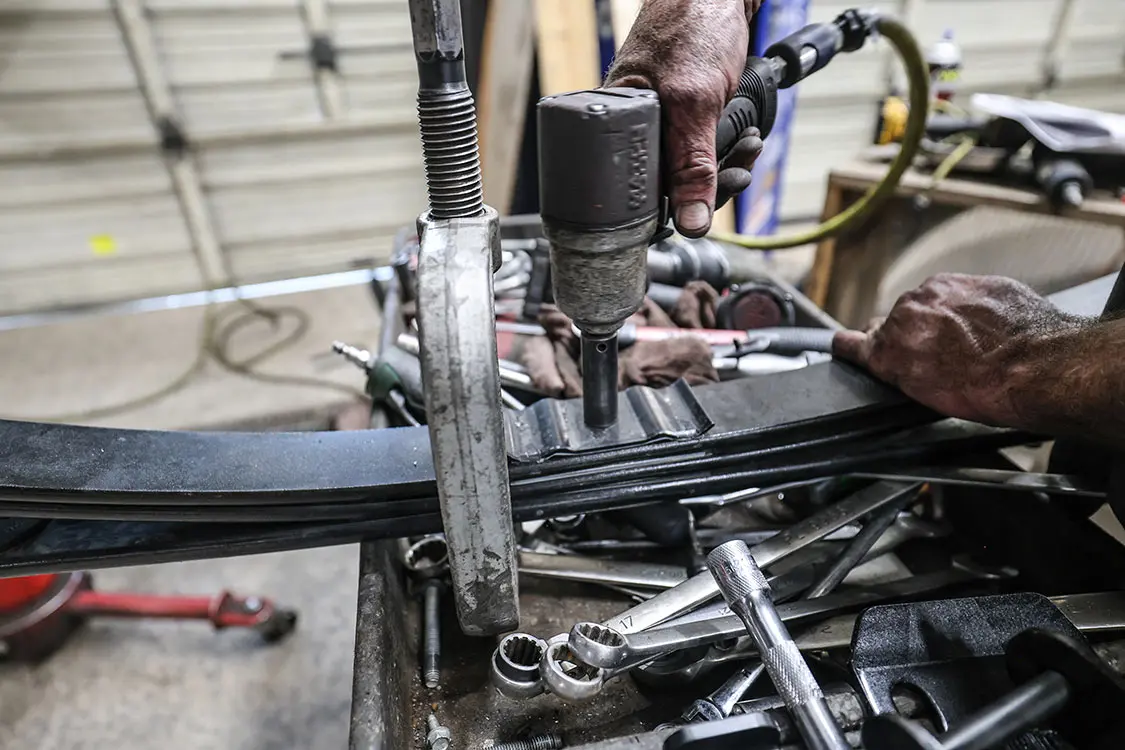
The full kit used in this installation comes with everything you need to lower the truck 4 inches in the front and 6 inches in the rear.01. After removing the wheels, unbolt the tie rod and wheel speed sensors from the back of the spindle.02. Remove the caliper and hang it securely out of the way. Remove the rotor. Remove the nut holding the front axle to the spindle. (This truck is a 4WD, so it has front CV axles.)03. Remove the three upper strut retaining nuts. On the passenger side, you must pry the wiring harness up that utilizes the strut bolts to secure it.04. Remove the upper spindle nut holding it to the upper control arm.05. Unbolt the front hub and rotor dust shield. Once it’s removed, you can unbolt the two lower strut bolts holding the strut to the lower control arm as well as the lower spindle nut.06. The factory upper strut cap needs to be removed from the factory strut and bolted to the new coilover. We used a wall mount spring compressor to safely do this.07. As you can see, not only is the Belltech coilover shorter than the stock strut, but it also gives you the adjustability to dial in the height you need for your particular look and wheel fitment you are going for.08. The Belltech spindle on the left is also noticeably shorter (2 inches shorter than stock) but is beefier than the stock on as well.09. With the new coilover bolted back into the factory strut location, you can install the lower spindle nut and reinstall the dust shield and hub as well as the axle nut.10. You must pry the upper control arm down to align it with the new spindle and reinstall the nut.11. Reinstall the hub and axle nut.12. When reinstalling the front sway bar, the new Belltech sway bar was used in place of the stock one. The new bar attaches to all the factory mounting points and gives you more sway control than factory.13. Once fully assembled, the new spindle and coilover will not only perform better, but even look better.14. The bottom ball-joint bolt needs to be cut off to keep it from rubbing the wheel.
BACK
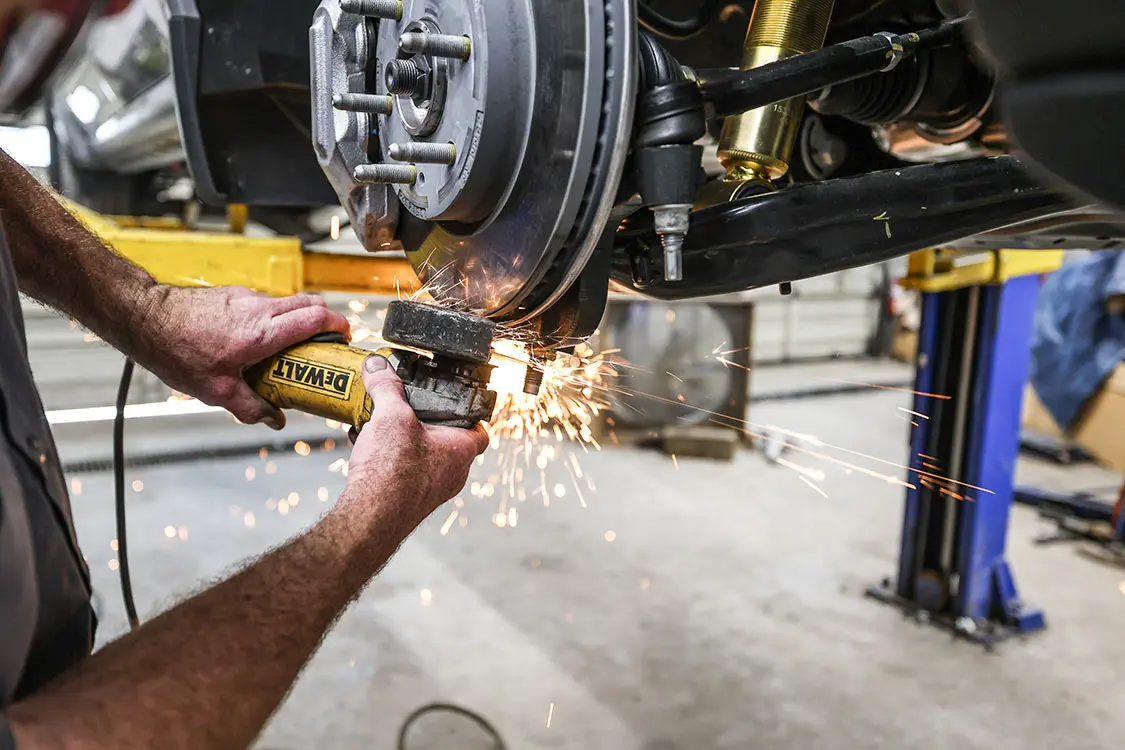
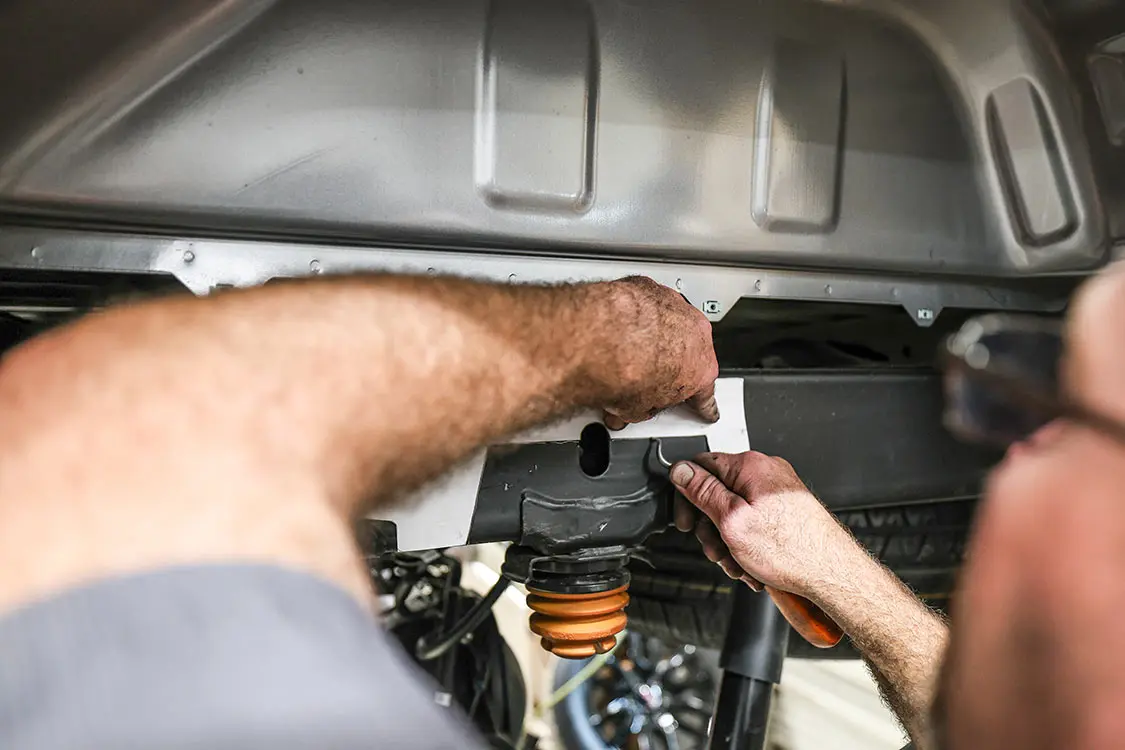
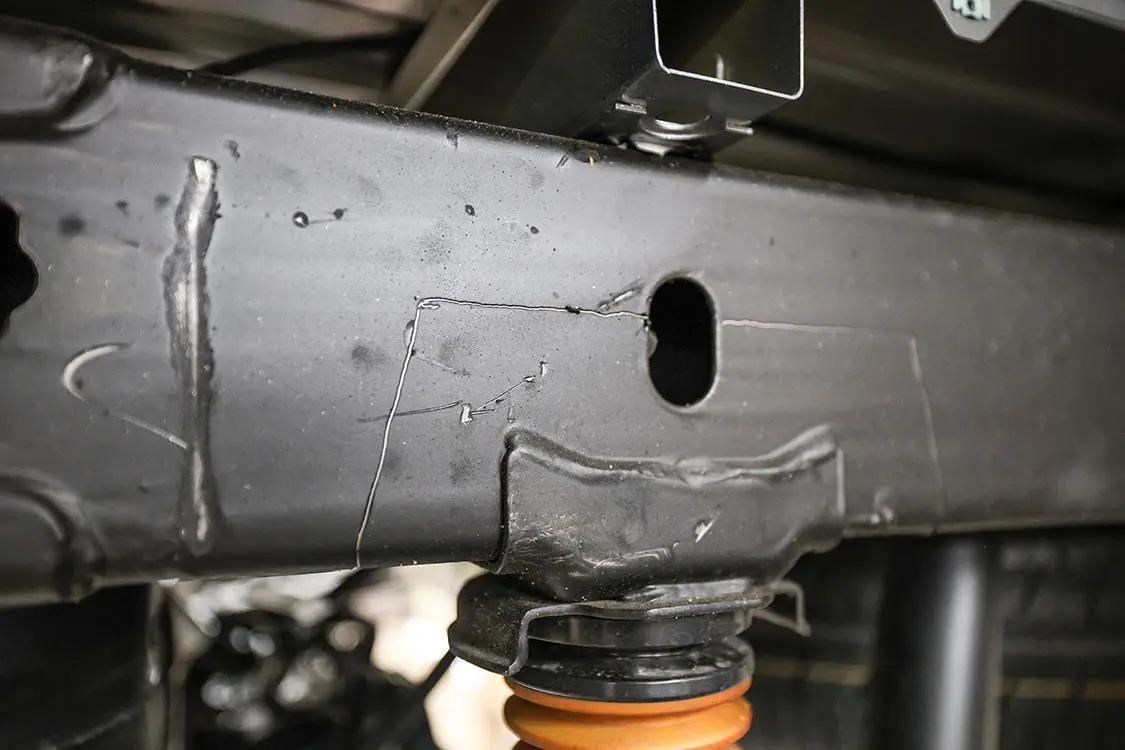
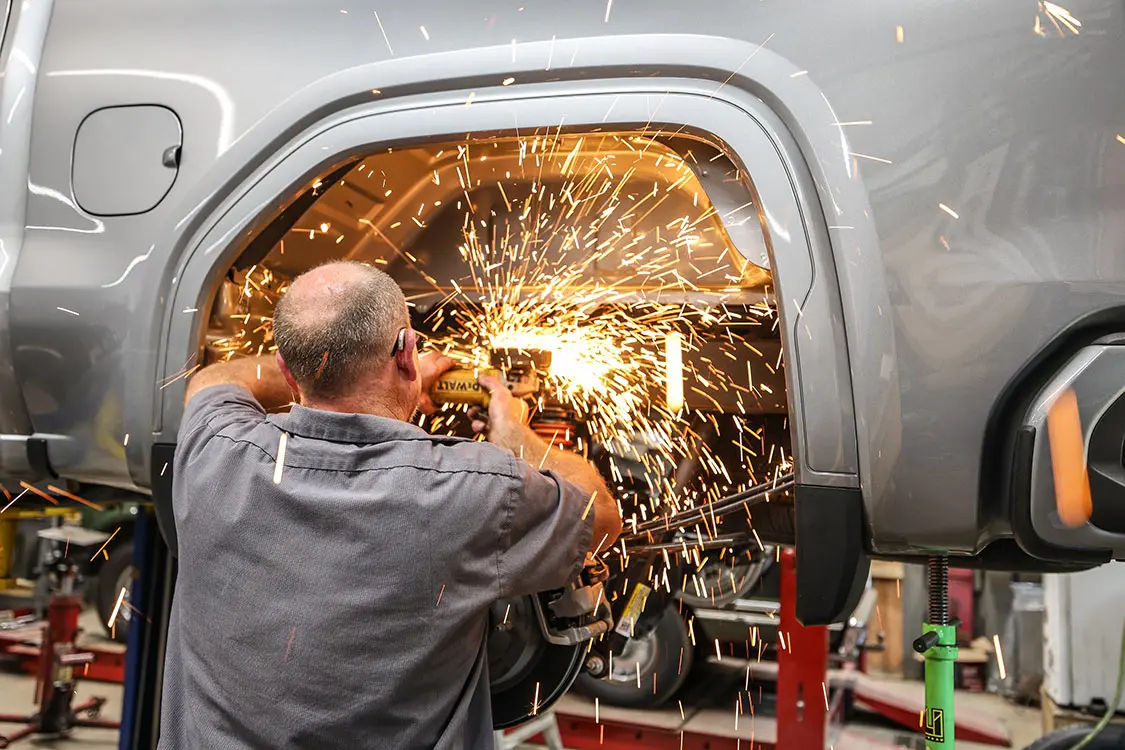
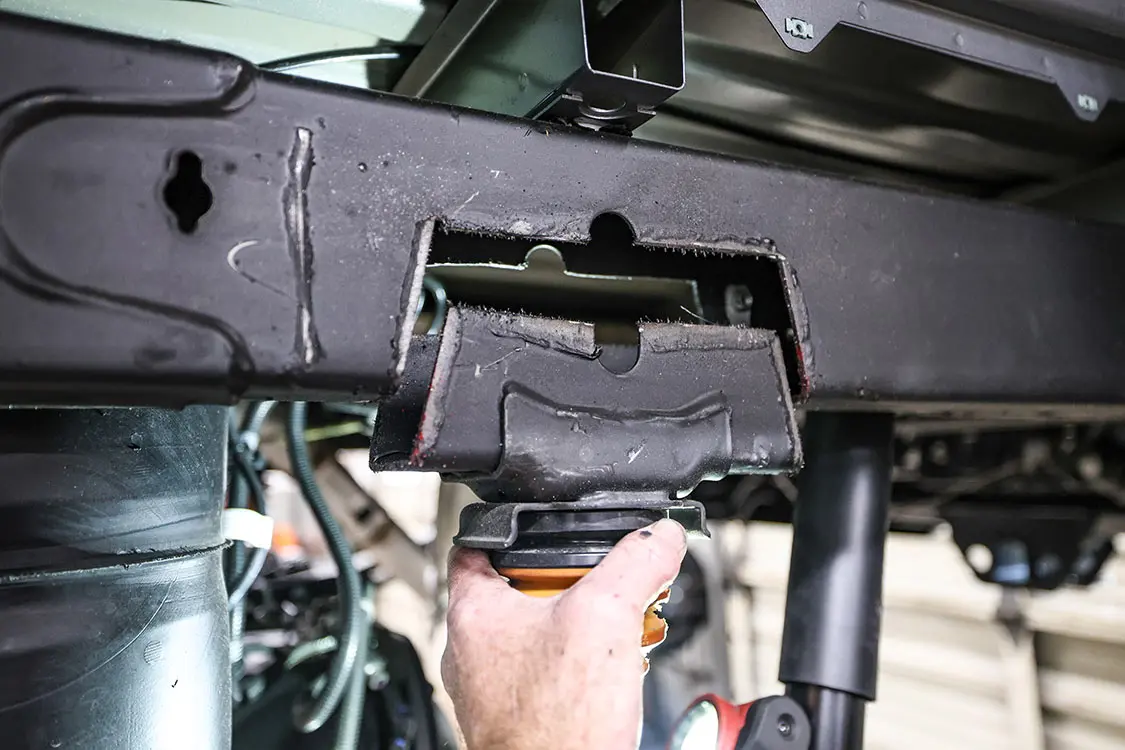
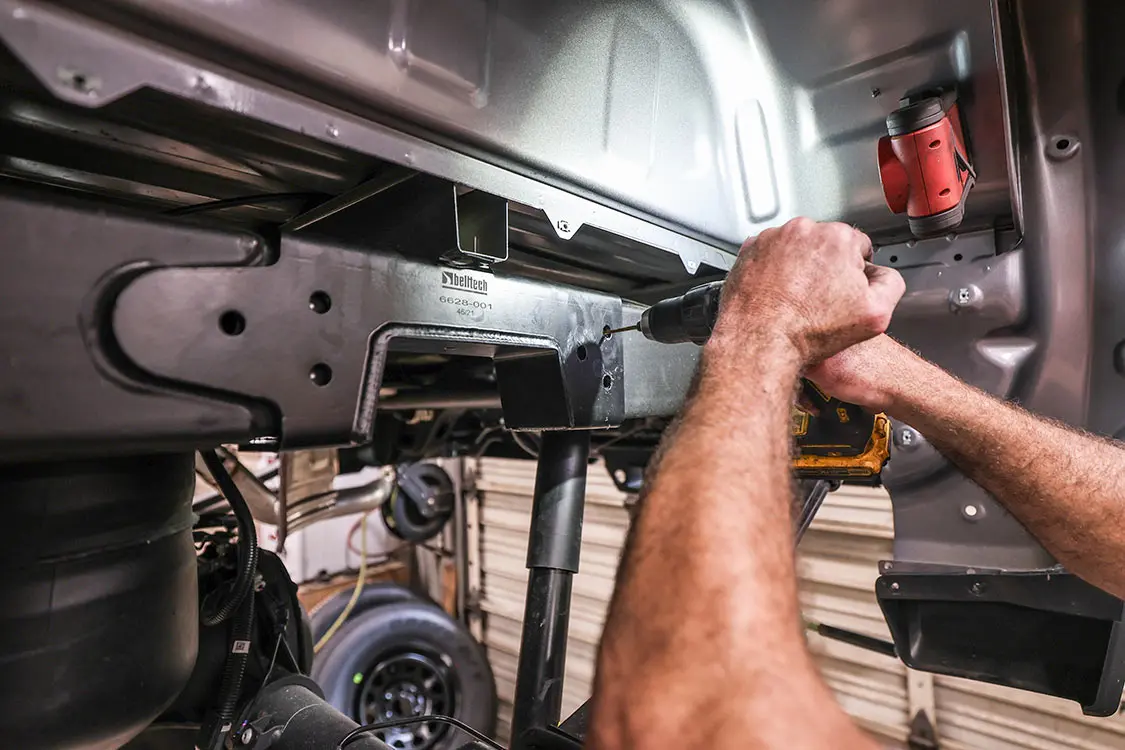
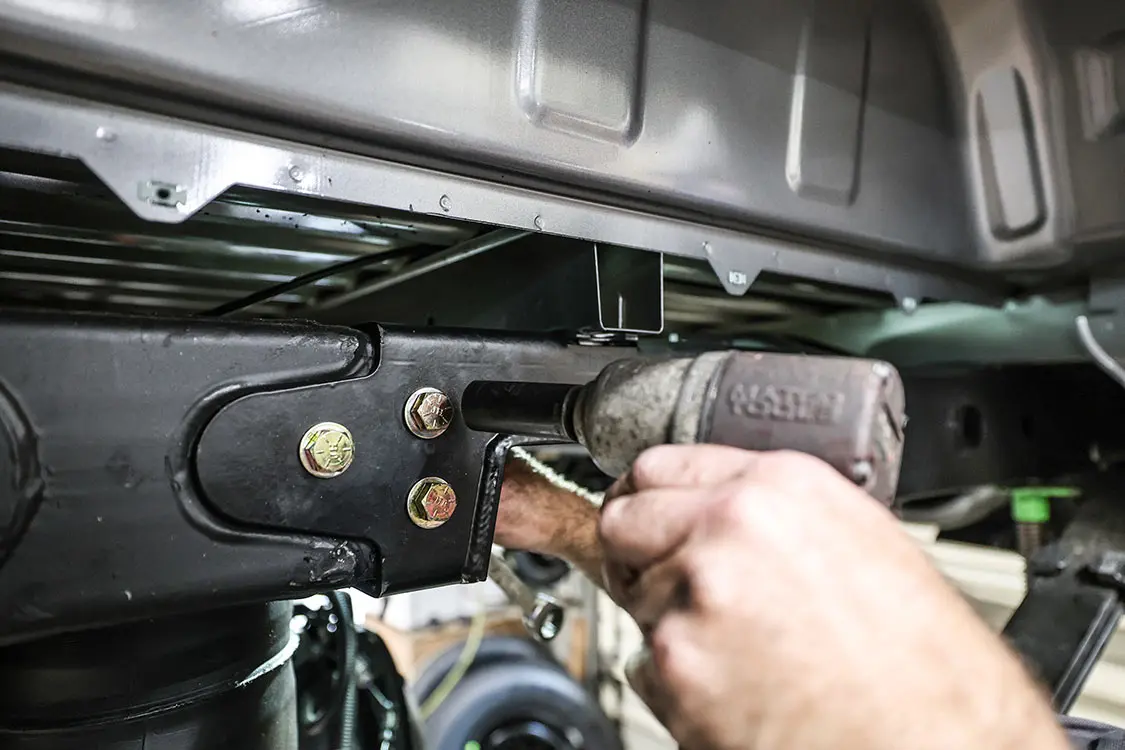
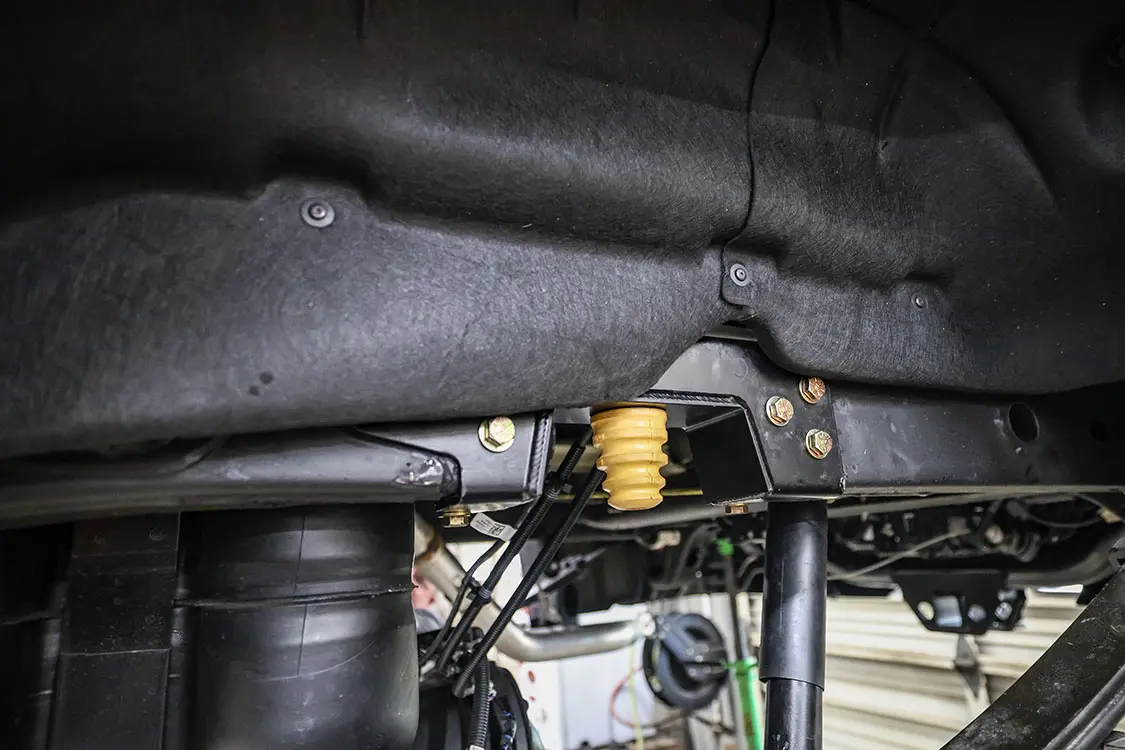
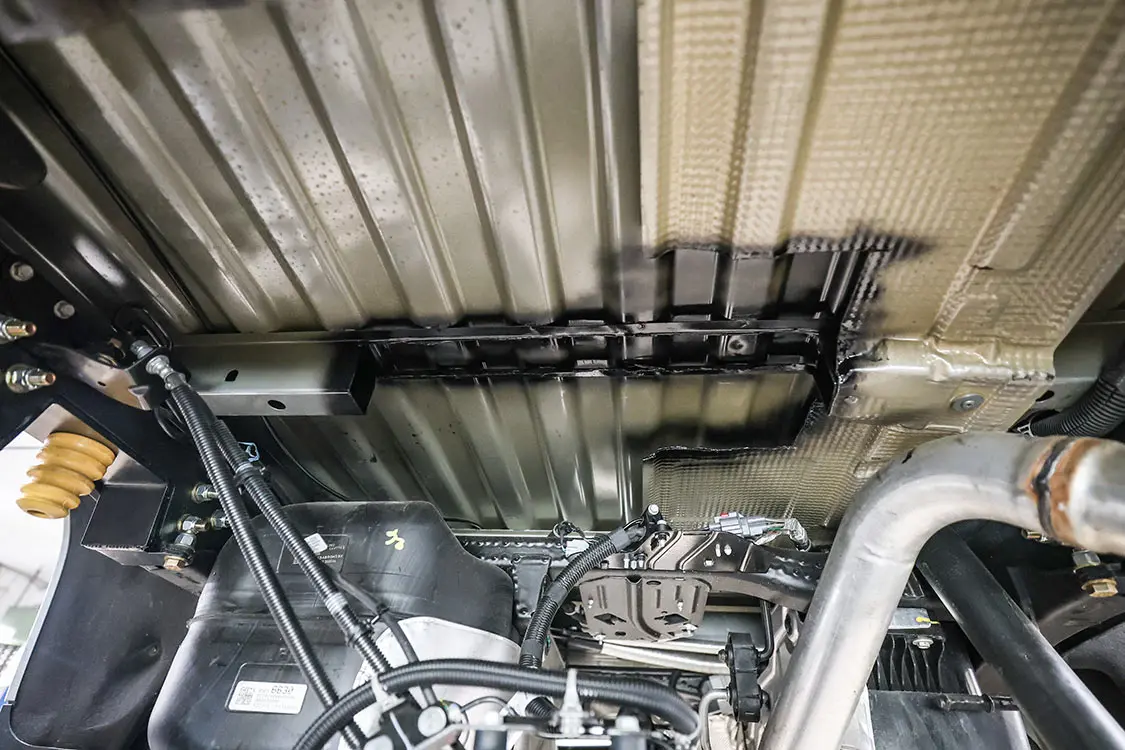
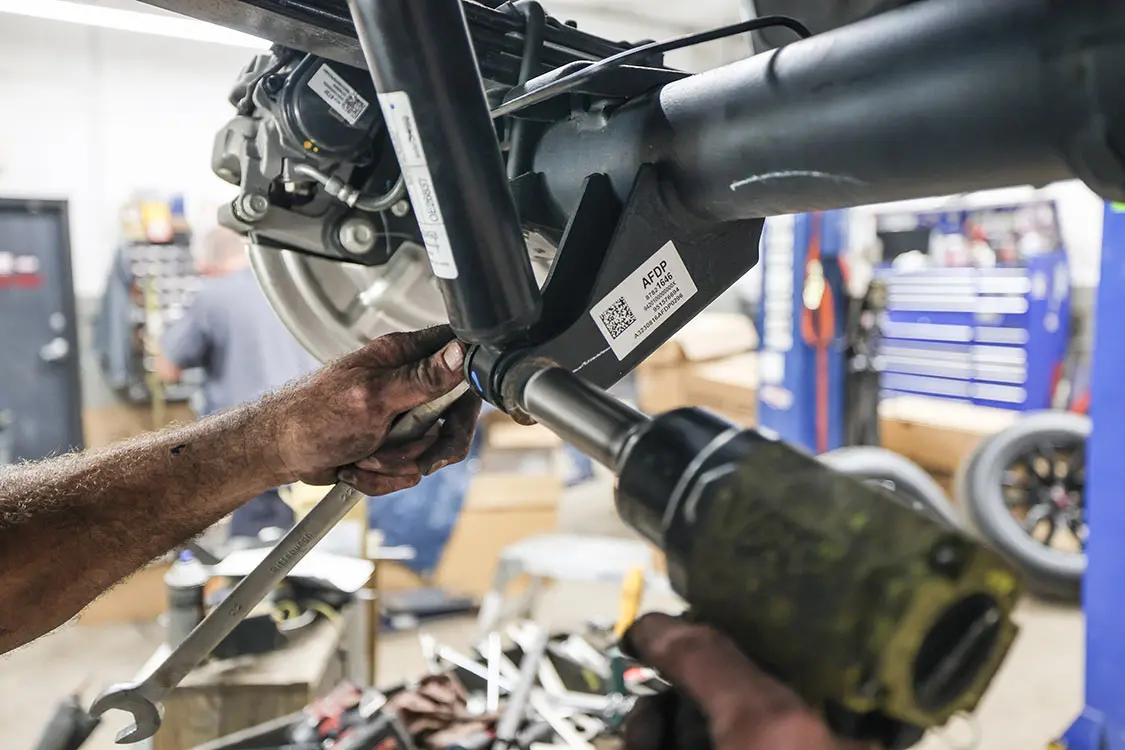
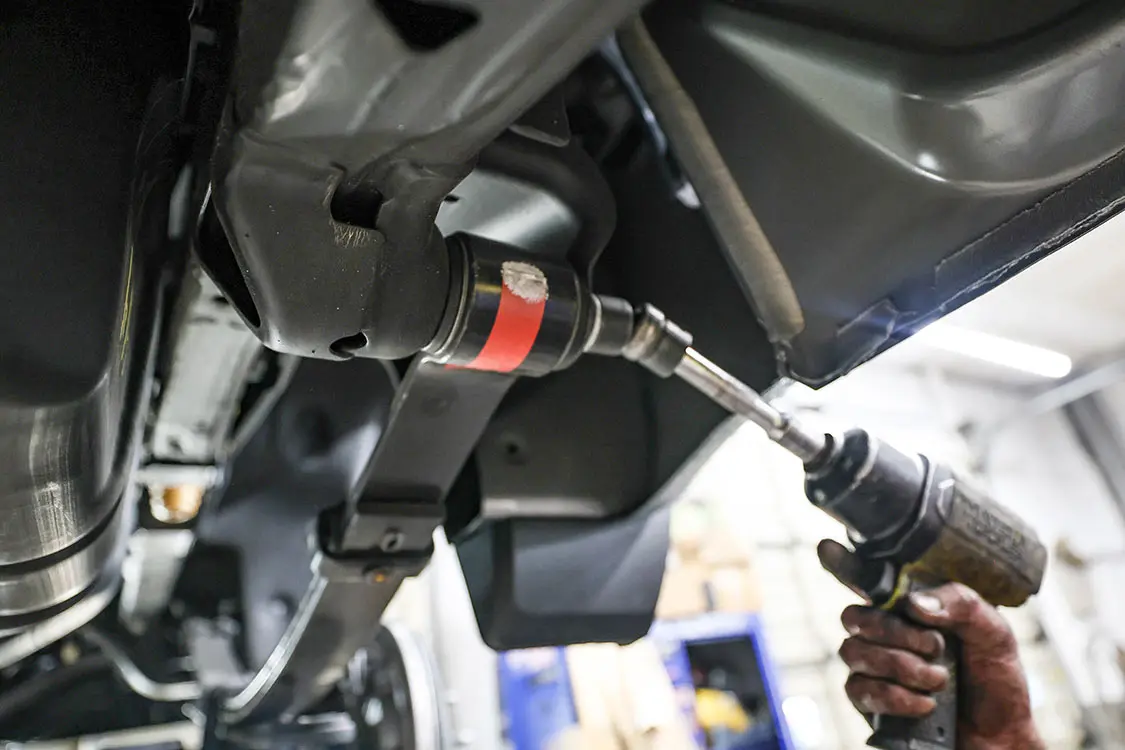
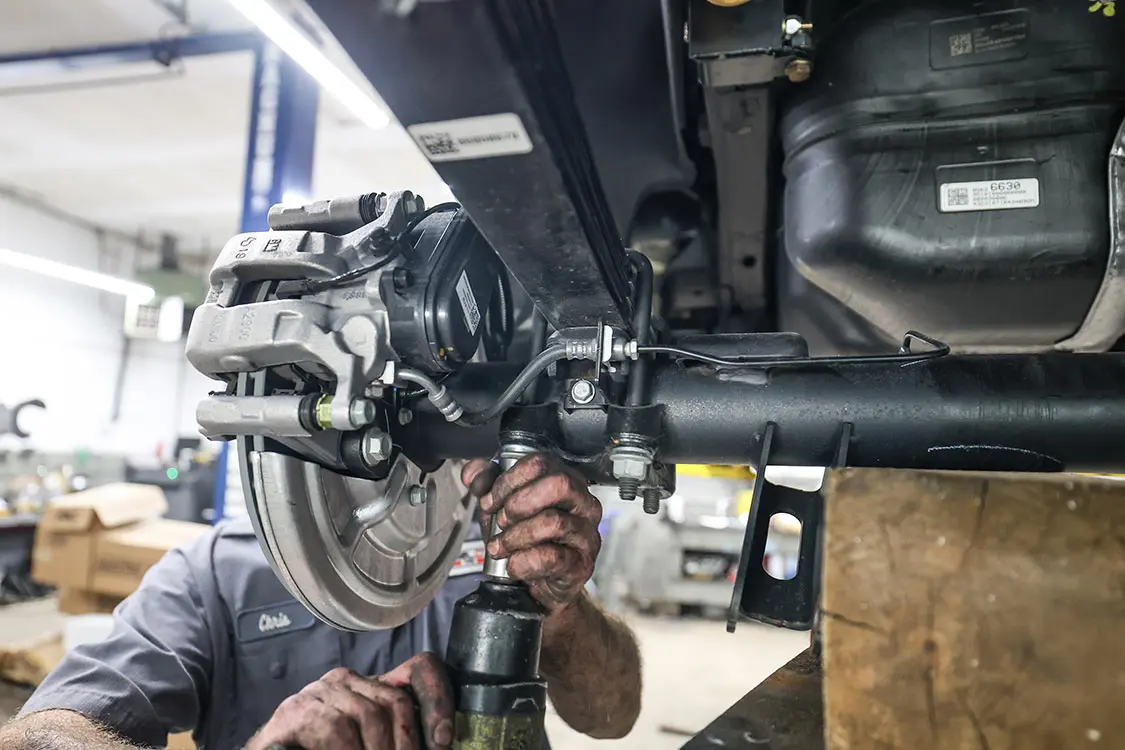
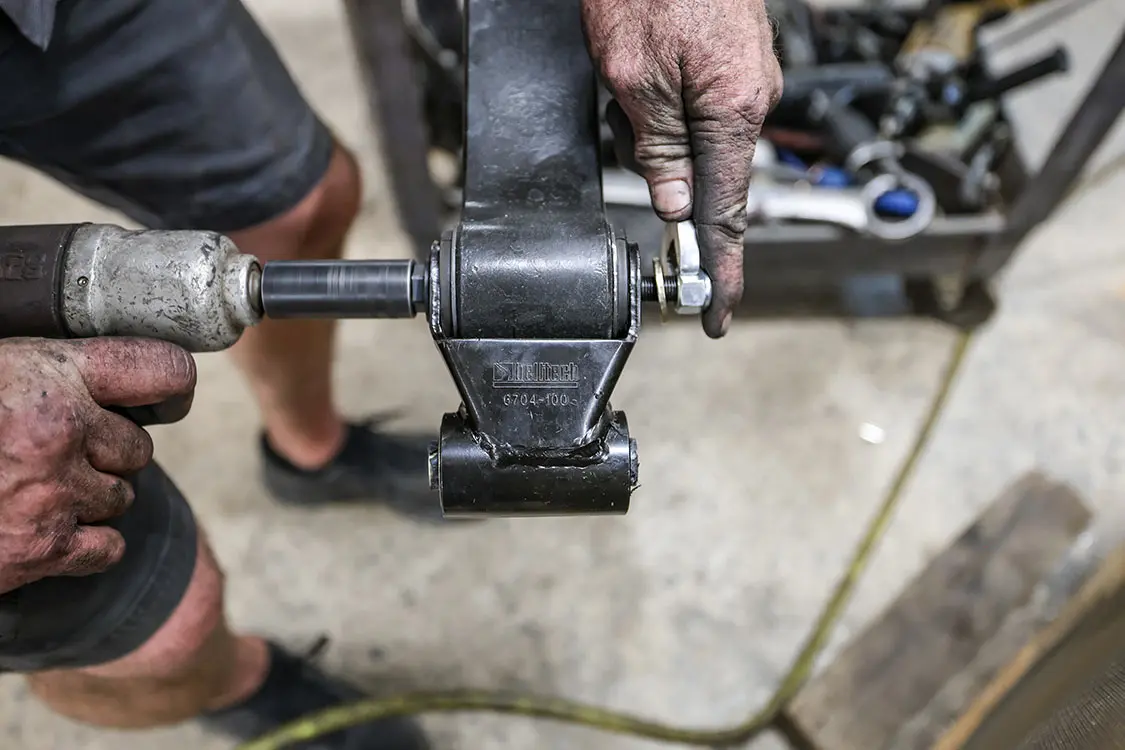
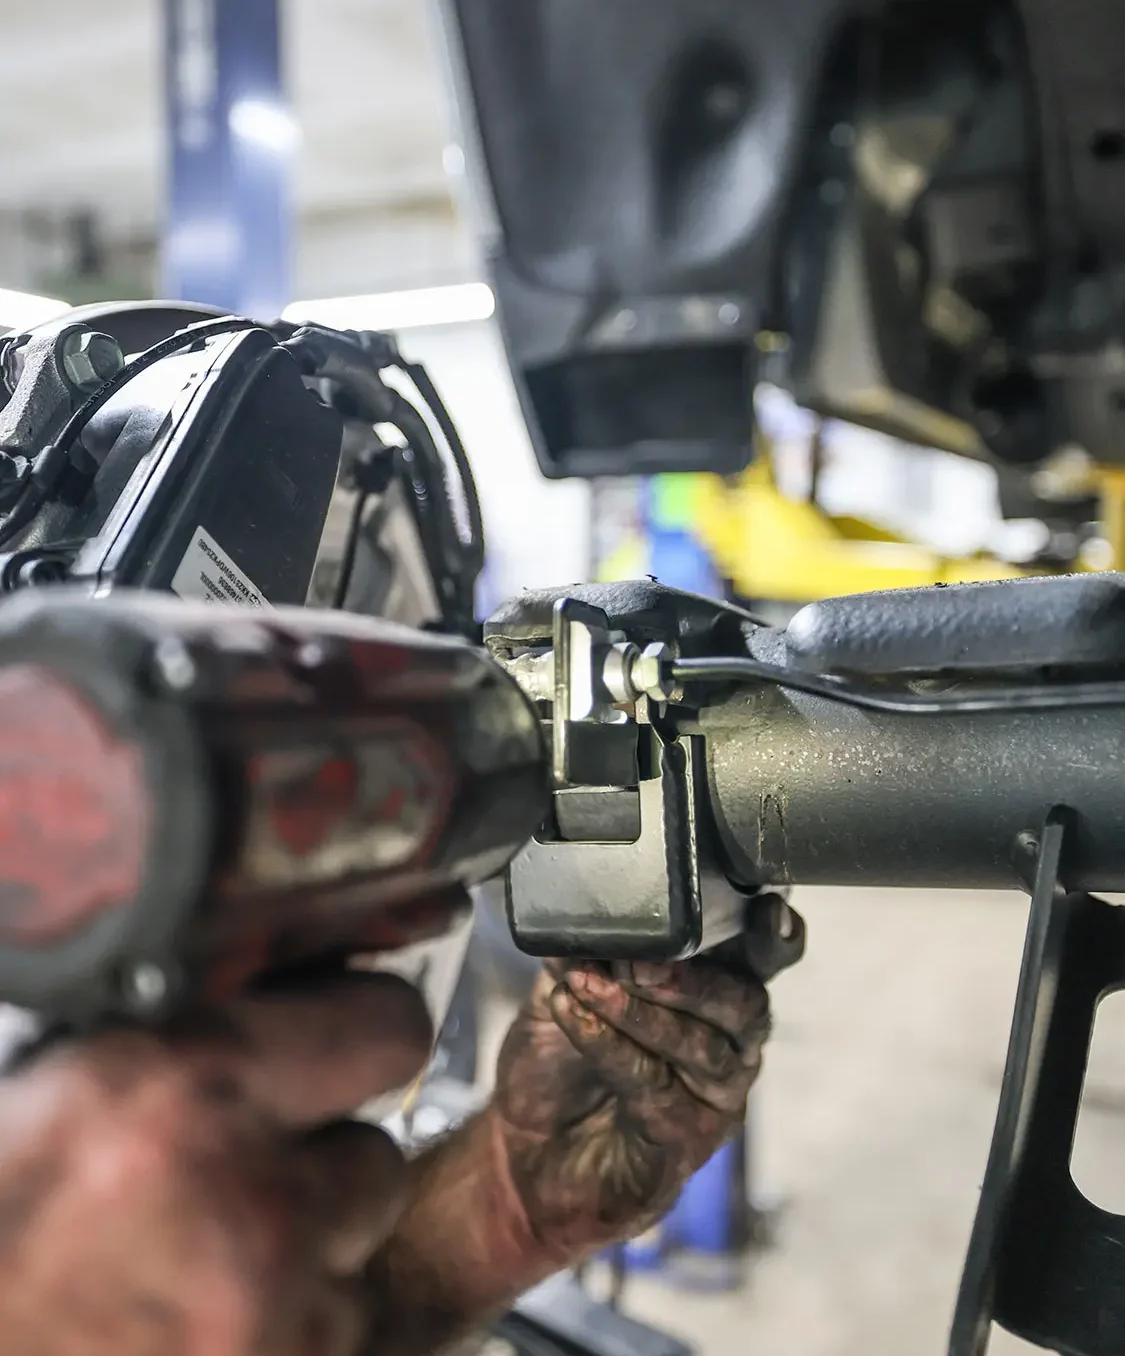
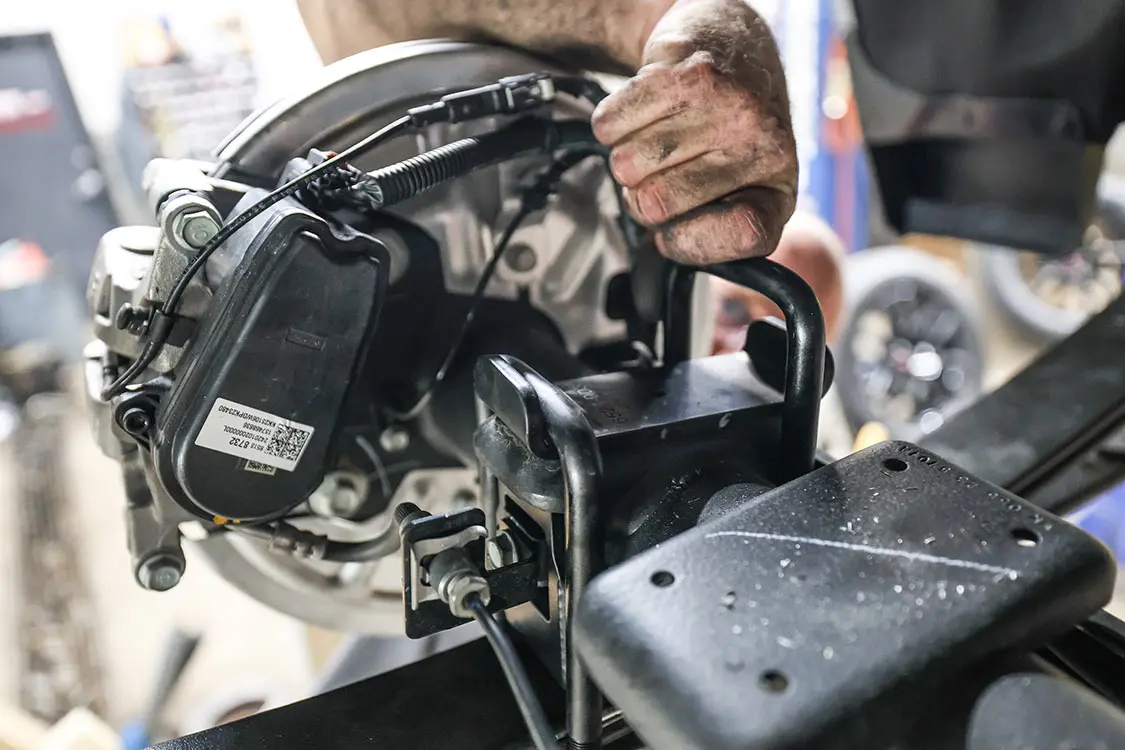
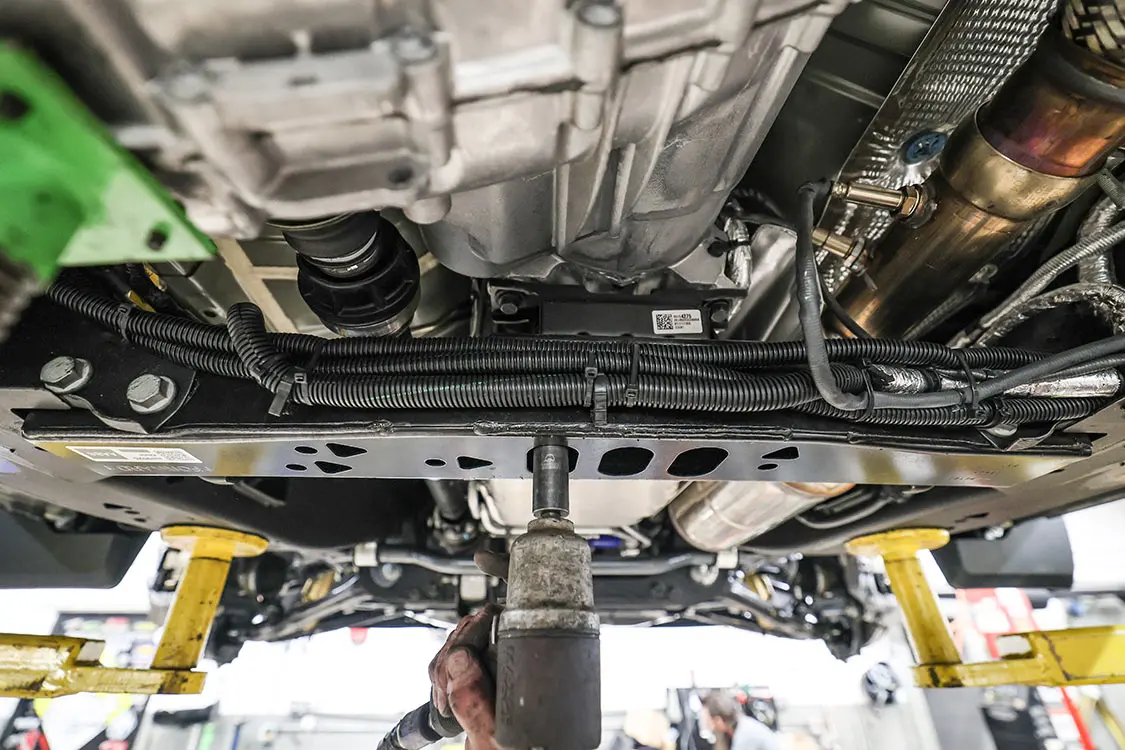
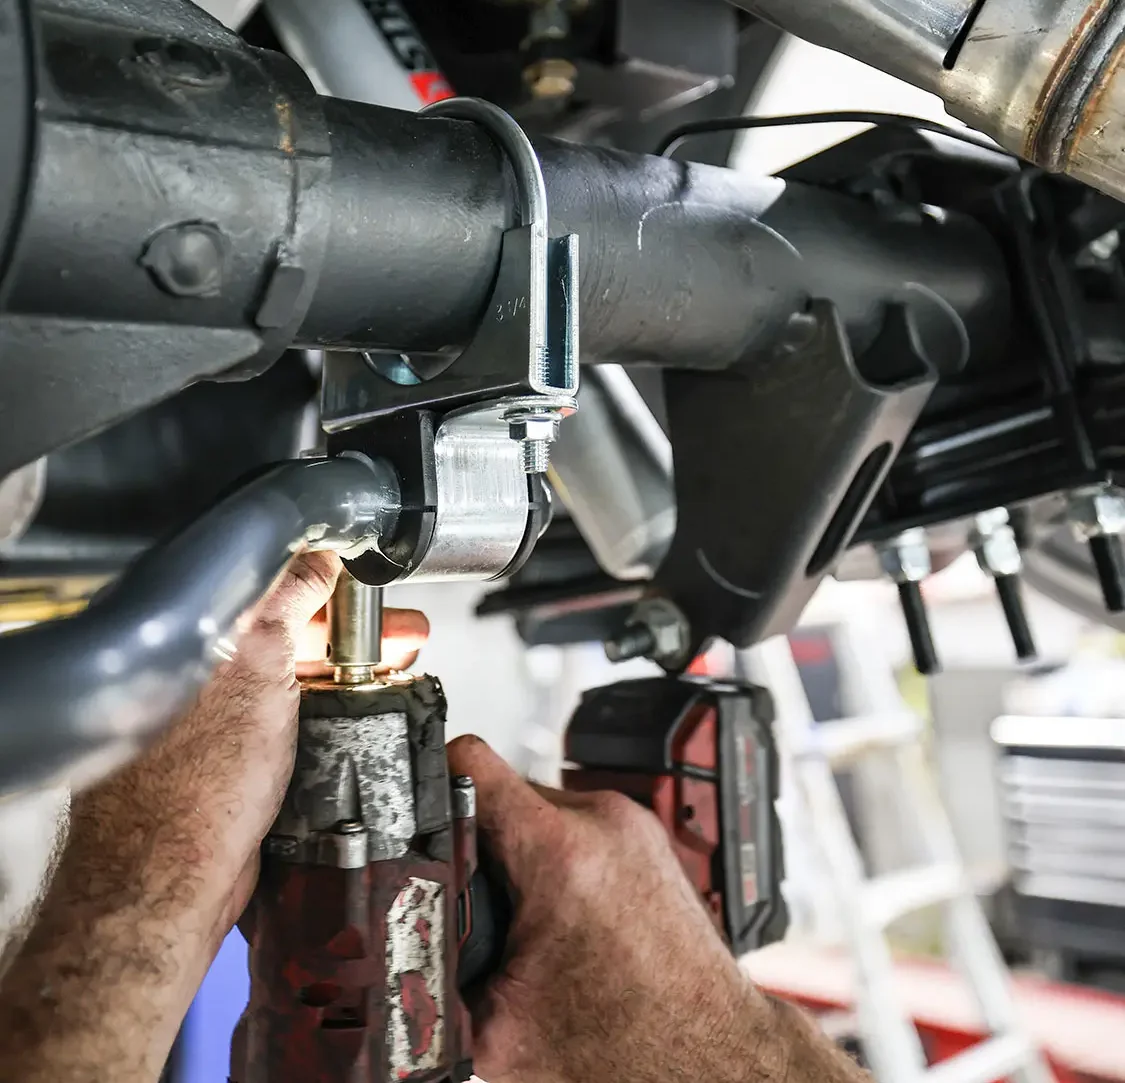
15. With the rear wheel off and carpet inner fender liner removed, line up the supplied template for the notch to fit the holes in the frame and scribe inside to show you where to cut. Doing this step first before flipping the axle gives you more access.16. Once the template has been marked, you can see where to cut.17. We used a cutoff wheel, a Sawzall, and grinder to cut the frame and clean it up to install the bolt-in notch.18. As you can see, the bottom section of the frame, including the factory bump stop, was removed. Once it was filed smooth, we put a coat of black paint on the raw metal to keep it from rusting.19. Place the Belltech bolt in notch and line it up with the new opening. Drill holes in the frame for all six holes in the notch.20. Install the inner section of the notch and bolt the inner and outer sections together with supplied hardware.21. The supplied bump stop was installed (but slightly modified to allow easy removal. Check out our next issue for why this was done as we install a helper bag kit.) as well as the carpeted wheelwell liner.22. Twenty inches of the center bed brace had to be cut out to allow for more axle clearance based on specs in the instructions. We sprayed it with paint to prevent rusting.23. Remove both rear shocks.24. With the rear axle supported, doing one side at a time, remove the leaf spring from the truck.25. Remove the factory U-bolts to release the axle from the leaf springs.26. Lower the axle slightly but make sure the brake lines and wiring aren’t pulled too tight.27. With the leaf spring pack clamped securely, remove the center pin and replace it with the supplied hardware.28. With the leaf pack removed, replace the rear shackle with the supplied Belltech shackle.29. Remove the brake line bracket, install the lower axle saddle, and reinstall the brake line bracket.30. Install the U-bolt spring pad and both U-bolts.31. Install the lower U-bolt pad and the bolts on the U-bolts.32. Remove the nuts from the transmission in the middle of the transmission crossmember and slightly jack up the transmission.33. Install the supplied transmission spacer and tighten the nuts. This fixes the pinion angle once the truck is lowered.34. Following measurements in the instructions, drill a hole in the frame to attach the rear sway bar end link brackets.35. Install the supplied axle brackets to bolt the new rear sway bar to the axle.36. The supplied Heim joints connect the rear sway bar to the brackets bolted to frame. Reinstall the wheels and give the truck a four-wheel alignment, and it’s ready to test drive.37. As you can see, the new 26-inch Dropstars Billet Wheels and 305/30-26 Lionhart tires fit perfectly and are the same overall diameter as the stock wheels and tires.
Chris Hamilton is an automotive journalist, editor, and lifelong truck enthusiast with extensive experience covering custom truck builds, fabrication, performance upgrades, aftermarket products, and a ...
We use cookies to enhance your browsing experience, serve personalized ads or content, and analyze our traffic. By clicking "Accept All", you consent to our use of cookies. Visit our Cookie Policy for more info.


Share Link