 DEVAN ENCE
.
October 11, 2022
.
Blood Sweat and Gears
.
DEVAN ENCE
.
October 11, 2022
.
Blood Sweat and Gears
.
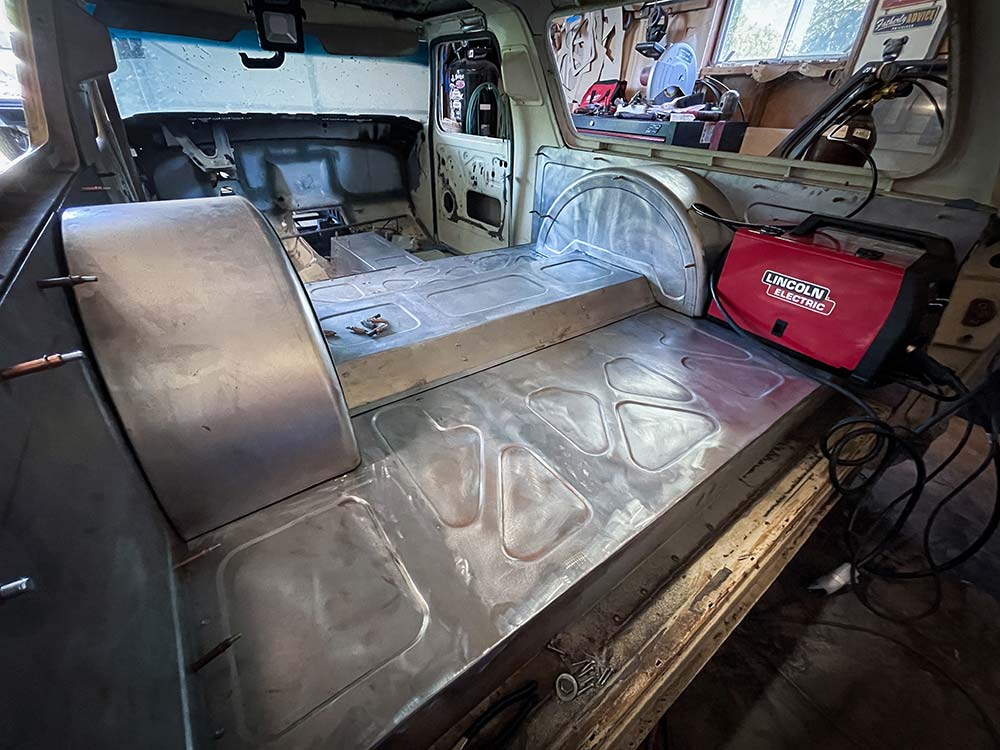
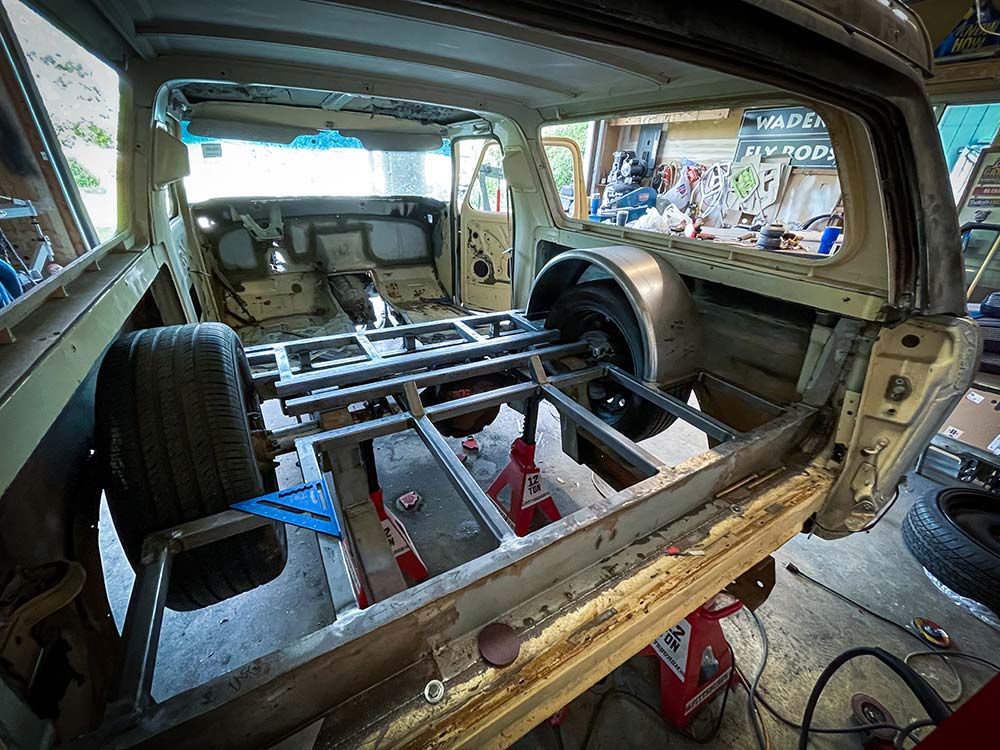
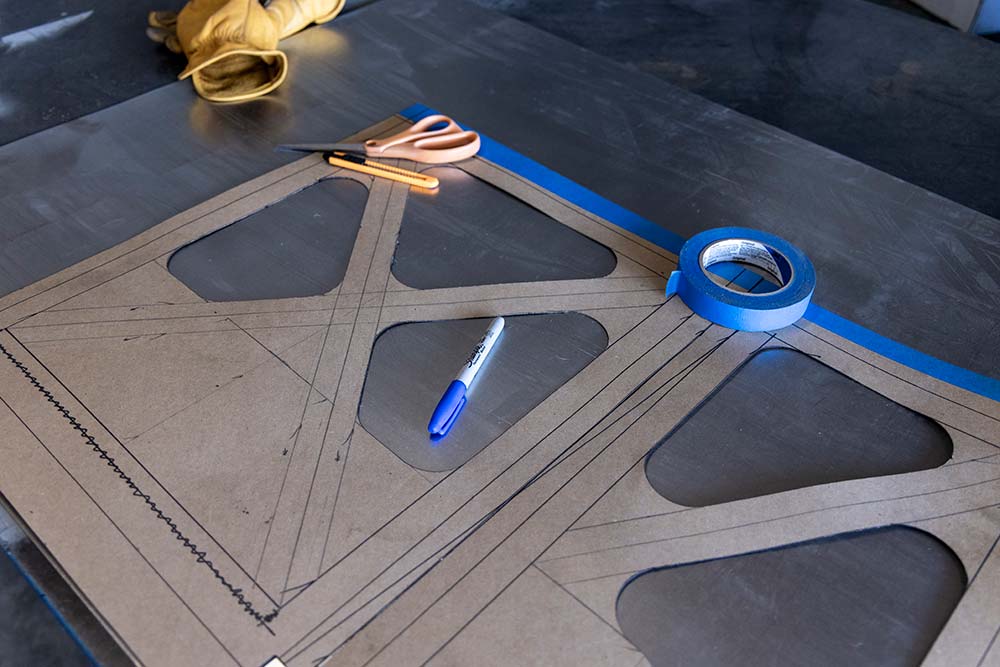
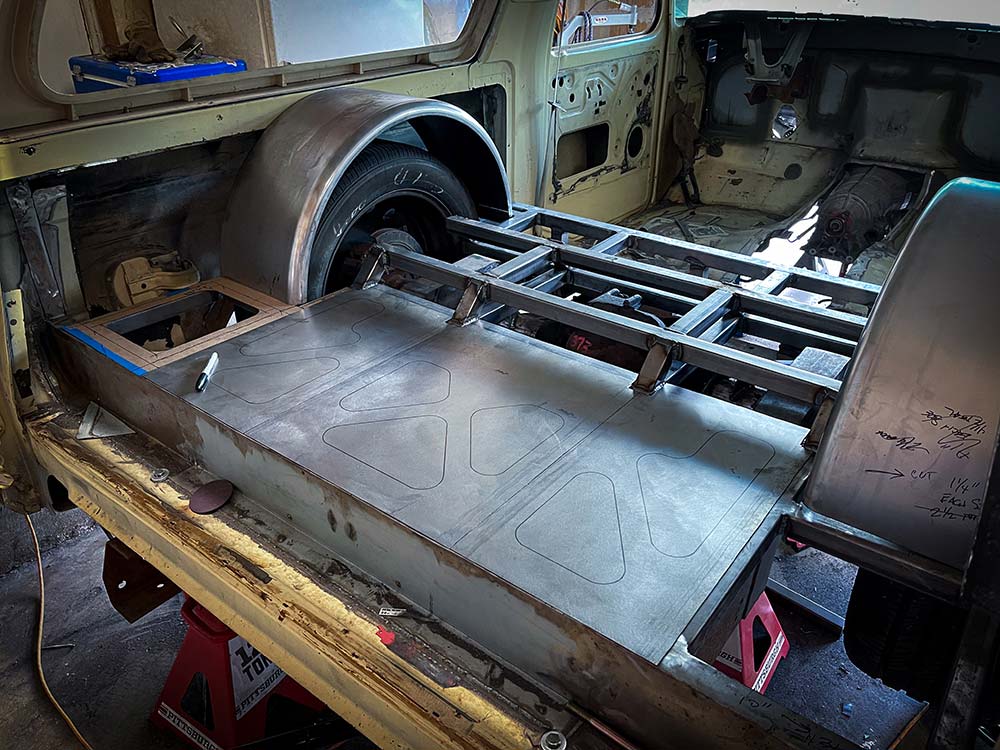
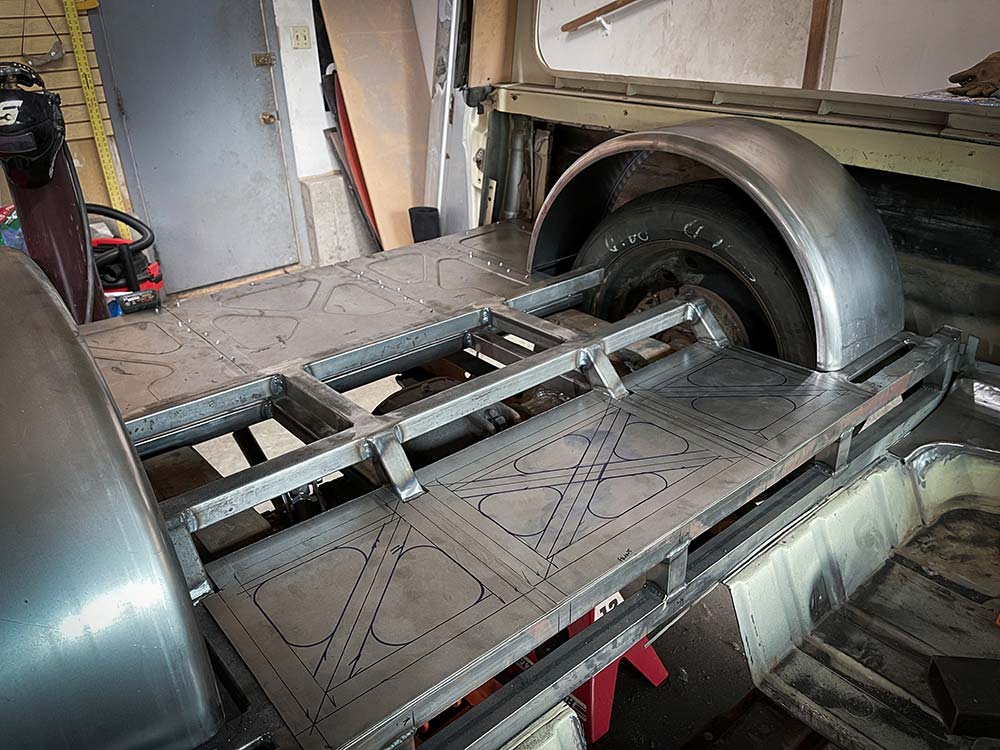
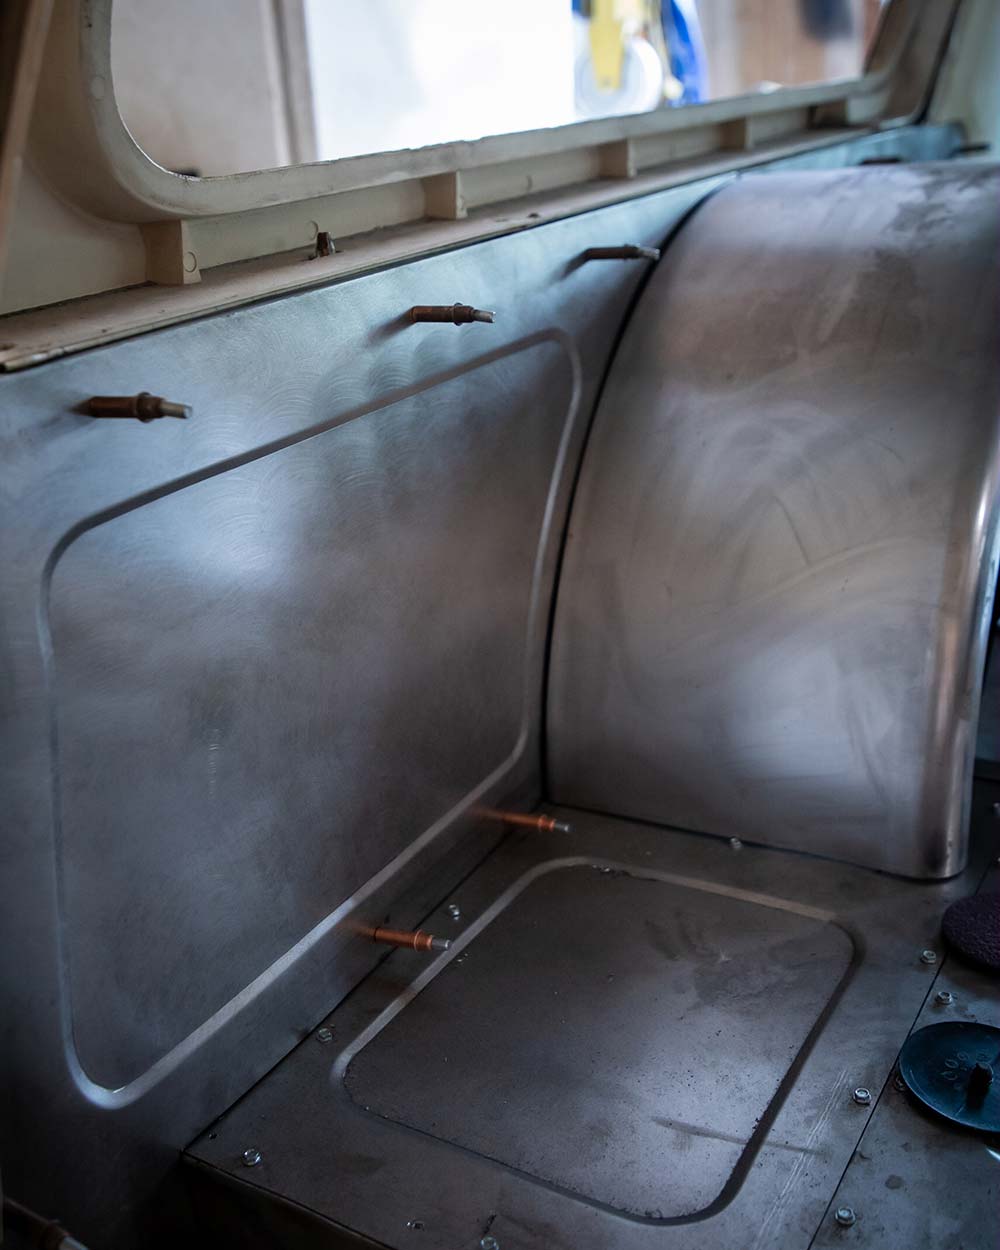
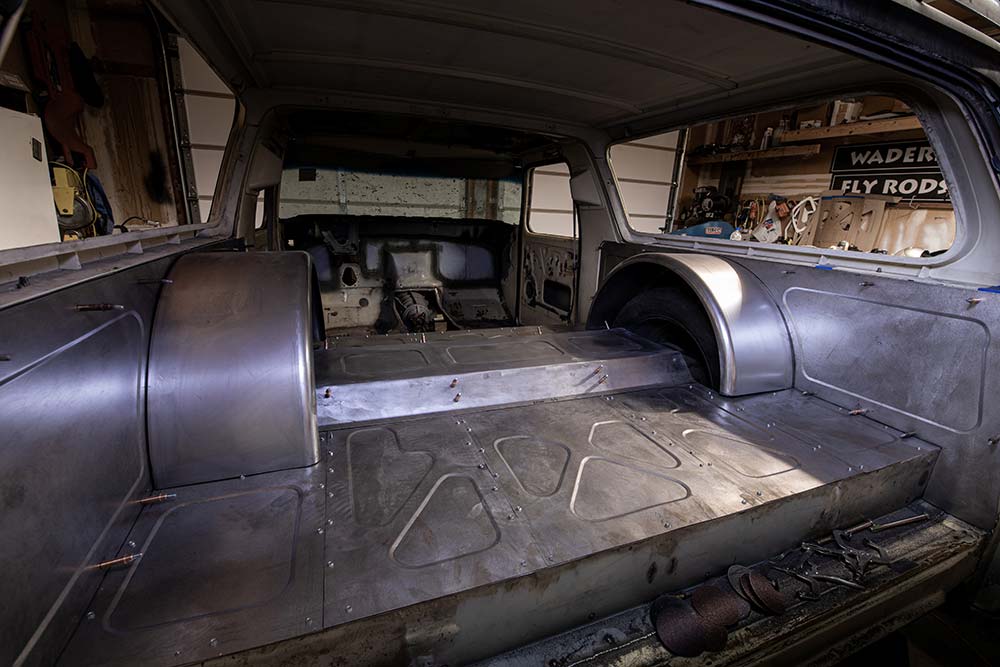
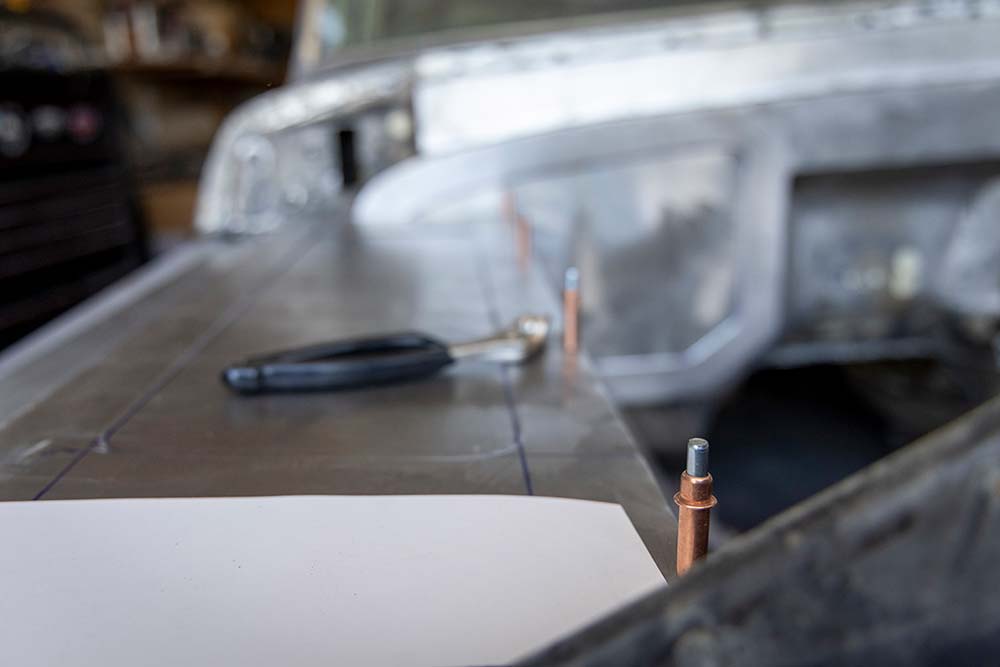
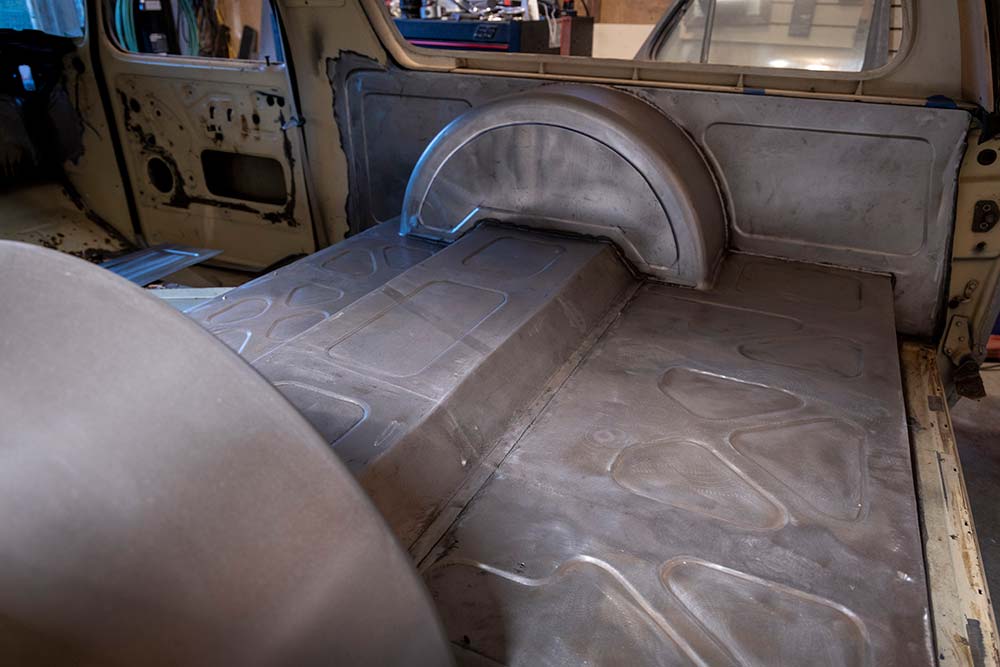
When modifying your vehicle, many times the factory or replacement panels no longer fit the build, and so it becomes necessary to build custom panels to fit your needs. Some of the most common places custom panels become necessary are floors, inside beds, and engine bays. Not only are they functional but they can also help take your build to the next level by producing a one-of-a-kind look.
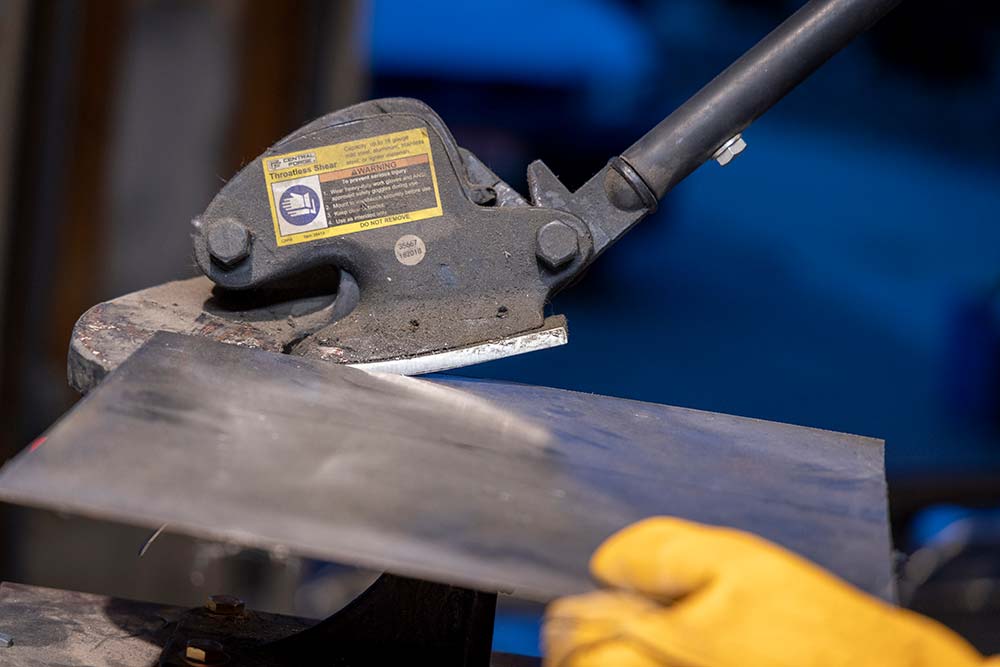
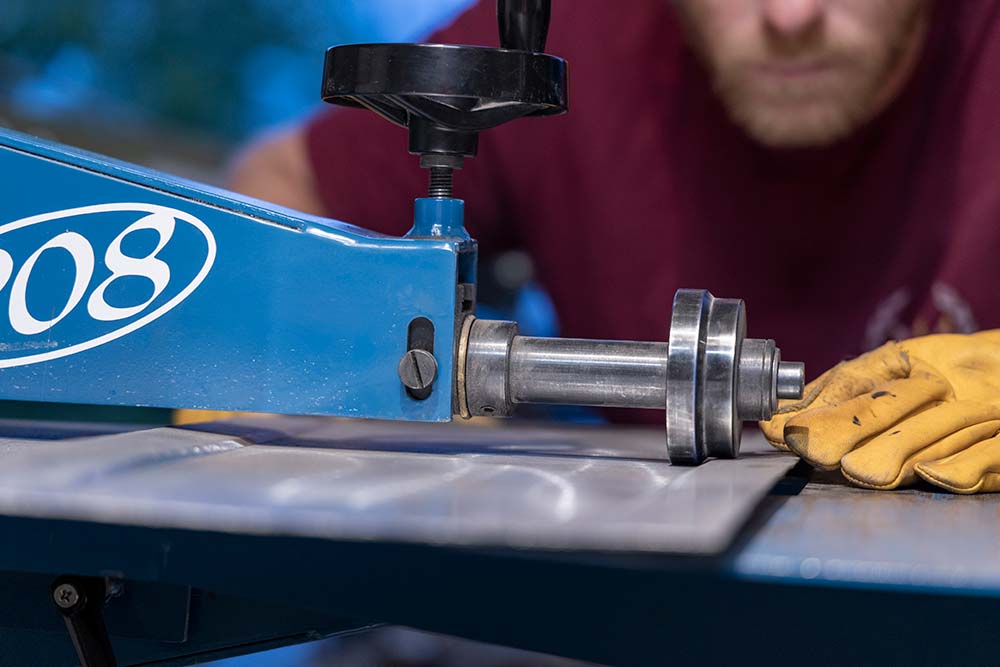
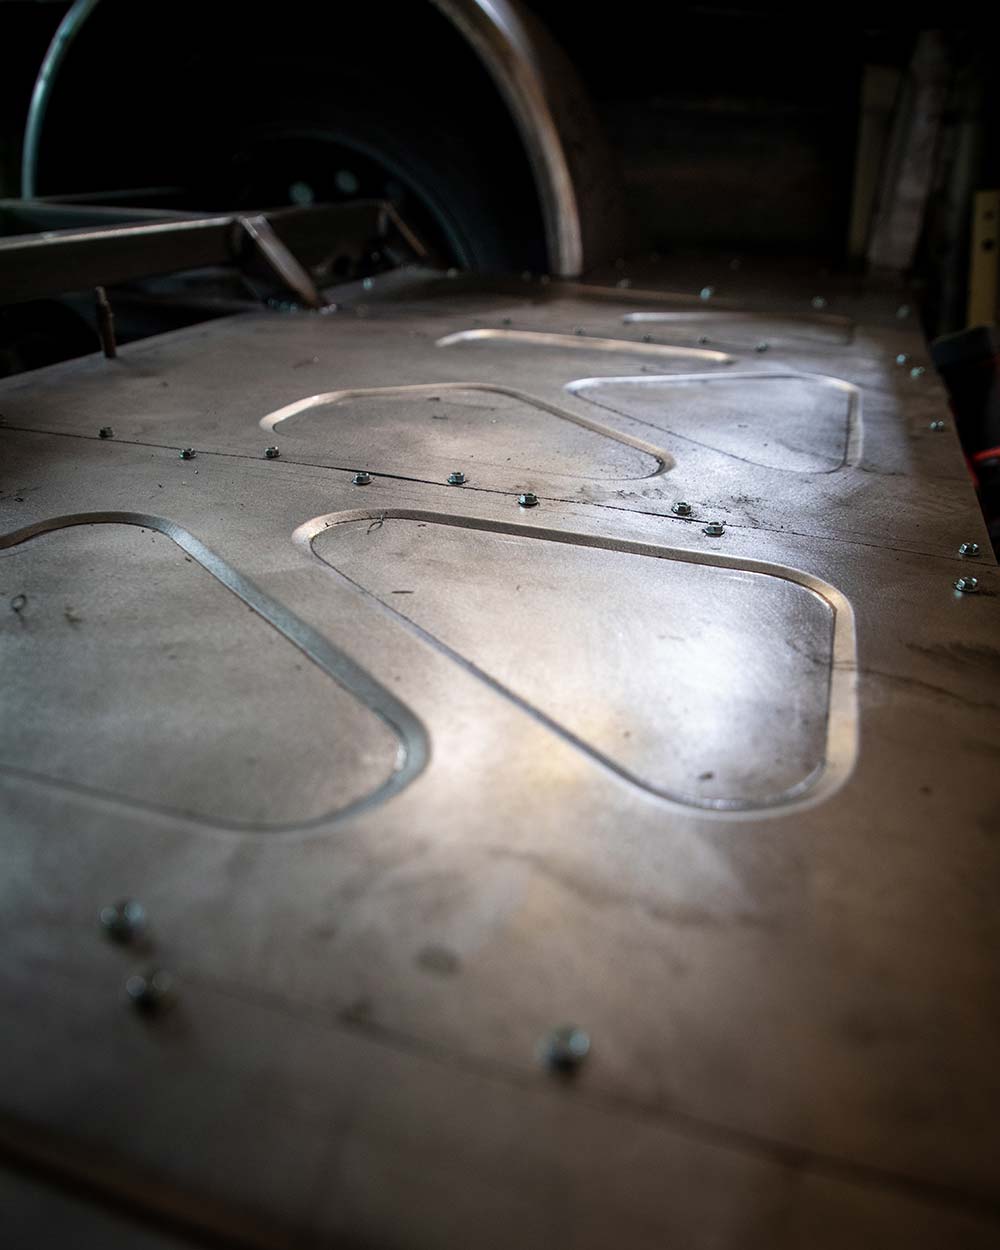
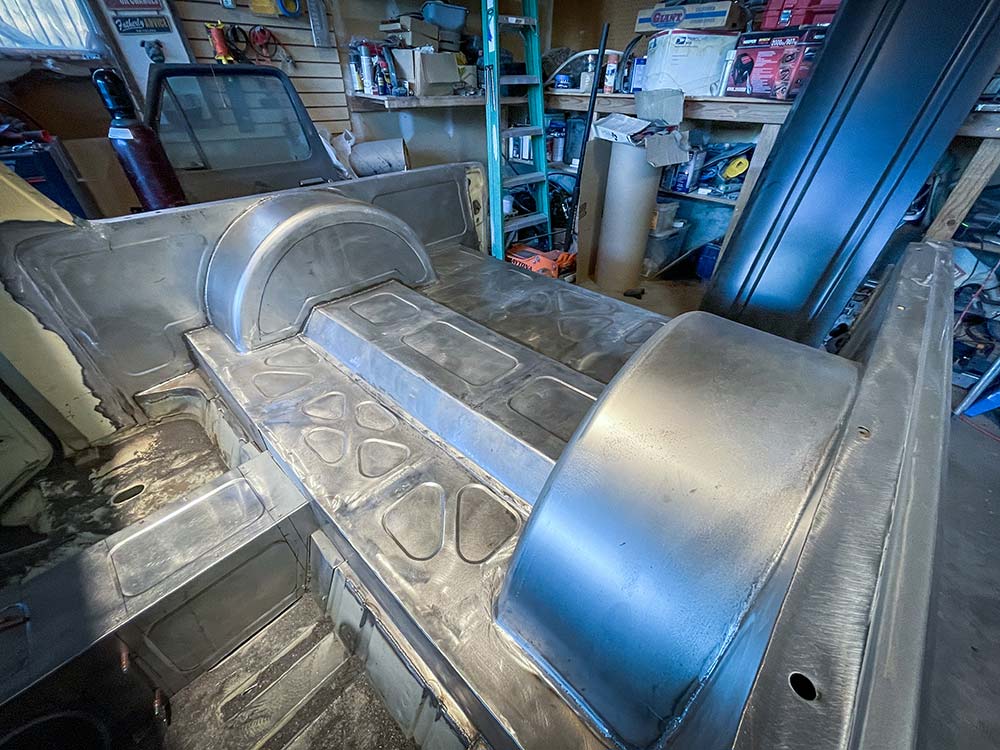
One of the most important things to remember when building panels is to keep everything functional and strong. You can add strength and rigidity by bead rolling or breaking an edge. Common gauges for custom panels are 16, 18, and 20; just make sure you are using appropriate sheetmetal thicknesses for the location of your panels.

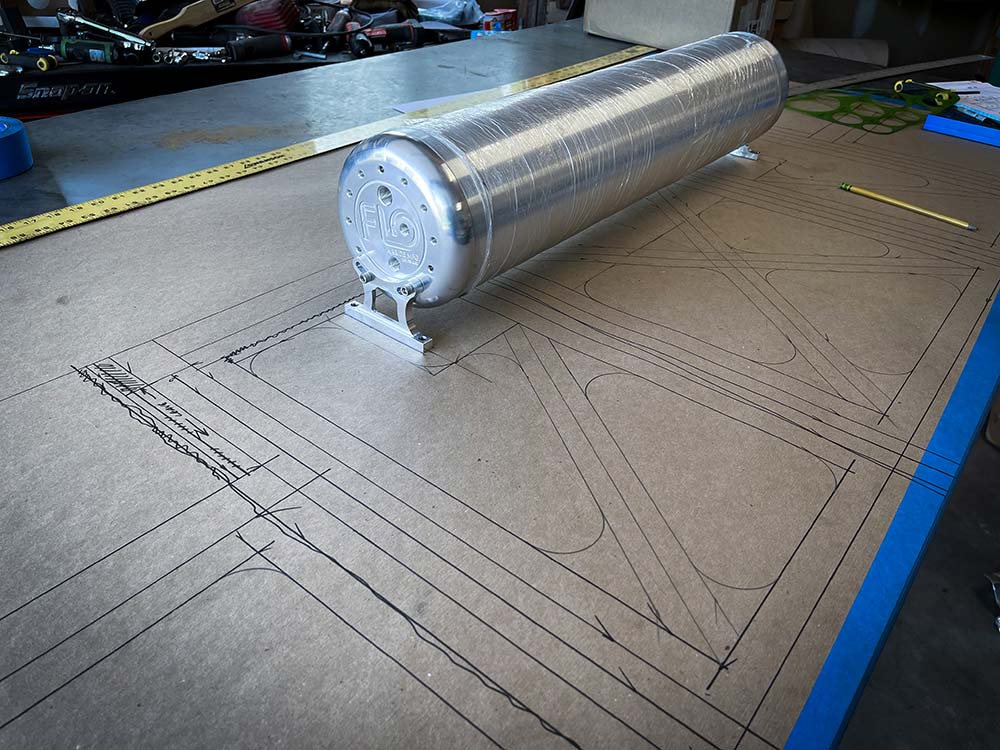
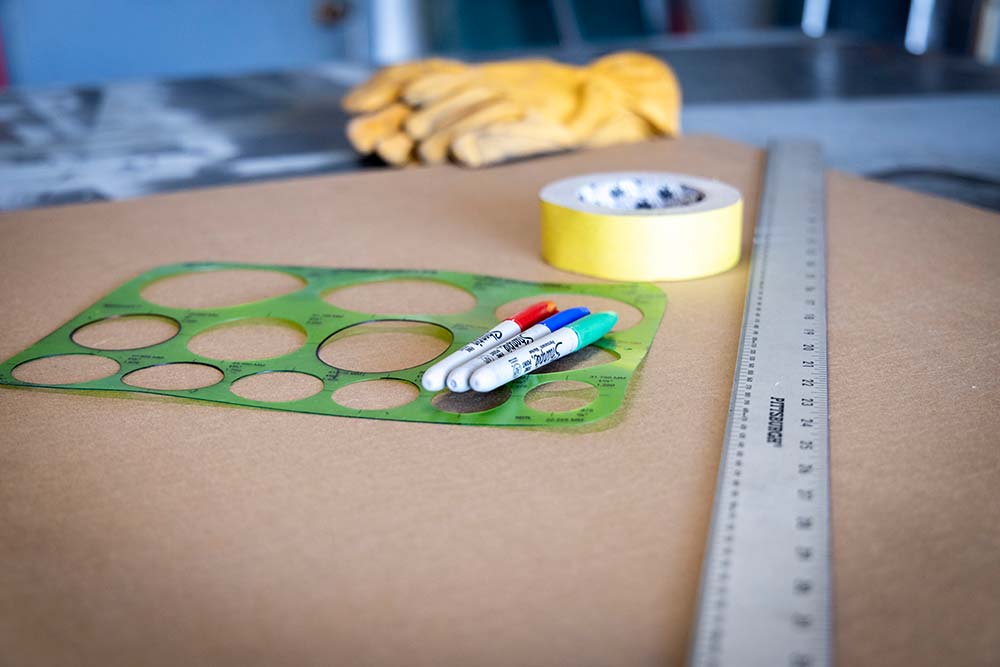
The steps below are just a way to get you started. There are a lot of amazing fabricators out there who use different techniques, so don’t be afraid to experiment with what works best for you and your build. This process may seem complicated but remember, it’s just metal.

C10 Builders Guide
WHILE IT’S HARD NOT TO do everything in your power (and credit limit) to get everything needed to build the truck you want right this… Continue reading
John Mata Jr. . March 31, 2020
Department
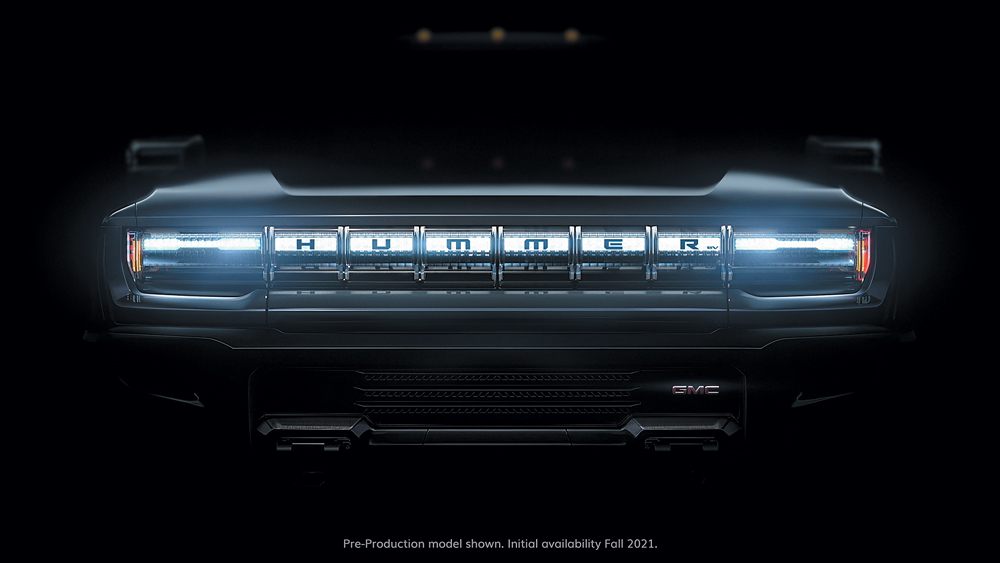
Hummer is Back in an Unexpected Way! GMC recently introduced the GMC Hummer EV, bringing bold design and remarkable capability to the electrified vehicle space… Continue reading
streettrucks . April 14, 2020
Department
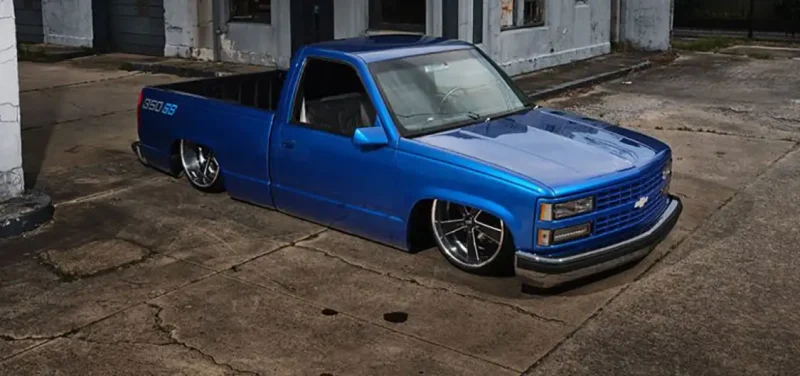
Jonathon Barefoot’s CK Build Inspired by His Mom, Teresa THE 1990s were a time filled with stops at Blockbuster Video, being plugged into Sony Discmans,… Continue reading
JONATHAN HANSEN . October 24, 2022
Latest
Belltech 2019+ RAM 1500 (6-lug) lowers the front of your vehicle 3 to 4 inches and the rear 4 to 5 inches. The front suspension… Continue reading
Chris Hamilton . November 17, 2022
c10
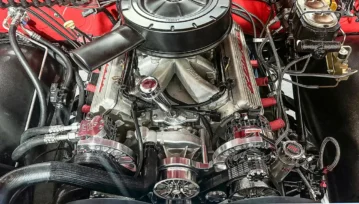
Installing CVF’s Latest Serpentine System When it comes to dialing in a killer LS swap, you can’t cut corners on the front drive system. For… Continue reading
Chris Hamilton . August 01, 2025
Features
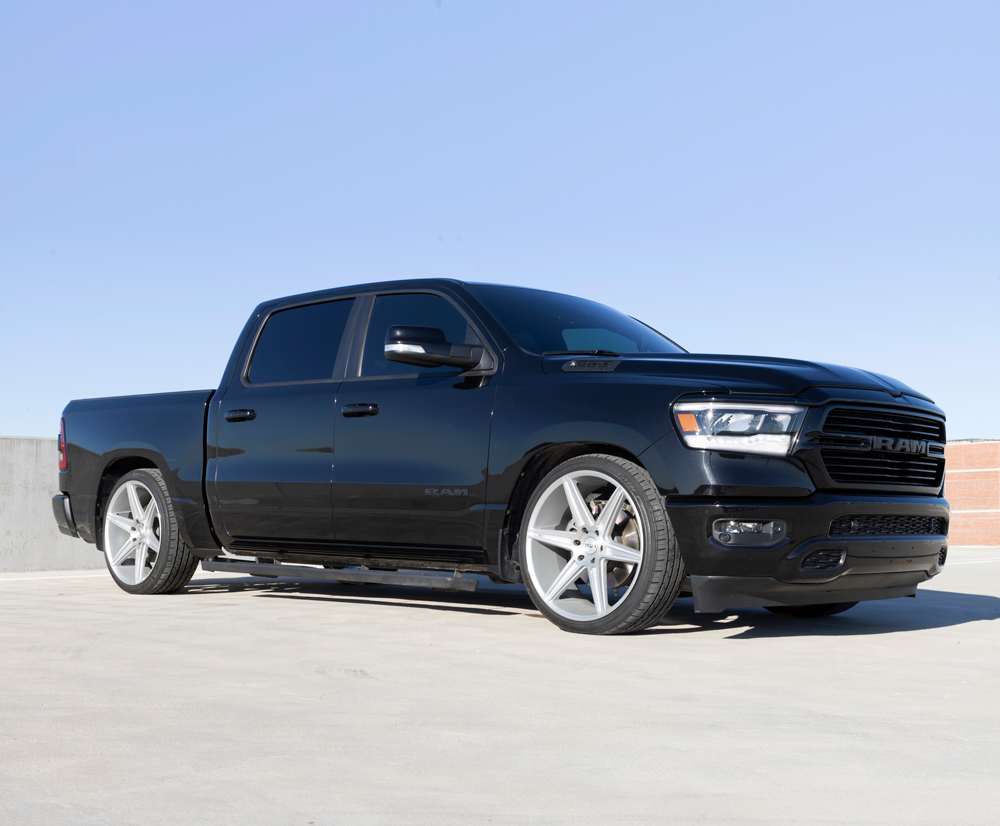
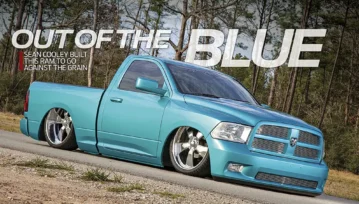
Sean Cooley Built This Ram to Go Against the Grain The slammed truck scene isn’t for everyone, and it was just a fluke that Sean… Continue reading
Kevin Aguilar . March 30, 2026


We use cookies to enhance your browsing experience, serve personalized ads or content, and analyze our traffic. By clicking "Accept All", you consent to our use of cookies. Visit our Cookie Policy for more info.


Share Link