





Close

Step-by-Step Skyjacker Lift Kit Install on a Classic Ford F-150

DEVAN ENCE . October 19, 2026 . Features . Devan Ence
Save ArticleLogin to save it

AS SEEN IN OUR F-SERIES BUILDERS GUIDE WINTER 2026 ISSUE – Buy Now!

Get Your 4×4 Build Sitting Right

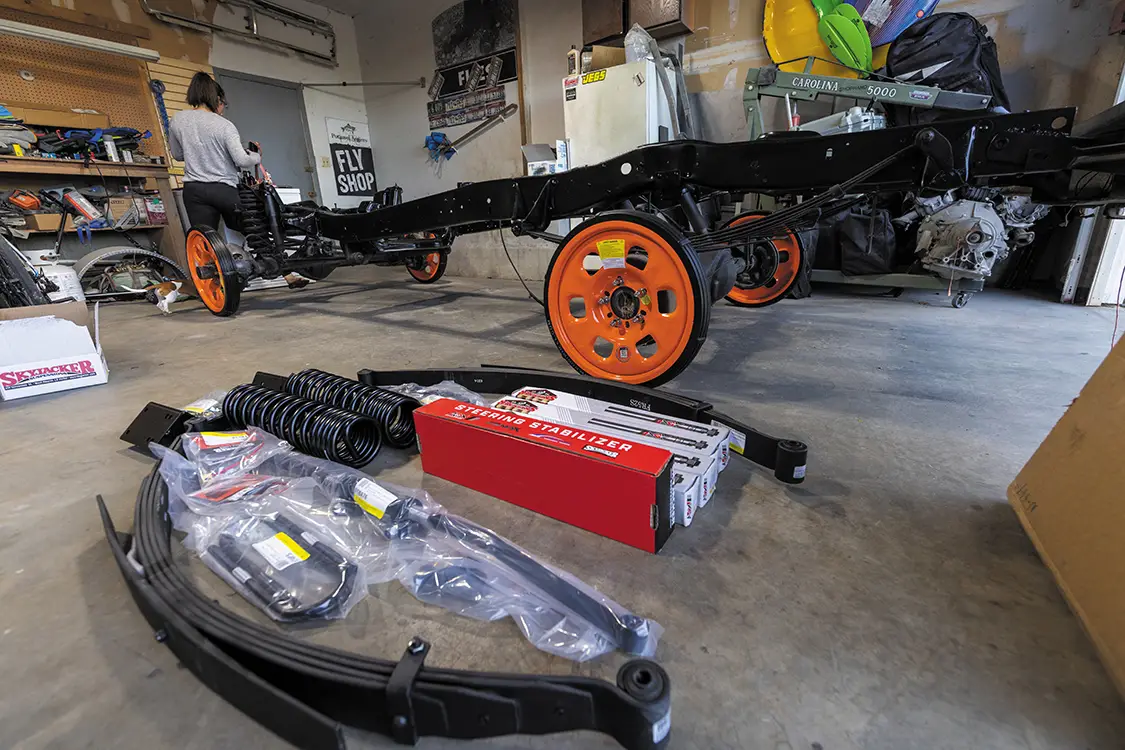
Jasmine and I are doing a full frame-up build on her 1979 F-150 short bed we call “Penny.” One of the first things we wanted to address was the ride height and ride quality. We decided to go with a 4-inch lift from Skyjacker with dual-rate coils, Softride leafs, the new ADX M2.0 shocks, and the adjustable track bar. The ultimate goal was to get the absolute best ride we could out of the truck. So it’s time to yank out the old and bring on the new!
Skyjacker Lift Kit Install
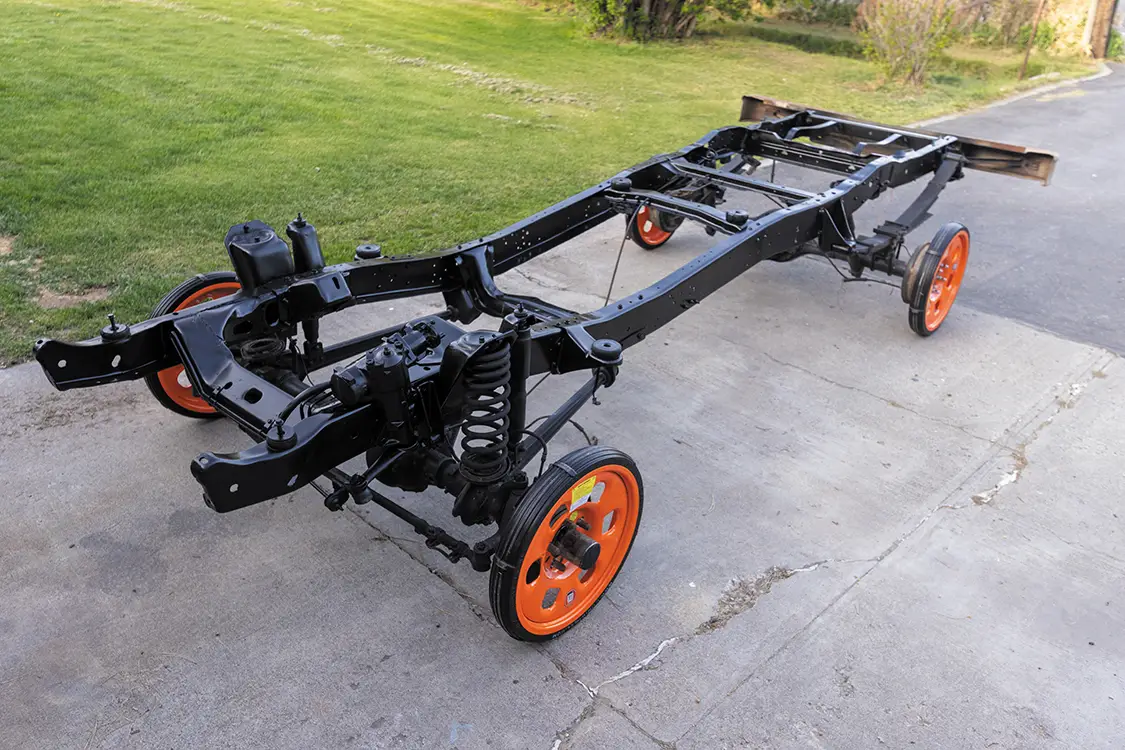
This is the starting place for the 1979 F-150 4×4.
Skyjacker Lift Kit Install
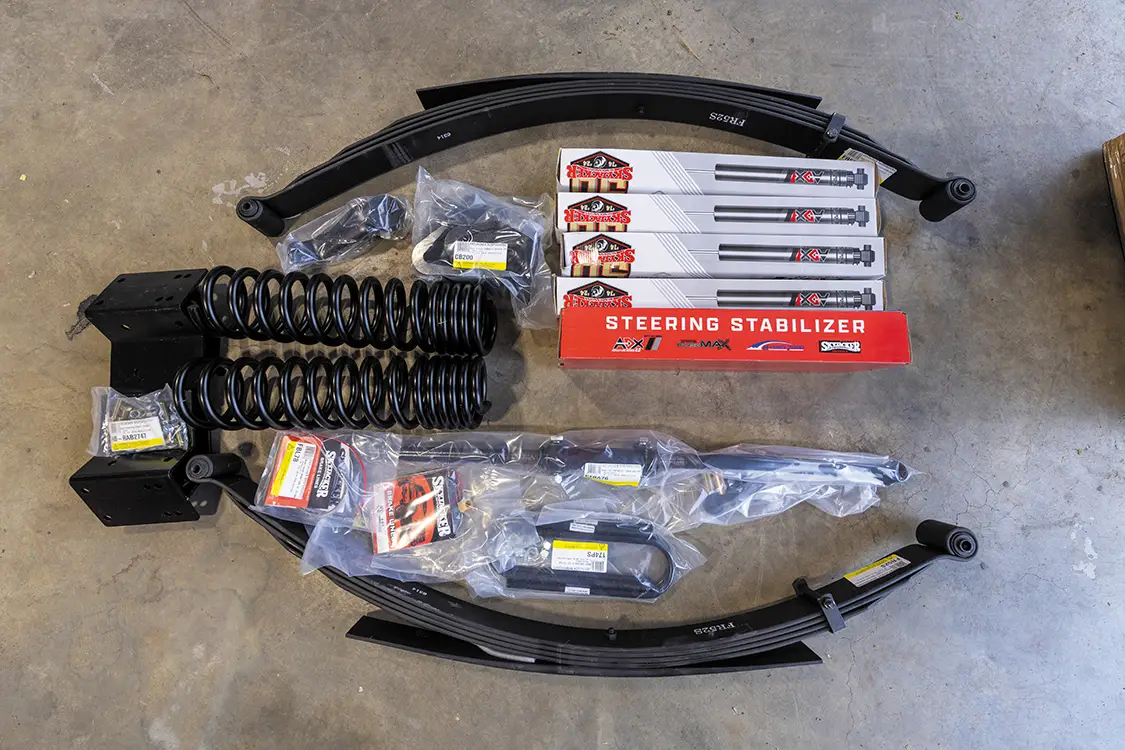
Here’s our full Skyjacker 4-inch lift kit with everything needed to get the job done—including the brake lines.
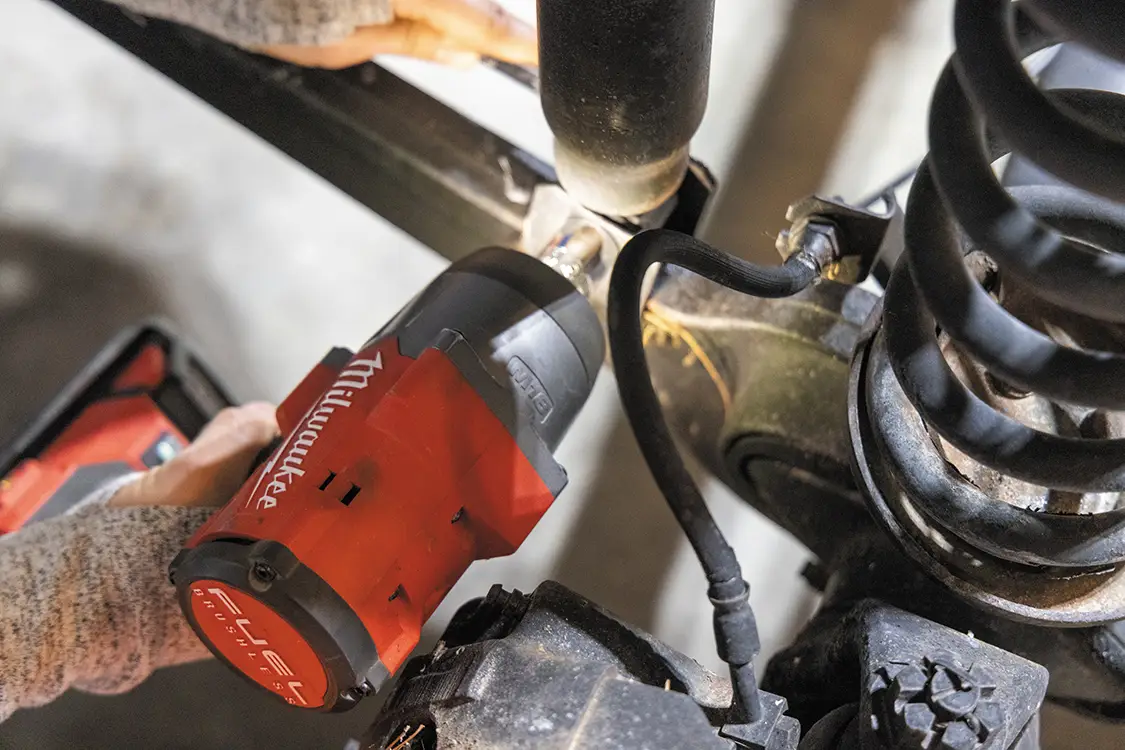
Start by removing the old worn-out shock from the upper mount and the radius arm.
Skyjacker Lift Kit Install
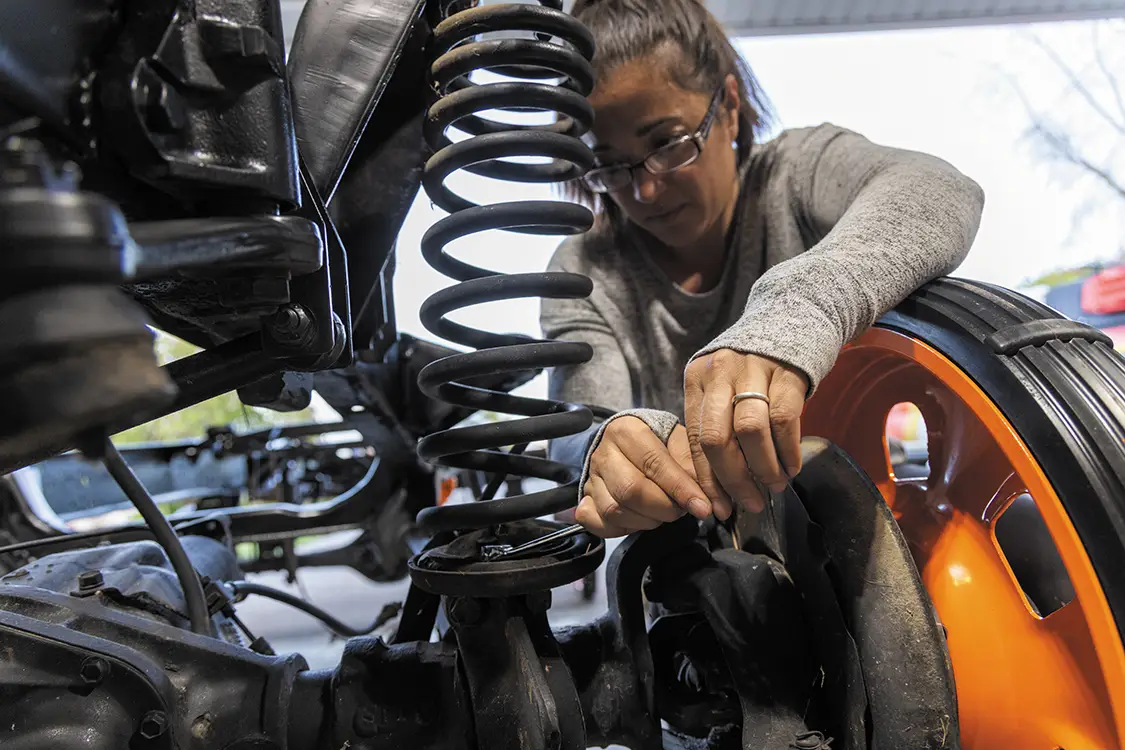
Remove the factory coil spring by removing the keeper in the spring bucket and the lower keeper in the cup.
Skyjacker Lift Kit Install
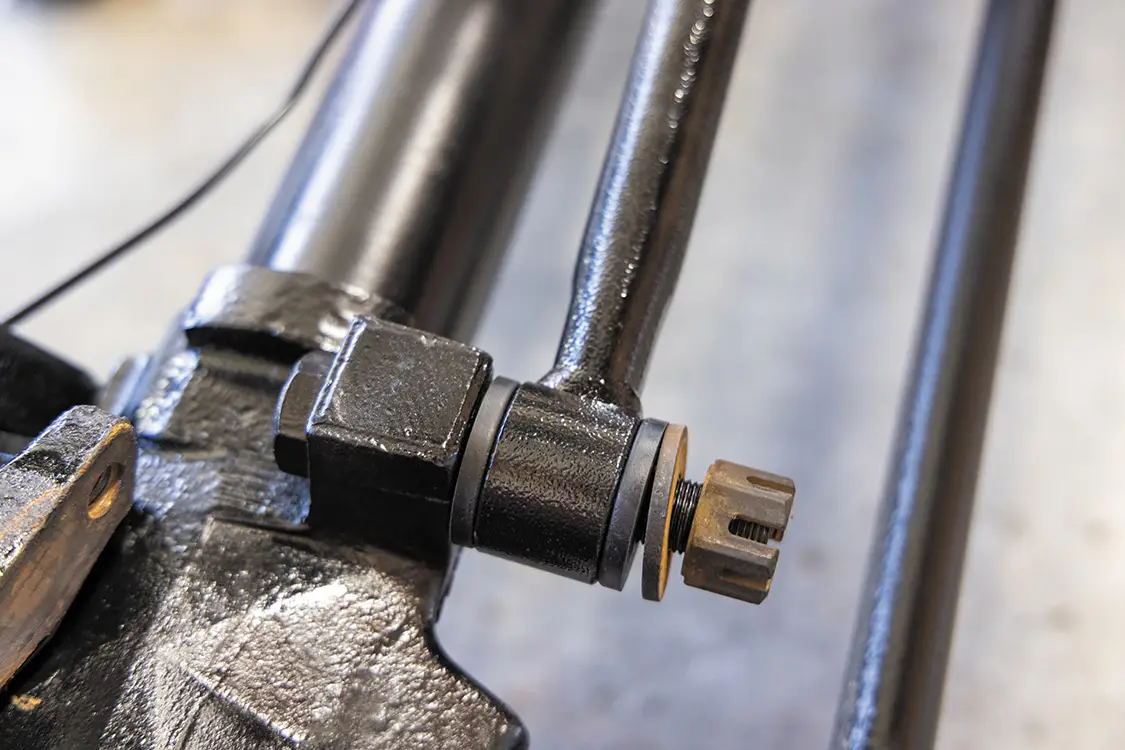
Remove the pitman arm and the track bar from the frame bracket.
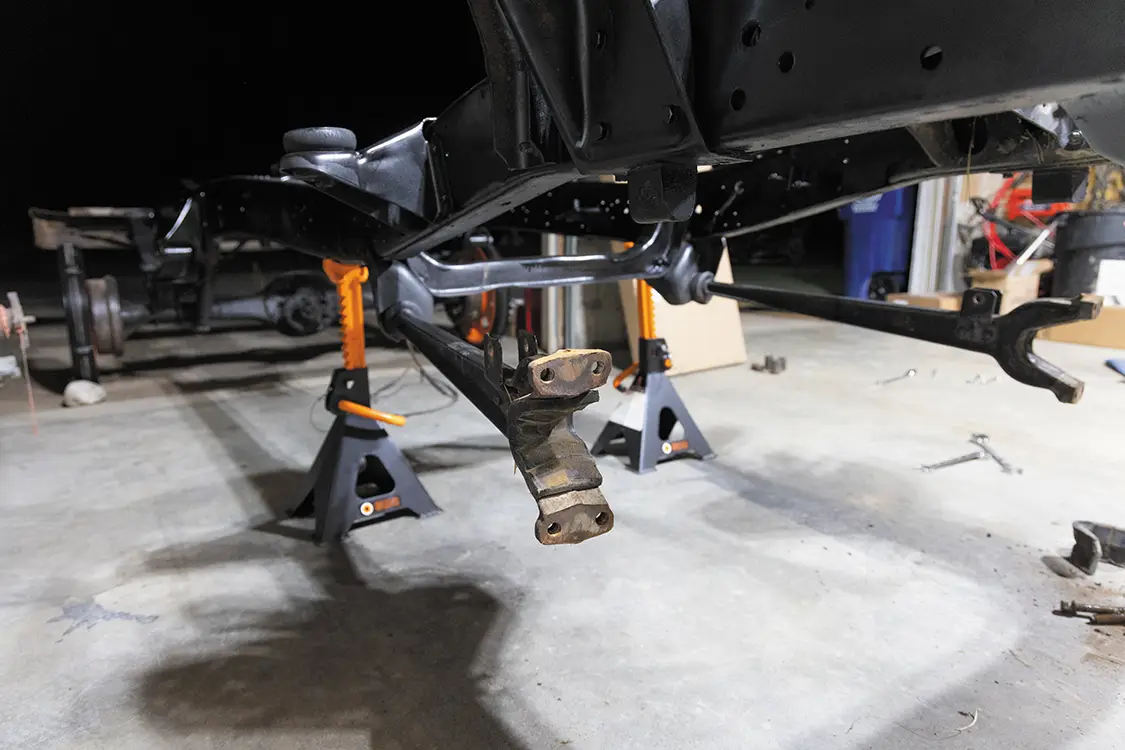
Remove the lower cups and unbolt the radius arm from the front axle. Getting these apart can be a chore, so be sure to have a pry bar handy.
Skyjacker Lift Kit Install
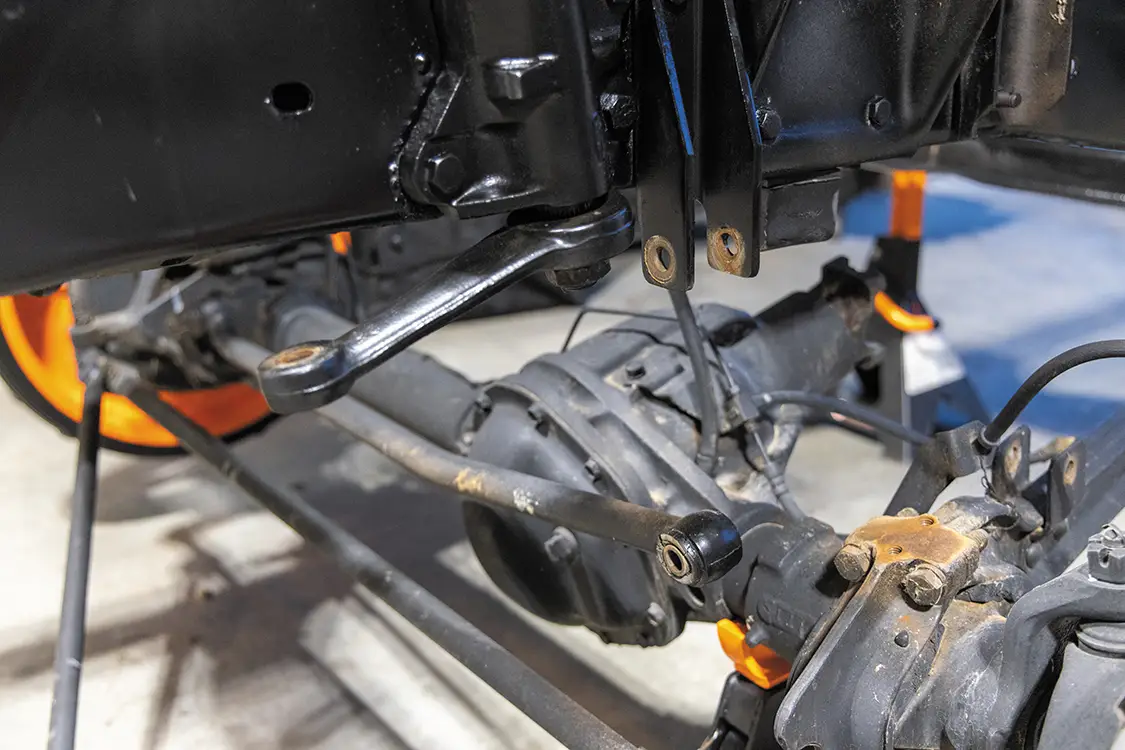
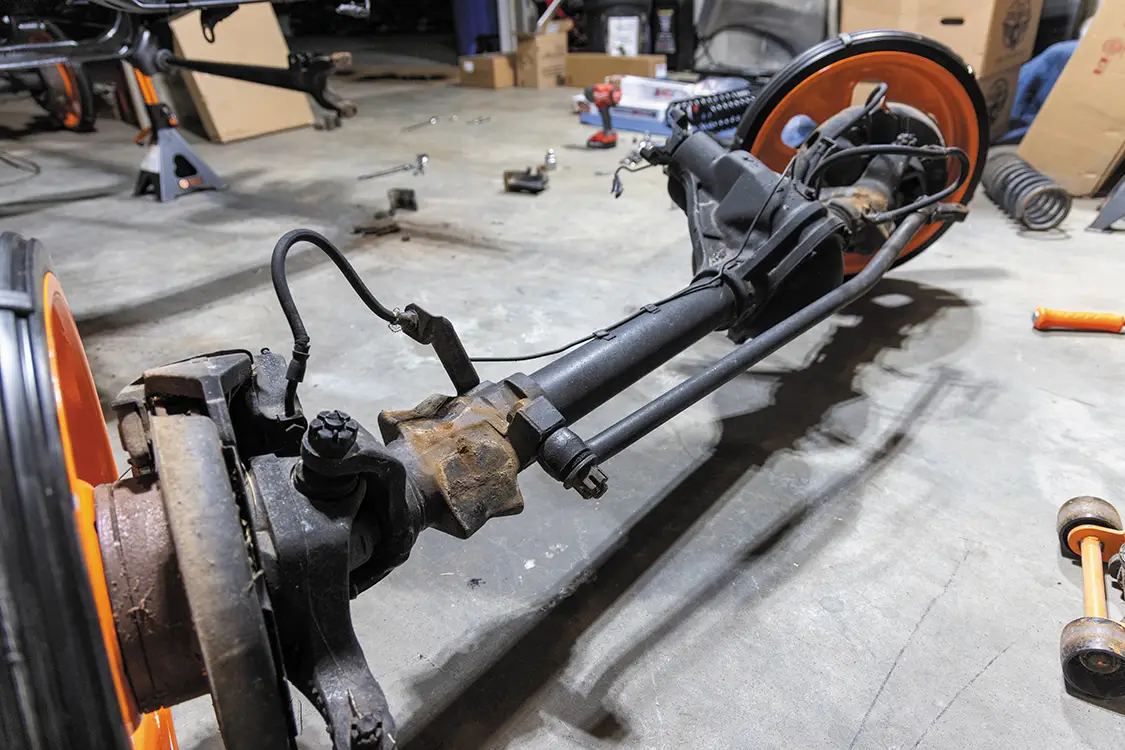
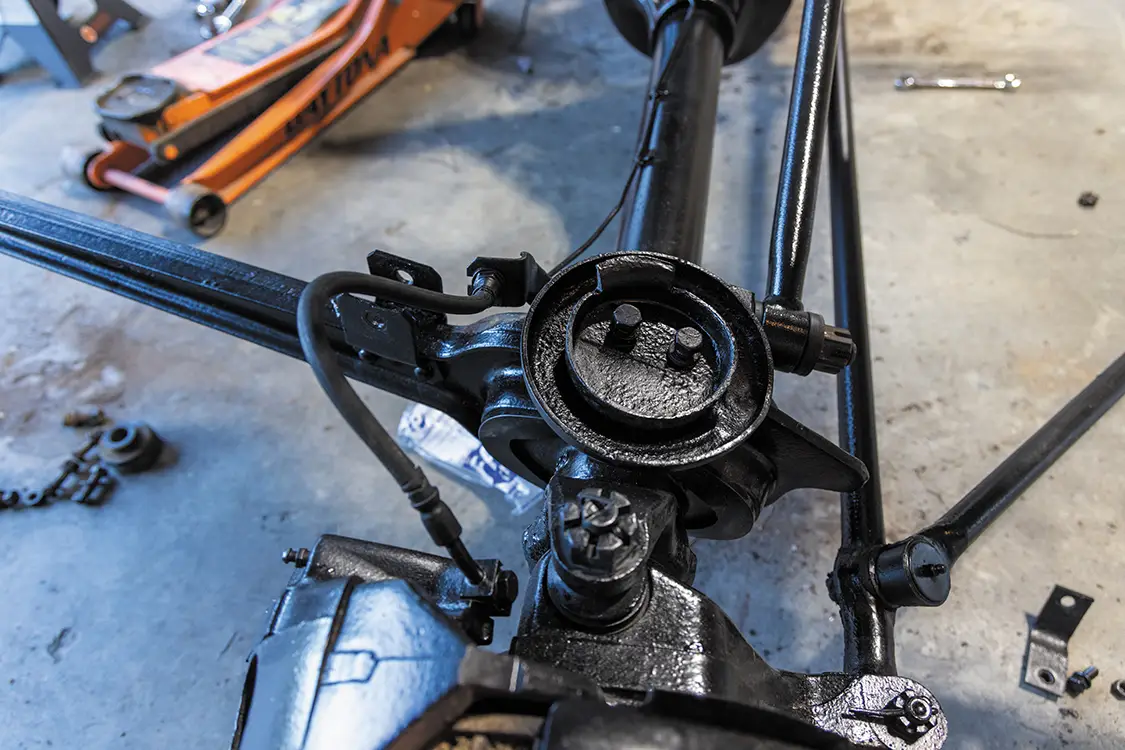
Pull the steering linkage and remove the front axle.
Remove the radius arms from the mounts.
Skyjacker Lift Kit Install
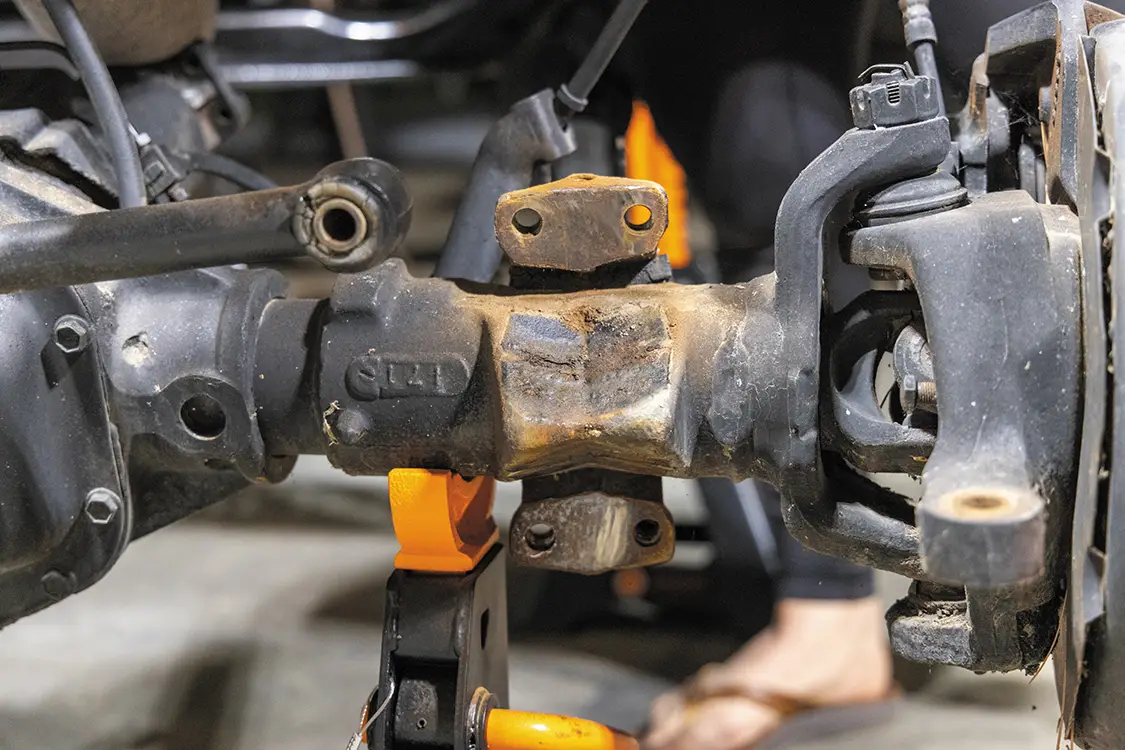
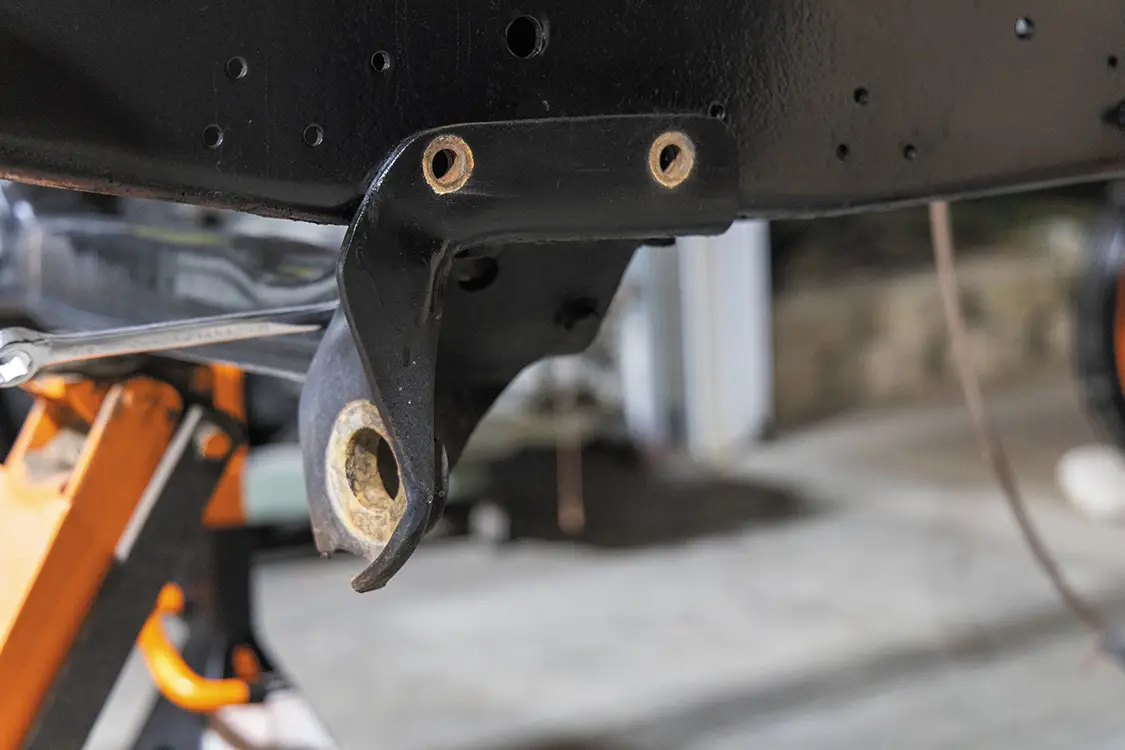
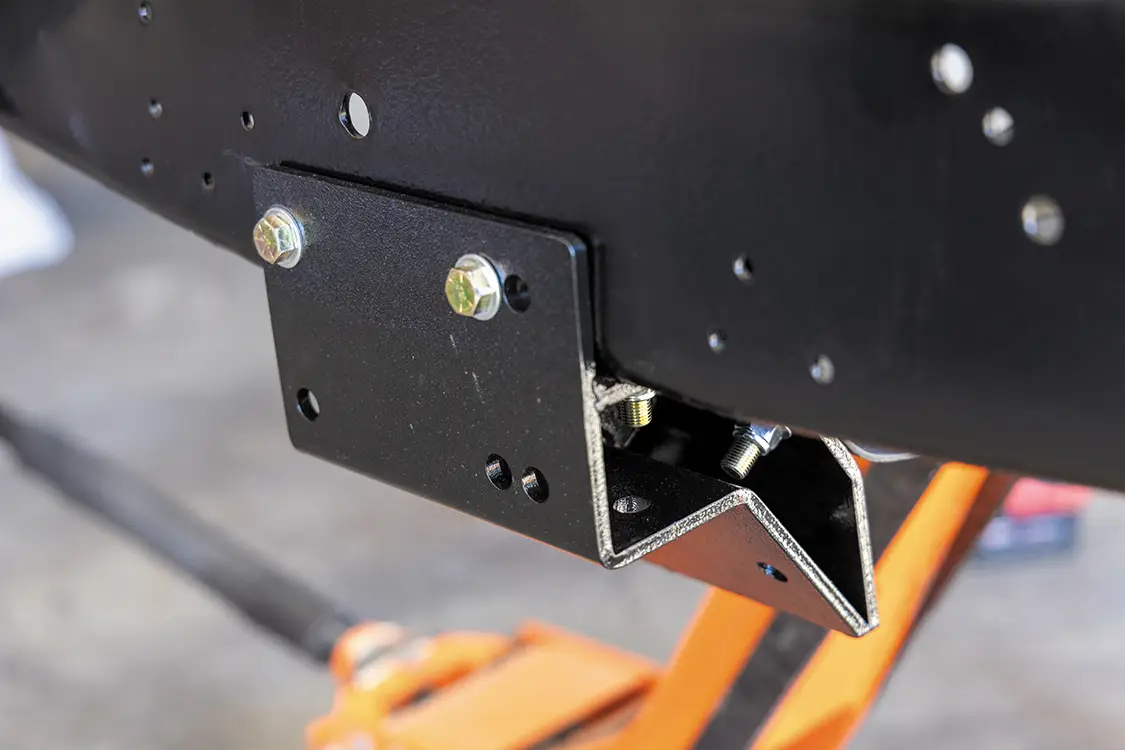
Unbolt and remove the radius arm bracket from the frame.
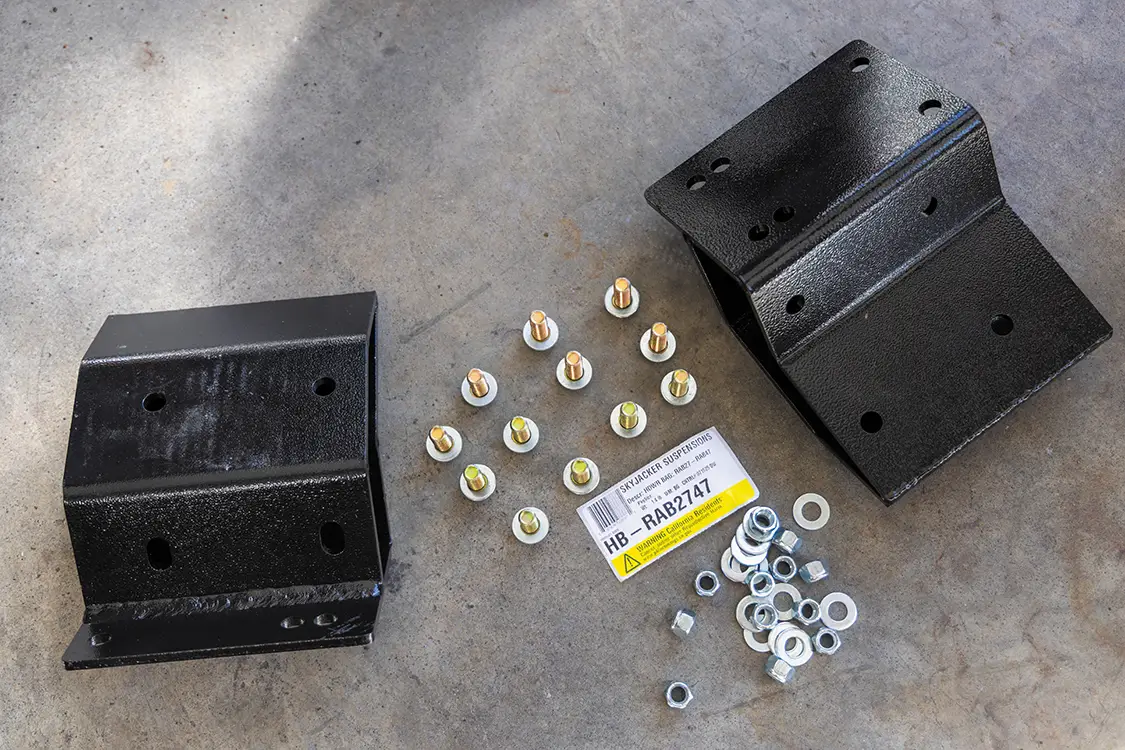
Pull out all of the hardware for the radius arm drop brackets. TIP: Order TWO sets of the hardware so you don’t have to run around looking for extra bolts. It will save you a lot of time during the install.
Skyjacker Lift Kit Install
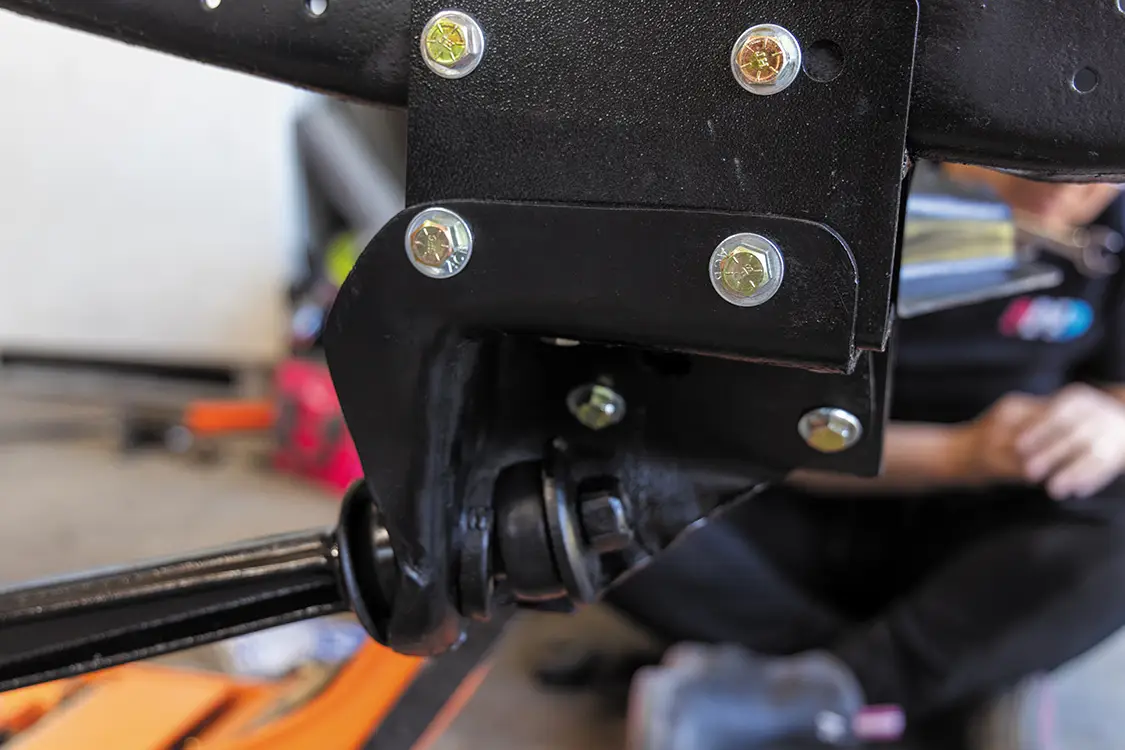
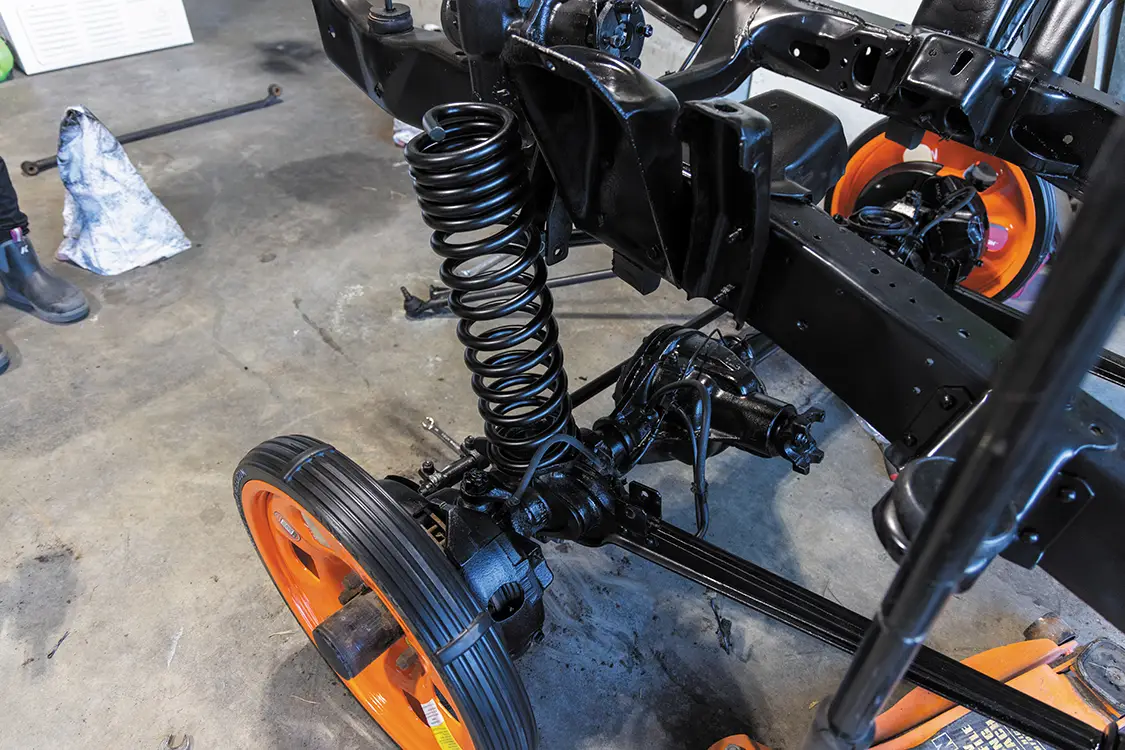
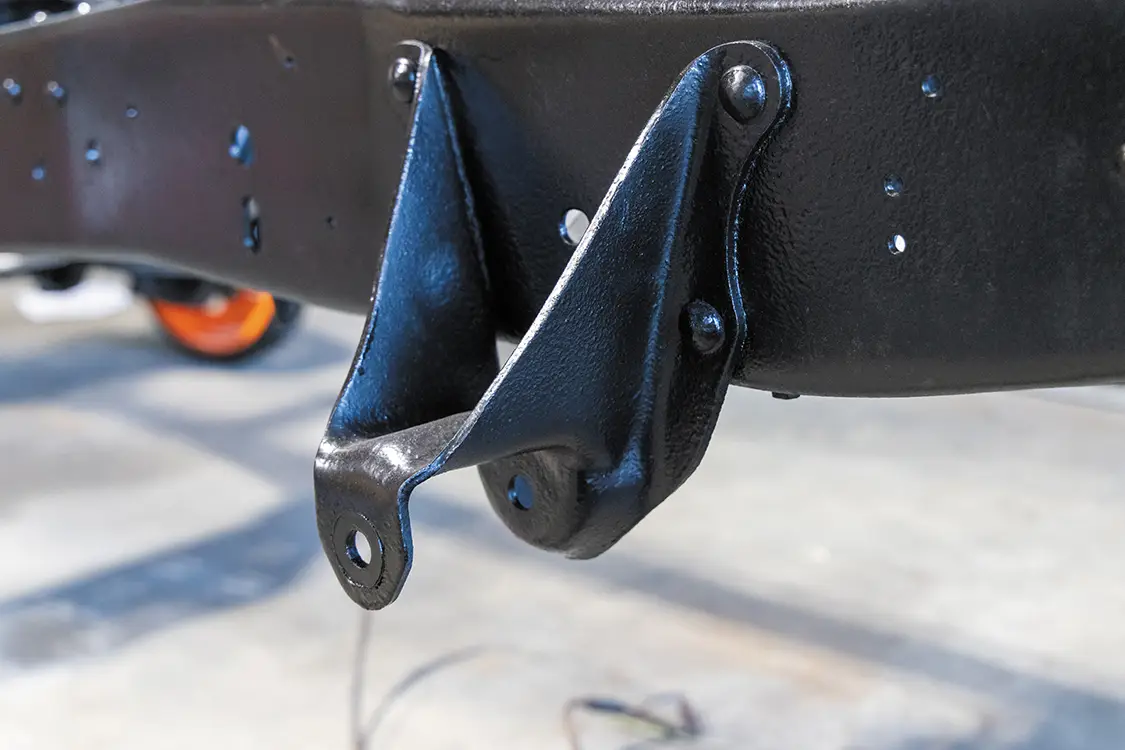
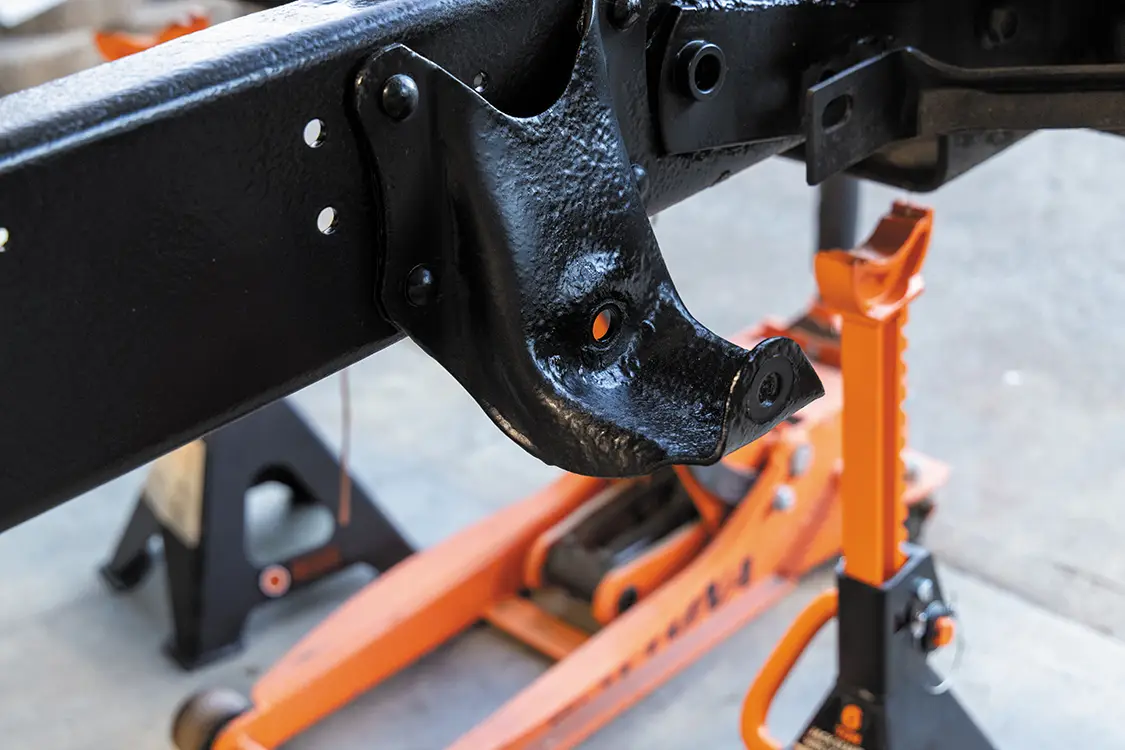
Install the radius arm drop brackets on the frame. These are important because they help with pinion angle on the front axle.
Skyjacker Lift Kit Install
Install the original radius arm bracket and the new rear radius arm bushings before remounting the radius arms.
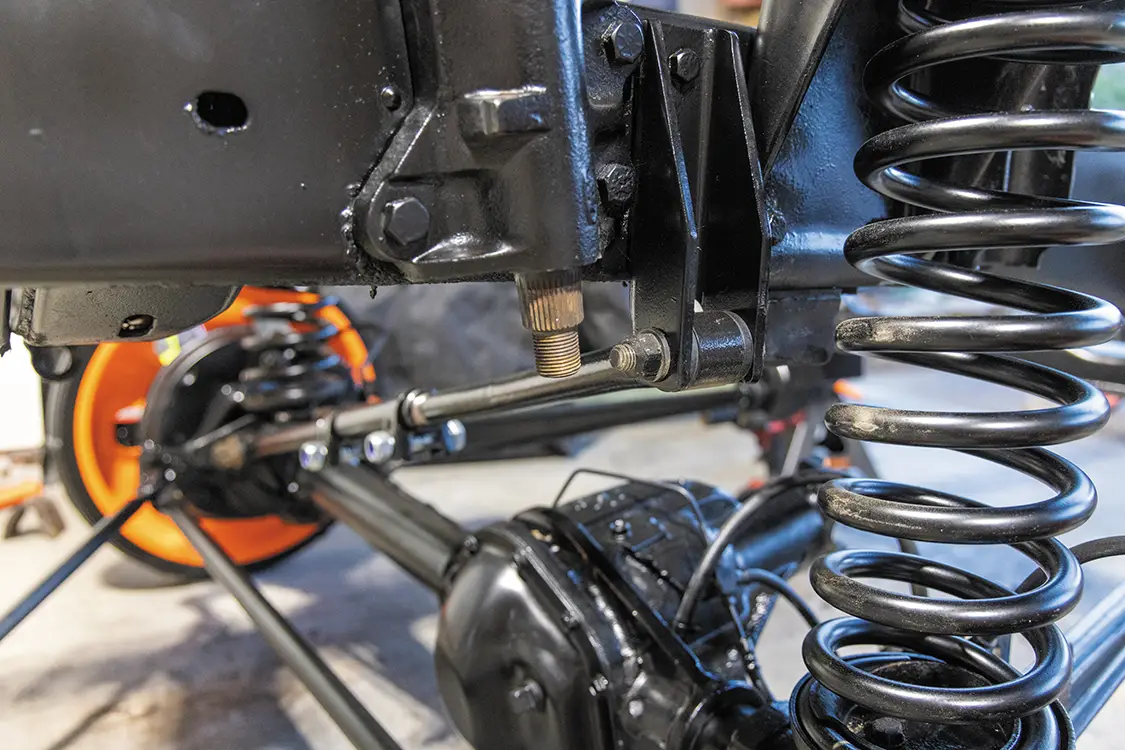
Slide the front axle back in with the new front bushing in place for the radius arm and install the new adjustable track bar before putting the radius arm cap and bushing back in place.
Reinstall the lower coil cup to the top of the radius arm.
Skyjacker Lift Kit Install
Now set your new dual-rate coil spring in the lower cup and reinstall the lower keeper and upper keeper in the spring bucket.
Install your adjustable track bar into the bracket on the frame.
Skyjacker Lift Kit Install
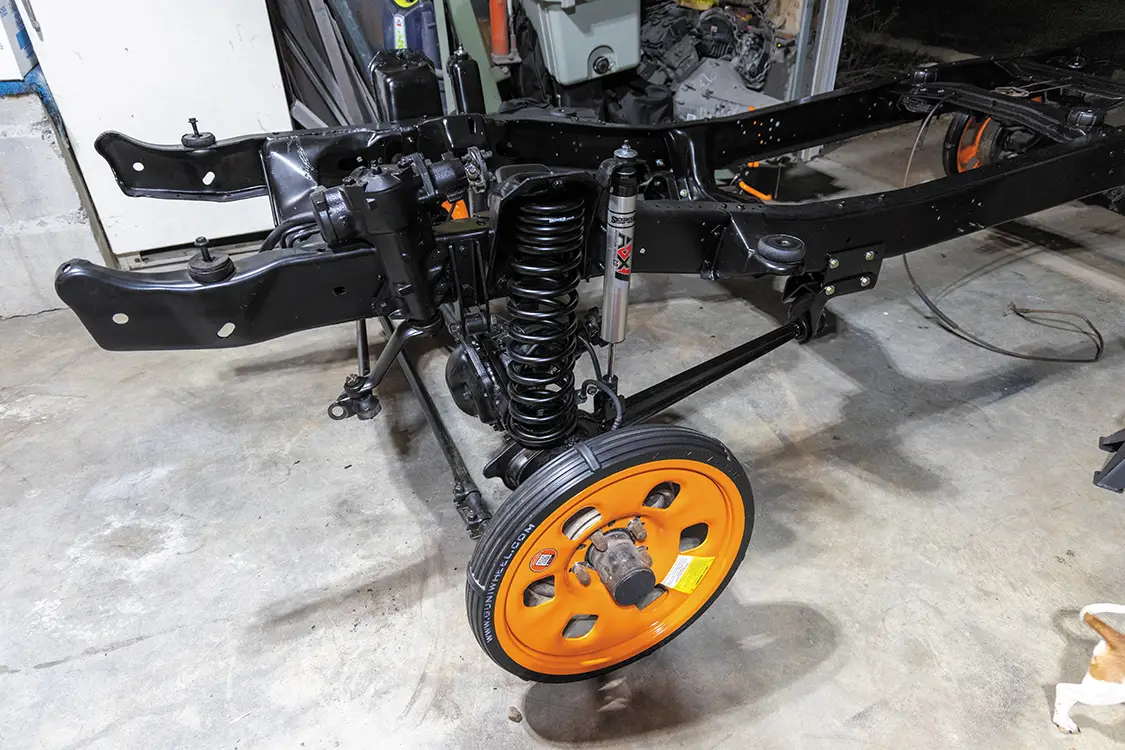
Now put in the new ADX M2.0 shocks and pitman arm, and the front lift is complete.
Move to the rear suspension and get to work.
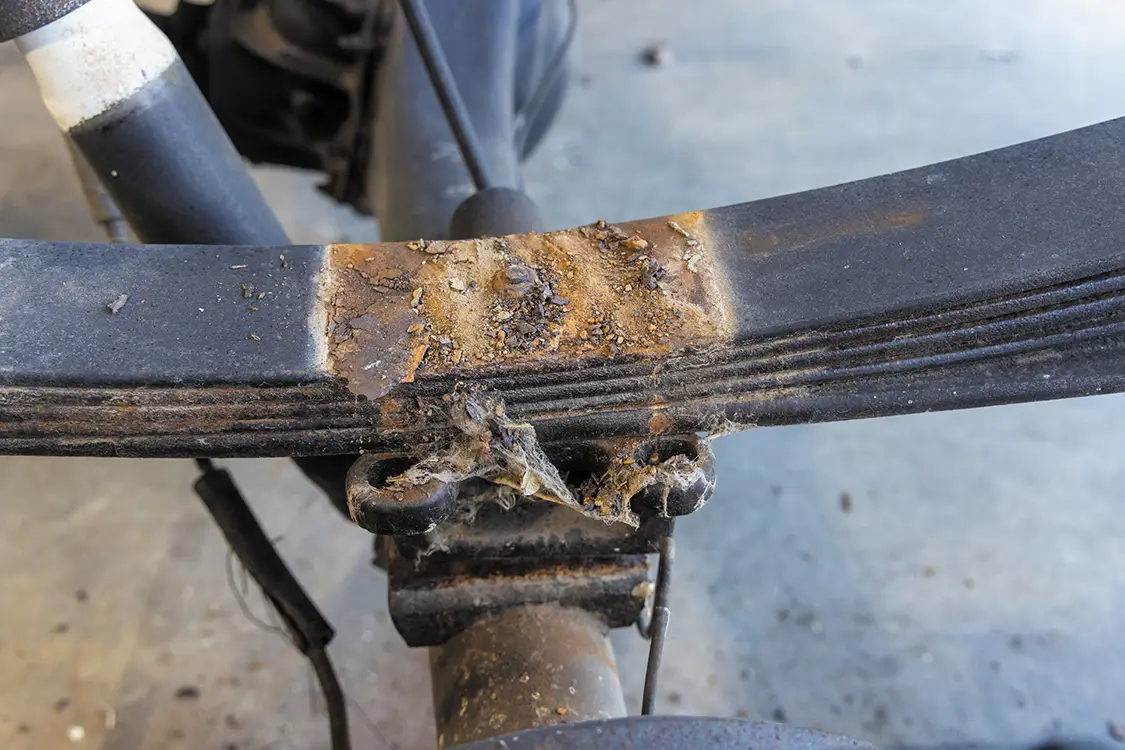
Remove the factory U-bolts, top plate, and rear shocks.
Remove the front of the leaf spring from the frame bracket.
Skyjacker Lift Kit Install
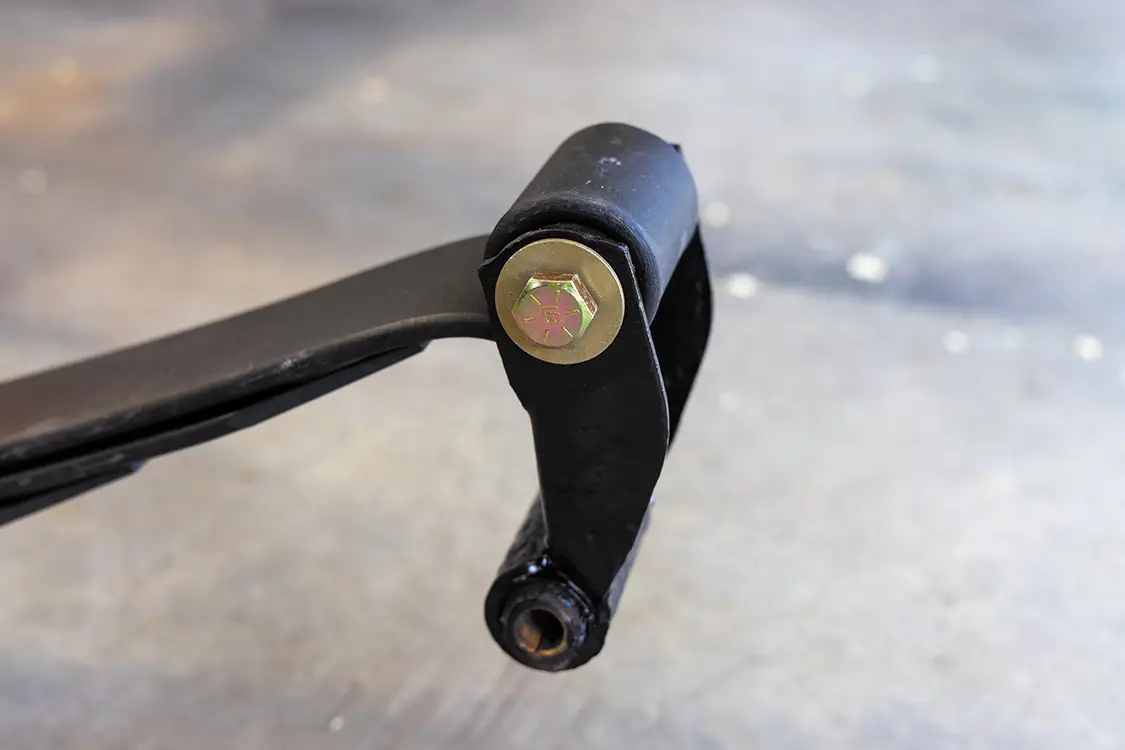
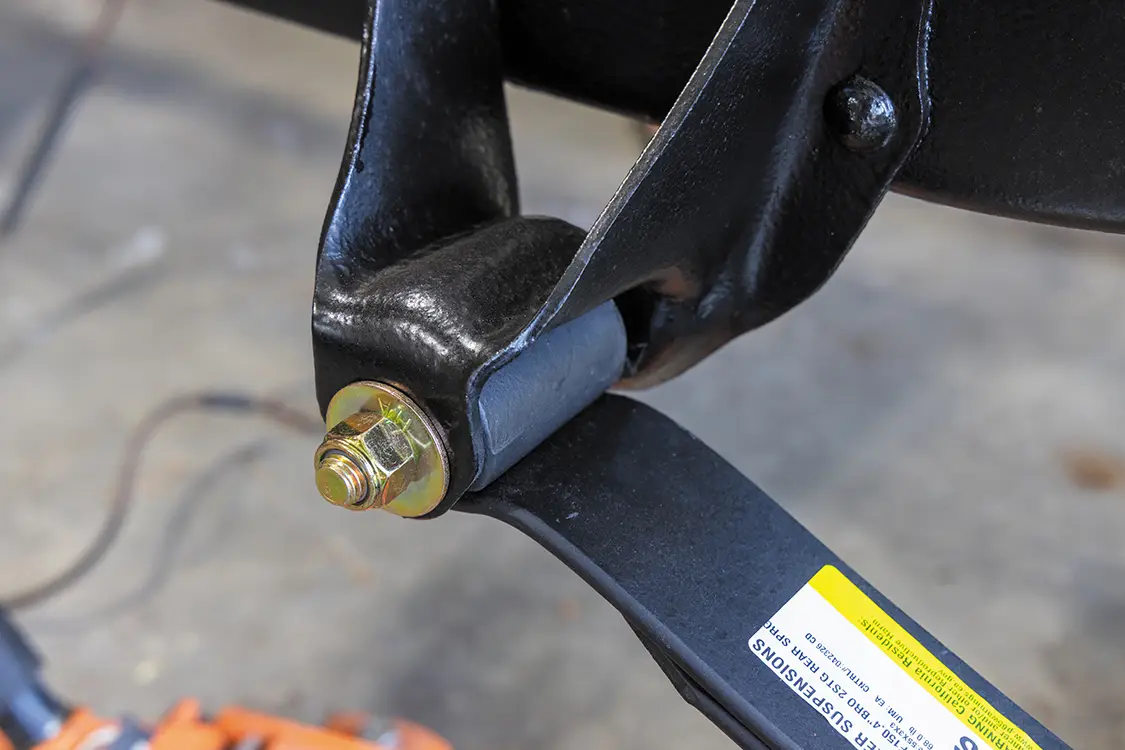
Remove the rear shackle from the frame bracket and old leaf pack.
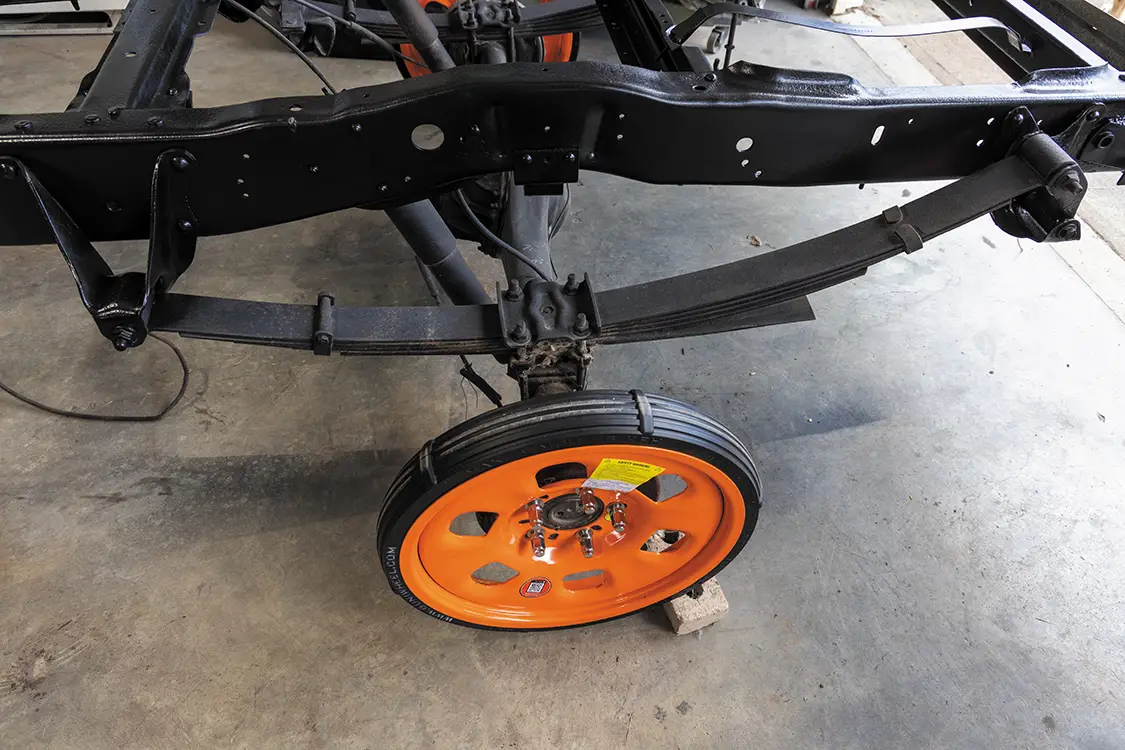
Install the rear shackle on the new Softride leaf spring.
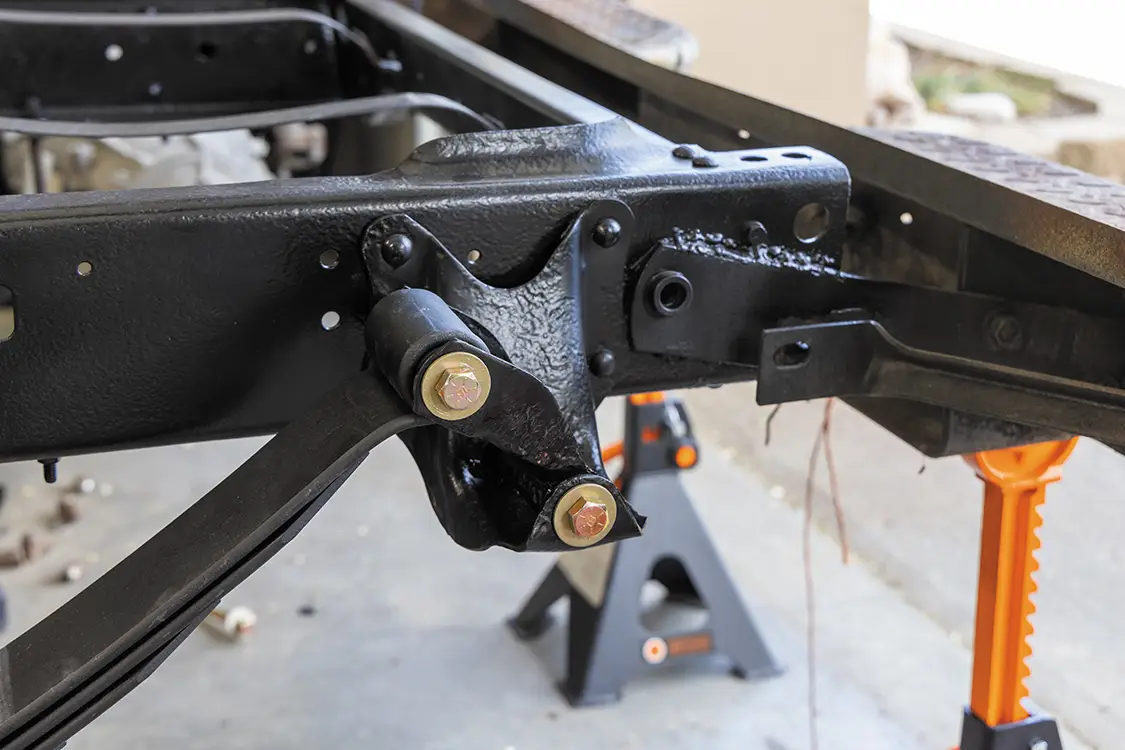
Install the front of the leaf spring into the frame mount.
Install the shackle back in the rear leaf mount on the frame.
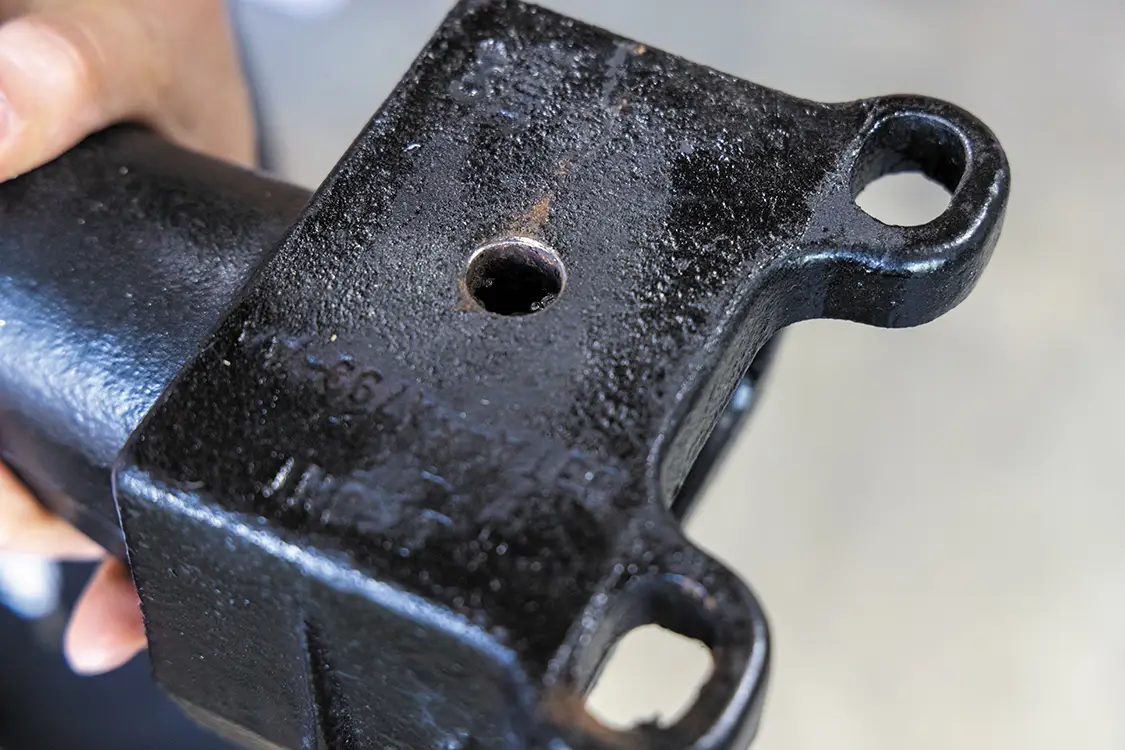
You will have to drill out the hole on the factory leaf block to get it to fit over the pin on the new leaf spring. Install the top leaf plate with the new U-bolts from Skyjacker.
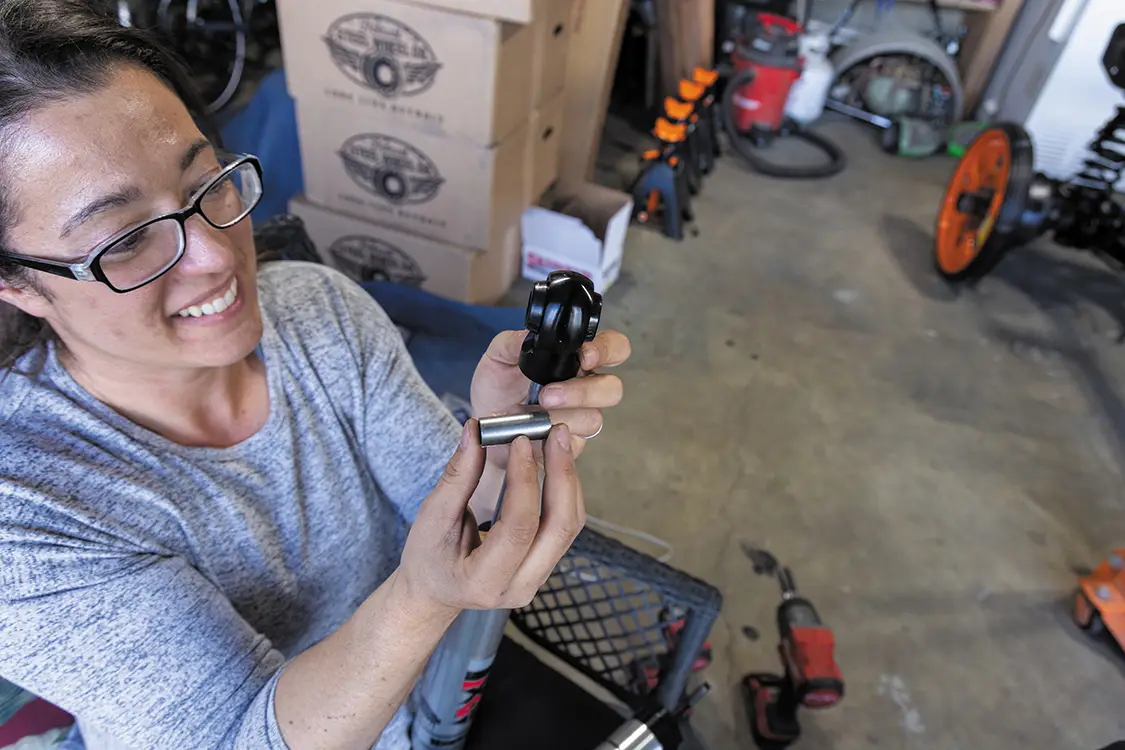
Install the bushing on the new rear ADX M2.0 shocks and install them on the truck. TIP: Use a little dish soap to help get the sleeves through the bushings. It will save you a lot of time and frustrating wondering why they won’t go in.


X
We value your privacy

We use cookies to enhance your browsing experience, serve personalized ads or content, and analyze our traffic. By clicking "Accept All", you consent to our use of cookies. Visit our Cookie Policy for more info.