PROJECT ROCKY Restoring the Frame and Installing a 2WD Front Suspension Lift Kit for our ’79 C10 Squarebody

The teardown is complete and parts are finally starting to arrive at our home shop. That means it’s time to jump back on project Rocky, our slightly lifted, two-wheel drive, 1979 Chevy C10 Squarebody.

In a previous issue, we fully disassembled this truck completely down to the original frame rails. We set the original body panels aside and ordered the first group of goodies we need to rebuild including cab rocker and corner replacement patches from Auto Metal Direct, OEM factory replacement suspension parts from RockAuto.com, and a set of two-wheel drive lift spindles for an ’88-’98 Chevy C1500 OBS truck from Rough Country. This combination of bolt-on, factory spec hardware should give us around 4 inches of lift on the front of our classic two-wheel drive Chevy C10.

Now that the parts are patiently waiting on the workbench, it was time to get to work. The frame and rear axle have to be sandblasted down to the original metal before we can re-coat them in a new black satin finish. The frame is perfectly straight and completely flawless, so we know we have a great starting point. The goal is to get this truck to SEMA this year in the Auto Metal Direct booth. So far so good. Follow along as we fully assembled the front end including a new steering box and tie rod ends. How’s it going on your project?

01(a) A quick refresher on the concept we’re shooting for by the end of this build. Slightly lifted on 33-inch tires, 12-inch-wide American Force wheels and all original paint, trim and interior stylings.
02(a)
02(b)
02(c) To catch you up from our previous issue, we removed the front end, bed and cab within an afternoon thanks to the help of a friend and a forklift.
03(a) We were left with a raw frame covered in 42 years of debris build up that would take days to grind off.
04(a) So we made the wise choice and brought the frame, along with the rear axle, over to our local sandblaster for a quick session of sludge shaving
05(a) With the frame back from blasting, we shot a quick coat of primer on it before starting the satin-black saturation. As with past projects, we turned to KBS coding and choose their Rust Seal paint-over-rust protection for a high-quality long-lasting finish.
05(b)
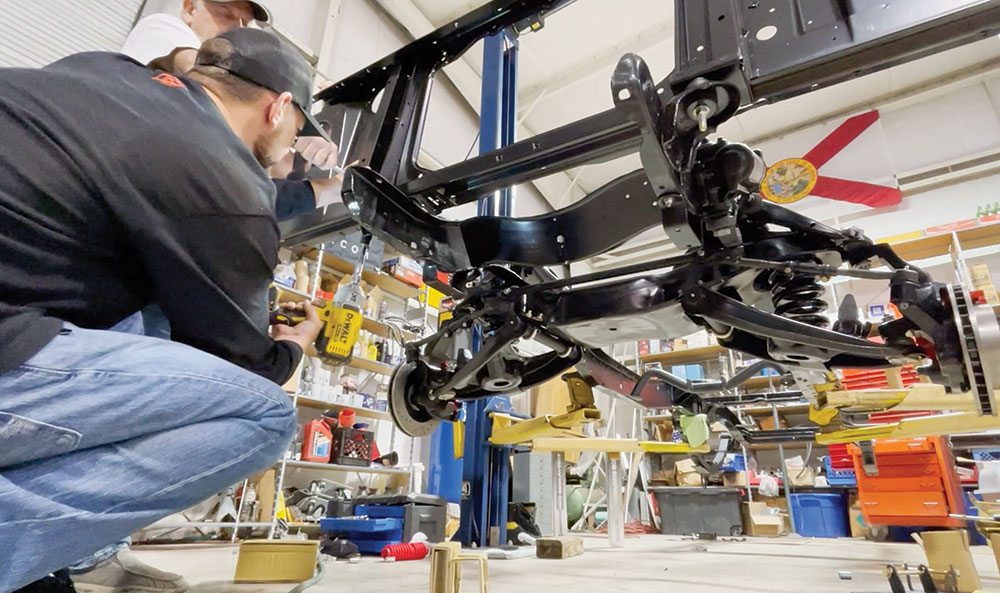
06(a) With the frame completely coated and fully dry, it was time to start the assembly of the front suspension.
7(a)
07(b) For upper control arms, we ordered these Moog RK621268 units from RockAuto.com. They come with a ball joint included, although we need to fit it with a new one for a ’88-’98 C1500 in order to match the spindle. We chose this Mevotech TXK6292 ball joint.
08(a) With the ball joints swapped out, the new upper ball joint can be bolted into the original location.
09(a) The lower control arms also have a ball joint replacement before being bolted into their original location.
9(b)
10(a) With both upper and lower control arms installed, it’s time to set the spring in place.
11(a) The Rough Country lift spindle can now be installed and the cotter pin clipped for safety.
11(b)
12(a) Here you can see the difference between an original spindle and the new 4-inch lift spindle for an ’88-’98 C1500 from Rough Country.
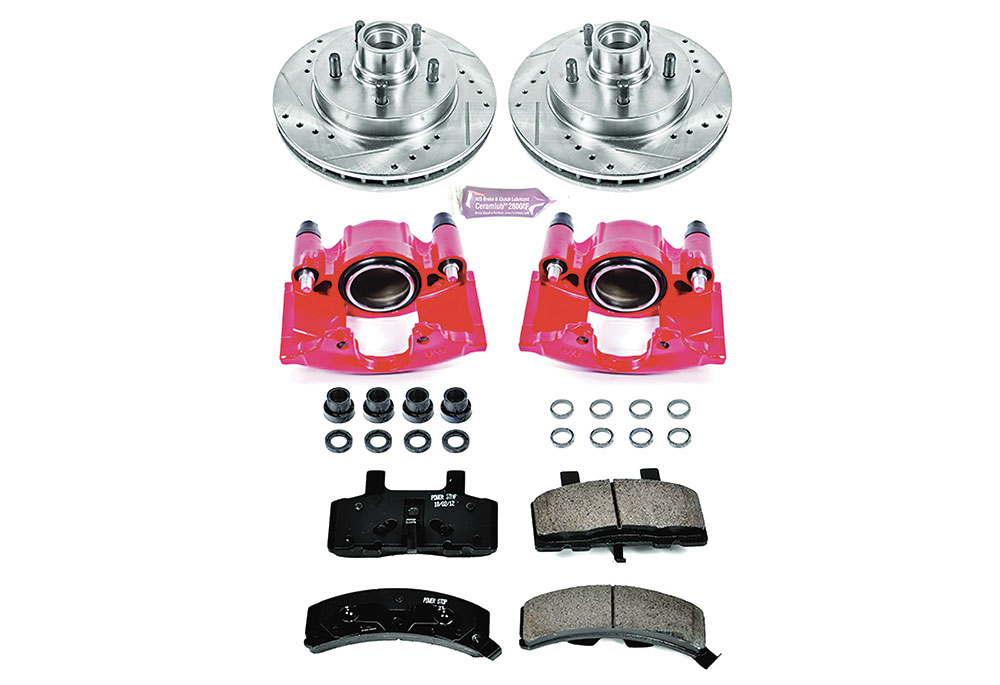
13(a) For our front brake package, RockAuto.com offers this Power Stop KC1990 upgrade kit, which comes with red powdercoated calipers. This is going to give us a great look and a very reliable braking system in the front of this classic truck. When ordering your inner and outer wheel bearings, be sure it’s for an ’88-’98 Chevy as well to match the spindle. We’re using this Timken SET5 bearing and race.
13(b)
14(a)
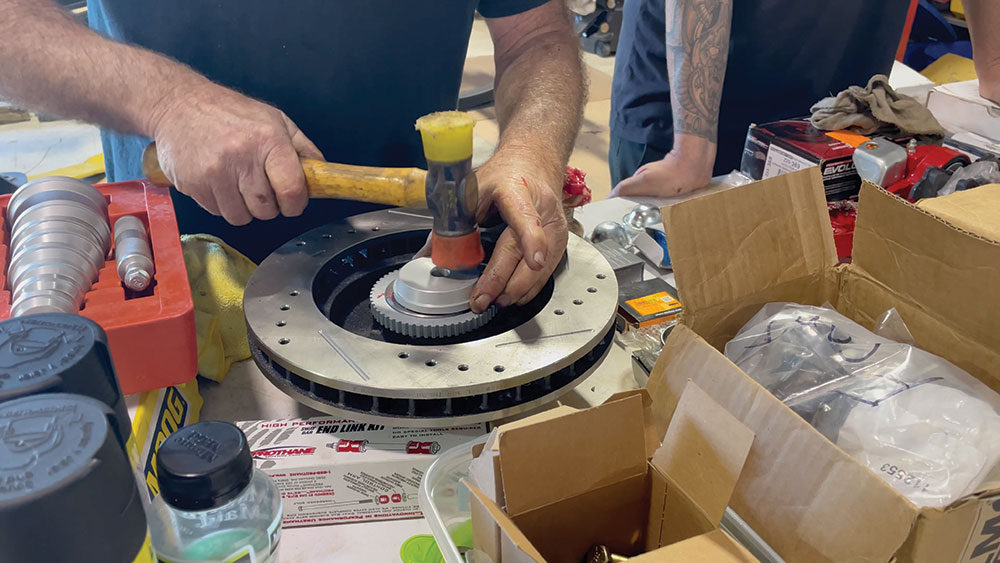
14(b) With the bearings heavily lubricated, we set them in the brake rotor and tapped it perfectly flush with a bearing tool.
14(c)
15(a) Now the rotor can be slid onto the spindle. Be careful not to drop that front bearing!
16(a)
16(b)
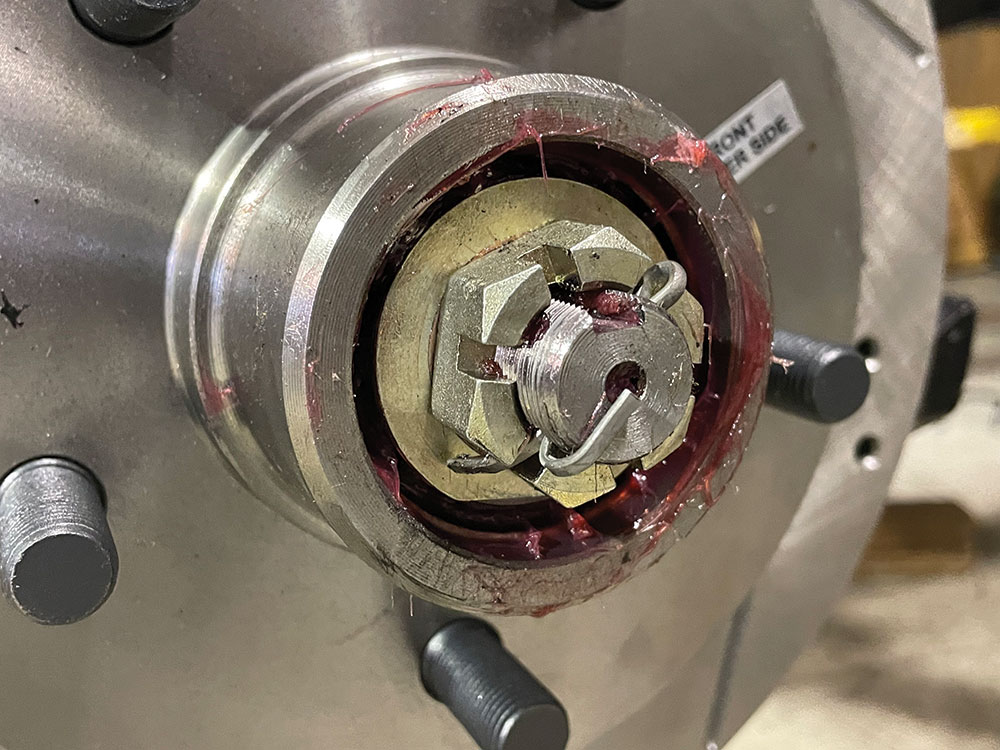
16(c) With the rotor installed, we were able to lock it down tight using a Doorman 05145 spindle lock nut kit.
17(a)
17(b) Now we can add the brake caliper and bolt it into place.
18(a)
18(b)Our spindles needed to be tapered to match our ’88-’98 tie rod ends. We installed them from the top to give us a little additional clearance.
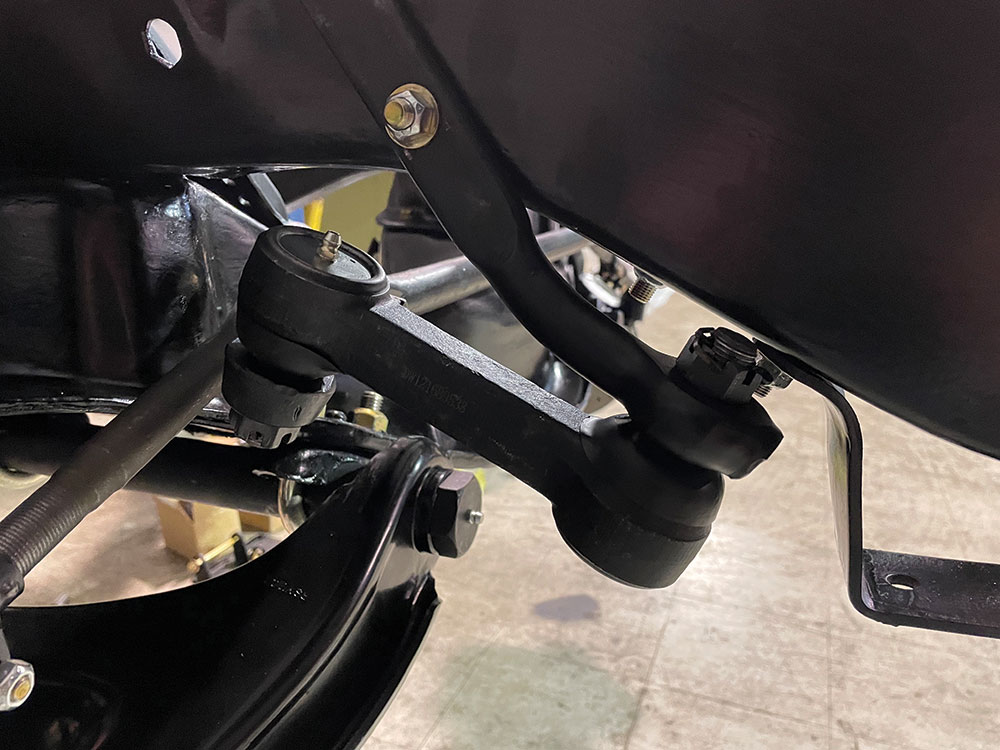
19(a) Next is the mount for the idler arm, which goes in the factory location. We chose this Moog K6247T that we ordered from RockAuto.com.
19(b)
19(c)
20(a) The final piece for the front suspension is the grease fittings in all the joints. We will add grease to these later.
21(a)
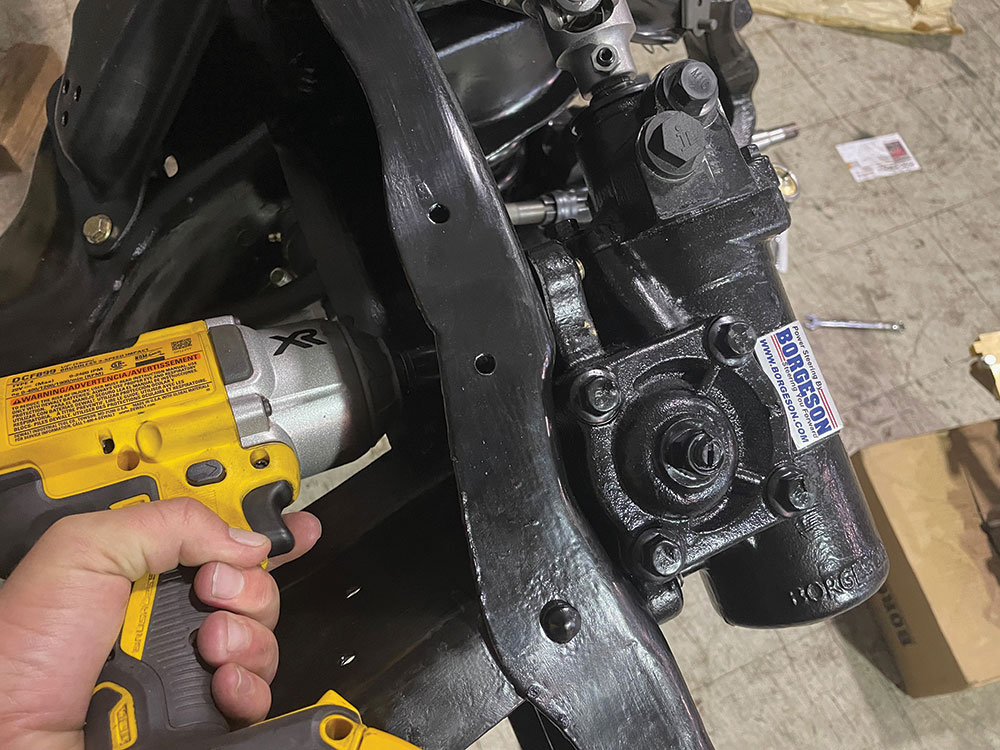
21(b) An all-new steering box from Borgeson was our only reasonable option for this project. We want a factory look with a new modern feel, and Borgeson has perfected this process.
22(a)
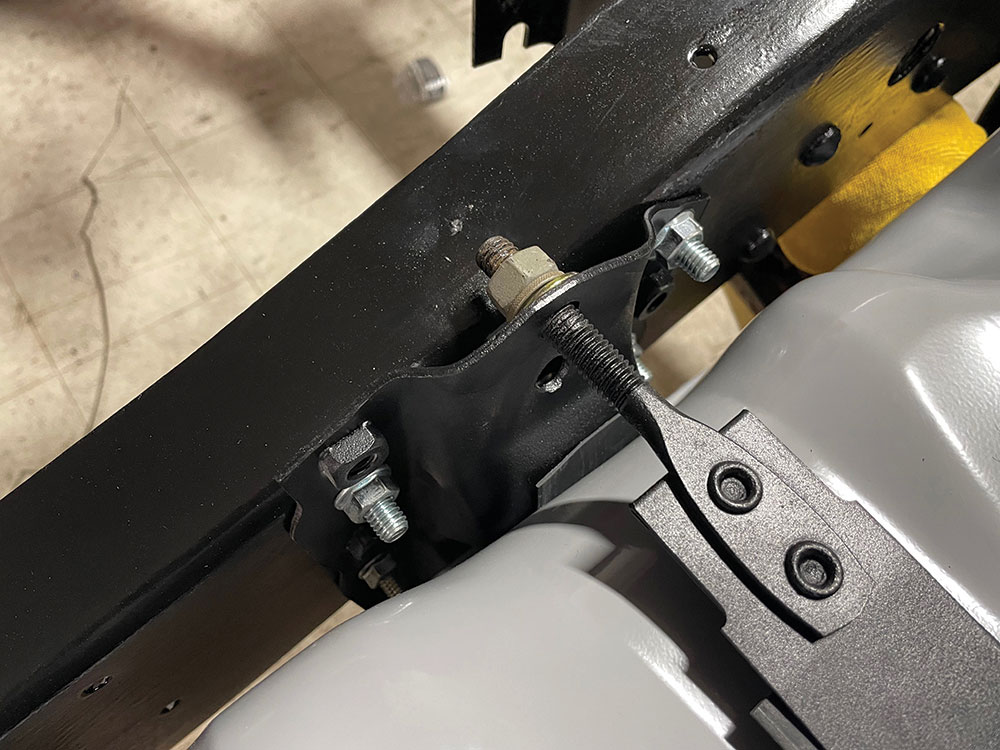
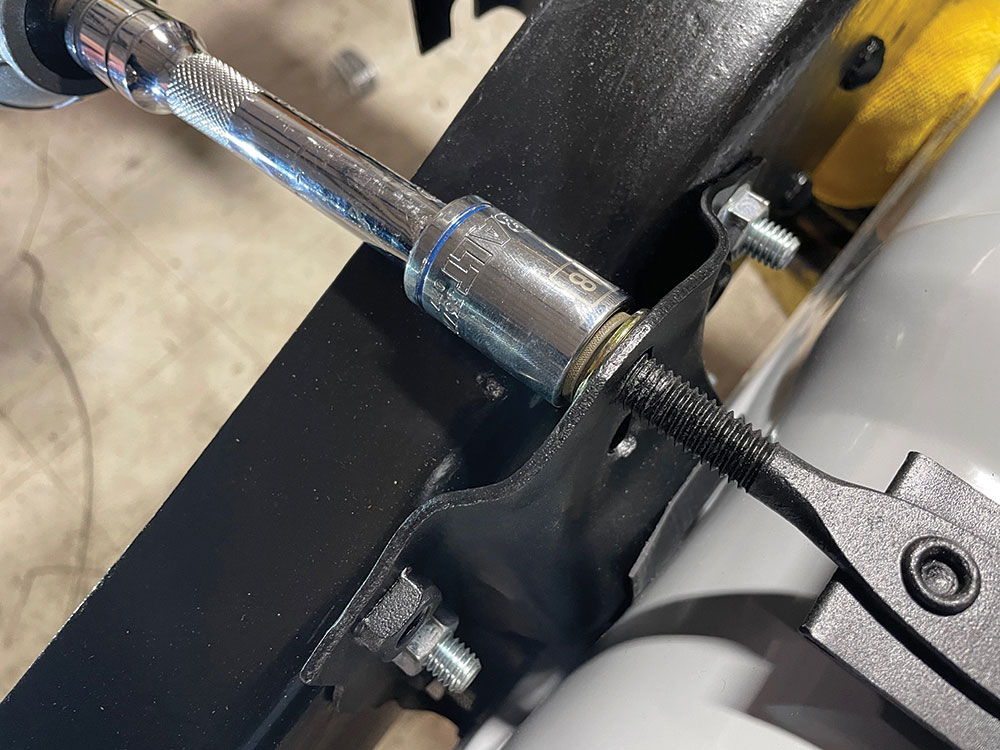
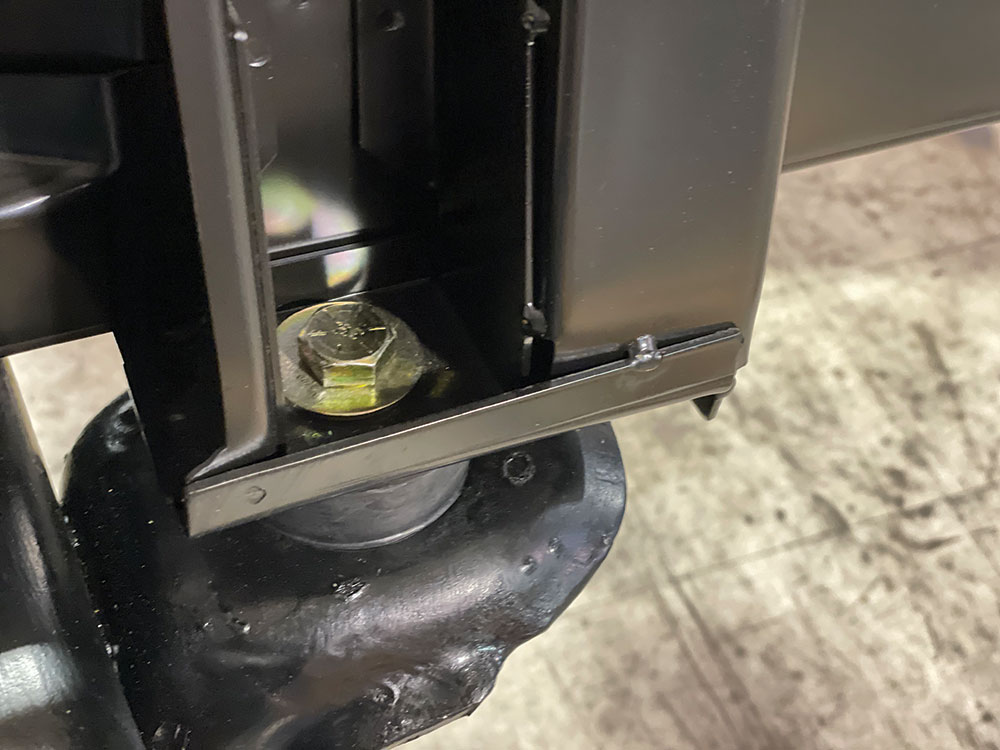
22(b) Next to bolt to the frame are the original fuel tank straps. We cleaned them up and coated them a few times with some paint. We also spray glued on these rubber straps to go between the metal, which will avoid any rattling down the road.
23(a) Our all new fuel tank from Auto Metal Direct came out of an ’87 Chevy Squarebody. We chose this year because the company introduced a baffle into the tank. Using an LS engine, we would rather have a fuel tank with a baffle.
23(b)
23(c)
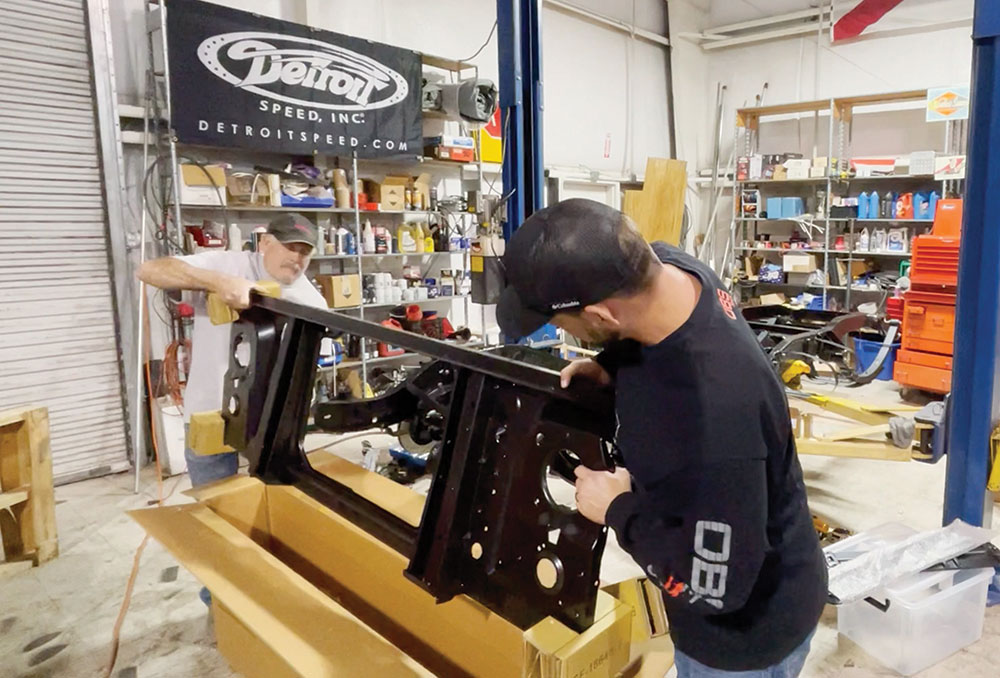
24(a) Moving right along, we decided to go ahead and bolt on our replacement radiator support from Auto Metal Direct. This piece comes coated from the factory and does not need to be painted or powdercoated.
24(b)
24(c)

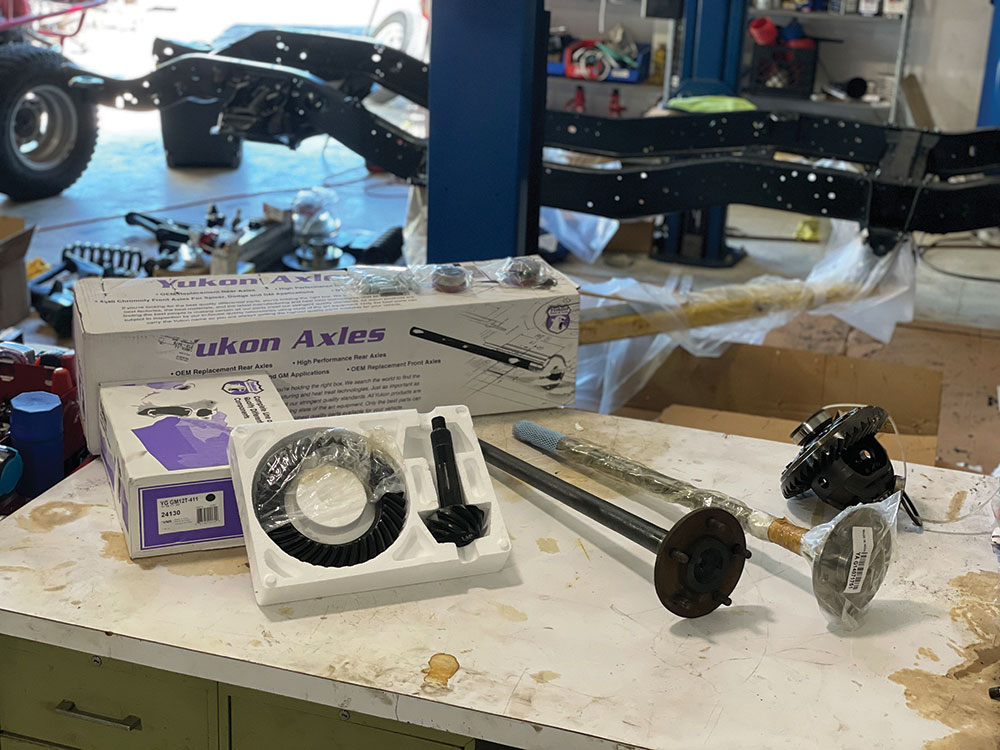
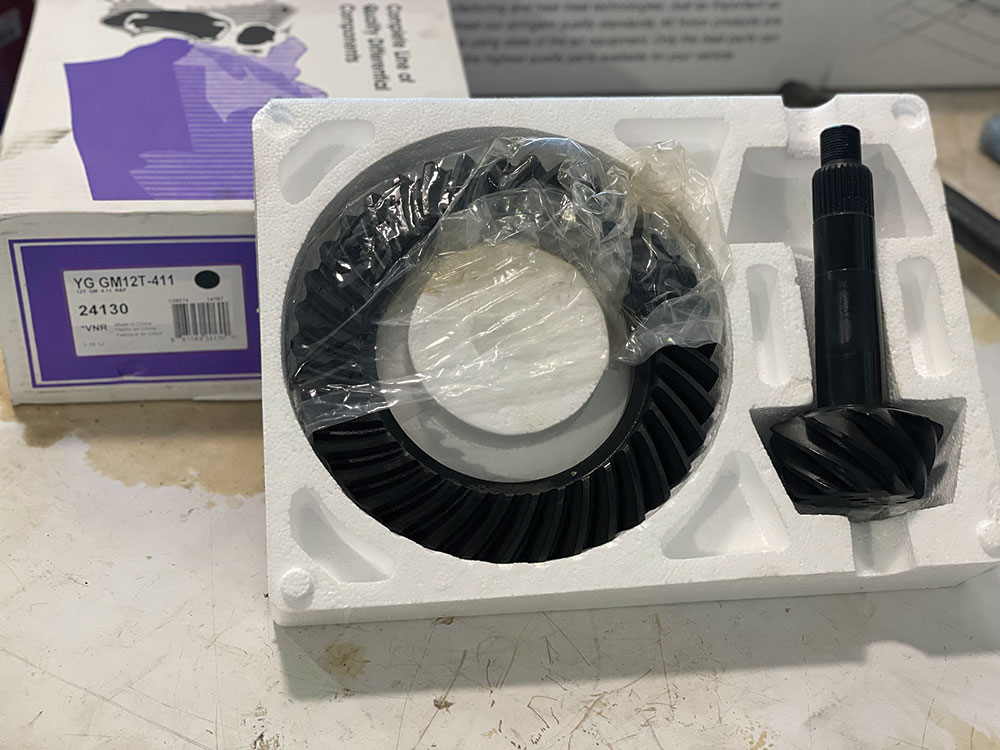
In the next issue we will tackle the rear end and install these new components from Yukon Gear and Axle.

We will also get an update with Shane Murphy at Street Dreams paint and body shop in Ocala, Florida. Can’t wait to get this cab in like-new condition.
Also in the next issue we will start the buildup on our Summit Racing 5.3L LS engine. We’ve got some amazing plans for this tiny turnkey long block.

You May Also Like

Sheet Metal Fabrication Hacks | Build Anything with Basic, Affordable Tools

Get the job done with the most basic tools. ****Where to Buy Practice Metal and Weld Kits**** USE DISCOUNT CODE ‘TIMWELDS’ TO SAVE 10% https://weldmetalsonline.com/?ref=048…Subscribe […]