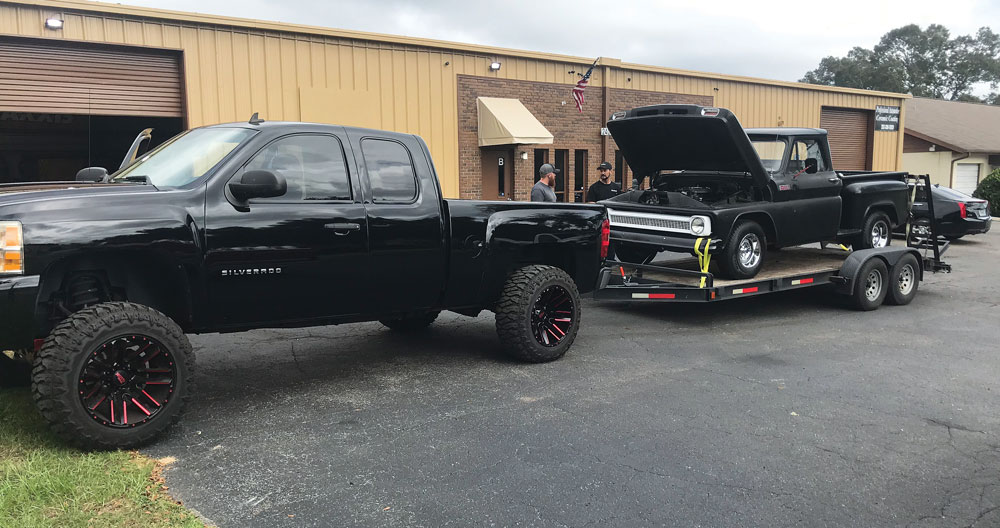
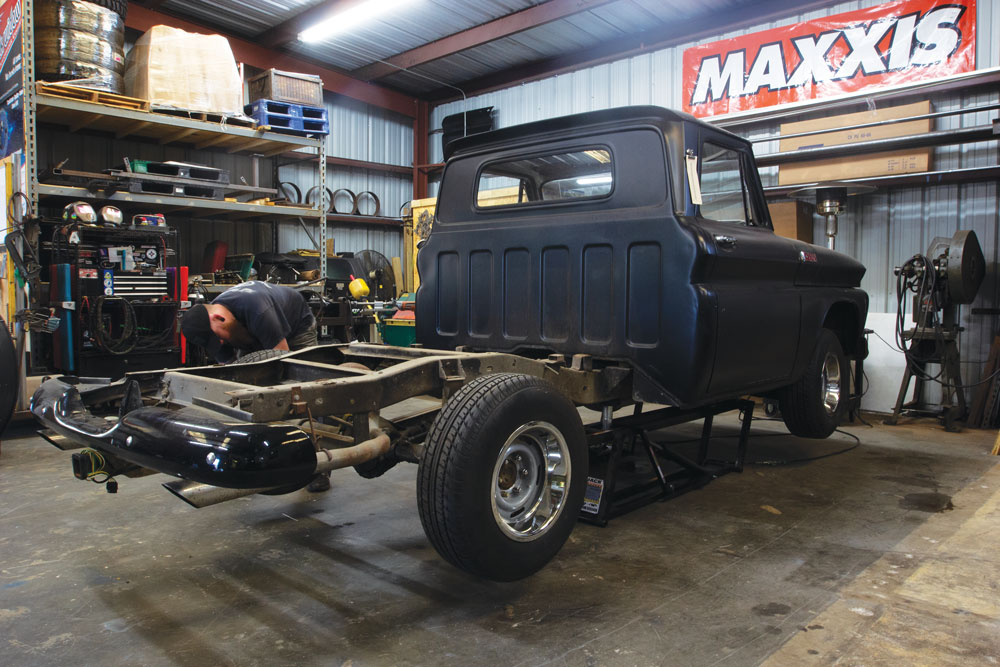
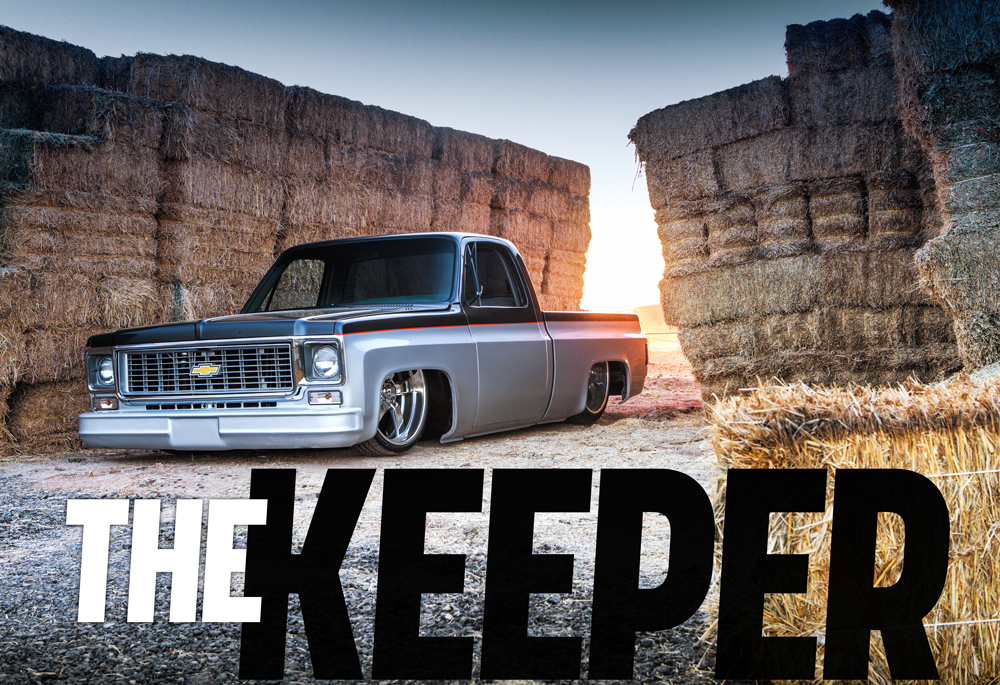
OUR 1965 CHEVY C10 project truck, project Raven, is really starting to take a turn toward completion. We are super excited to see this truck hit the road, and you get to sit in the front row during the whole build process.
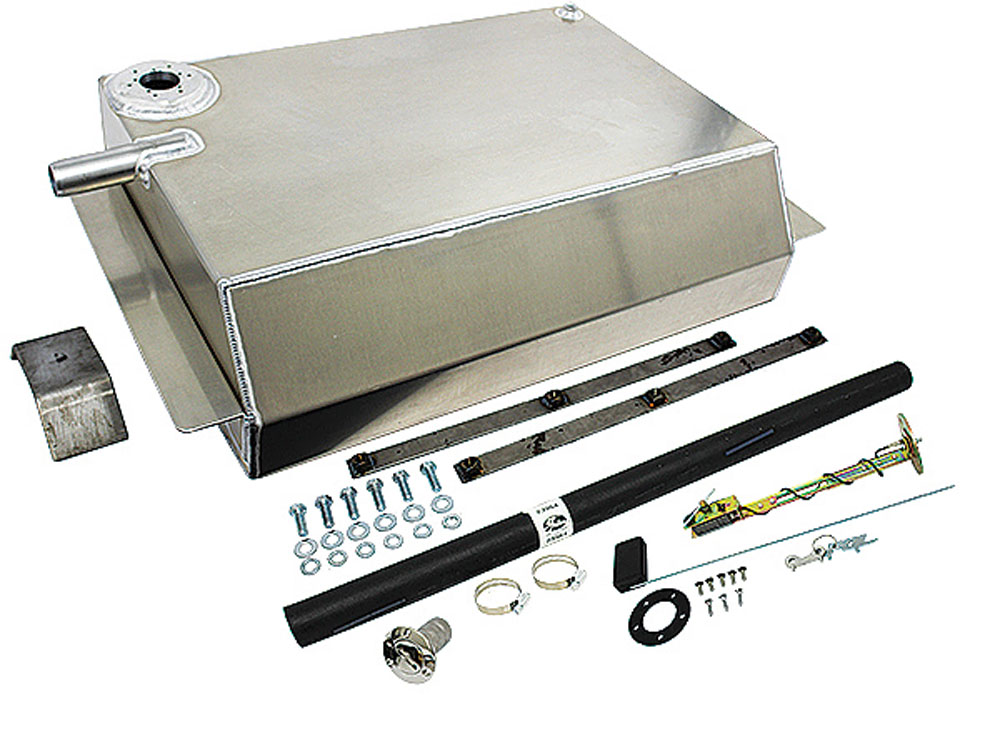
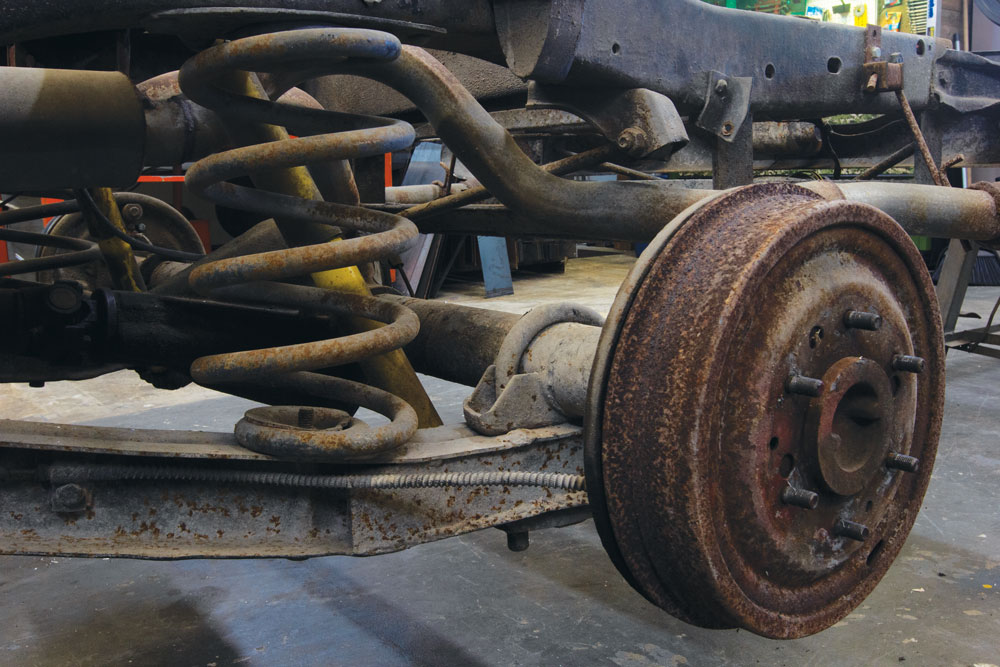
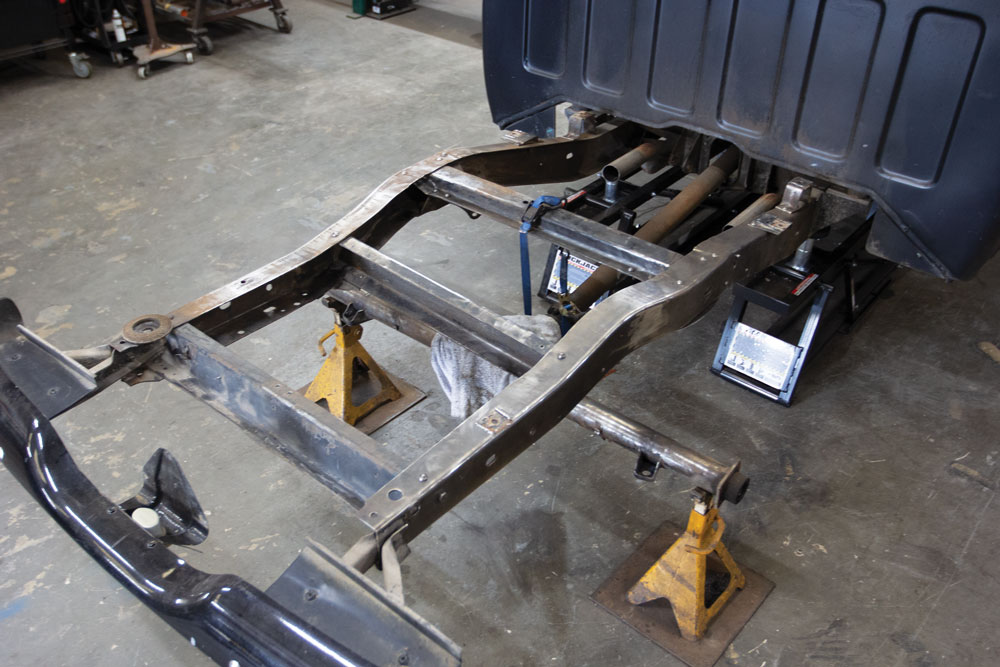
In the last issue, we broke down this entire project part by part and let you know our budgets and path the success. Now it is time to get to work. The first task on the list is to remove the bed and clean the rear frame rails. We are swapping the suspension and brakes so all that has to go. The factory fuel cell sits inside the cab and we can’t possibly think of a worse place for it. So, while we are back there, we will install a new fuel cell from Performance Online. These lightweight aluminum gas tanks are designed to fit between the frame rail and rearward of the axle on Chevy and GMC trucks. By moving the fuel tank out of the cab, you gain much needed room to allow for further customization and increase fuel capacity and safety. Made of heavy gauge aluminum, these gas tanks offer a lightweight design and are fully baffled. These kits include the fuel tank, mounting straps, fuel hose, clamps, sending unit and fuel cap.
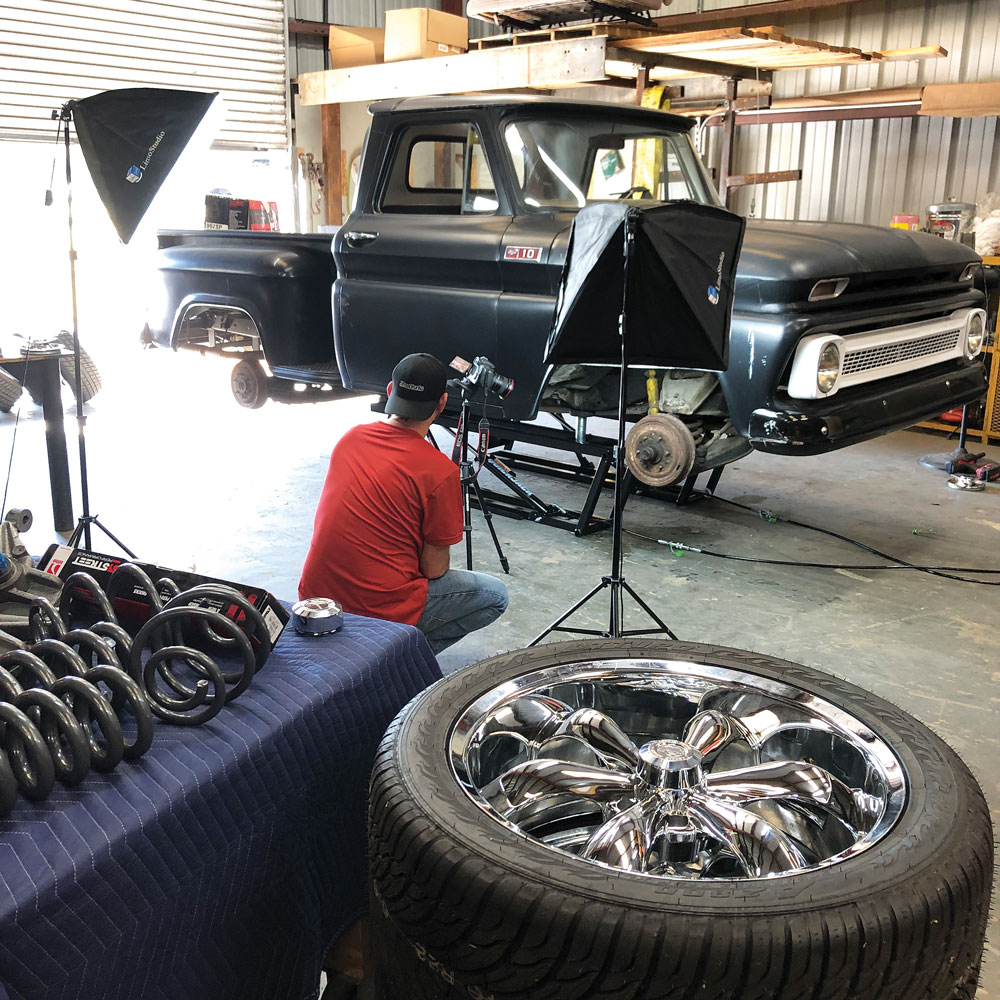
Once the tank is installed, we will coat the framerails with bed coating and start bolting on the new Classic Performance Products coilover suspension. This is one of those projects that starts slow but ramps up really quickly. If you’re not following us on our social media channels, I promise you are missing out. Jump online, give us a follow and keep up to date with this exciting build! Now back to the grind!
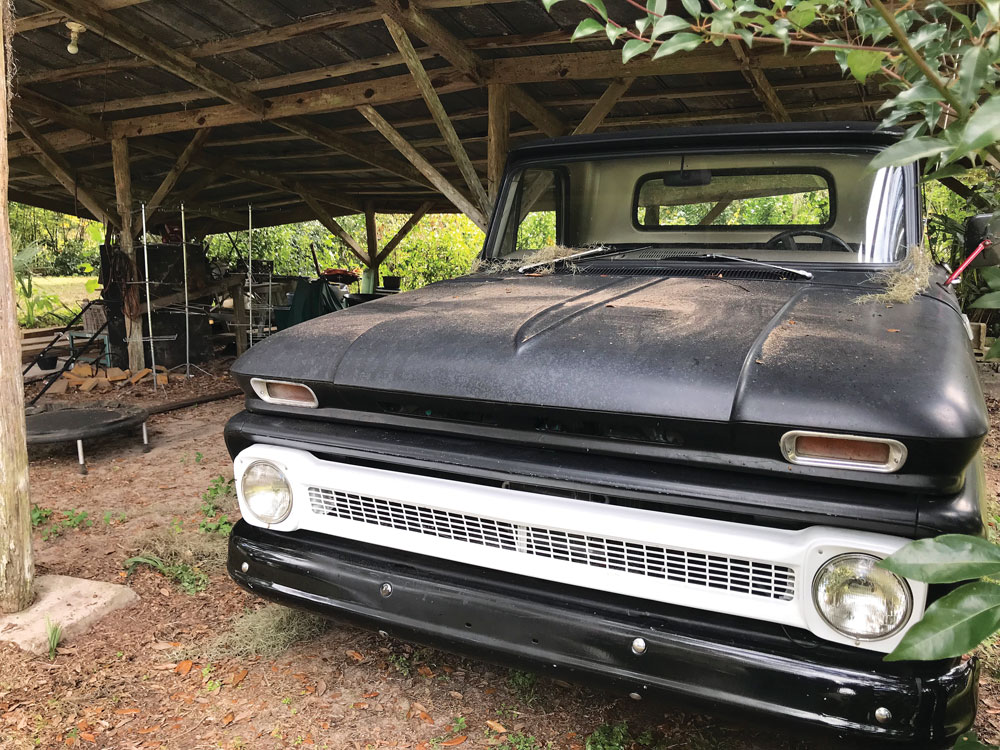
If you remember, we found our 1965 Chevy C10 Stepside covered in dust and debris in a barn. The replacement Chevy 350 c.i. engine was able to start, but its carburetor needed some adjustments to run properly.Plans, parts and procedures were the first focus, but after a few details were laid out, it was only a matter of time.We knew this was something you would be interested in, so we brought the camera equipment and got to work!
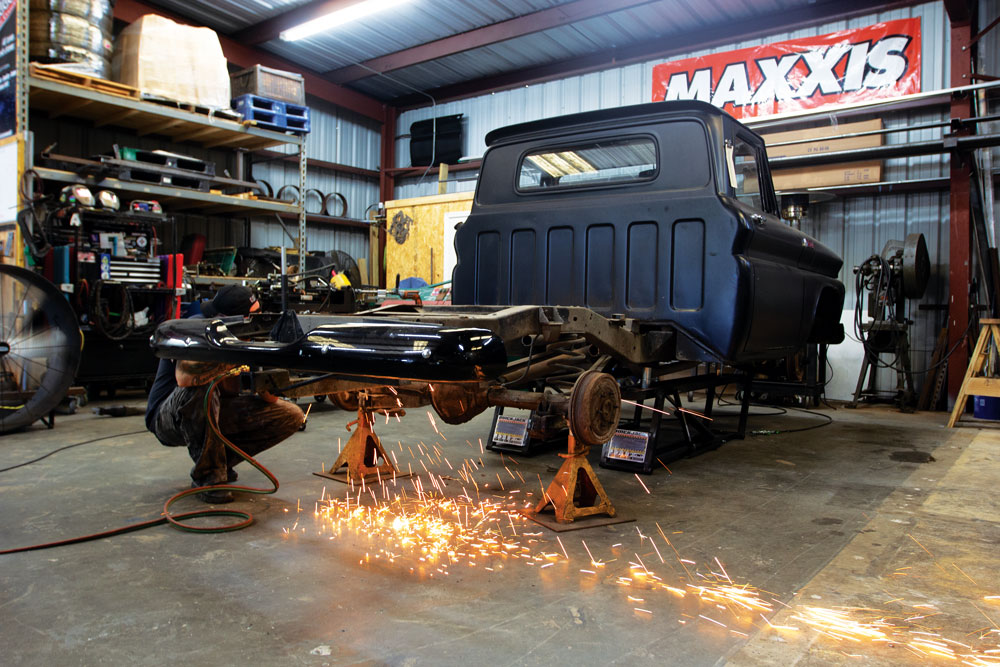
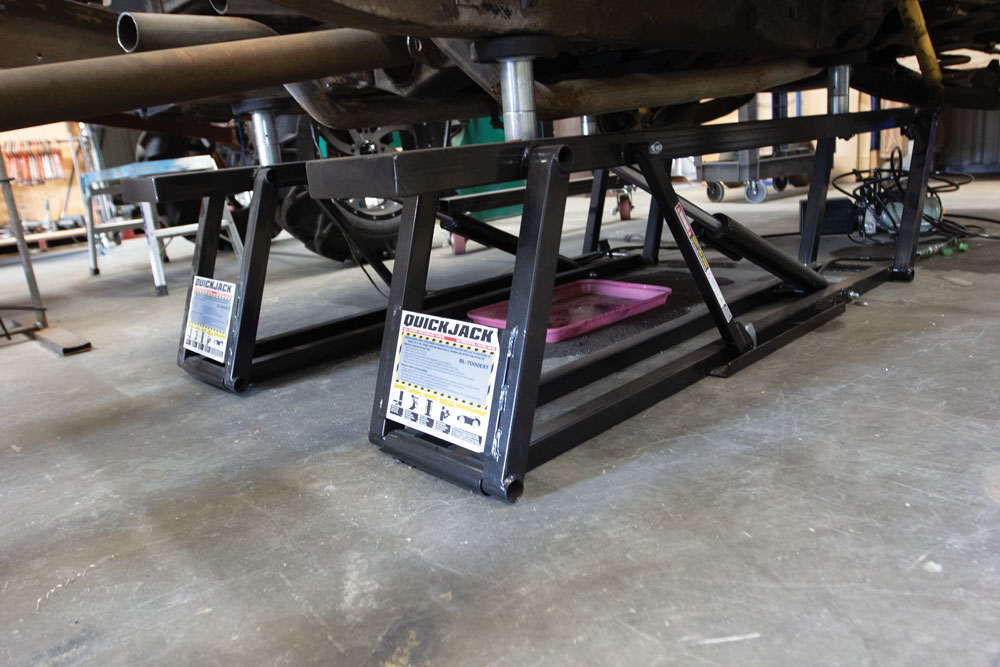
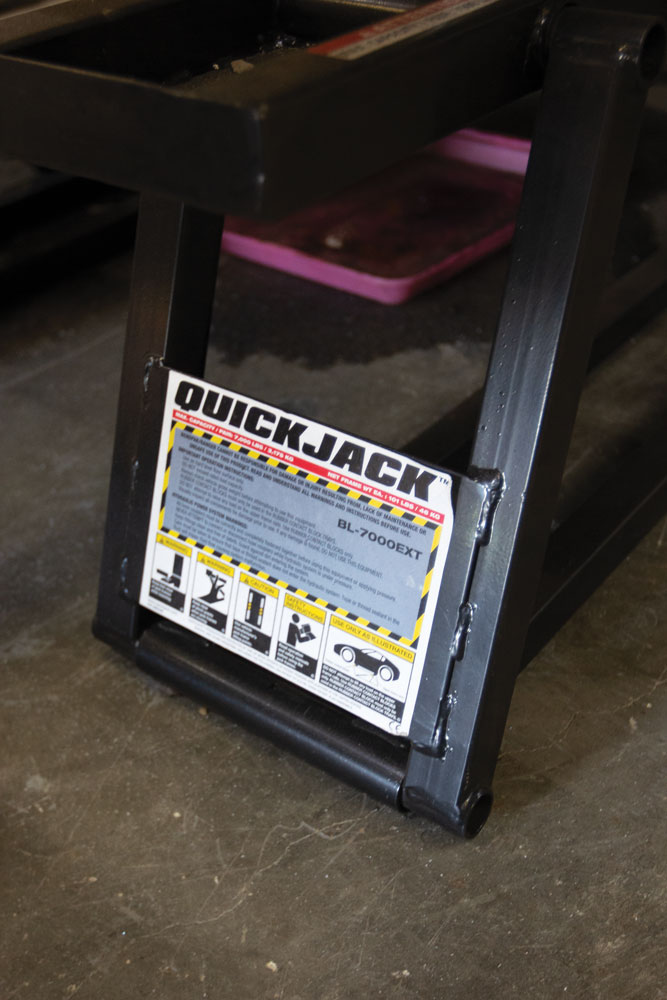
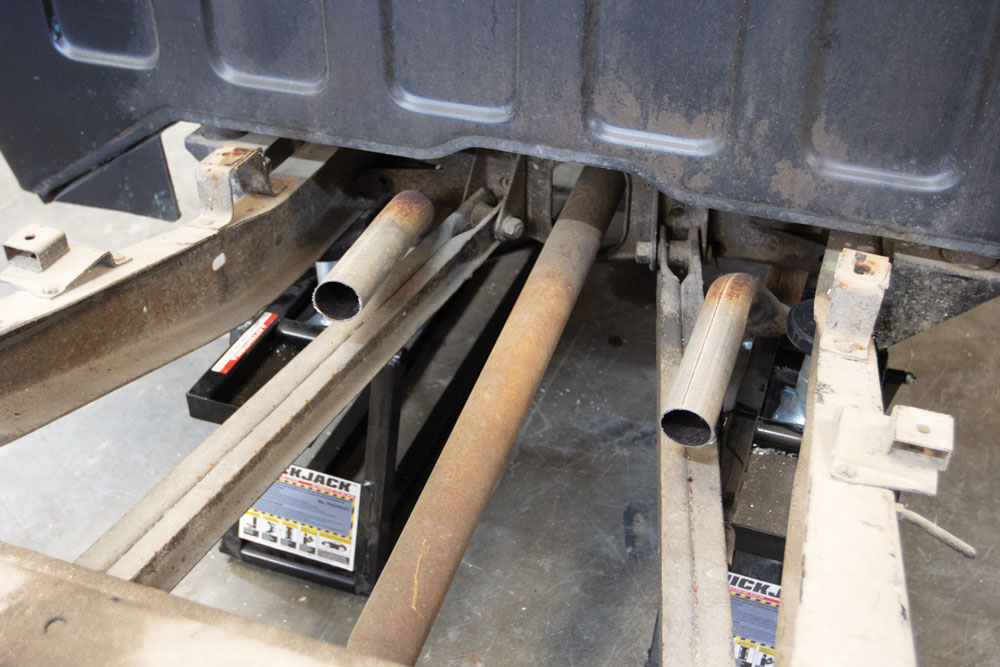
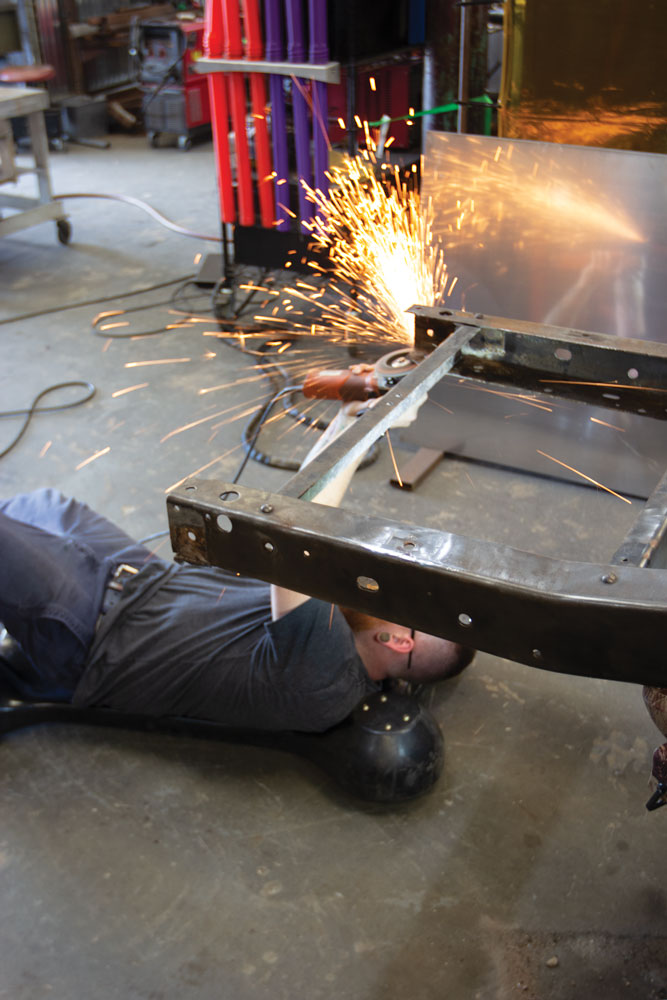
First thing with any build is getting it off the ground and off its own weight. We used QuickJack for this. The BL-7000BXT portable floor lift is the perfect addition to any build. It’s a small price to pay for the ease of use and safety.Made of heavy gauge aluminum, Performance Online gas tanks offer a lightweight design and are fully baffled. They’re available in bed fill or side fill applications for 1947-55, 1955-59, 1960-62, 1963- 66, 1967-72 & 1973-87 Chevy and GMC trucks.The first to come off is the bed. We will simply set this out of the way for now. No cutting or modifications will be made to it, so there’s no use having it take up space.Suspension and brakes on a truck that’s over 50 years old are extremely unsafe and must be replaced before daily driving in it.The first tool to make its mark is the Sawzall. We needed to cut the old exhaust out of the way to make room for the new CPP trailing arms. We will replace this exhaust with a Magnaflow DIY kit later on. Stay tuned!Now is the time we get to play with the torch. Cutting off the old suspension mounts and bump stops before grinding them smooth will give us a clean pallet to work with.
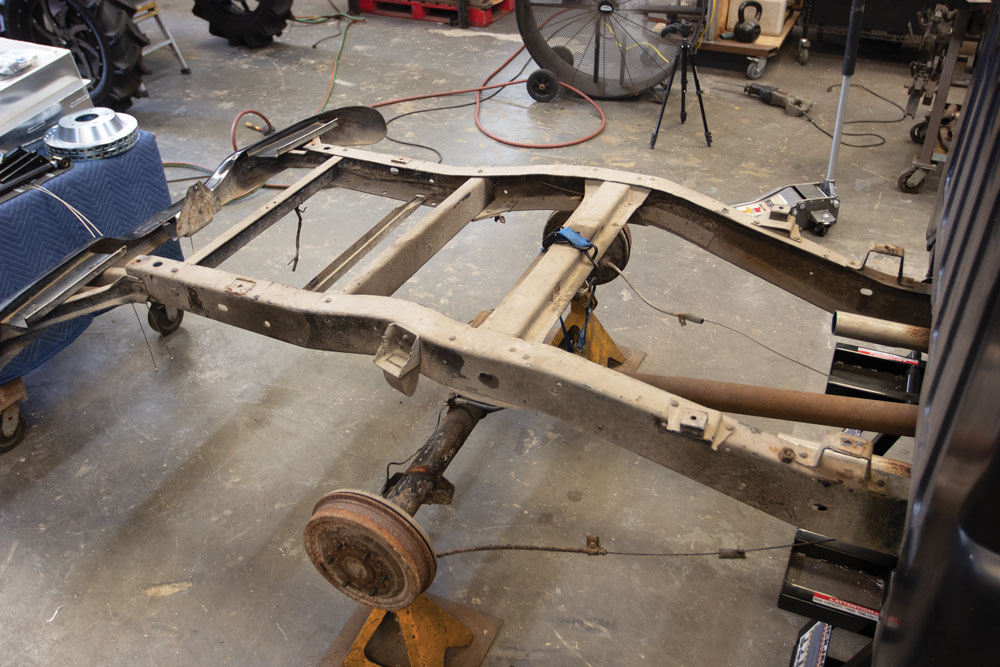
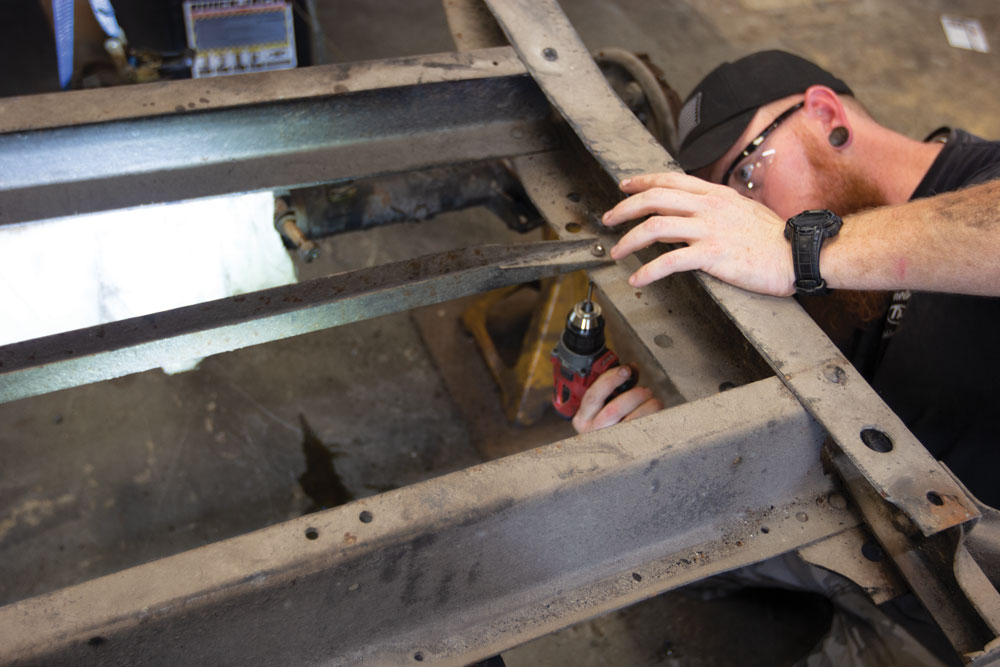
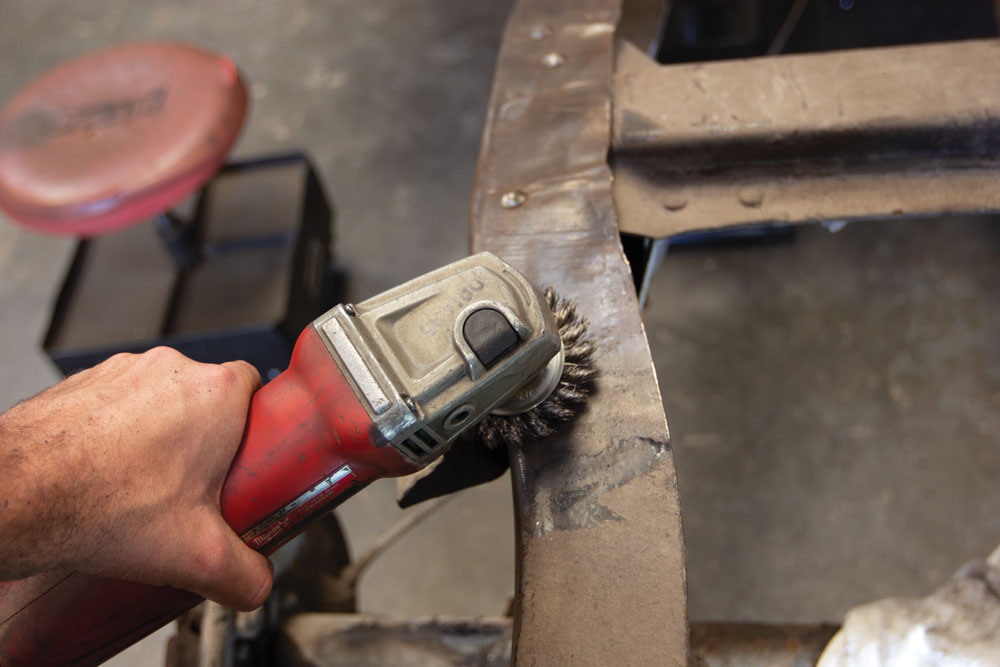
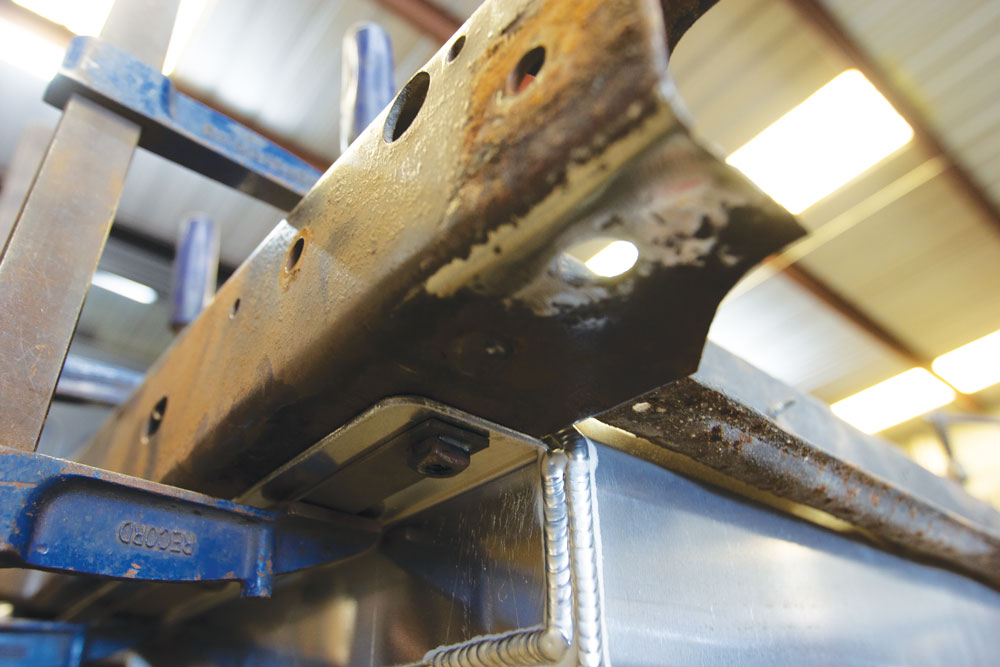
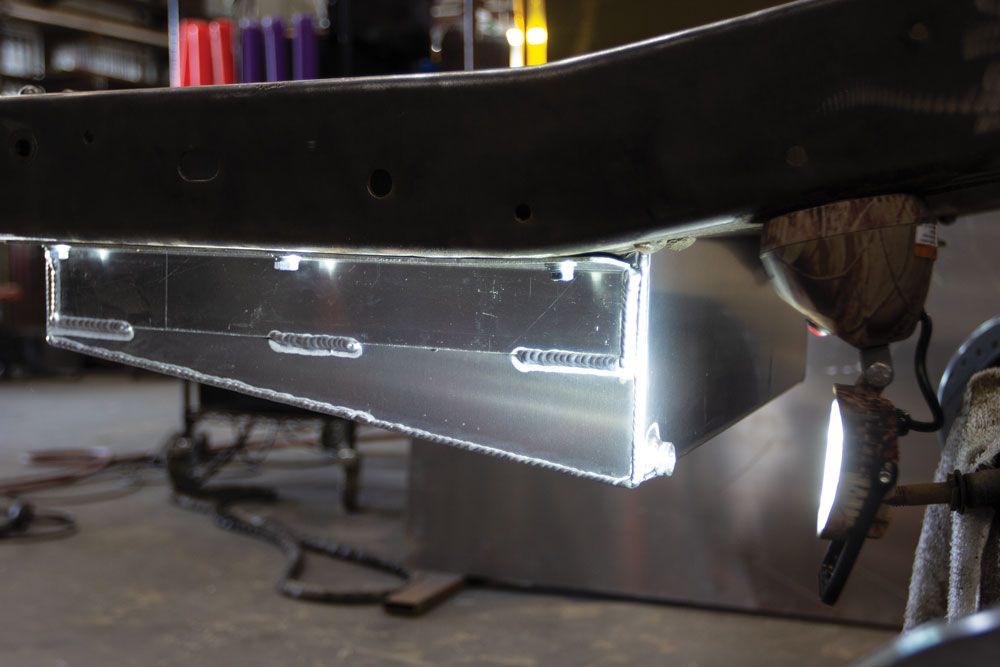
With the old hardware out, there’s only one thing left to remove. This factory support rail needed to be removed to slip the fuel cell into place.Simply drilling out the rivets will pop it loose and open up the space needed.Now comes the fun stuff. If you plan on making a show-quality piece, this step is for you. Grinding down the framerail to its bare metal will allow our bed coating spray to lay flat and smooth.As you can see, the time and persistence pay off. This frame is clean and ready for coating.
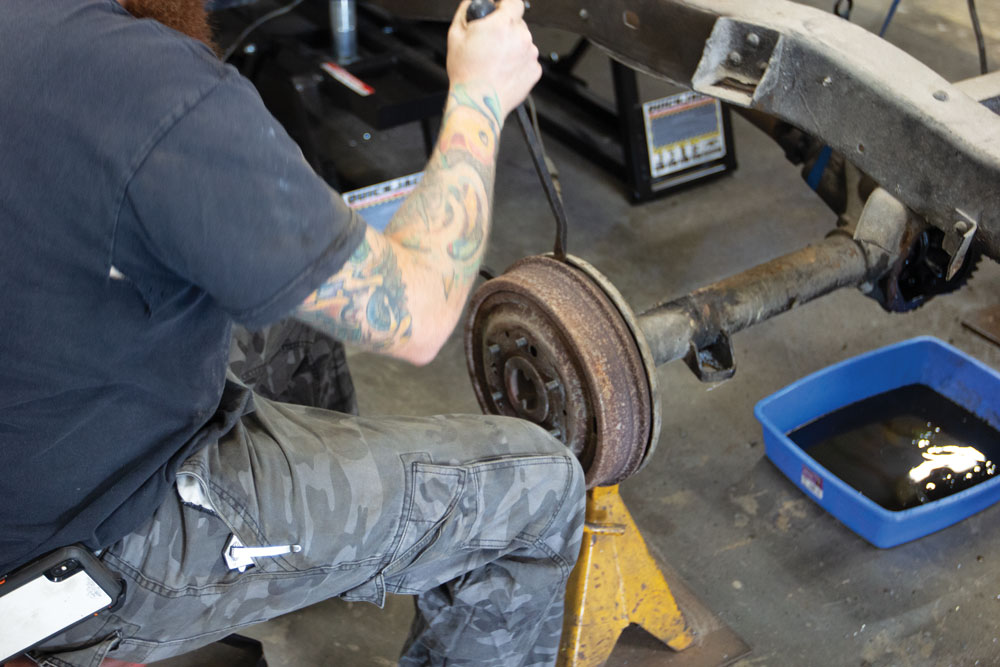
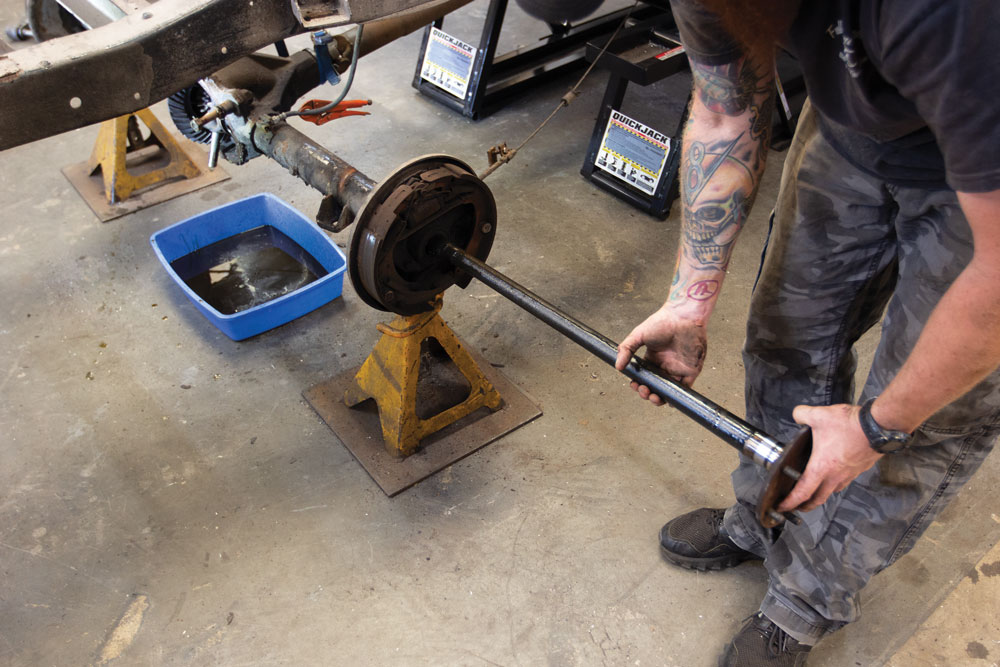
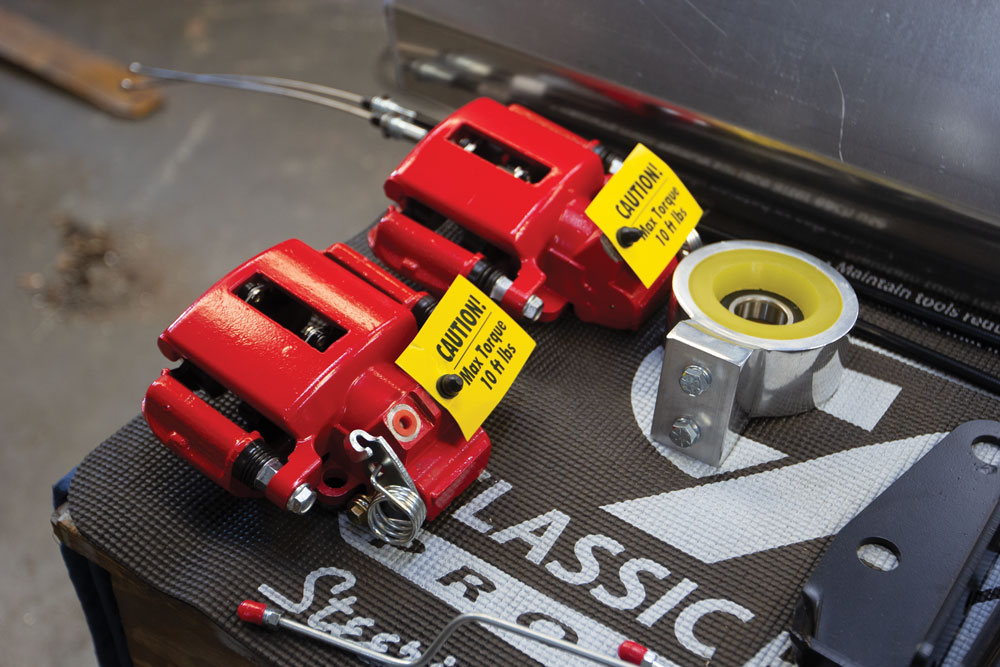
Now to turn our attention to the rear axle. The brake rotors are removed, and the axle shafts slide out. We will be replacing this with CPP’s five-lug big brake conversion in a later issue.
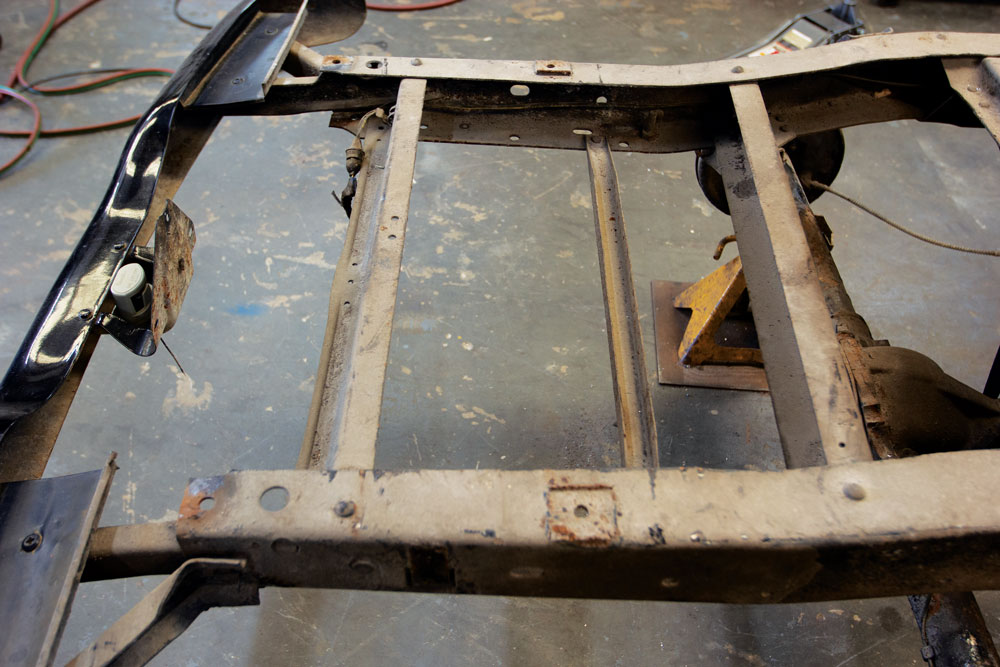
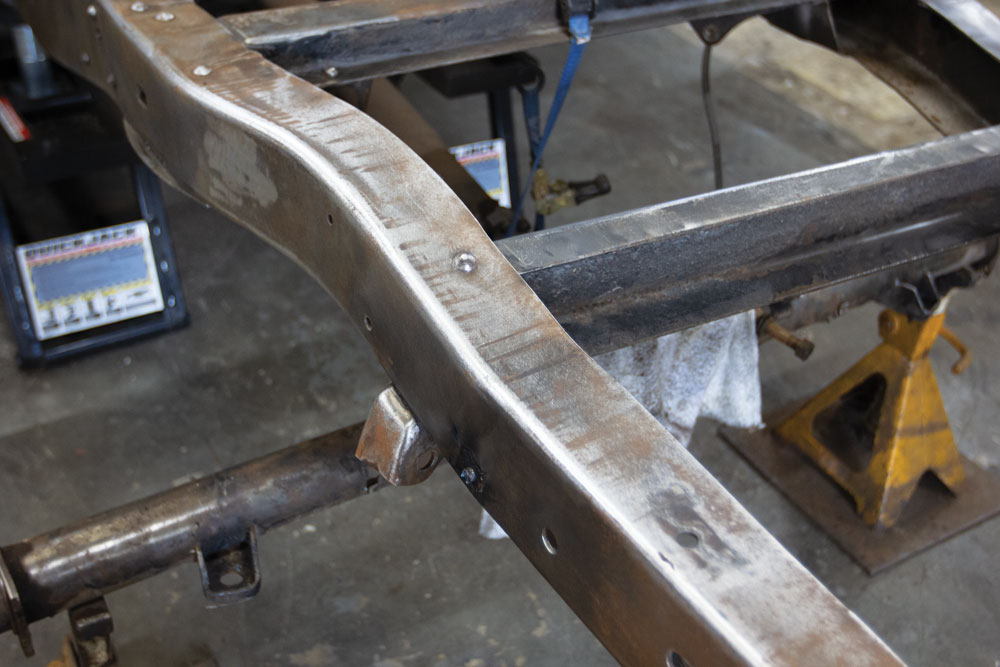
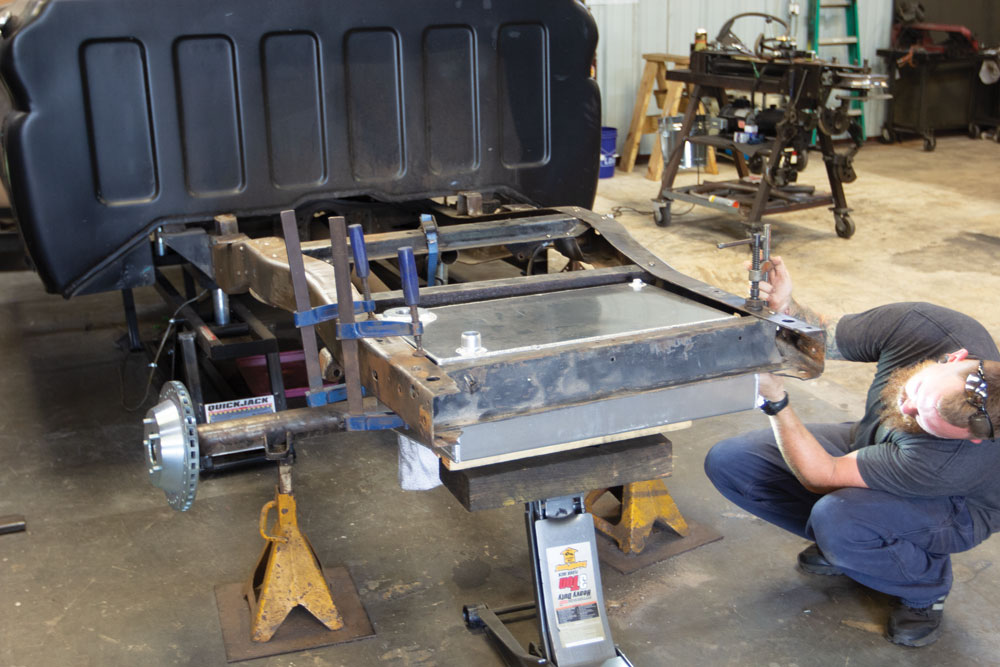
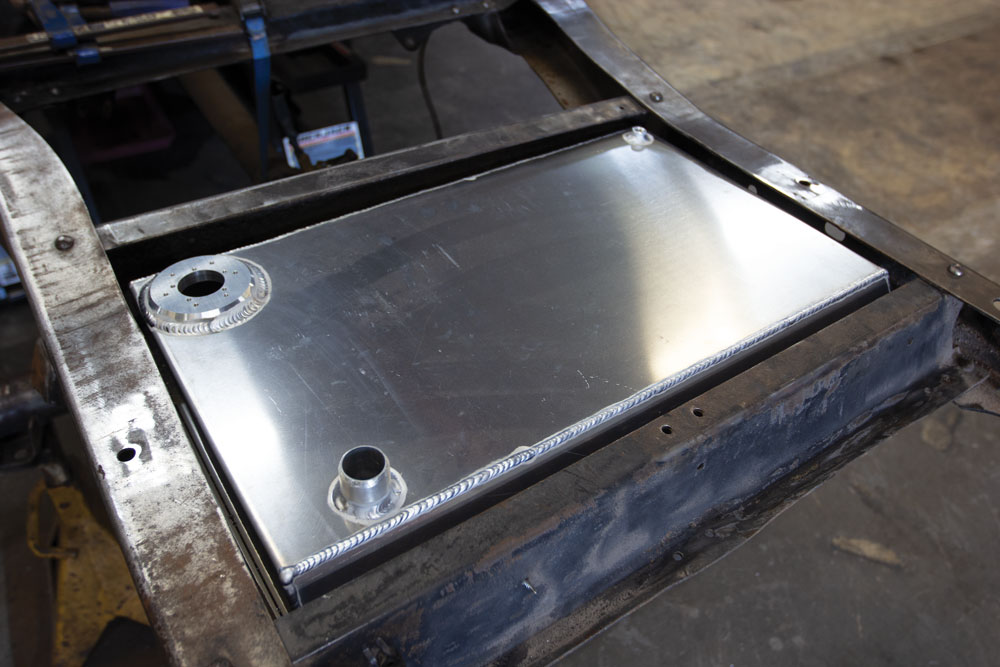
Removing the factory bumper is not necessary, but we decided it was better to take the time so it’s easier to coat.Now the Performance Online fuel cell can slide into place and we can clamp it down. The cell goes in from the bottom and bolts through the framerail.
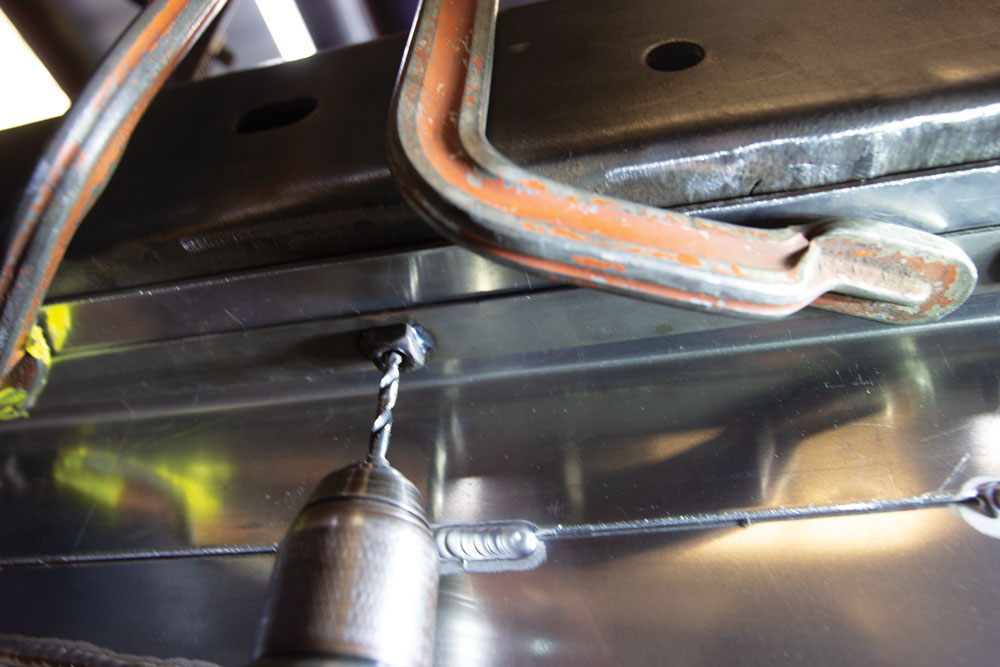
Using the brackets as a guide, we marked the holes and drilled pilot holes for each. Don’t drill the threads!All the necessary mounting hardware is included in the kit. Stainless bolts and lock washers ensure a clean long-lasting install.
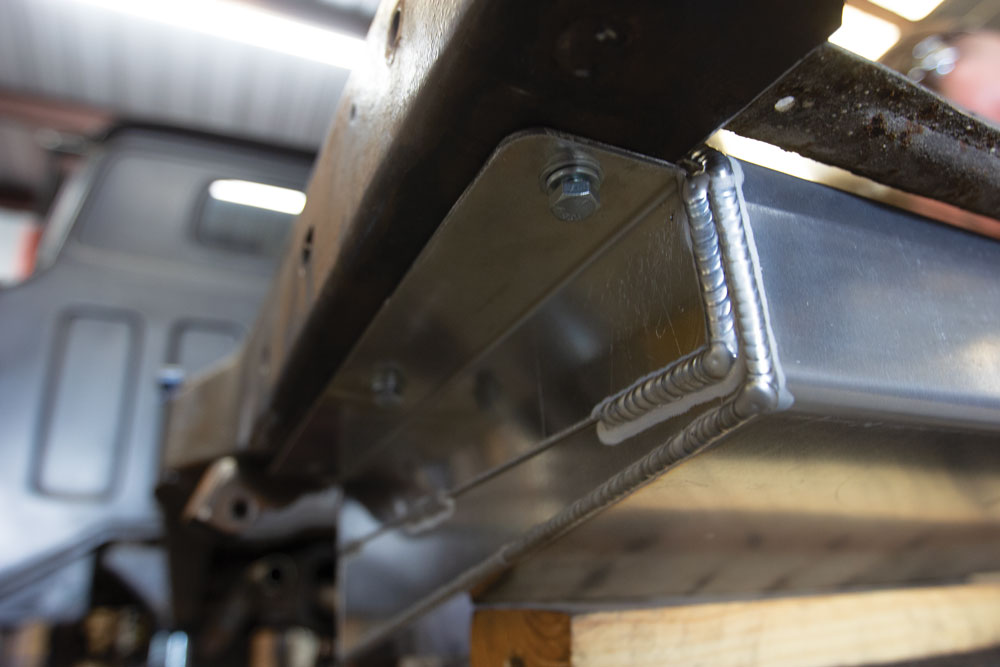
After loosely installing the bolts and adjusting the tank to be centered, we tightened the bolts and check clearance.As you can see, the fuel cell hangs low below the frame rail giving you plenty of gas and tons of clear space.
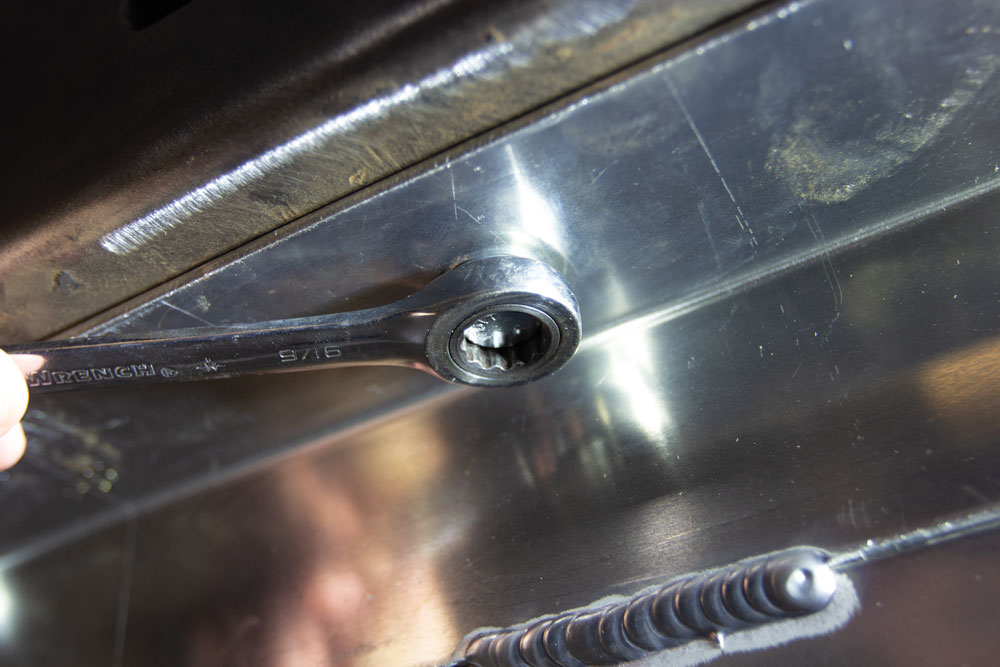
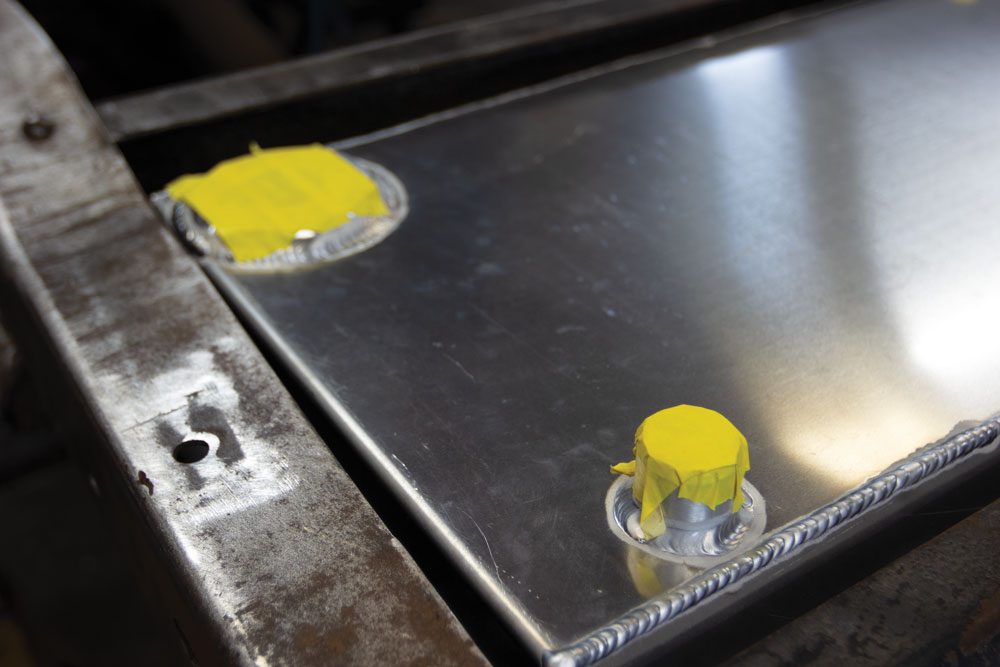
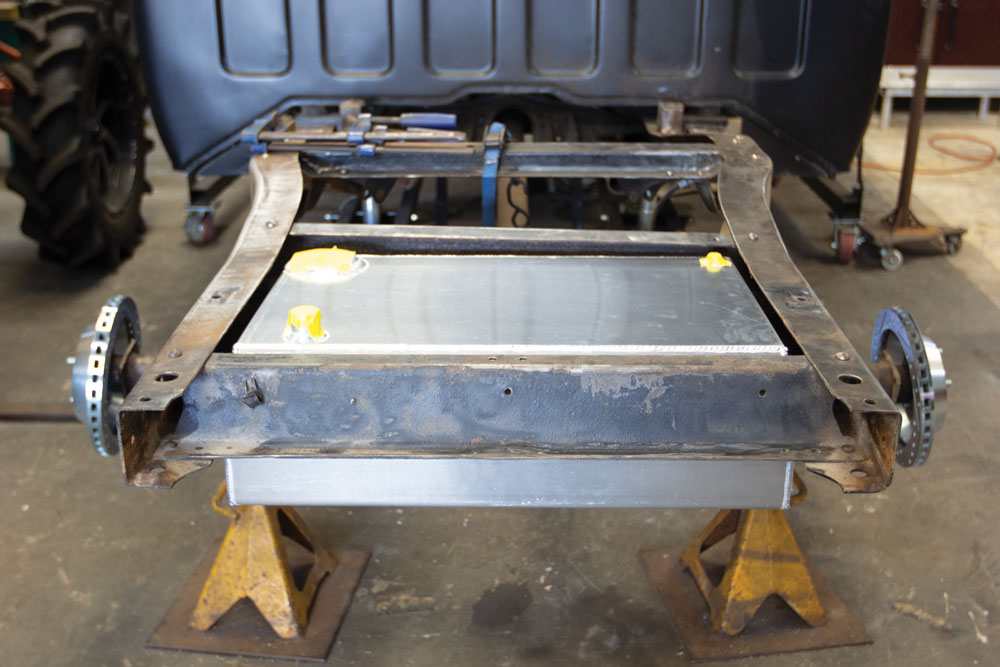
With the tank install complete, we taped off the port holes and made a plan for the next step. Looks great!This performance Online gas tank looks great and fits perfect. Before we run our new fuel lines, we will take the tank back out and coat the frame with bed coating from our local parts store.Now onto the brakes, but you’re going to have to wait till next issue for that!
Chris Hamilton is an automotive journalist, editor, and lifelong truck enthusiast with extensive experience covering custom truck builds, fabrication, performance upgrades, aftermarket products, and a ...
We use cookies to enhance your browsing experience, serve personalized ads or content, and analyze our traffic. By clicking "Accept All", you consent to our use of cookies. Visit our Cookie Policy for more info.


Share Link