More Power! | BOOSTING OUR 5.3-LITER CHEVY SILVERADO
Chris Hamilton . February 19, 2019 . How to.
Share Link
Save ArticleLogin to save it
BOOSTING OUR 5.3-LITER CHEVY SILVERADO
With a never-ending quest for more power, lifting a full-size extended cab Silverado and slapping 35-inch tires on it doesn’t help the pursuit for more ponies. Throwing off your factory engineered power-to-weight ratio is extremely noticeable with each and every pedal push, and modifications like these simply decimate any preconceived fuel economy numbers. It only takes a few months before this decrease in torque will make any man go mad, which is exactly where we found ourselves after our last few tech installs. If you can recall, once we lifted our daily driven Street Trucks Silverado, we added a new set of 4:56 Yukon gears to the rear end along with a Hypertech MaxEnergy 2.0 reprogrammer. This simple parts swap brought our driveline back to factory specs and our fuel economy to manageable numbers. The results were better than expected, but in the wise words of Tim “The Tool Man” Taylor, we wanted “More Power!”
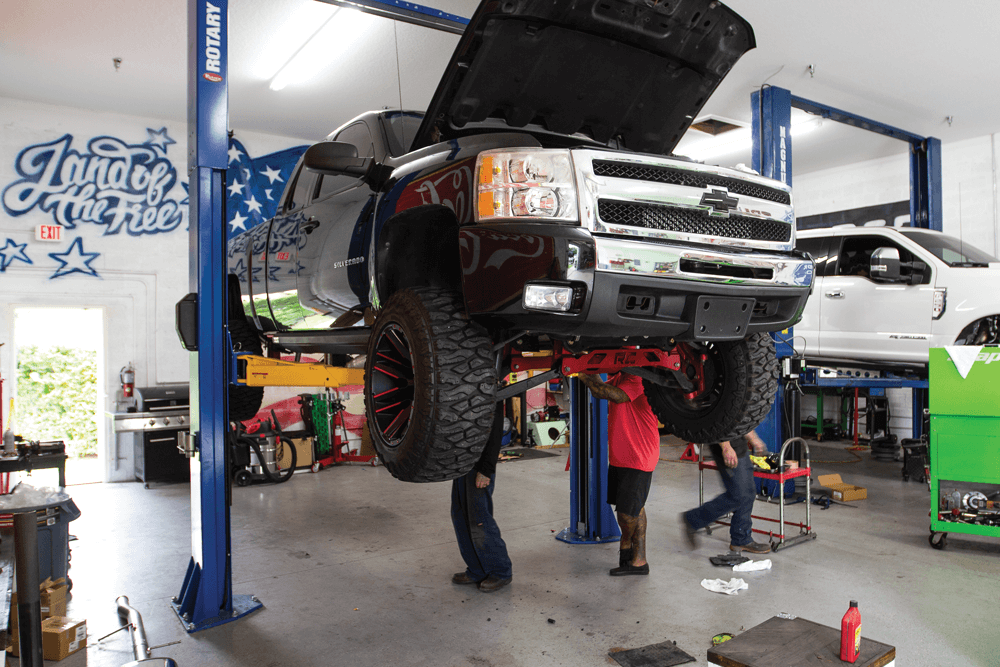
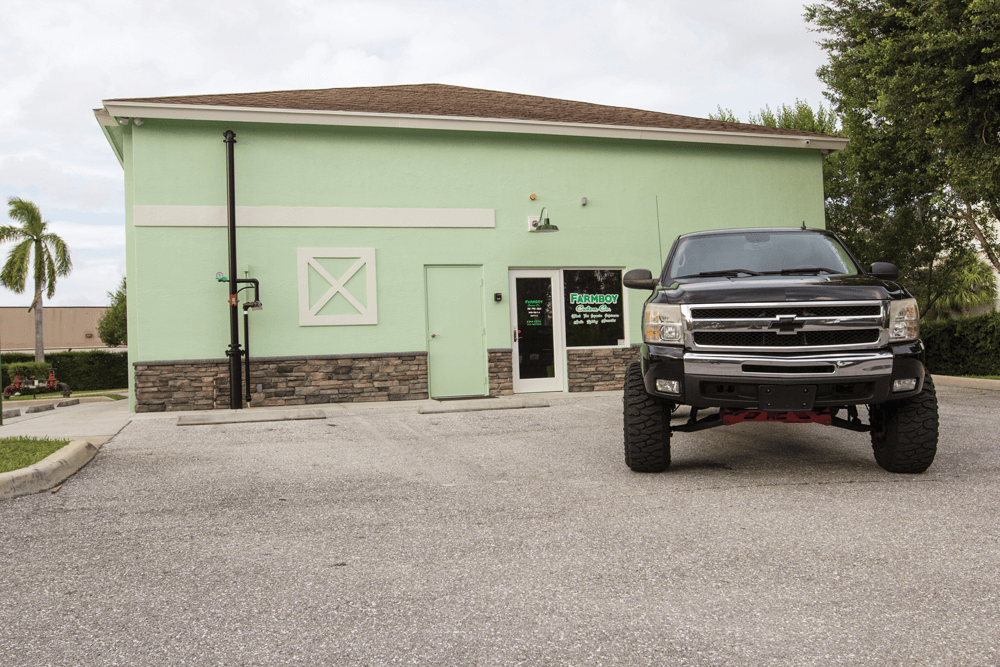
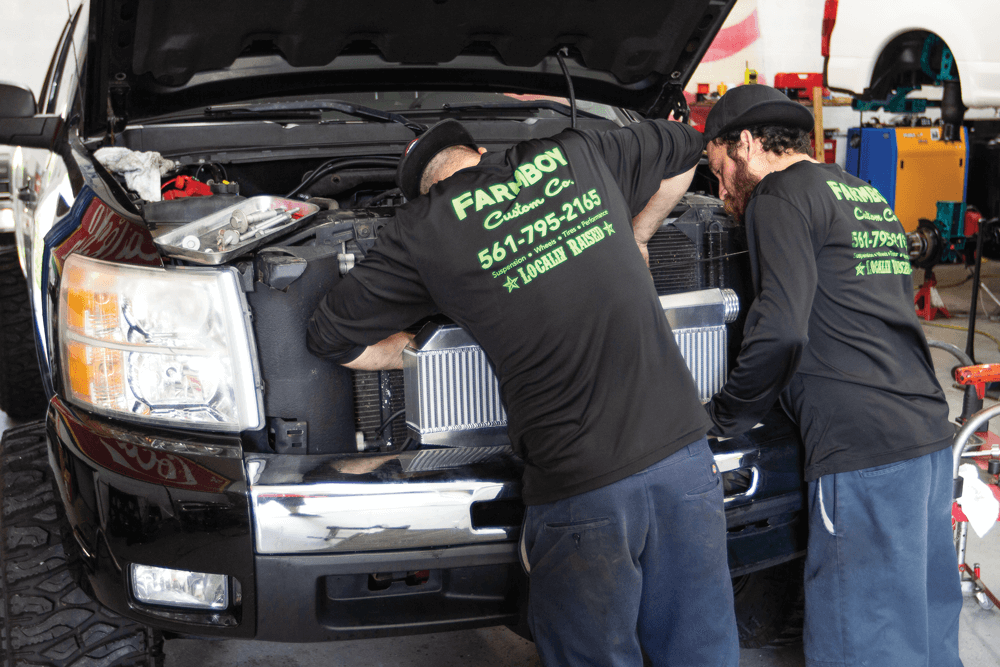
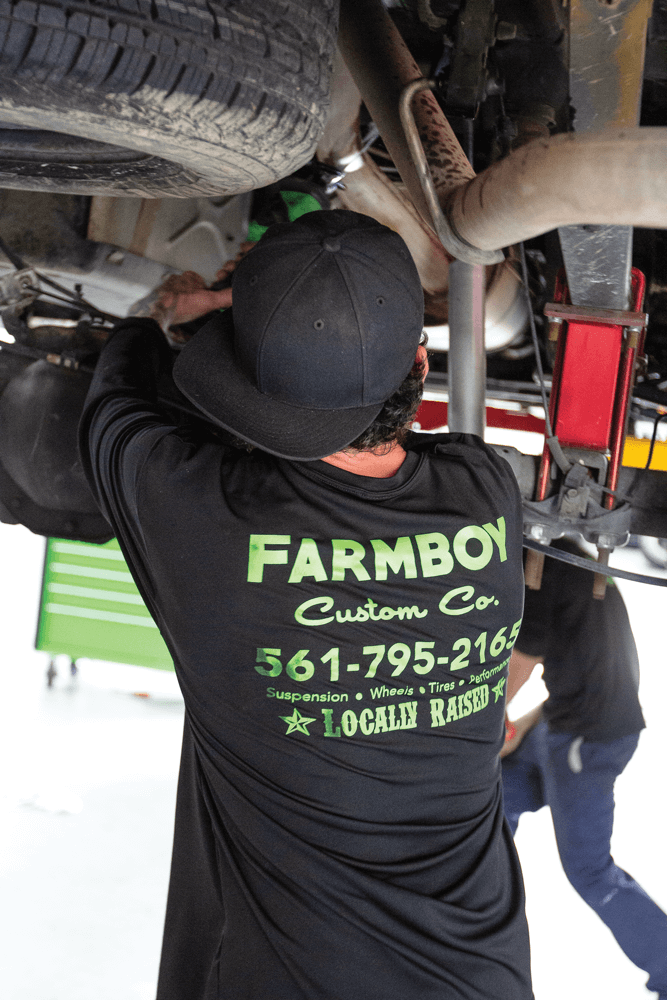
We called upon the expertise of Farmboy Custom Co. in Royal Palm Beach, Florida. Drew Discount and his team have a quality standard that is second to none, which is right in line with our demands.
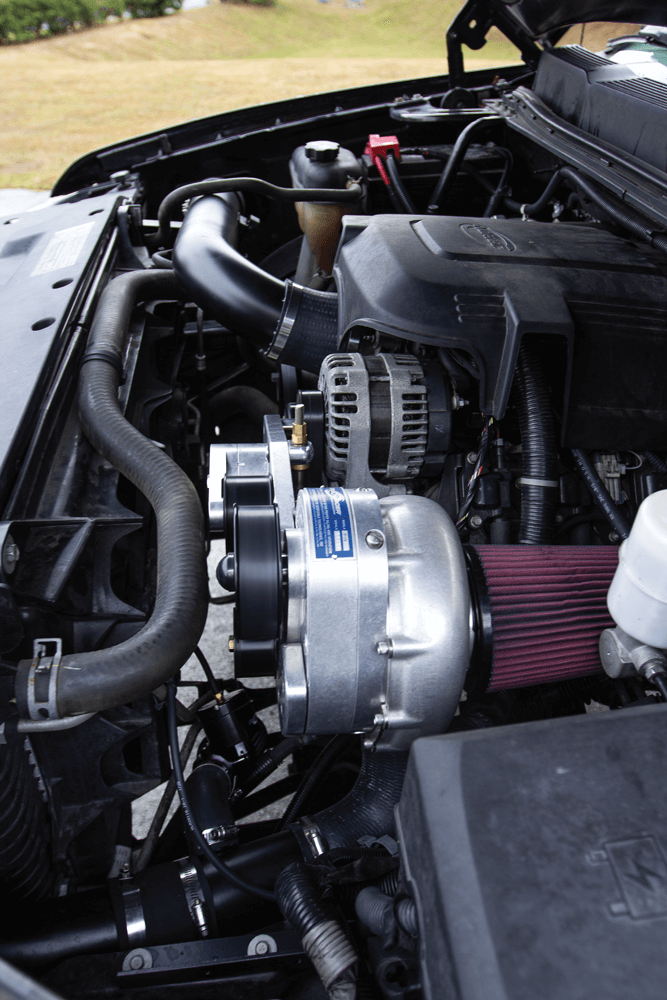
In past builds, we’ve done all the basic bolt-on power adders including intake, exhaust, headers, throttle-body spacers and so on. We wanted to do something a little different with this one though. We took some time to reach out to our good friends at ProCharger to discuss all the options available. The entire crew was extremely knowledgeable on their products and they were very easy to communicate with over email or phone. Generally, most guys do all the common bolt-ons before realizing a supercharger is what they really want, which is why we made the decision to build boost first. More air in means more air out, so along with this kit we are adding a MagnaFlow cat-back exhaust system so our daily-driven Chevy can exhale as fast as it inhales. This is just one step in a long line of power upgrades we plan to do on this 5.3-L Chevy that is currently pushing 98,000 miles on the odometer. If you have the same engine in your modern-day full size or possibly transplanted into your custom classic, keep an eye out over the next few issues so you can follow all the upgrades in see the results as we push this LC9 to its limits. For now, let’s get boosted!
Are you building a modified engine for your GM truck or SUV? ProCharger supercharger systems feature easy installation, minimal relocation of components, no need for external oil feed or return lines and avoids having to deal with the complexity and maintenance issues of an air-to-water-to-air intercooler configuration. An intercooled ProCharger Tuner Kit like the one we chose supports the highest boost and power levels in the industry. ProCharger systems are designed to have a visually appealing, “from the factory” look and come with a standard three-year warranty on the intercooler and one-year warranty on the supercharger.
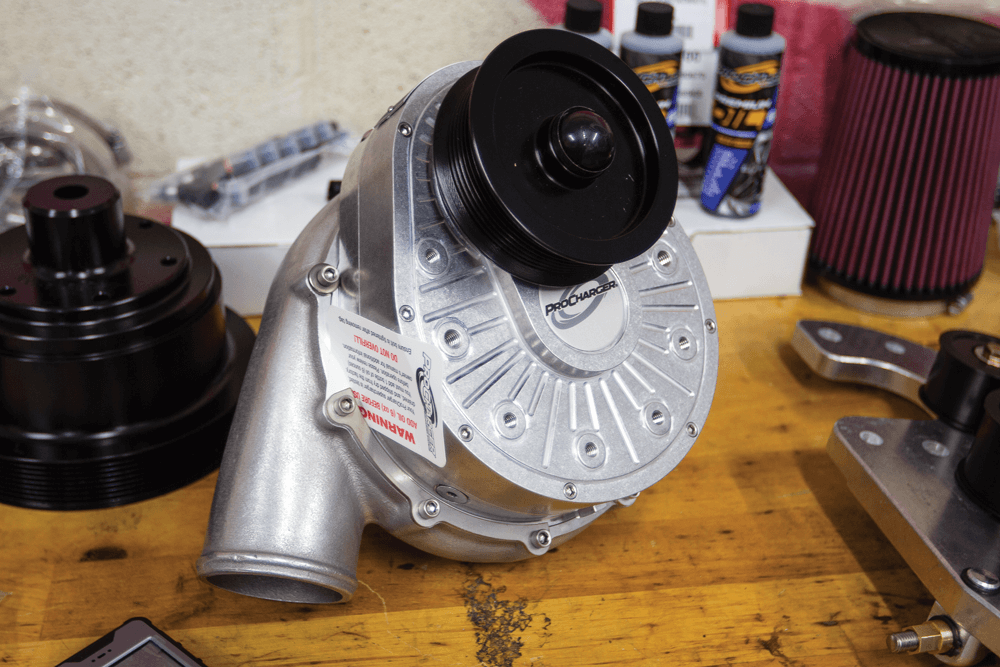
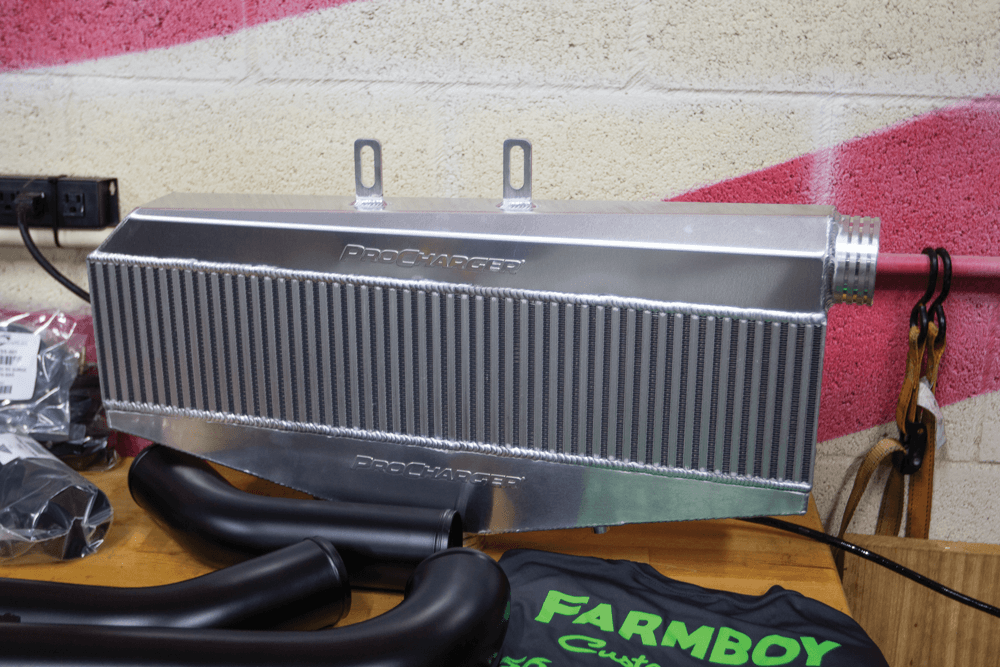
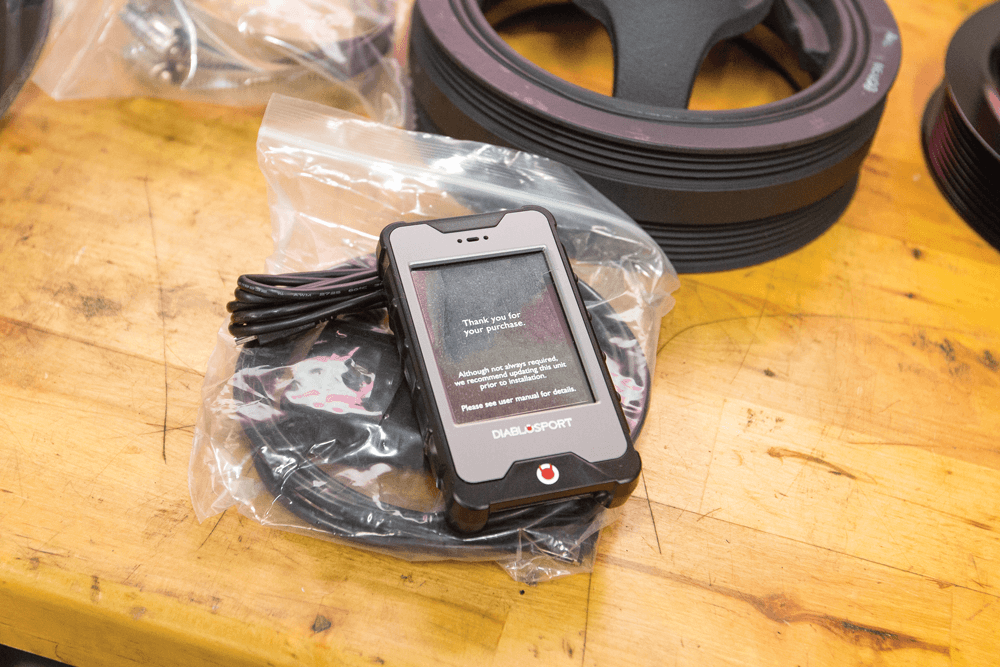
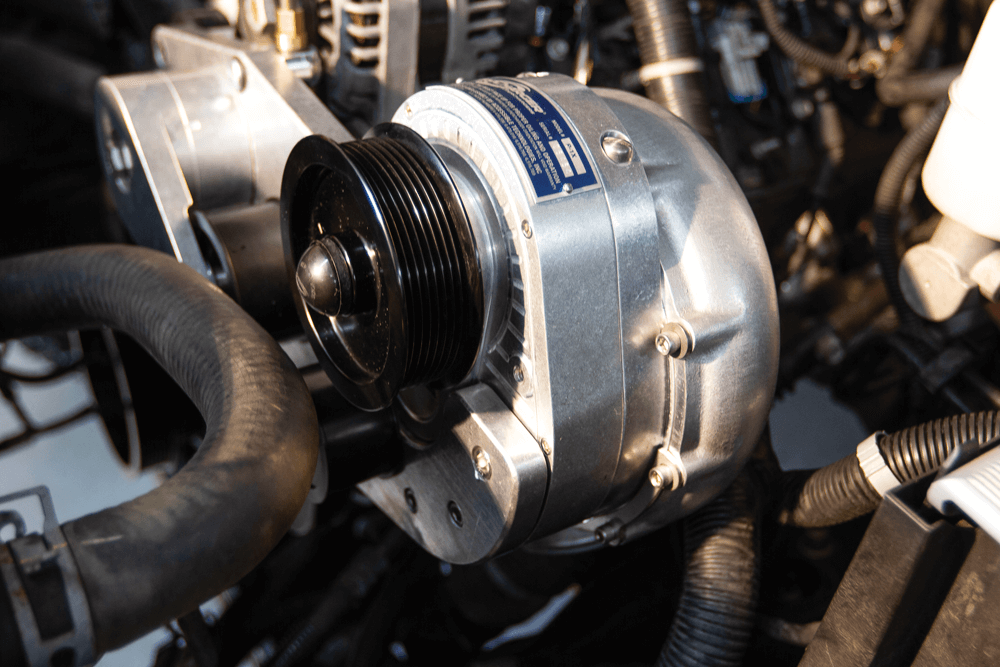
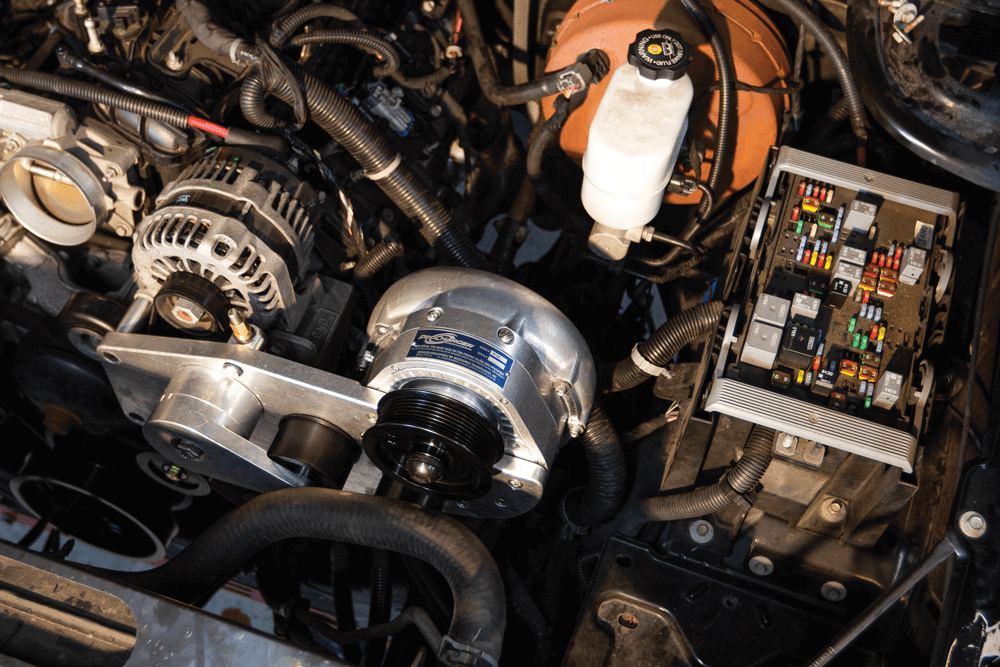
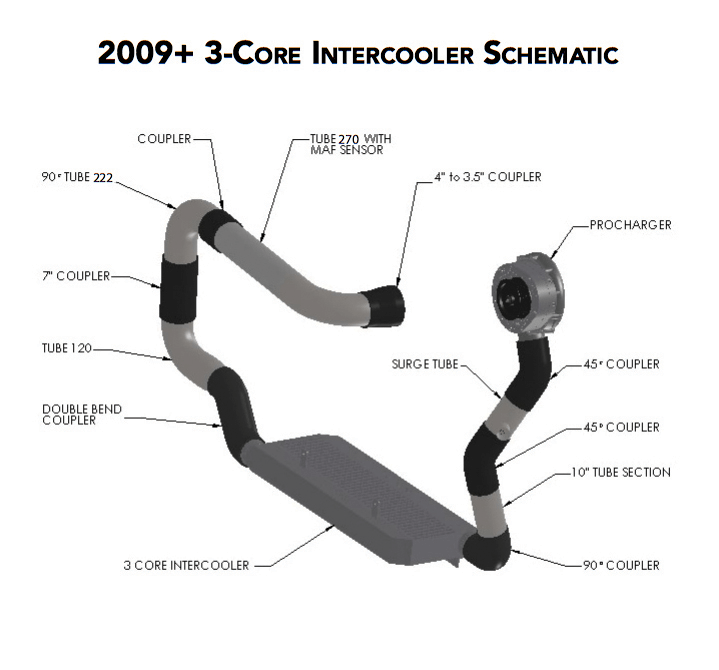
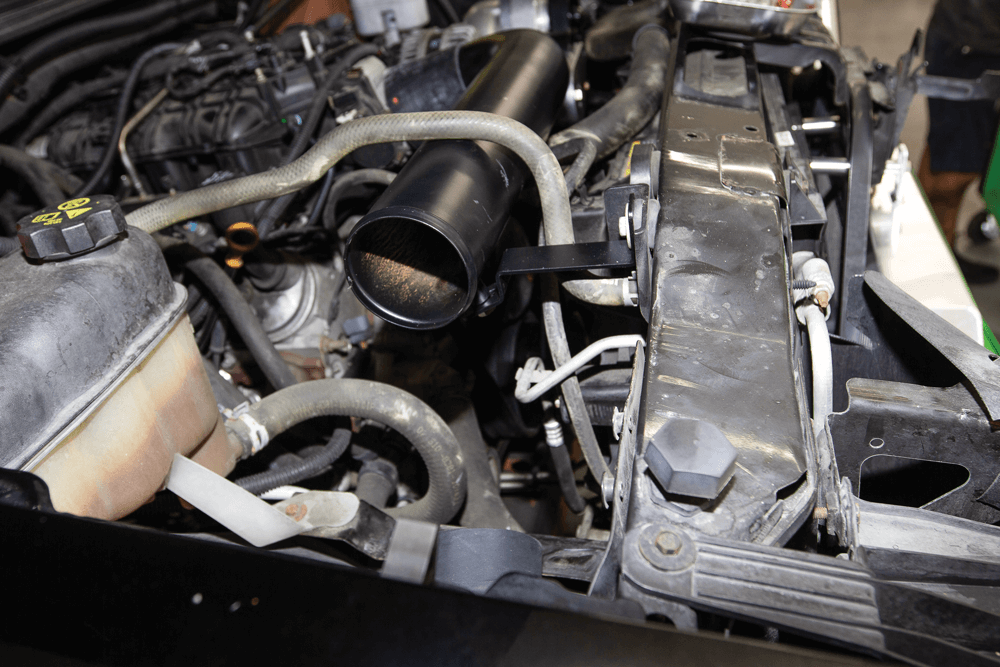
The kit we ordered is the Stage II Intercooled System with a P-1SC-1 ProCharger, a compact supercharger drive system, a highly effective, air-to-air intercooler, OEM-quality mounting brackets, fuel system upgrade, tuning and all necessary supercharger and intercooler tubes for installation onto your GM truck and SUV engine. ProCharger HO Systems come standard with a 2 core intercooler on 4.8L and 5.3L models; the larger 3 core intercooler is featured on the 6.0L and 6.2L model. We expect to build around 8-9 pounds of boost with a horsepower gain of 50-55 percent once installed.
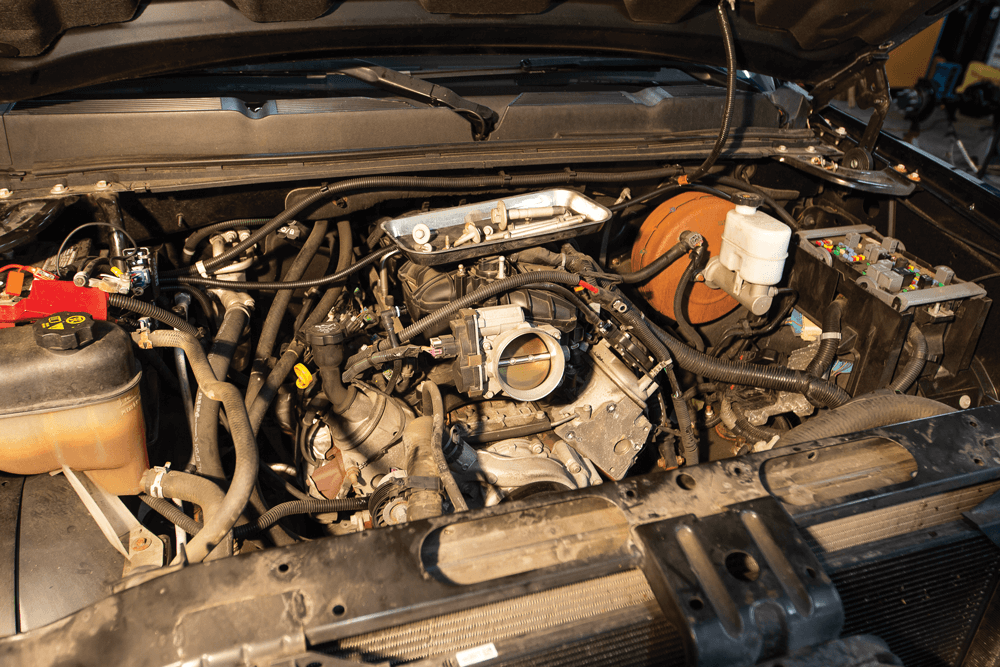
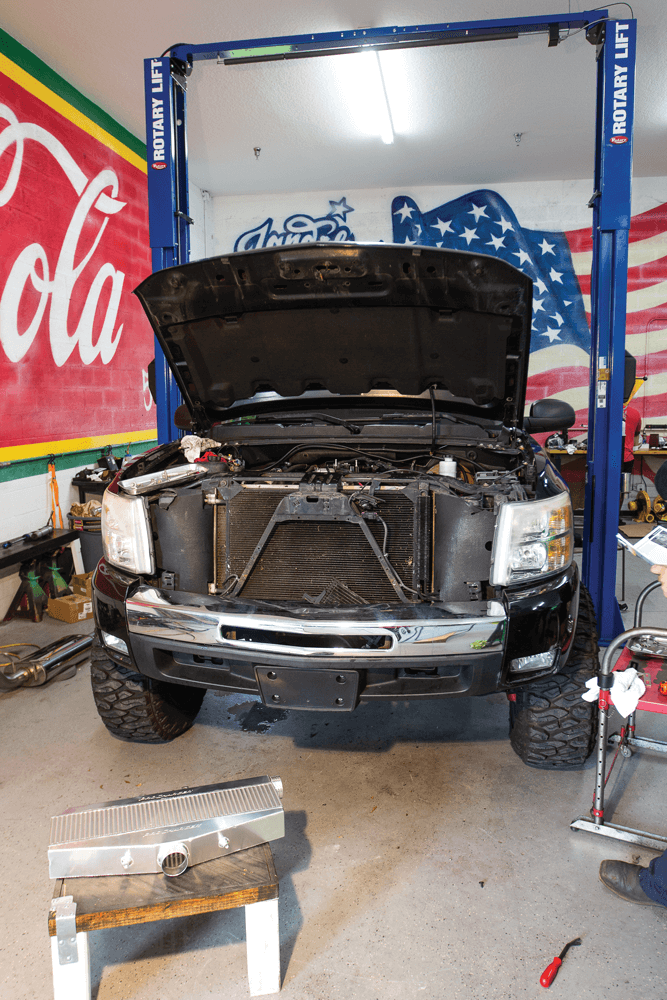
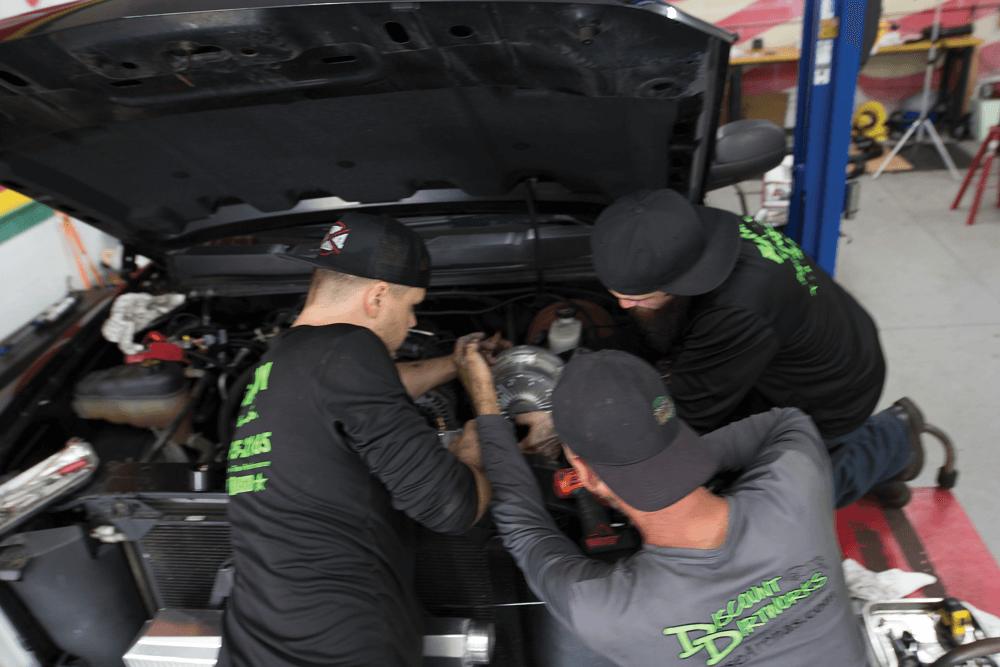
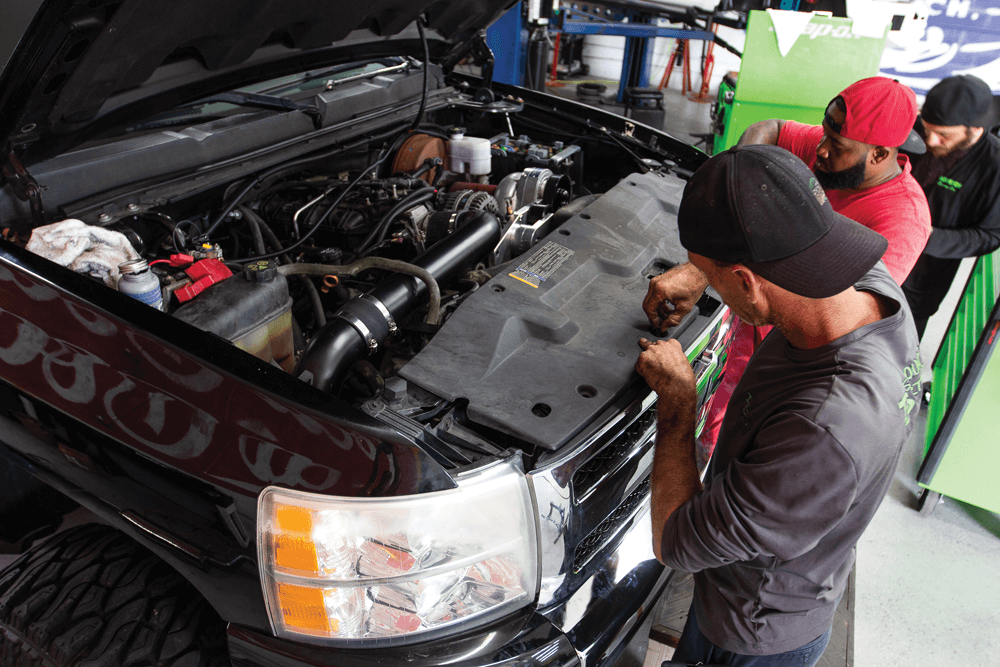
Before and after disassembly is not a happy sight if you have any sentimental value in your truck. First thing required is to remove the gas cap to relieve fuel tank vapor pressure and the fuel pump fuse from the fuse block before cranking the engine for a few seconds to bleed fuel pressure from the fuel lines. Next, we disconnected the negative battery cable from the battery and removed the plastic engine cover, ECU bracket, mass airflow (MAF) sensor, and both the throttle body inlet tube and the upper radiator hose.Now to focus on the front end. After Mark, Chris and Danny detached the front fan shroud and both electric fans, they were able to remove the transmission cooler line bracket and front grill. Now that they have sufficient room to work, it’s time to add some new parts.
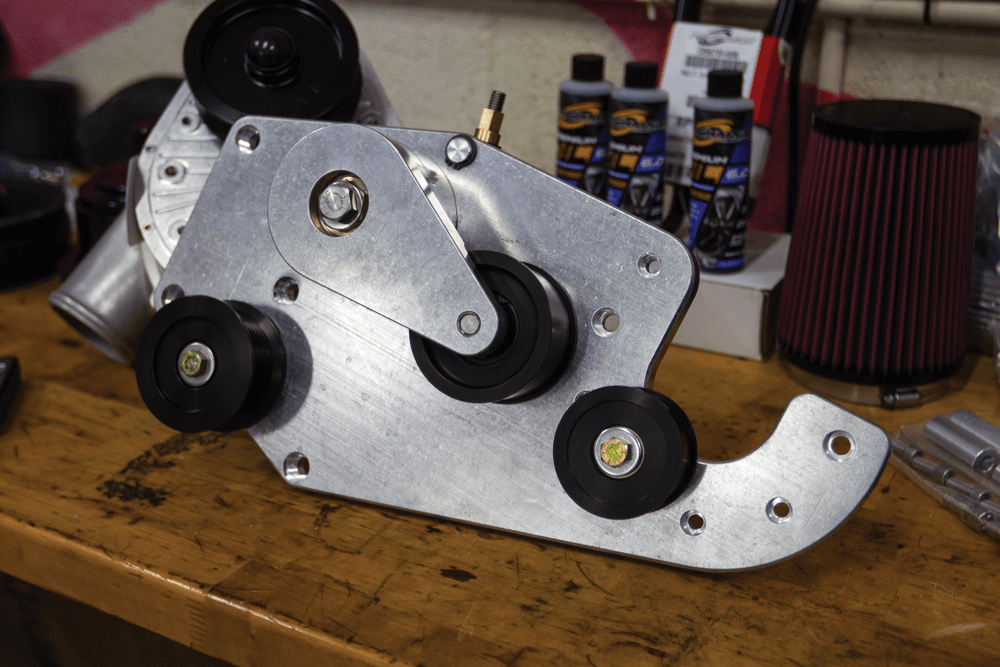
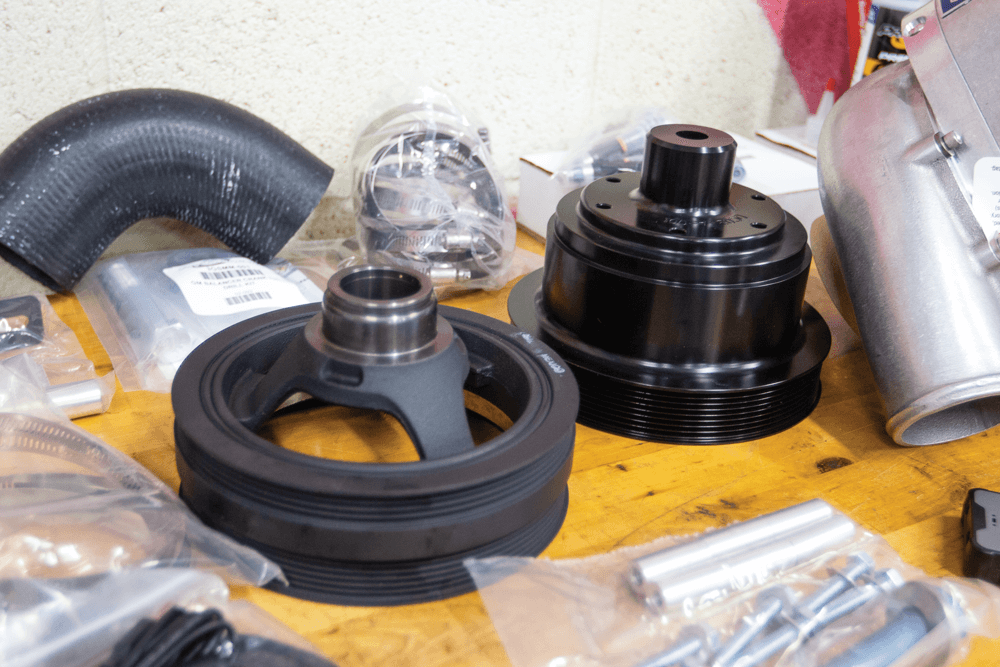
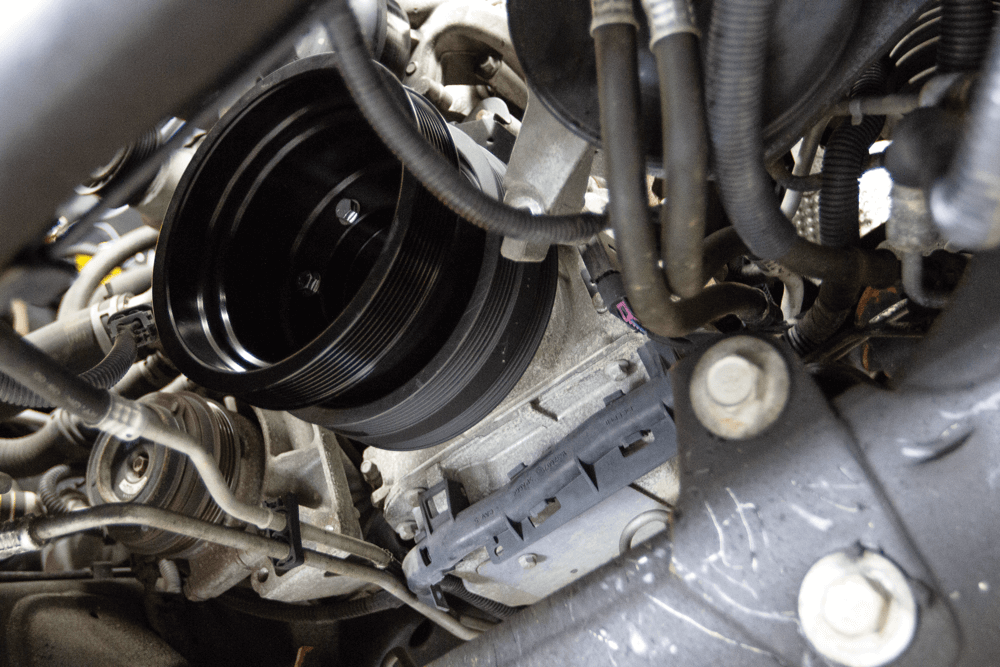
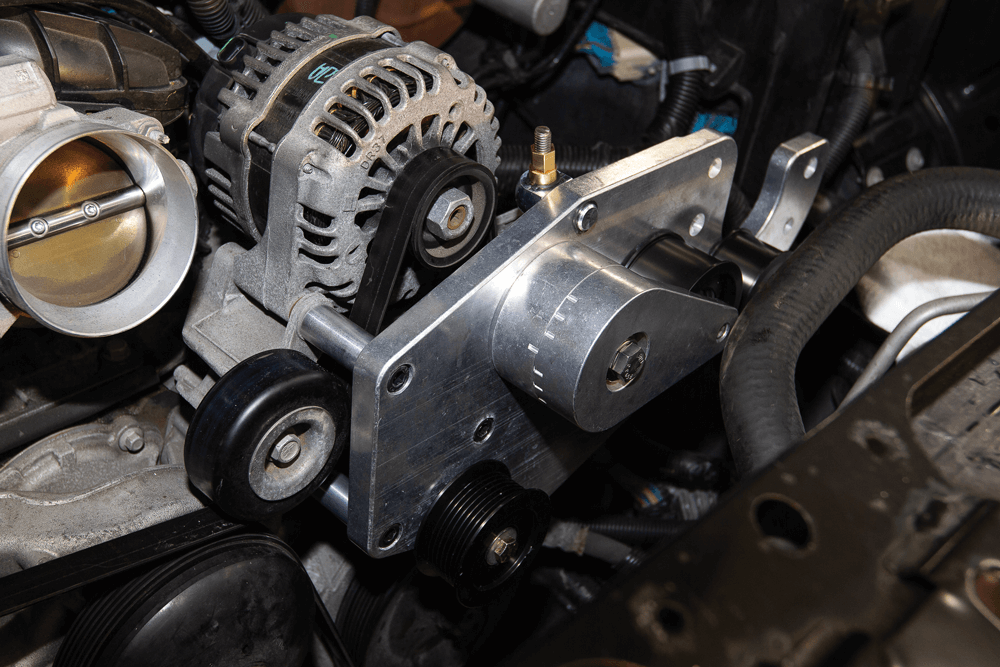
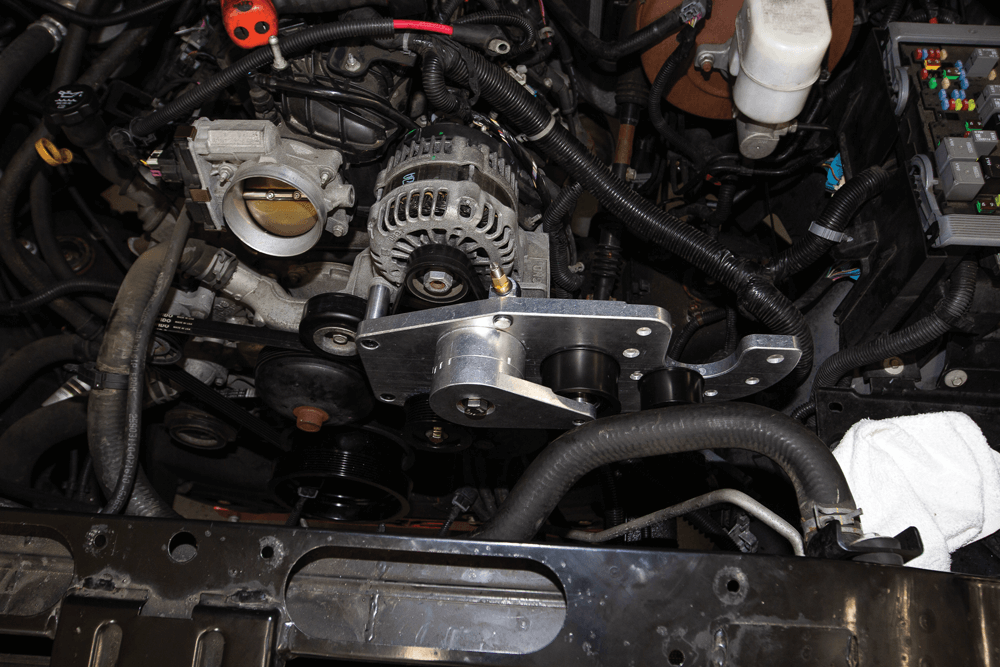
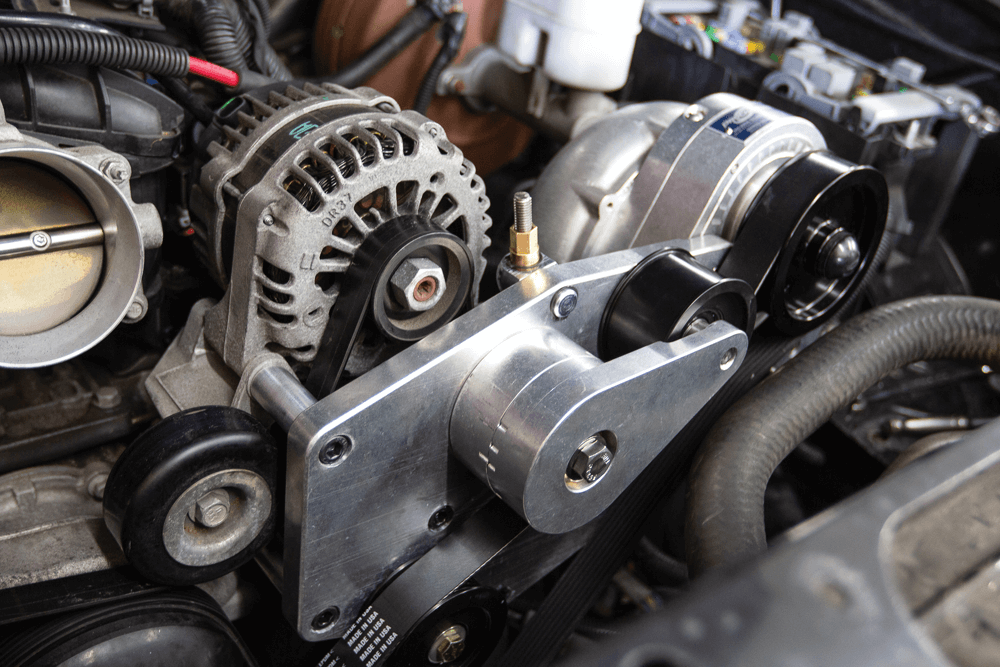
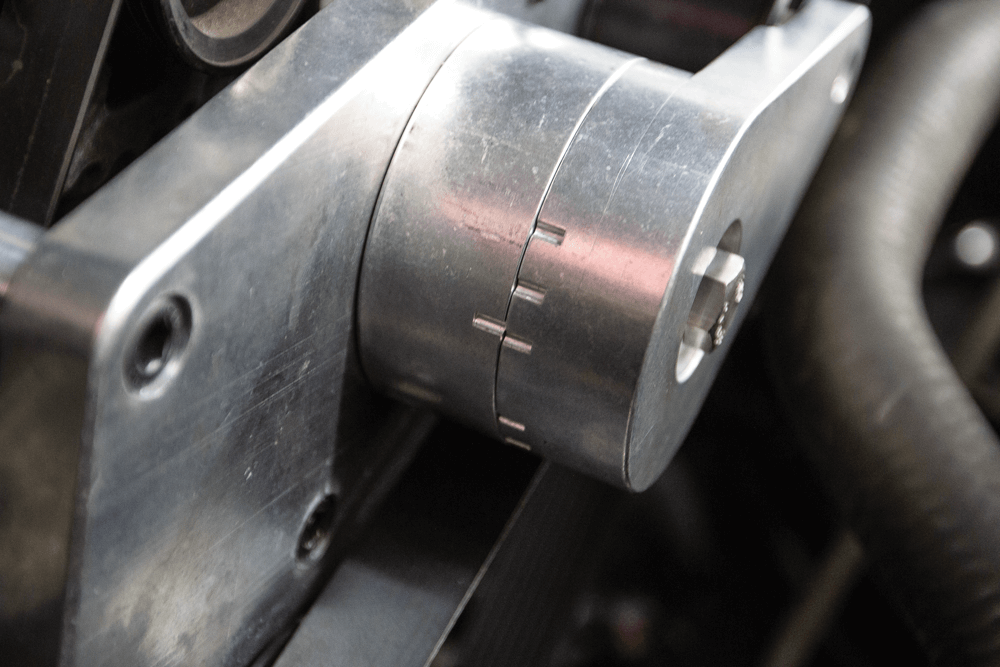
The factory pulley needs to be removed and replaced with the new ProCharger exclusive dedicated 8-rib belt drive system.
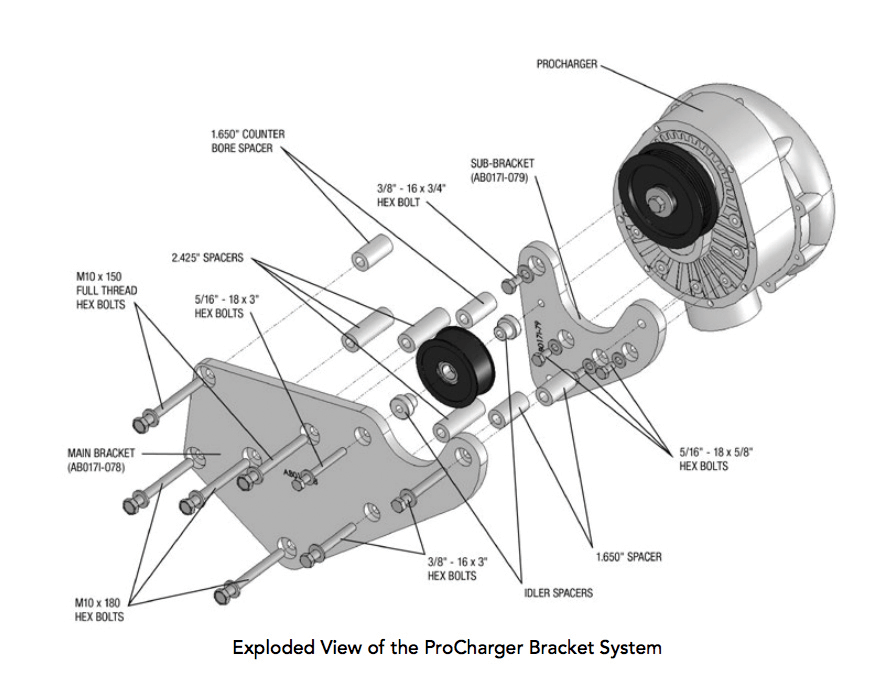
The time has come to install the supercharger bracket, spacers and the ProCharger itself. The engineering behind this is amazing and we can’t say enough great things about the smooth install.
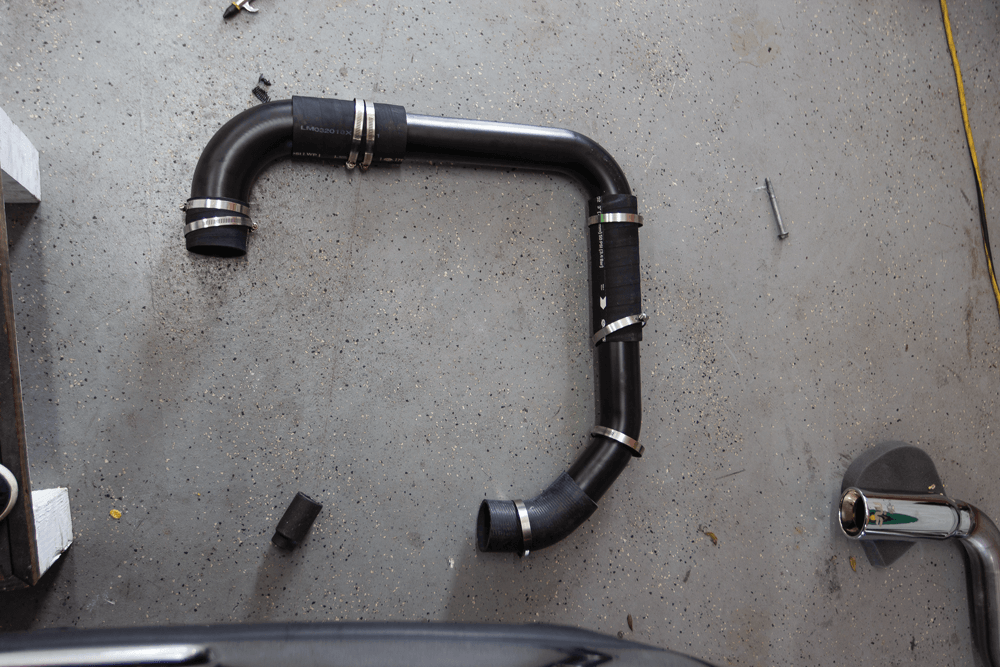
The ribbed, 114.5-inch-long Serpentine Belt can be installed as the diagram shows and the tensioner is set to a predetermined setting. A brand new belt will be considerably tighter immediately after installation and will loosen after approximately 50 miles of use so it may need to be re-tightened.
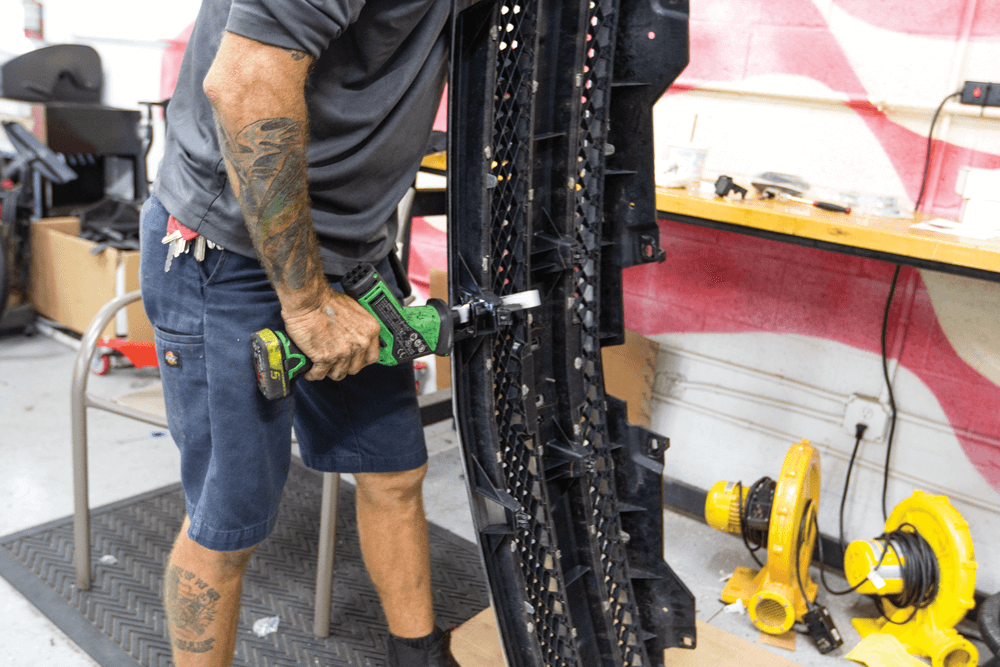
With the new massive intercooler installed, we need to trim some fat from the front grill. Chris sawed off some unneeded plastic before clipping it back into its factory location.
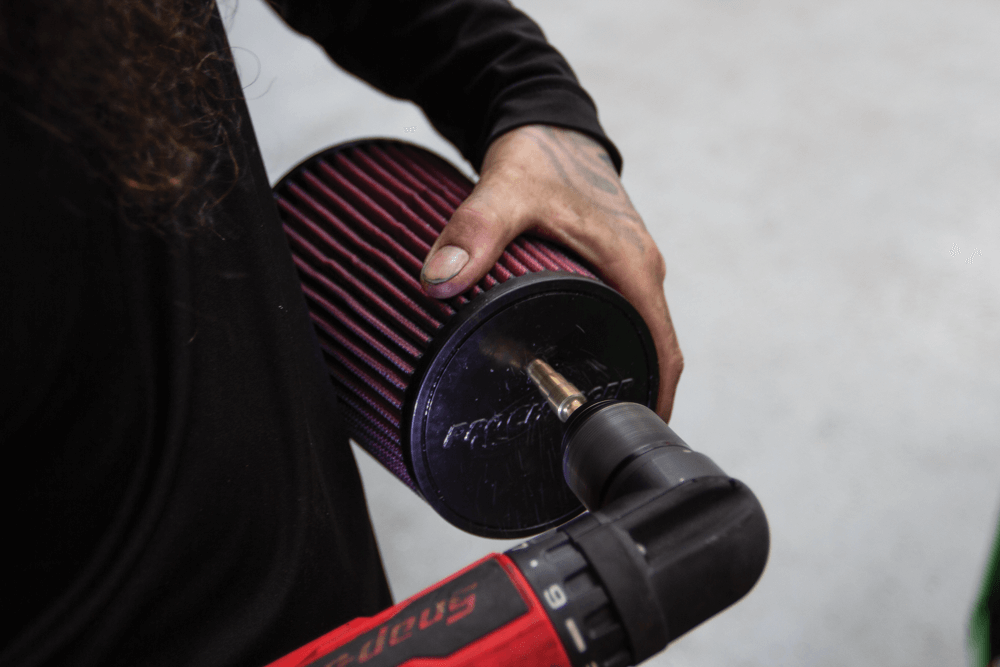
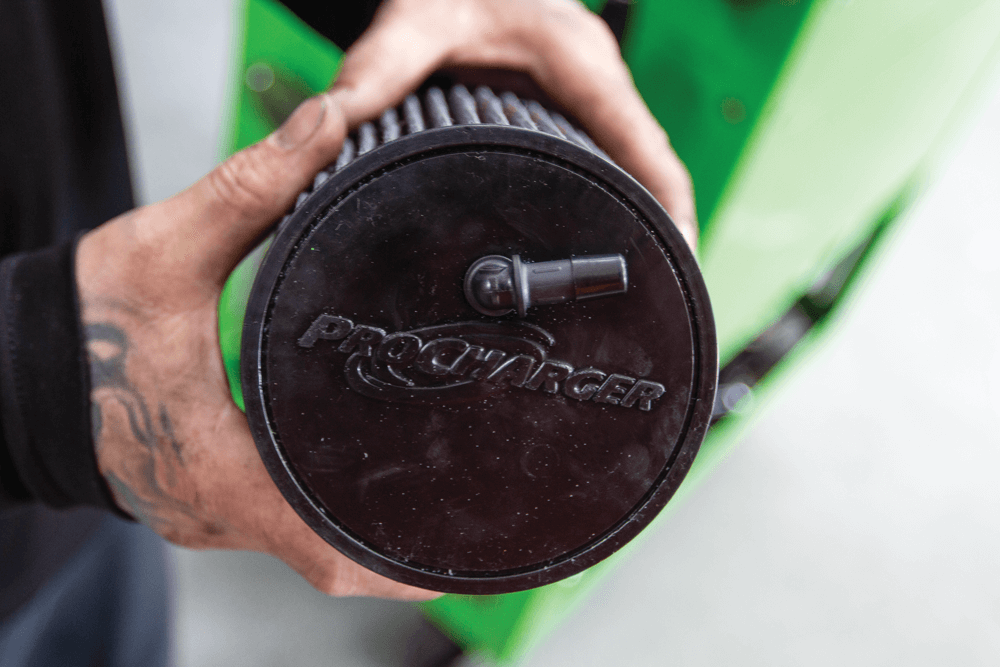
Moving on to the air inlet and bypass valve, Danny drilled a 3/8-inch hole into the air filter and threaded the 90-degree fitting. Now the filter can be mounted and all the hose clamps can be tightened.
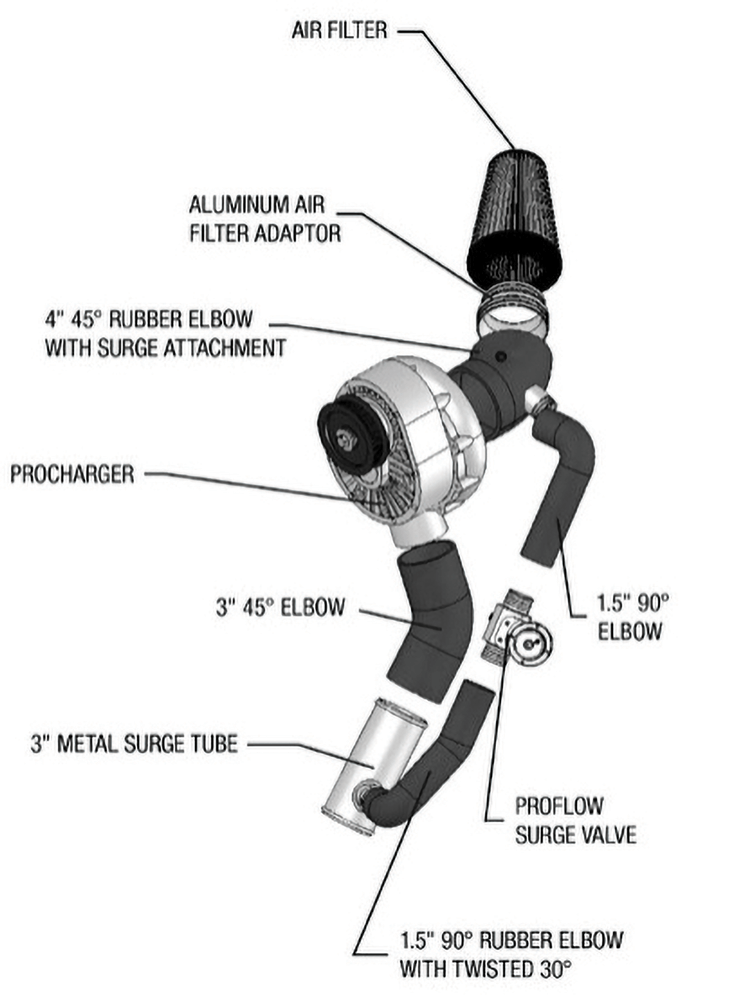
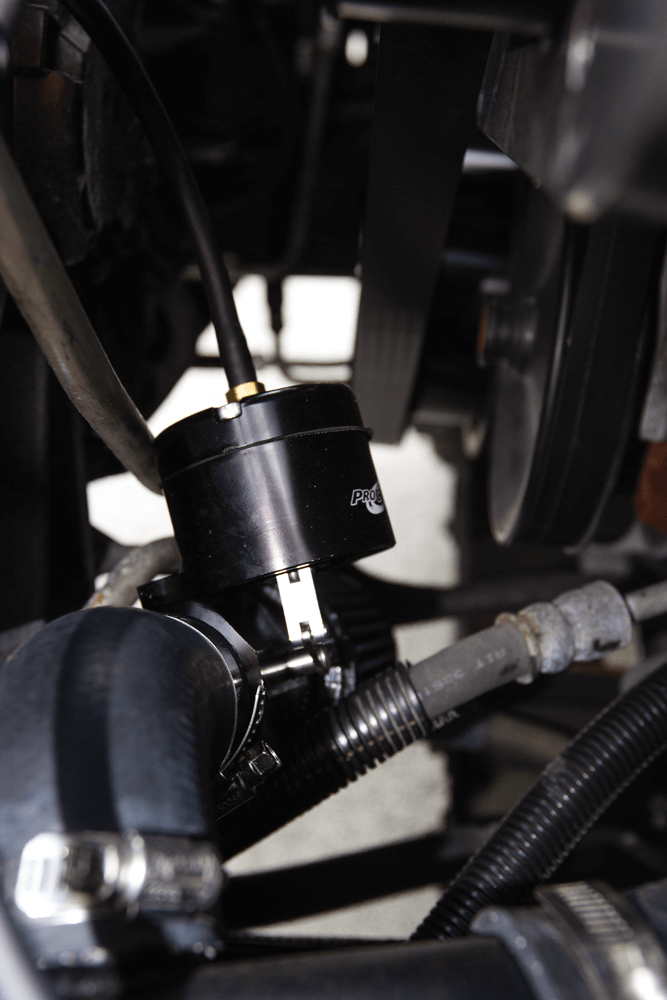
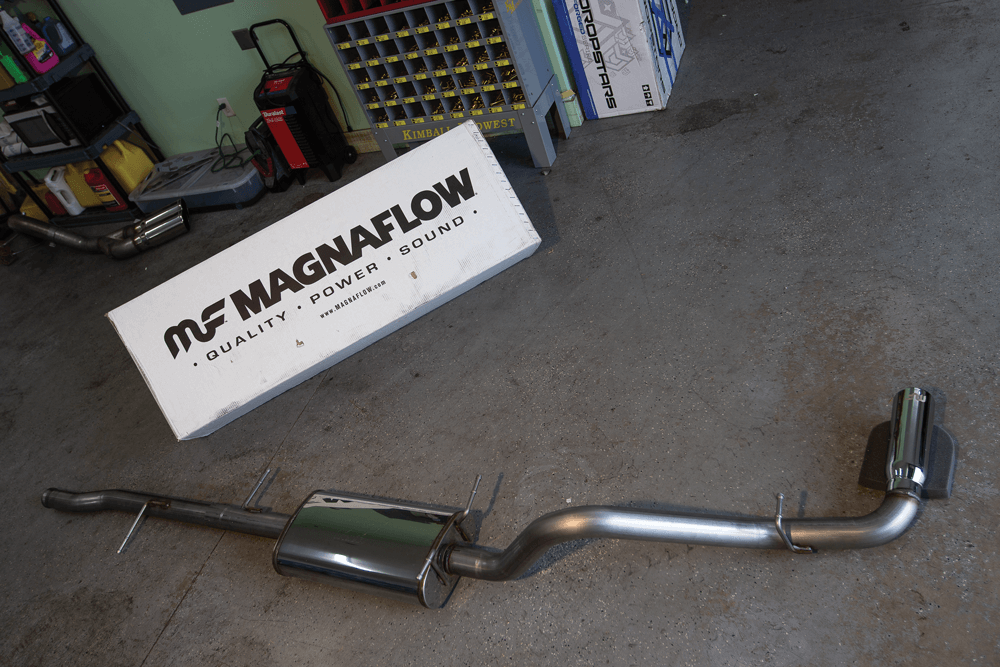
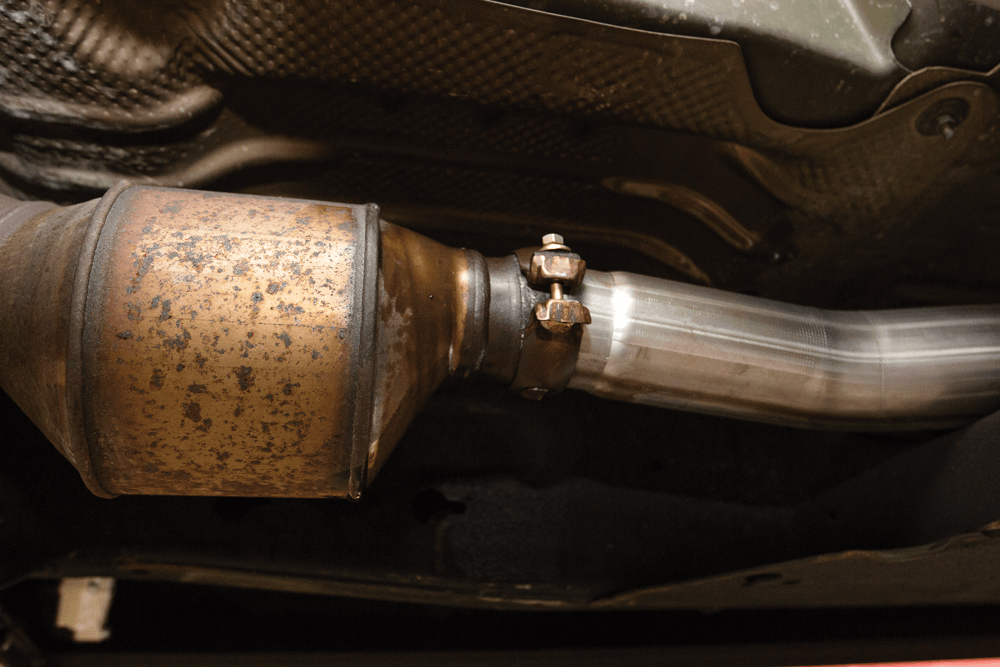
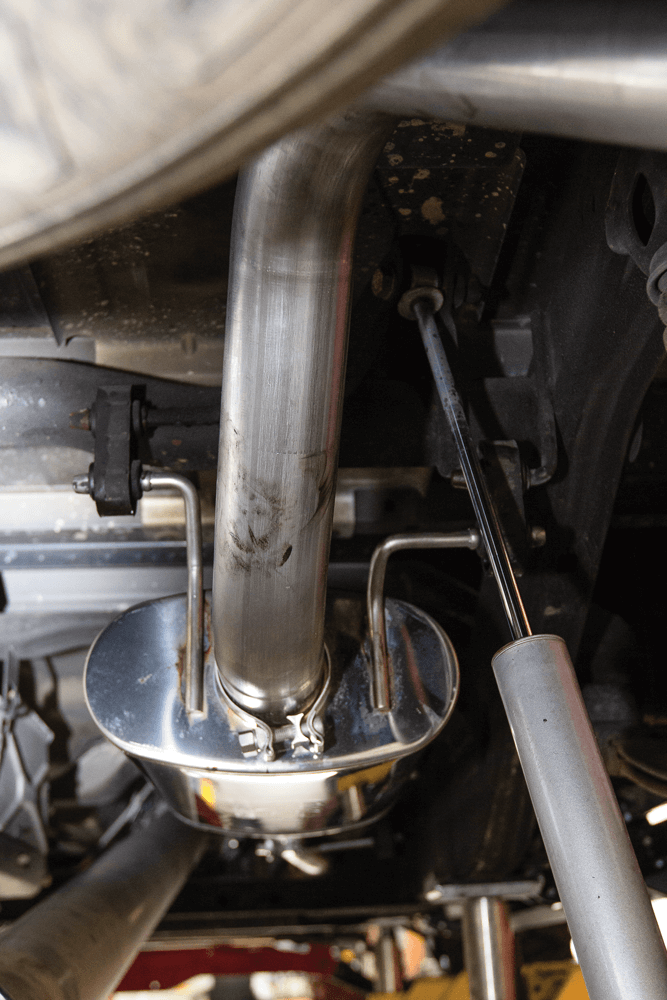
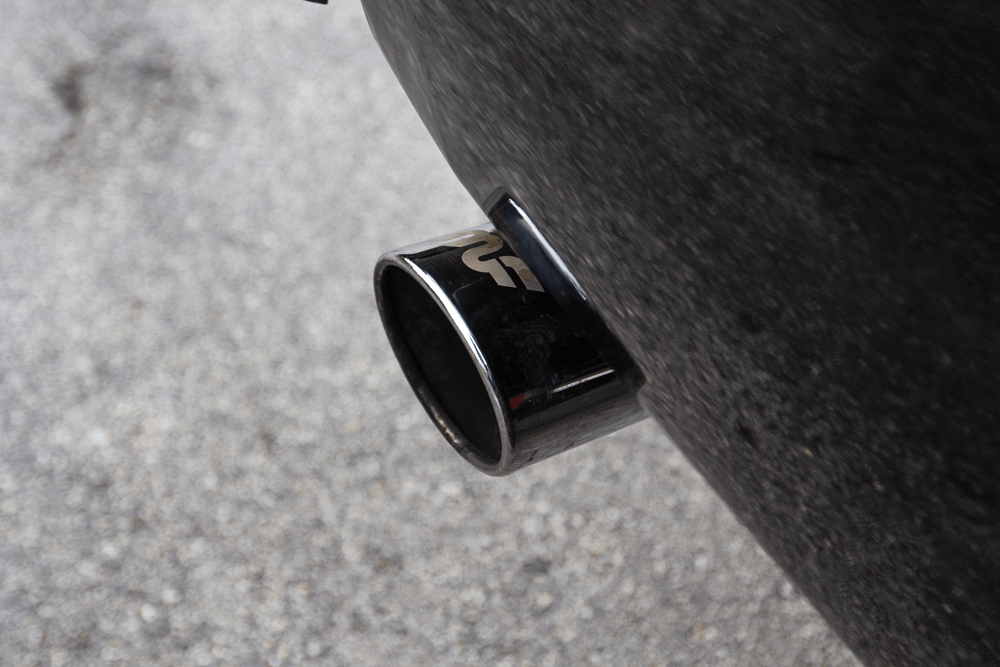
When you build boost but it has nowhere to go, the pressure relief valve (or blow-off valve) is there to keep everything clear of unwanted pressure. Here you can see the diagram so you have a better understanding of how everything works.When talking to ProCharger about this project, they highly recommended replacing the factory exhaust on our 5.3-liter engine at the same time that we install the supercharger. More are in means more air out and the factory pipes are far too thin to move that much air.With the ProCharger install complete, it’s time to lift this 2011 Chevy Silverado in the air and swap out the restrictive factory exhaust.Danny from Farmboy Custom Co made quick work of removing the factory exhaust using a sawzall and his signature crooked hat.The new MagnaFlow exhaust simply bolts into place with the provided clamps. Some builders like to drop a tack weld on these to ensure they don’t move over time.The MagnaFlow exhaust is extremely well engineered and bent perfectly to avoid any part of the truck.With the exhaust complete all you see is the tip, and that’s just how we like it.We can’t be more excited to go test this new system out but the break-in period is just as important as the install itself. Mark, Danny and Chris did a picture perfect install and the next step is a professional tune. This article is not designed to be a step-by-step story that you can follow along with as you install one yourself. We want to this be an overview of the complete process so you can get an understanding of the install and decide whether you want to attempt the install yourself. We have complete faith in ProCharger’s engineering which is why we chose this kit for our daily drivin, hundred-thousand mile Chevy. Stay tuned to an upcoming issue for tuning, testing and our take-away.
We use cookies to enhance your browsing experience, serve personalized ads or content, and analyze our traffic. By clicking "Accept All", you consent to our use of cookies. Visit our Cookie Policy for more info.
 Chris Hamilton
.
February 19, 2019
.
How to
.
Chris Hamilton
.
February 19, 2019
.
How to
.


Share Link