 Brandon Burrell
.
July 15, 2025
.
How to
.
KRISTIN BURRELL
Brandon Burrell
.
July 15, 2025
.
How to
.
KRISTIN BURRELL
When Ford set out to release an all-new “mini-truck”, it had no clue the response it would get. Ford sold the Ranger from 1983 to 2011 in a few different variations. This was its version of the mini that competed with the S-10, Mazda B2200, Nissan Hardbody, and Toyota Tacoma, and did quite well in the market. At that time, mini-trucks were not only used for daily drivers, but tons of businesses used them as company vehicles.
With the demand for smaller vehicles shrinking, Ford pulled the plug on the platform in 2011 to focus more on the F-150 and its Super Duty trucks. After seeing how many competitors stepped up their mini-trucks to compete within a new “midsize” platform, Ford brought back the Ranger in 2019 but gave it more size to fit in.

Seeing the increased demand for smaller trucks with even better fuel economy, Ford went back to the drawing board to design something that would meet these needs. Since the new Ranger could no longer compete as a true compact pickup, Ford designers decided to introduce the brand-new Ford Maverick in 2021 for the 2022 model year.
I know what you are thinking—the Maverick was a car originally. Being this was going to be a truck-looking body on a car-style unibody chassis, Ford felt this name would work. This entirely new vehicle checked the boxes for a lot of people—so many people, in fact, that the demand mixed with the supply chain shortage at that time meant that the assembly plants couldn’t keep up with all the orders they were getting. Finding a Maverick was almost impossible at the time, but after almost two years of getting caught up, you can finally find these trucks at Ford dealerships.
The Maverick is small enough to easily get around, gets awesome MPG, and still has a bed big enough for most people’s needs. This also sparked an immediate interest in a lot of us who owned mini-trucks back in the day to modify them. Companies took note of that and began creating parts for them.
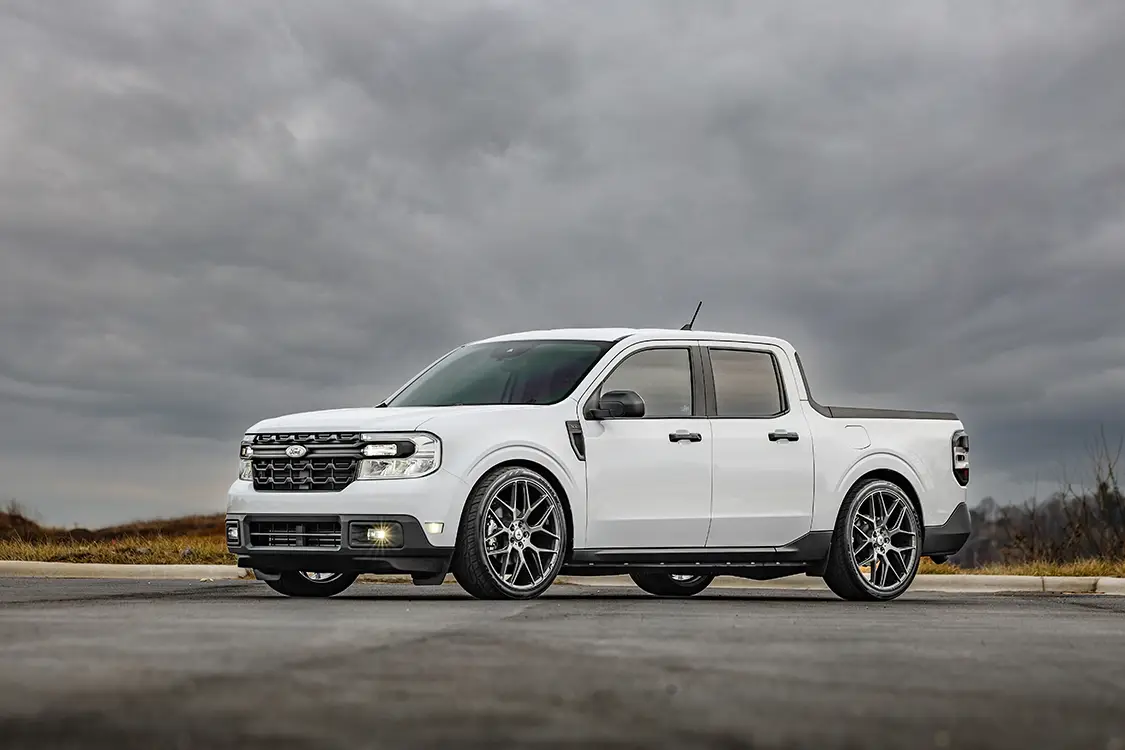
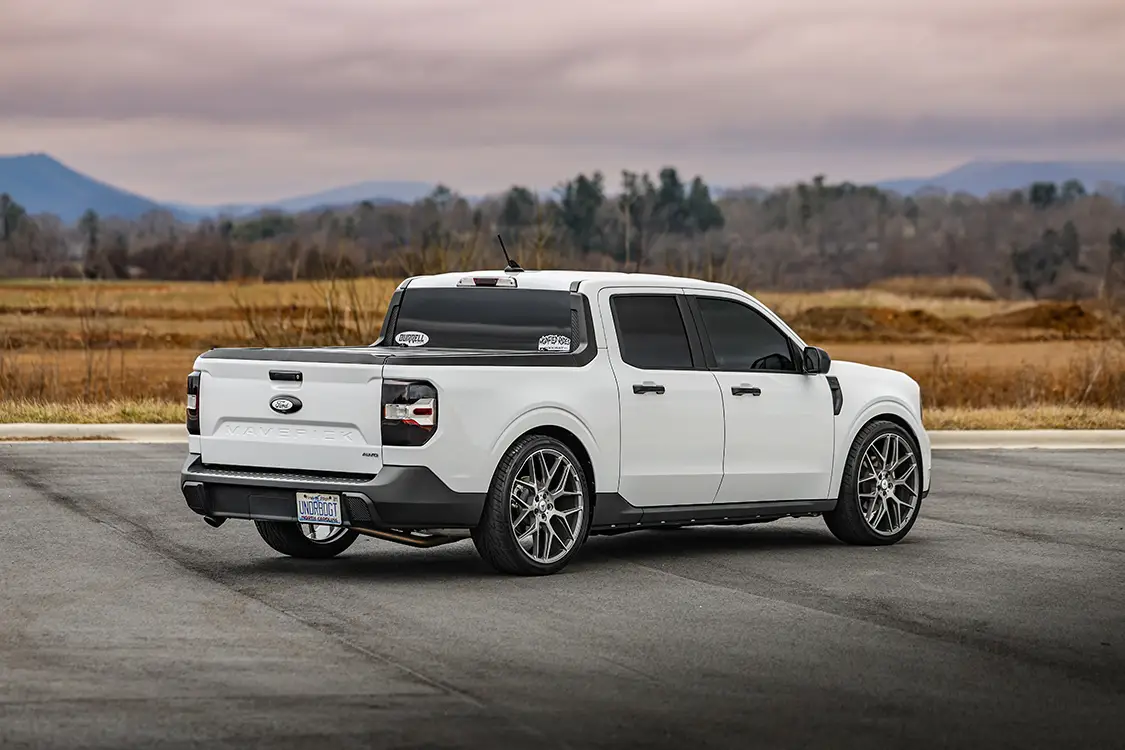
If you are a regular reader of Street Trucks, you have seen some of the upgrades that have been done to this #UnderBudgetMav project. It has already received performance and lighting upgrades, as well as some bed accessories added to it, but some parts finally came in to get it a little closer to the ground to make it look and handle a lot better.
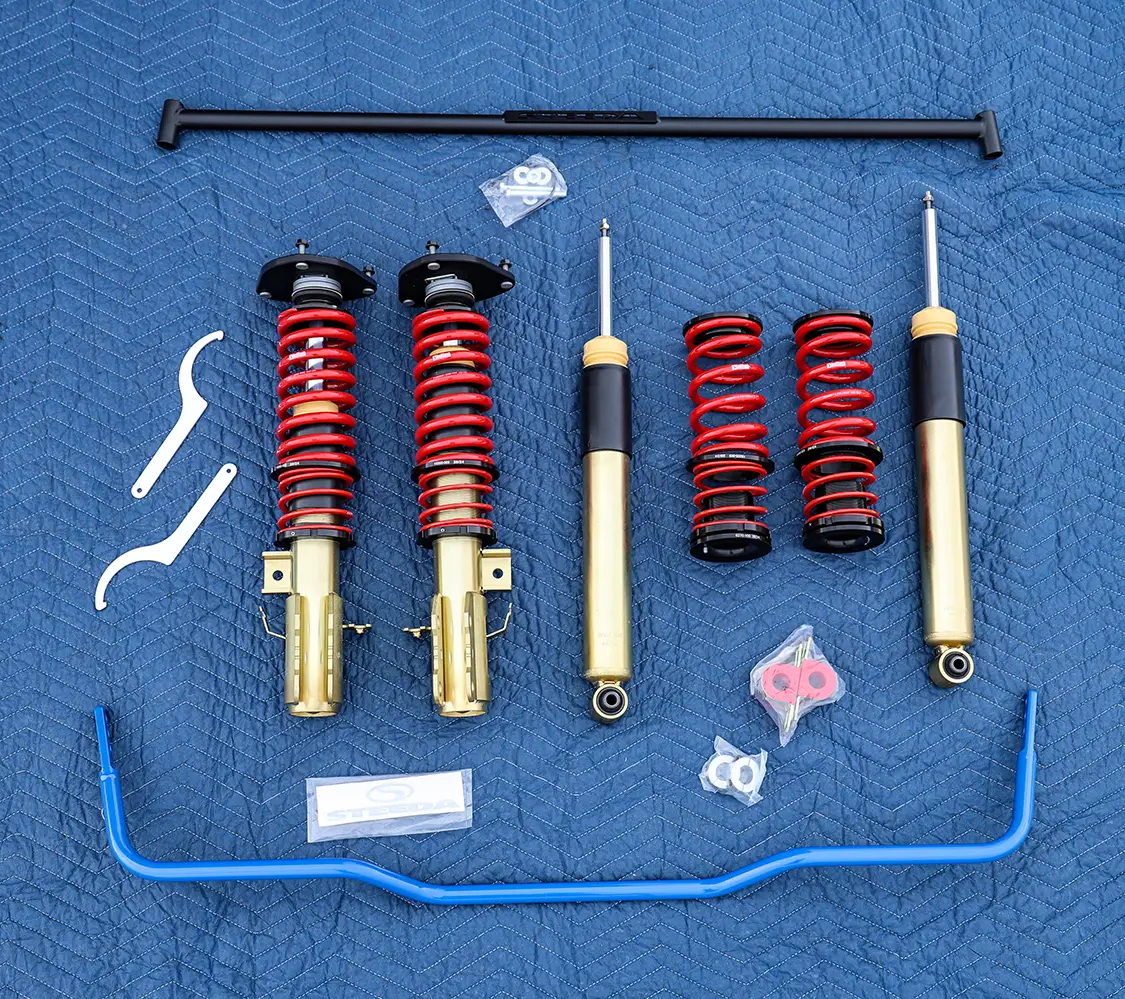
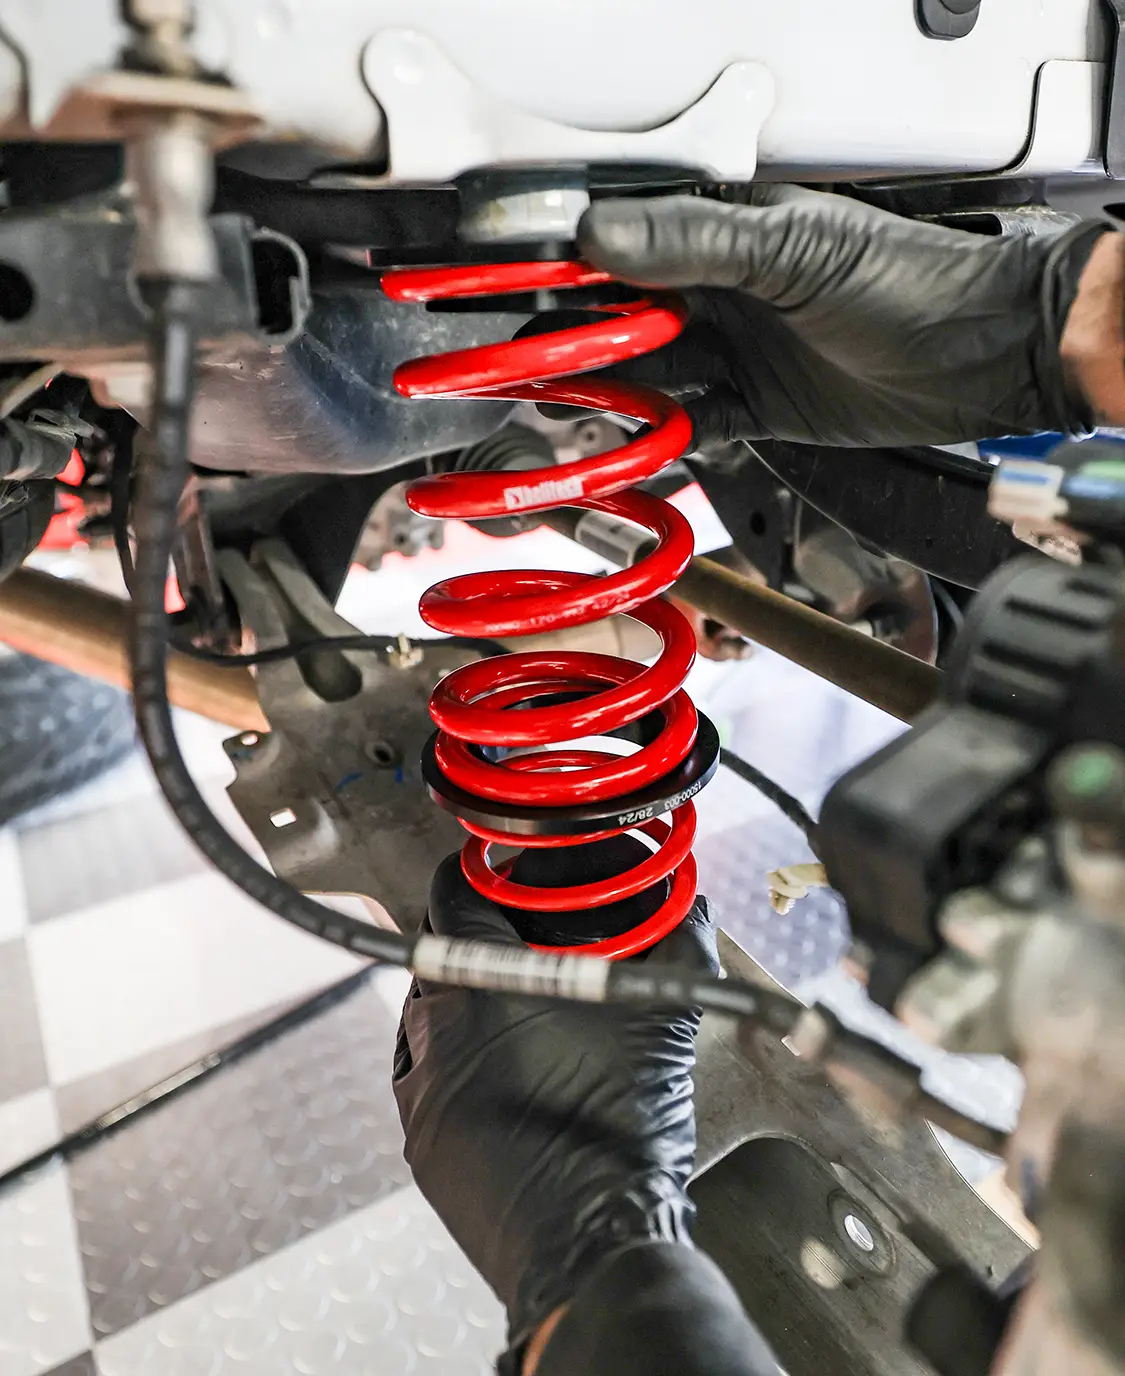
A lot of mini-trucks back in the day were lowered, so dropping the Ford Maverick was something that needed to be done. For this, I got with the crew over at Belltech after finding out they were working on a coilover kit for this platform, and got my hands on one of the first kits available. As of writing this, Belltech does not have a release date or a set MSRP but this kit should be available on its website by the time you have this issue in your hands.
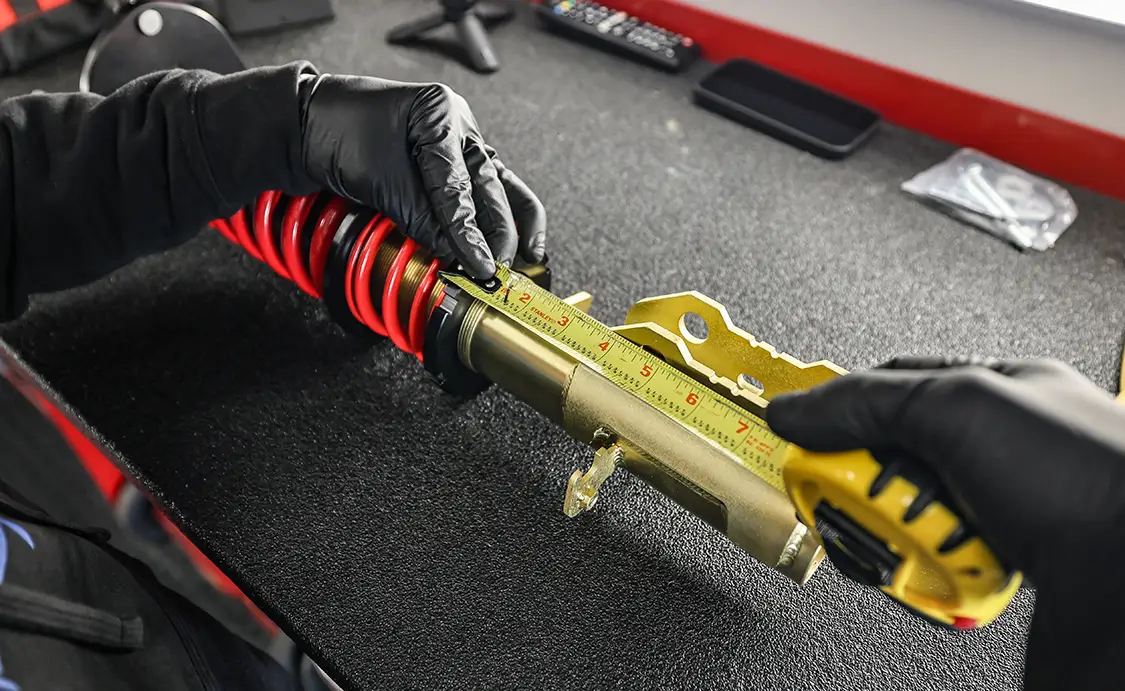
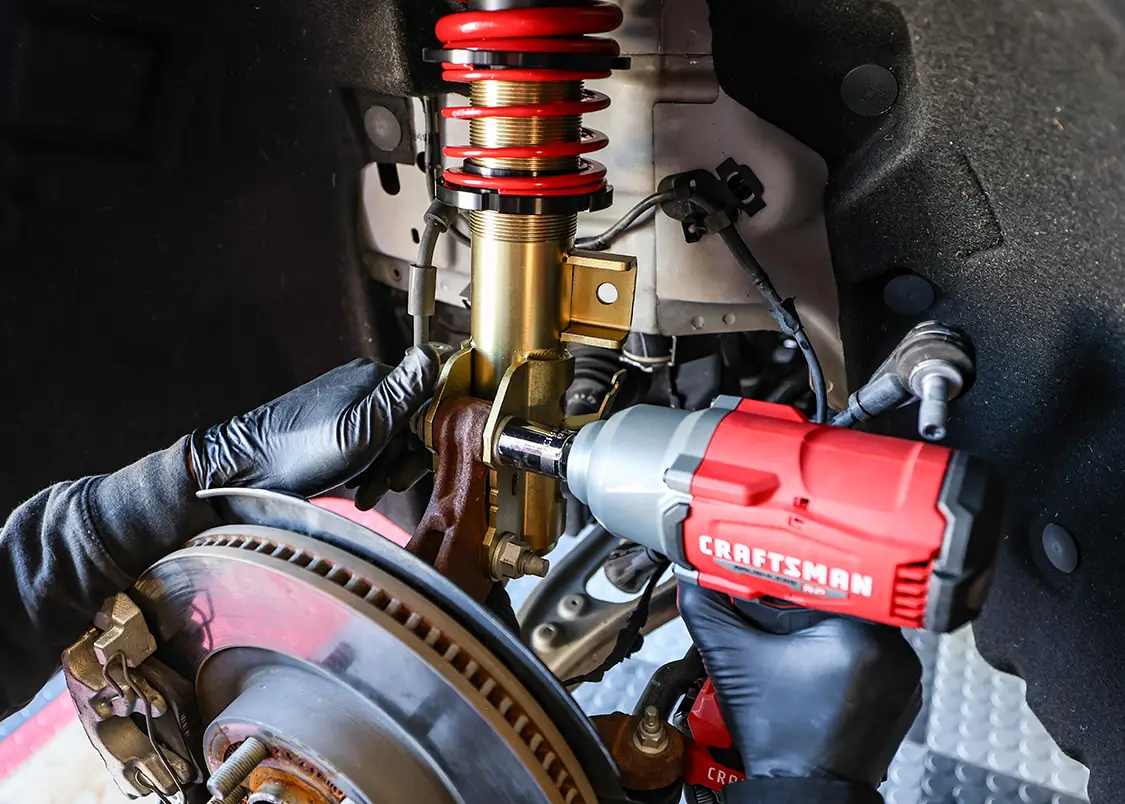
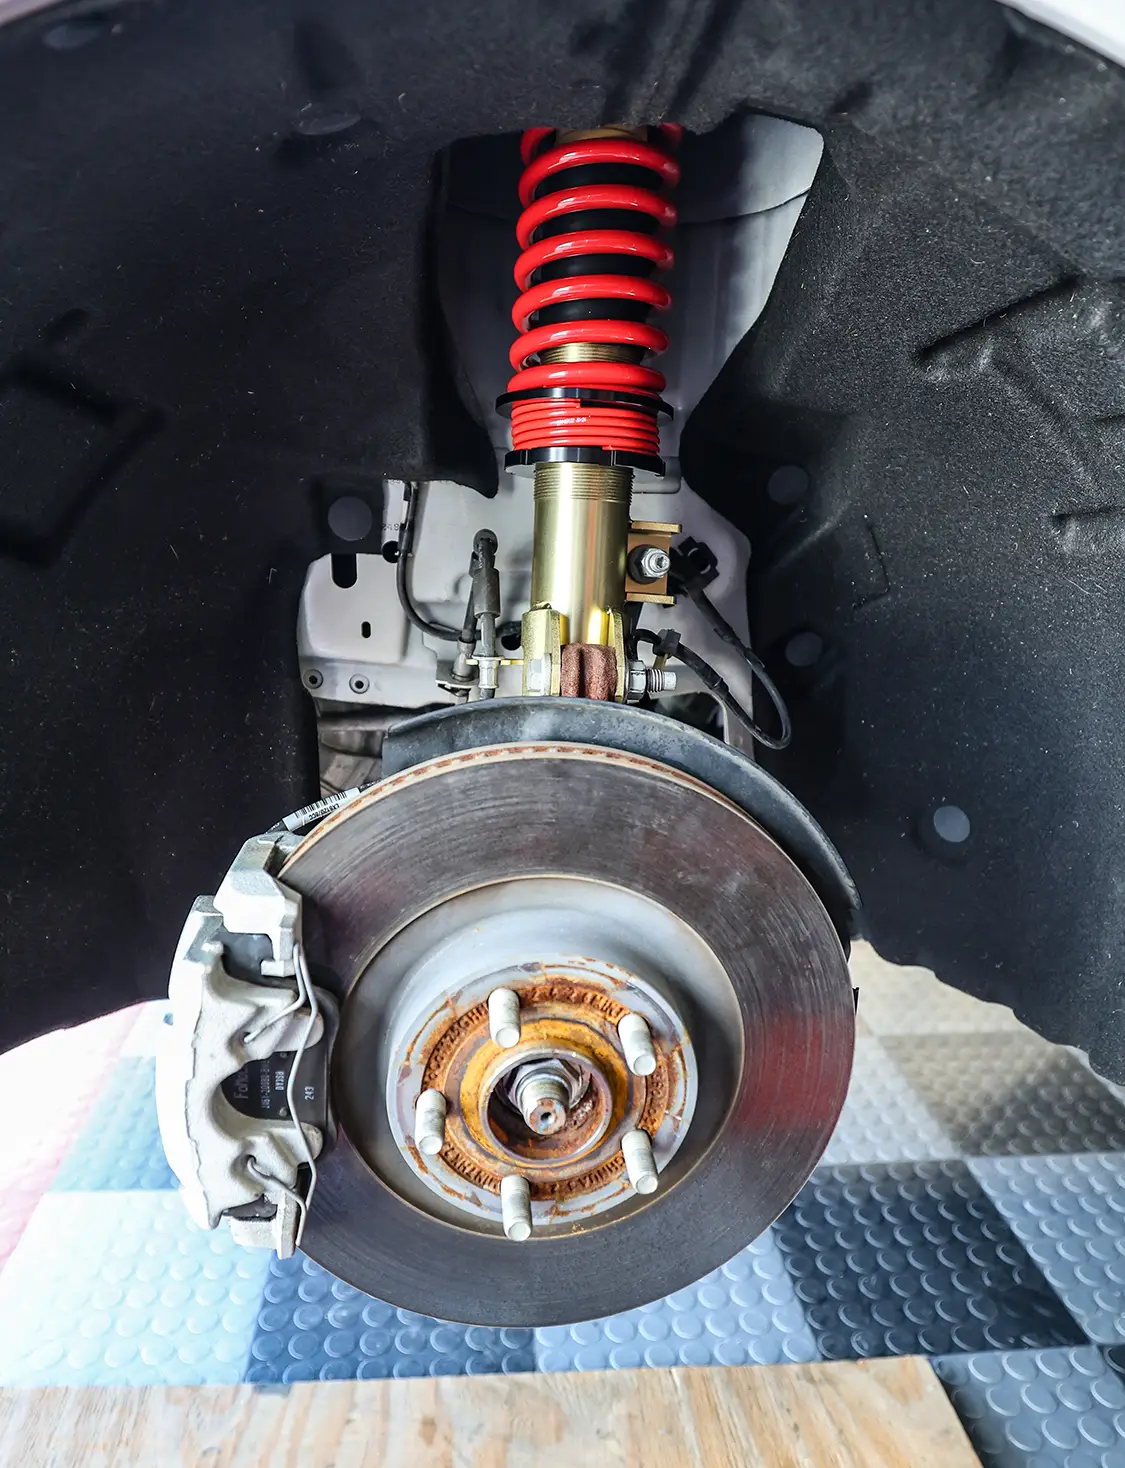
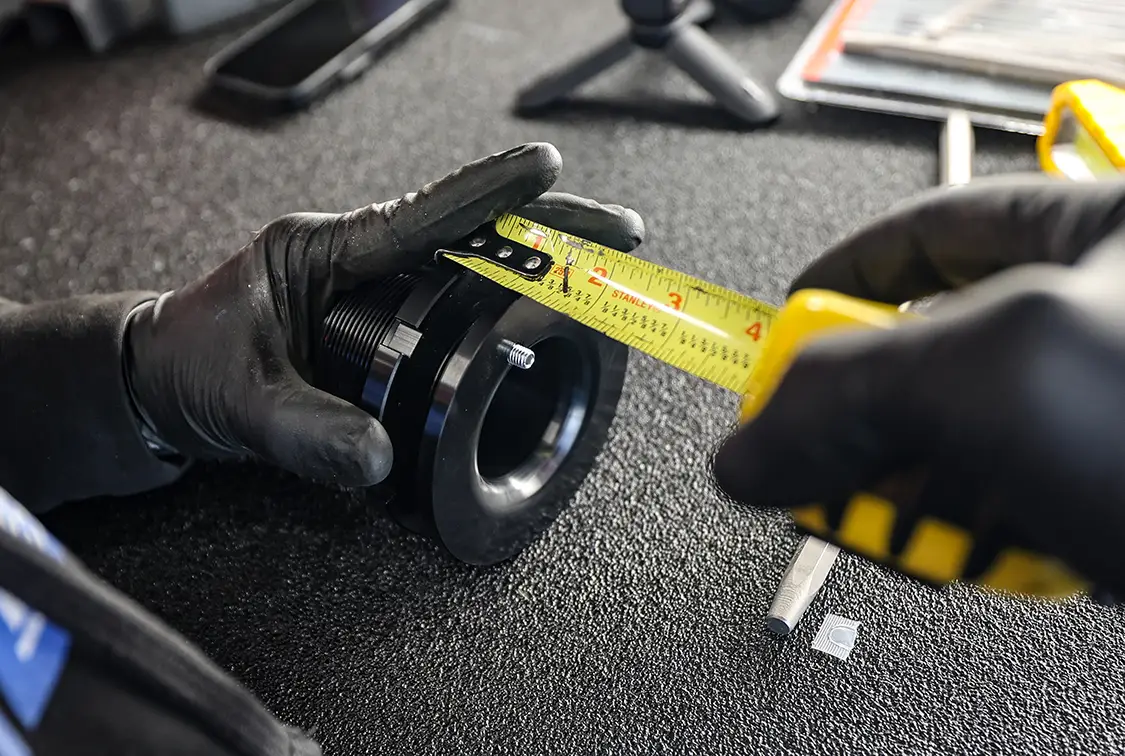
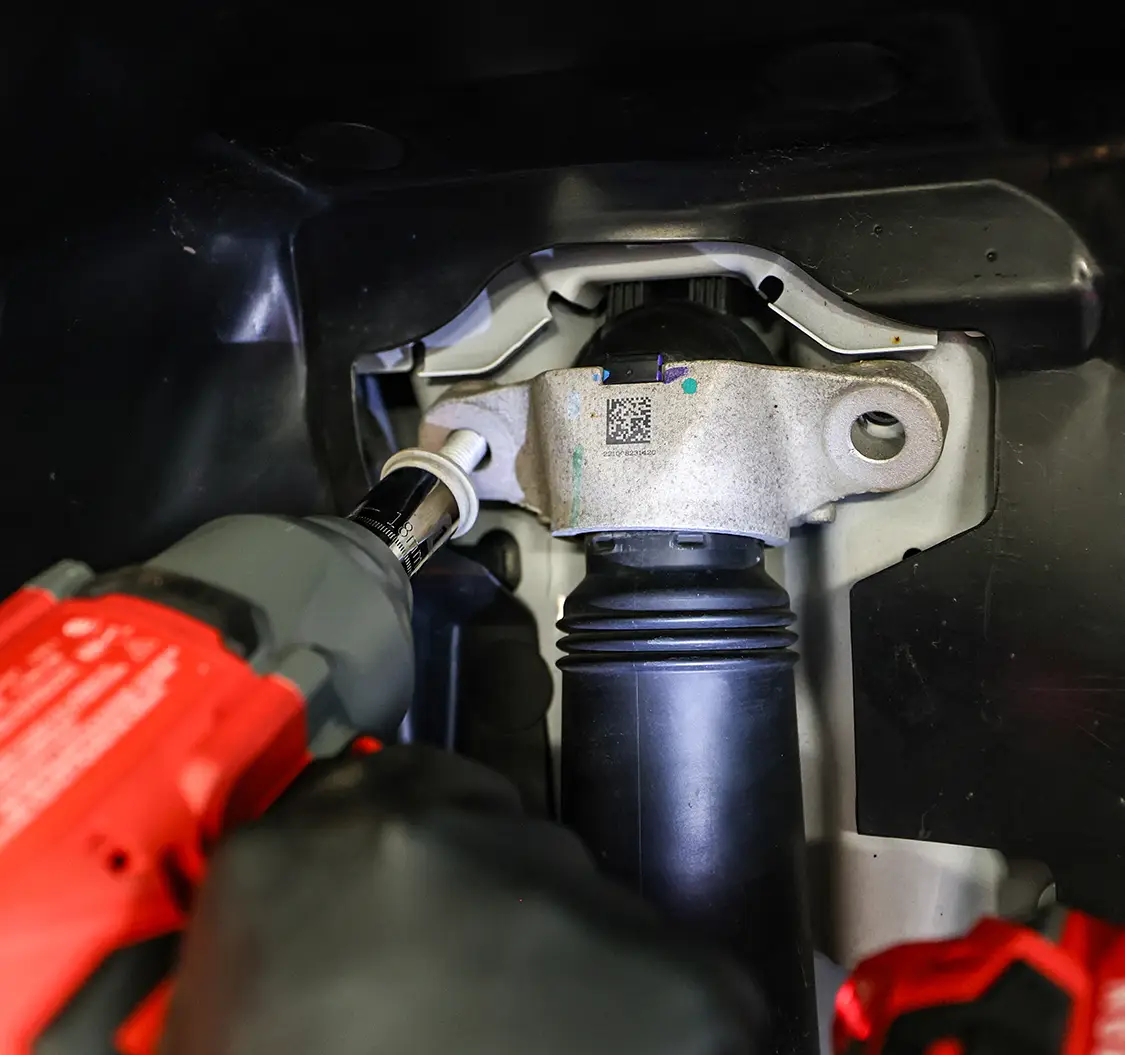
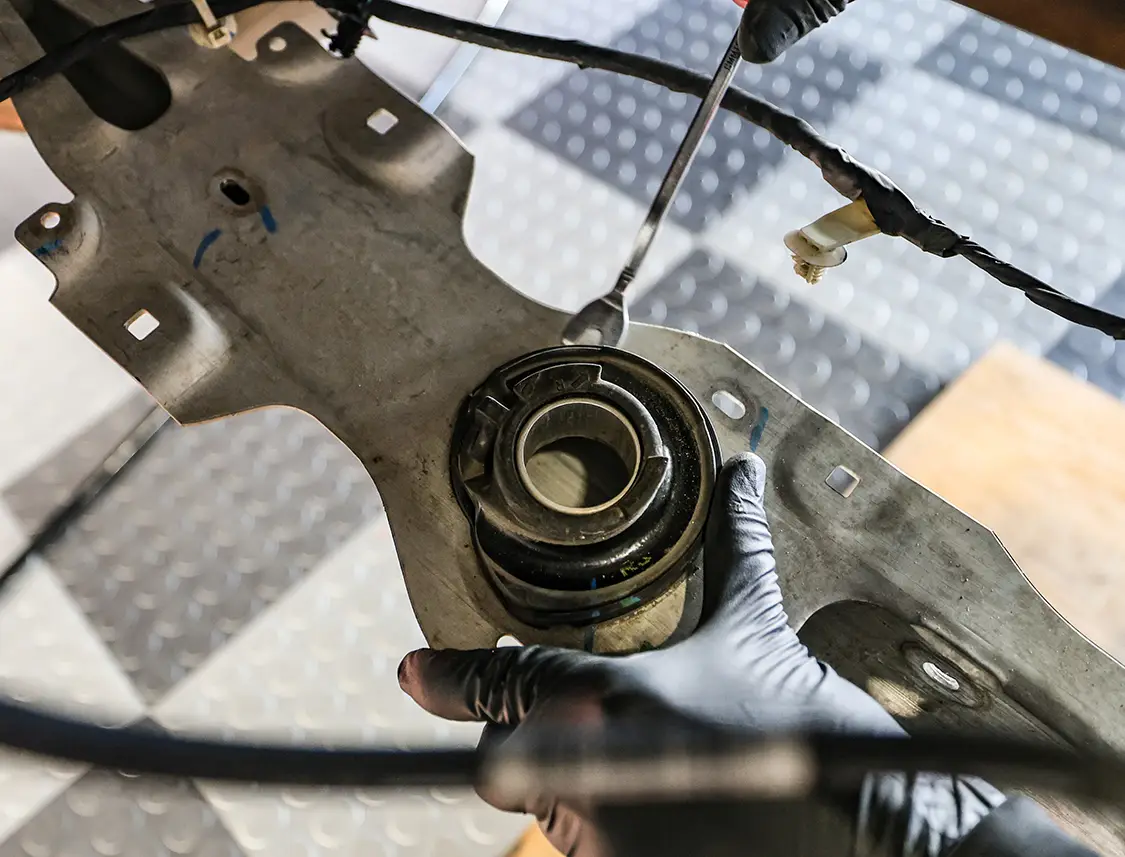
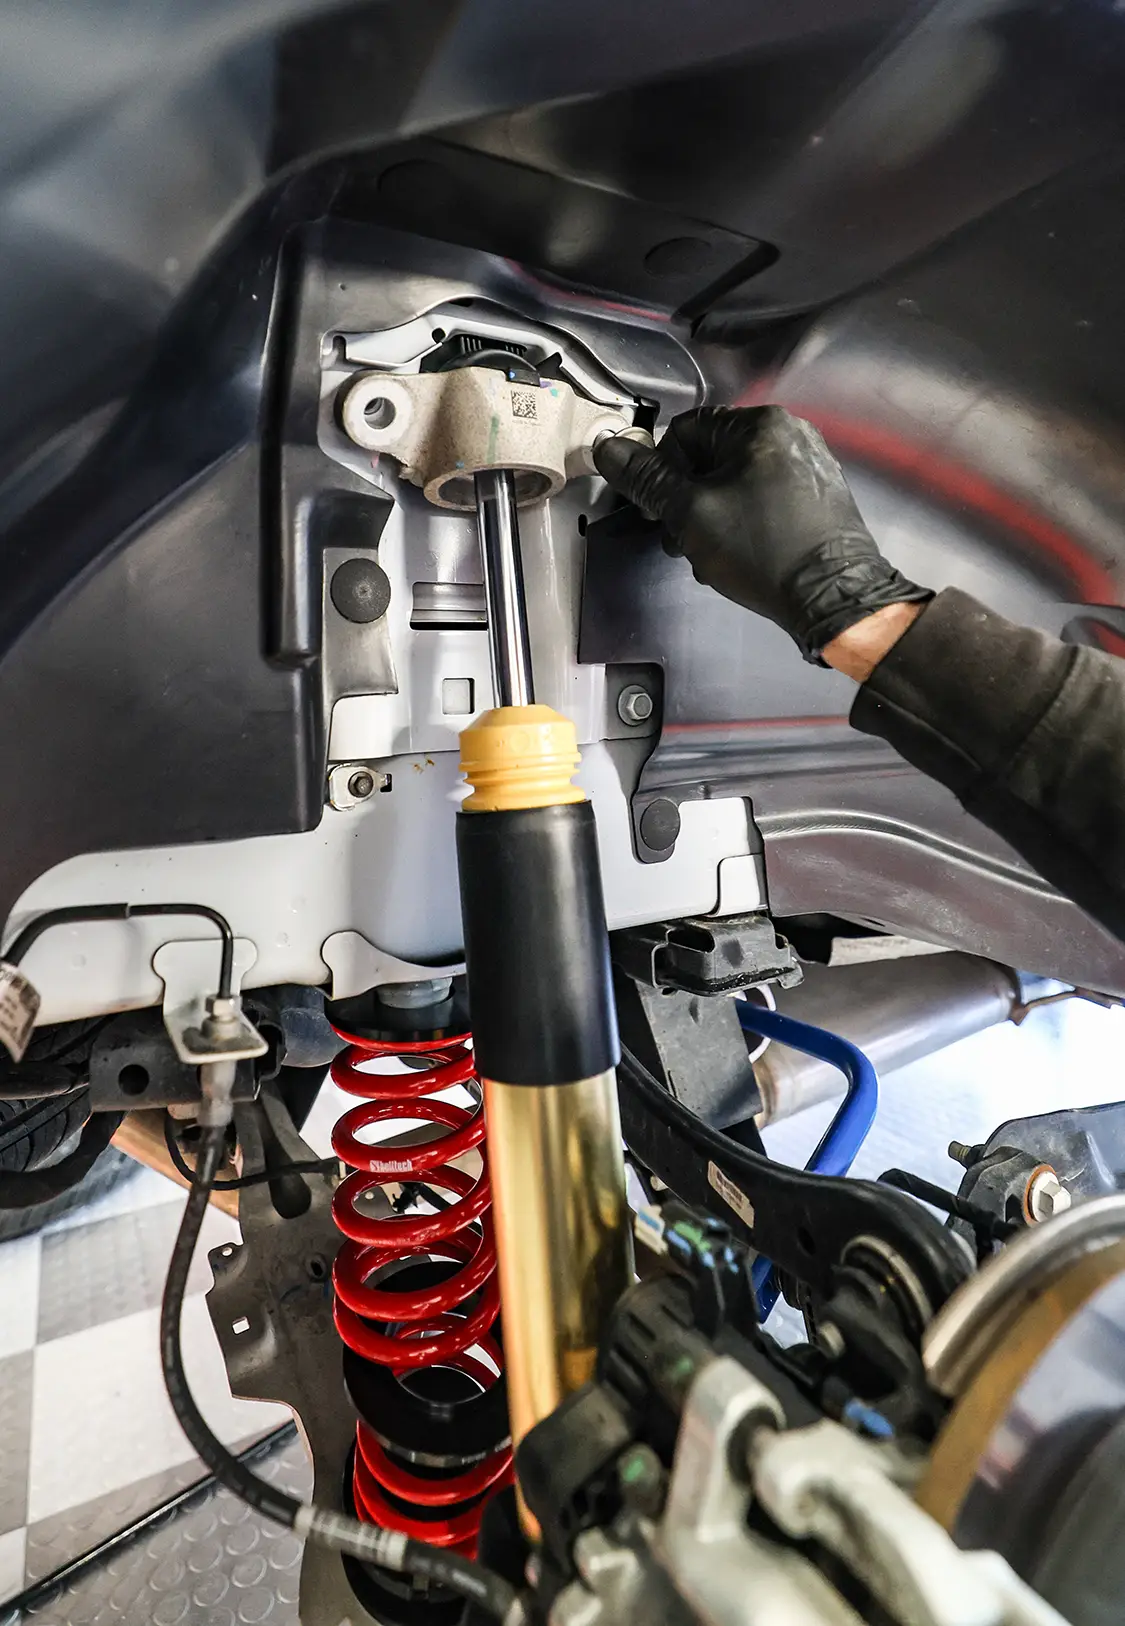
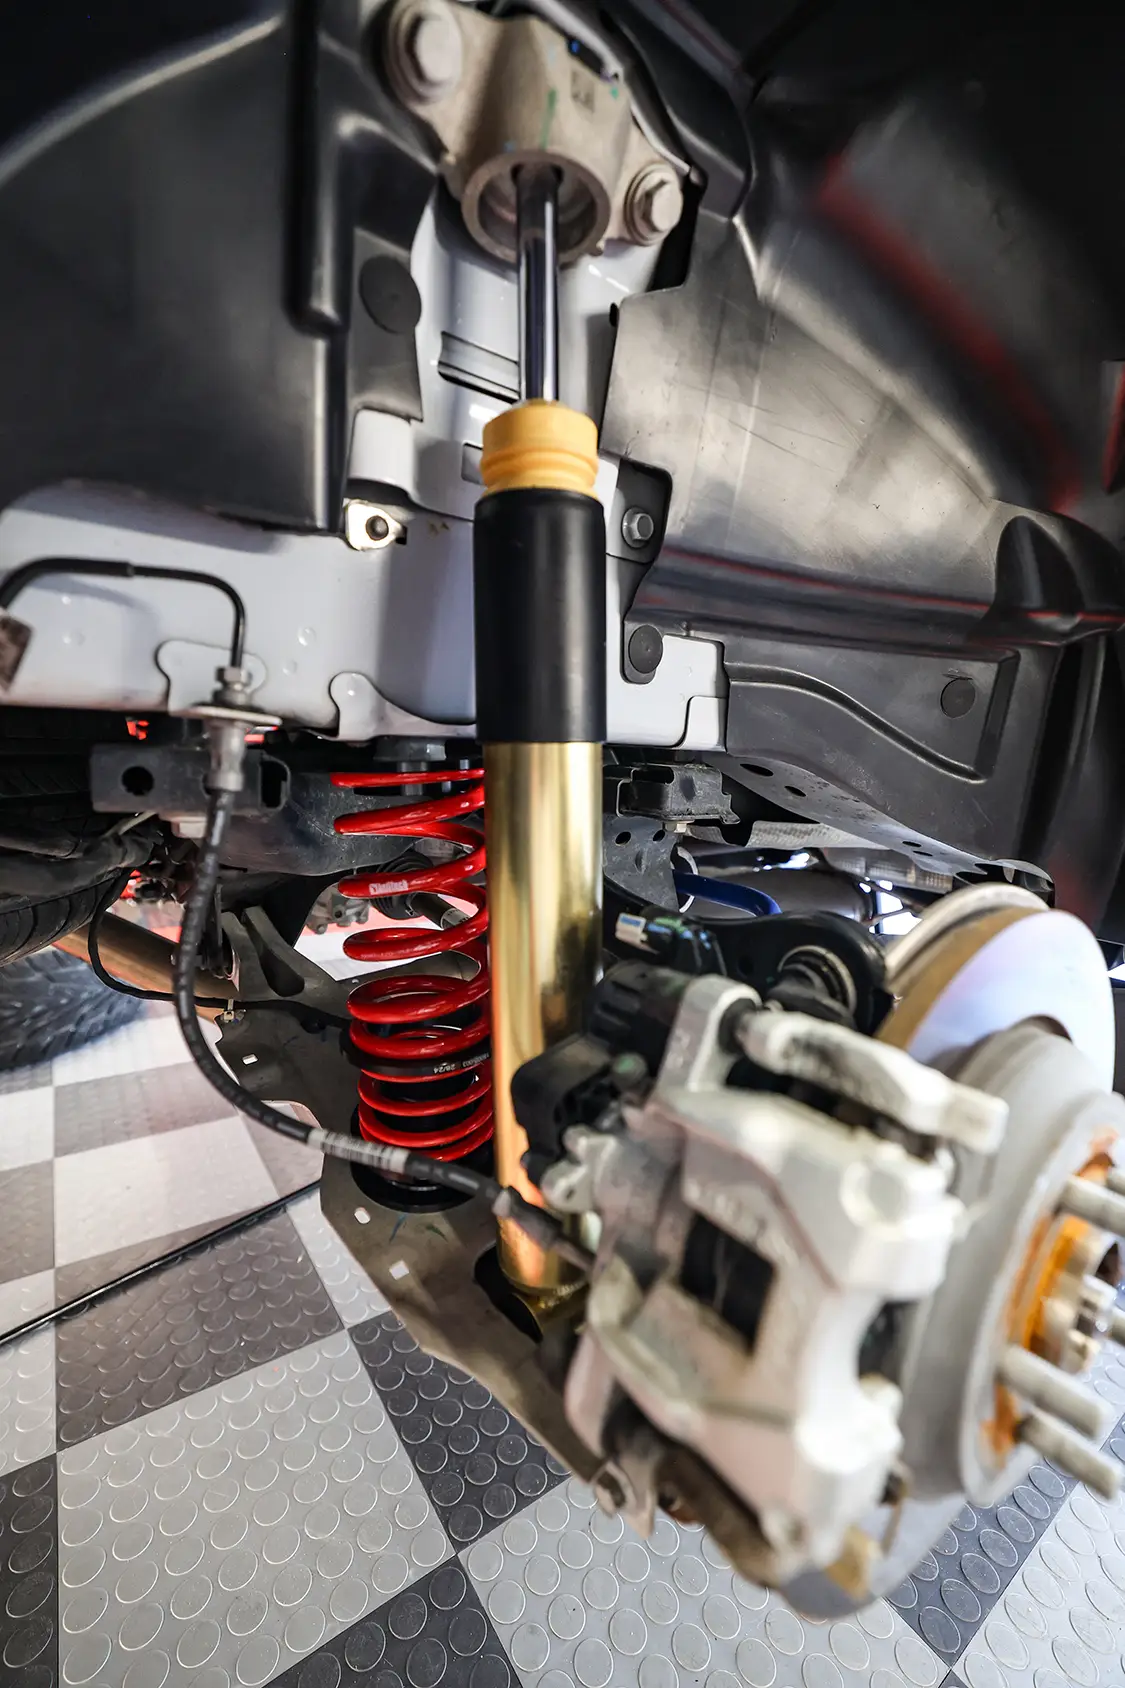
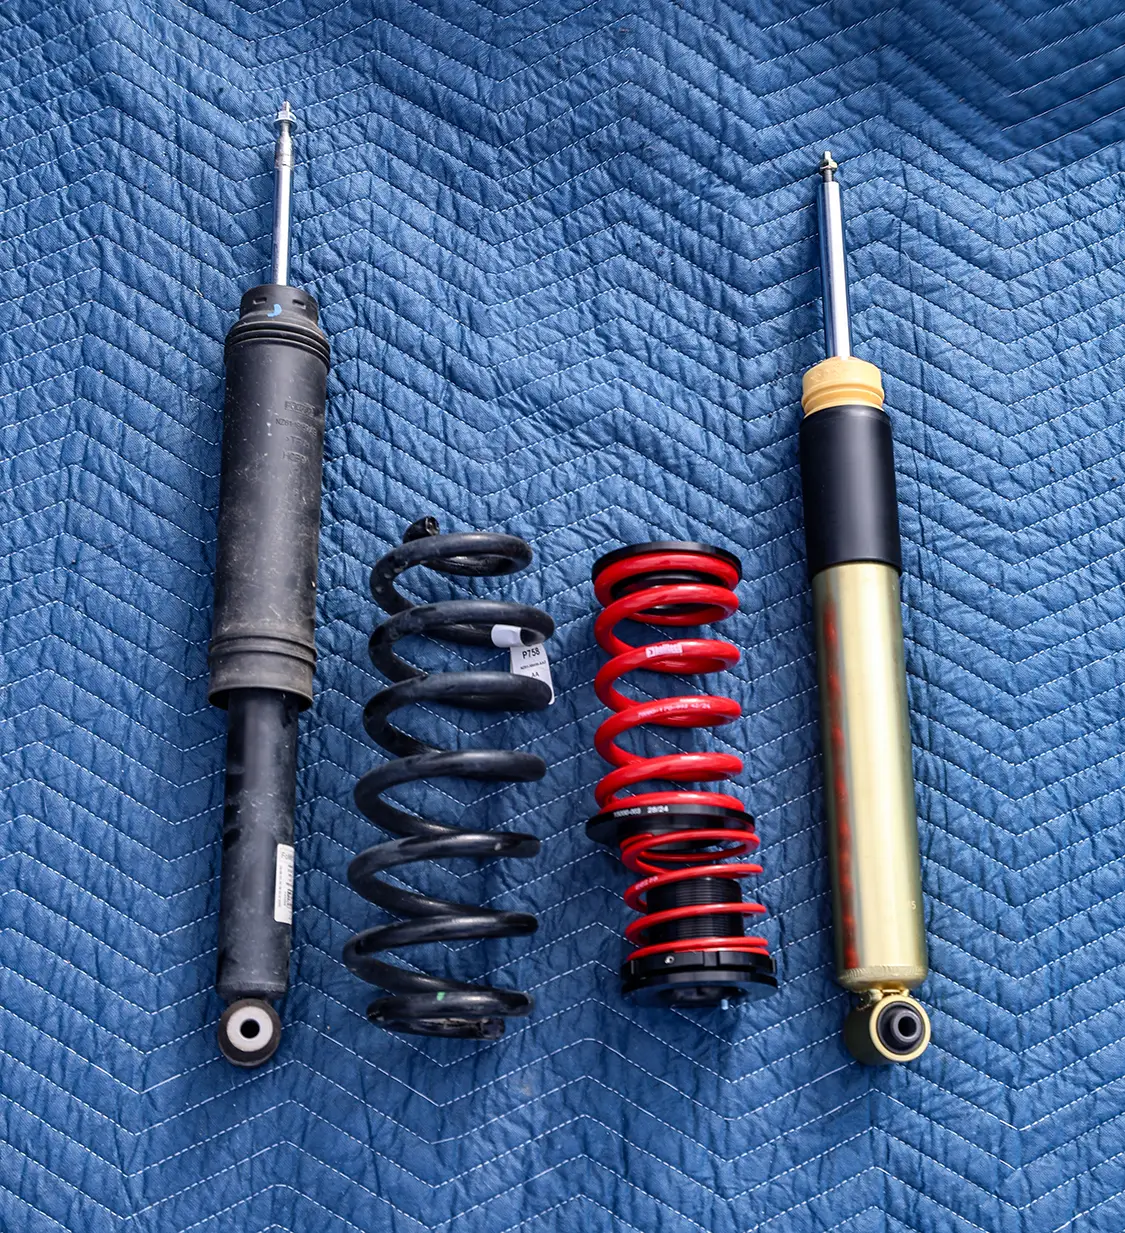
This lowering kit comes with full front strut replacements, including the top mounting plate, and it gives you the option of lowering the front from two to four inches. The rear kit consists of new shocks and coilovers to replace the stock springs, and gives you from three to five inches of drop. I opted to go with the 3/4 drop to hit that sweet spot in the middle.
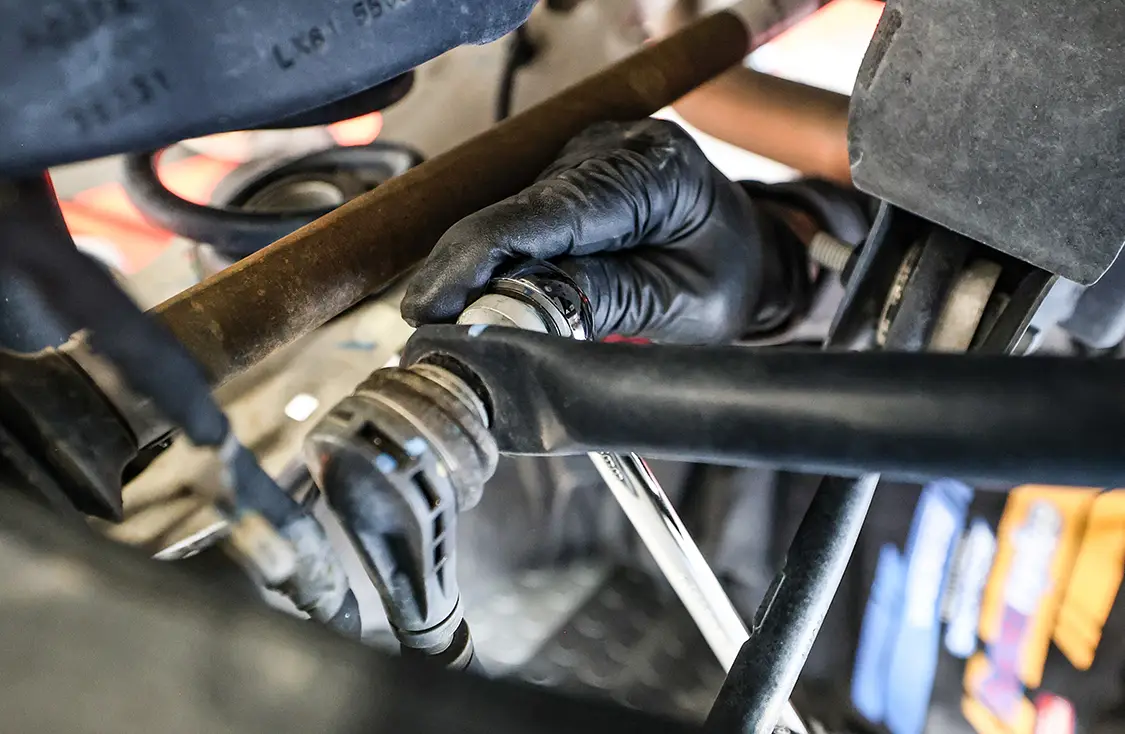
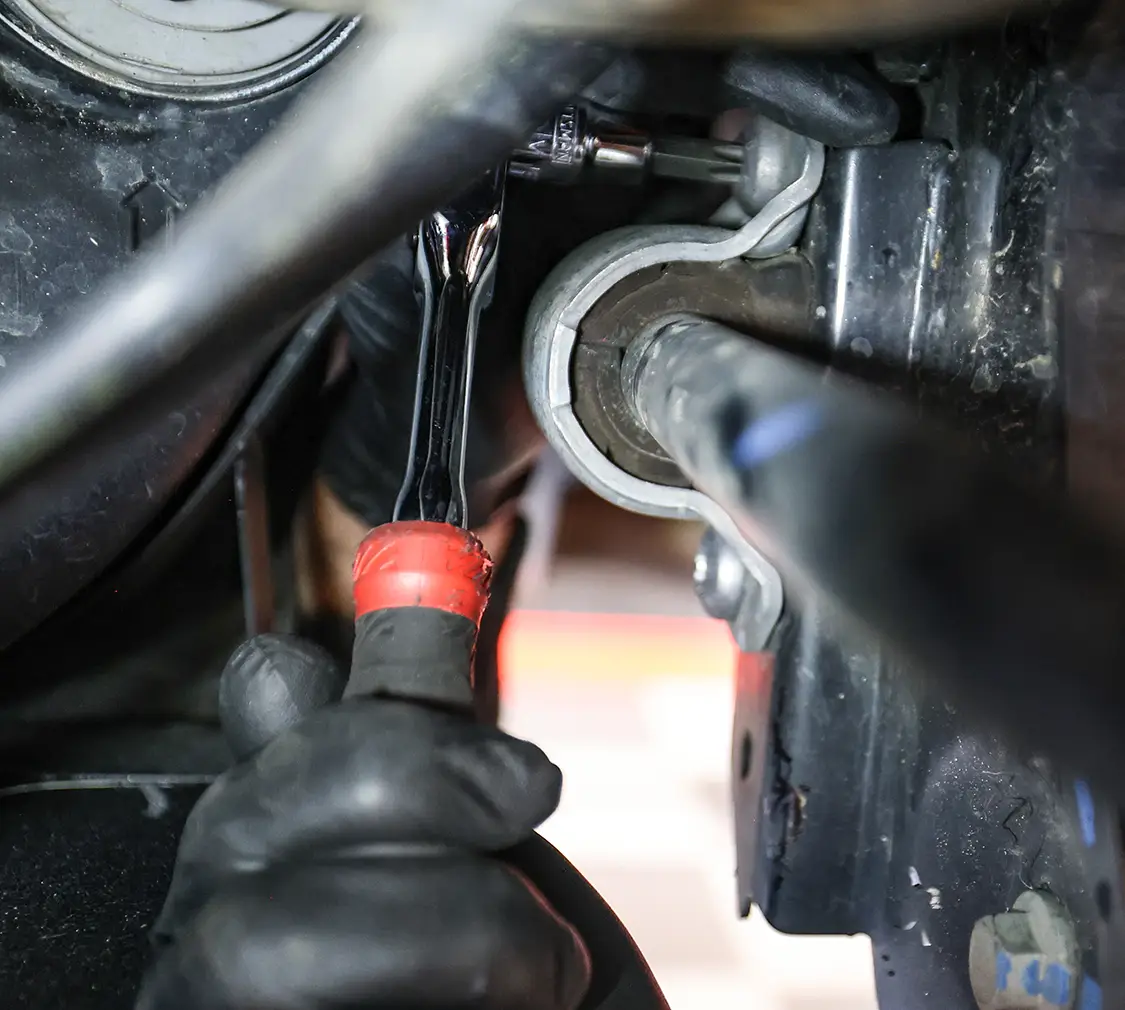
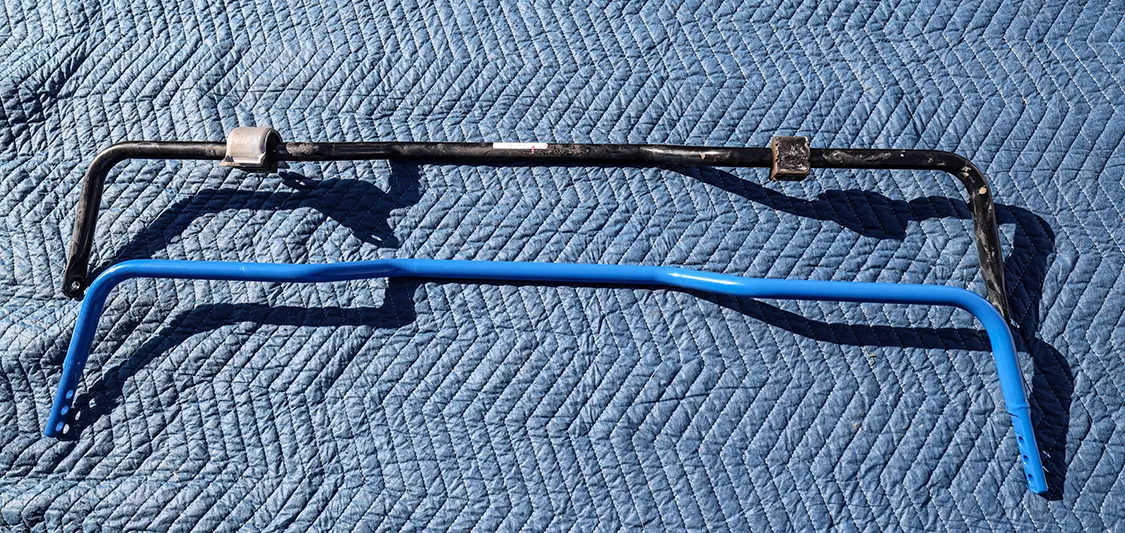
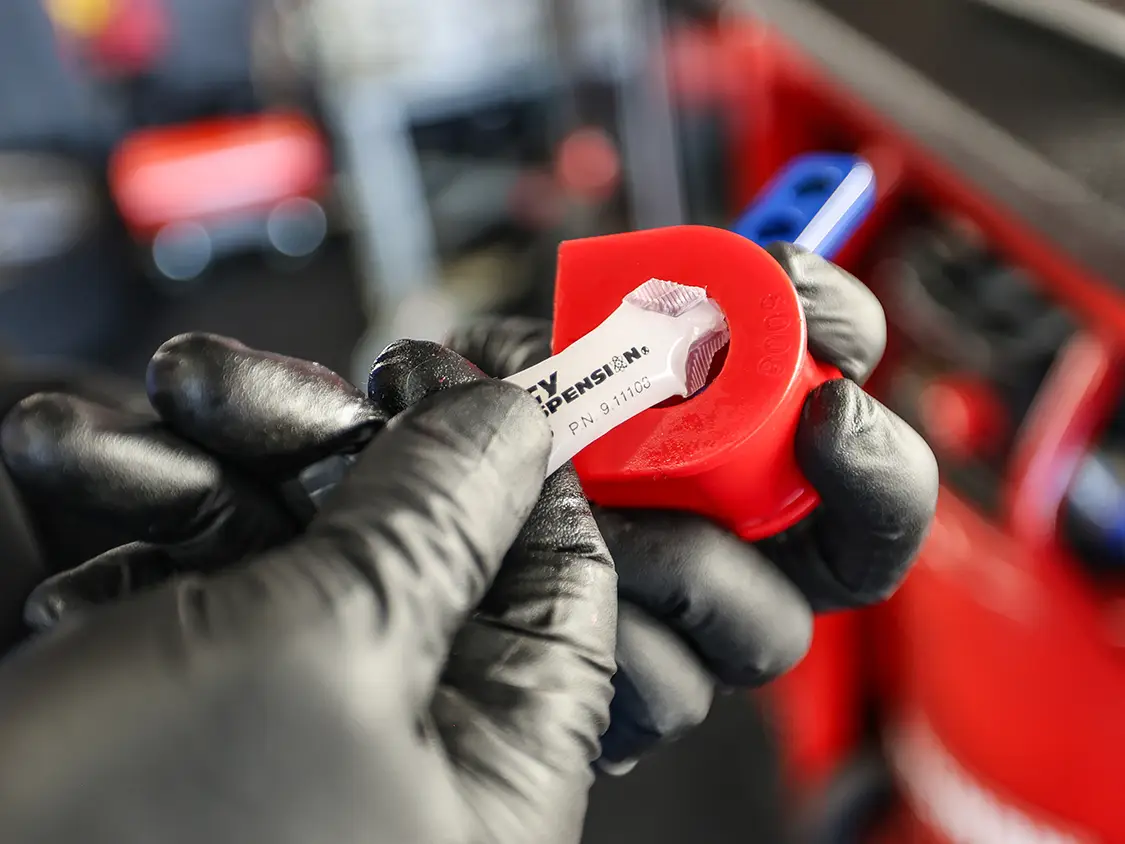
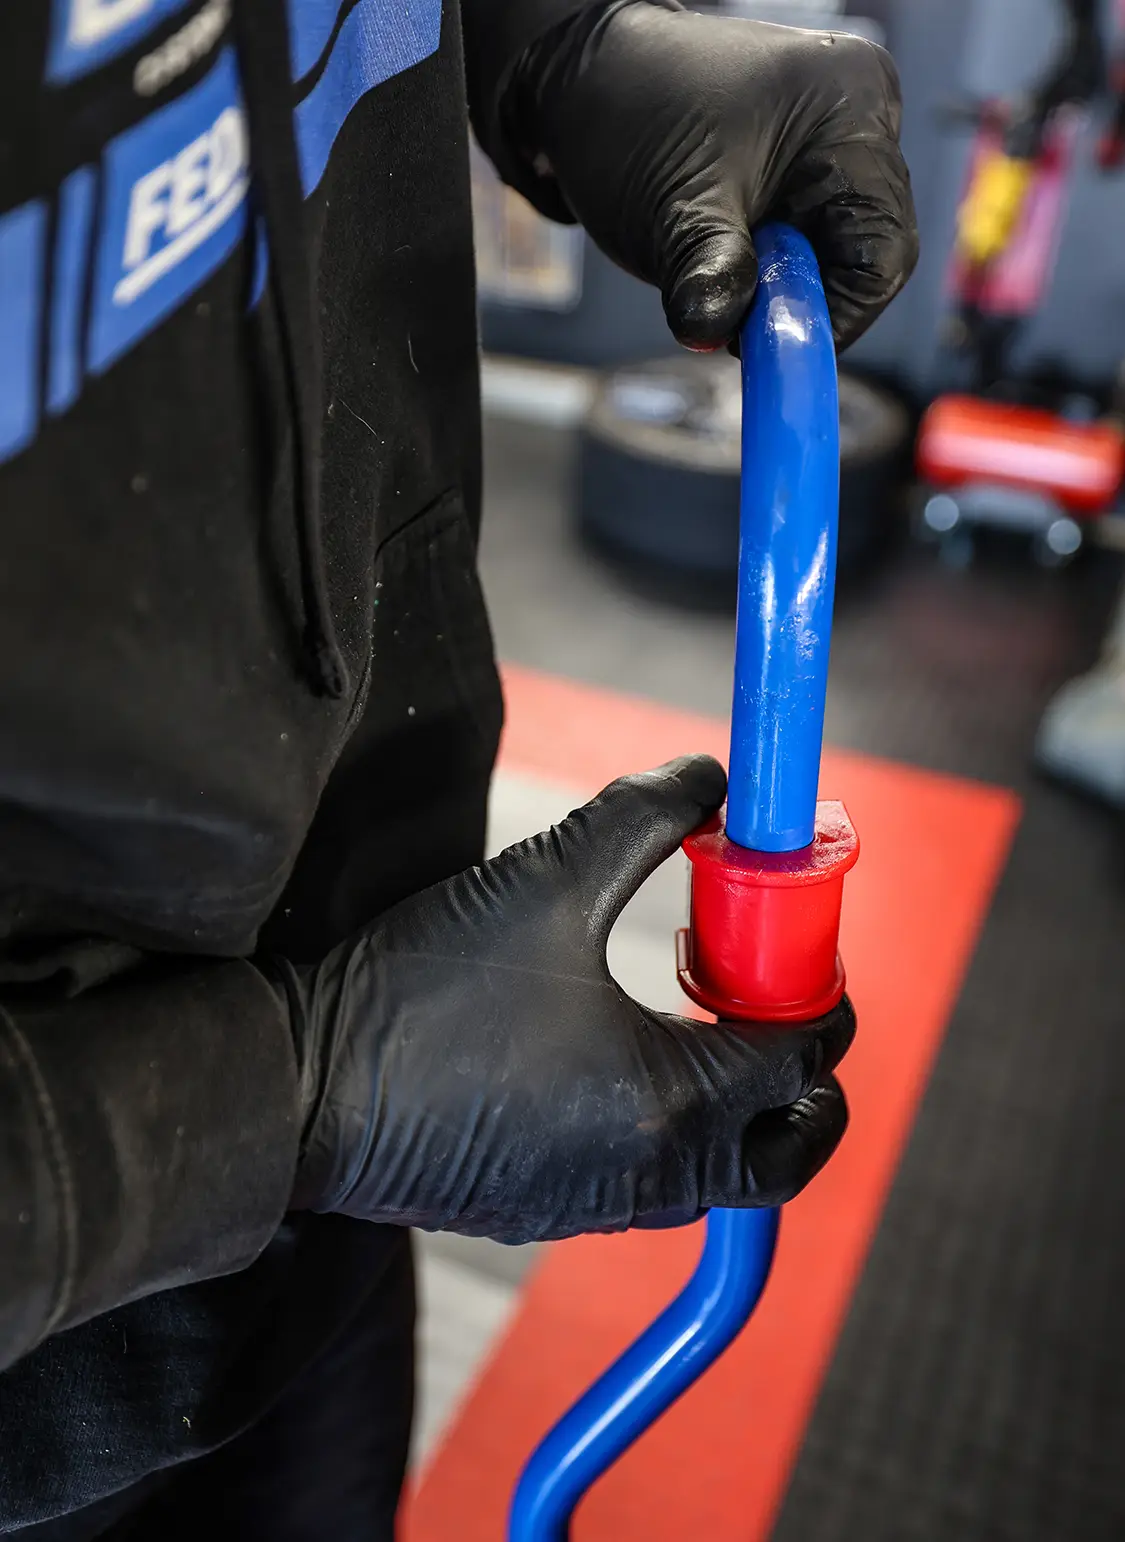
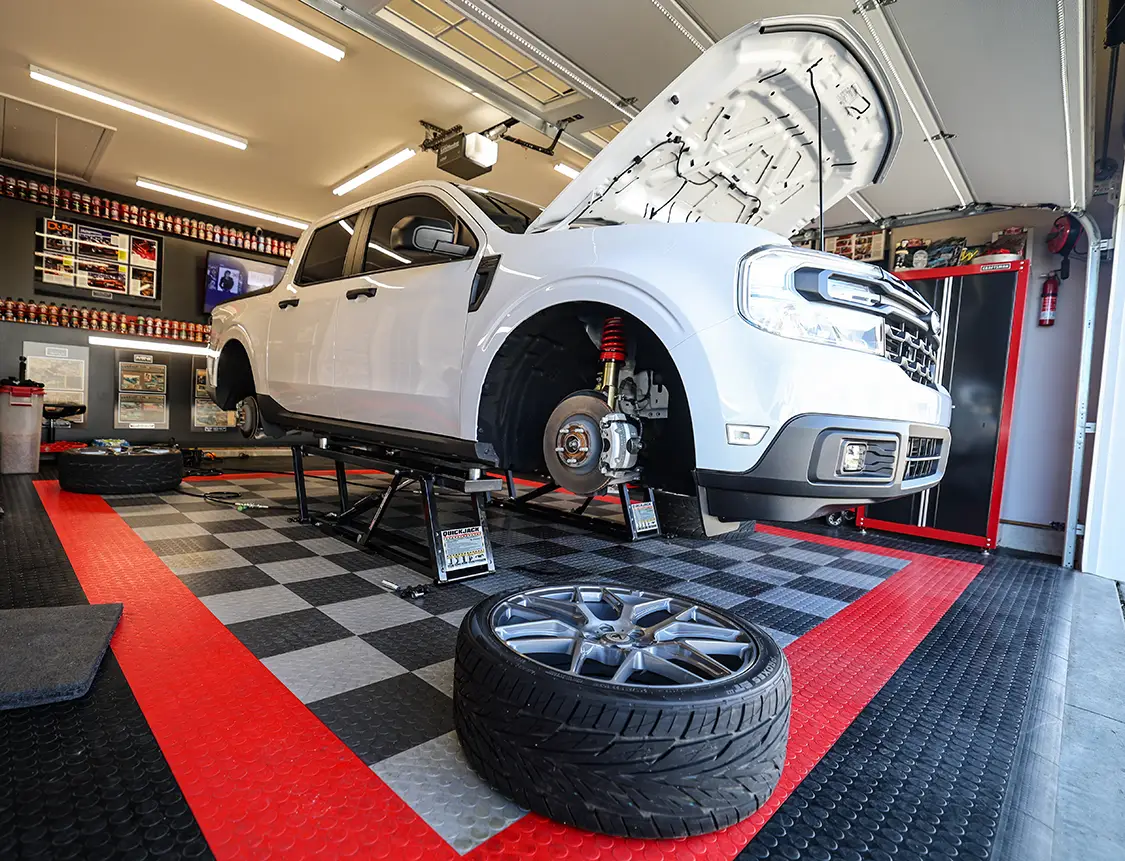
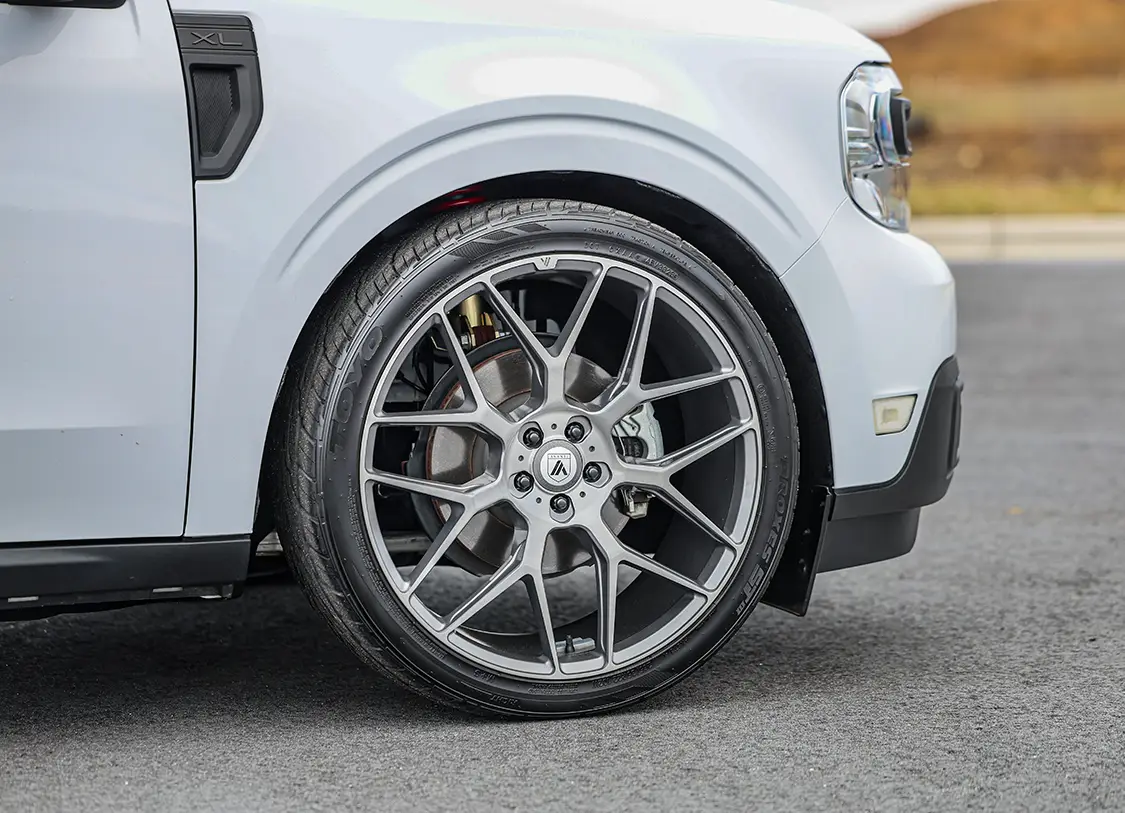
I also got with Steeda Performance Parts to order one of its rear sway bar replacements to help stiffen the rear of the truck a little, as well as one of its front strut tower bars for good measure. With this truck being an all-wheel drive version, having it lower to the ground with some added stiffness made it handle like a go-kart. That and the addition of the larger diameter 22-inch Asanti wheels wrapped in 265/35-22 Toyo Proxes tires ensured the stance would be perfect on it. The stock base model steel bullet hole wheels would no longer cut it for the look I was going after.
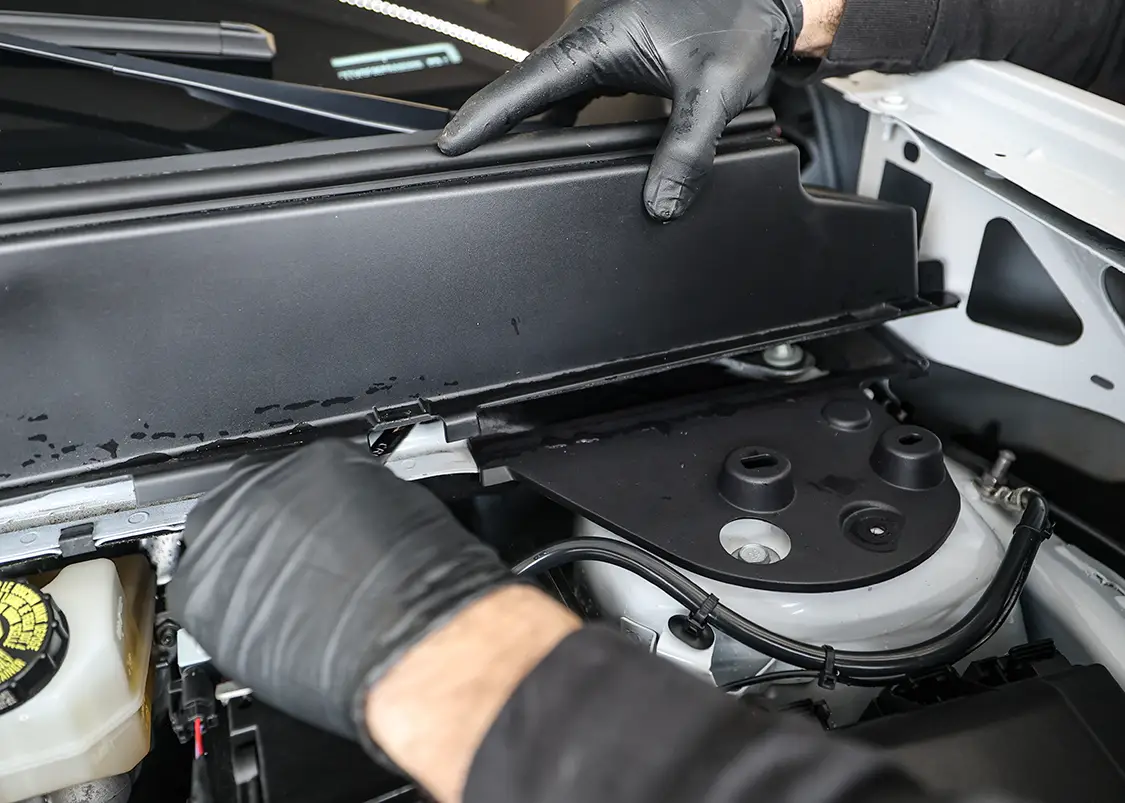
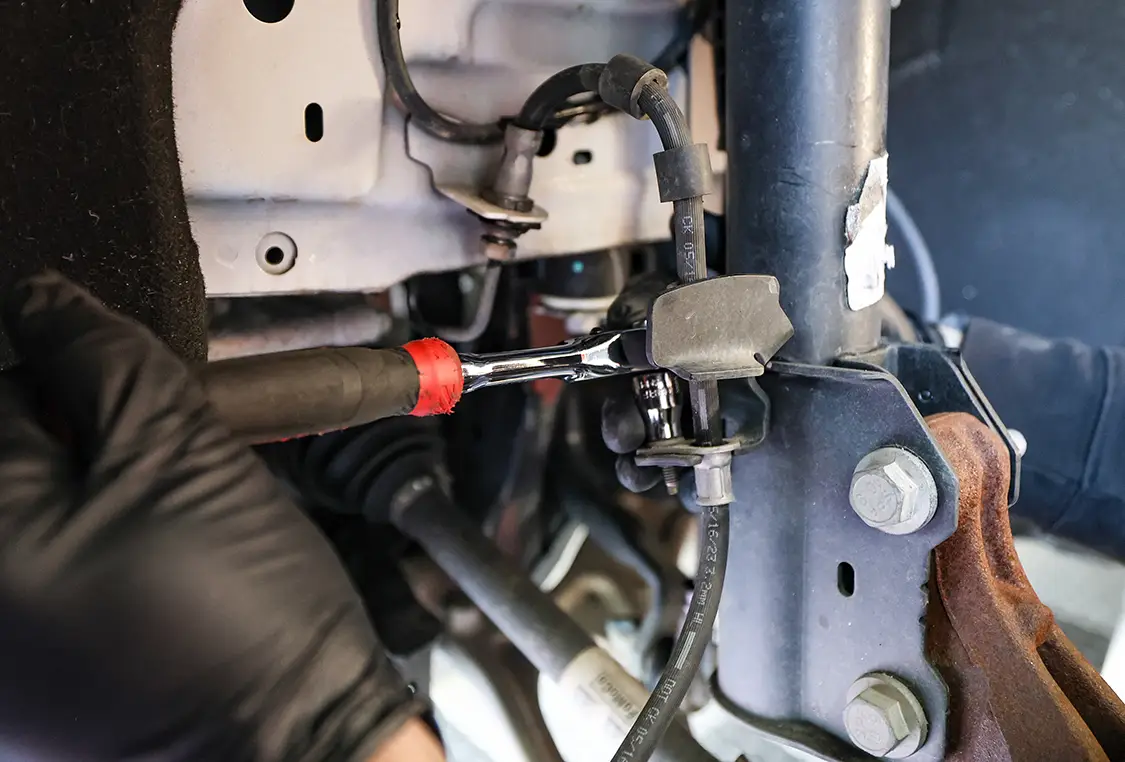
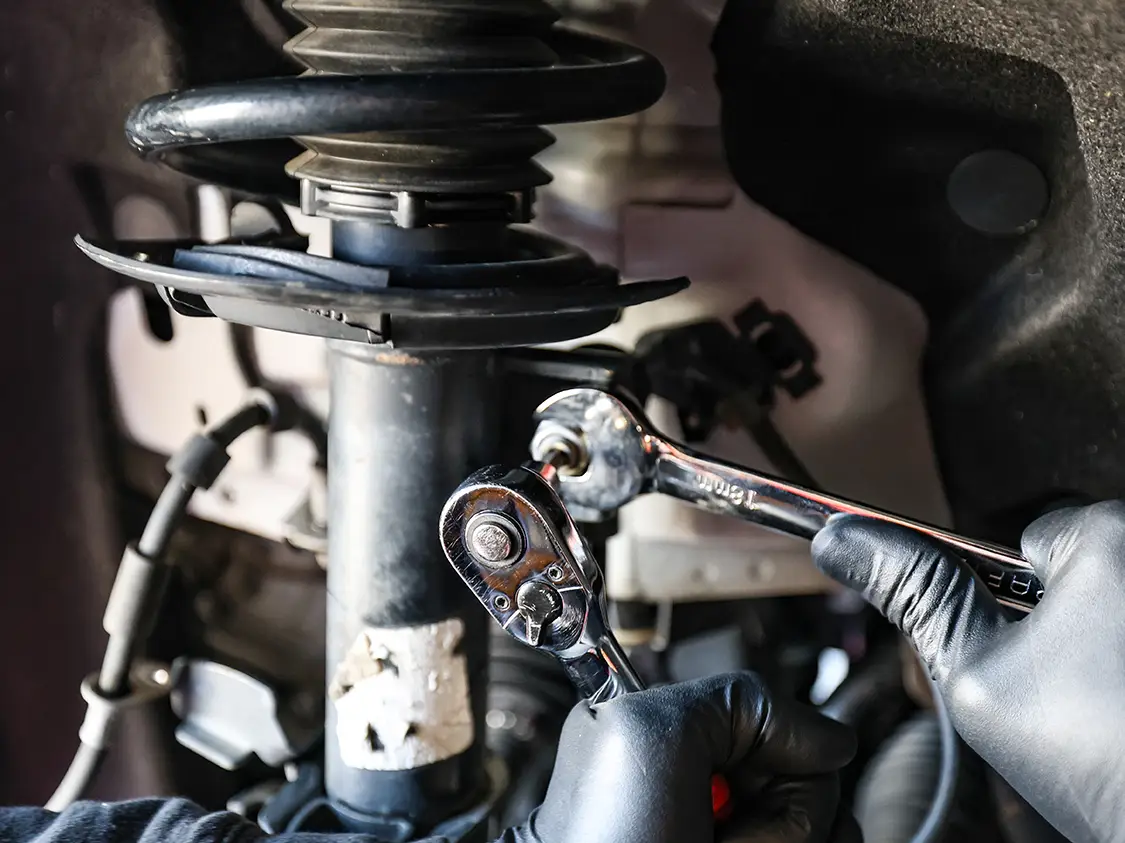
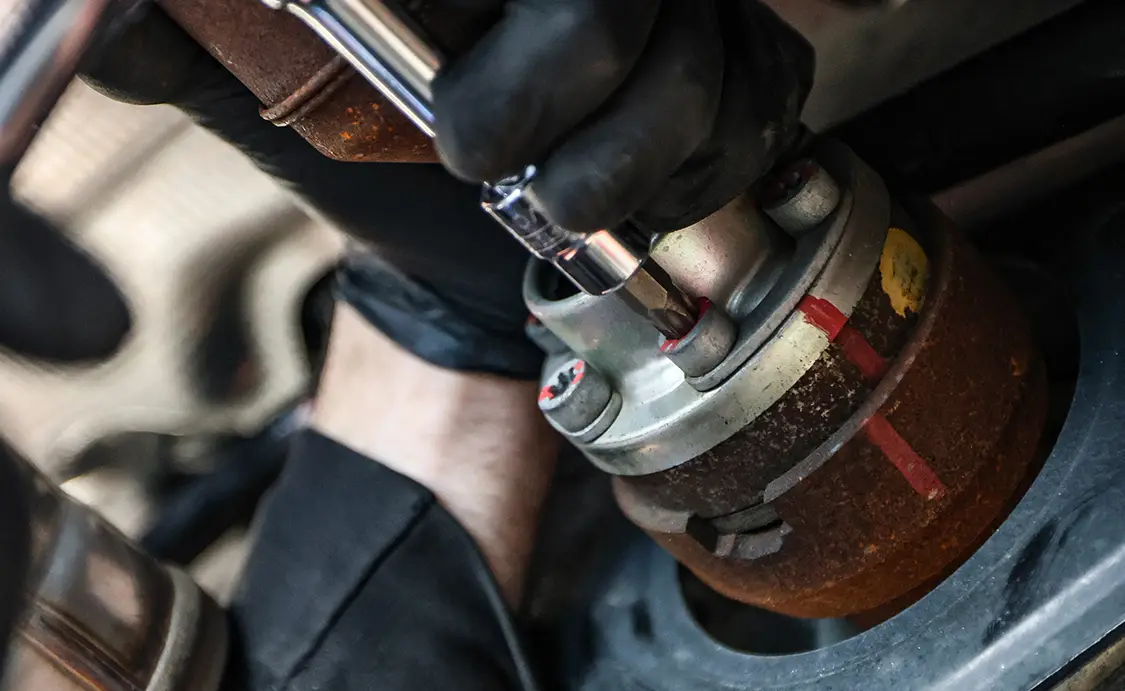
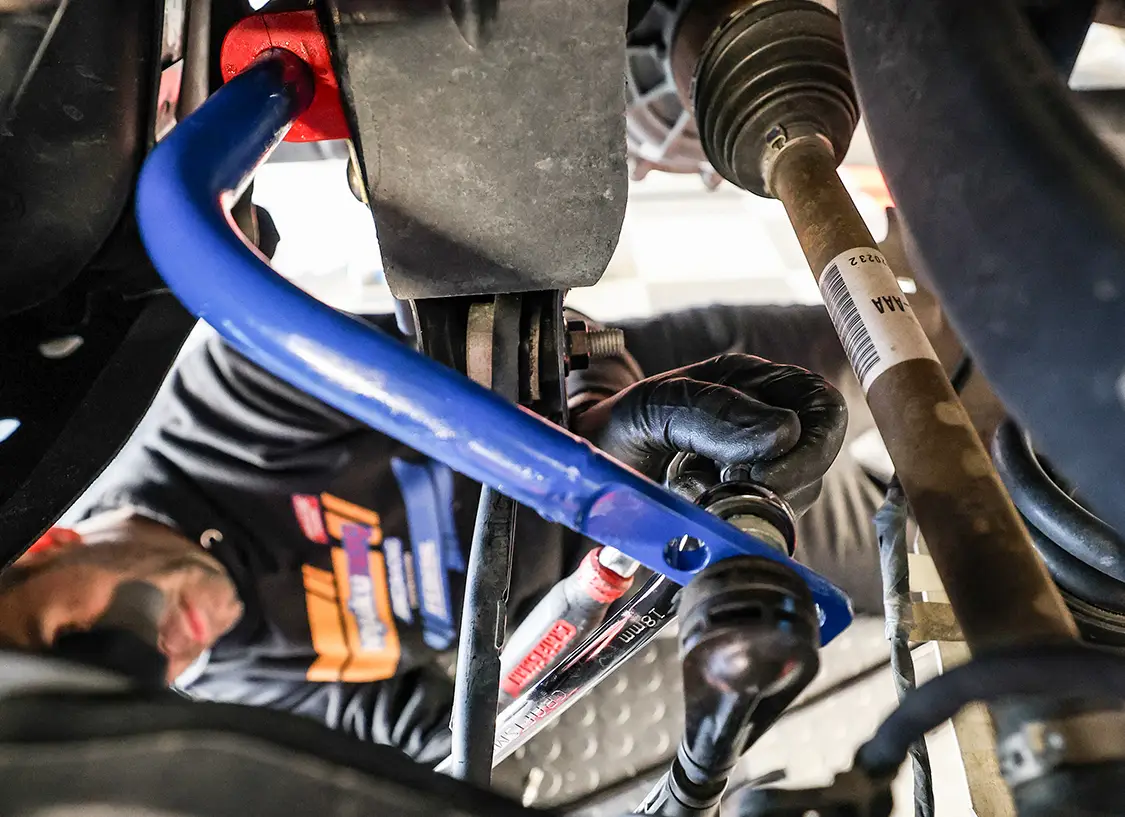
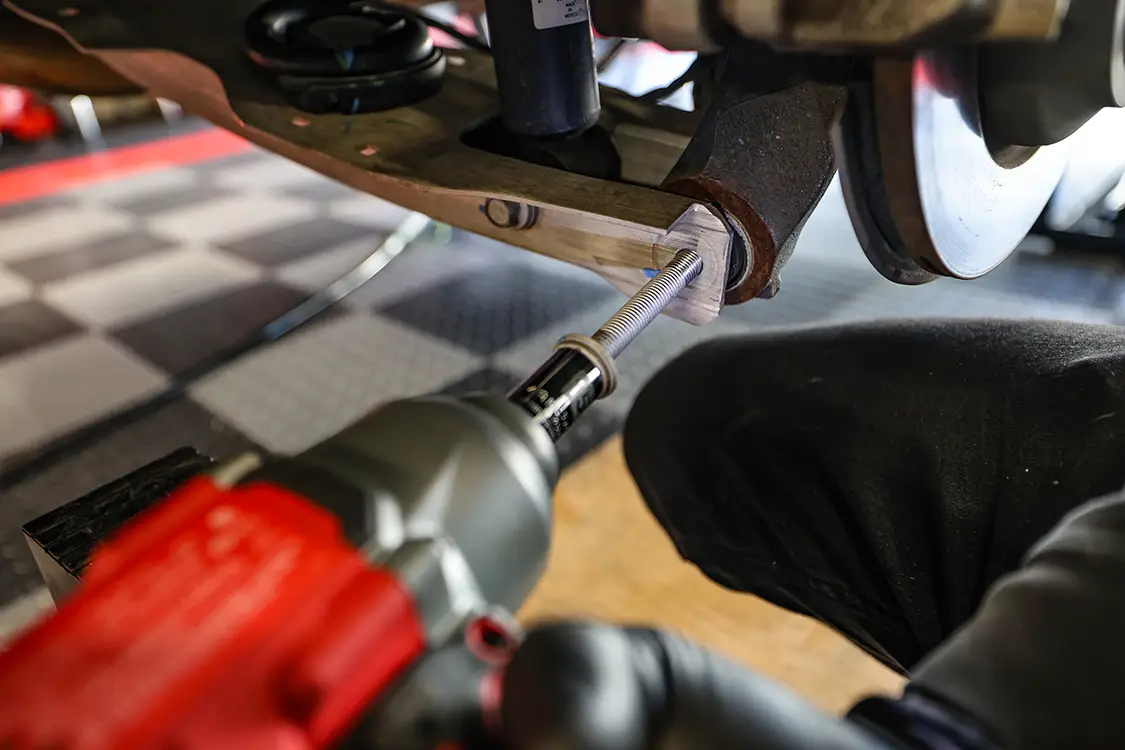
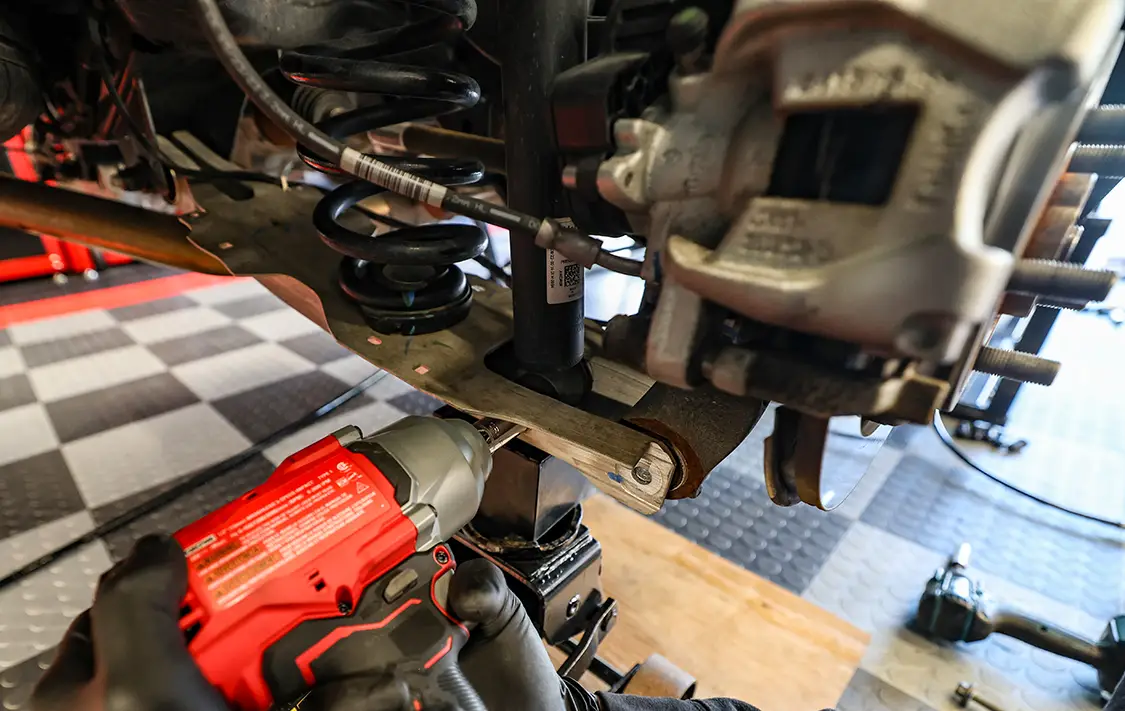
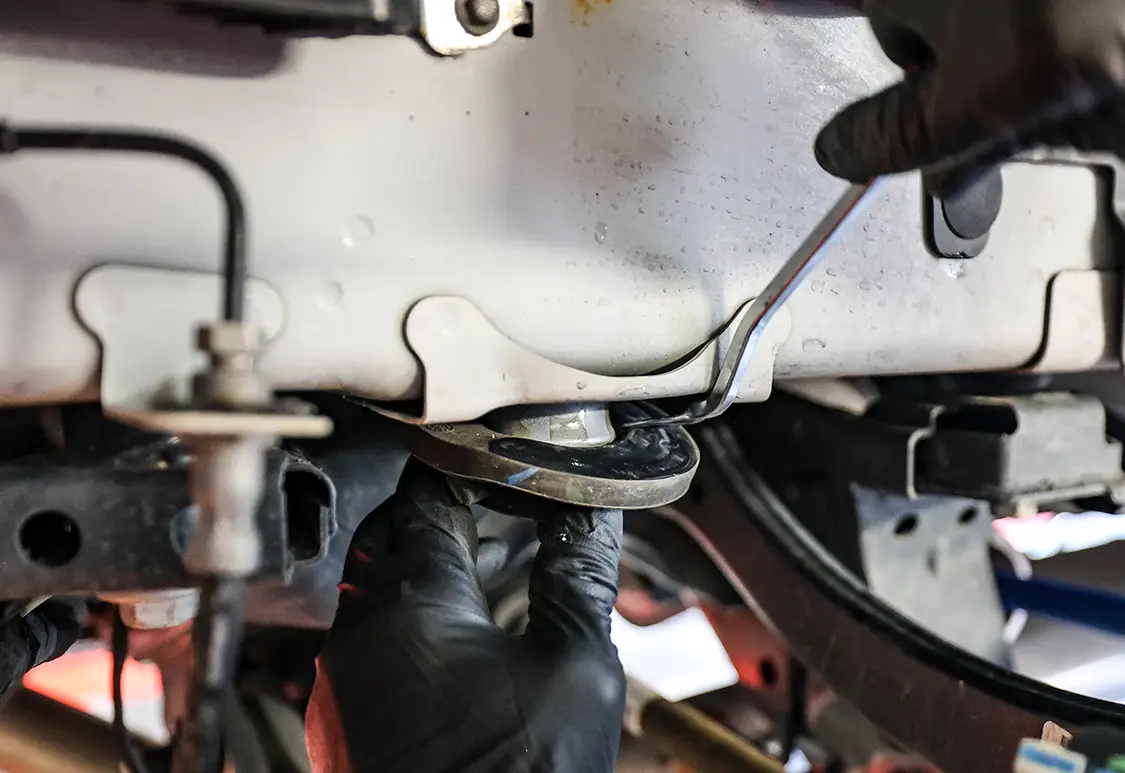
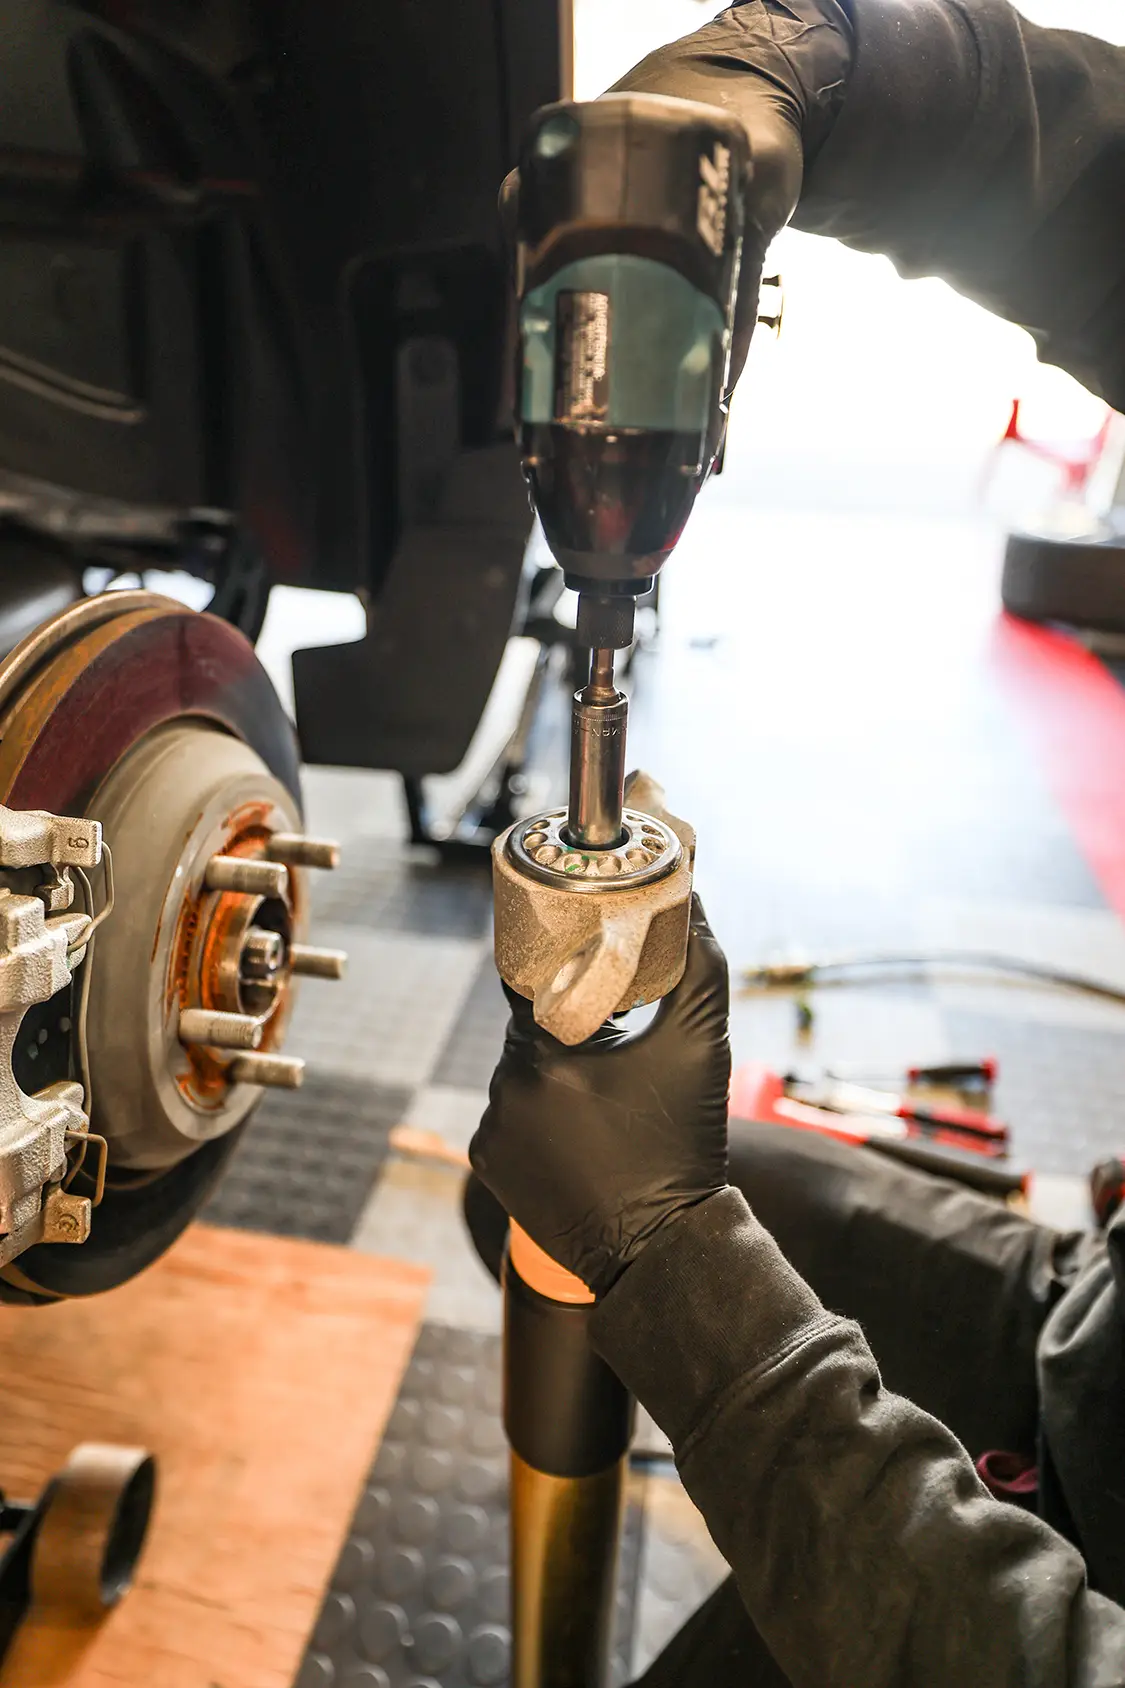
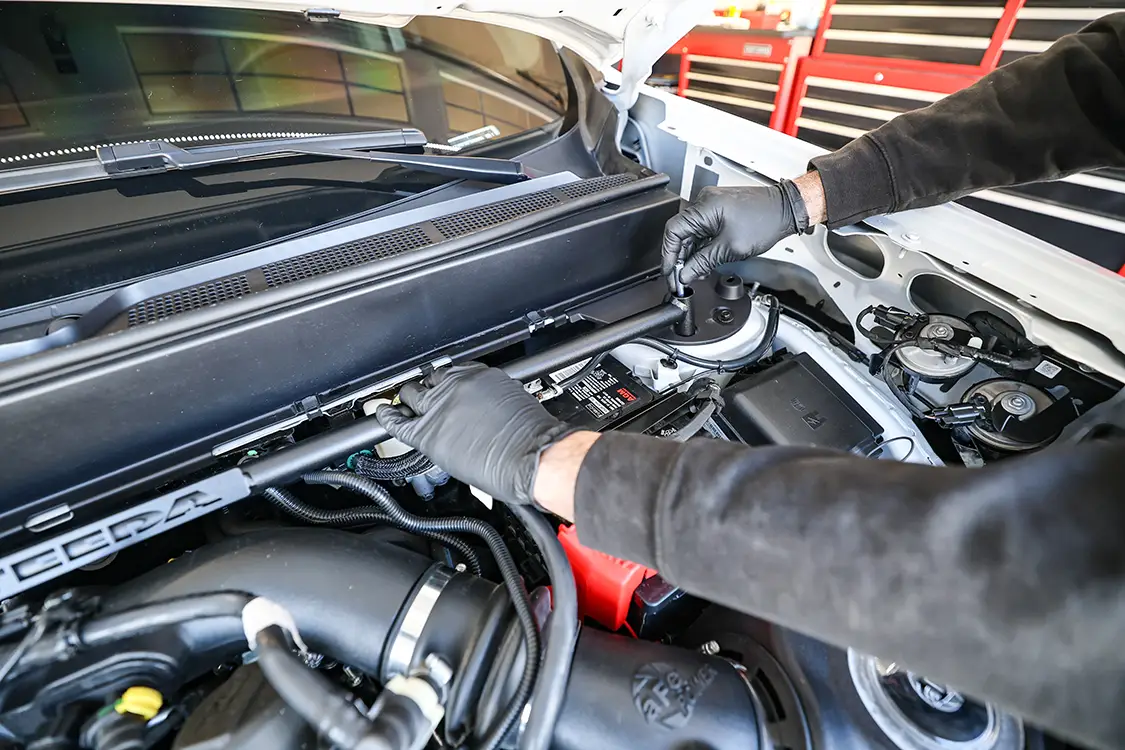
Being that this is a complete kit, installation is simple as long as you have basic wrenching skills and some standard tools. We utilized a QuickJack to make the install easier inside of a two-car garage. Even with taking our time to make sure we had the photos needed for this article, we still managed to get it done in less than four hours.
Follow along for some of the highlights of the installation process. When any suspension modification is complete, we highly recommend that your truck be given a fresh alignment to finish off the installation.


Share Link