







Close

Rusty F-100 Bed? There’s a Better Way

Martin Hernandez . October 14, 2026 . F100 Builders . Martin Hernandez
Save ArticleLogin to save it

AS SEEN IN OUR F-SERIES BUILDERS GUIDE WINTER 2026 ISSUE – Buy Now!

 Choosing the Right Bed for Your F-100 Project

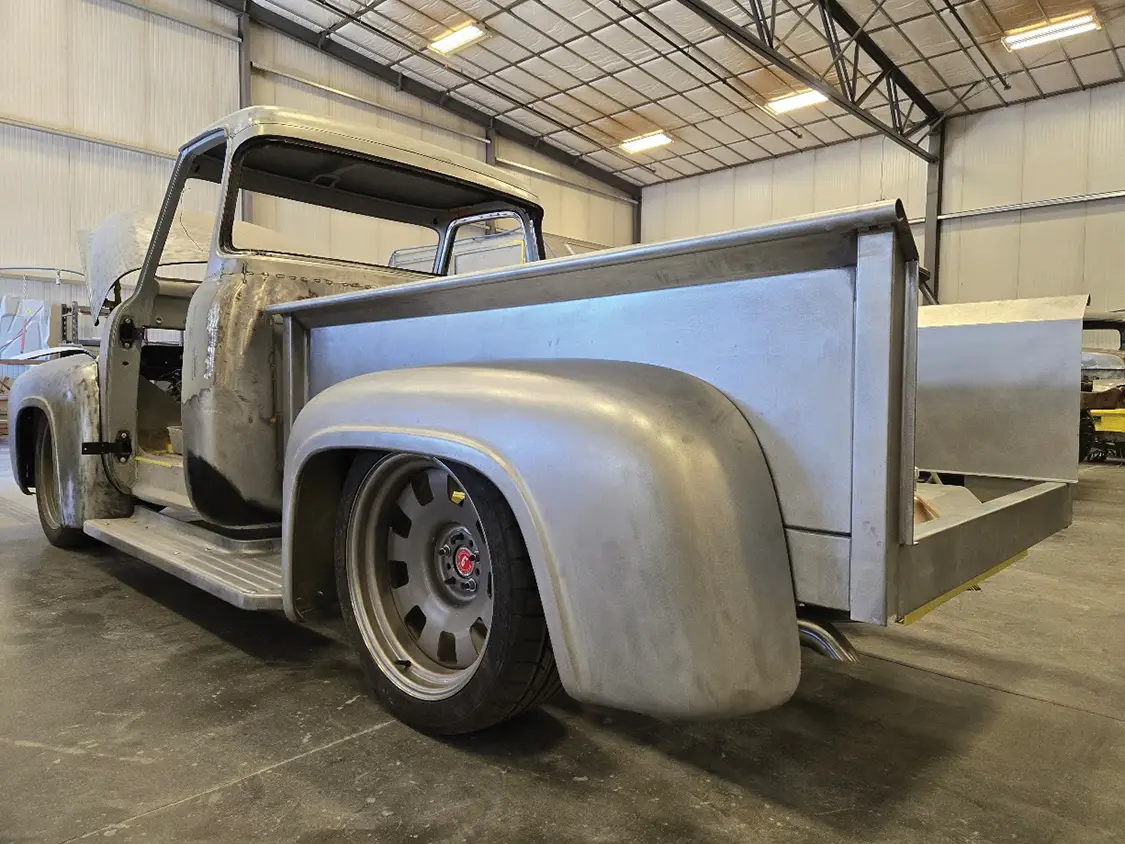
When restoring a classic Ford F-100, enthusiasts are often faced with a difficult decision: Repair the original stepside bed or replace it entirely. For many builders, the answer is becoming increasingly clear. A brand-new bed manufactured by Pro’s Pick offers a practical, cost-effective solution that saves both time and money while delivering exceptional quality. Original F-100 stepside beds have often endured decades of hard work and exposure to the elements. Rust, dents, twisted panels, and damaged bed floors are common issues that require extensive labor to correct. While restoring an original bed may seem appealing, the hours required for metal repair, panel replacement, bodywork, and finishing can quickly exceed the cost of purchasing a new bed.

Pro’s Pick manufactures high-quality replacement beds designed specifically for classic F-100 trucks. Pro’s Pick uses precision-built components to provide an excellent fit and finish, reducing fabrication time and simplifying the restoration process. Builders can focus on assembling and customizing their truck rather than spending countless hours repairing worn-out sheetmetal. Whether creating a concours-quality restoration or a custom show truck, a new bed from Pro’s Pick allows enthusiasts to achieve professional results with less effort, making it a smart investment for any F-100 project.
F-100 Bed Restorations
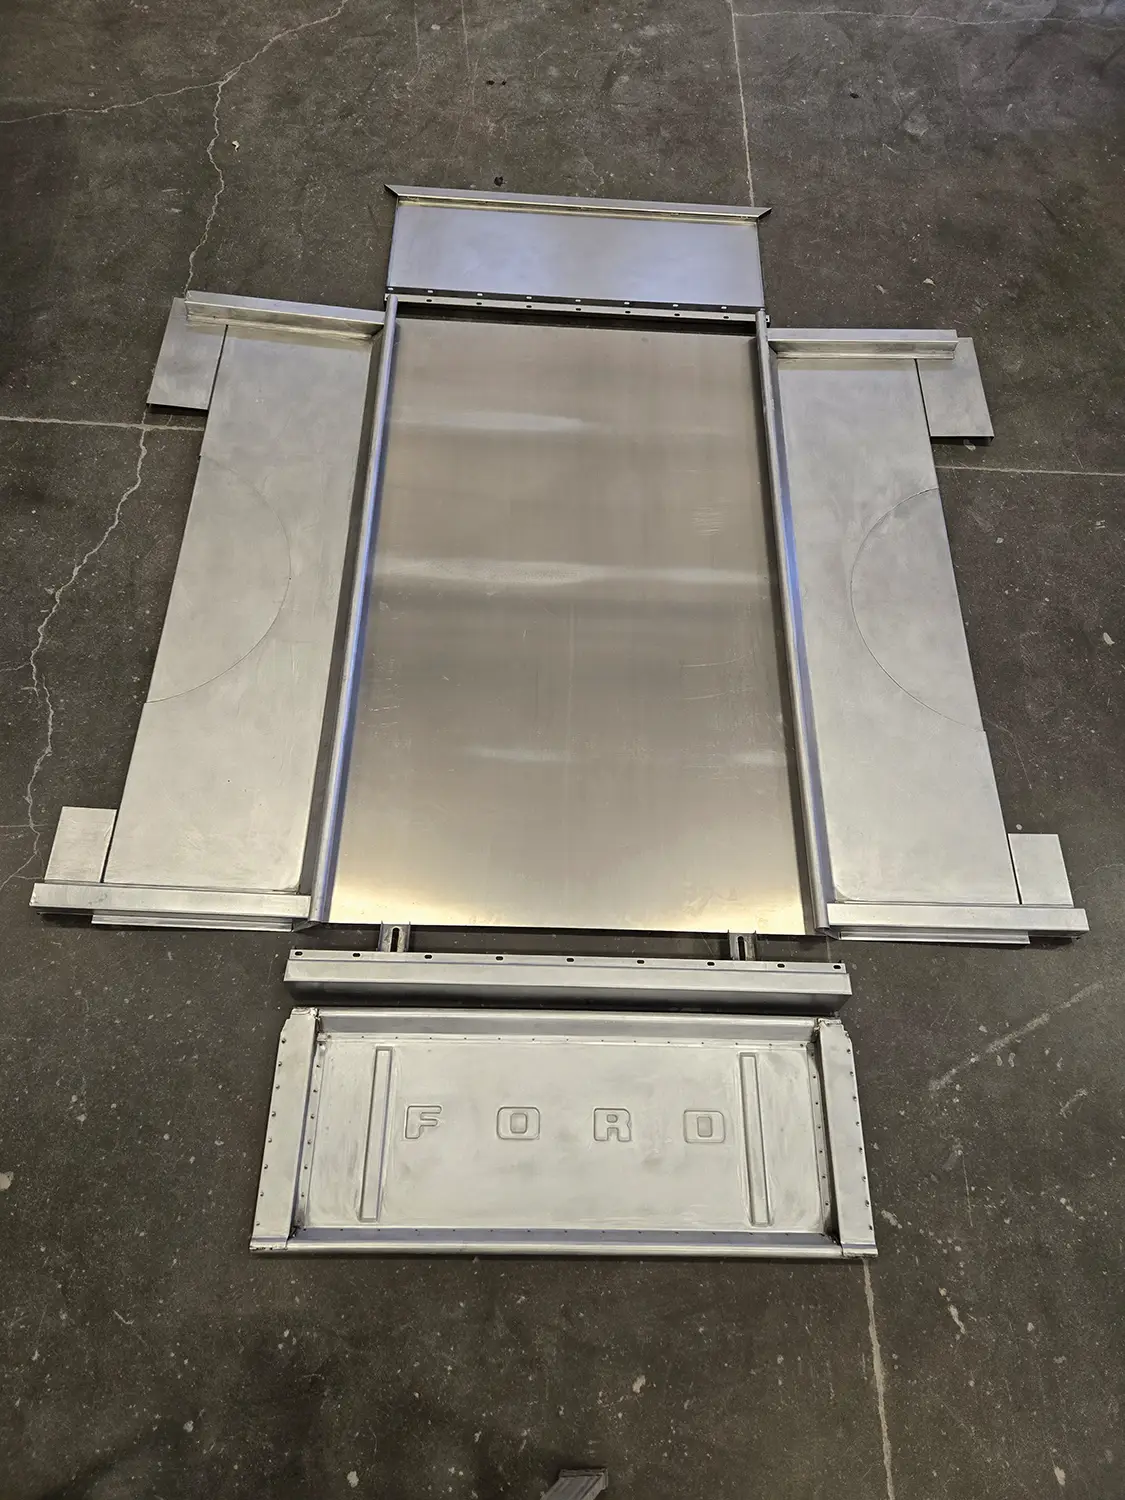
Open up your new Pro’s Pick complete bed assembly and lay it out on the floor. Now is a good time to verify that you have all components.
F-100 Bed Restorations
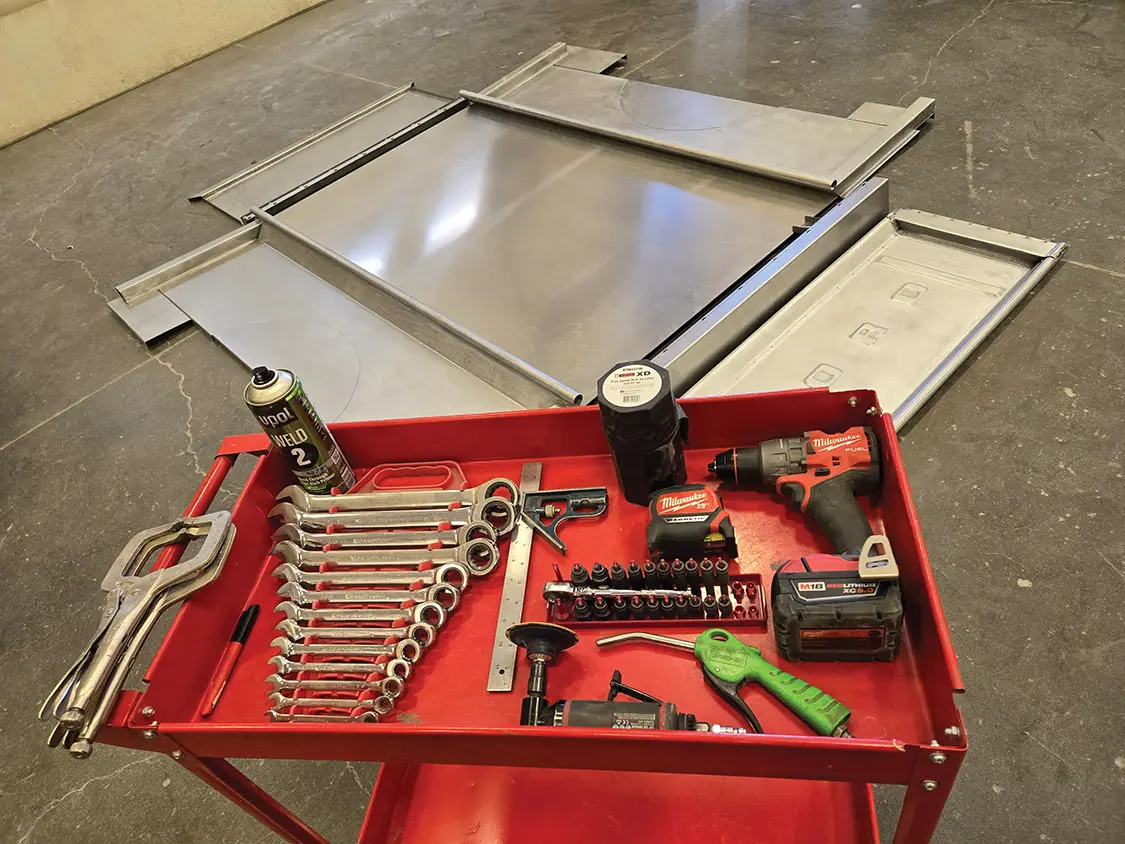
Lay out your selection of tools. This job requires a fairly basic assortment.
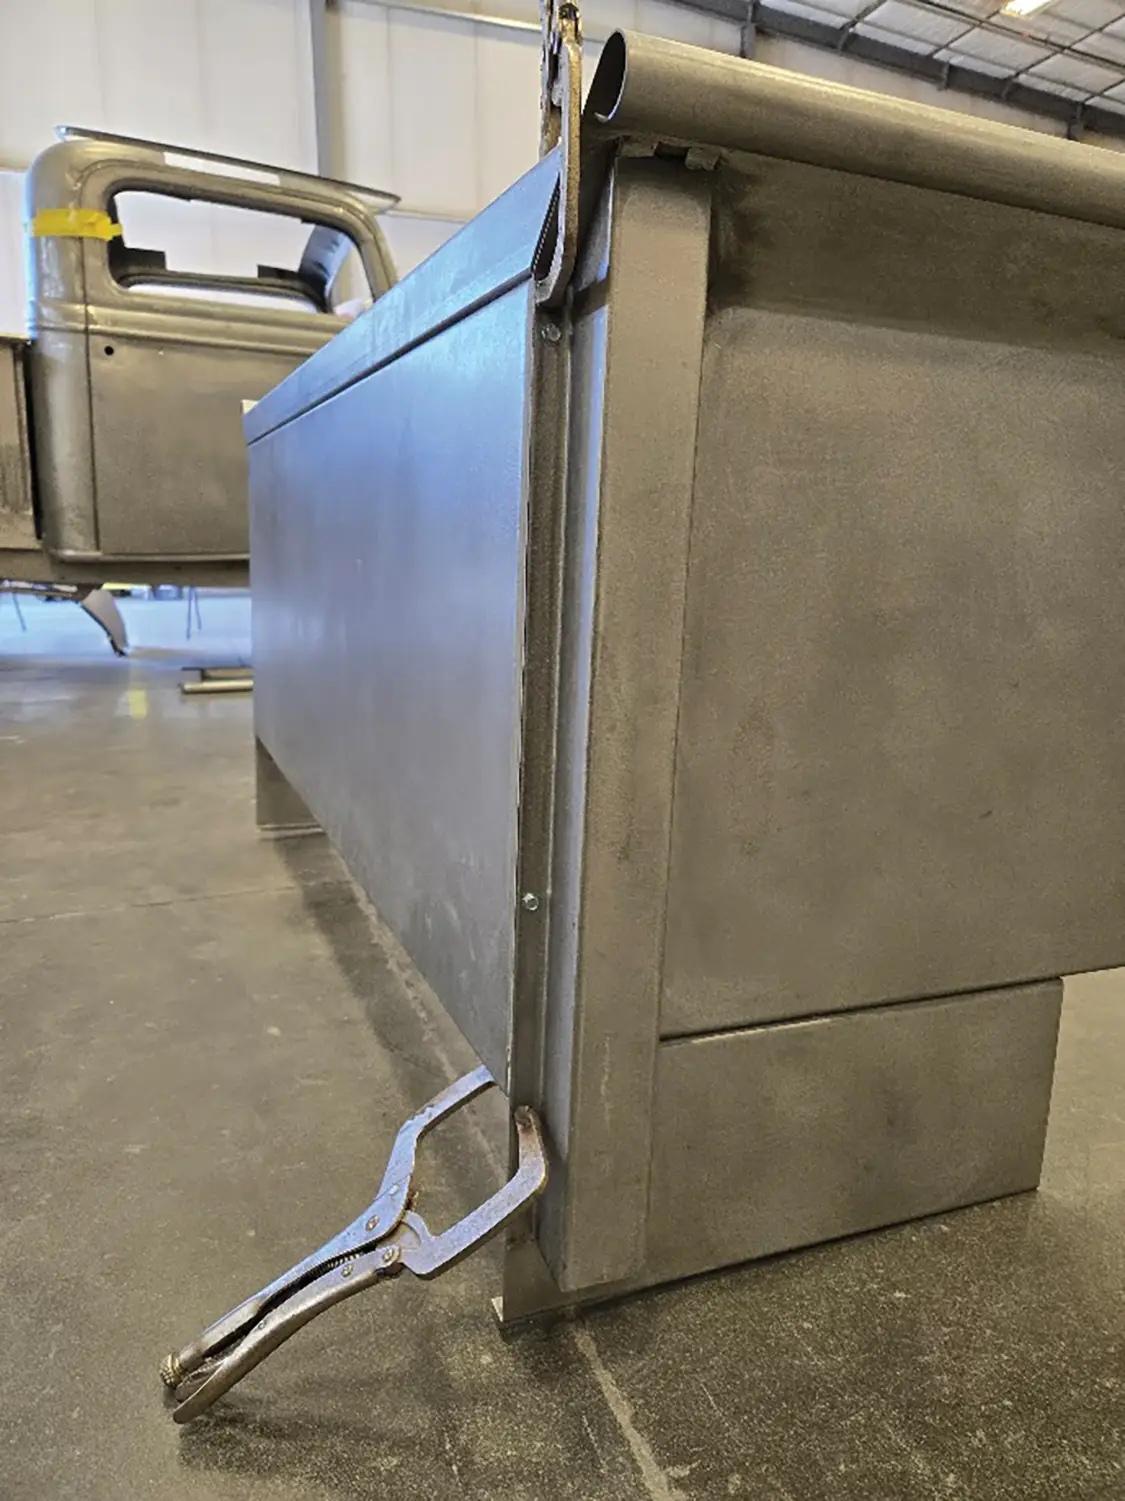
Start mocking up the bedsides to the rear crossmember and front panel. The rear crossmember can be fastened in place with the provided hardware. The front panel can be clamped in place and held together with some sheetmetal screws for the mock-up stage.
F-100 Bed Restorations
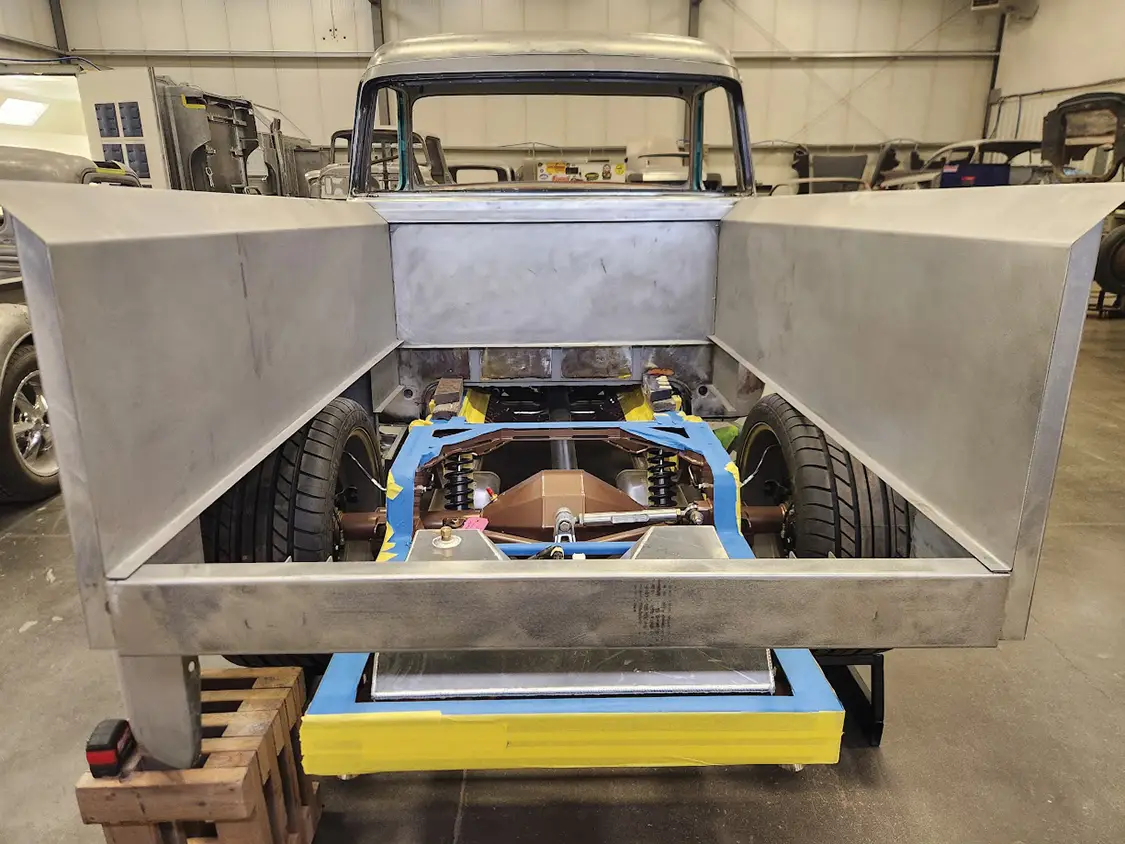
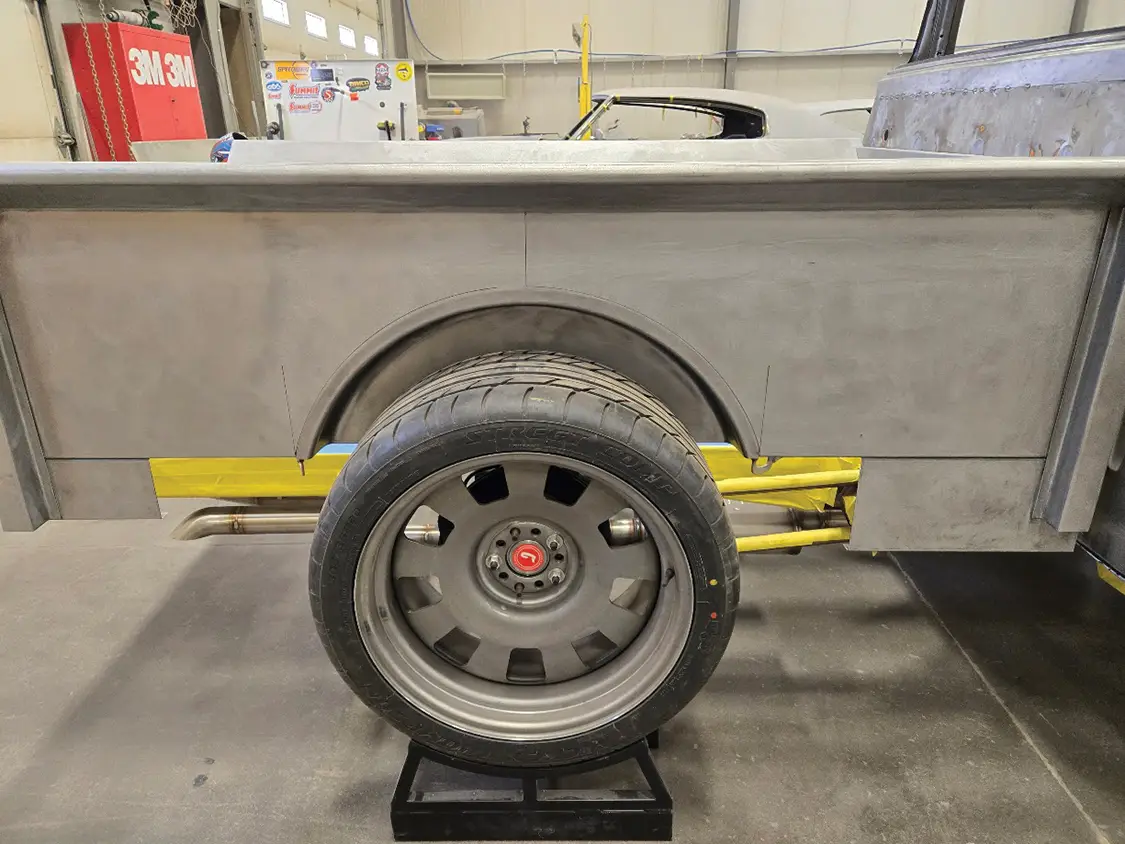
After the bed has been lightly assembled, it is a good idea to mock it up on your project to verify the wheelbase. If you are running wider wheels, it is necessary to install a set of widened wheel tubs, which Pro’s Pick also offers.
F-100 Bed Restorations
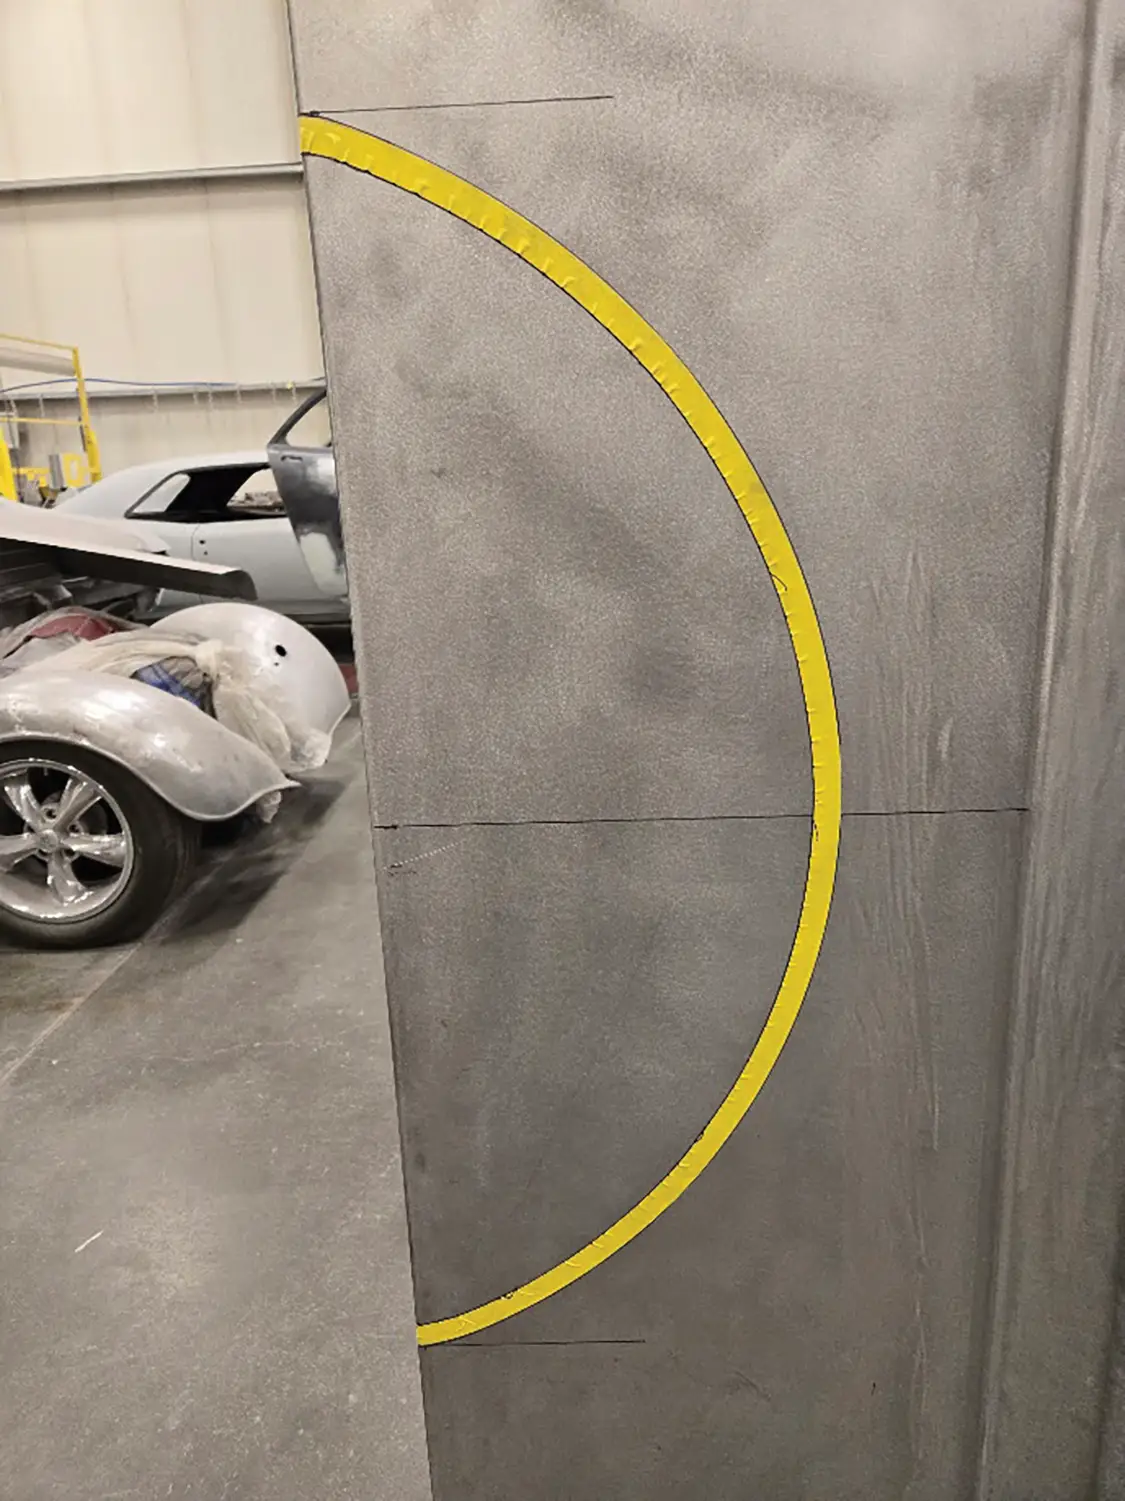
We are running wider wheels on this particular project, so wider wheel tubs are needed. After verifying you have the bed in the correct position, you can mark the area that needs to be cut out for the wheel tub installation.
Remove the bed from the vehicle, and transfer your cut lines to both bedsides.
F-100 Bed Restorations
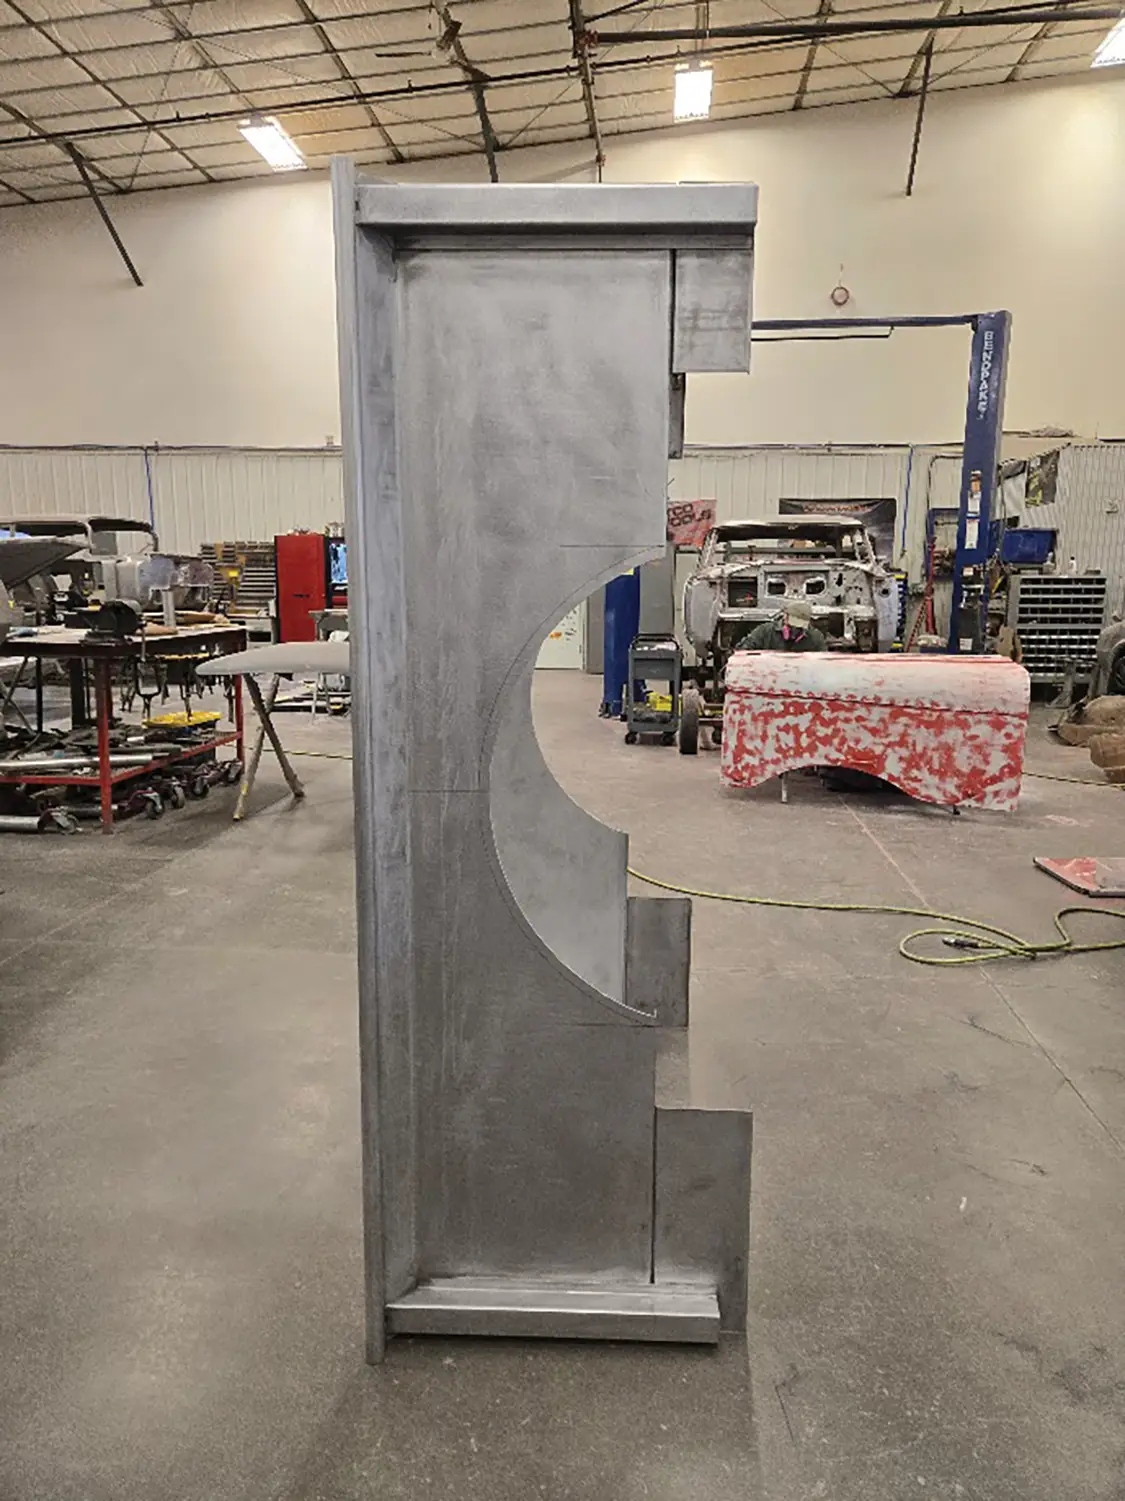
Cut out both sections where the wheel tubs will be installed.
F-100 Bed Restorations
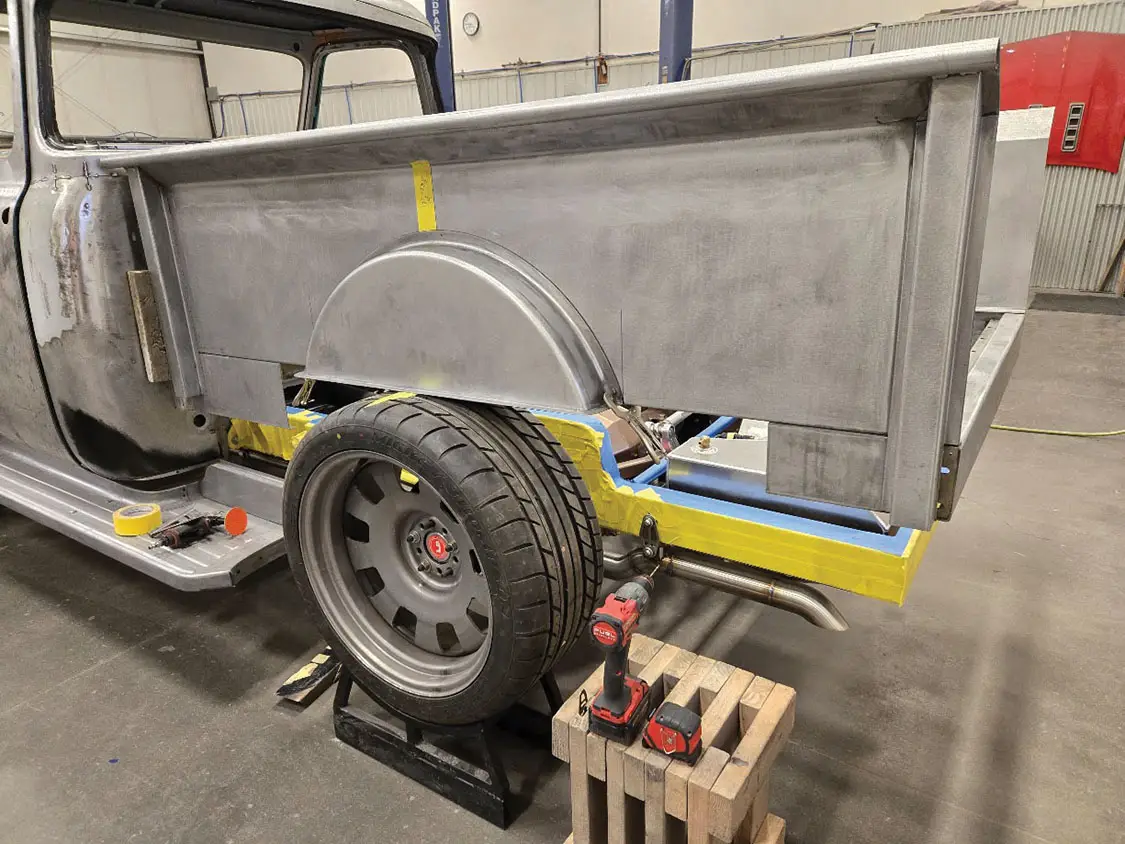
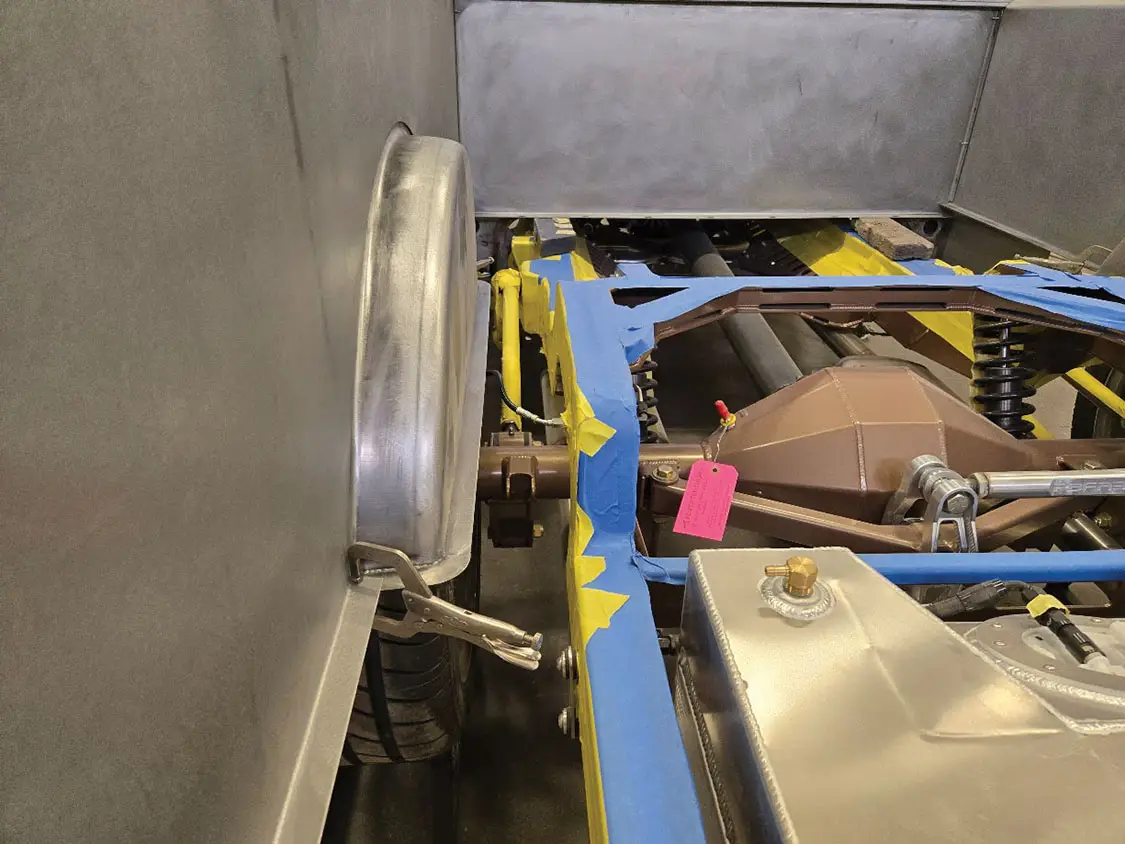
Re-install the bed and mock up the wheel tubs to verify fitment and clearance.
Here is a visual of what the wheel tub looks like from the outside. The tubs are now ready to be welded in.
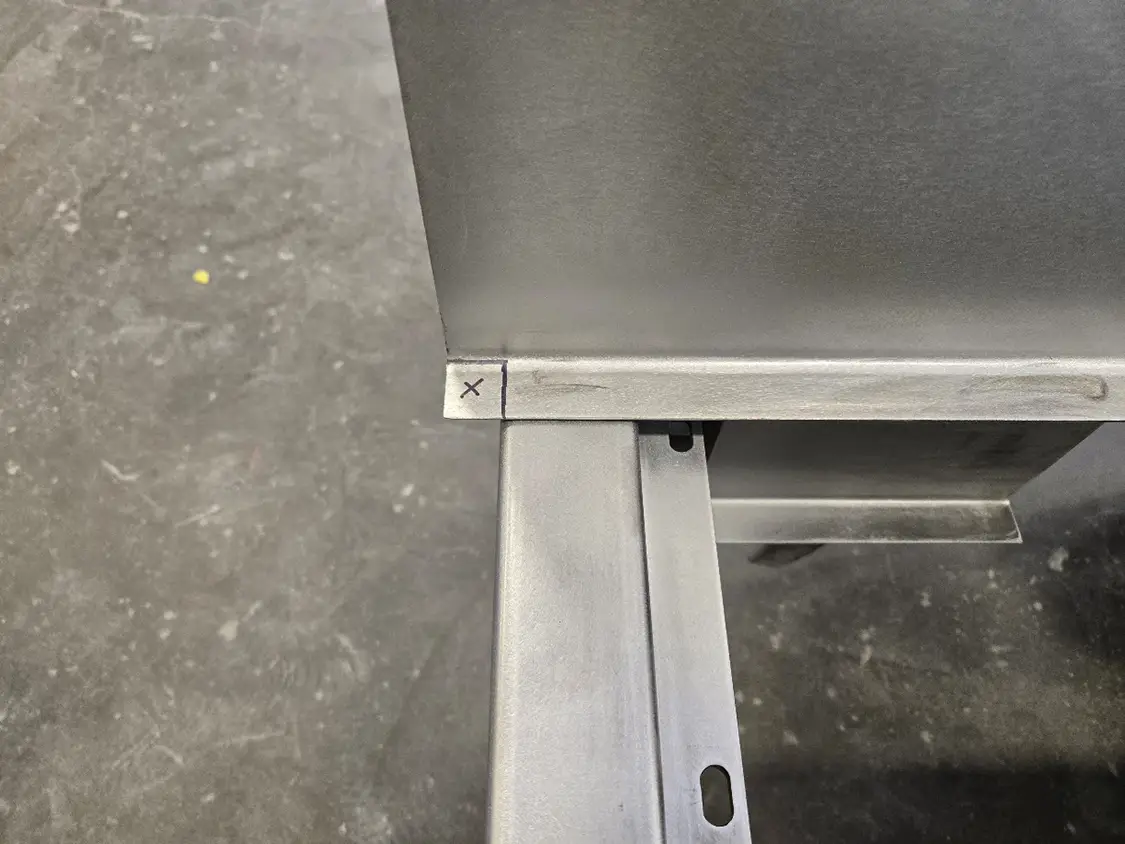
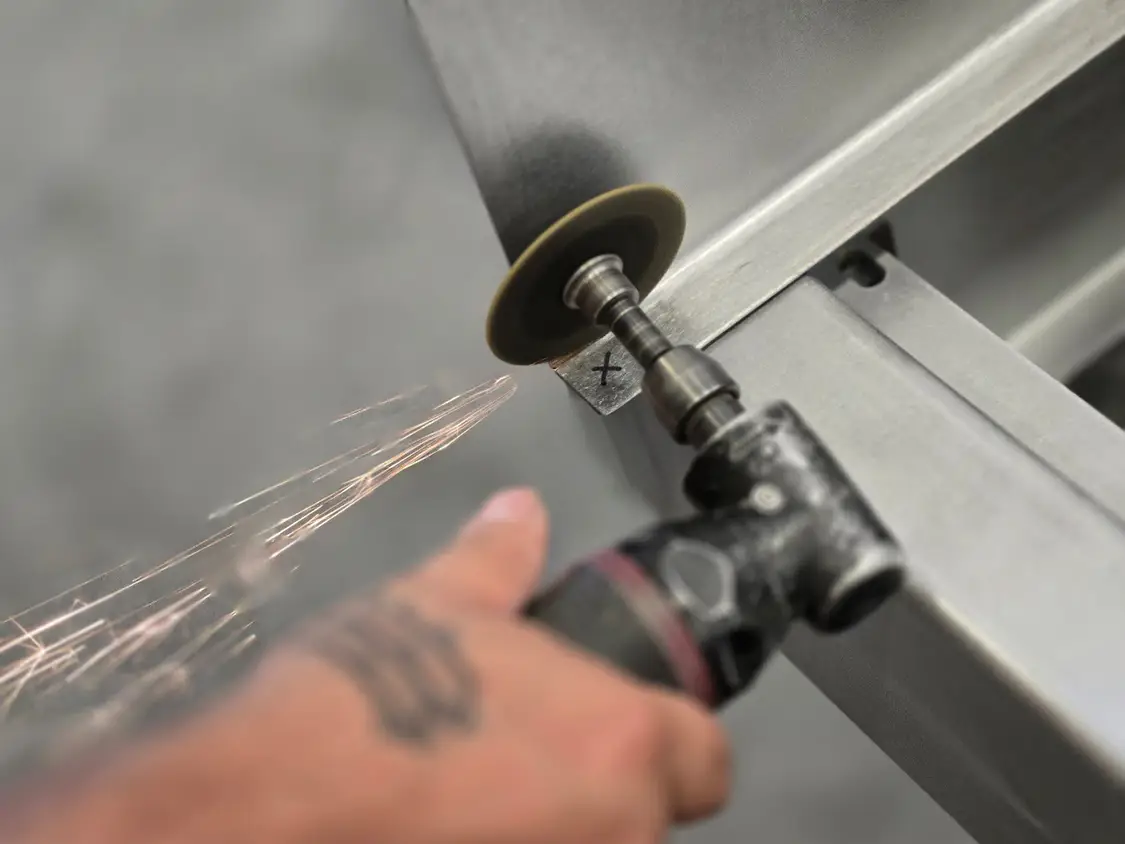
On both bedsides, there is a small section above the rear crossmember that needs to be notched for the tailgate. Mark this area flush with the crossmember.
Using a cut-off wheel, cut out this section.
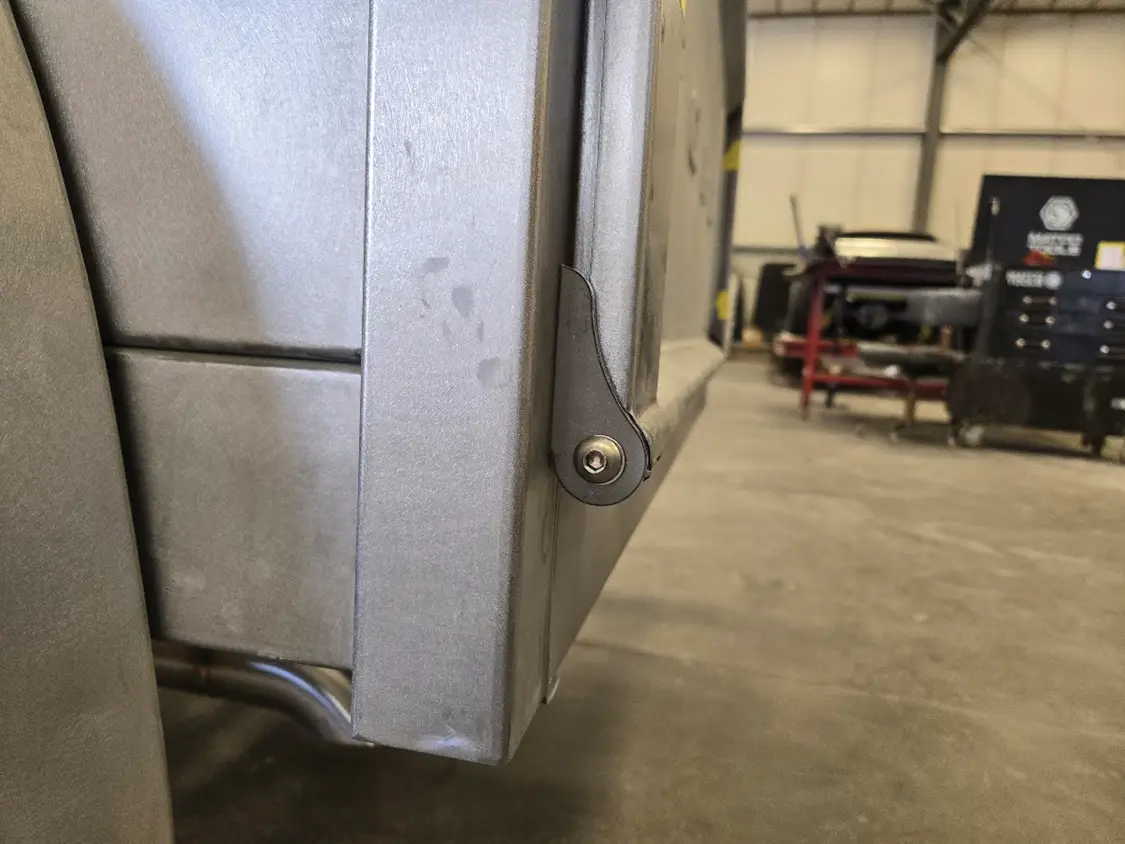
At this time, you can choose what tailgate hinges you would like to use and mock them up accordingly. We chose the Pro’s Pick hidden hinges that will be welded on.
F-100 Bed Restorations
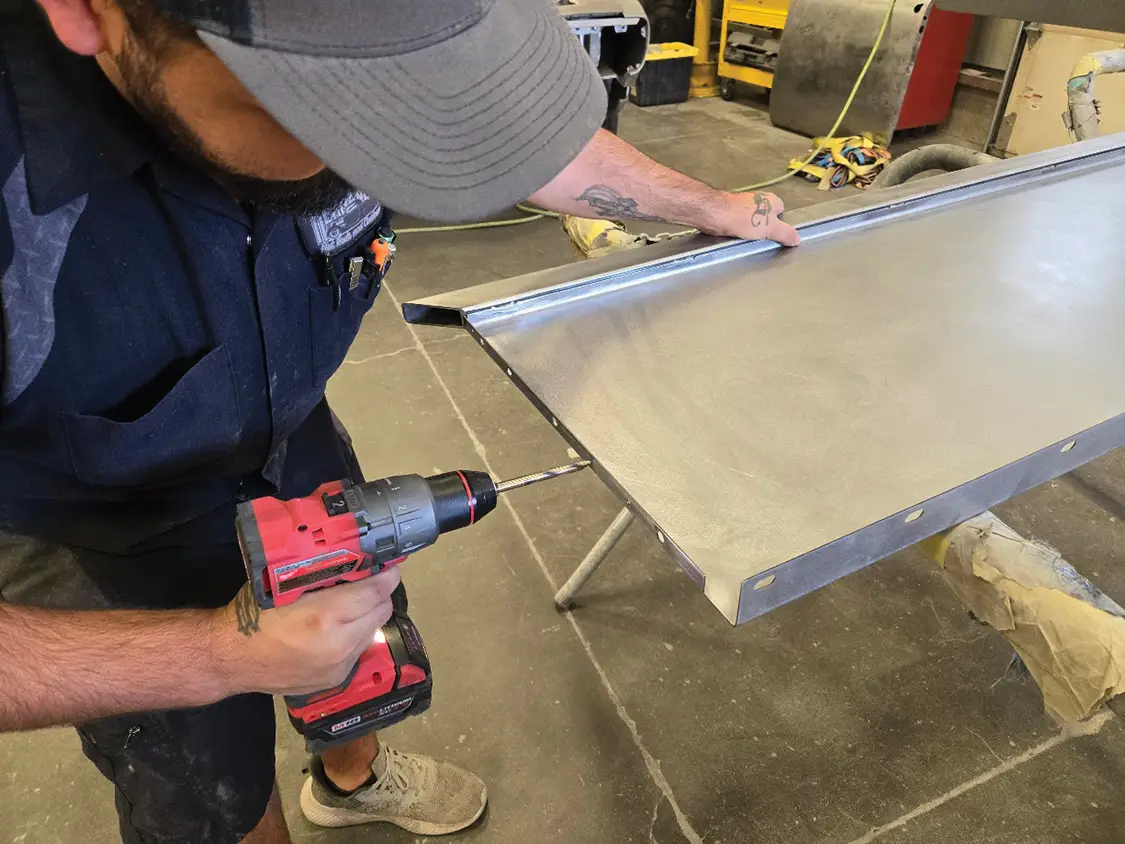
Disassemble the bed completely. At this point you can decide if you want to weld the bed together or put it together with fasteners. This one is getting welded together, so we drilled holes in the front panel for plug welds.
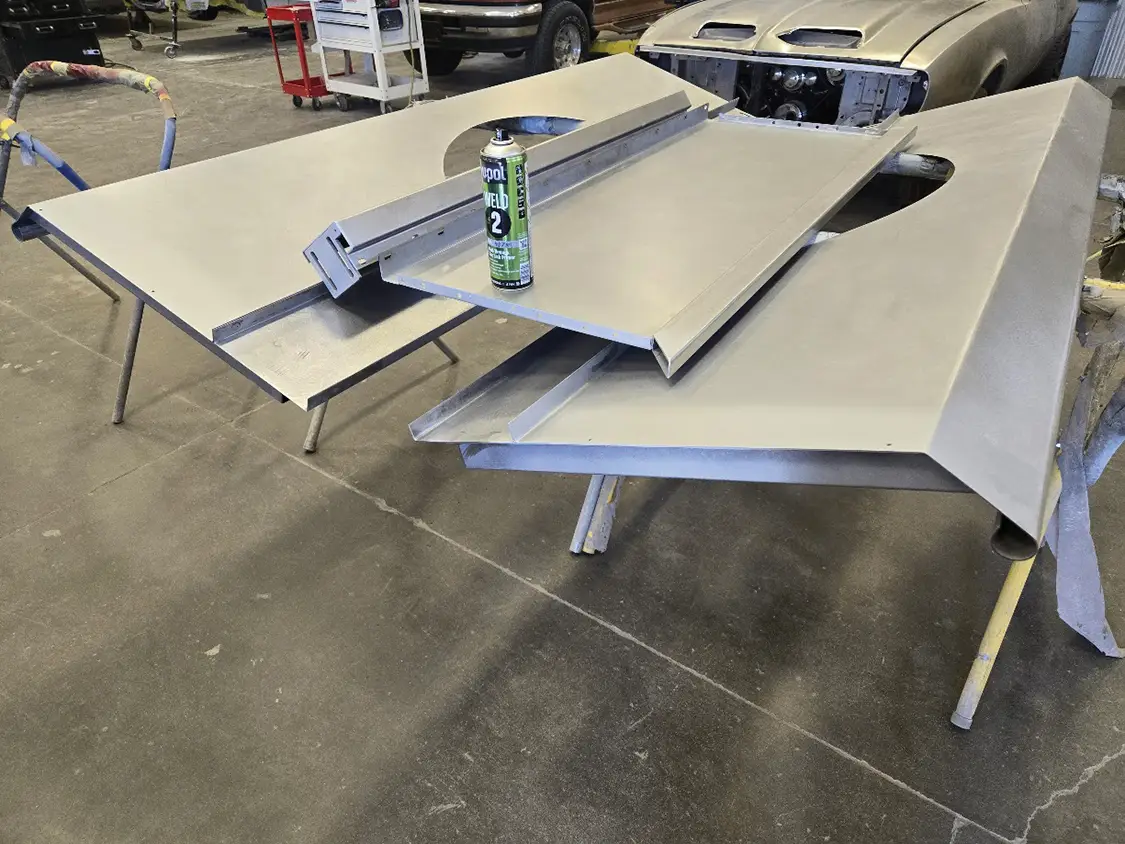
If welding your bed together, spray all mating surfaces with a high-quality weld-through primer.
F-100 Bed Restorations
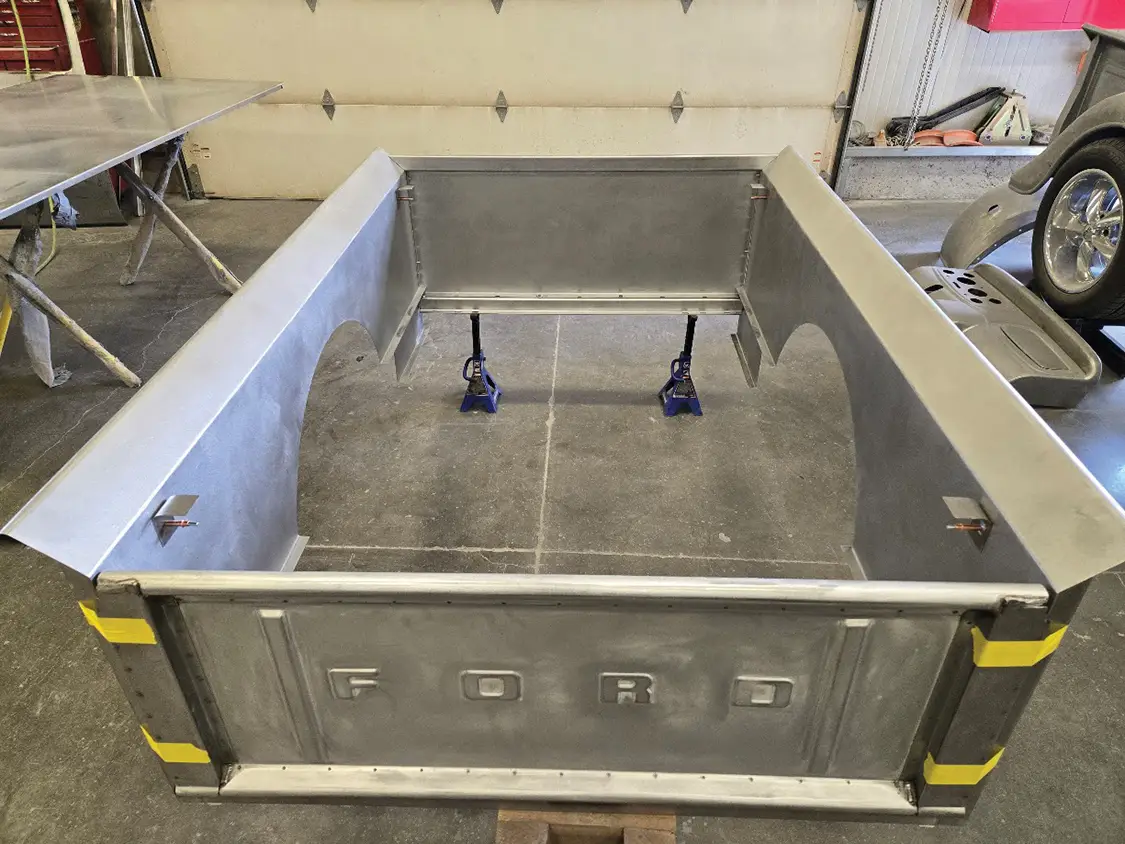
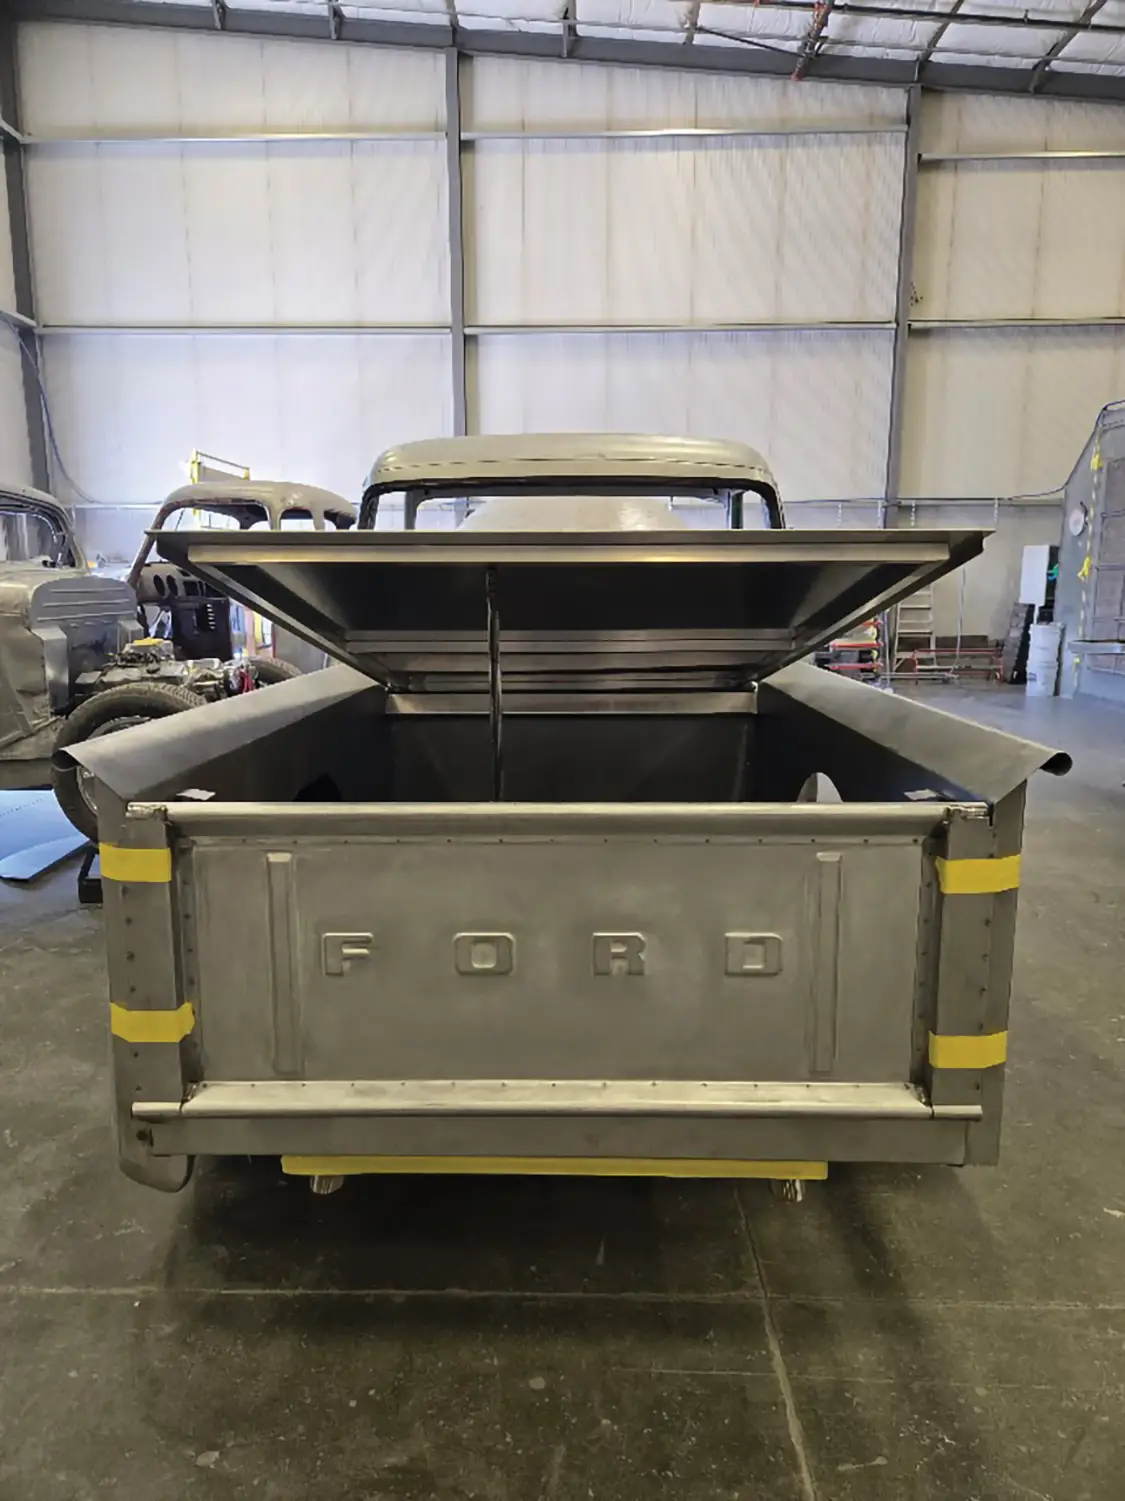
Reassemble the bed panels. At this time, we will also mock up the bed cover.
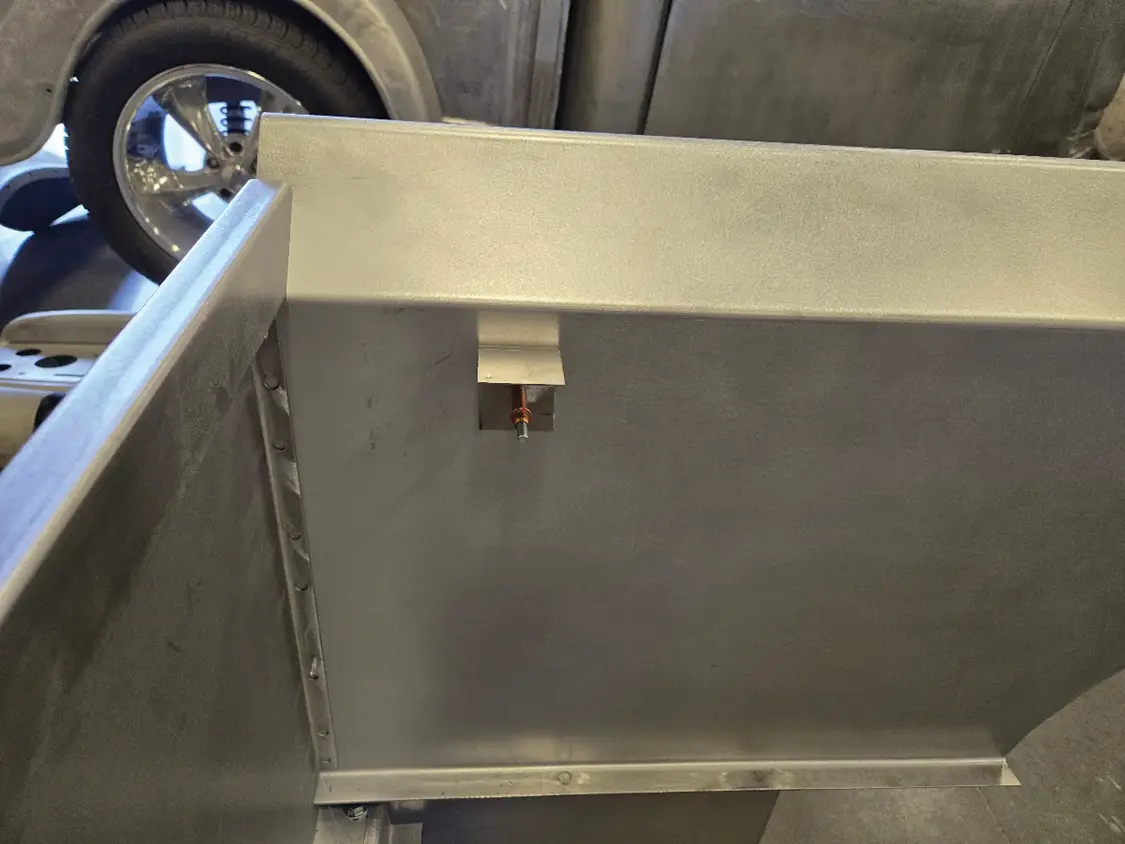
We cut out some 2-inch angle strips and fastened them to the bedsides to hold the bed cover at the correct height.
F-100 Bed Restorations
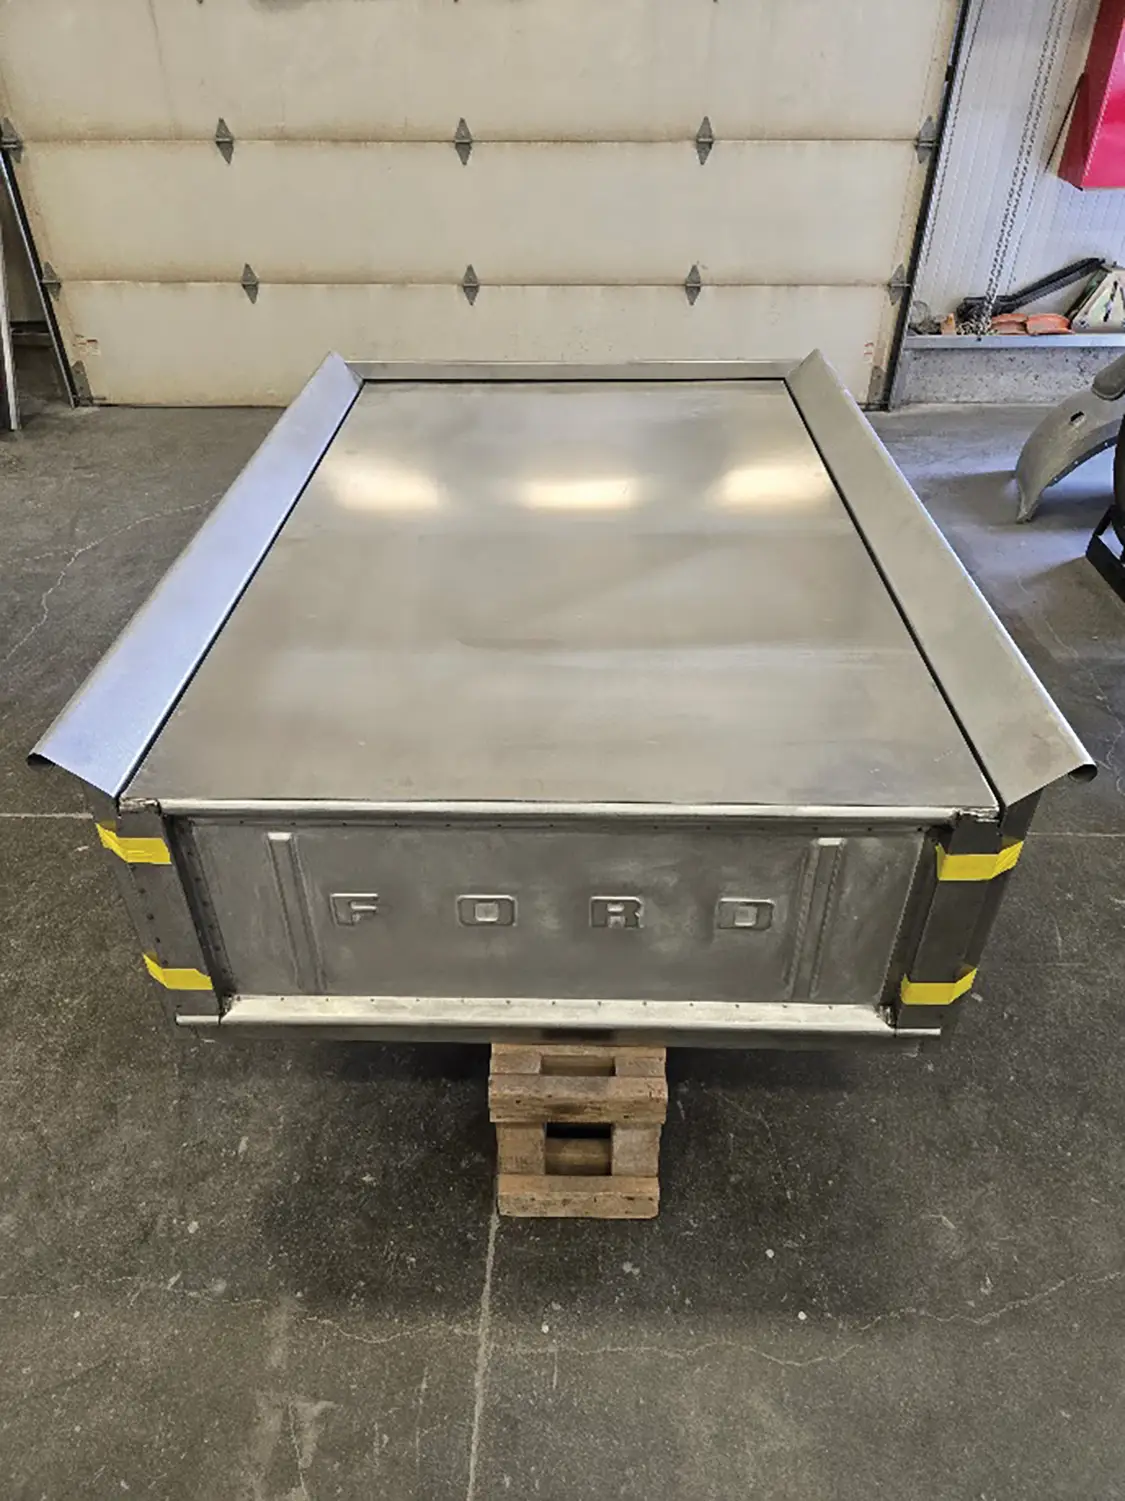
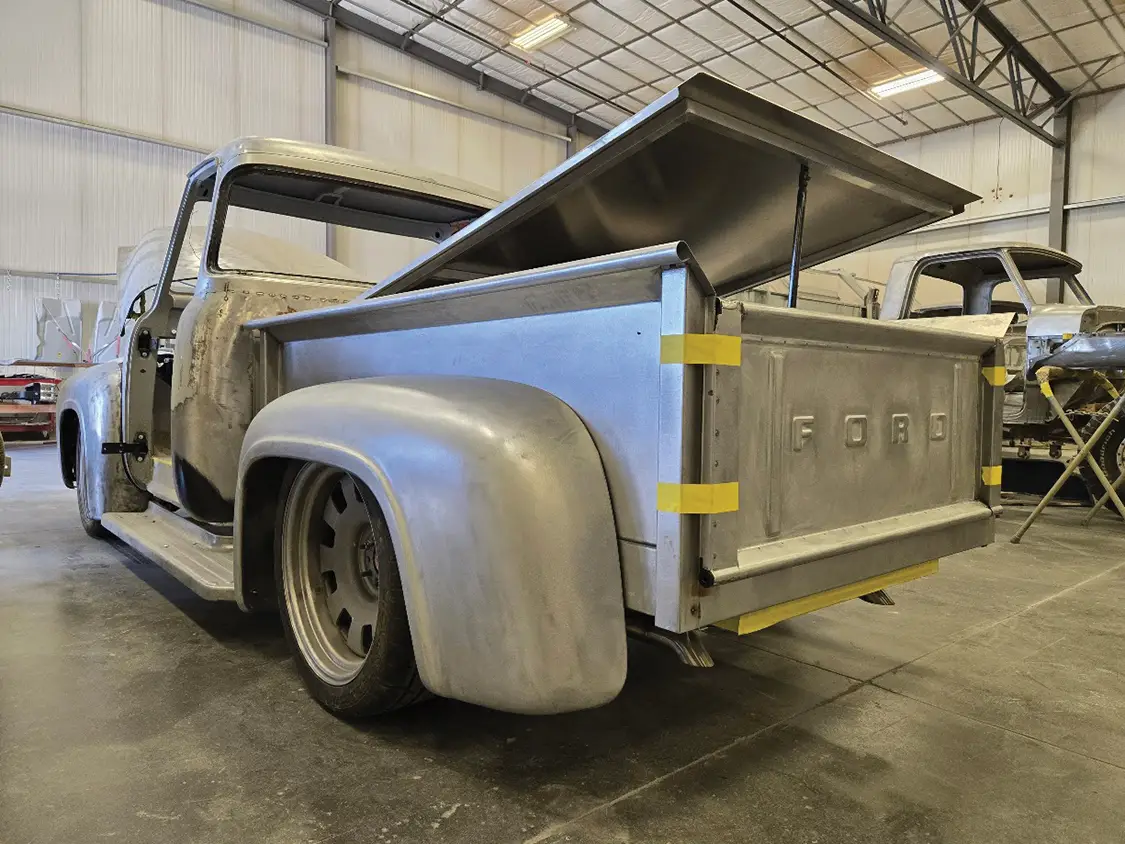
Mock up the bed cover to verify that the height and fitment are correct.
F-100 Bed Restorations
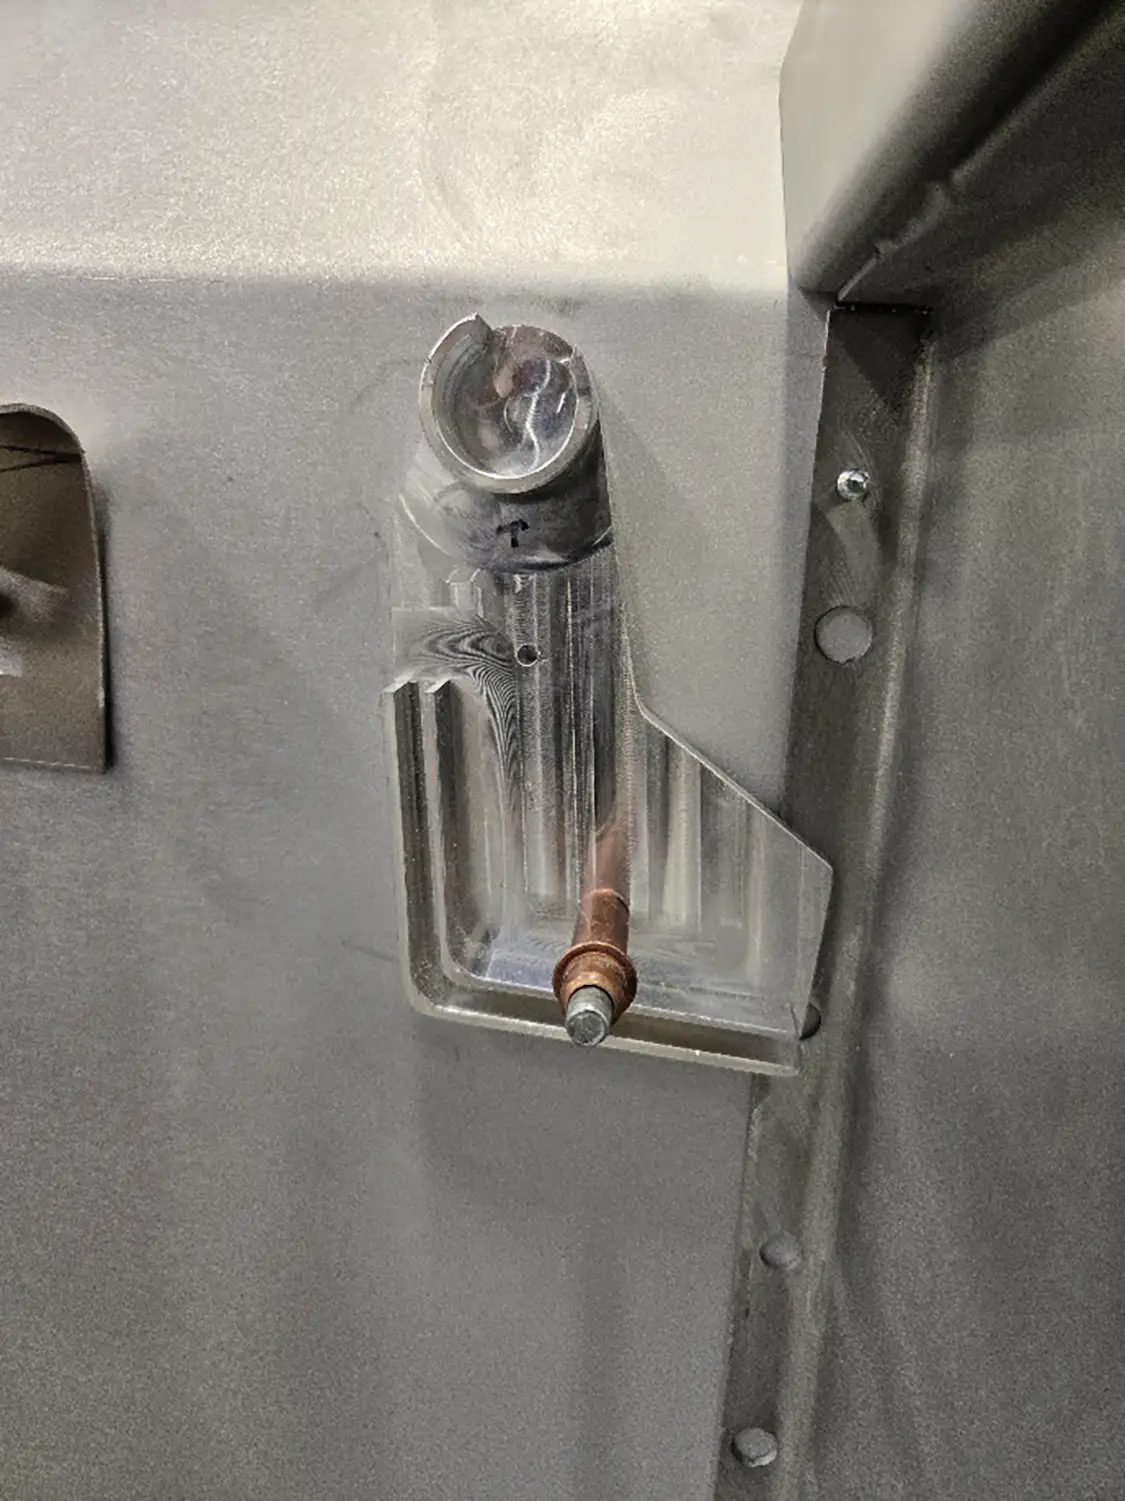
Drill holes and install the bed cover hinges. Make sure you drill the holes into the stake pocket so the fasteners will stay hidden.
The bed is now reinstalled, and now is a good time to mock up the rear fenders and drill mounting holes. Installing the running boards will give you a good base to determine the location of the fenders.
F-100 Bed Restorations
Install all drip channels for the bed cover, install the bed cover, and verify function.
F-100 Bed Restorations
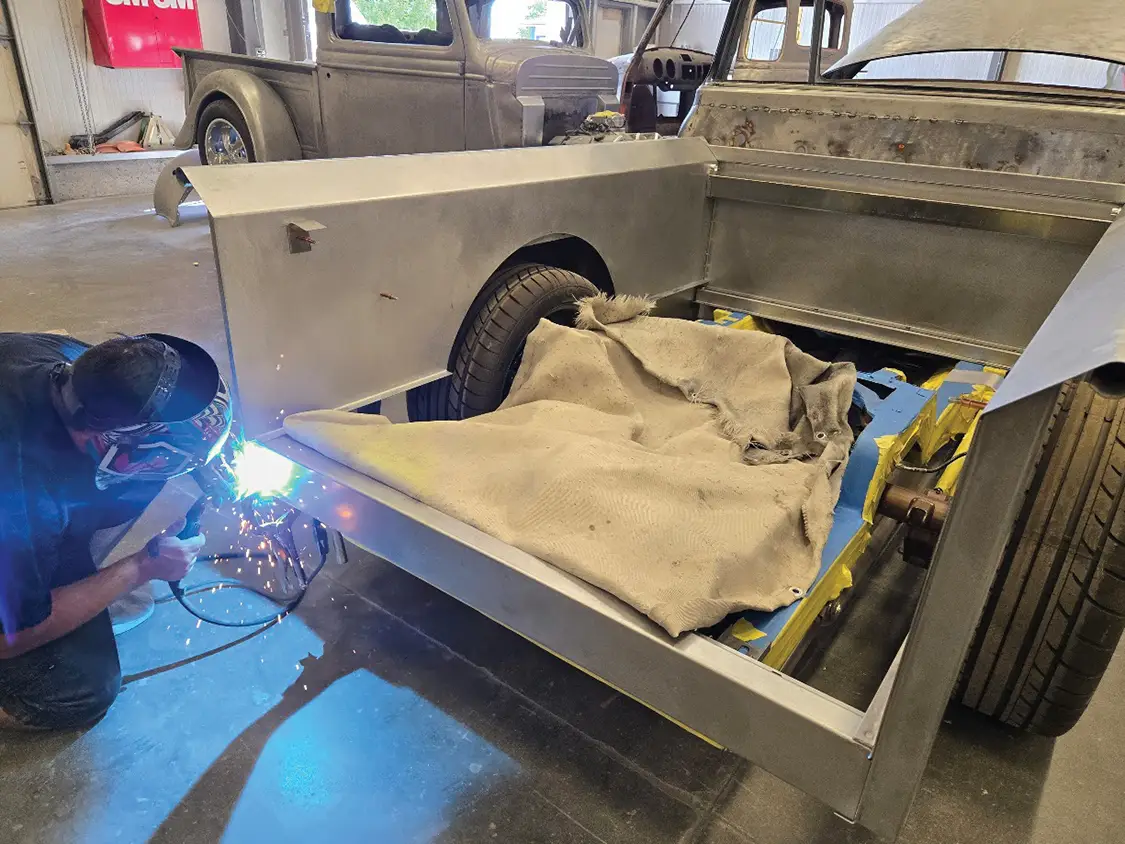
Now that all mock-ups are complete, the entire bed can be welded (or fastened) together.
After all welding is complete, the assembly of your new Pro’s Pick bed is finished. Next comes your choice of body and paintwork.


X
We value your privacy

We use cookies to enhance your browsing experience, serve personalized ads or content, and analyze our traffic. By clicking "Accept All", you consent to our use of cookies. Visit our Cookie Policy for more info.