







Close

Light It Up: OBS Chevy H4 Headlight Conversion

OBS Staff . November 06, 2026 . How to . OBS STEP BROTHERS
Save ArticleLogin to save it

AS SEEN IN OUR OBS BUILDERS GUIDE FALL 2026 ISSUE – Buy Now!
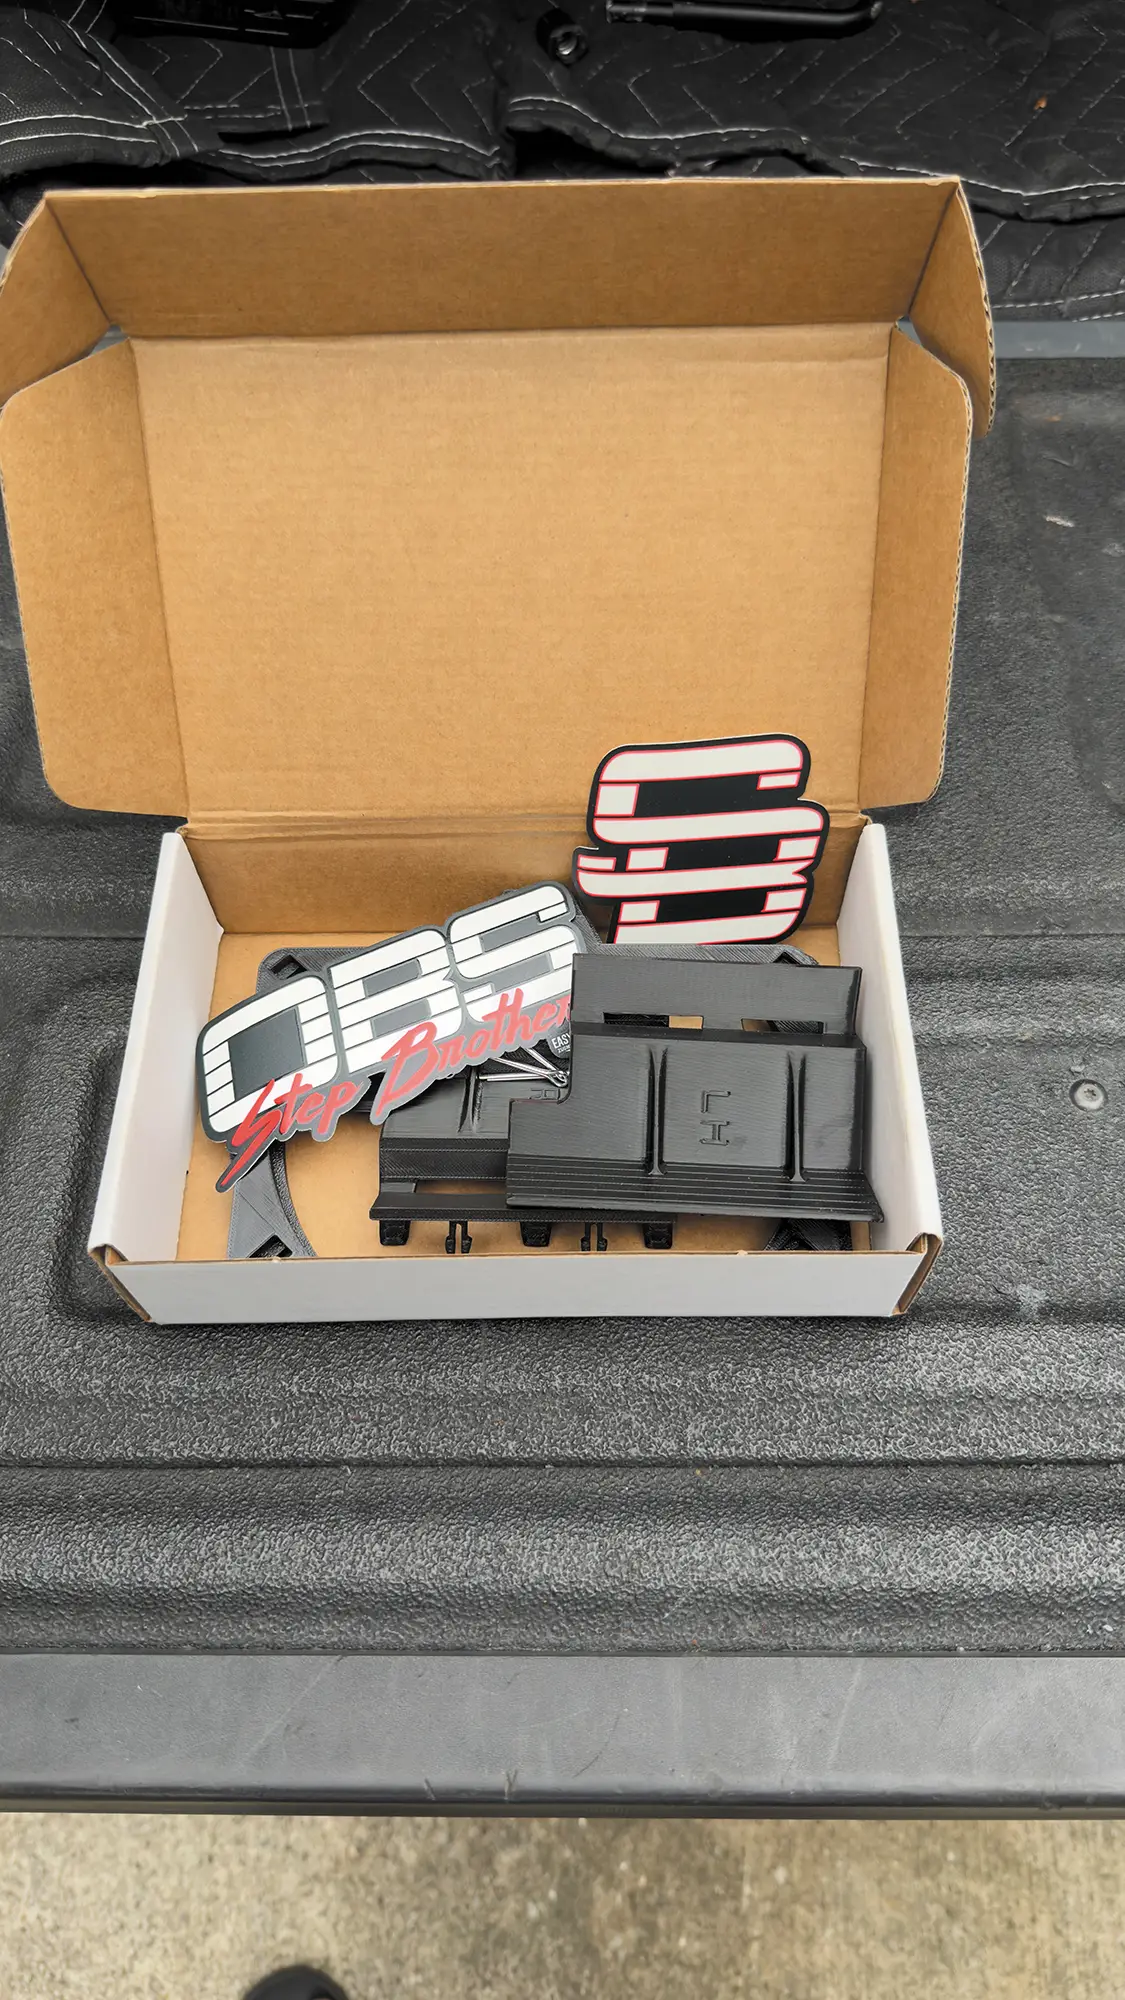
The H4 Quad Kit from OBS Step Brothers

H4 Headlight Conversion
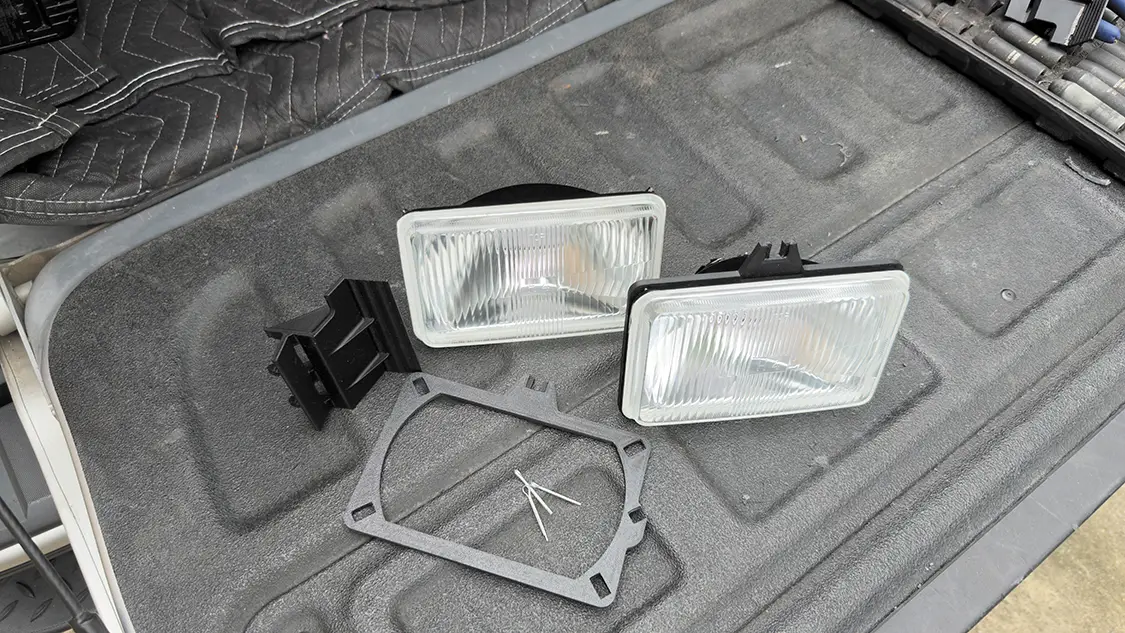
The kit includes four H4 light adapters, two dividers, and six cotter pins.
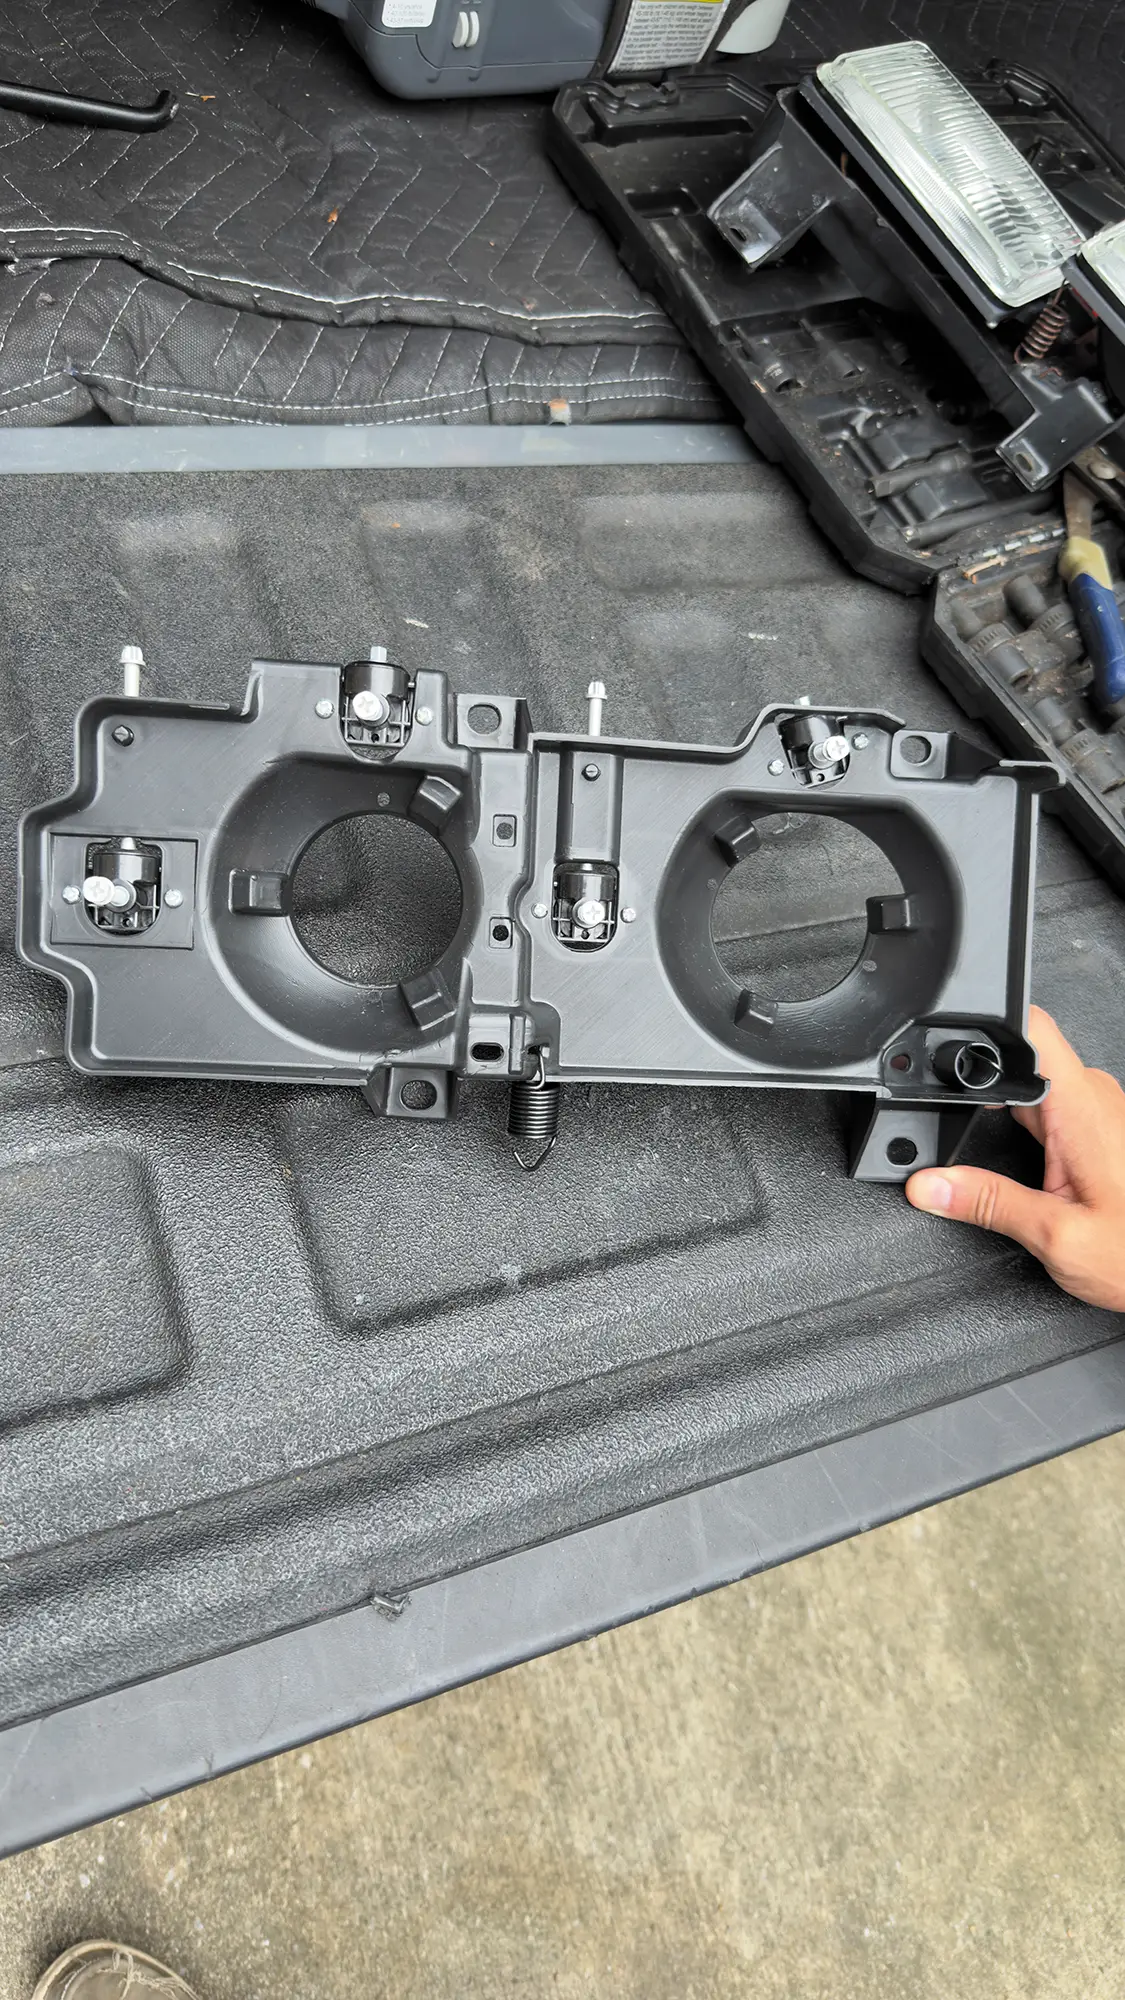
The OEM quad headlight brackets are the preferred option when installing this mod. Aftermarket brackets can be used like the one in this picture.
H4 Headlight Conversion
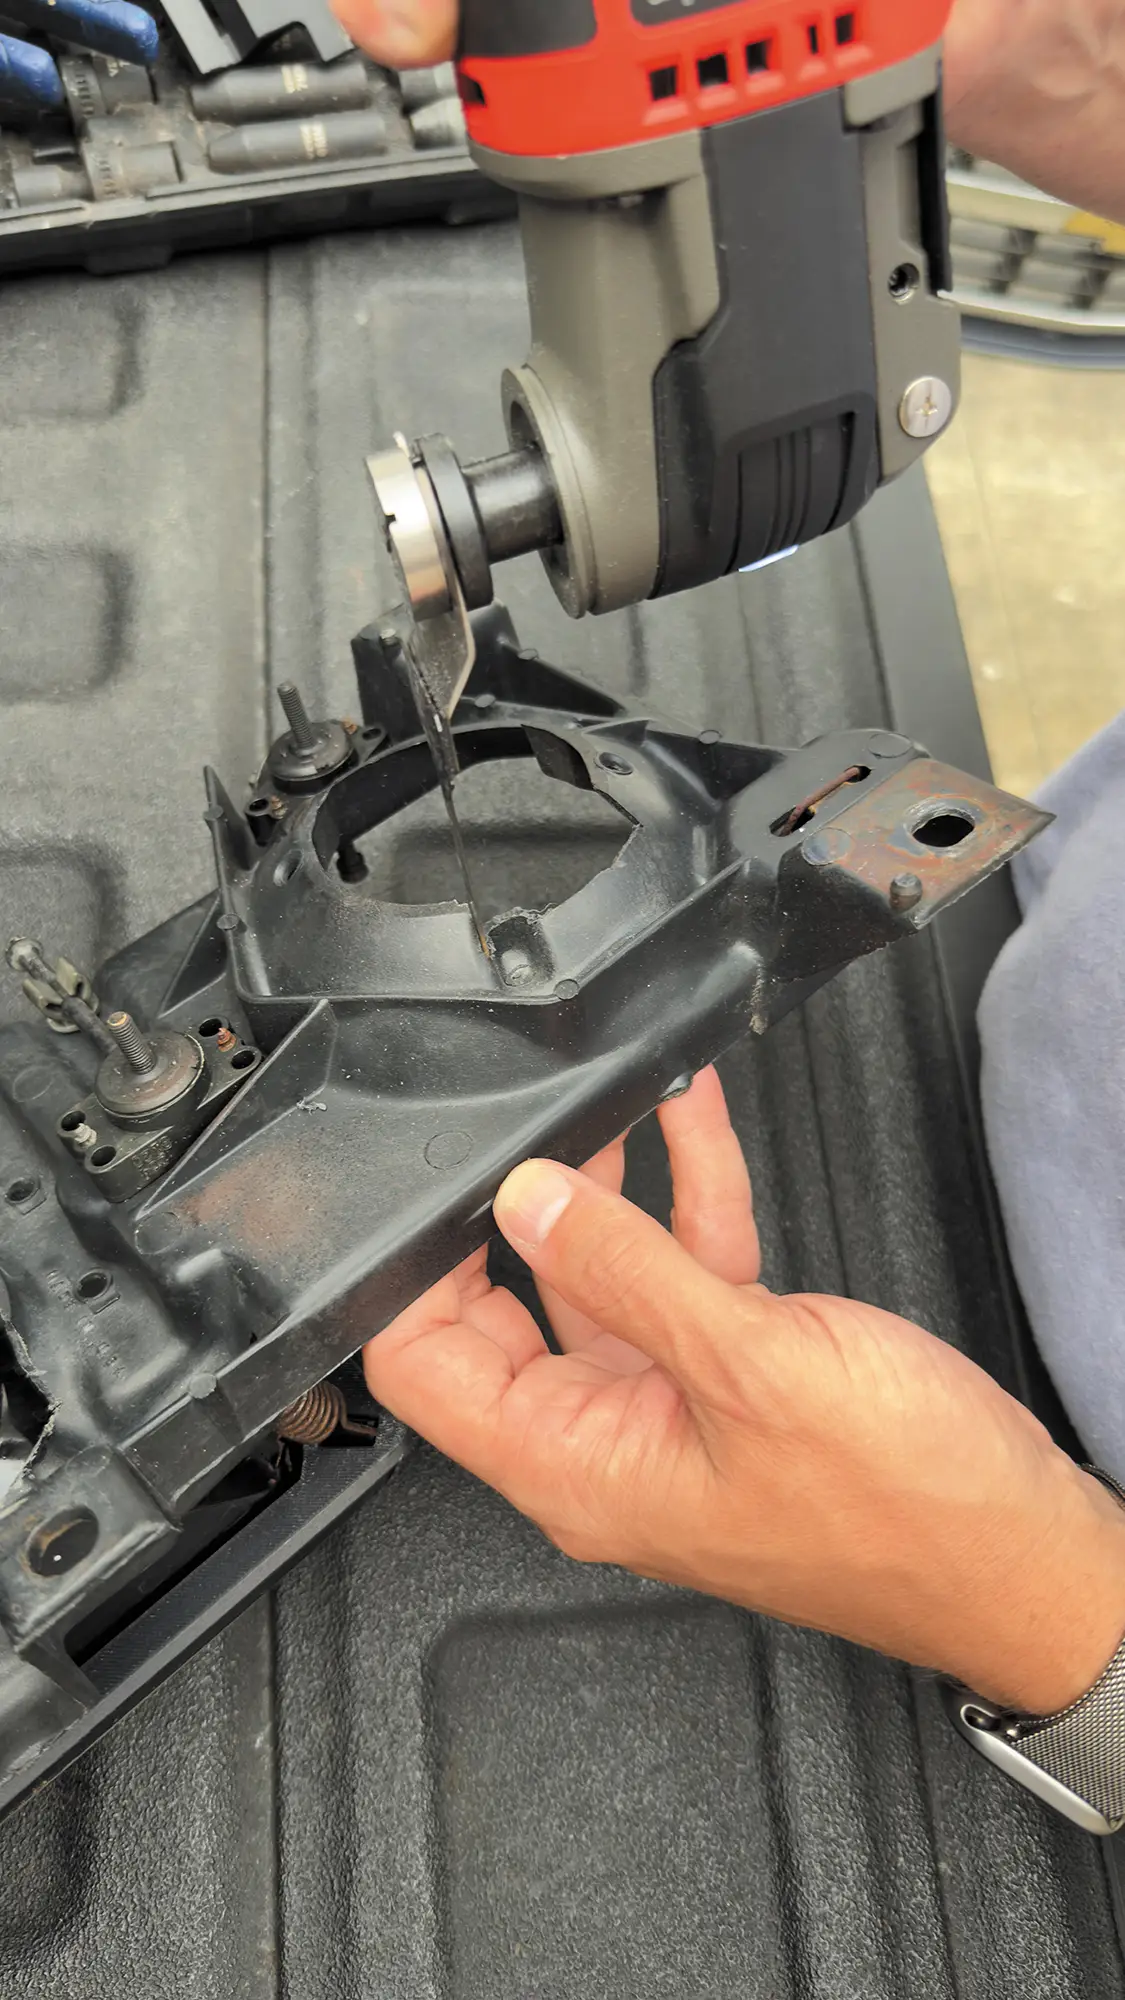
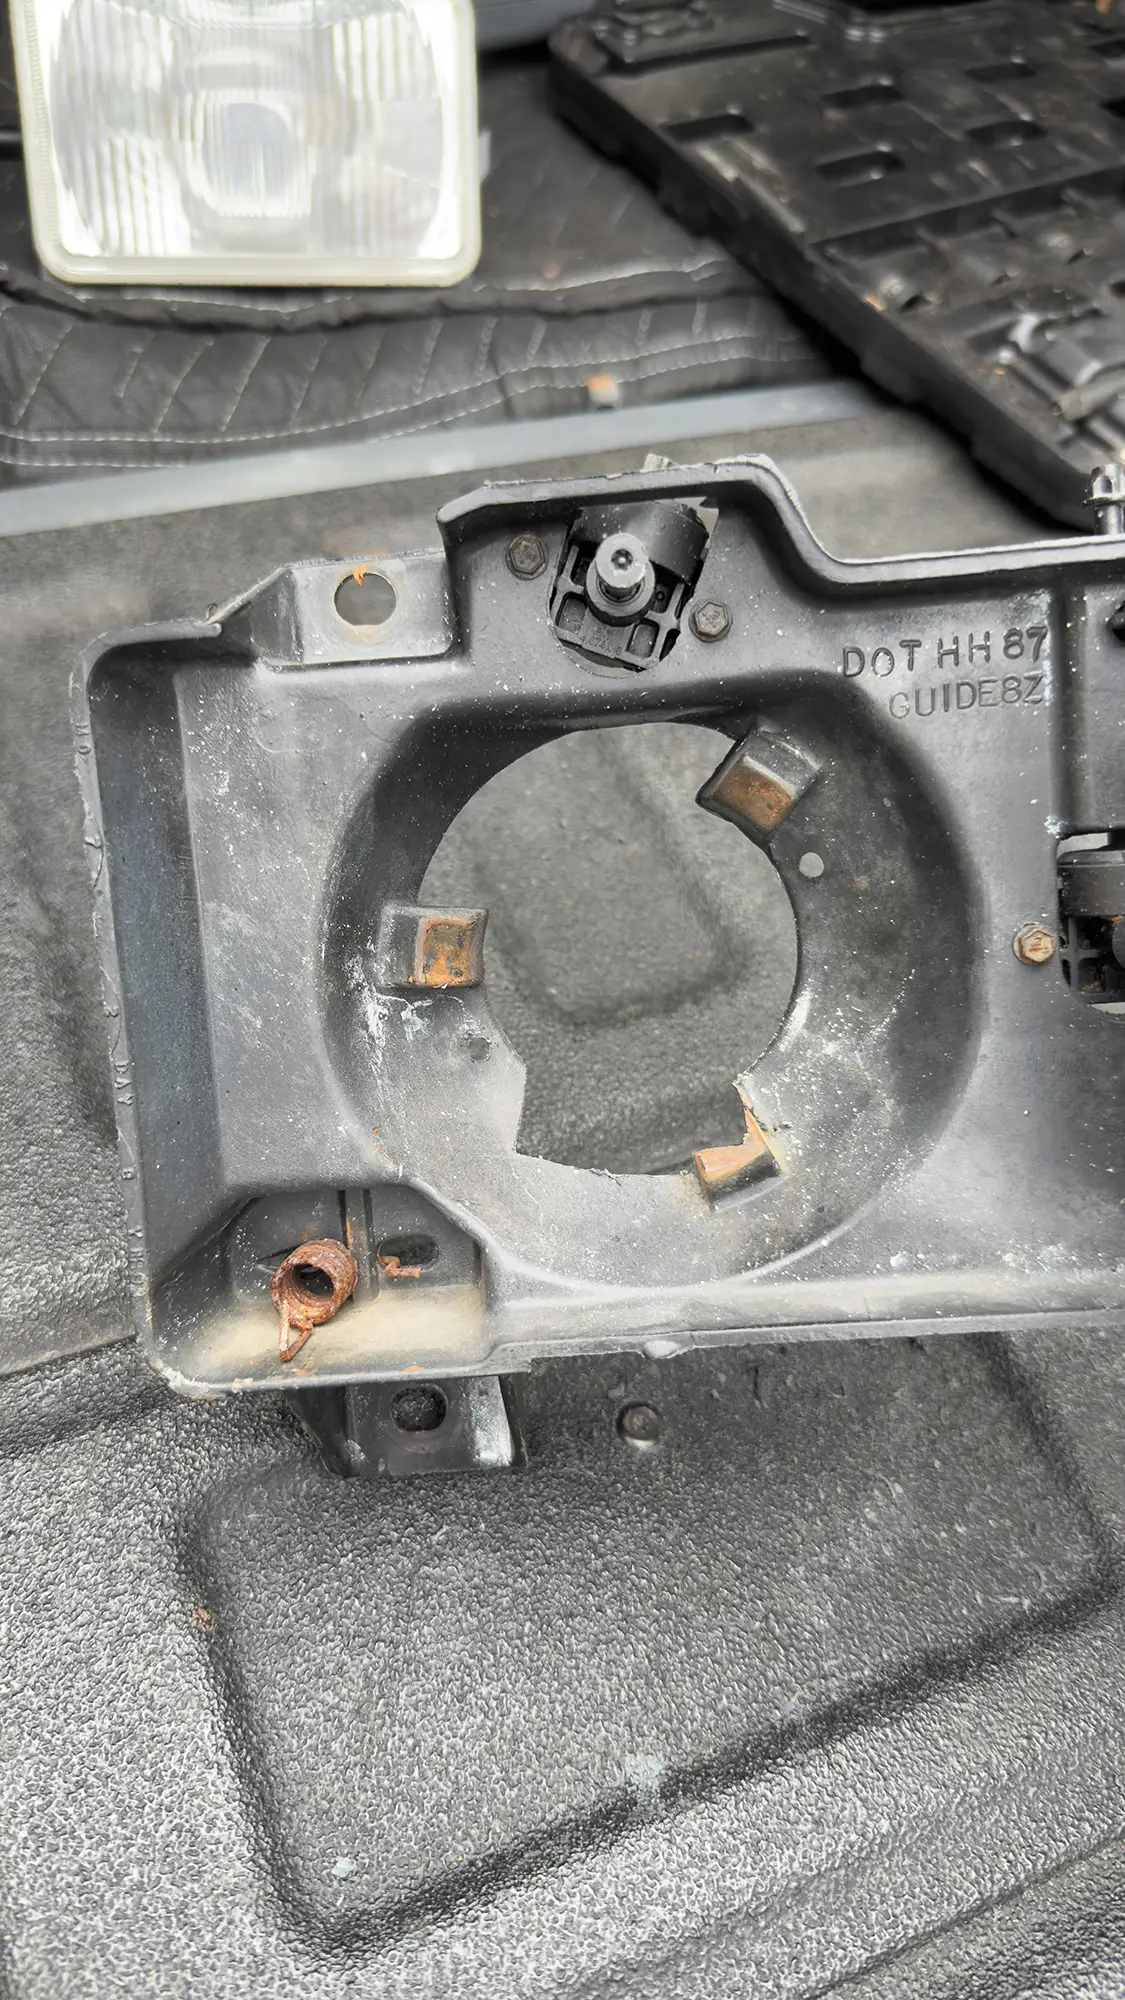
Because the H4 lights have a larger socket than the OEM sealed beam headlights, we used an oscillating tool to make the necessary cuts to accommodate the larger lights.
H4 Headlight Conversion
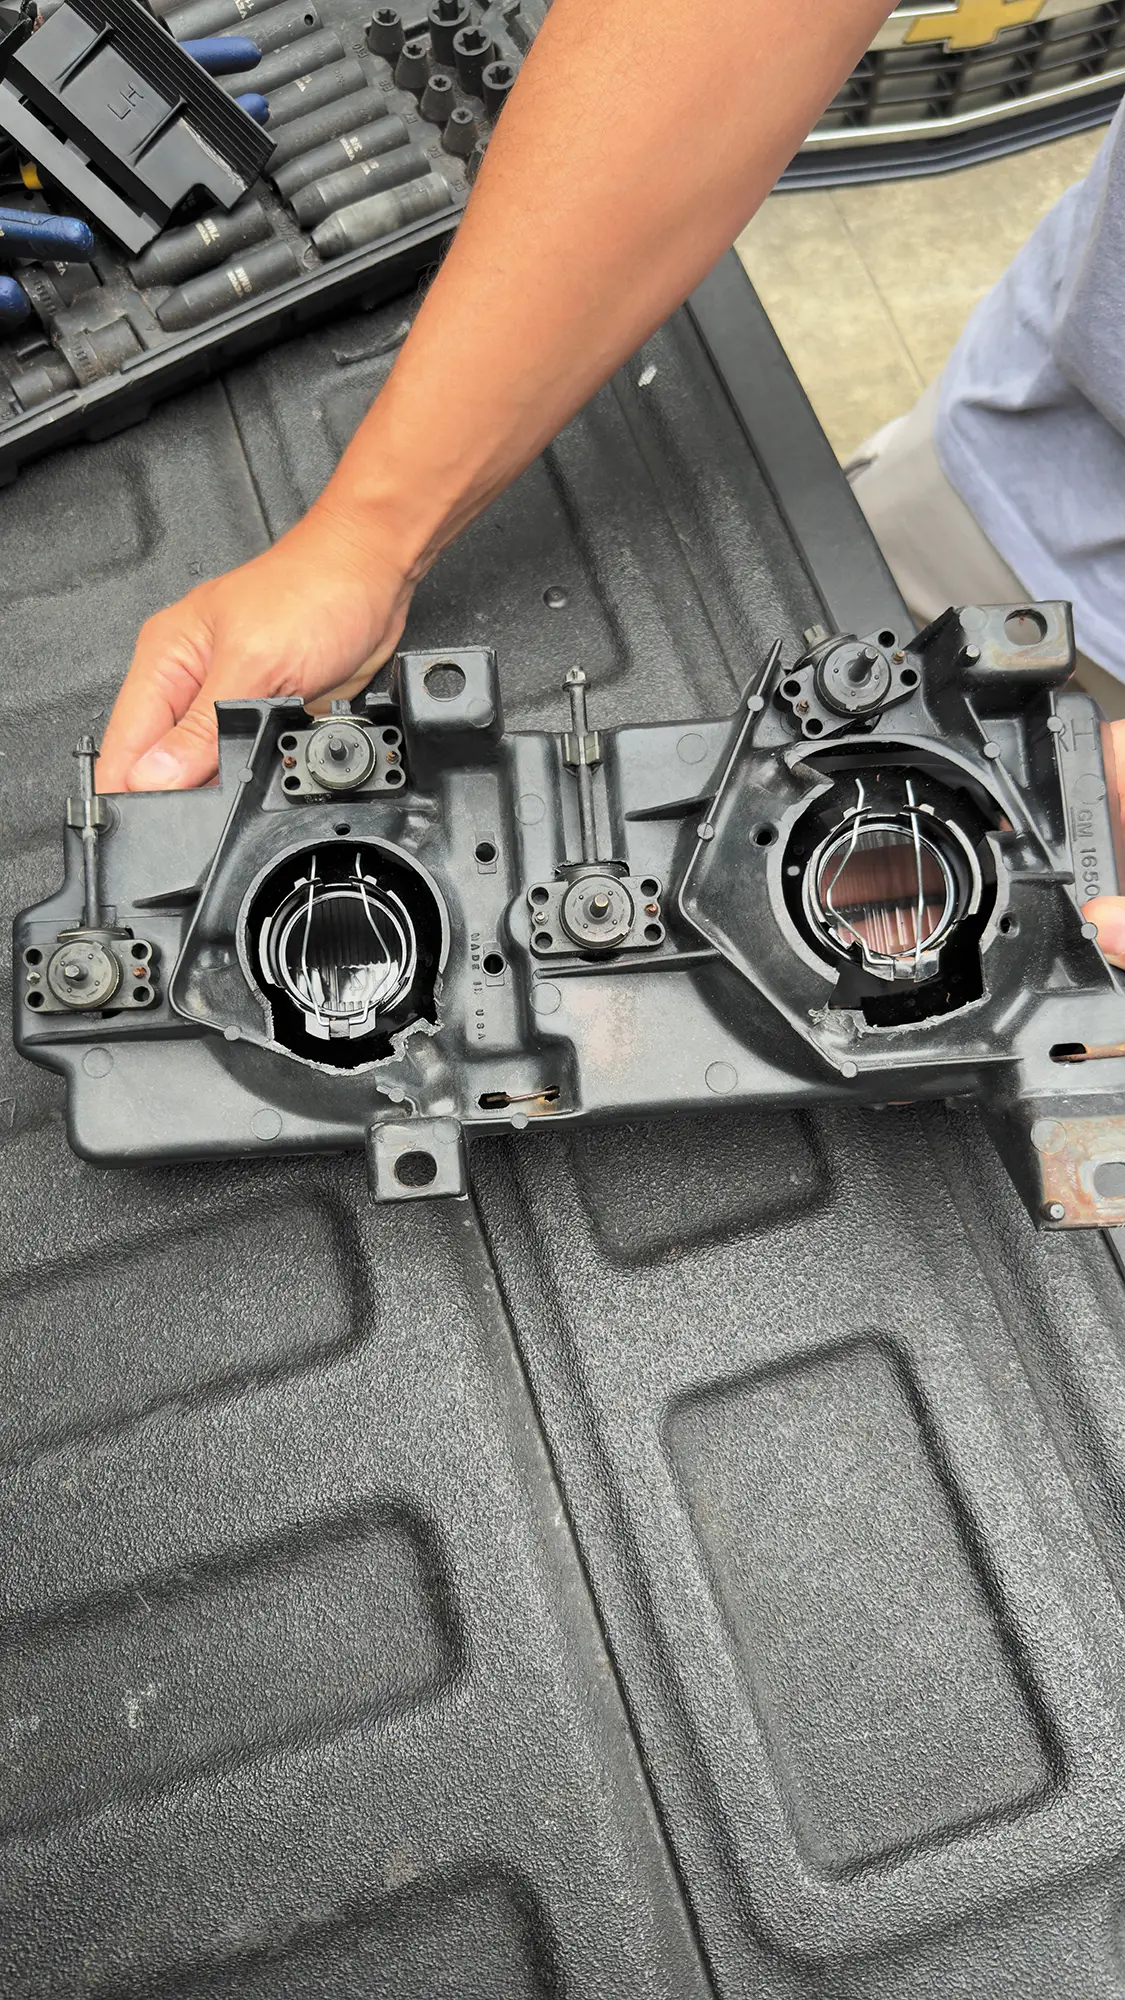
This is the backside of the headlight bracket where the original opening was widened. A 3.5-inch hole saw centered over the original opening can be used for a cleaner and more uniformed cut.
H4 Headlight Conversion
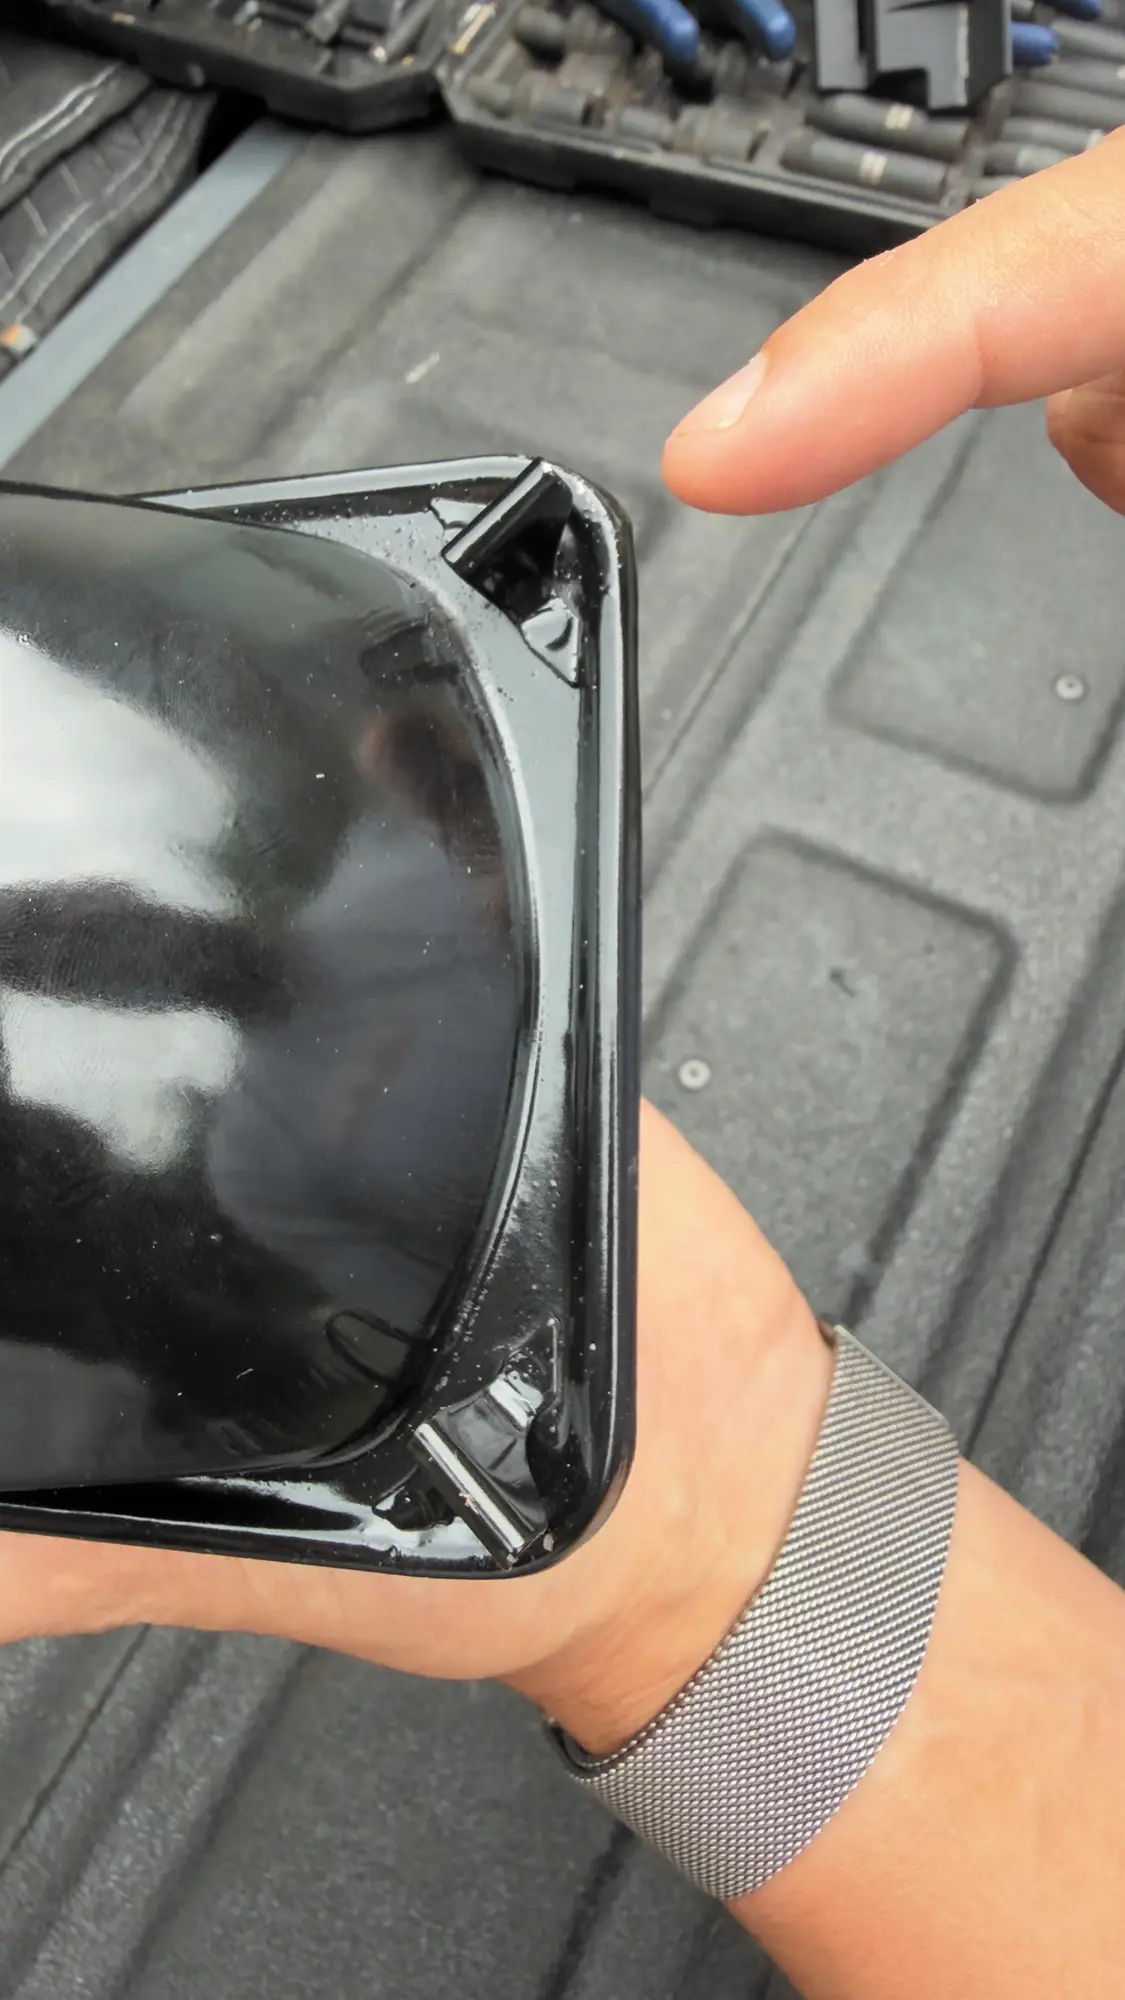
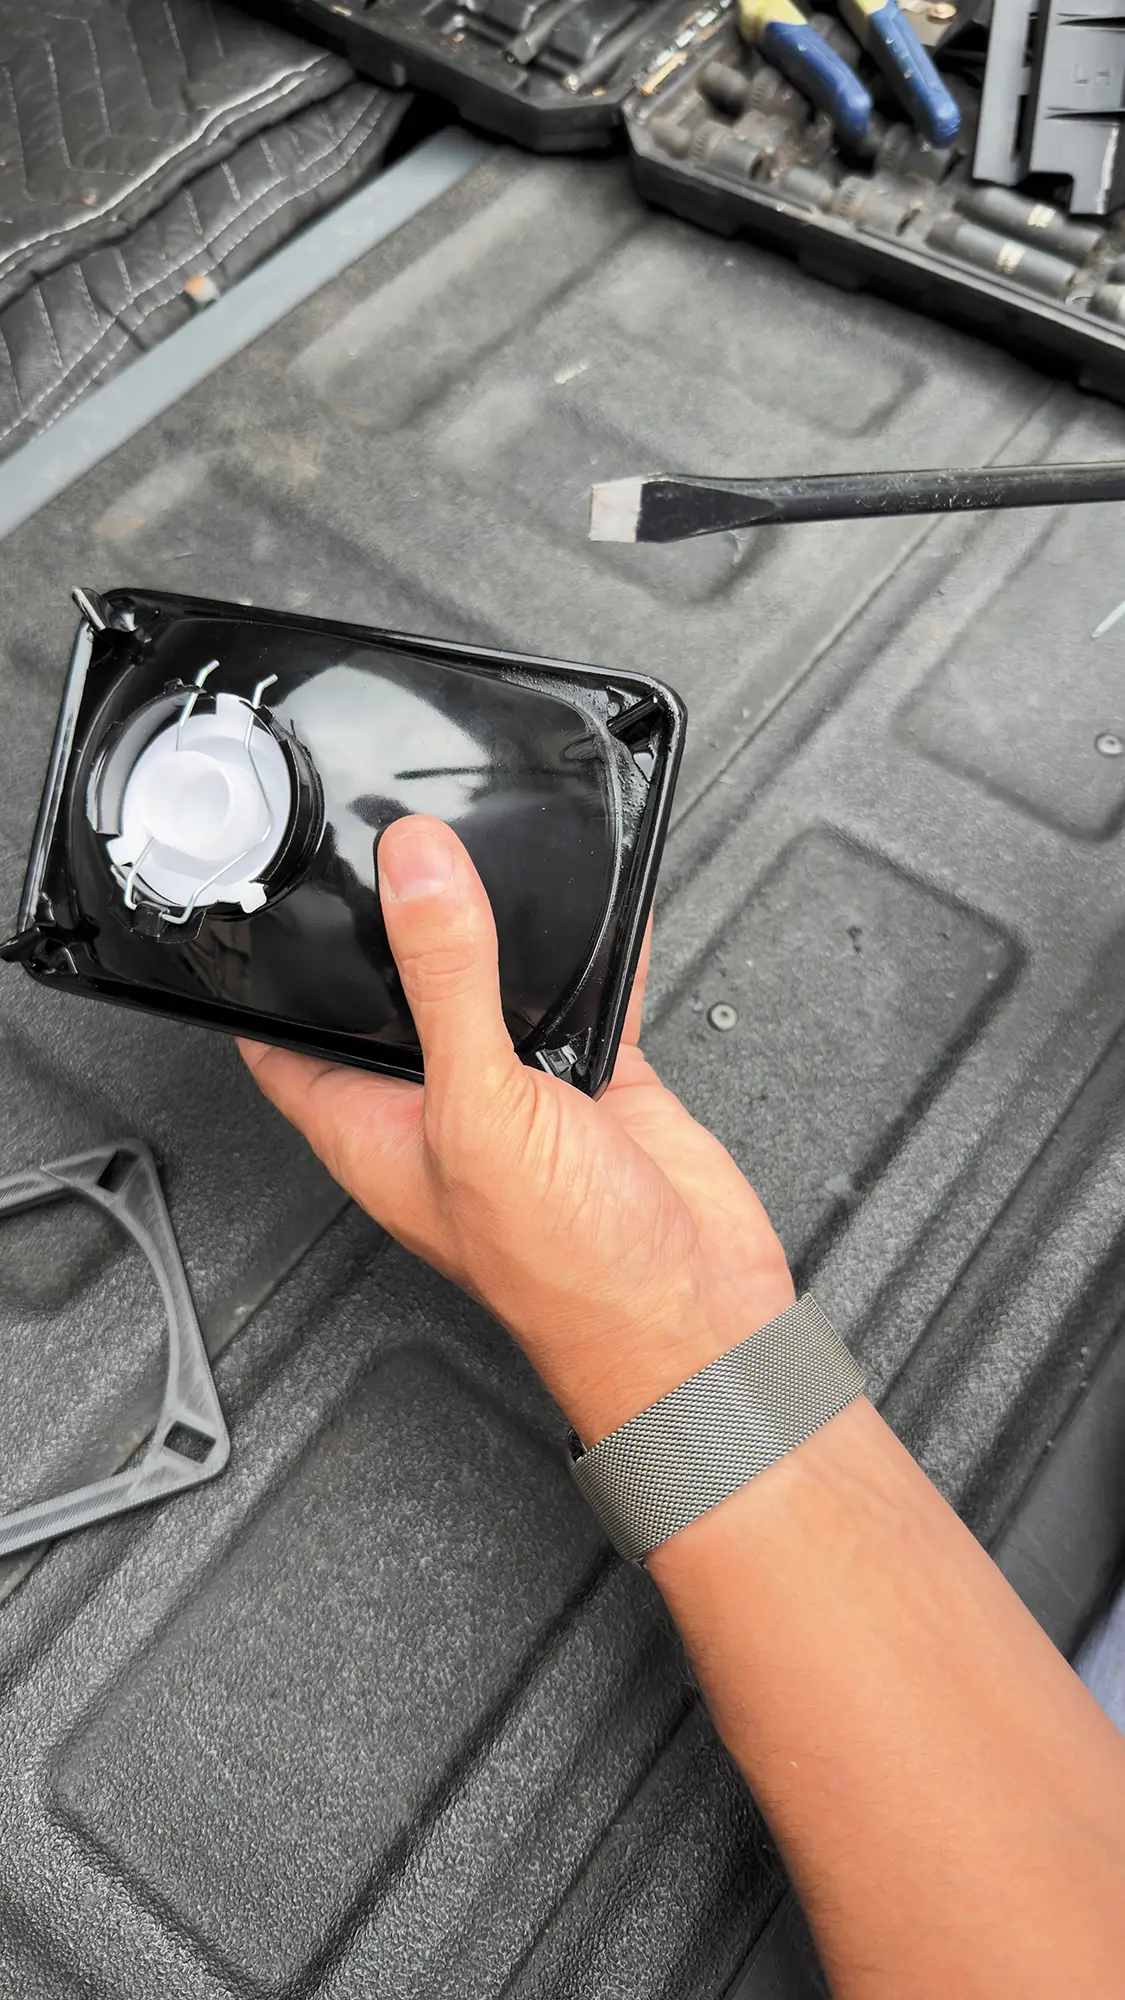
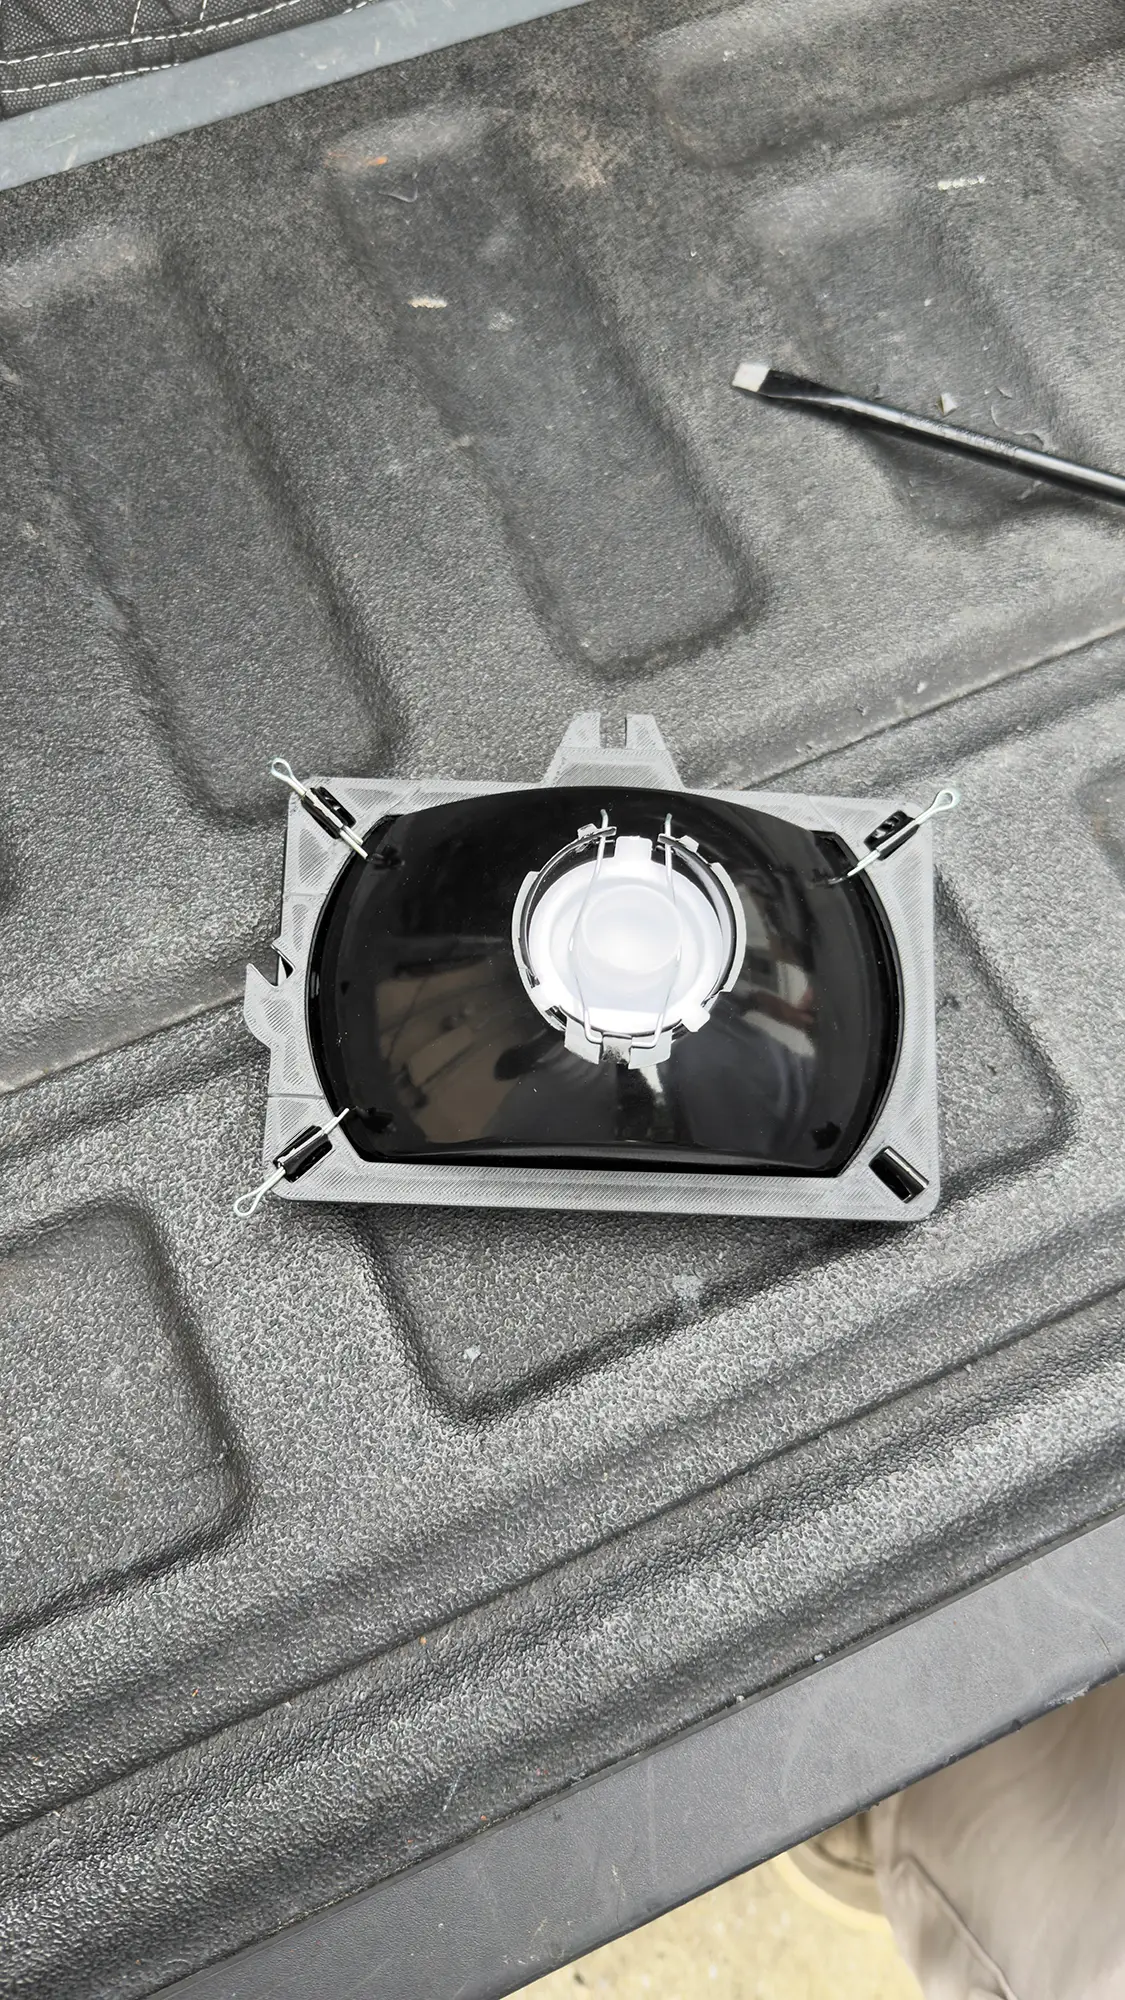
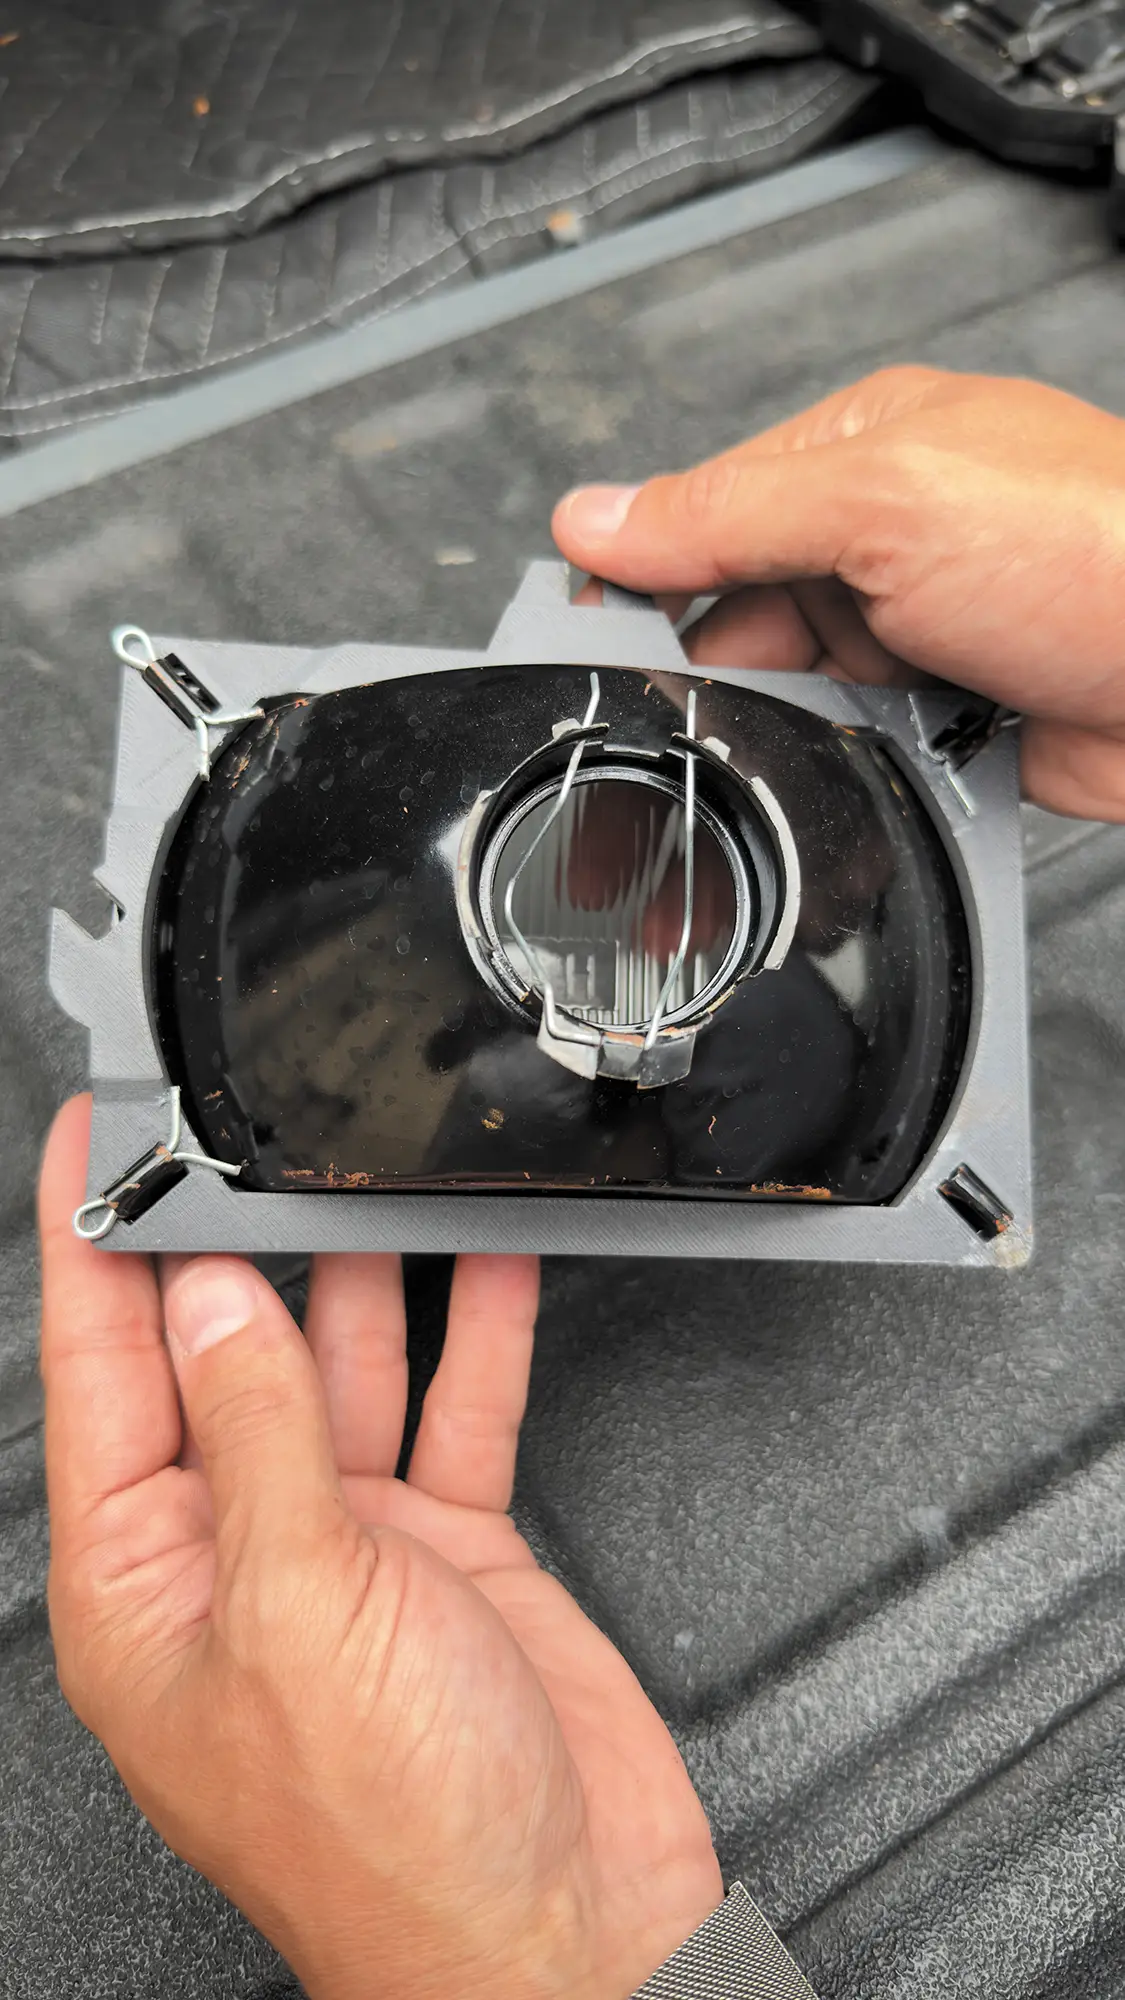
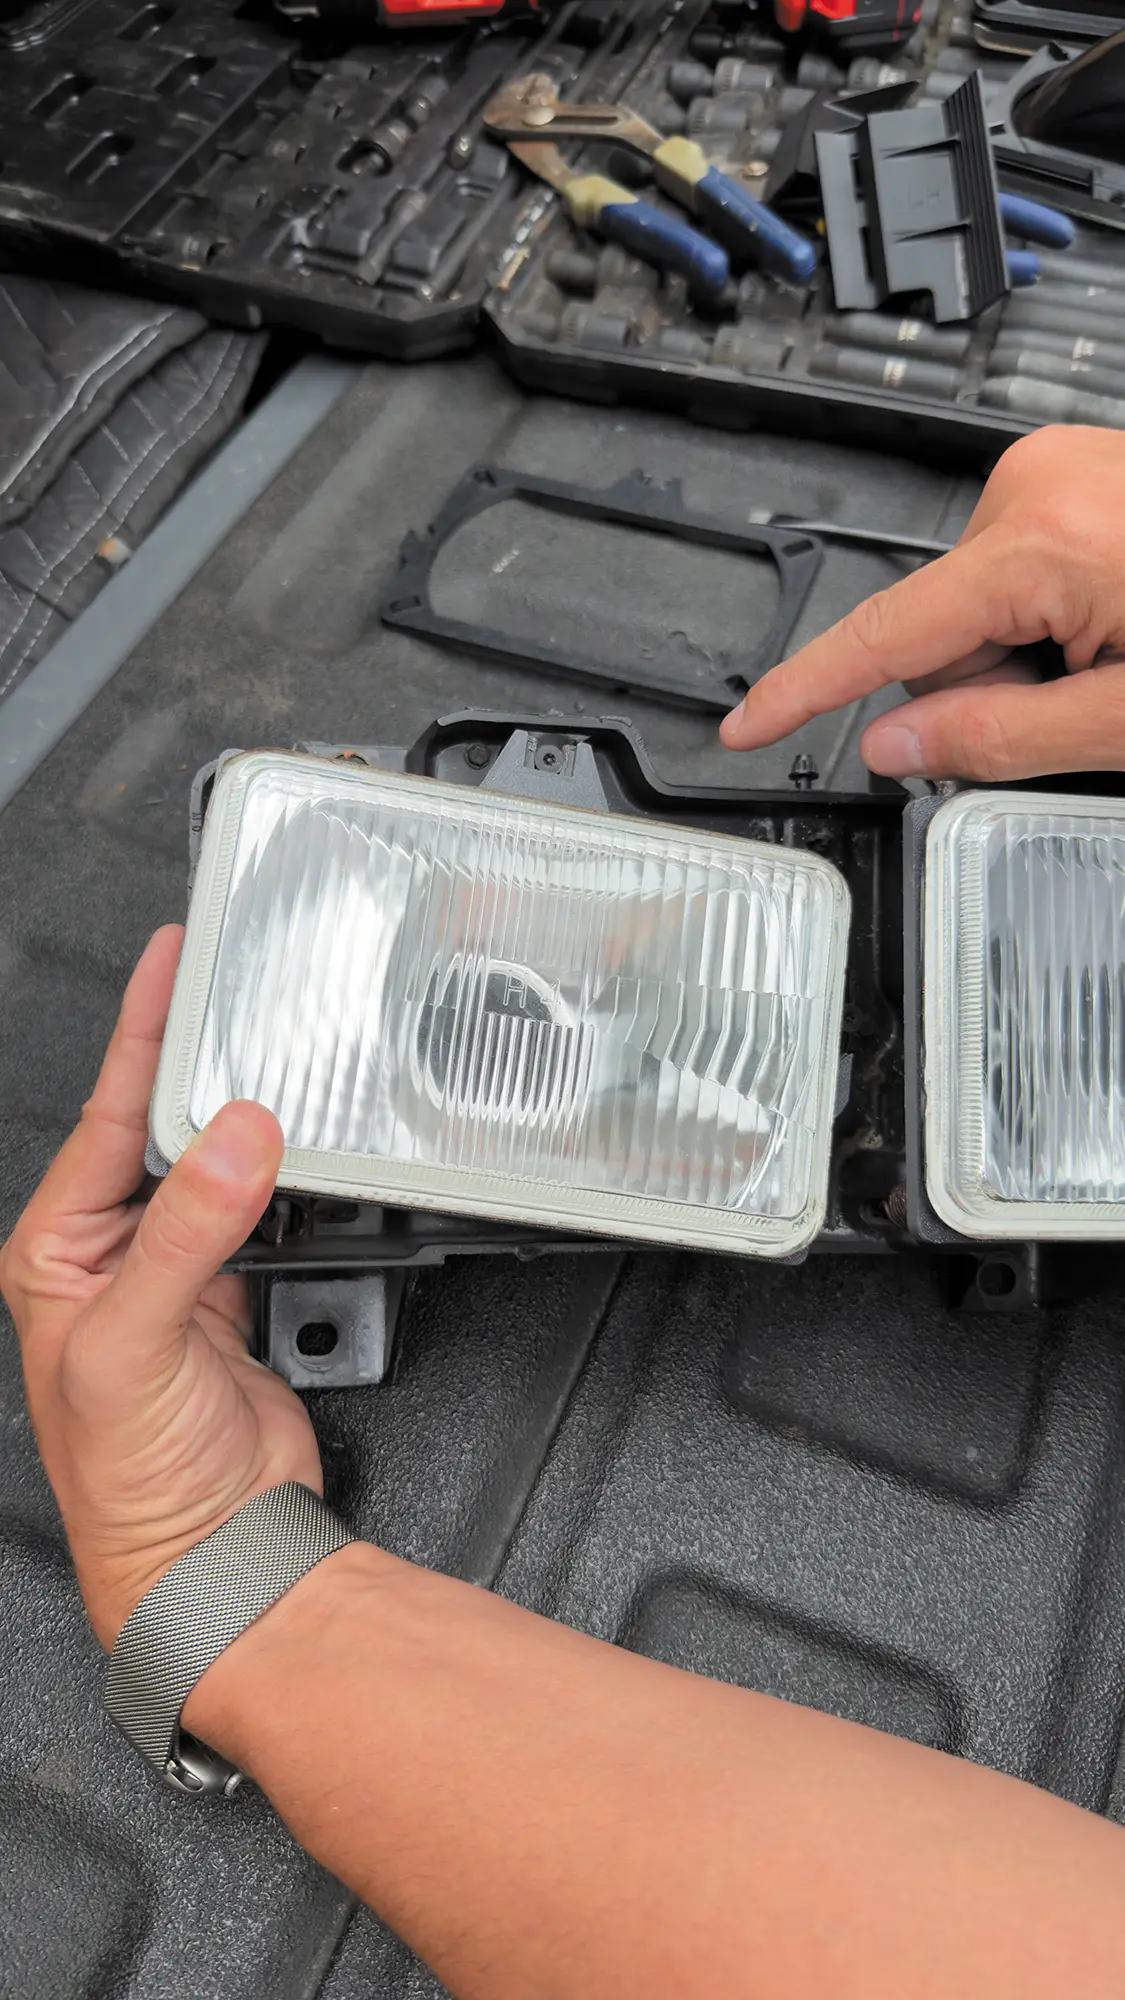
For this modification to work, the H4 light must have this tab on the backside of the light. This tab will be used to secure the light to the adapter plate.
H4 Headlight Conversion
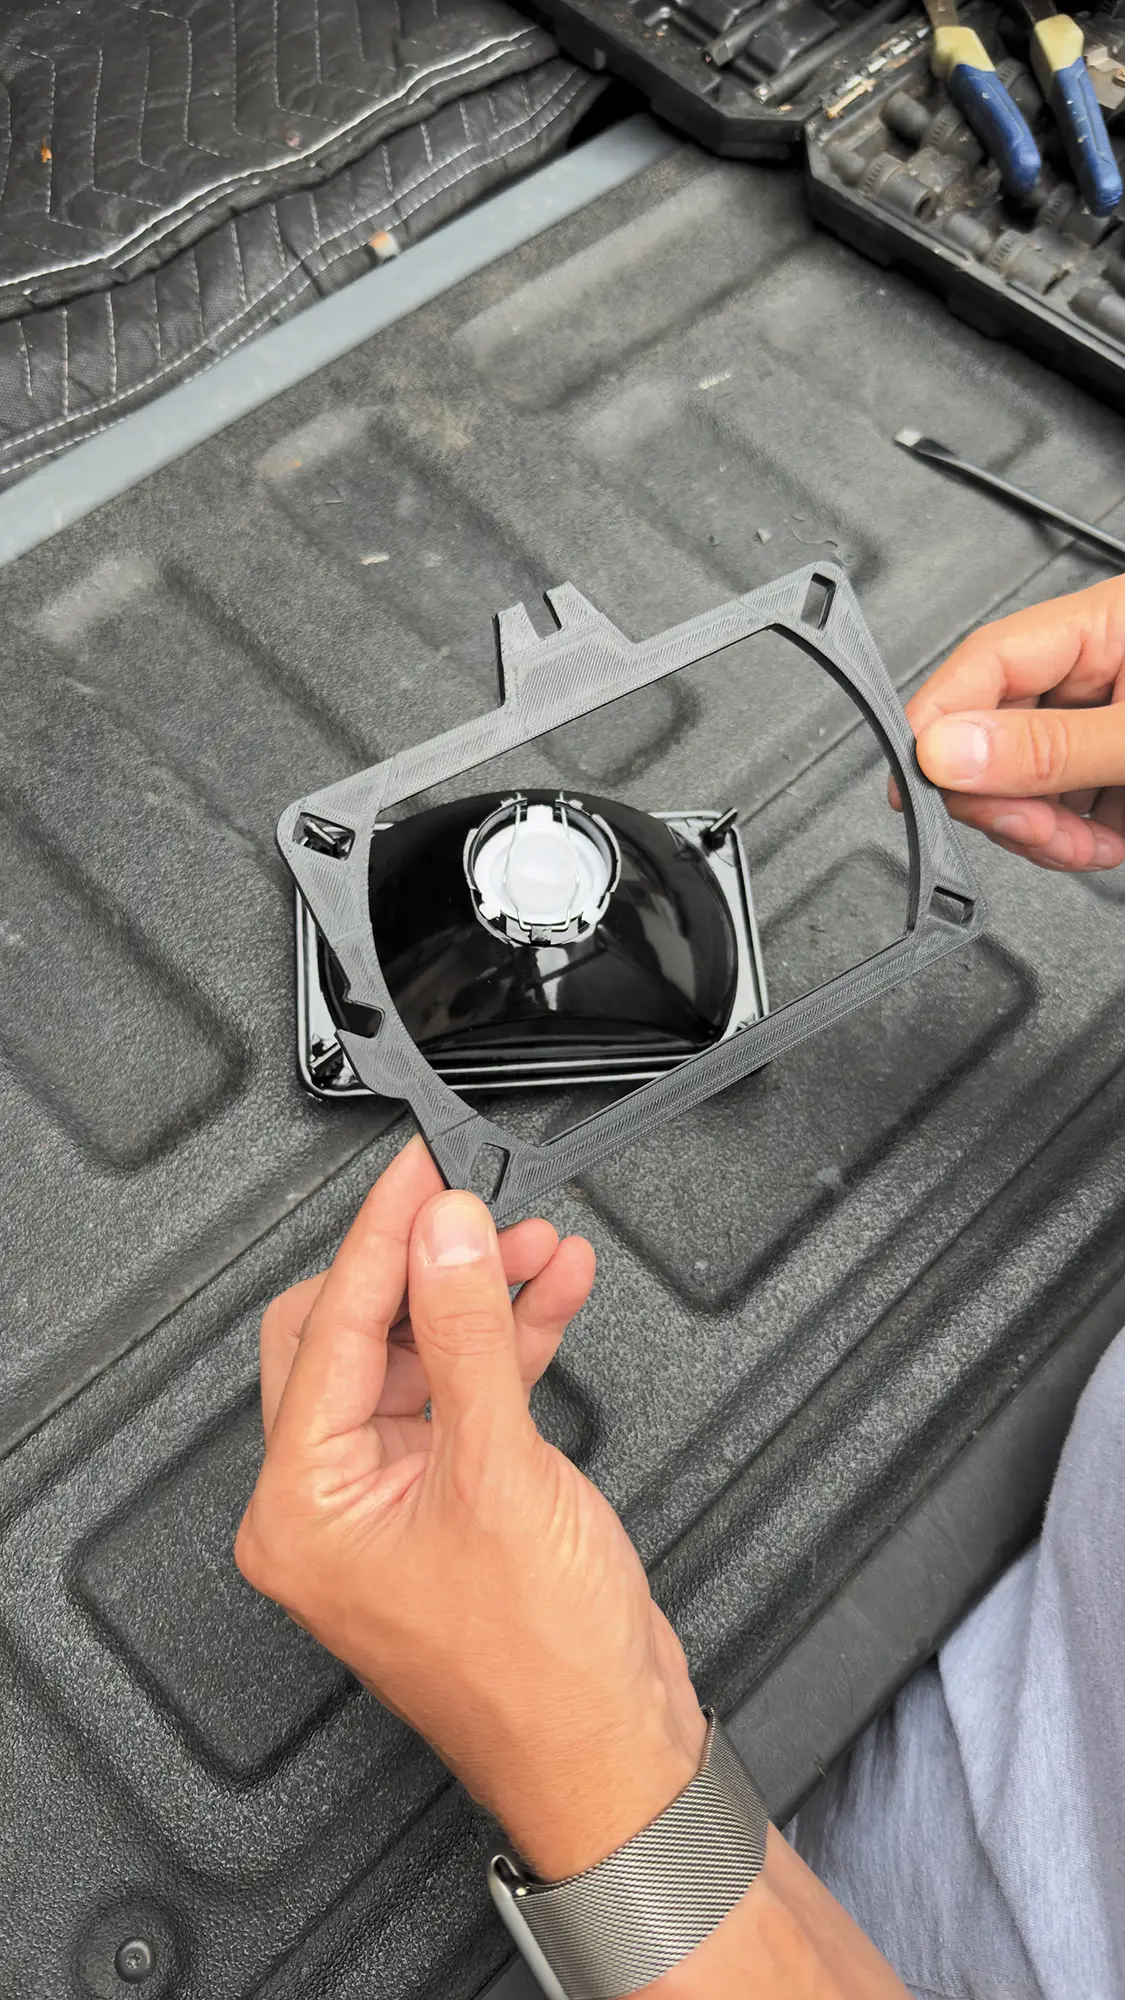
In the current kit, there are two adapter plates per side. There is a front and backside of the adapter plate. The flat side of the adapter plate will always lay flat against the backside of the light.
H4 Headlight Conversion
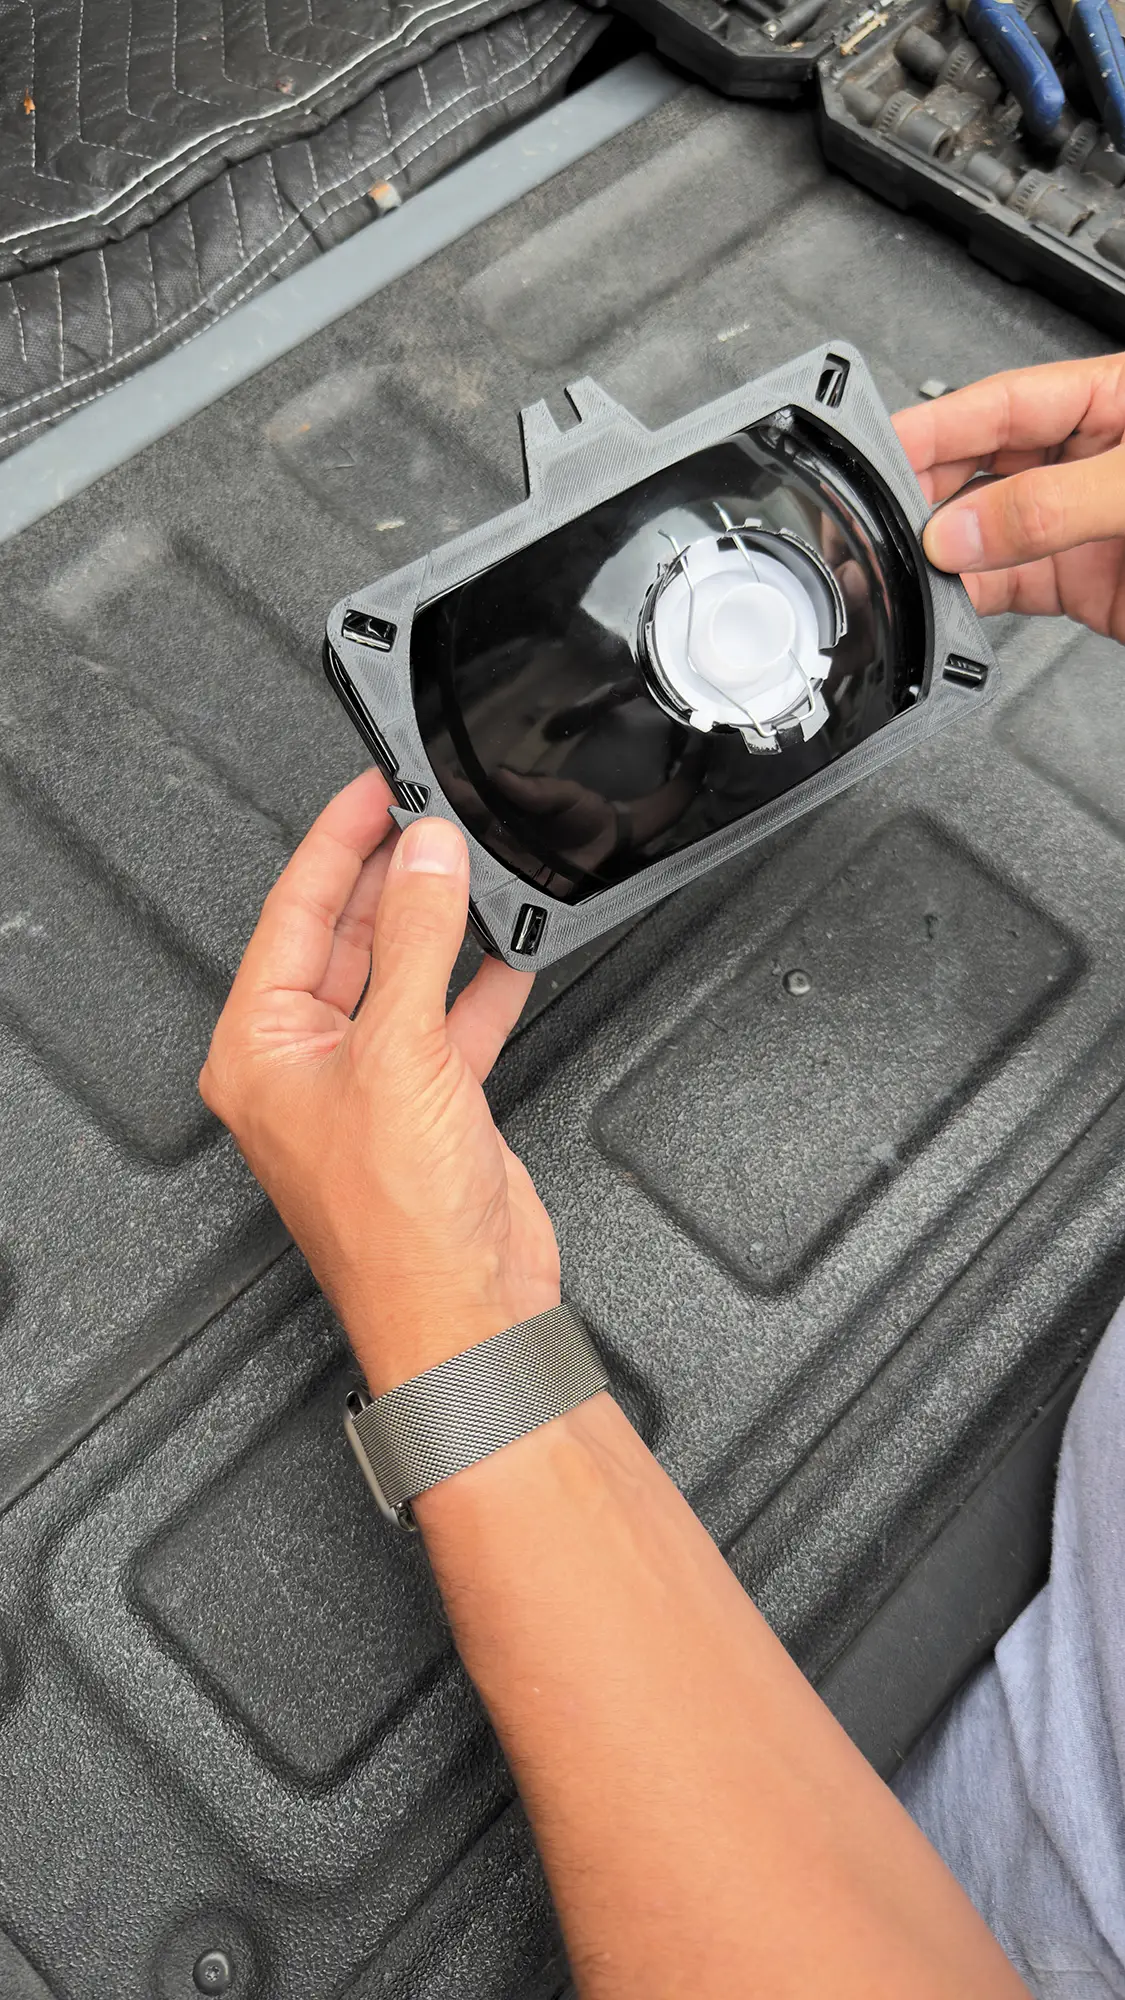
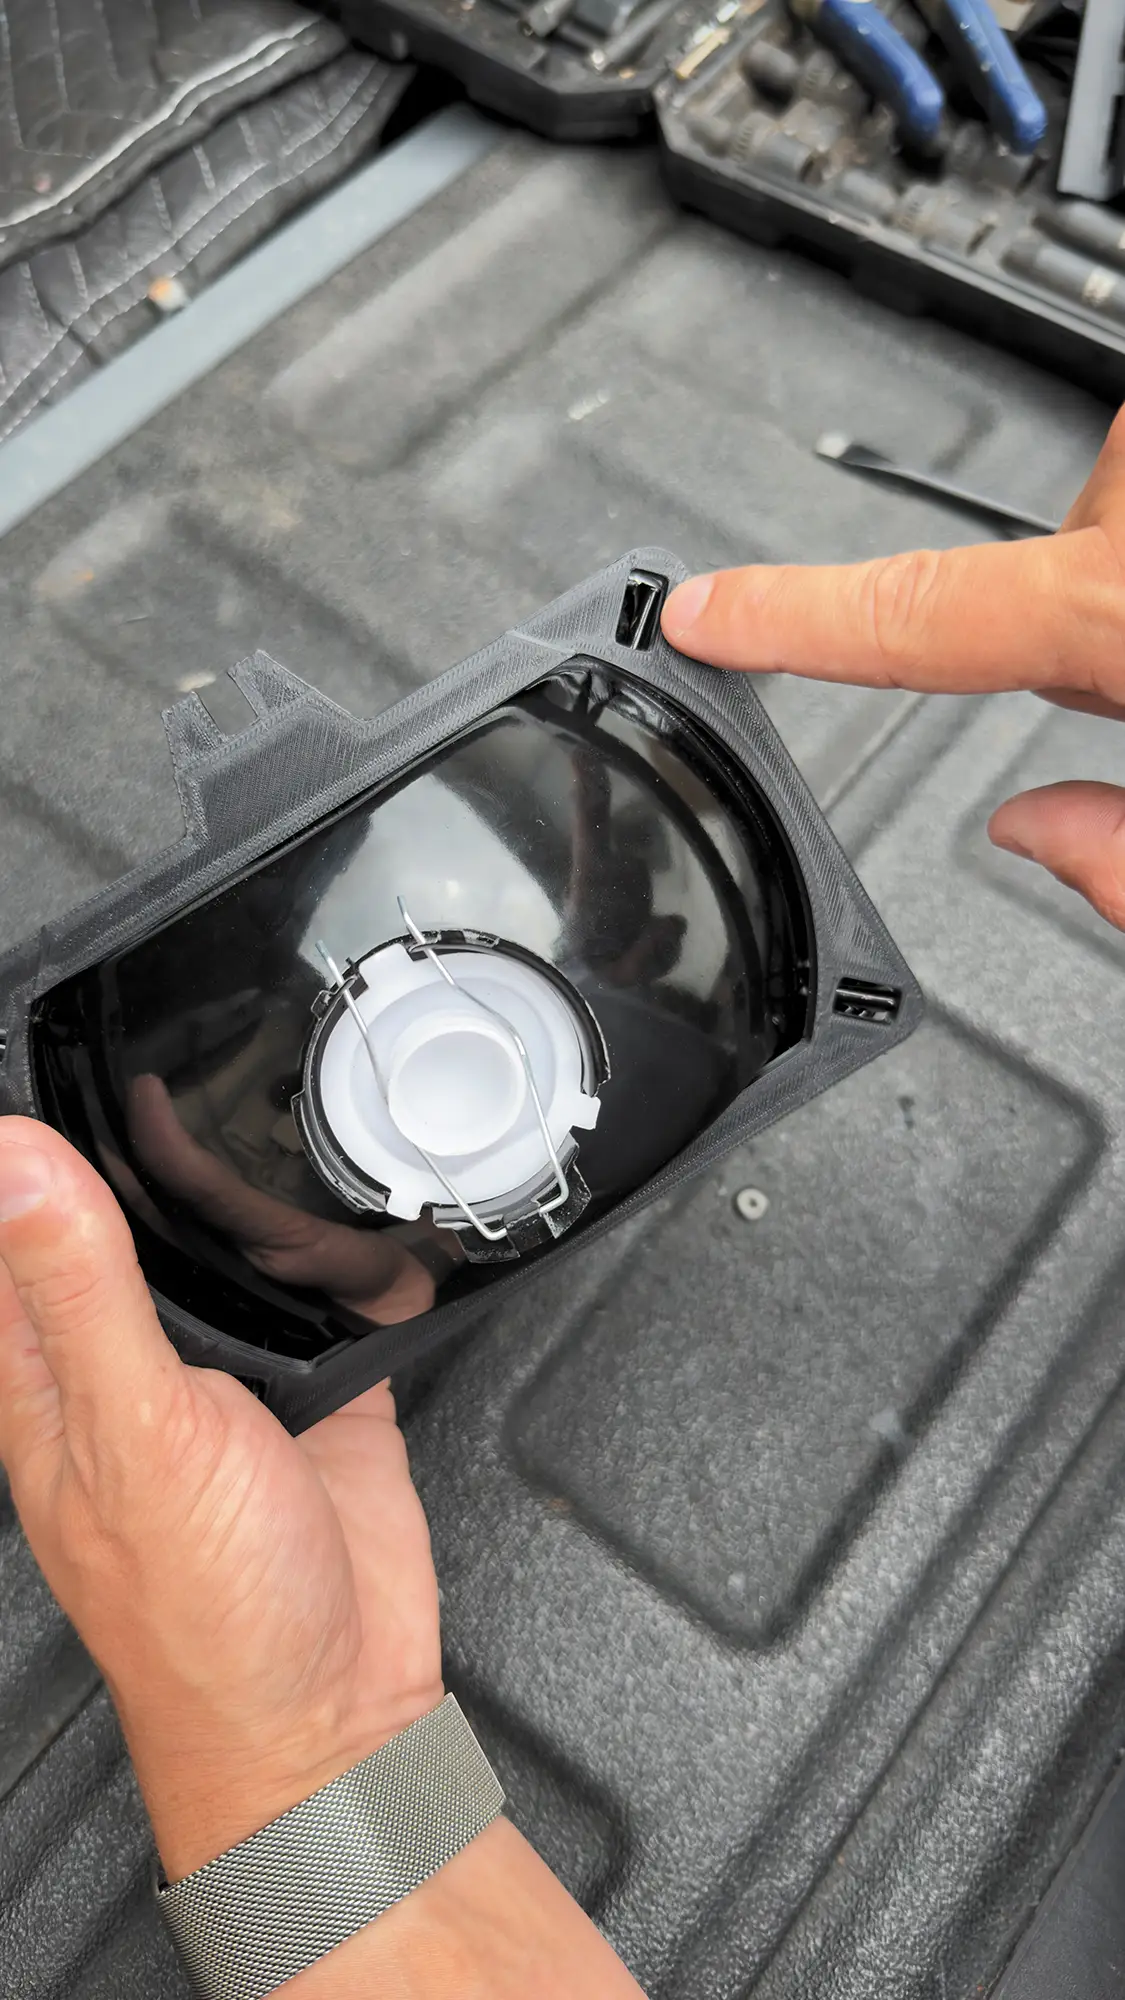
The adapter plate is made so that the tabs on the H4 lights will be centered in the cutouts in all four corners.
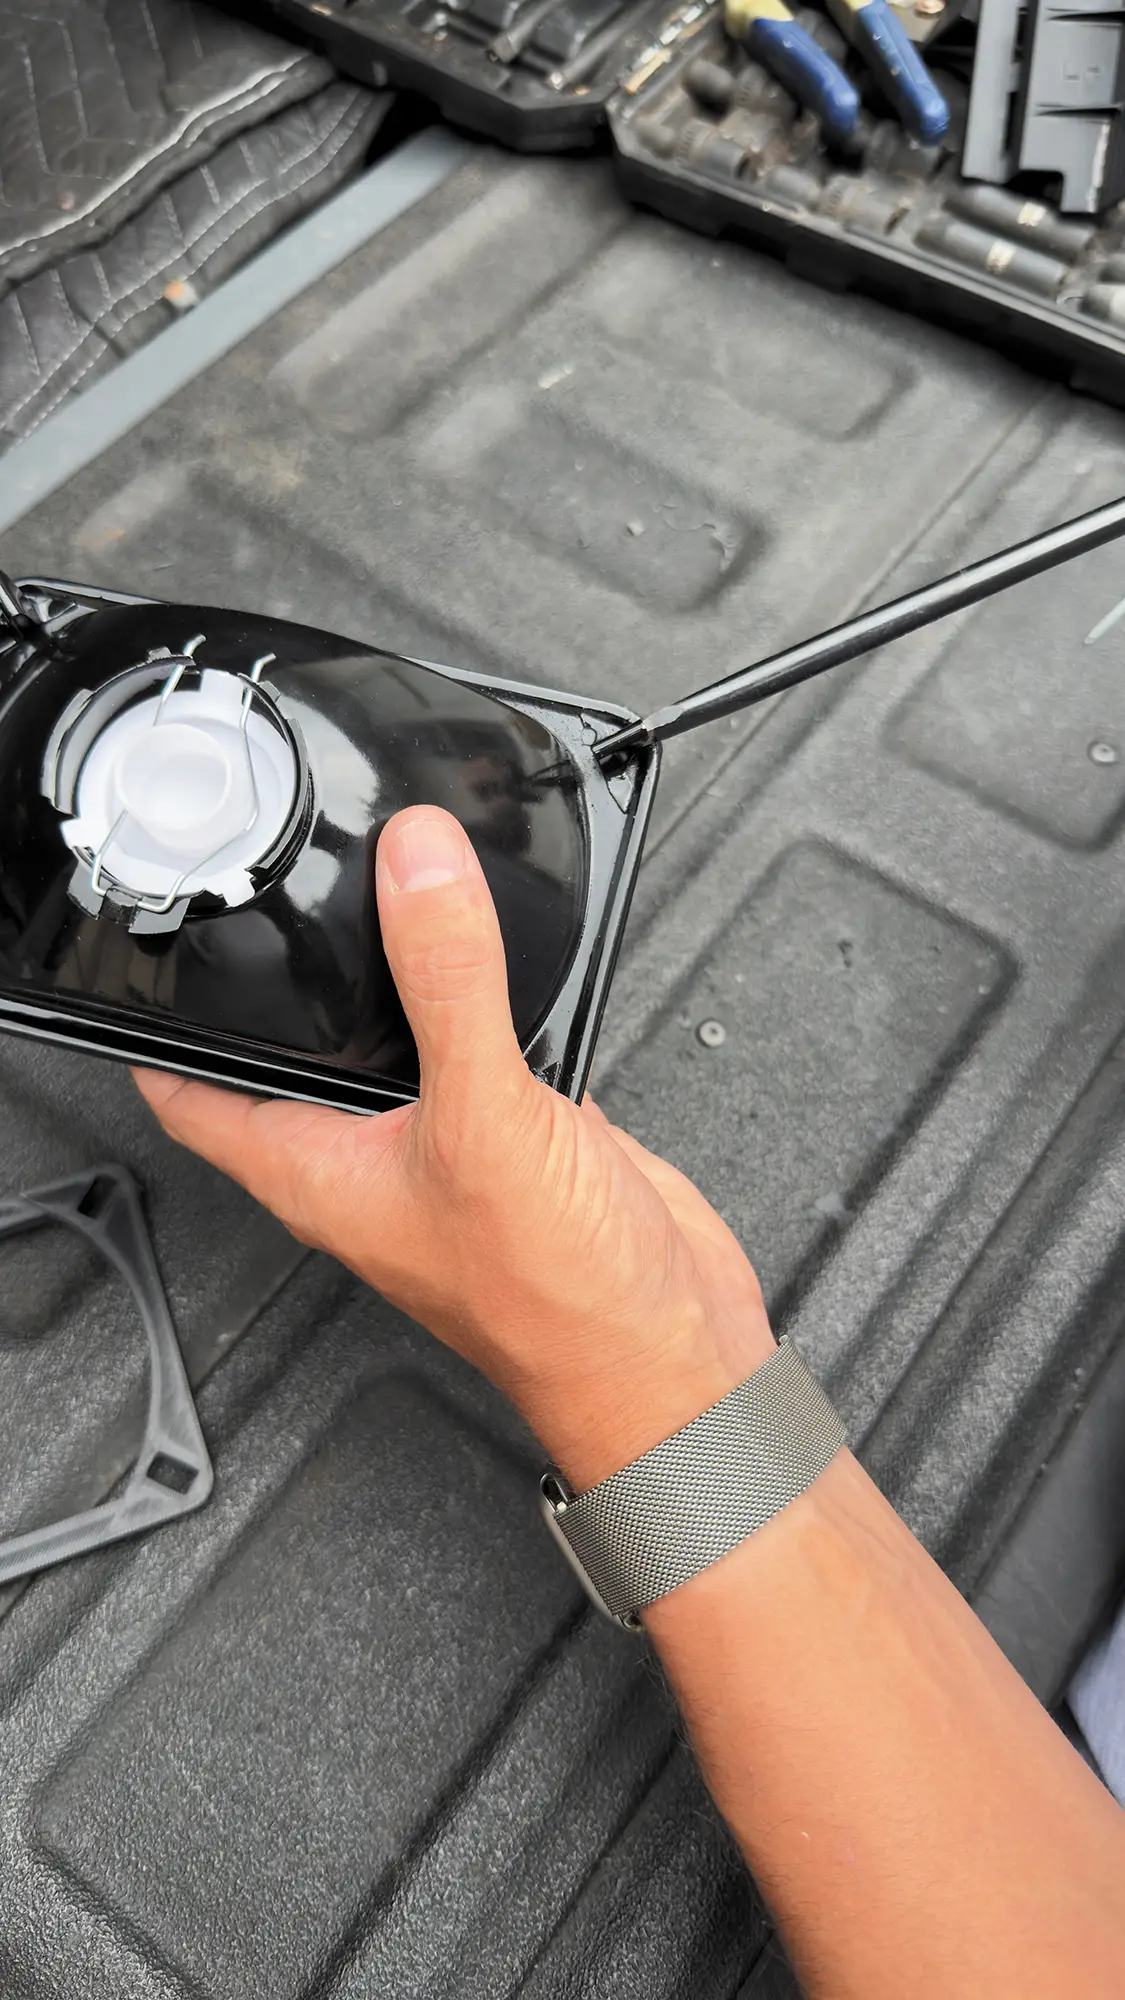
The tabs on the H4 lights will most likely need to be adjusted for proper alignment.
H4 Headlight Conversion
Using a flathead driver or pliers, adjust the tabs to fit within the adapter plate openings.
Once all the tabs are properly aligned, push the adapter plate onto the back of the H4 lights all the way. The tabs should not come through the back of the adapter plate.

H4 Headlight Conversion

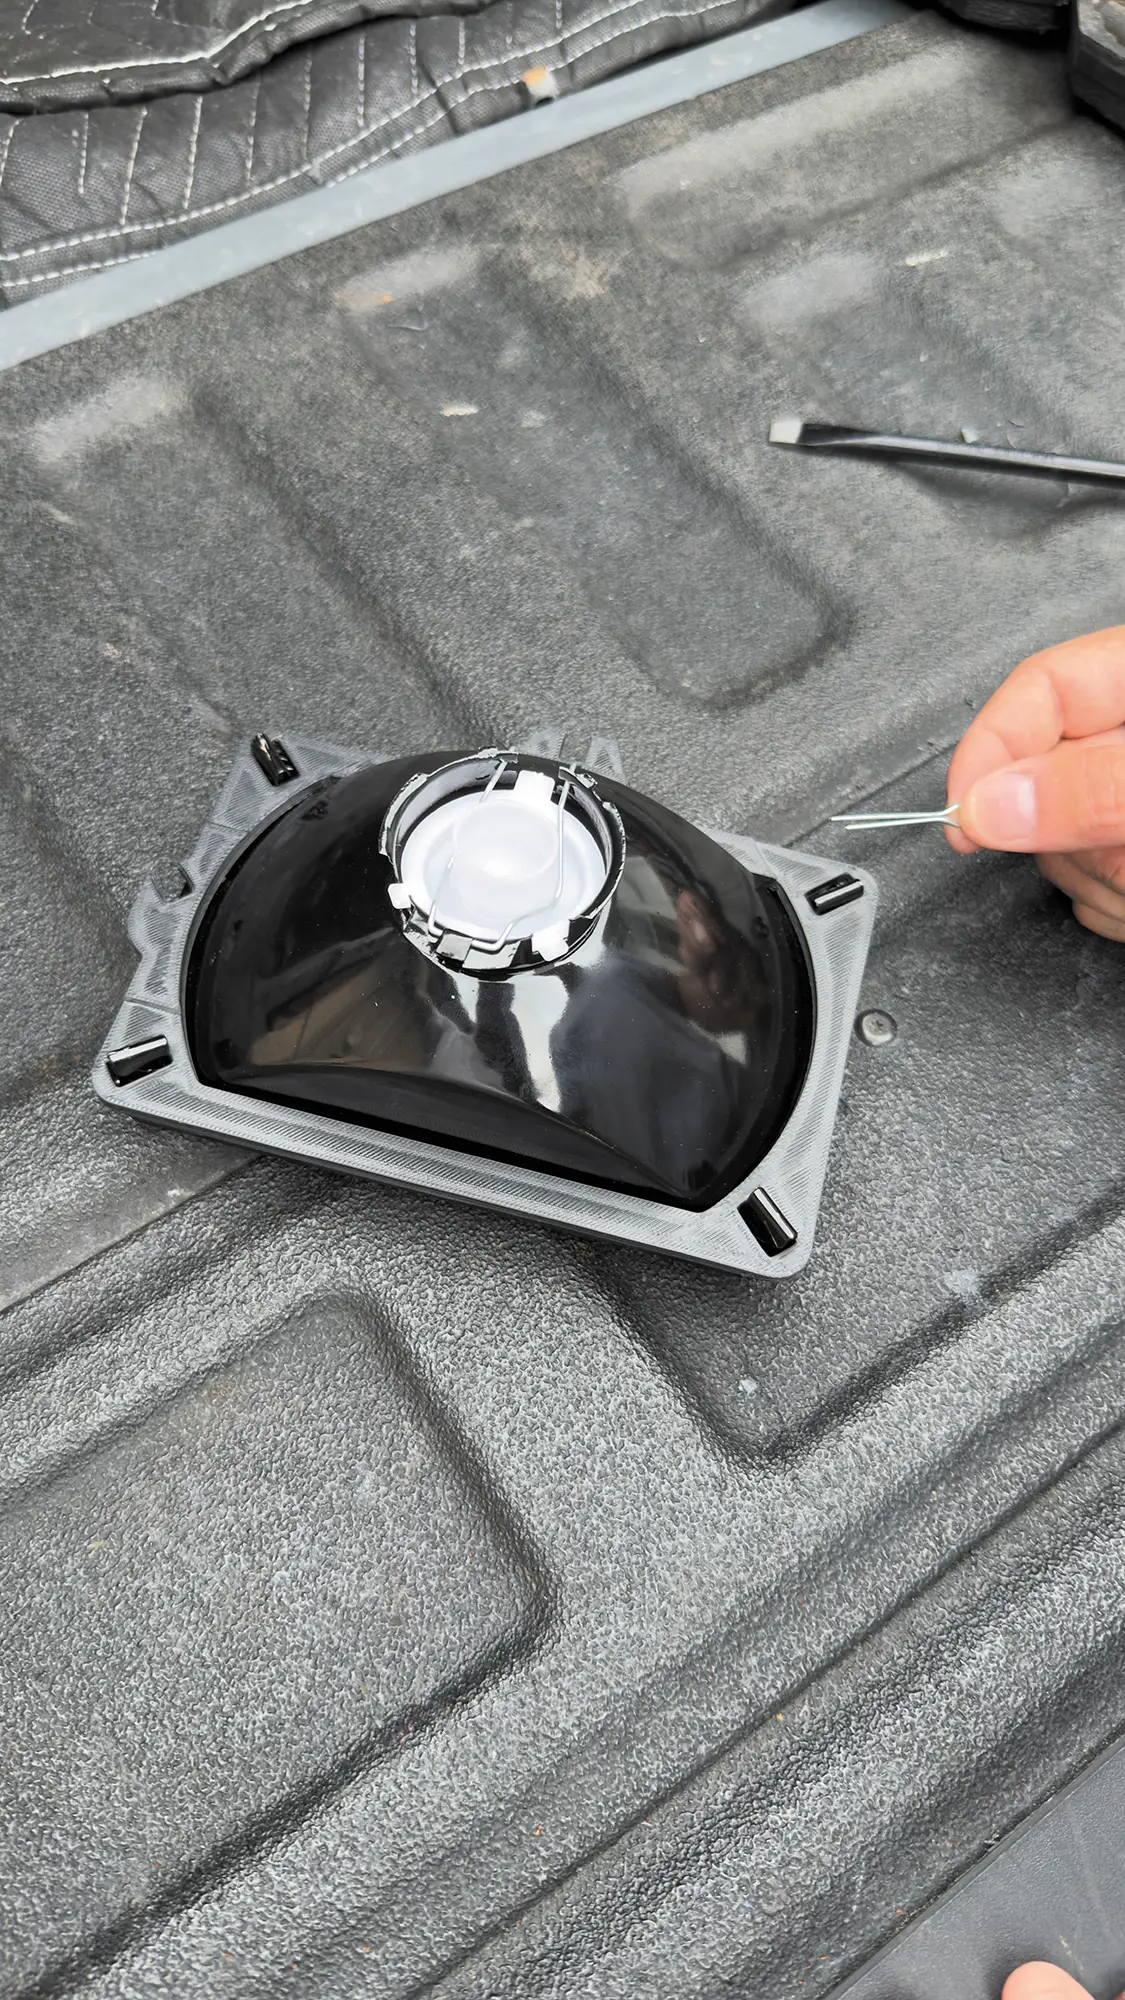
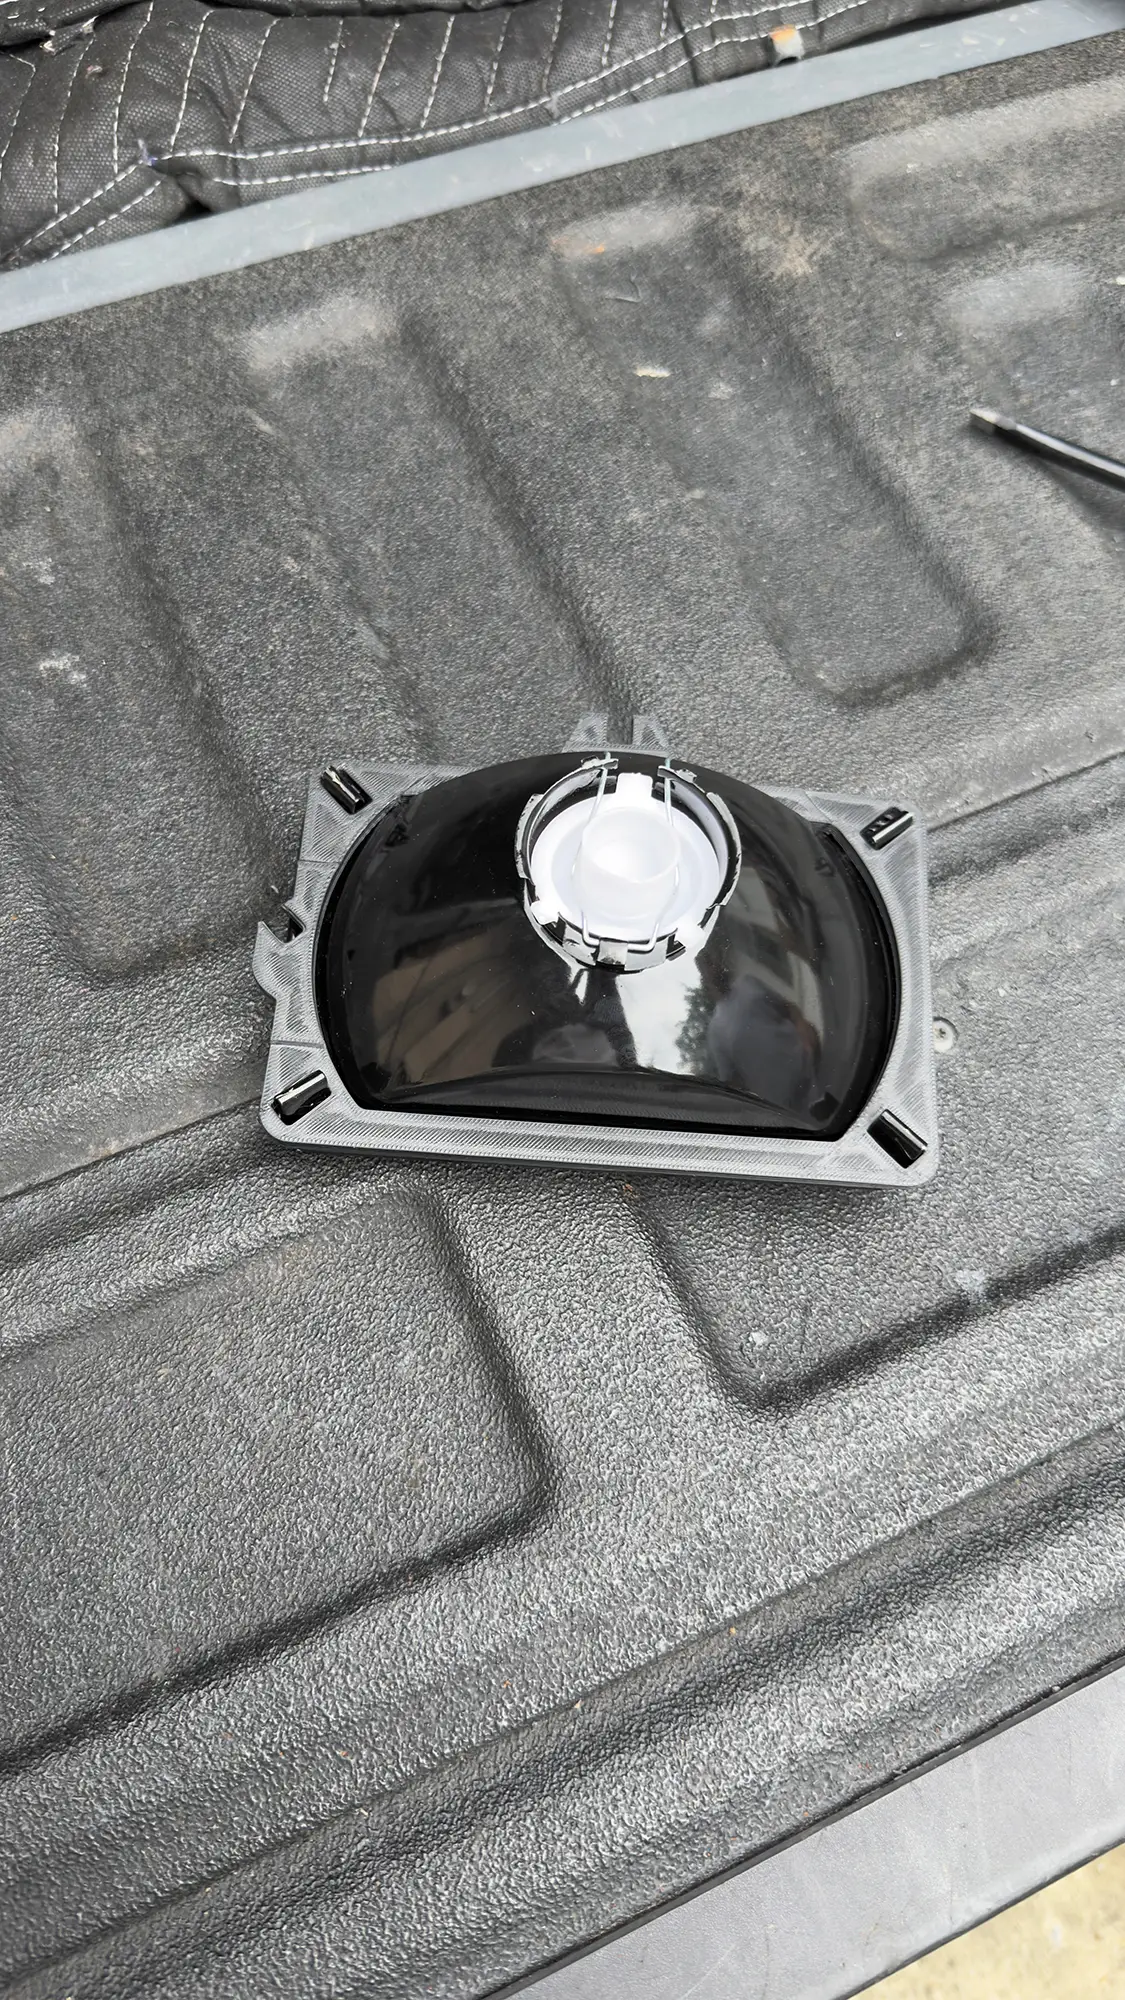
Cotter pins will be used to hold the adapter plate and the H4 lights together.
H4 Headlight Conversion
The placement of the pins is important, and only three cotter pins will be used per individual light. Pins are to be placed below, above, and to the side of the adapter plate tabs as pictured. The remaining tab is to remain open in this step.

Flare open the pins enough so that the rounded tops of the cotter pins are within the boundary of the adapter plate. Pins should not be visible from the front side of the light.
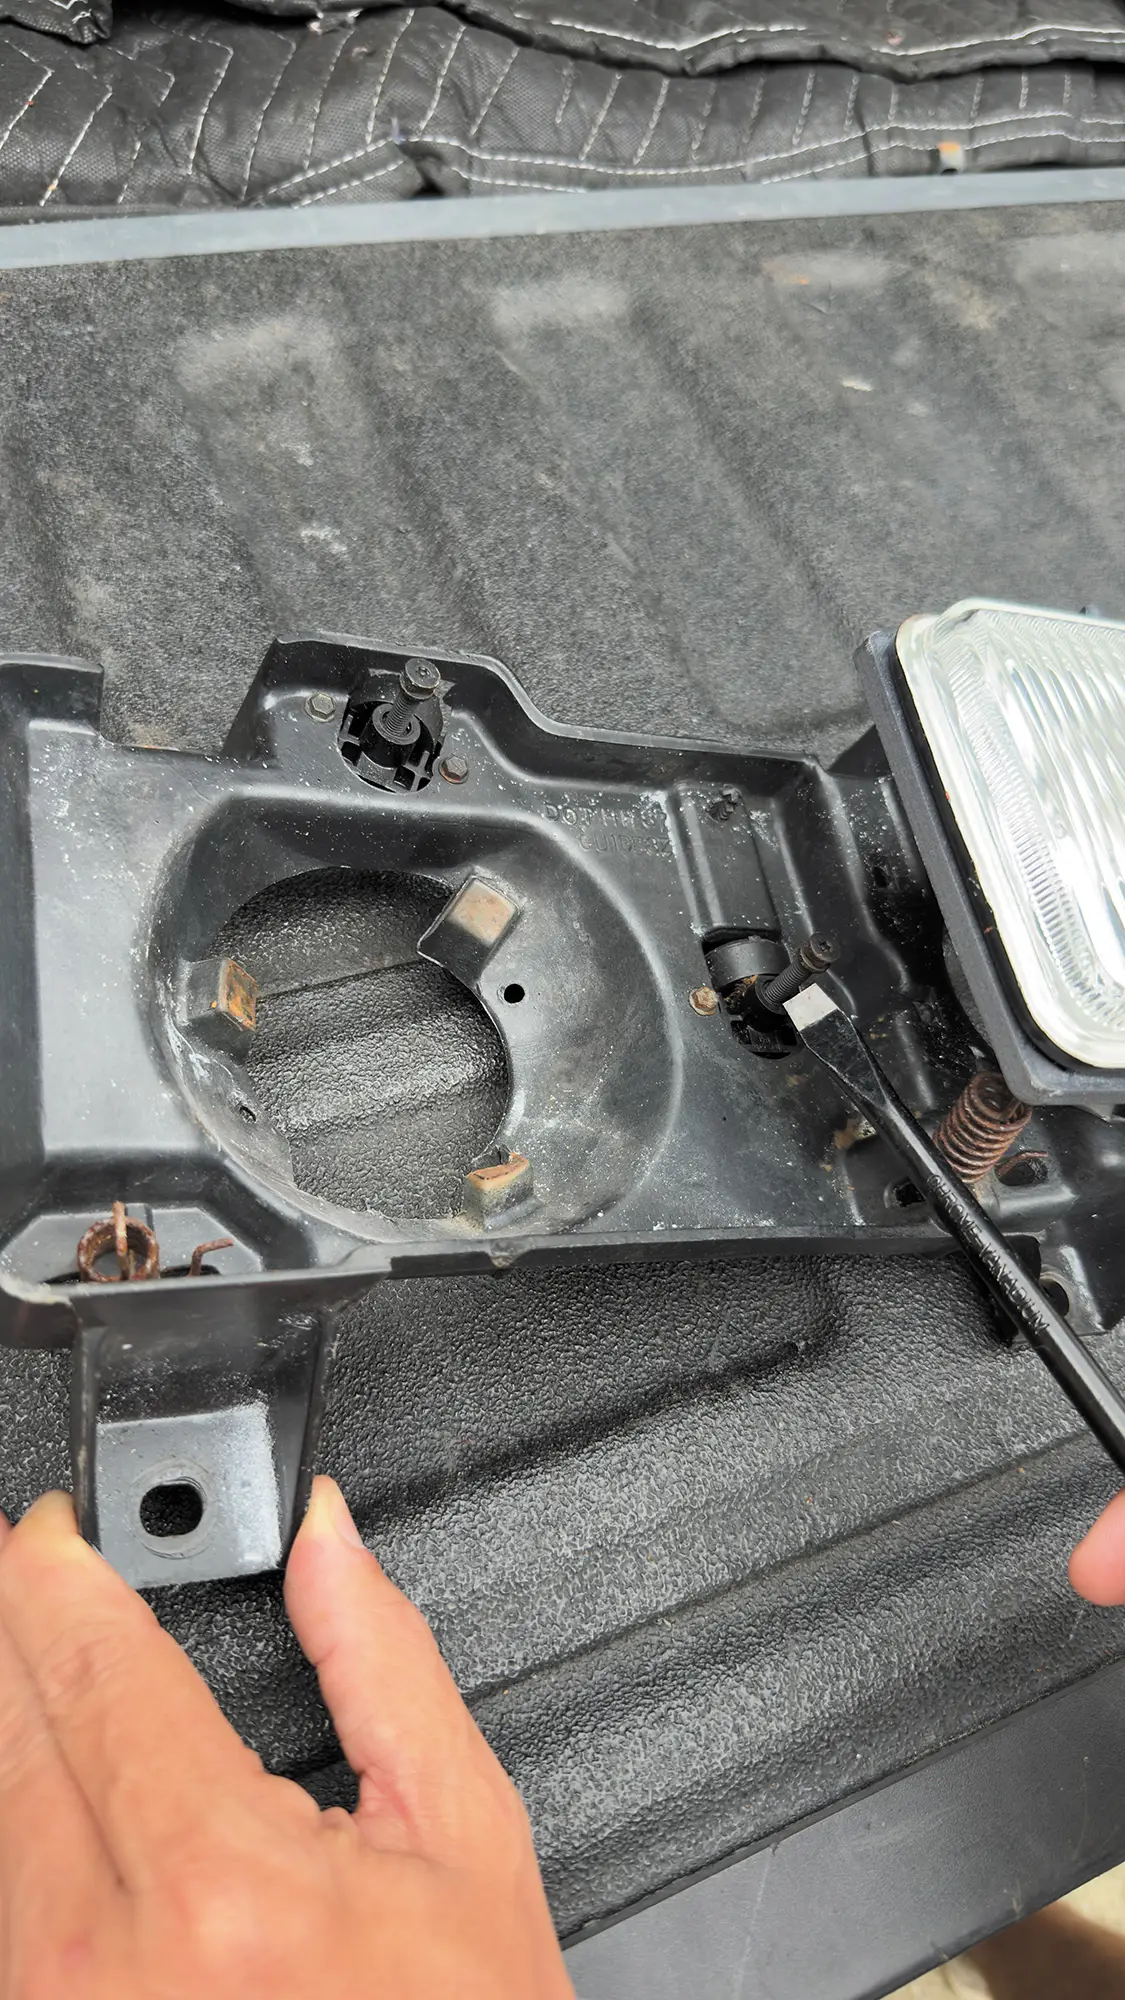
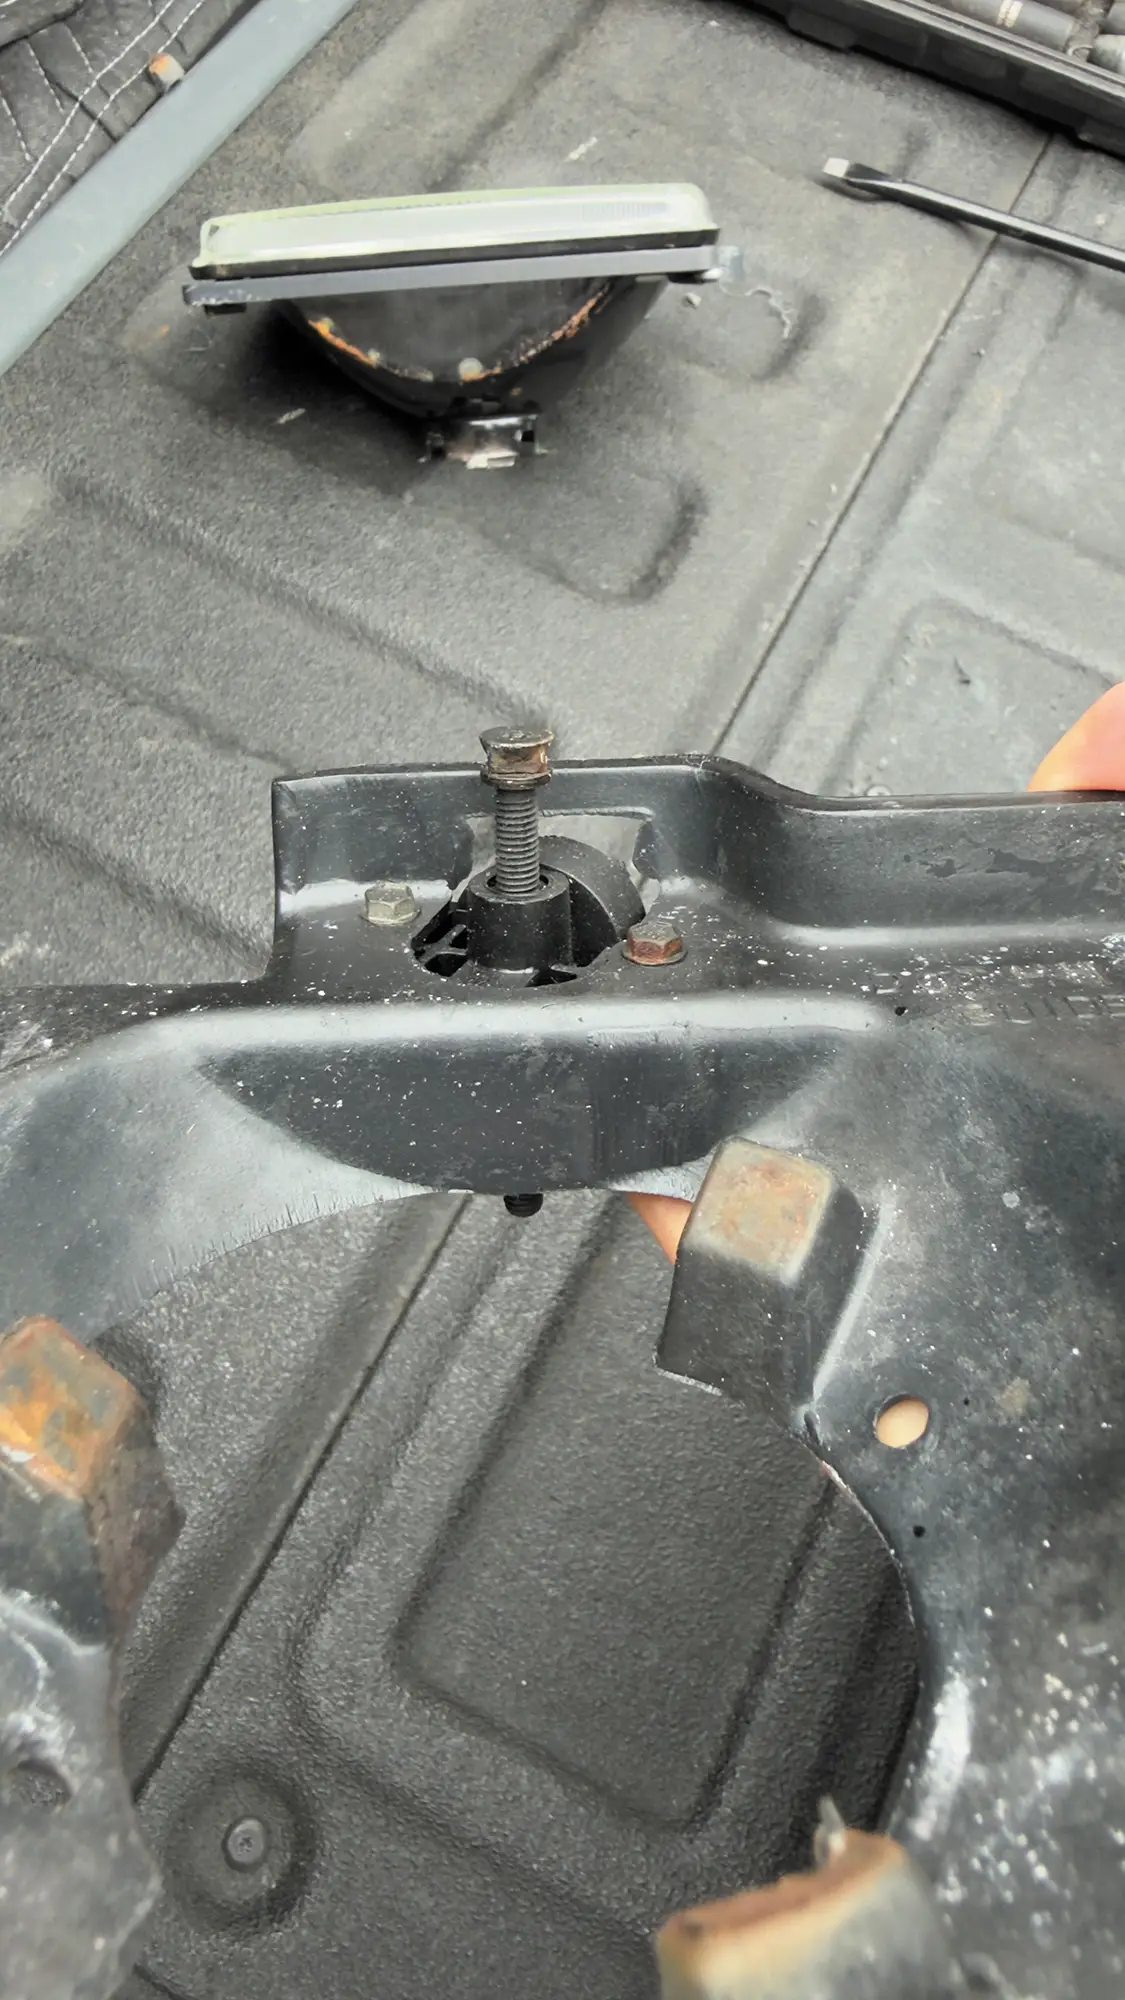
The adjustment screws in the headlight bracket will need to be retracted halfway from their original position.
Each adjustment screw will have a square shank towards the top of the screw. This is where the adapter plate will connect.

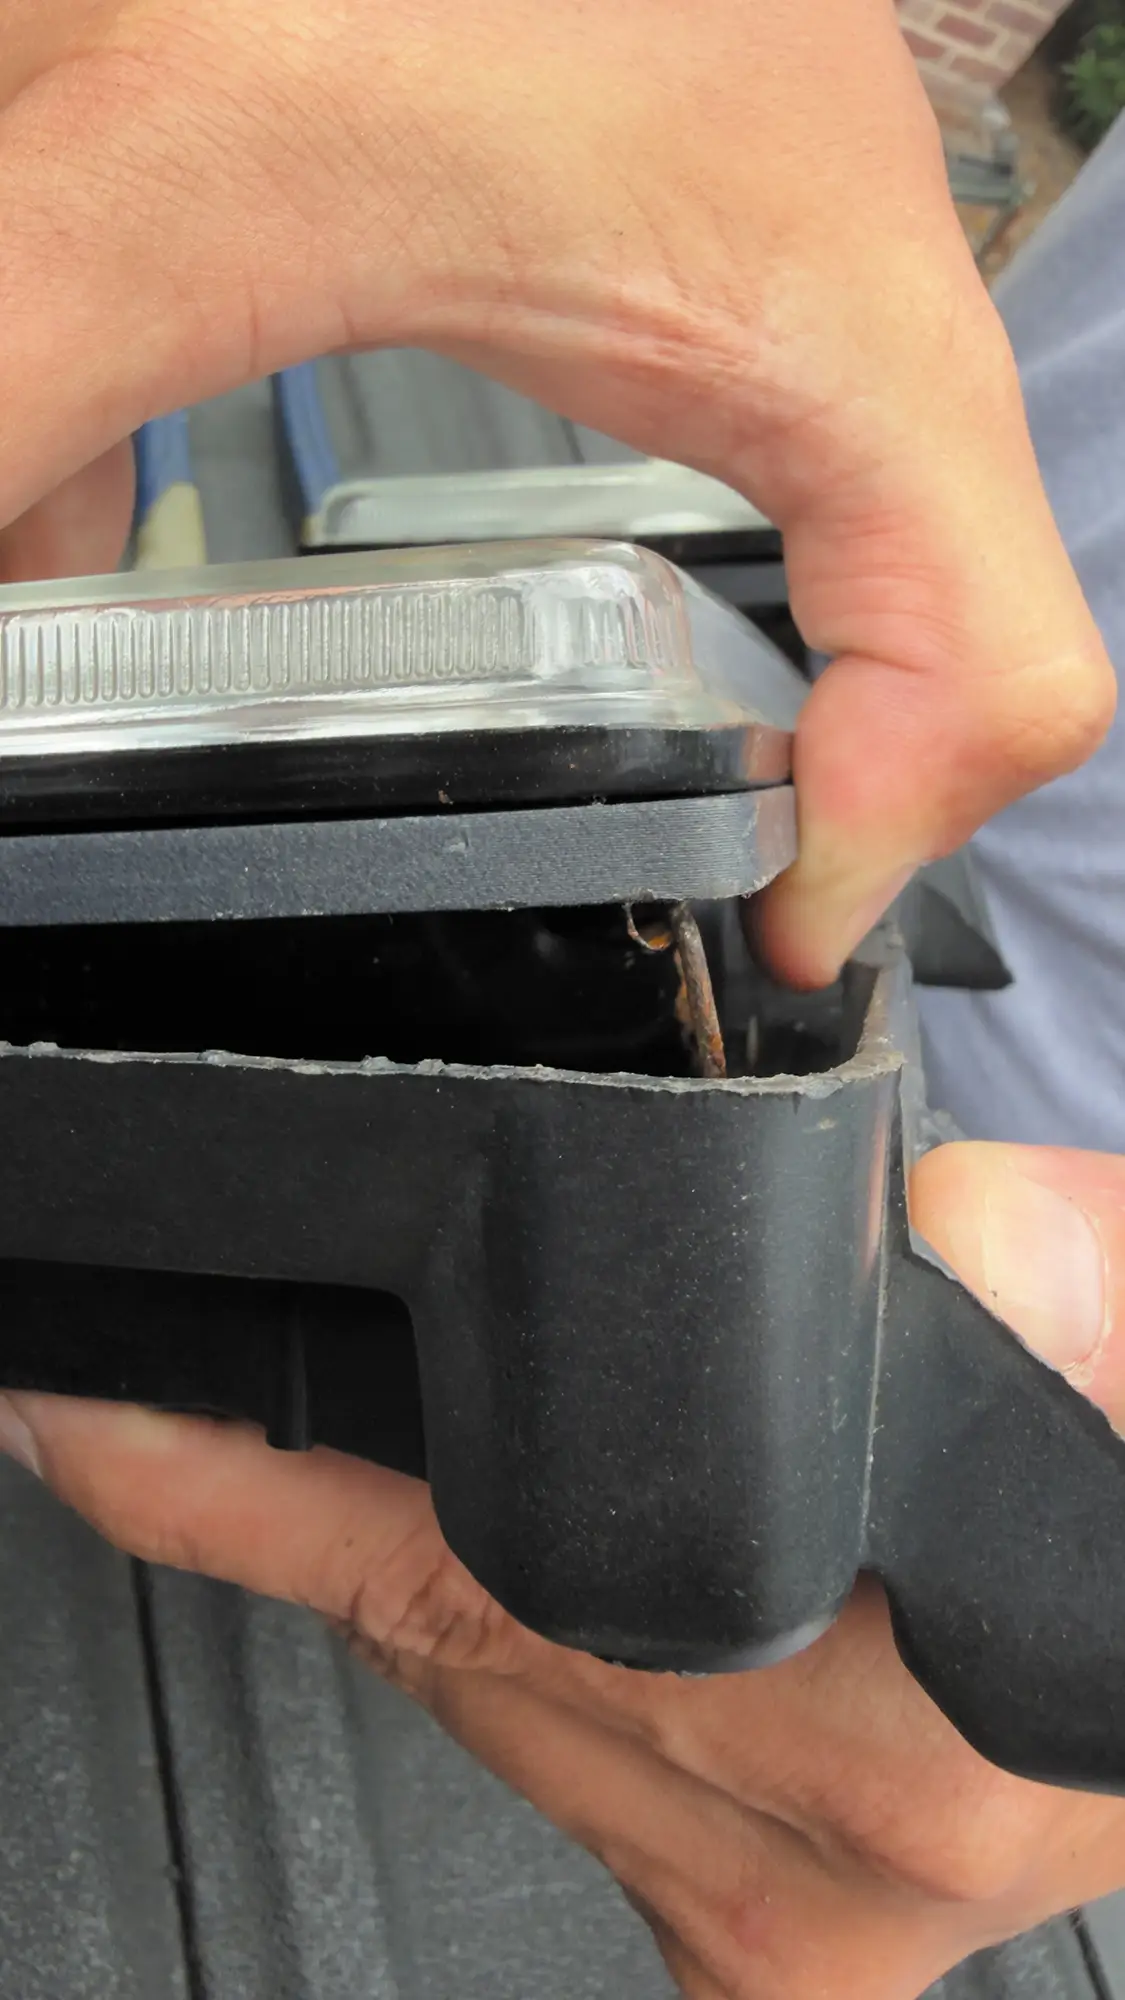
The top of the adapter plate will be attached first. The square opening of the adapter plate will fit the square shank of the adjustment screw. This will be a tight fit, and care must be taken to properly align the square opening and the square shank before installation.

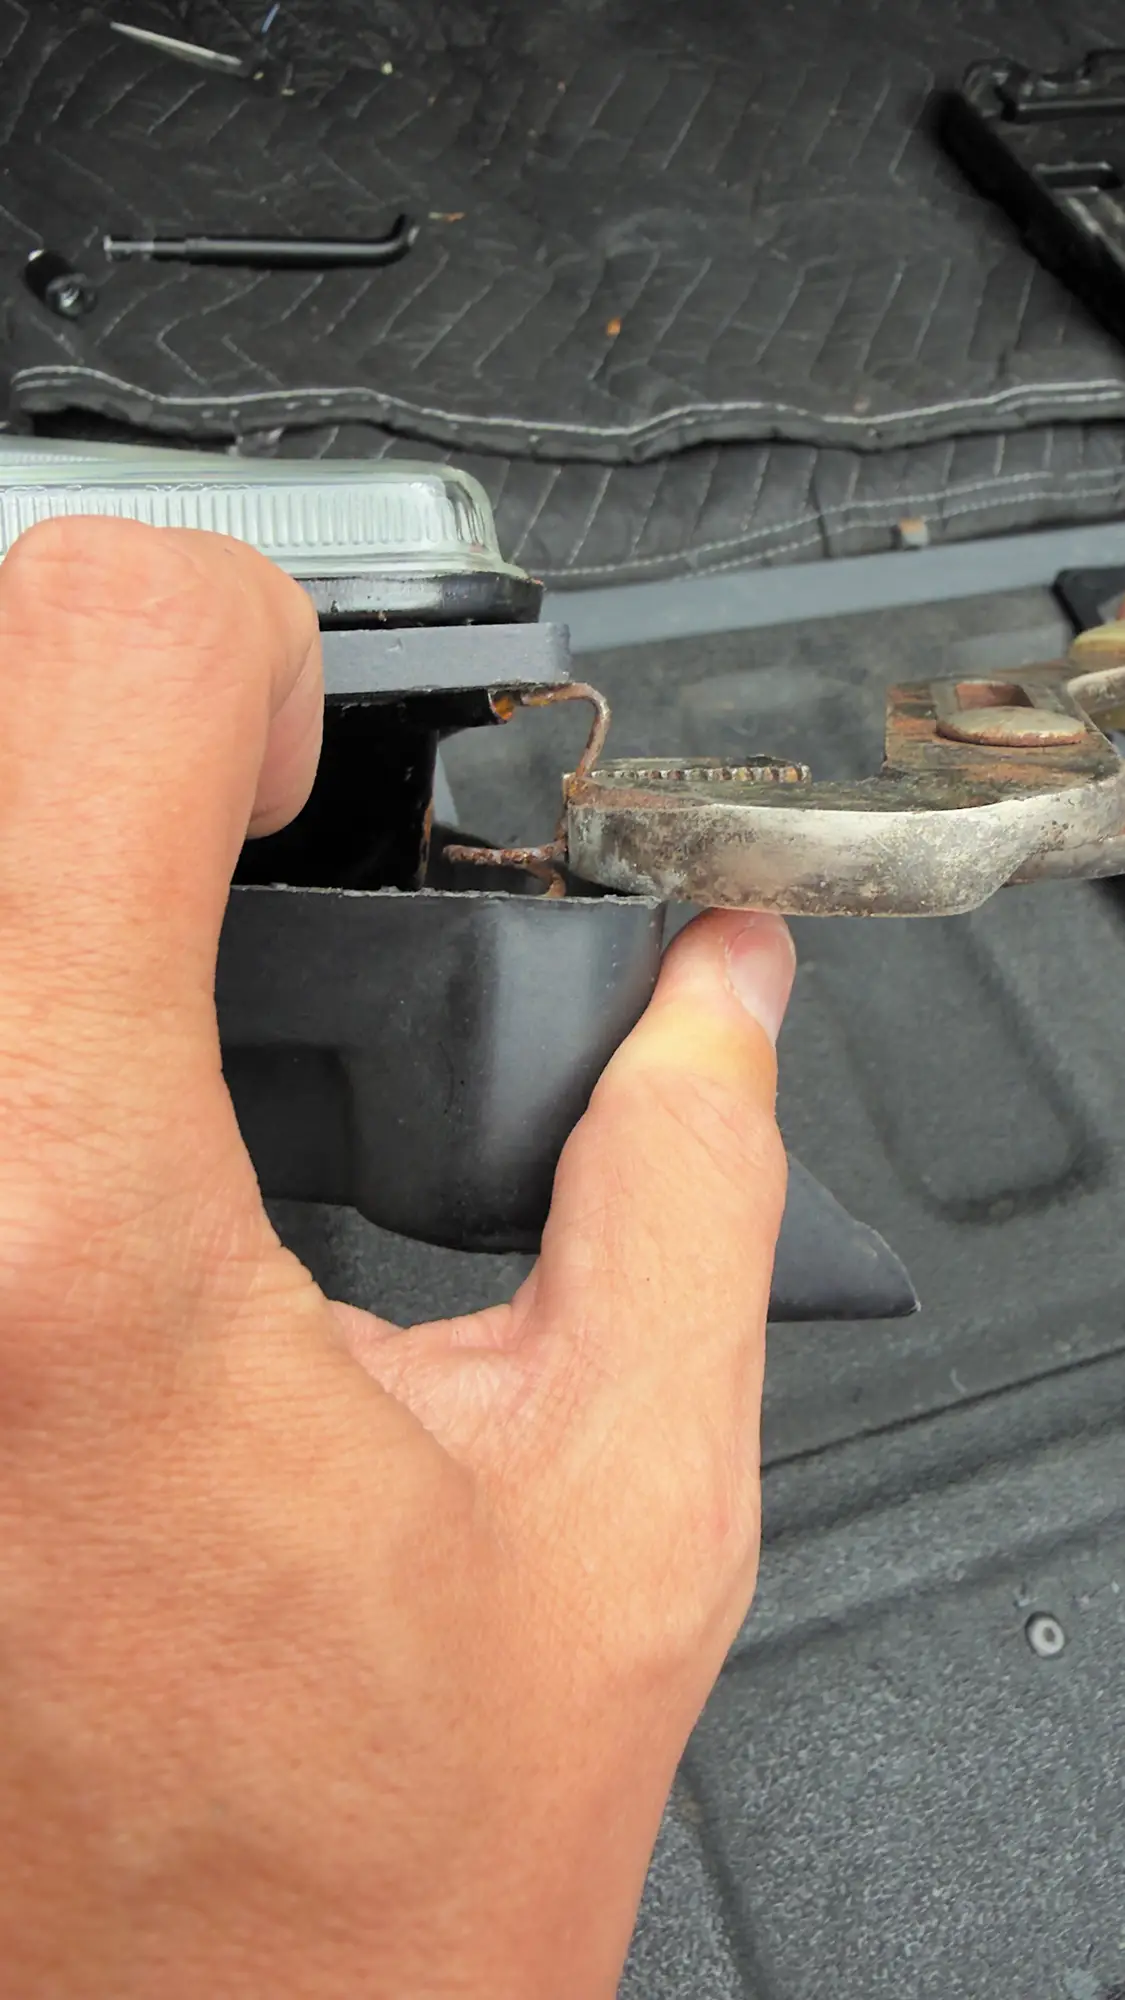
The side of the adapter plate will be connected second. This area is tight, and channel lock pliers are recommended to help the installation.

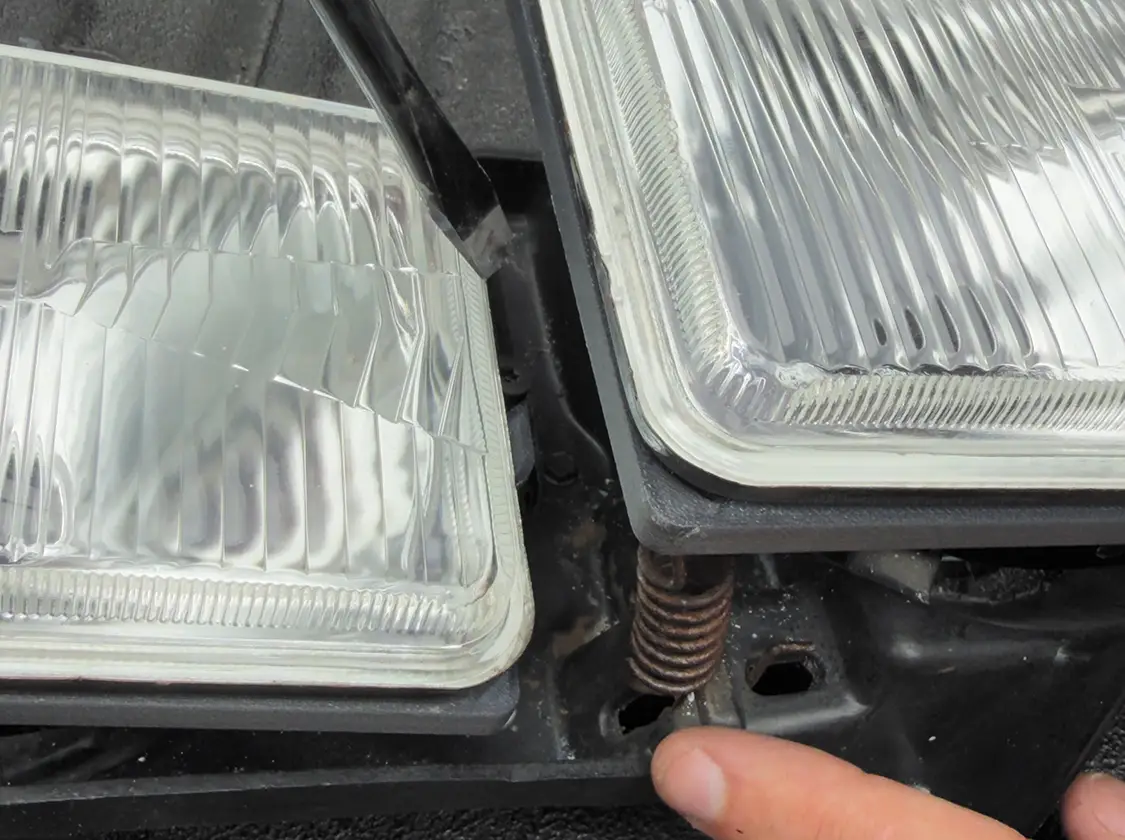
The tension spring can now be reattached to the light using the last open tab on the back of the H4 light. This will now fully secure the adapter plate to the H4 light and the light assembly to the headlight bracket.
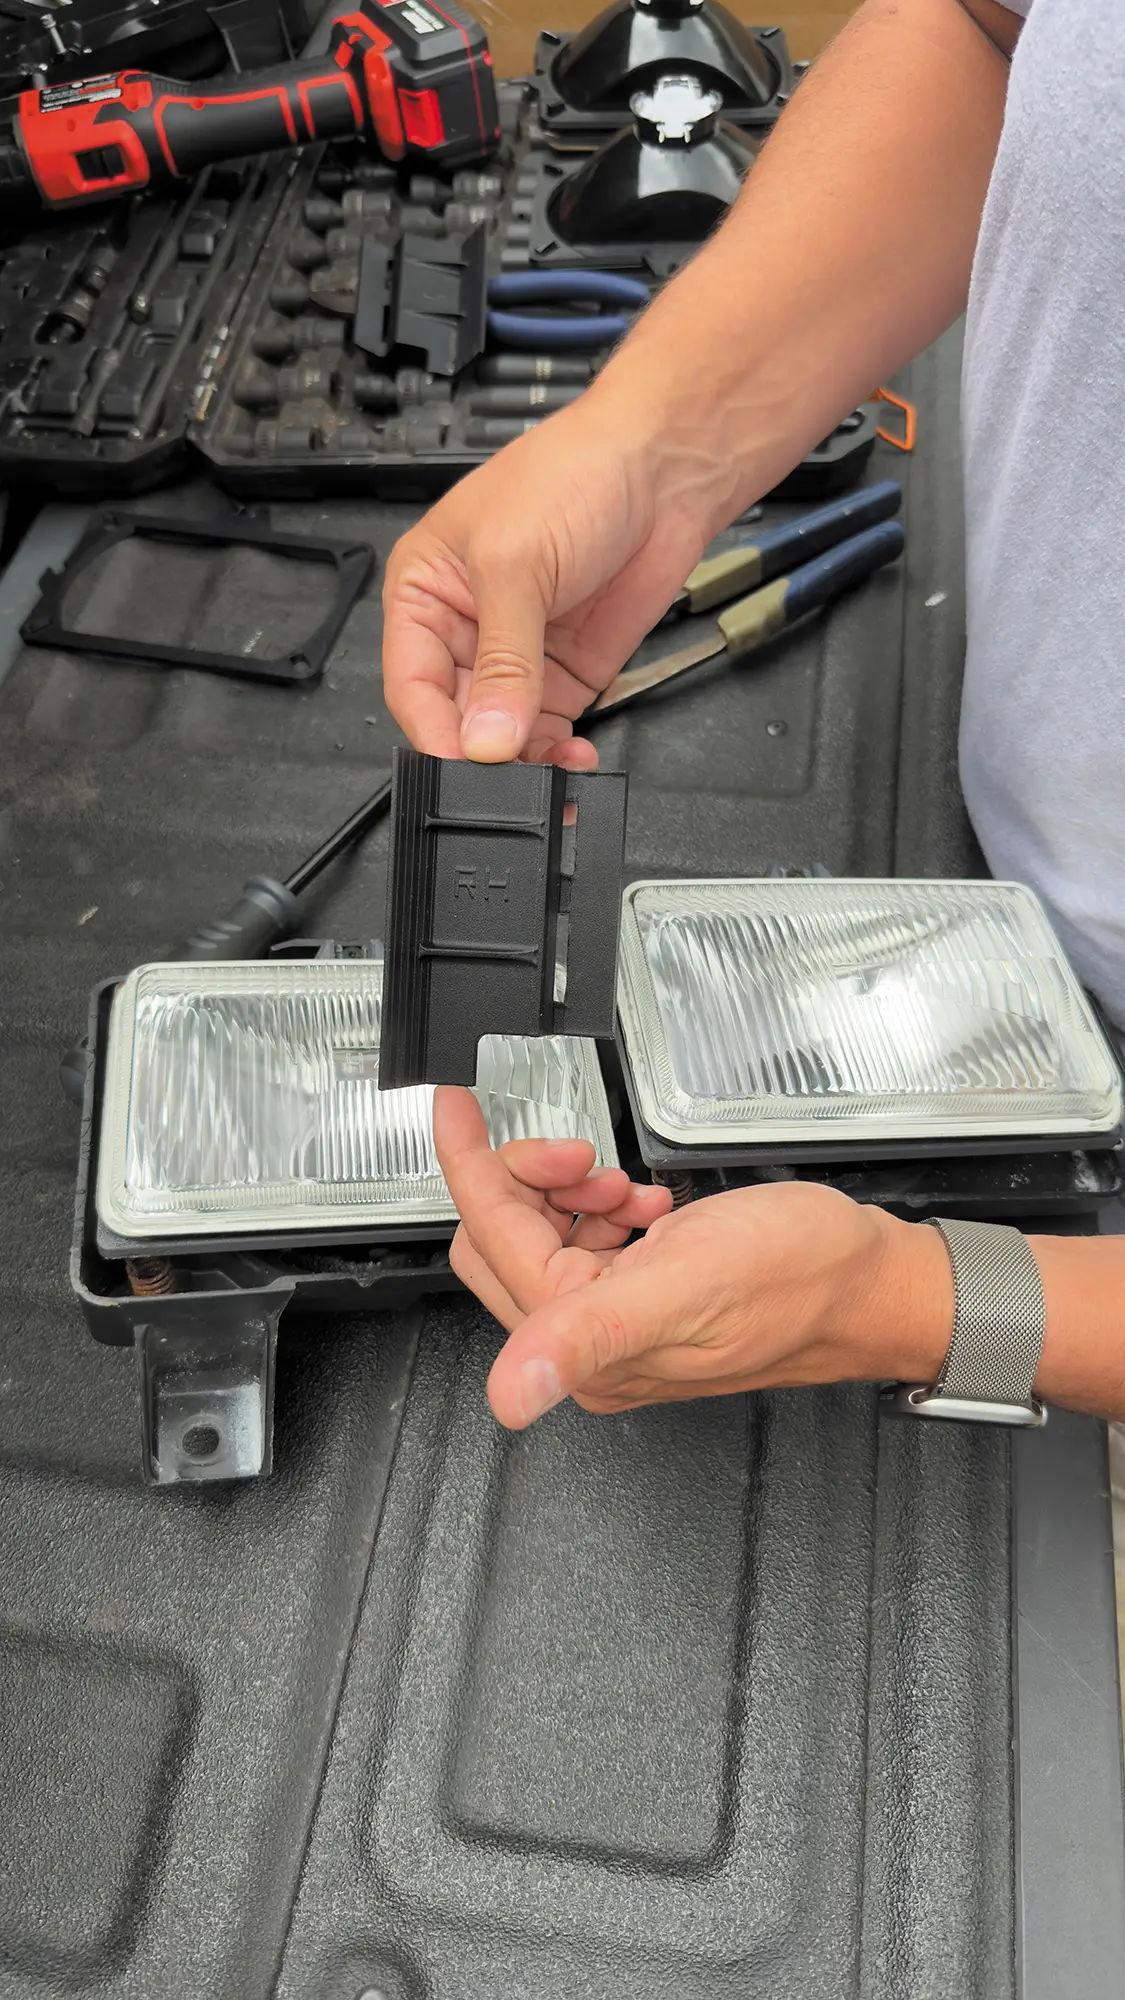
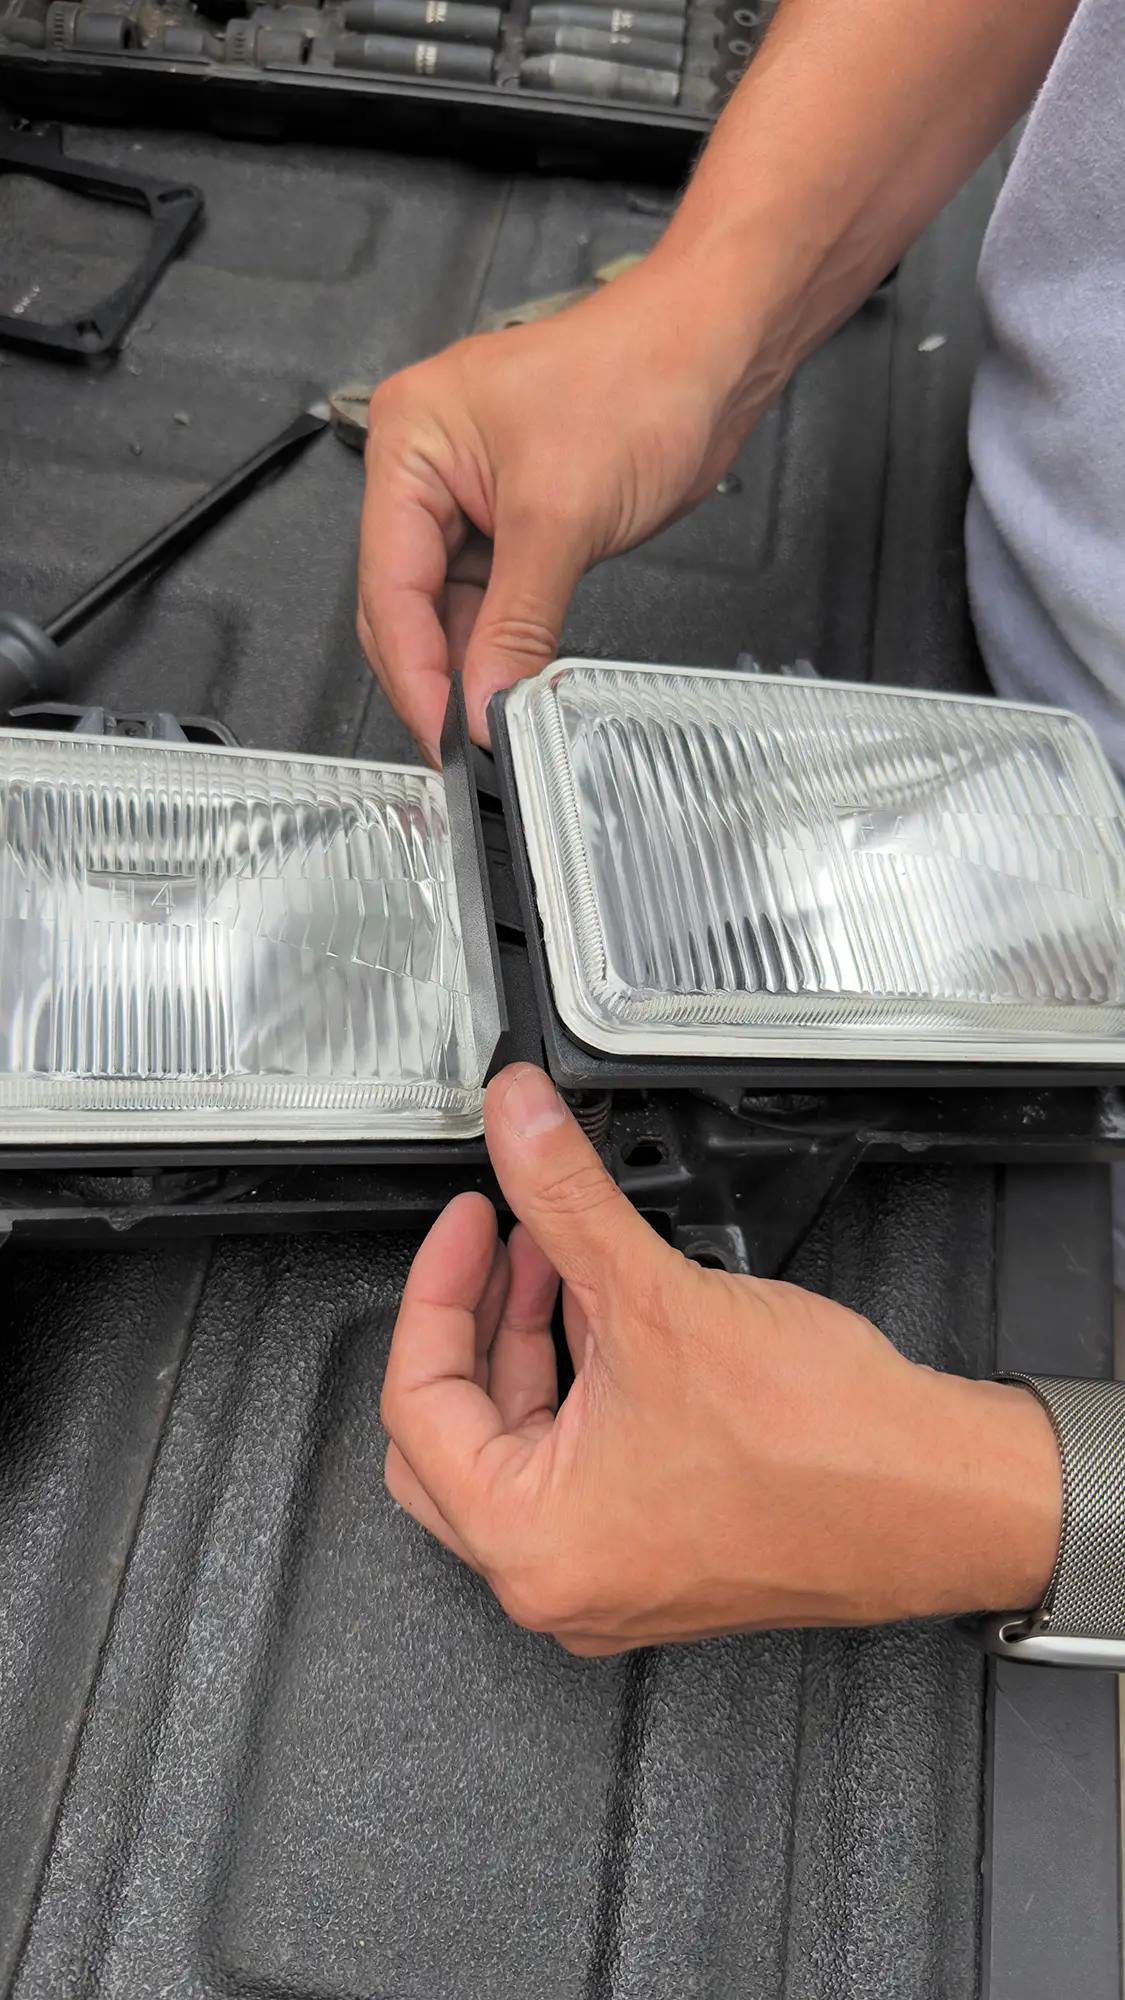
The dividers are marked RH (passenger side) and LH (driver side). Use the correct divider for the side being worked on.
Insert the divider between the upper and lower lights.
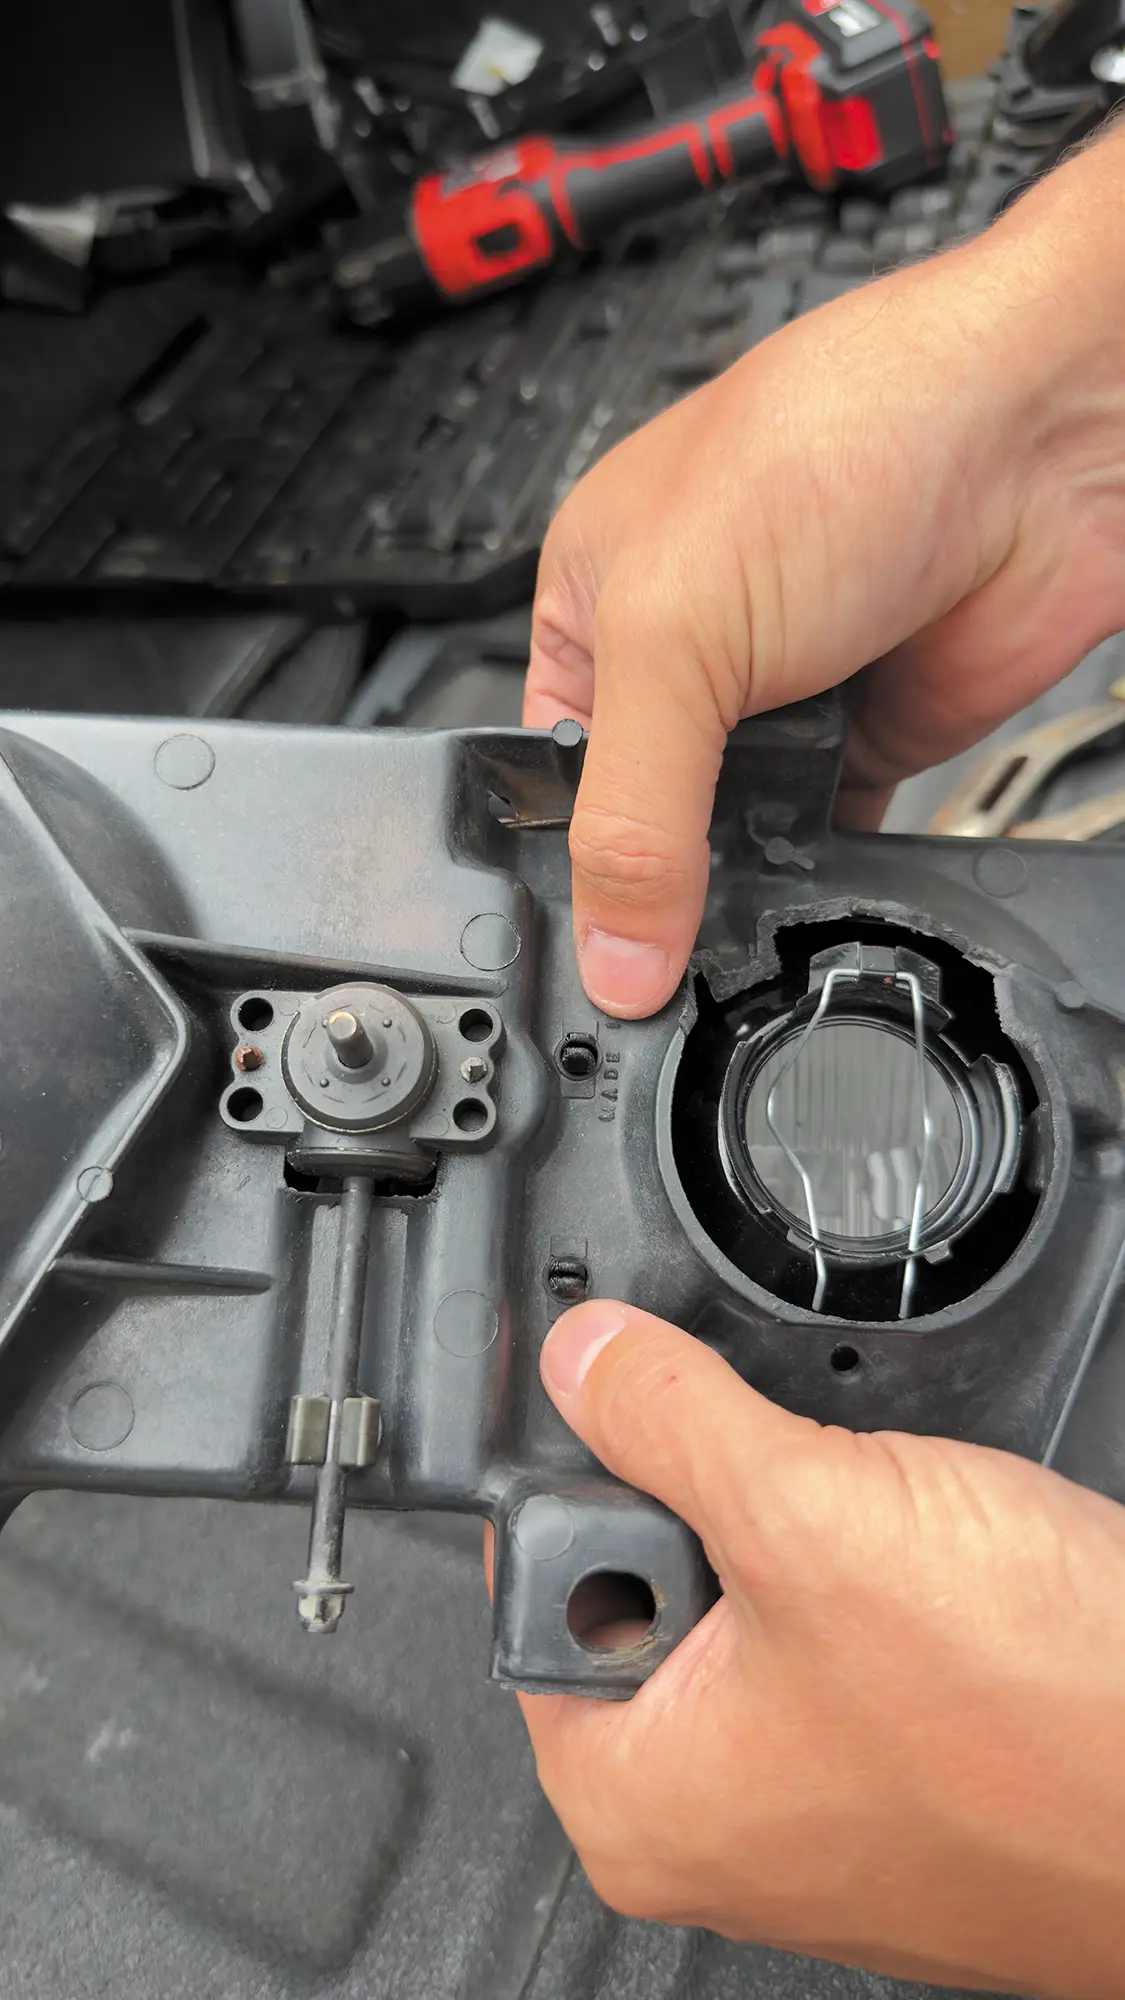
Make sure the tabs go through and lock into the circular openings in the headlight bracket.
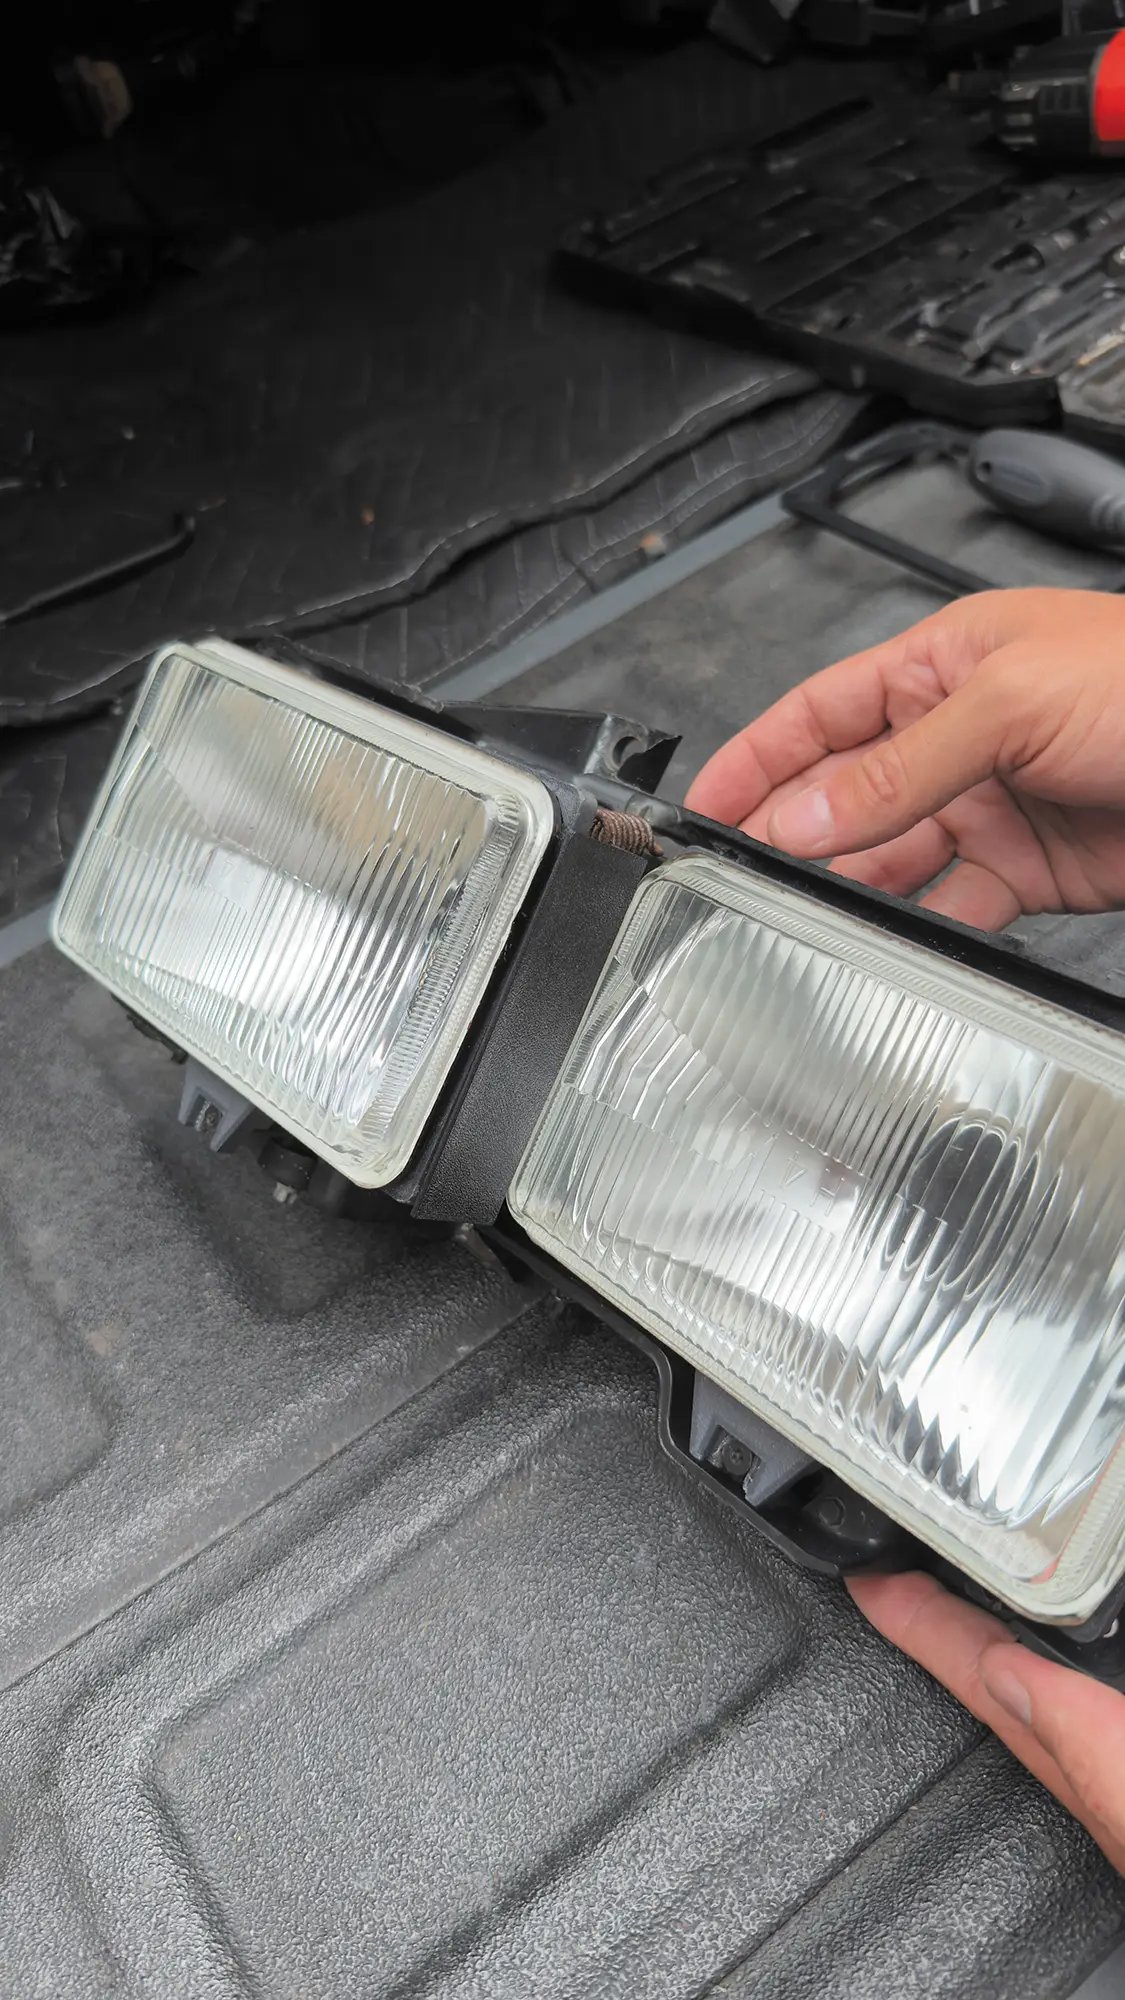
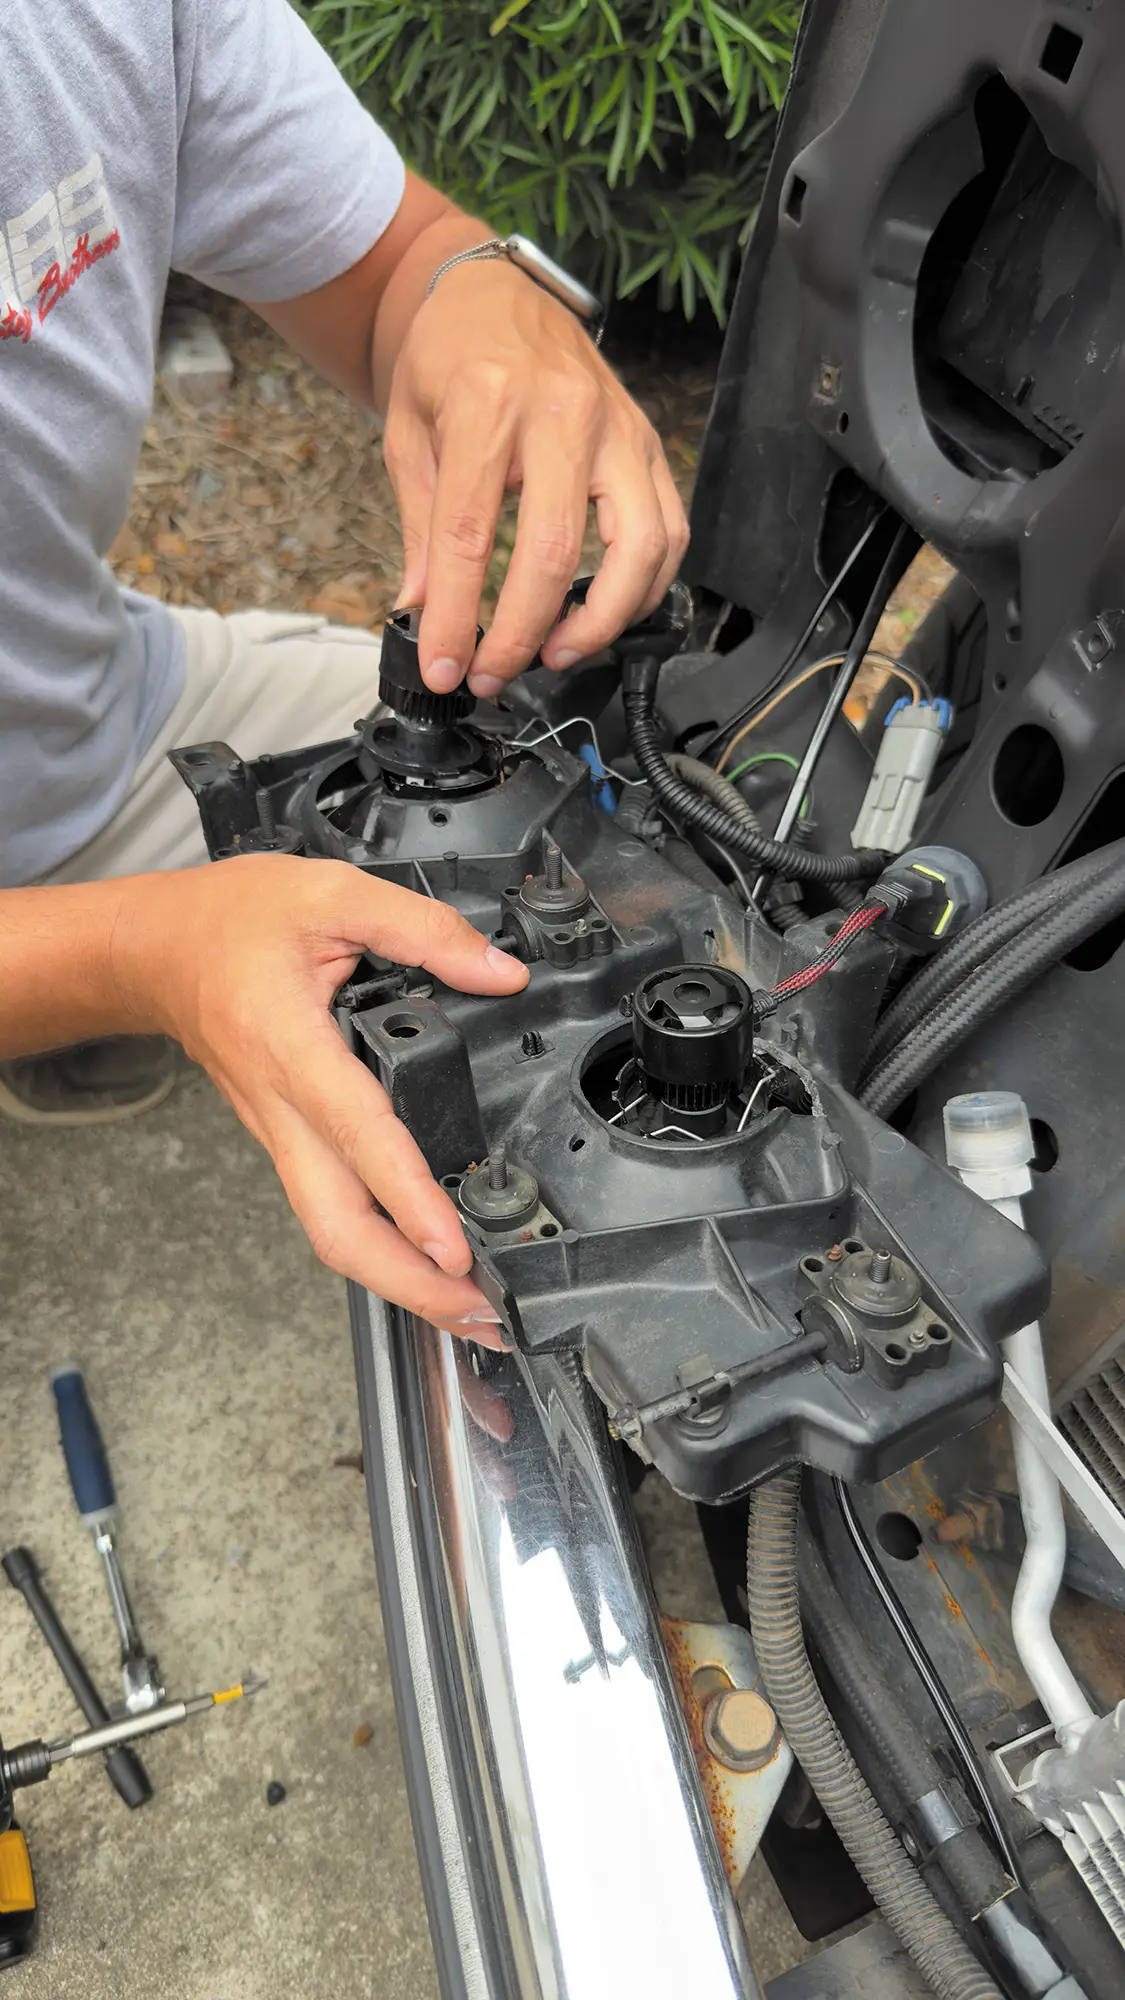
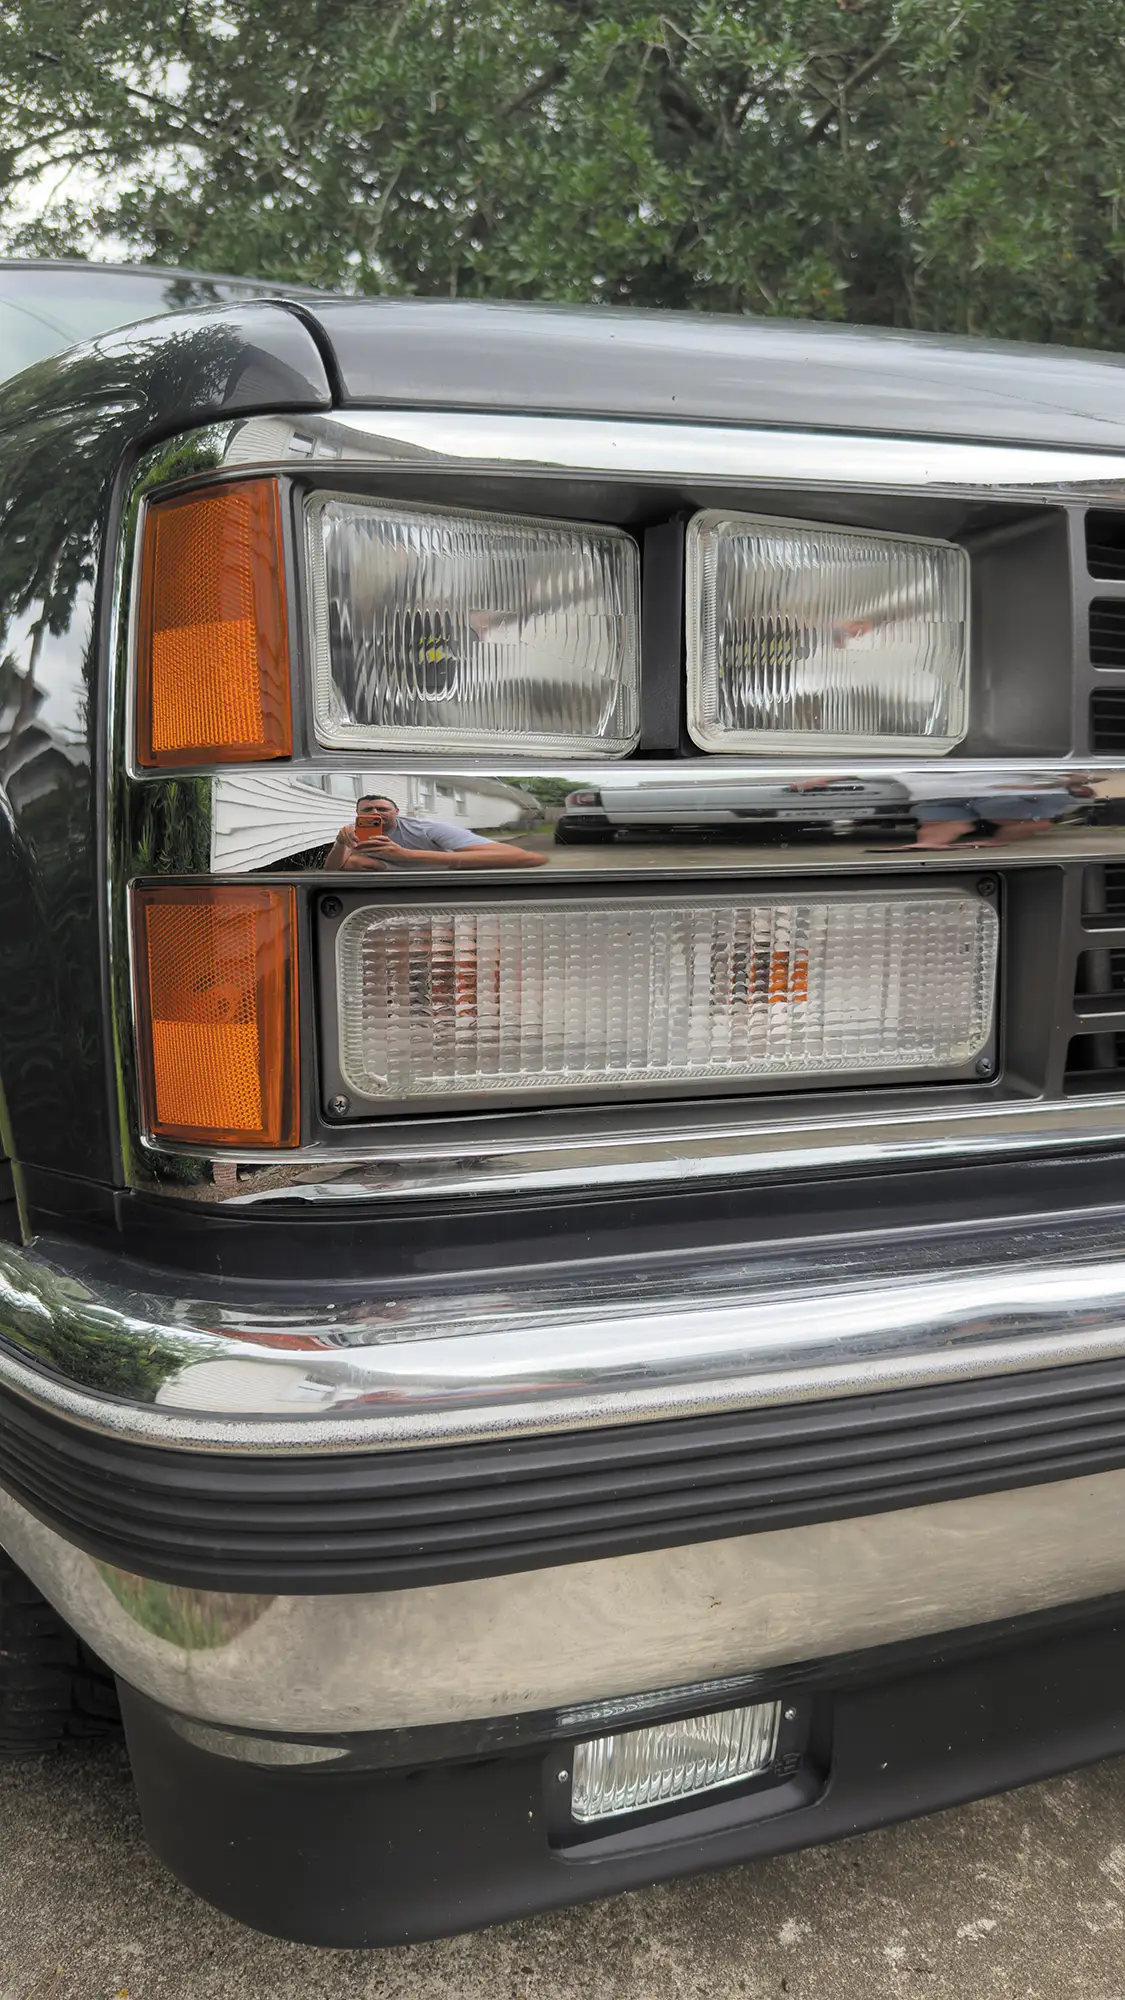
The new H4 headlight assembly is now complete.
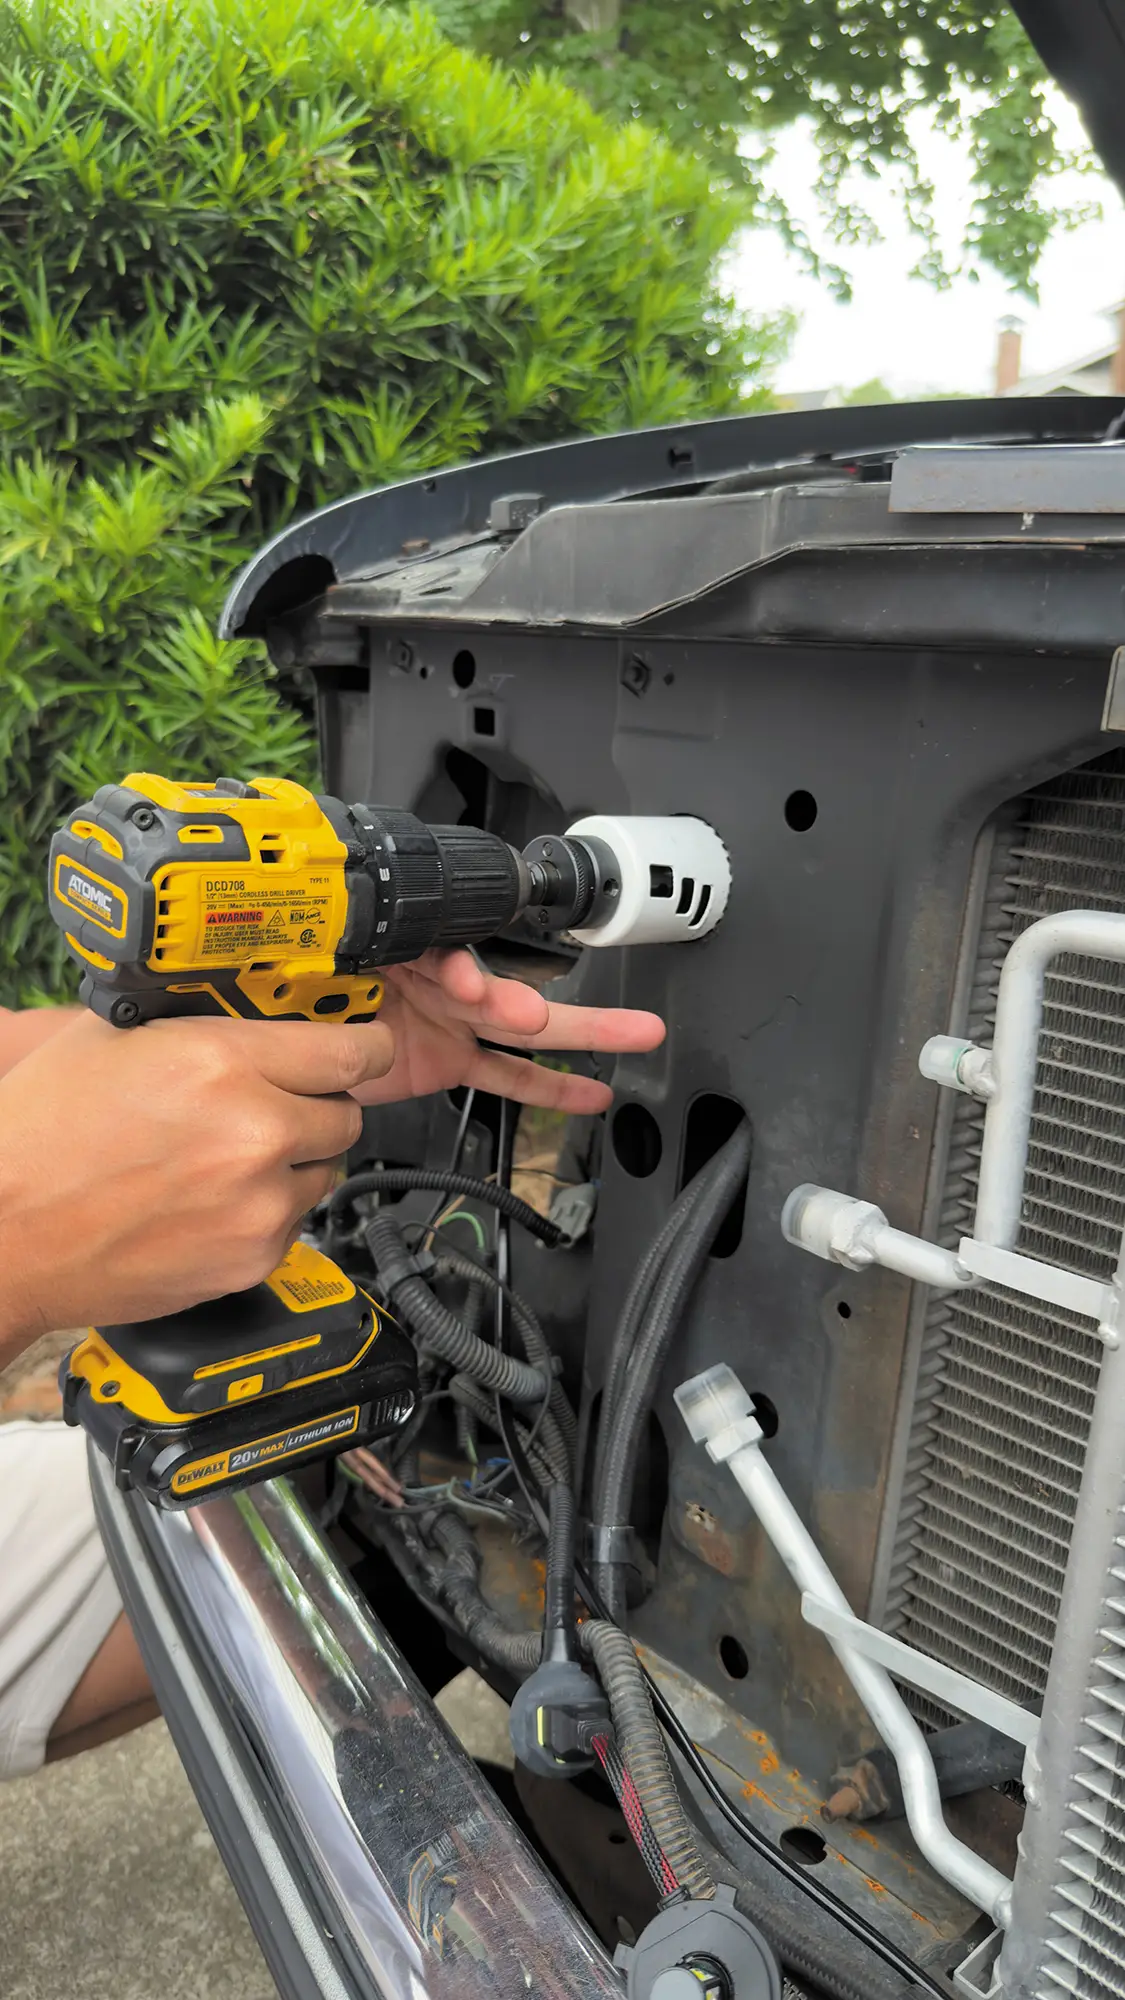
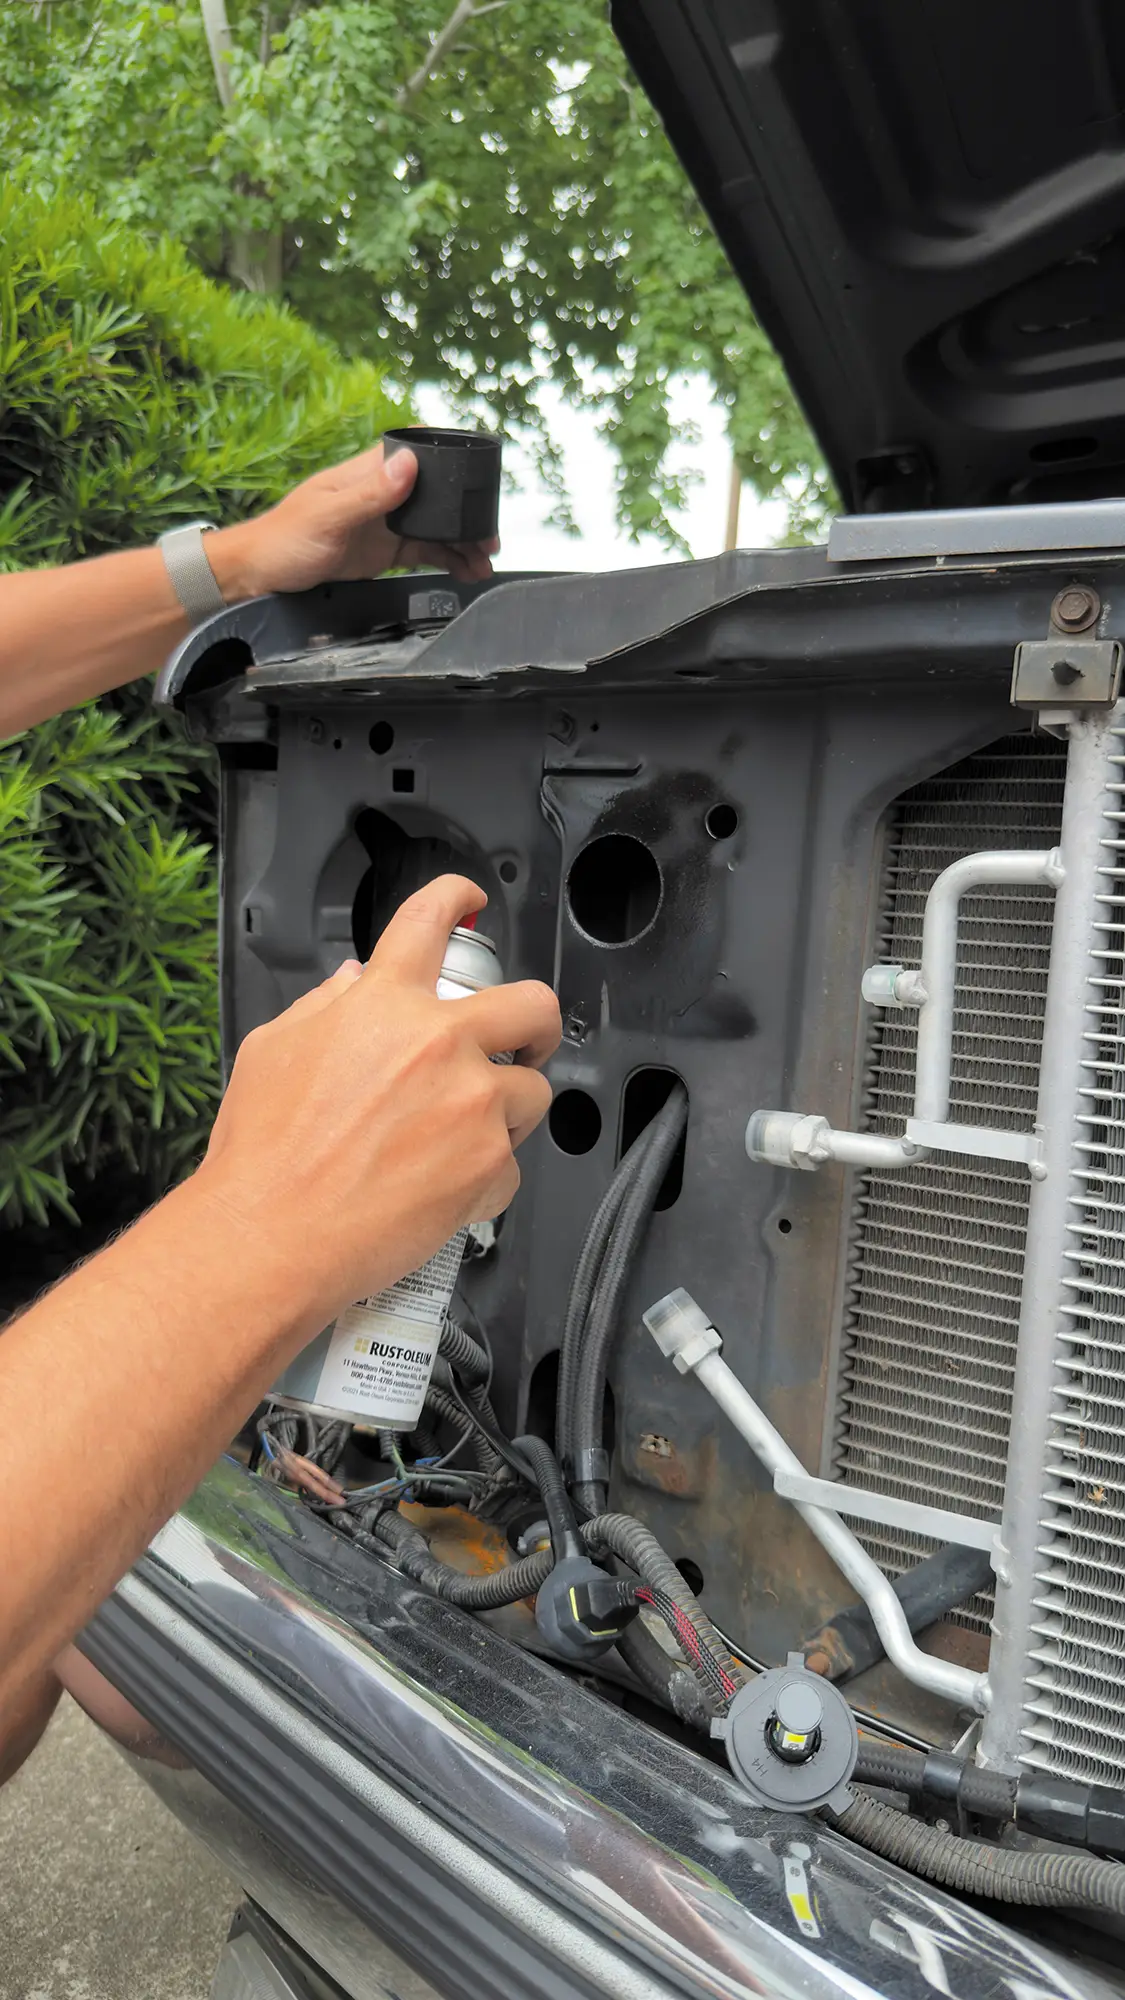
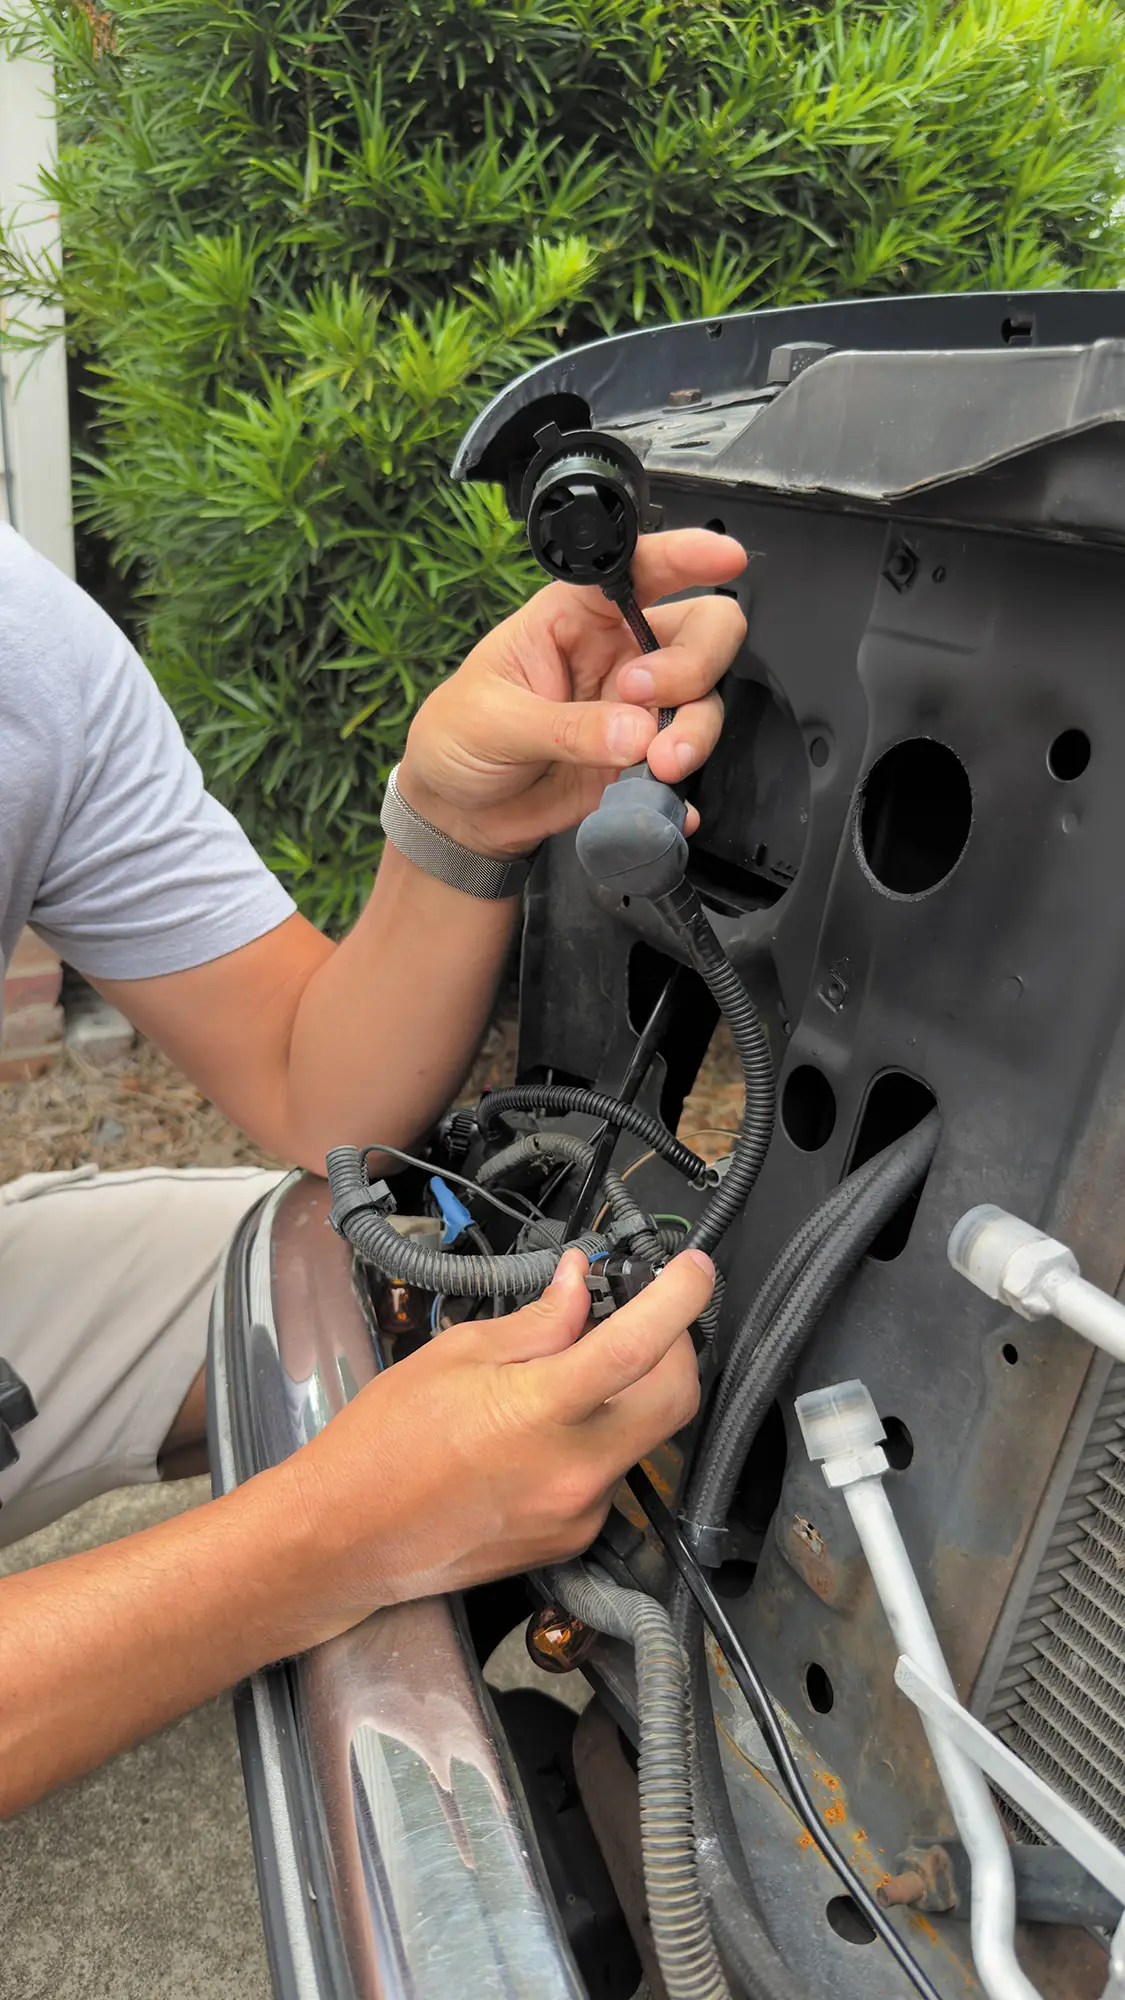
If running LED bulbs, the 2-inch factory circular depression in the core support behind the high beam (inner light) will need to be cut out. Use a 2-inch circular hole saw to make the cut.
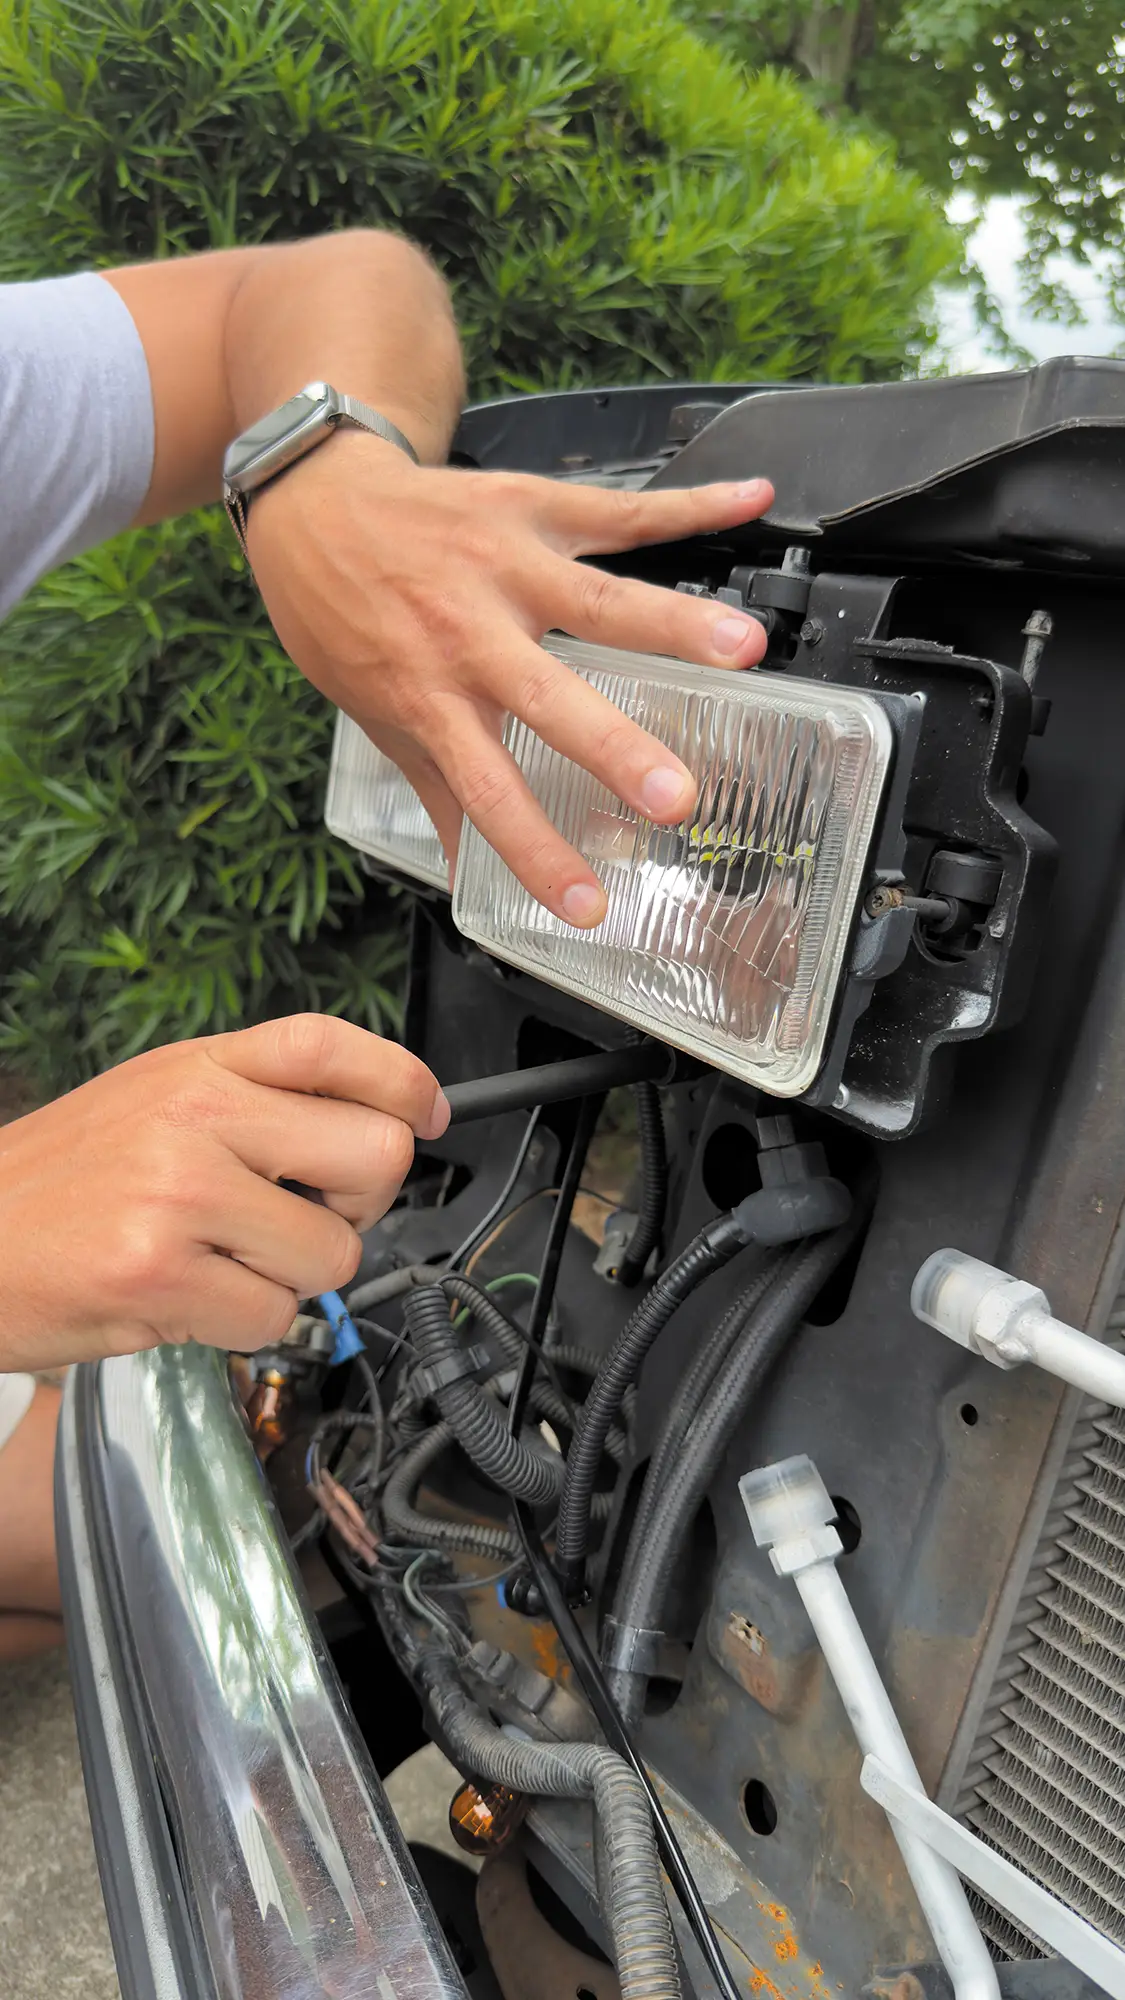
Reattach the headlight assembly to the truck using the screws.
Reinstall the marker lights and grille to complete the project.


X
We value your privacy

We use cookies to enhance your browsing experience, serve personalized ads or content, and analyze our traffic. By clicking "Accept All", you consent to our use of cookies. Visit our Cookie Policy for more info.