AZ Pro Performance Front and Rear Disc Brakes for GMT400 Trucks
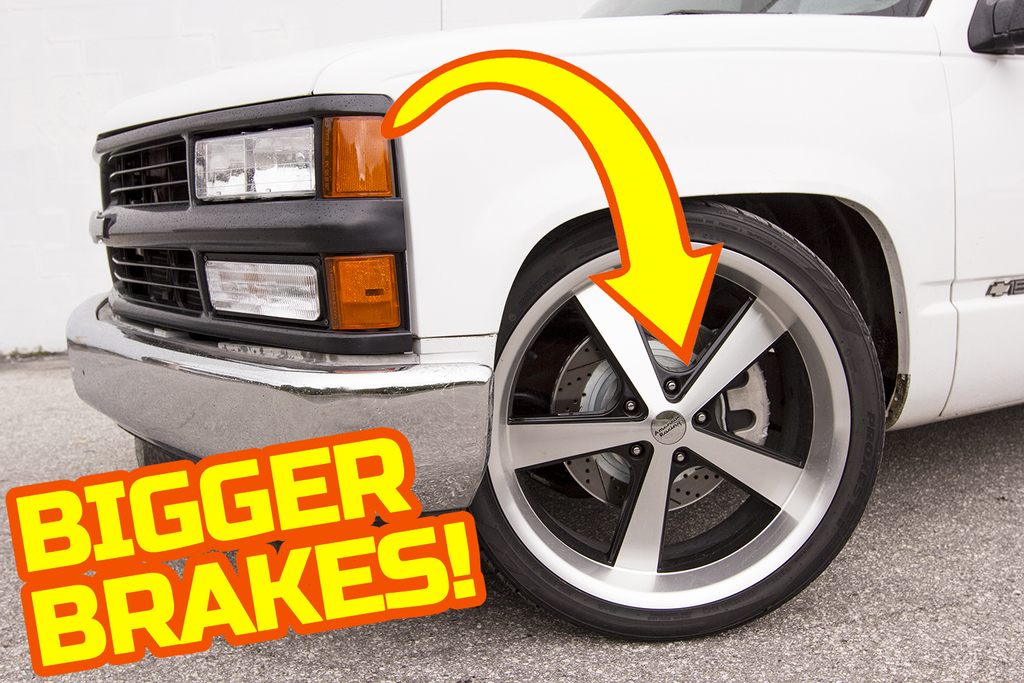
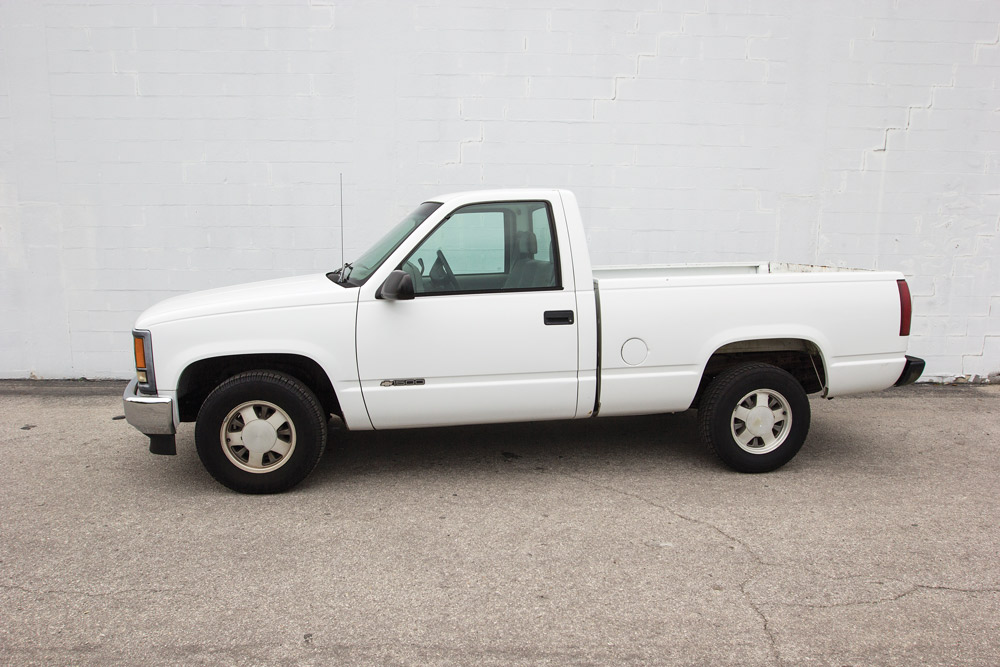
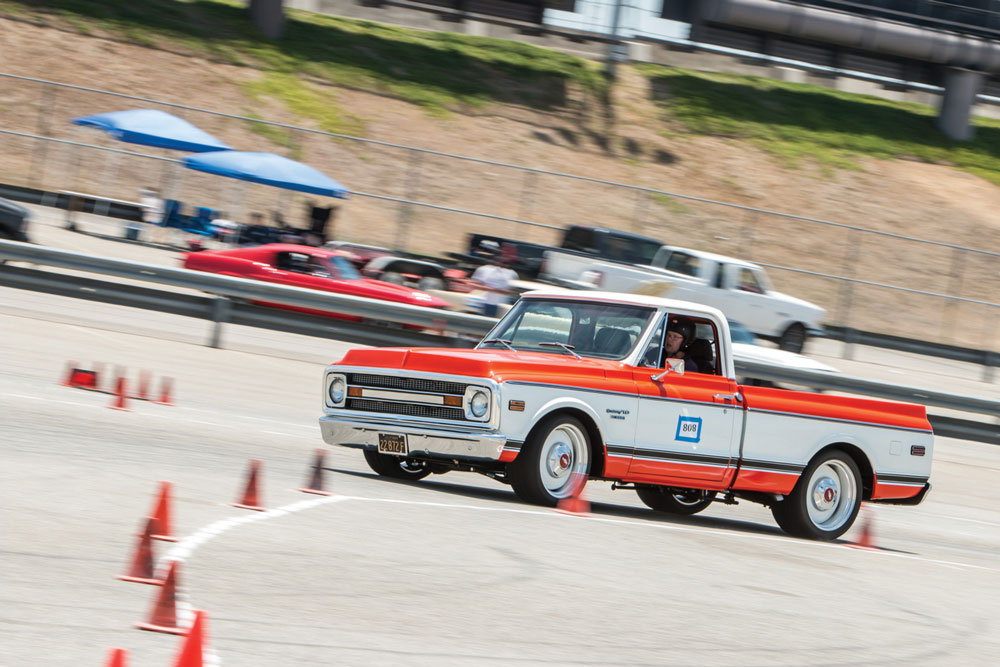
Let’s face it: These trucks have a perfect wheelbase, amazing body styling and, when they were new in the ’90s, a reliable and strong factory drivetrain. Unfortunately, today’s standard of technological improvements and engineering advancements have outclassed the GMT400 platform. But thanks to abundant aftermarket options now available and all the newly manufactured metal parts, these old workhorses can be easily upgraded into corner-carving tire shredders. Big engines, coilover suspensions and even fuel systems can be swapped out for modern-day replacements, but the one thing people constantly ignore is the braking system on these old trucks. If you add more power, bigger wheels and more weight, you must replace the factory stopping stuff. It’s easier and cheaper than you think—we promise!
Major reasons most truck modifiers don’t upgrade the brakes are the cost and the lack of impression. Most think the brakes are only a functional upgrade, but one of the things we hear most when people see project Stella is how sweet the brakes look behind the wheels. “A rear disc brake conversion?” Yes! And we highly recommend it on your truck, especially if you’re going to be driving it as hard as we do. Thanks to AZ Pro Performance, you can now have the best of both worlds: affordable disc brakes and highly regarded aesthetic upgrades, all in one kit!
For this project, we turned to our good friend Josh Freeman of Freeman Fabrication. He is currently in the process of building a corner-carving GMT400 and we are keeping an eye on his every move. Josh has already built a cover-worthy Chevy C10 that was second to none, so we are extremely excited to see where this project goes. Check him out online and follow along with his build, and until the next project starts, let’s follow along with his brake conversion!
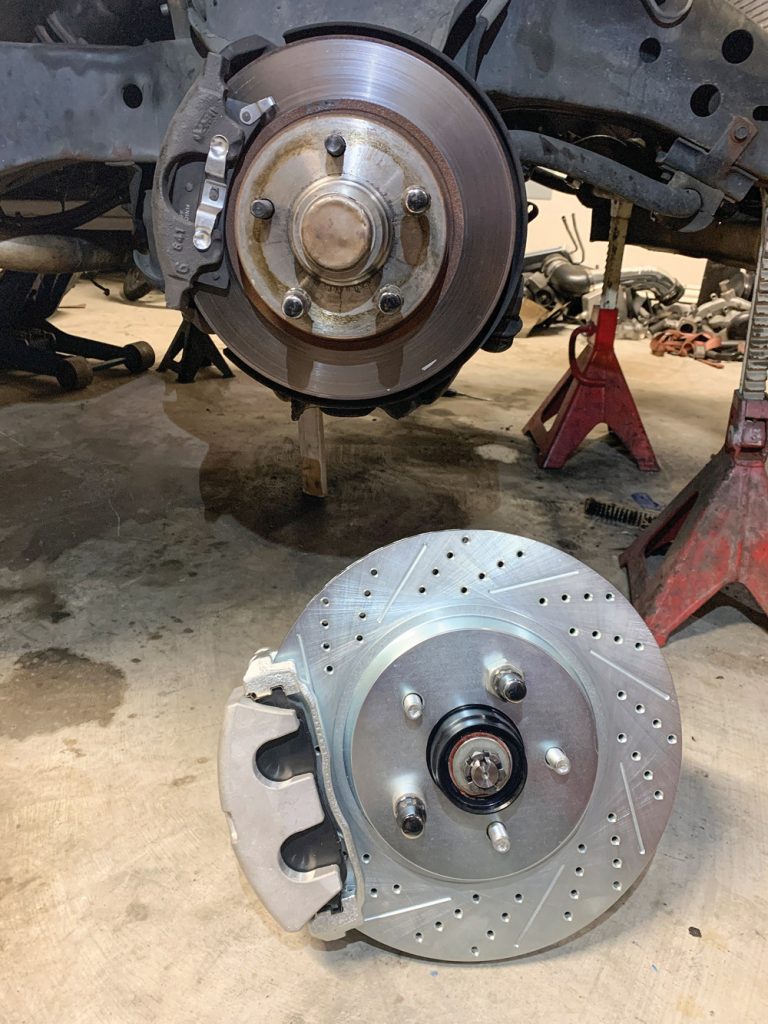
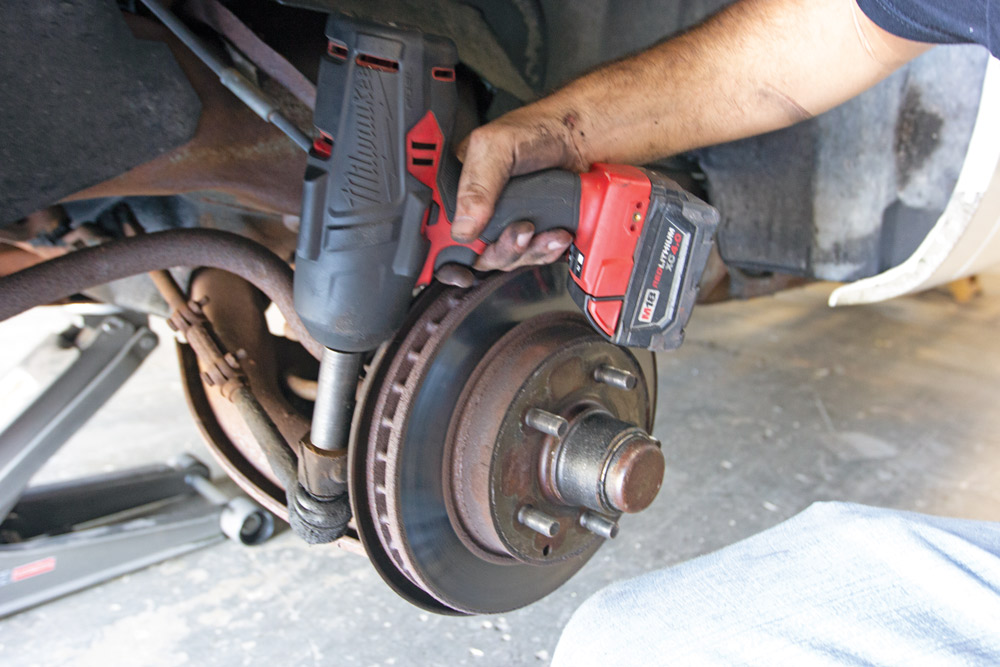
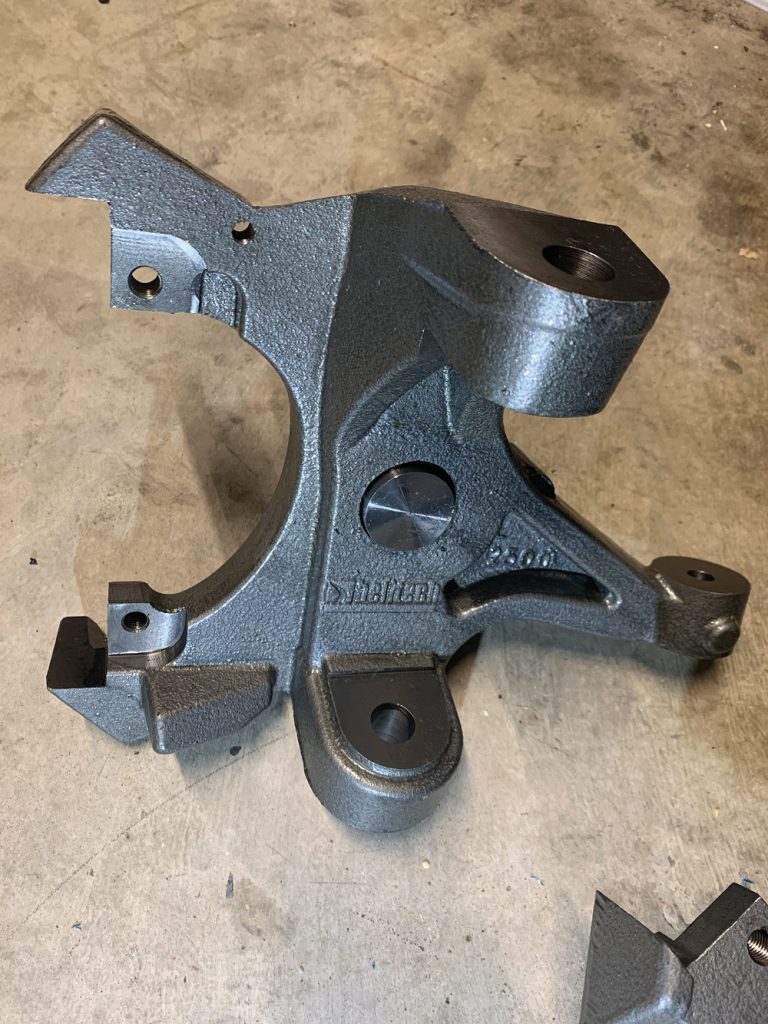
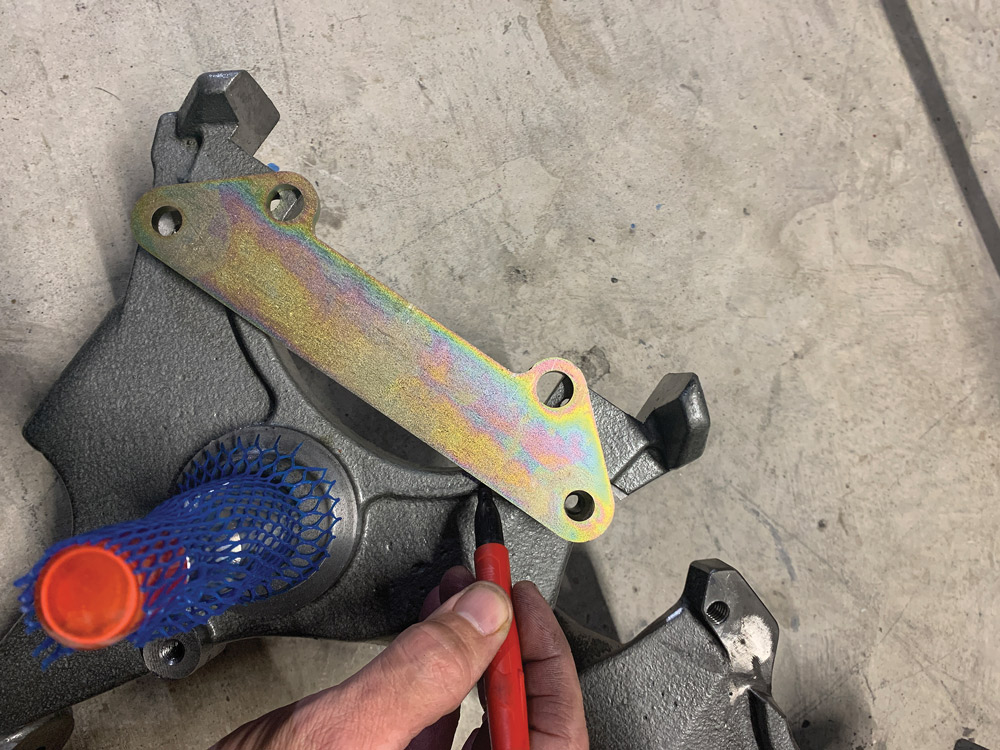
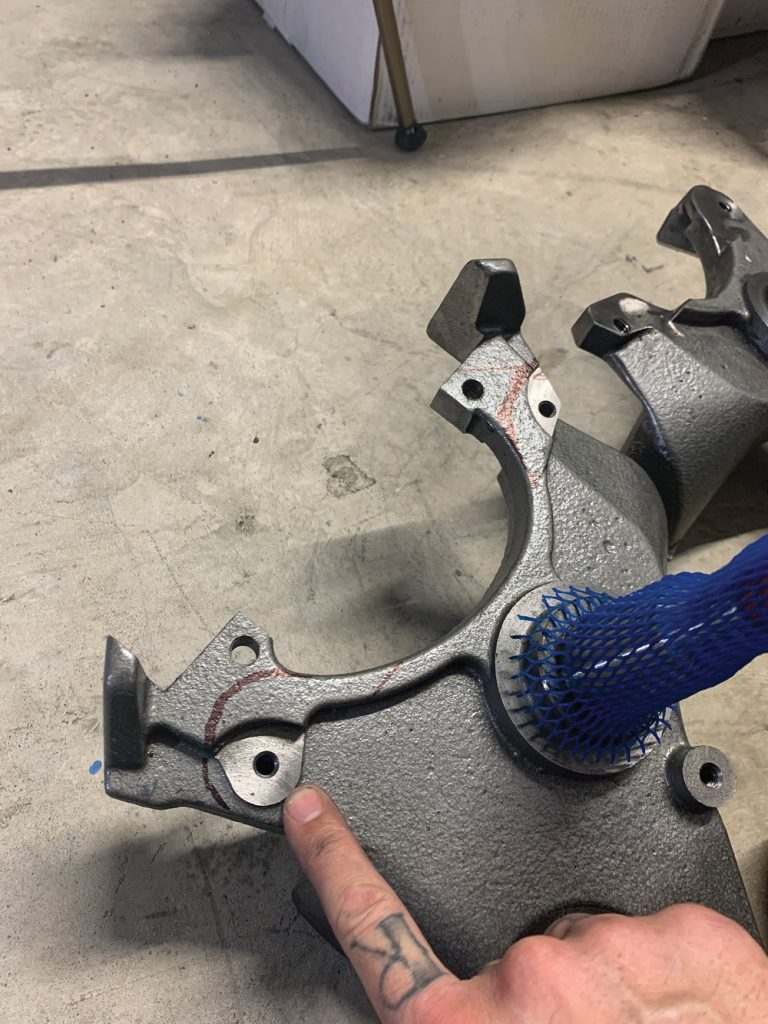
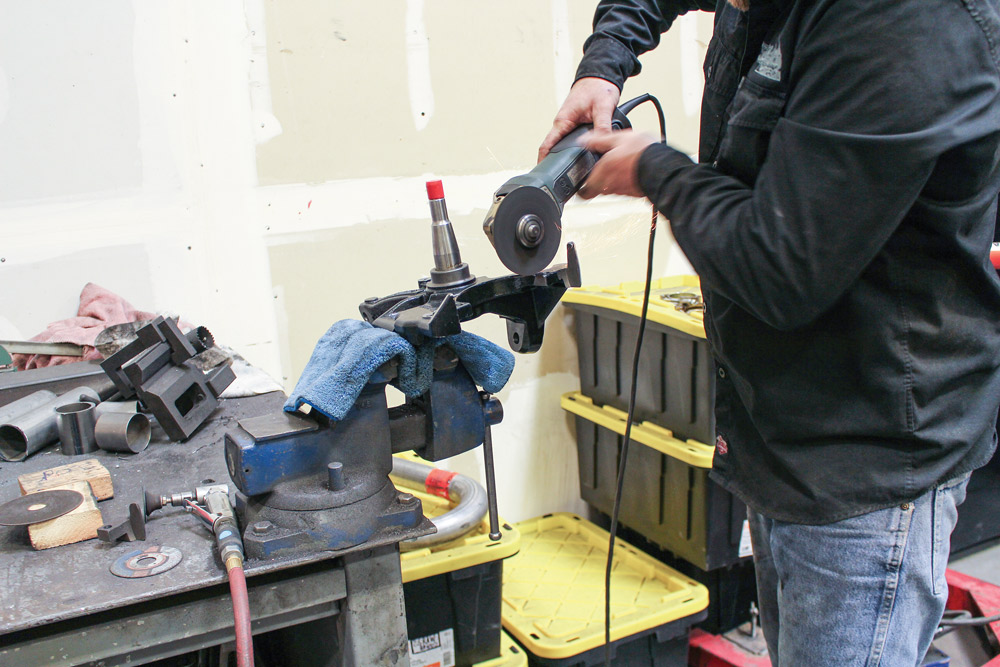
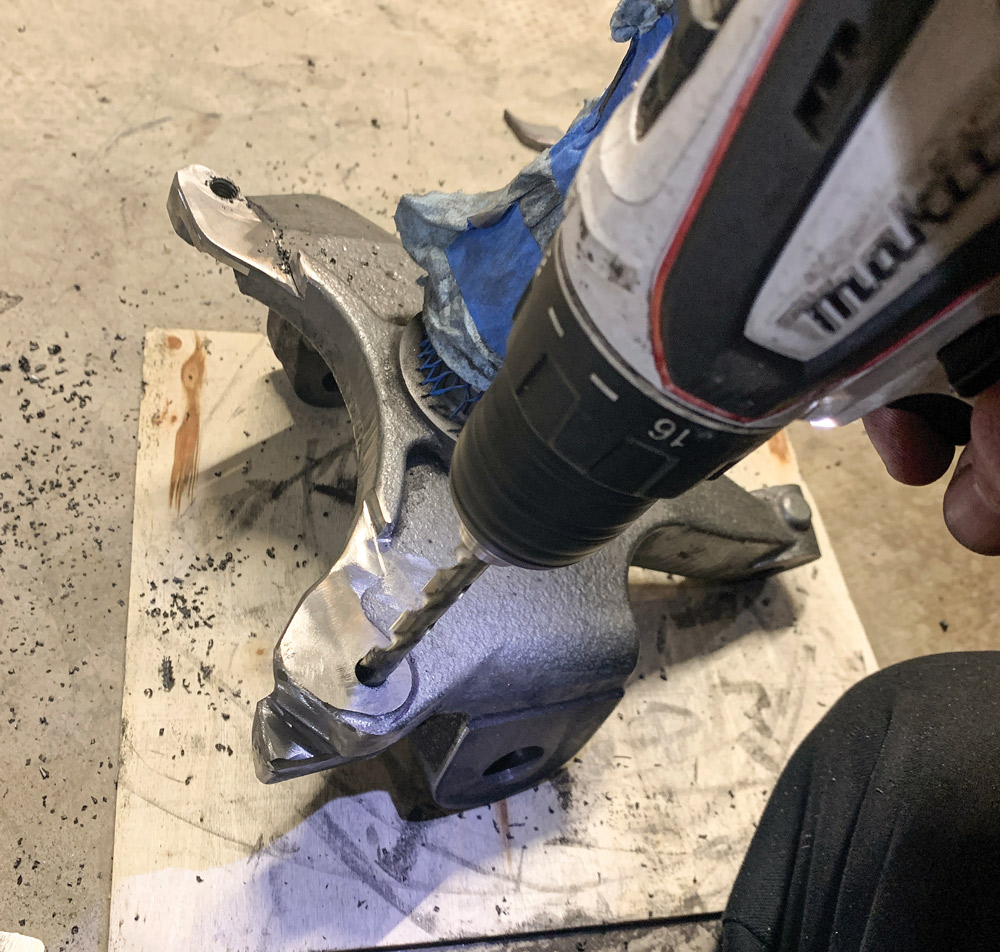
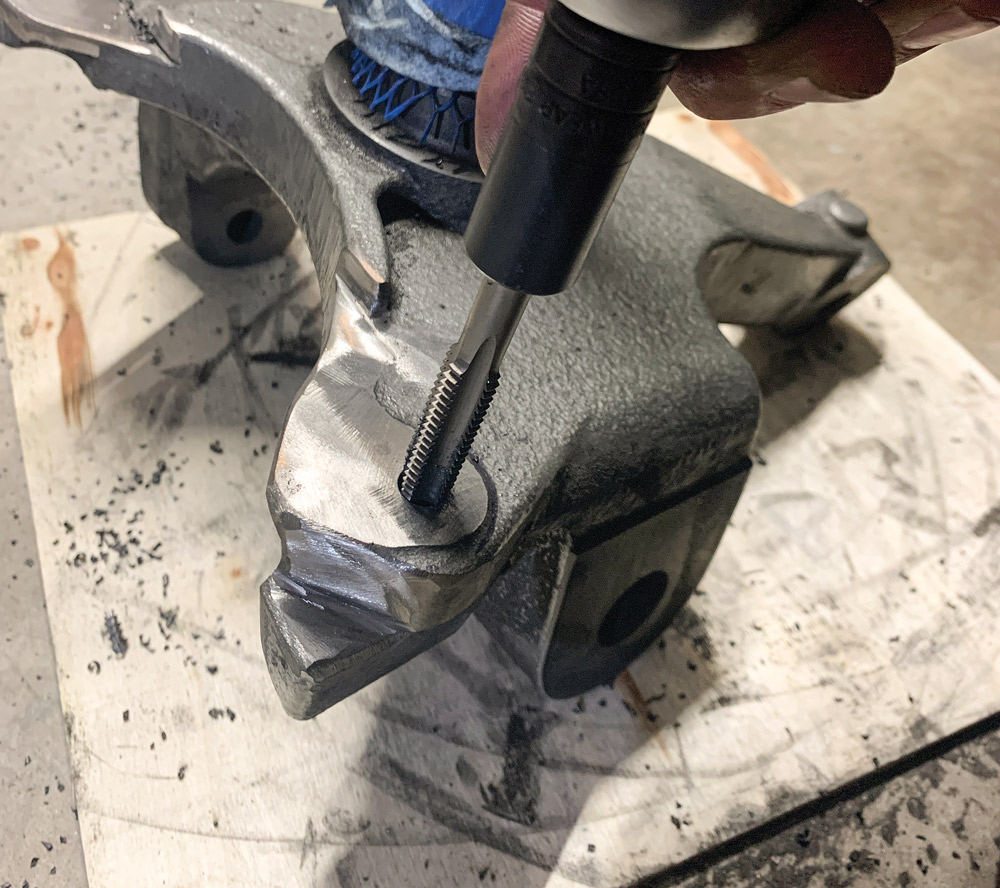
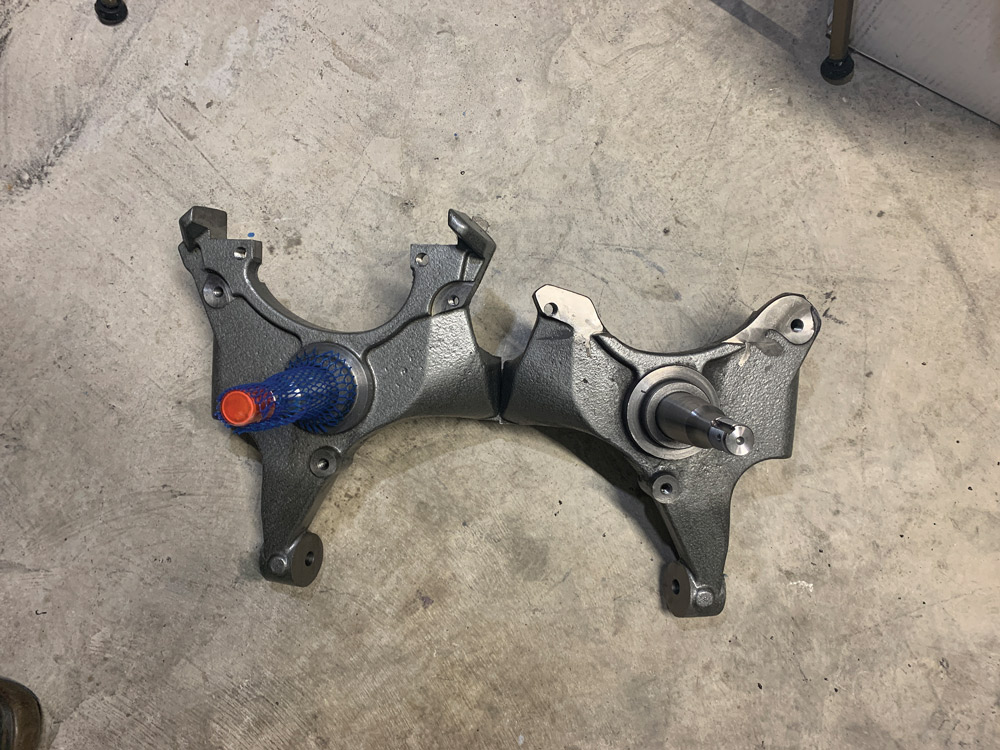
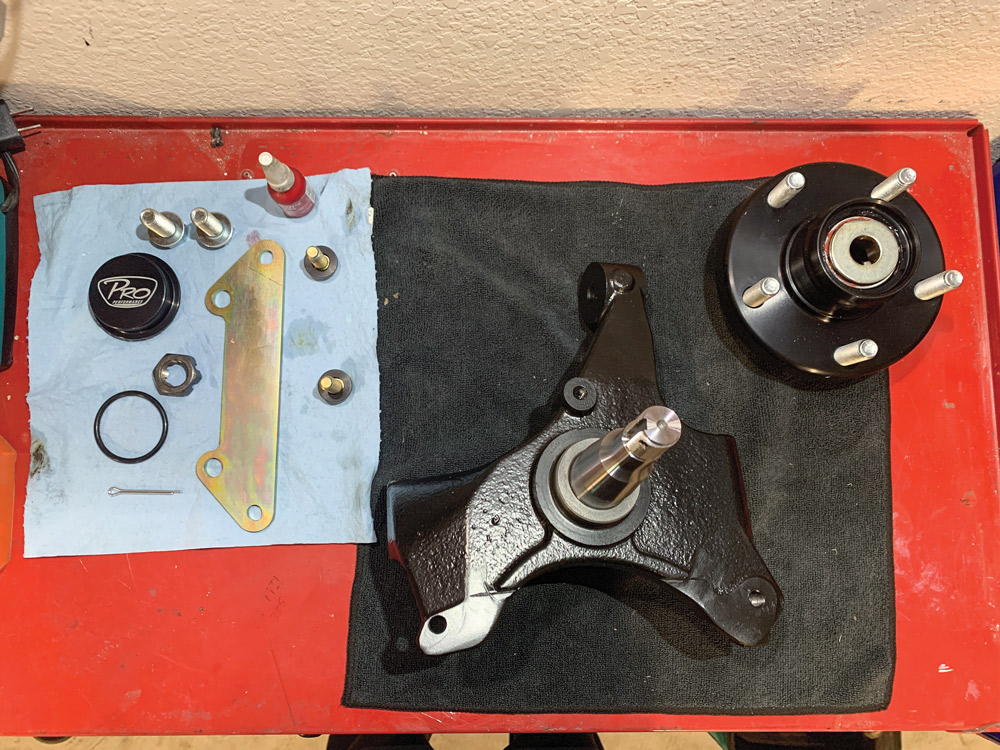
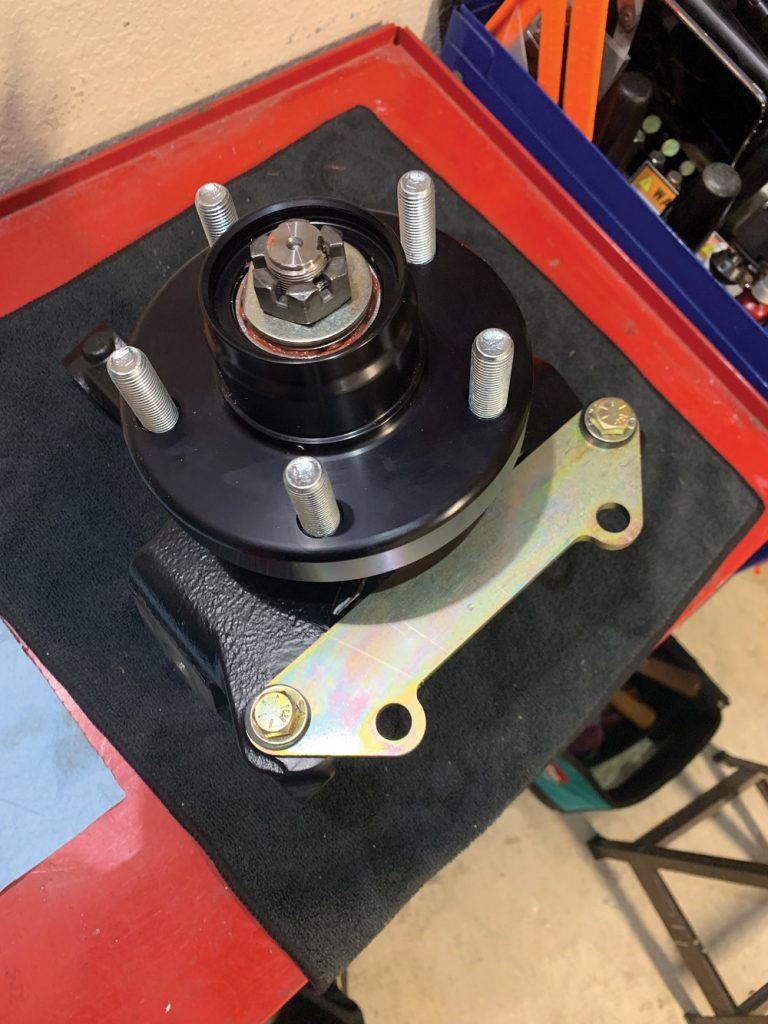
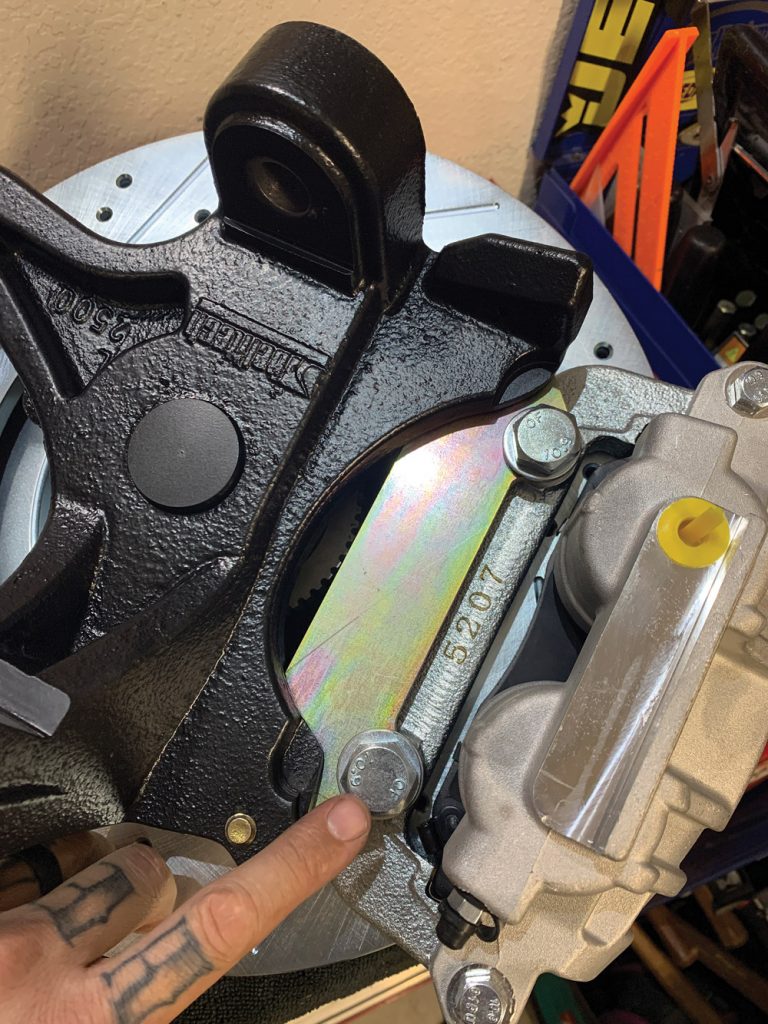
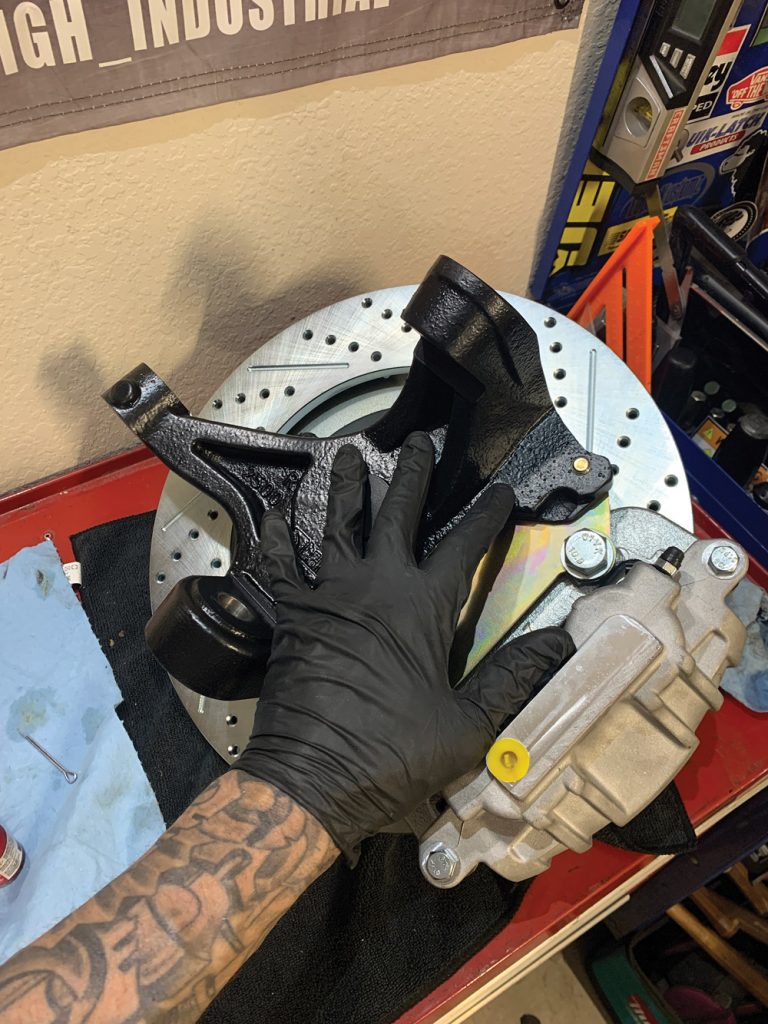
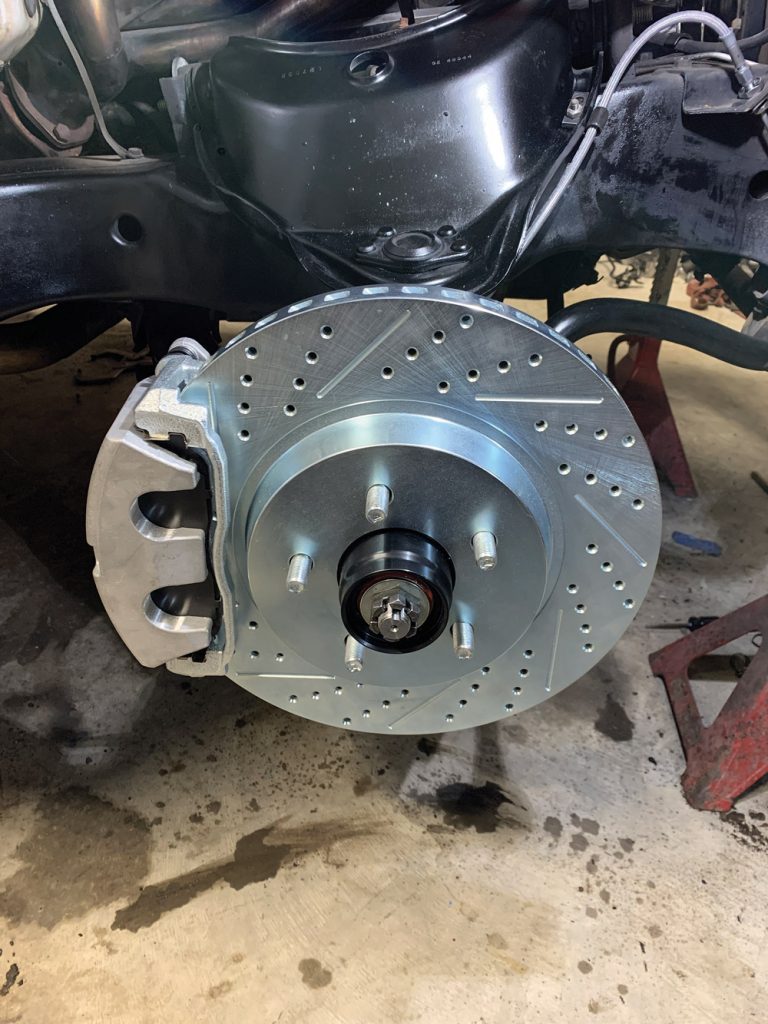
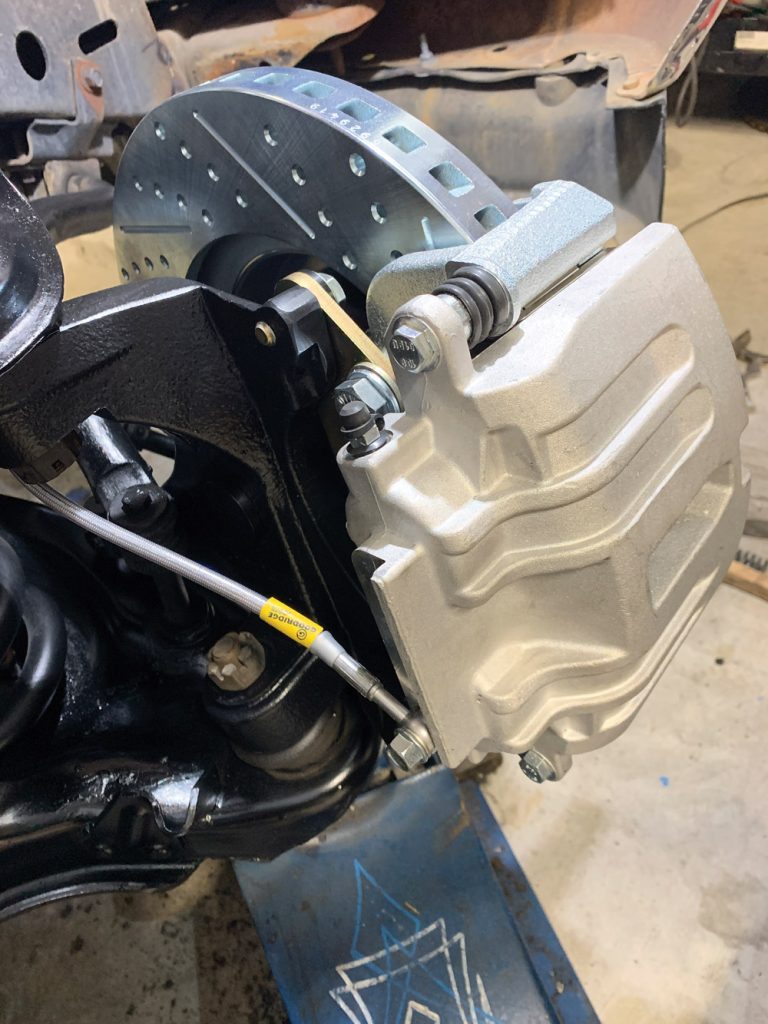
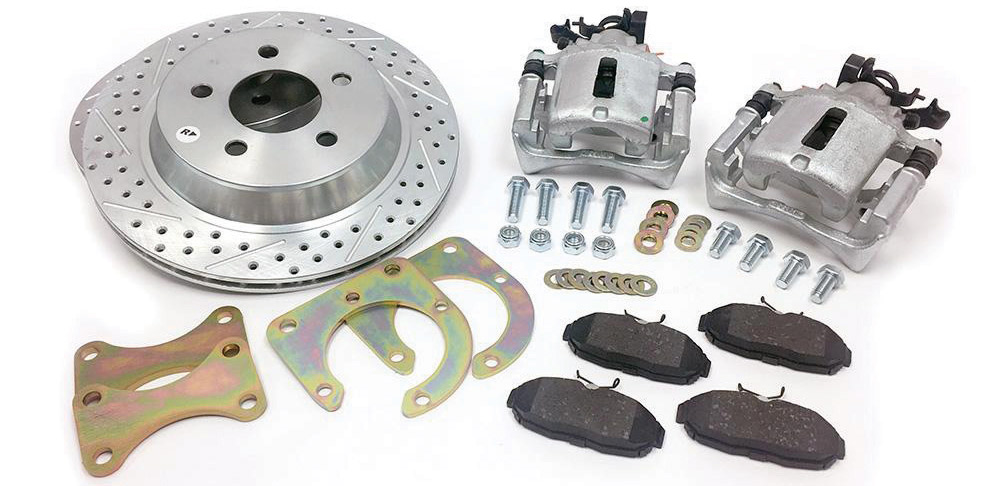
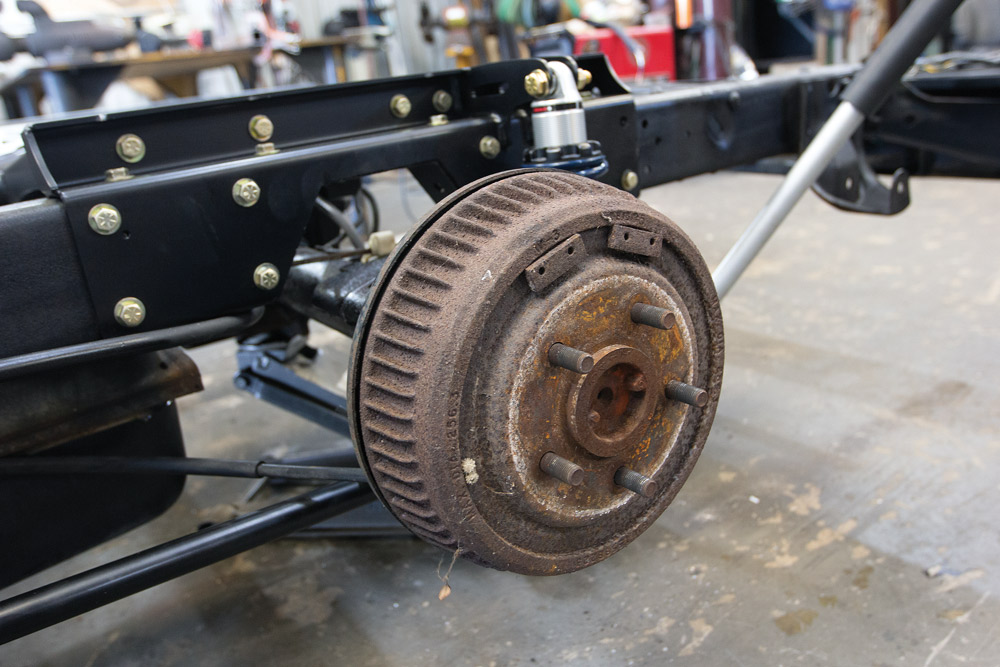
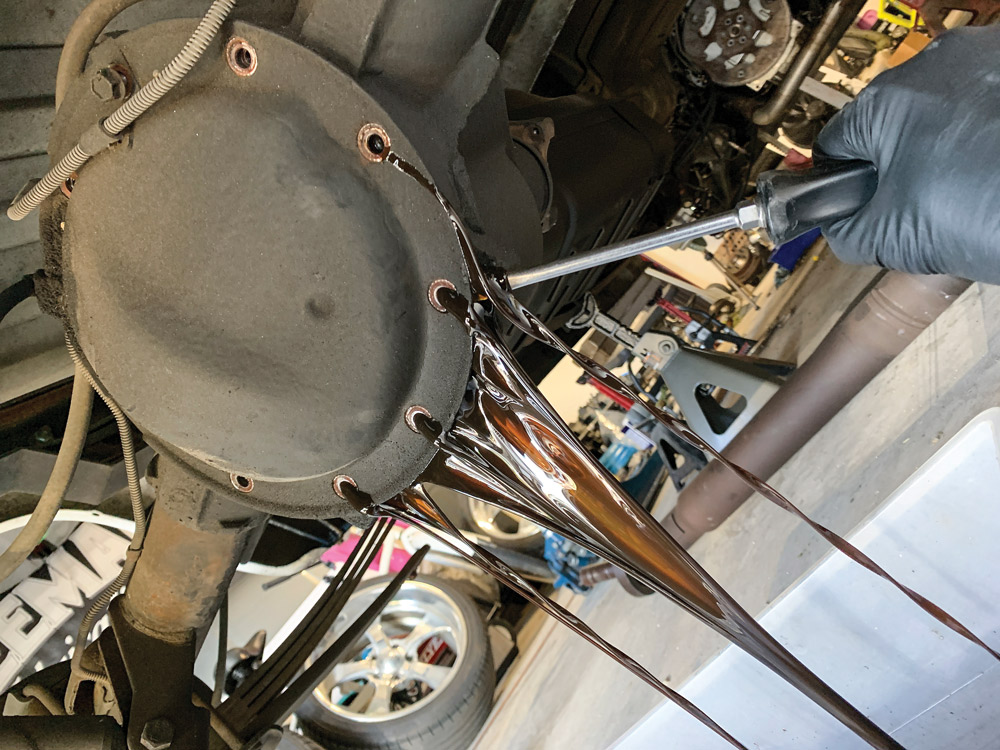
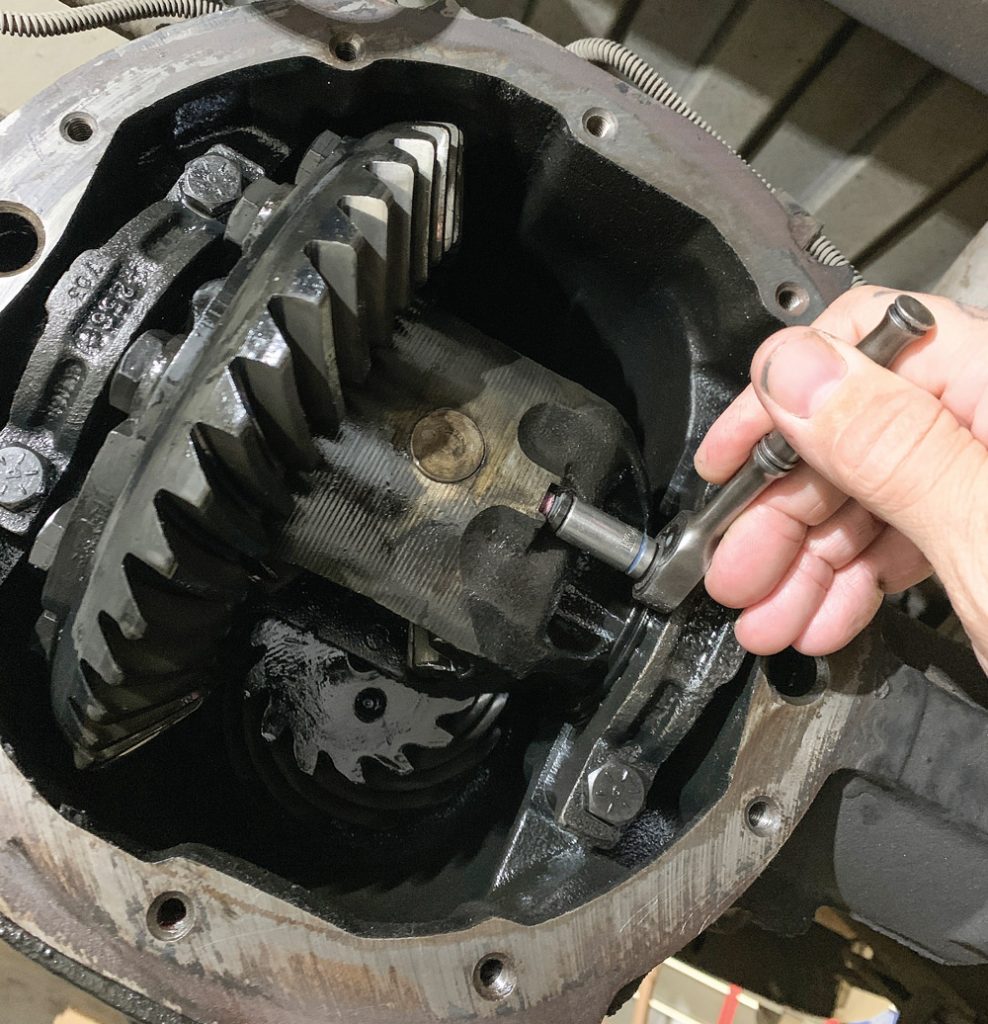
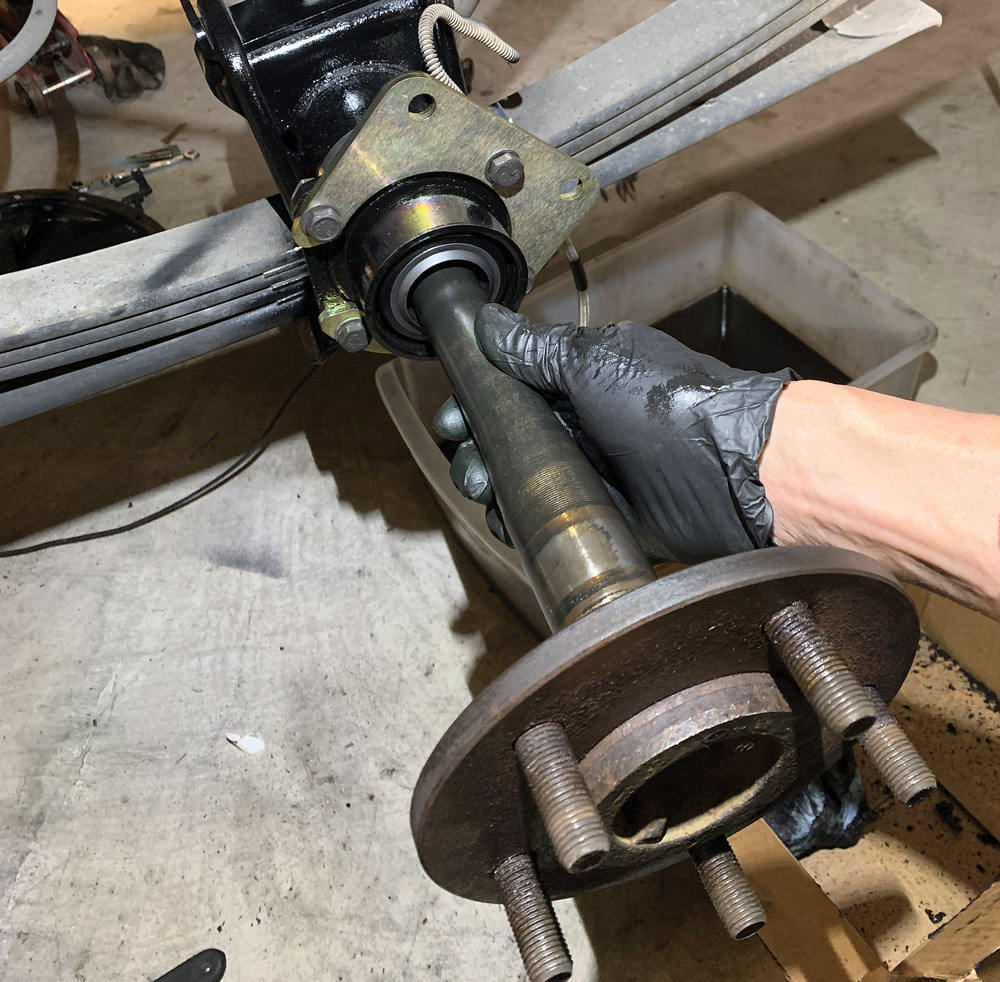
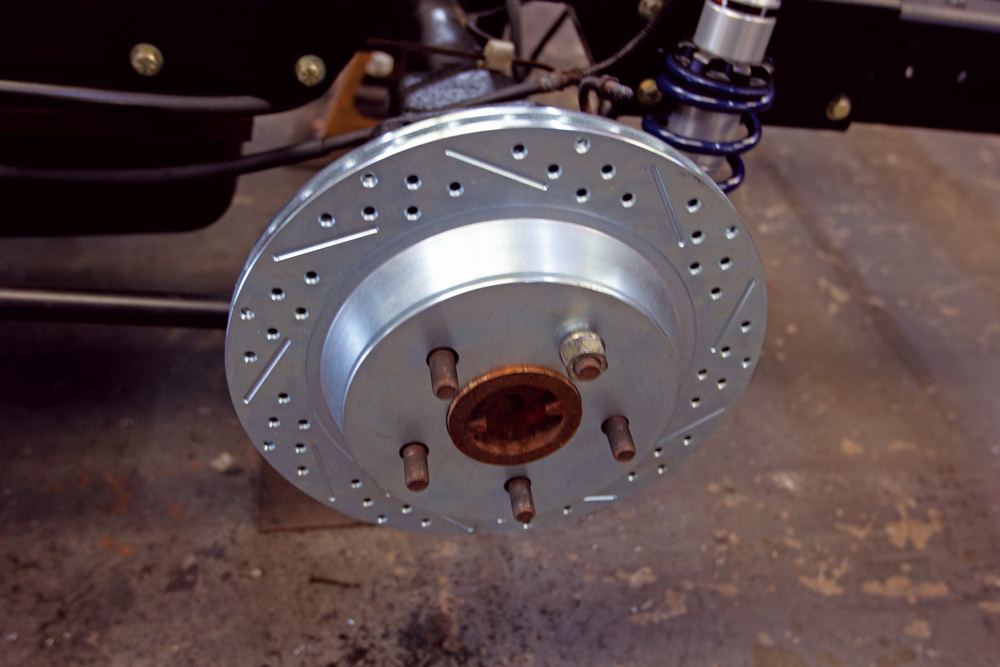
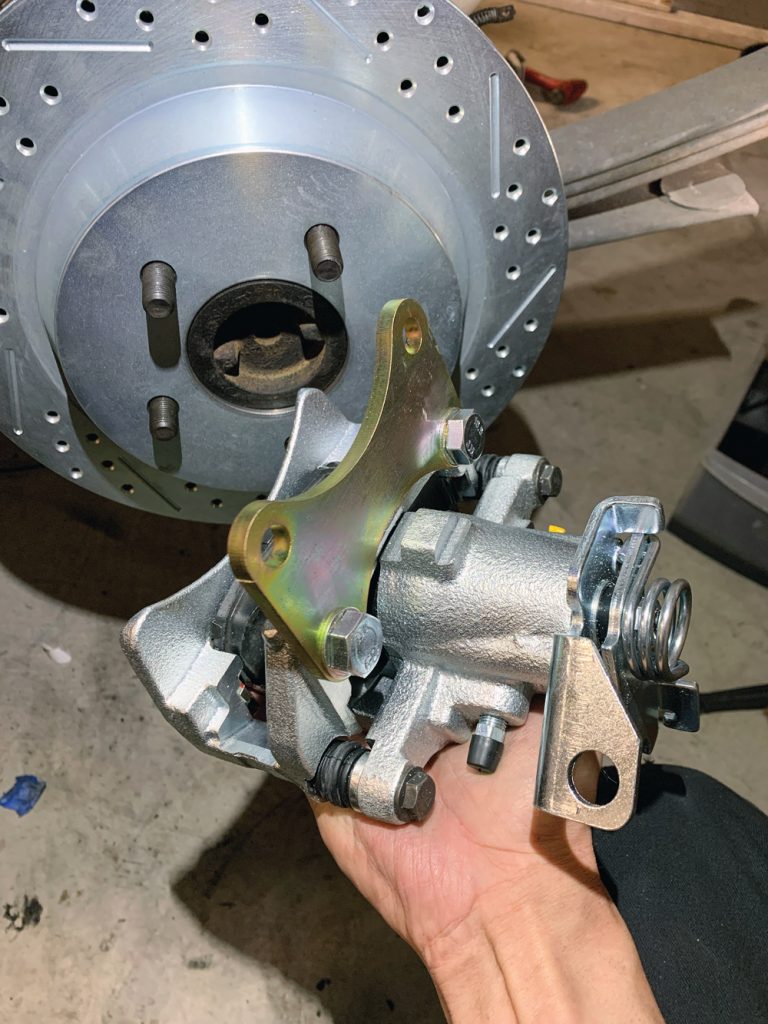
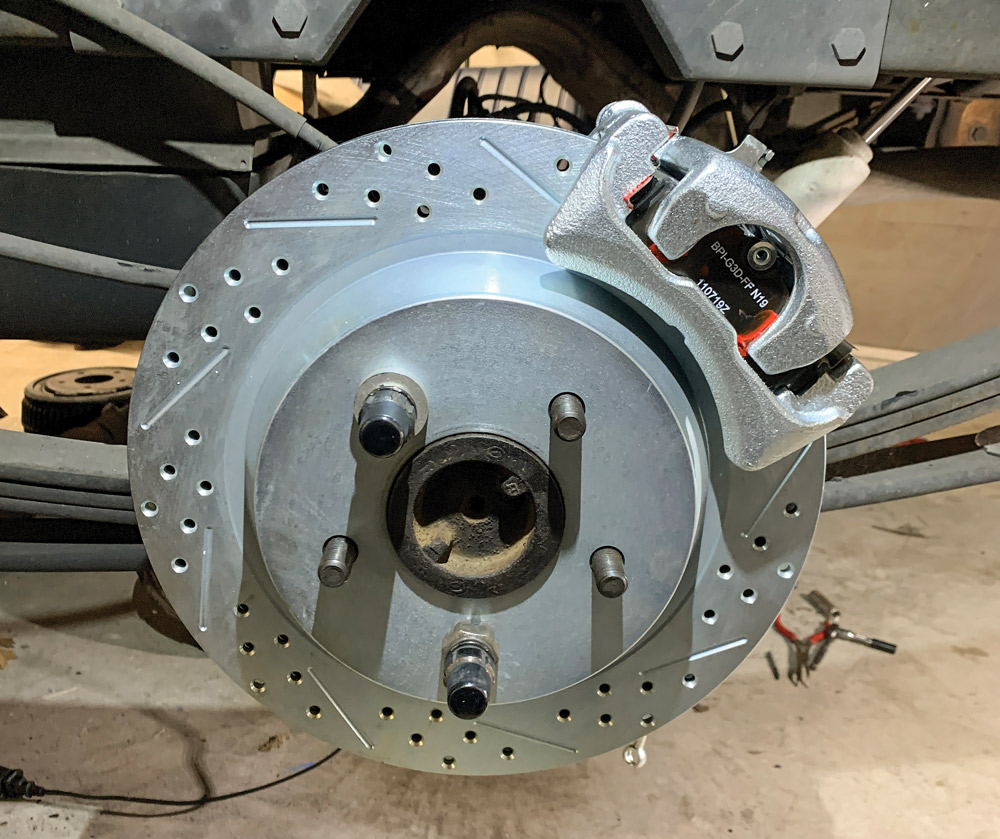
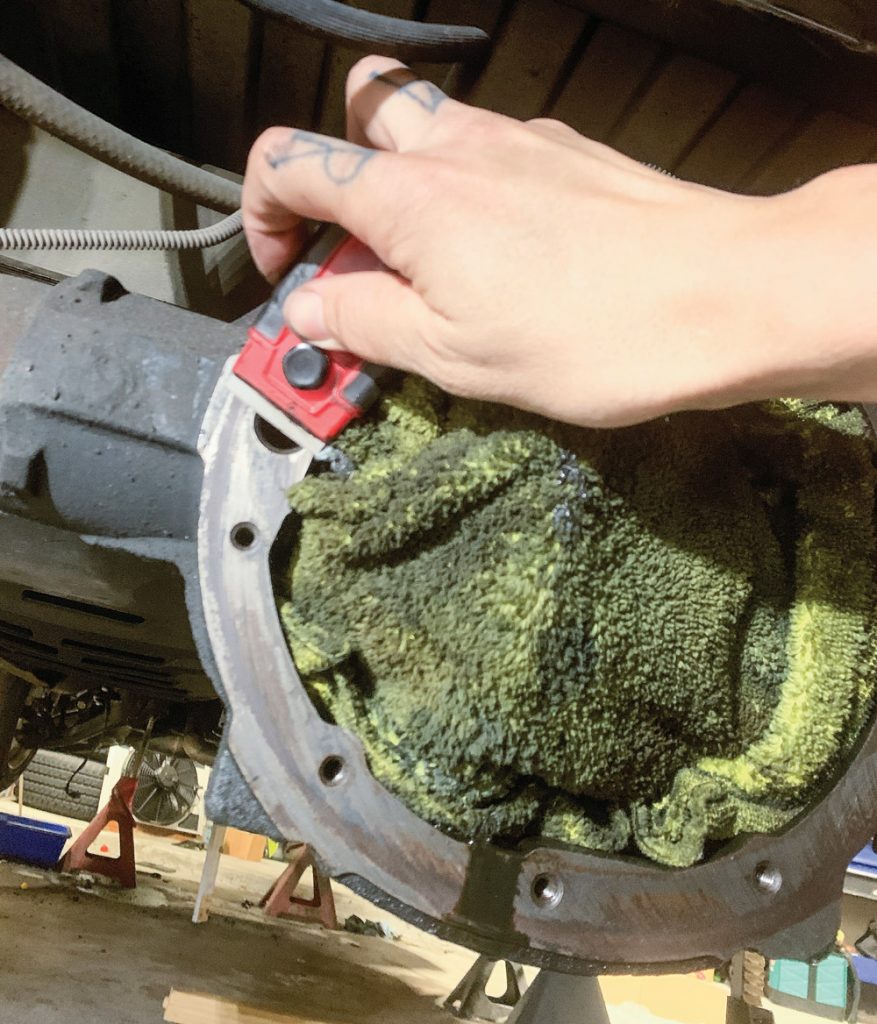
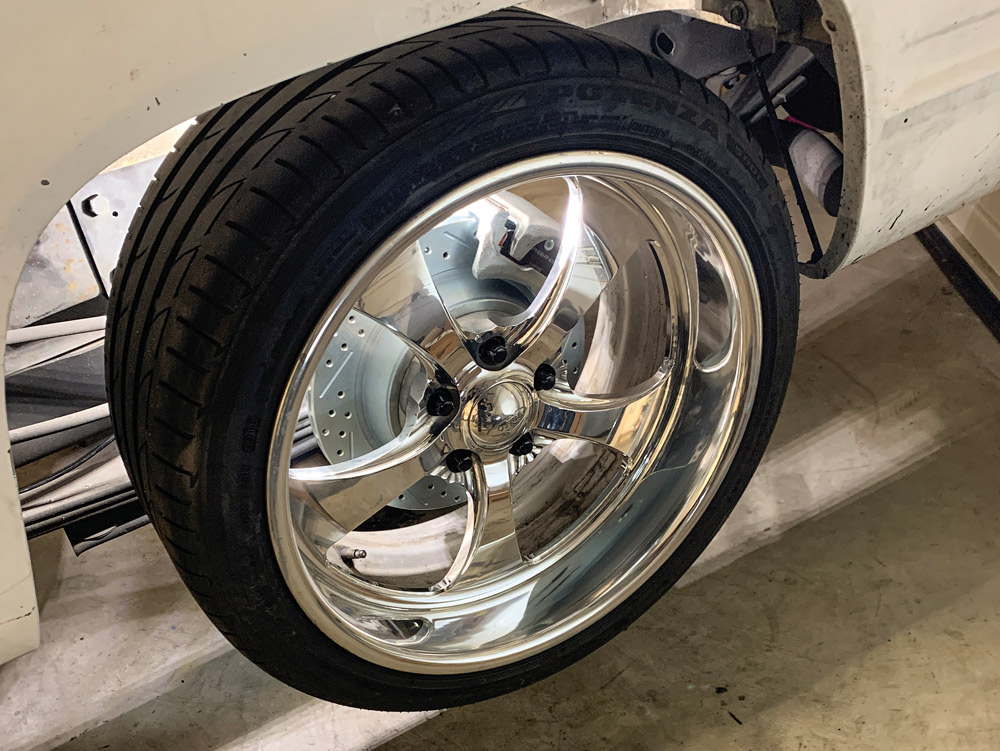
FRONT KIT: This brake kit will work with any disc brake drop spindle, such as McGaughy’s, Street Edge or Belltech. You will receive a template and instructions on modifying your spindle, which requires cutting of the caliper “ears” and drilling and tapping for the caliper mounting bracket. Works only on HD rotor drop or stock spindles. First on the list is to remove all the old braking hardware. The caliper can be set aside, and the spindle needs to be removed. Don’t forget to clamp your brake lines!Before we install the new Belltech spindle, a few minor modifications need to be made. This looks difficult but we assure you that with the right tools and some patience, it’s something anyone can accomplish.The kit comes with a new bracket to hold the caliper to the spindle. Simply set the bracket in place and mark the spindle where it needs to be cut. Check twice!Using a cut off wheel, Josh sliced the spindle along the marks, keeping it clean and accurate. These are cast metal, so you don’t want to cut wrong. Double check everything!Once both spindles are cut and deburred, new mounting holes for the caliper bracket need to be made. Drill and tap four holes total over both spindles.Here you can see the before and after. It looks daunting, but we promise it’s not.With both spindles cut, they can be painted and prepped for assembly. Everything you need comes in the kit. How nice is that?With the spindle assembled, cotter pins placed and the dust cap installed, it’s time to move on to the next step. Now the caliper can be added using the supplied hardware. The entire assembly can be put together on a bench before installing it on the truck.Now Josh can put the spindle on the control arms and take a step back to see the outcome. It looks great! The cross-drilled and slotted rotors are impactful looking, and the way they dissipate heat is appreciated with ever peddle push.To finish off the front, simply fasten the new brakes lines and bleed the brakes. Now to the back!REAR KIT: This new brake kit will work with ’88-’98 rearends, and it does NOT require machining to the axle or rotors because we use a true truck rotor. This caliper has an integrated parking brake but will function without it hooked up.To start the back, Josh just had to jack up the rear and remove all the factory drum brake hardware. It’s all going in the trash, so toss it!Next Josh removed the differential cover, drained the gear fluid and cleaned the axle with brake cleaner. Next he unbolted the C-clips and removed the axle shafts. With the new brackets installed on the rear axle, the original axle shafts can be slid back in and the C-clips can be reinstalled. Next to be installed are the rotors followed by the calipers. Again, all the hardware is included, and the instructions are simple to follow. Now that is a nice brake setup! How many of your GMT400 friends have rear disc brakes?Before the rear can be bled, the diff cover needs to be installed. The old gasket needs to be scrapped off and new sealant can be squeezed on. Boom! How clean is that look? They perform as well as they look, and the install is flawless. We can’t say enough good things about this product from AZ Pro Performance.
Chris Hamilton is an automotive journalist, editor, and lifelong truck enthusiast with extensive experience covering custom truck builds, fabrication, performance upgrades, aftermarket products, and a ...
We use cookies to enhance your browsing experience, serve personalized ads or content, and analyze our traffic. By clicking "Accept All", you consent to our use of cookies. Visit our Cookie Policy for more info.


Share Link