 TIM ROPER
.
October 18, 2023
.
Department
.
TIM ROPER
.
October 18, 2023
.
Department
.
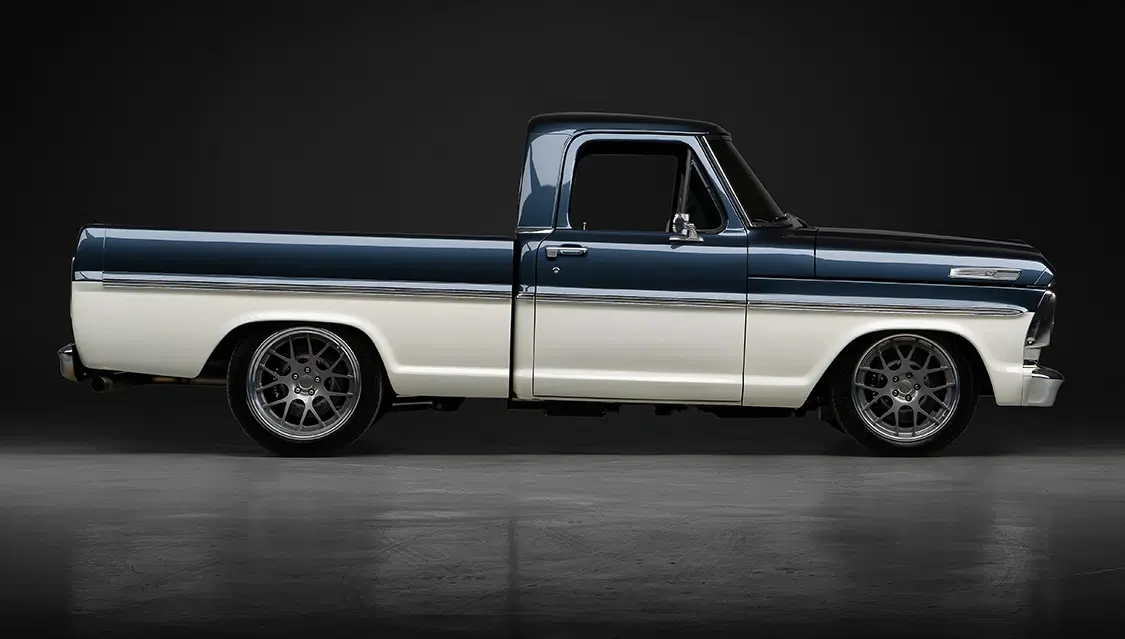
From 1967 to 1972, all Ford F-100s, F-250, and F-350s left the production line with a dashpad sitting on top of a factory-formed metal dash. After 50 years of service, most of them have seen better days and either need to be repaired or replaced altogether. While the aftermarket support as of late has improved, there have not been too many choices for replacement pads.
Dashpad covers and overlays are a budget-minded option that can cover up the cracked and faded dashpad, but that is pretty much a Band-Aid over the real issue. Then there are the more expensive replacement pads that top $400 or more. Finally, there is the elusive NOS pad or even a pristine original. Those are like finding a needle in a haystack, and the money they bring can be sky-high.

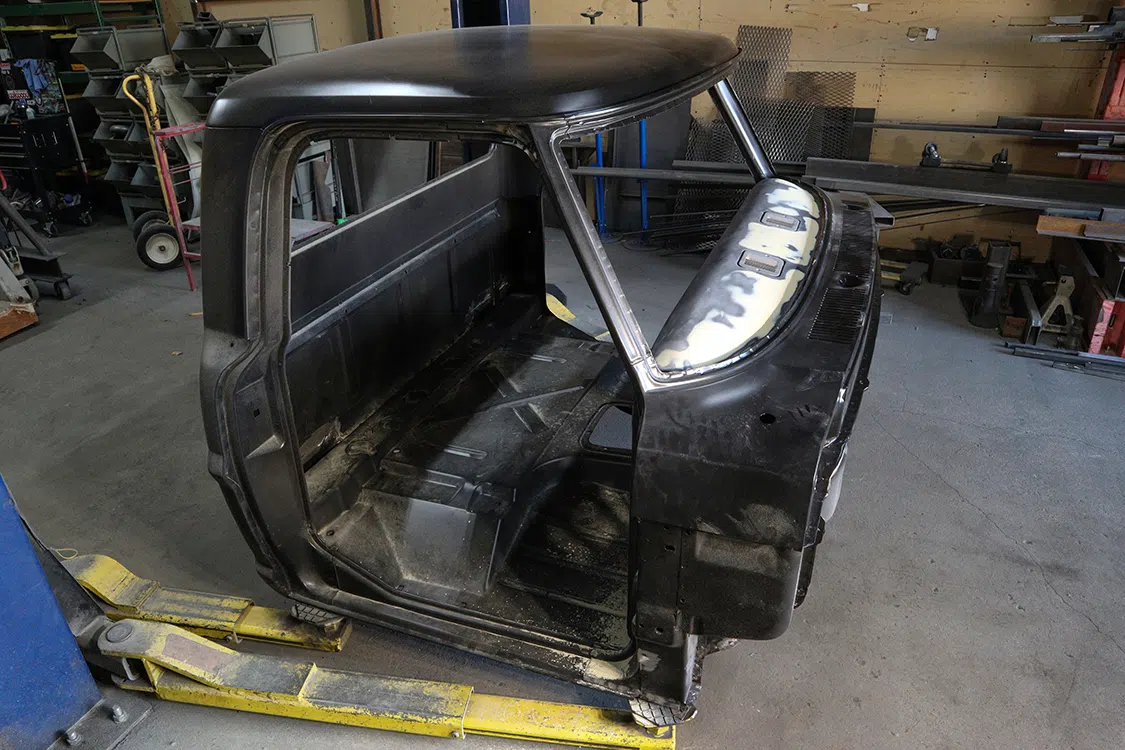
Once you removed a dashpad from one of these trucks, you can see the factory metal dash. The things that stands out the most are the slots where the studs from the pad pass through and the holes for the factory dash speaker. You may notice the formed metal could look really nice with those provisions filled in. Typically, people would pay a body shop to weld in metal fillers and do the bodywork. Some of the more garage-DIY guys might attempt to do it themselves if they have a welder and the skills.
So, now you might be thinking a smoothed dash would be a really nice touch on your truck, but you might be on a budget or don’t have a welder or the metal skills to do so. Well, today is your lucky day as we are going to show you step by step how to smooth your dash with no welding.
At this point you might be thinking Bondo. Well, yes, that will be involved, but that is not how we would do it or recommend it. When it comes to adhesives and paste films, technology is on your side. You may or may not be familiar with how cars and even aircraft are manufactured, but to make a long story short, most are bonded together in modern manufacturing processes.
Coming from an aviation background, I have been involved in the manufacture of aircraft for the past 20 years, mainly on the composites side. Where am I going with this? Having manufactured composite helicopter blades for most of my career, I have come to learn that bonding, or “gluing” in layman’s terms, has given a whole new meaning to the word strength. Not to get too in depth, but a helicopter blade by today’s standards, whether metal or all composite, are 100% bonded together. Once on the helicopter, they can see up to 10,000 hours of service with few to no failures. If you have ever seen what a helicopter blade goes through during flight you know they take a beating. They constantly flex and twist and have loads put on them that make you cringe.
So why are we talking about helicopter blades when we are trying to smooth a dash? Basically, the two-part epoxy technology that has been used in the aircraft industry for decades has moved over into the automotive industry. While not exactly the same, epoxies such as “Panel Bond” from a variety of manufacturers like 3M, Valvoline, and SEM to name a few, are available to anyone who wants to purchase them. They are easy to use and extremely strong.
Follow along as we show you how to smooth your dash with zero welding, readily available tools, and some sheetmetal. Oh, and don’t throw away that old dashpad quite yet, there is something you will need out of it.


First, collect all the necessary tools, thin-gauge metal, adhesives, cleaners, and fillers. Here we have the application gun, hand snips, pneumatic sheetmetal shears, angle grinder, 40-grit sanding disc, plastic swipe, aluminum tape, and the 3M Panel Bond.


First, remove the old dashpad to expose the bare metal dash. Clean the top as well as the underside with acetone or alcohol to remove the years of collected dirt. Fortunately, the cab we were working with had been blasted and primed. In addition, the entire floor had been removed for replacement, which made the job a little easier and made taking pictures a snap. Don’t fret though. Having the cab in its normal configuration is doable. It just requires some laying on the cab floor to do the initial work. However, the majority can be done through the front of the dash.


After the metal is scuffed on the top and bottom of the dash, it is time to make the doublers that will bond to the bottom of the dash. We used 18-gauge cold-rolled steel cut into small pieces with the pneumatic shears. Ensure the pieces you cut have at least 0.5- to 1-inch overlap passed the hole you are covering. Hand form each piece to match the contour of the dash in their respective locations. They do not need to be exact, but get as close to the contour as possible. Label the dash and the doublers so nothing gets mixed up. You could also use 20-gauge steel as well. It is often available at your local hardware store in small 2×2-foot pieces.


 Be sure to scuff the mating surface of the doublers with 40-grit as well. When bonding two metals together, the faying (mating) surfaces should both be scuffed with 40-grit.

Next, be sure to clean all surfaces that will be bonded with acetone or alcohol. The faying surfaces must be extremely clean for proper adhesion.


Once the doubler has adhesive on it, it is time to bond it in. Simply locate where it goes, put it in place, put a little pressure on it to ensure squeeze-out around the edges and through the hole (holes) in the dash, and then put tape over it to hold it in place. Keep in mind the doubler does not need to be perfectly square with the hole. It just needs to cover the hole completely.


Department
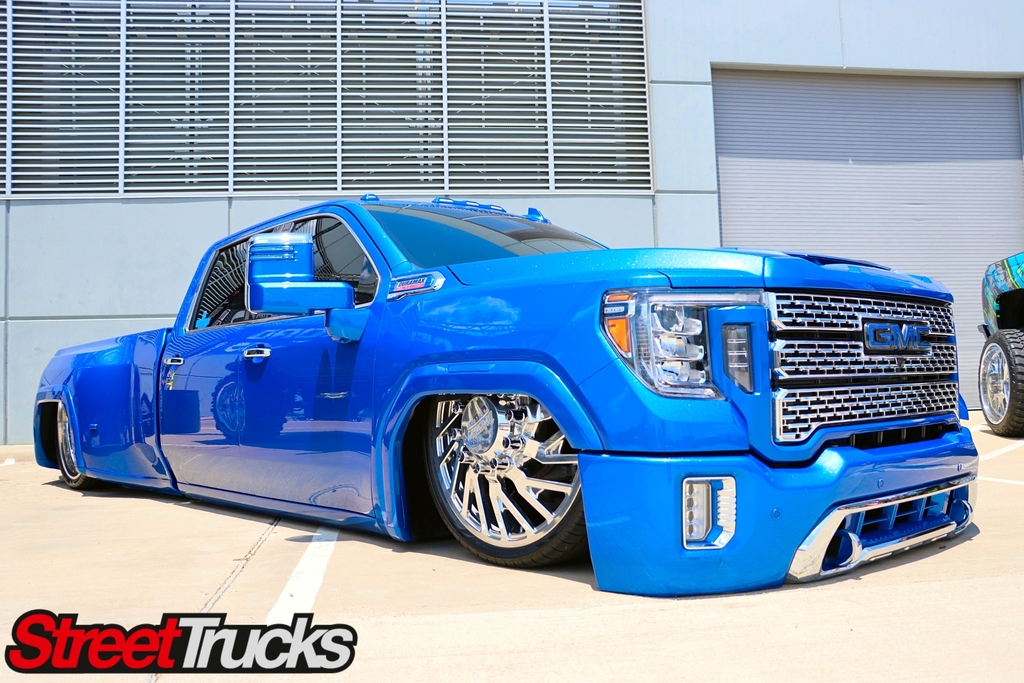
FEATURES 22 Vulcanized – Stronger, Harder and Tougher Than the Original VersionSubscribe to our weekly newsletter 30 LO TI10 – Just Another Titan Dually …… Continue reading
Chris Hamilton . January 29, 2020
Department
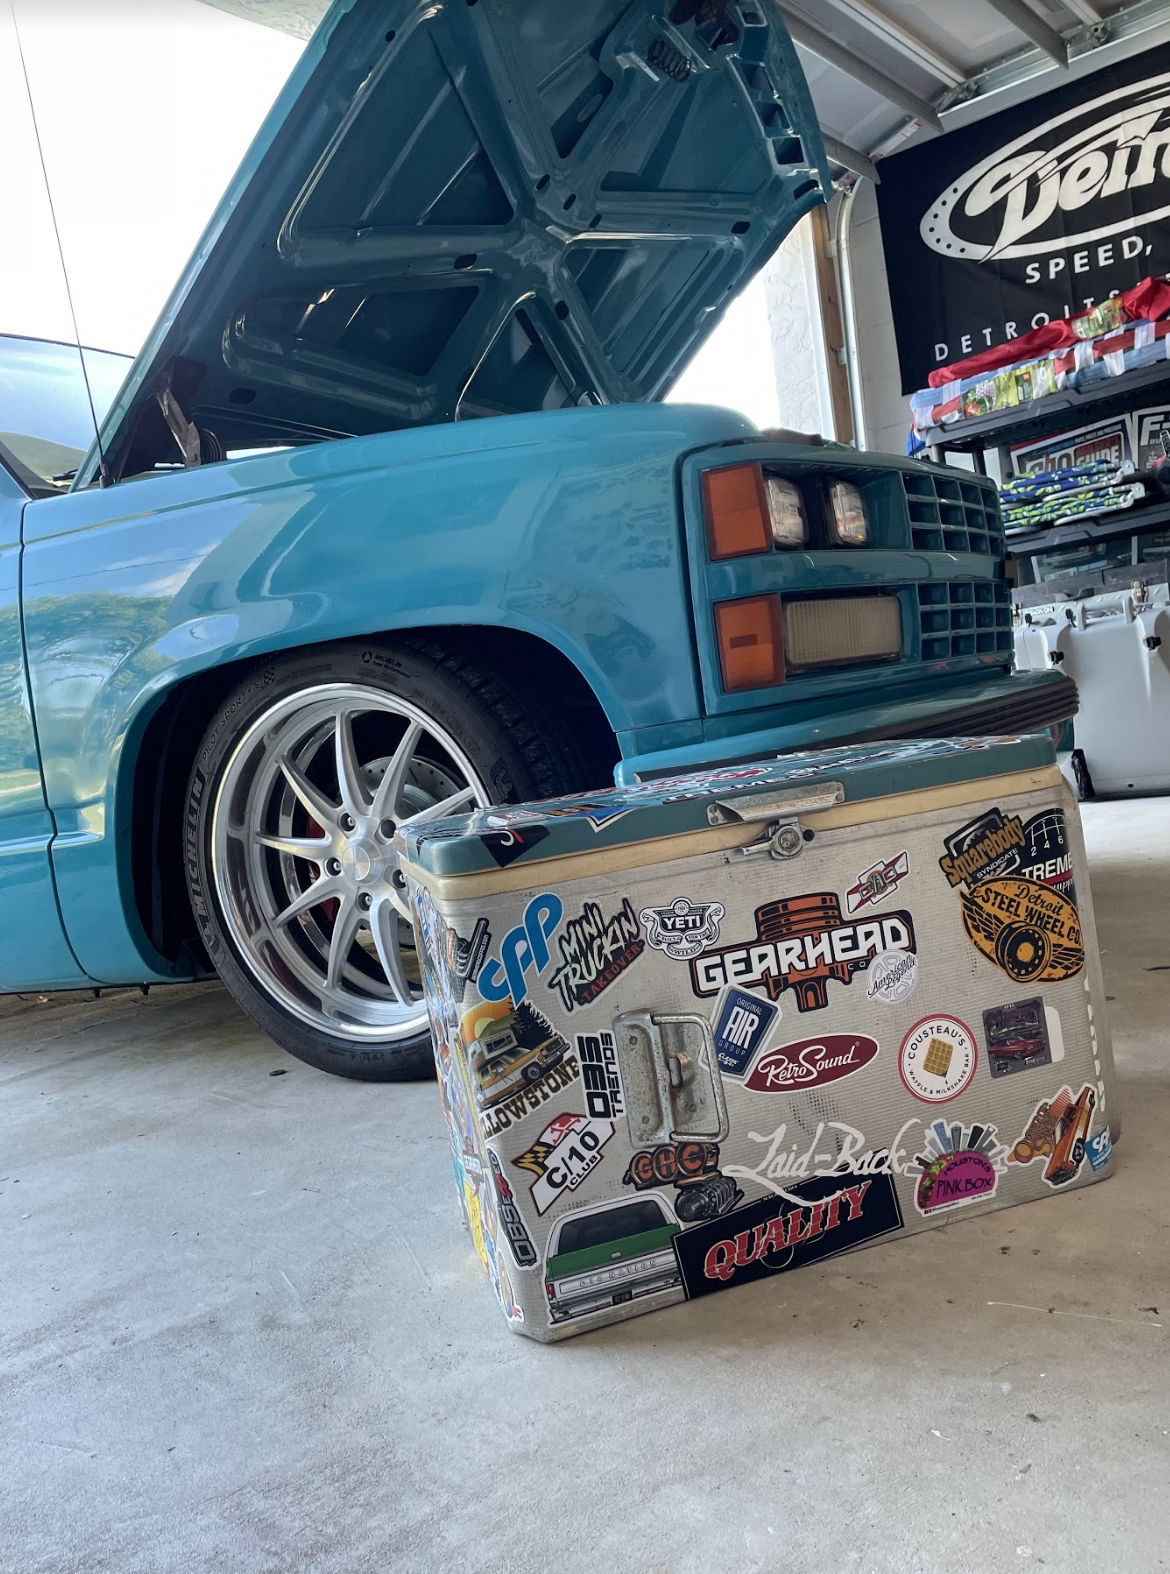
Well, we’re working from home this week on Project Playboy. The weather has been so nice, we pulled the Chevy C1500 out of the garage… Continue reading
Chris Hamilton . January 23, 2023
Department
Words and Photos: Damien Davis Kicking off their first year event with a BANG! Summer Truckin Nationals brought the HEAT to Arlington Texas… Continue reading
Adam Johnson . July 20, 2022
Cover
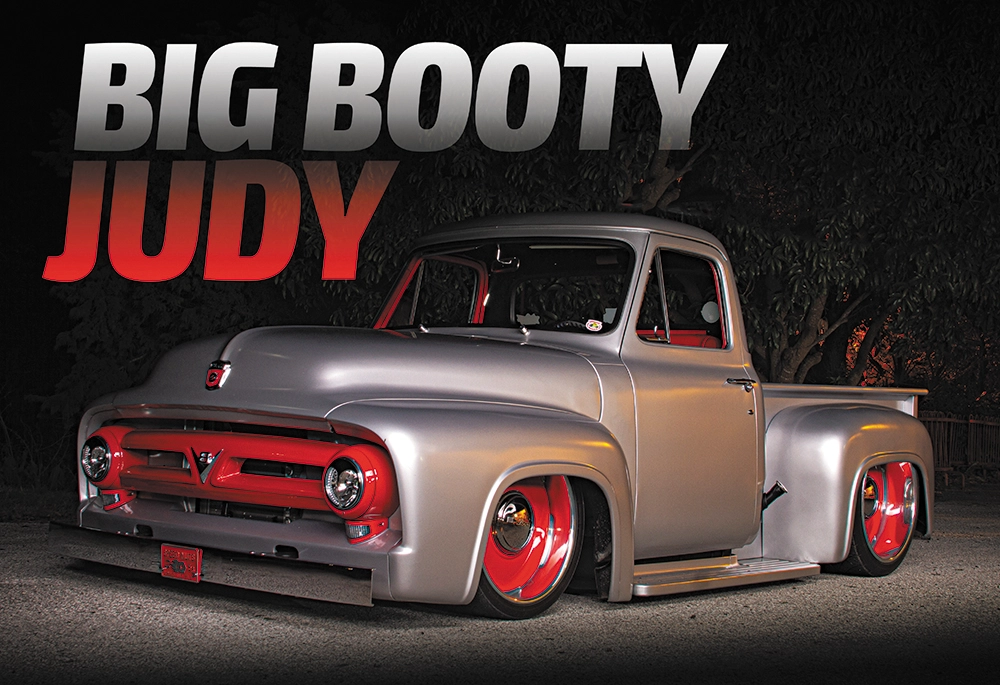
A New Build with a Farm-Truck Past So many of us as enthusiasts have a parent or family member who had cool vehicles in their… Continue reading
Jon Hansen . March 30, 2023
Department
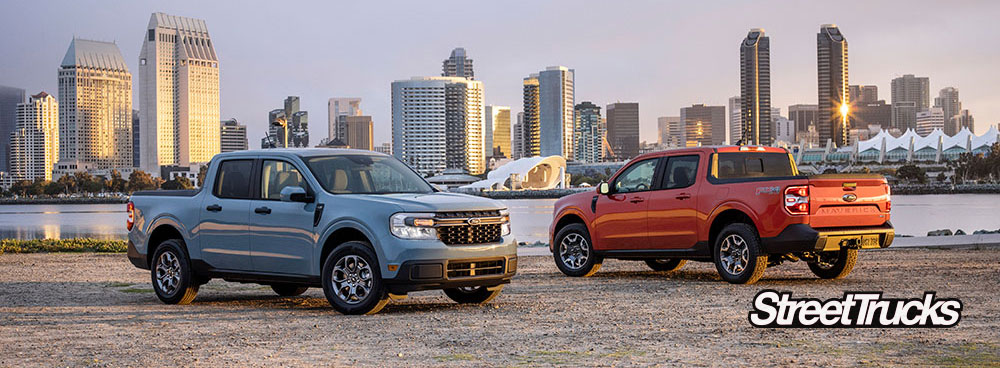
2022 Ford Maverick: THE TRUCK FOR PEOPLE WHO NEVER KNEW THEY WANTED A TRUCK Ford is delivering a new kind of pickup – compact but mighty,… Continue reading
Mike Self . August 28, 2021
c10
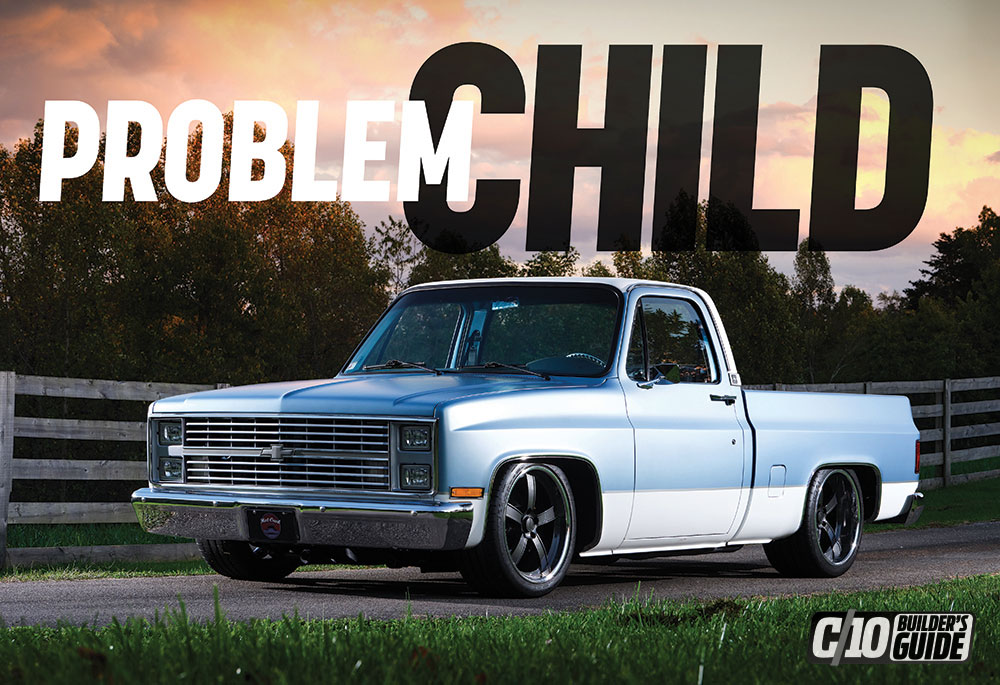
Tyler Moss’ Hell Raising ’84 C10 It isn’t uncommon for a custom truck project to outgrow all the limits first put in front of it.… Continue reading
John Mata Jr. . February 09, 2022


We use cookies to enhance your browsing experience, serve personalized ads or content, and analyze our traffic. By clicking "Accept All", you consent to our use of cookies. Visit our Cookie Policy for more info.
Share Link