










 Martin Hernandez
.
September 28, 2026
.
How to
.
Martin Hernandez
Martin Hernandez
.
September 28, 2026
.
How to
.
Martin Hernandez
AS SEEN IN OUR F-Series Builders Guide Fall 2026 ISSUE – Buy Now!
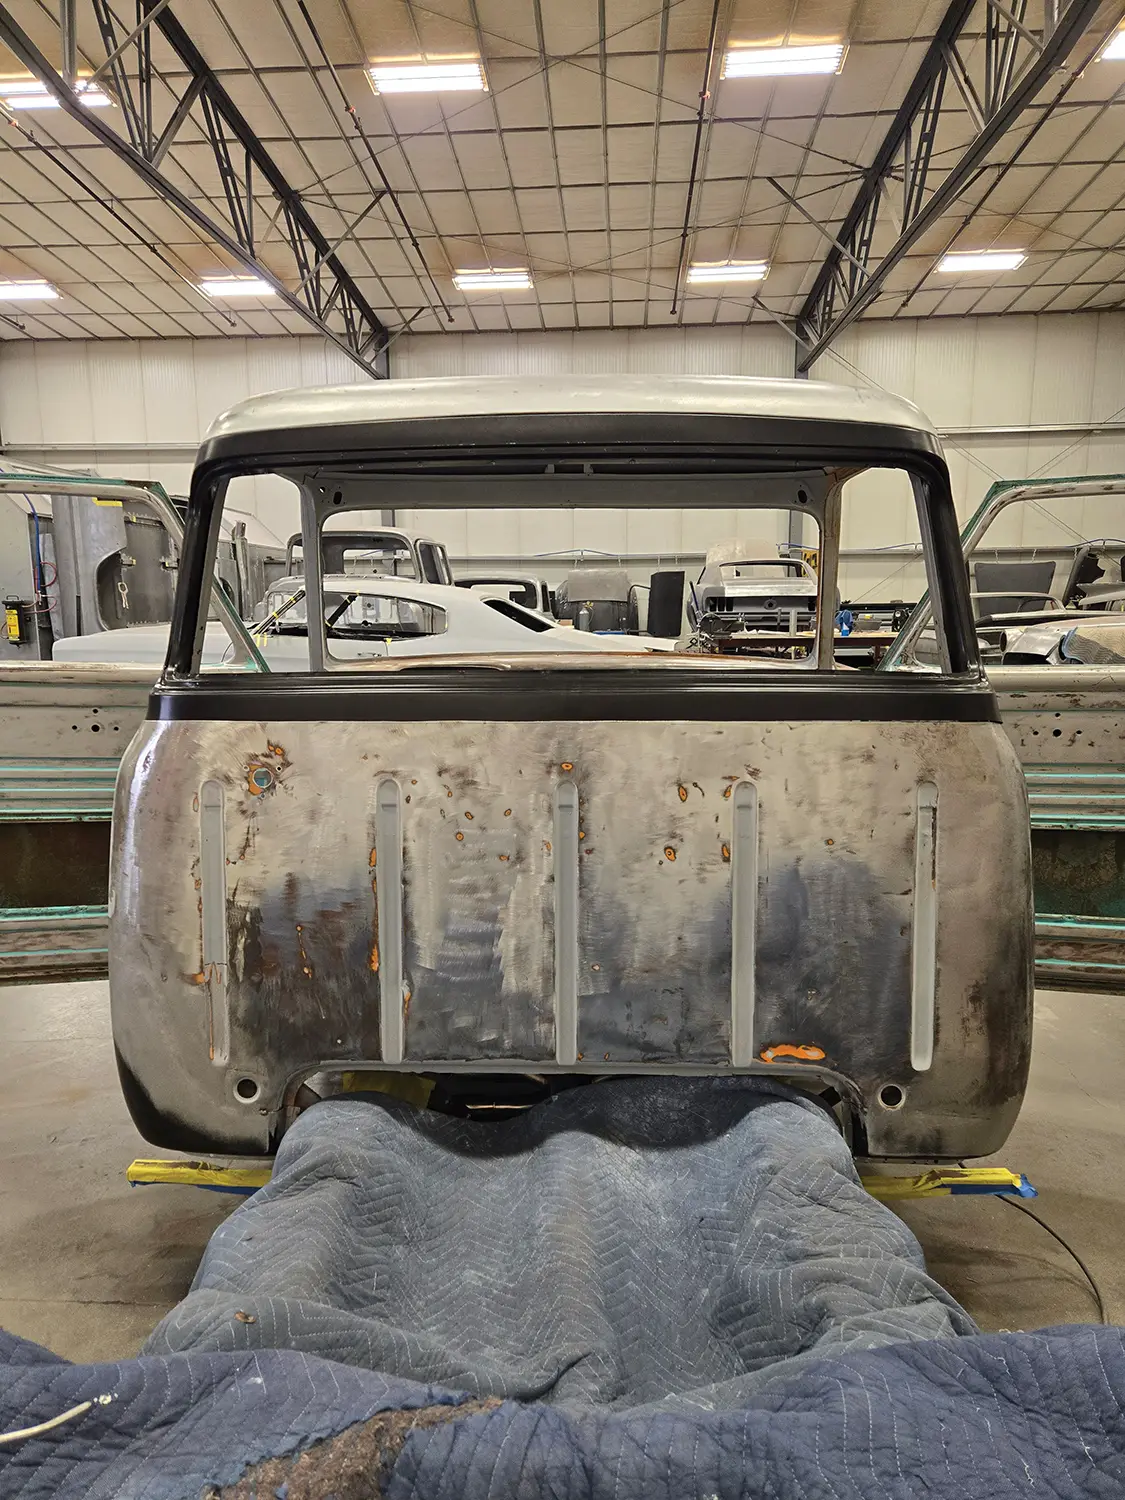
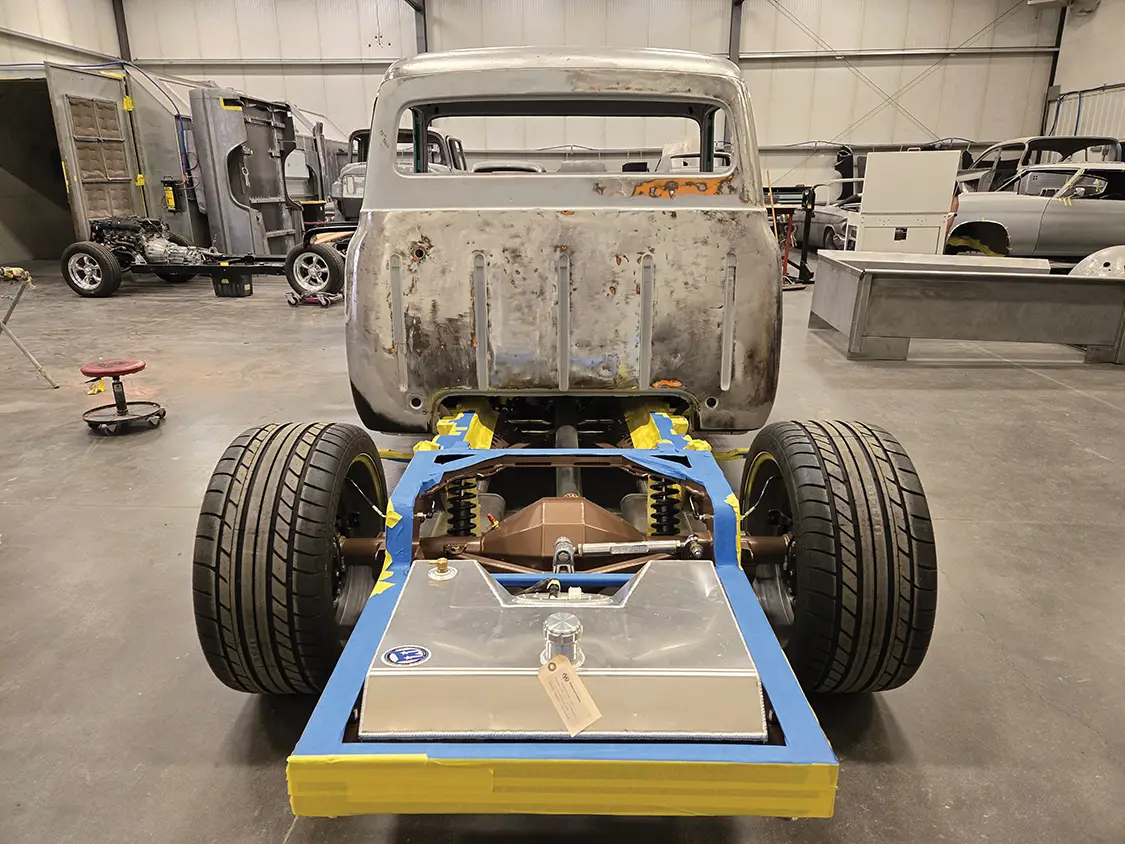
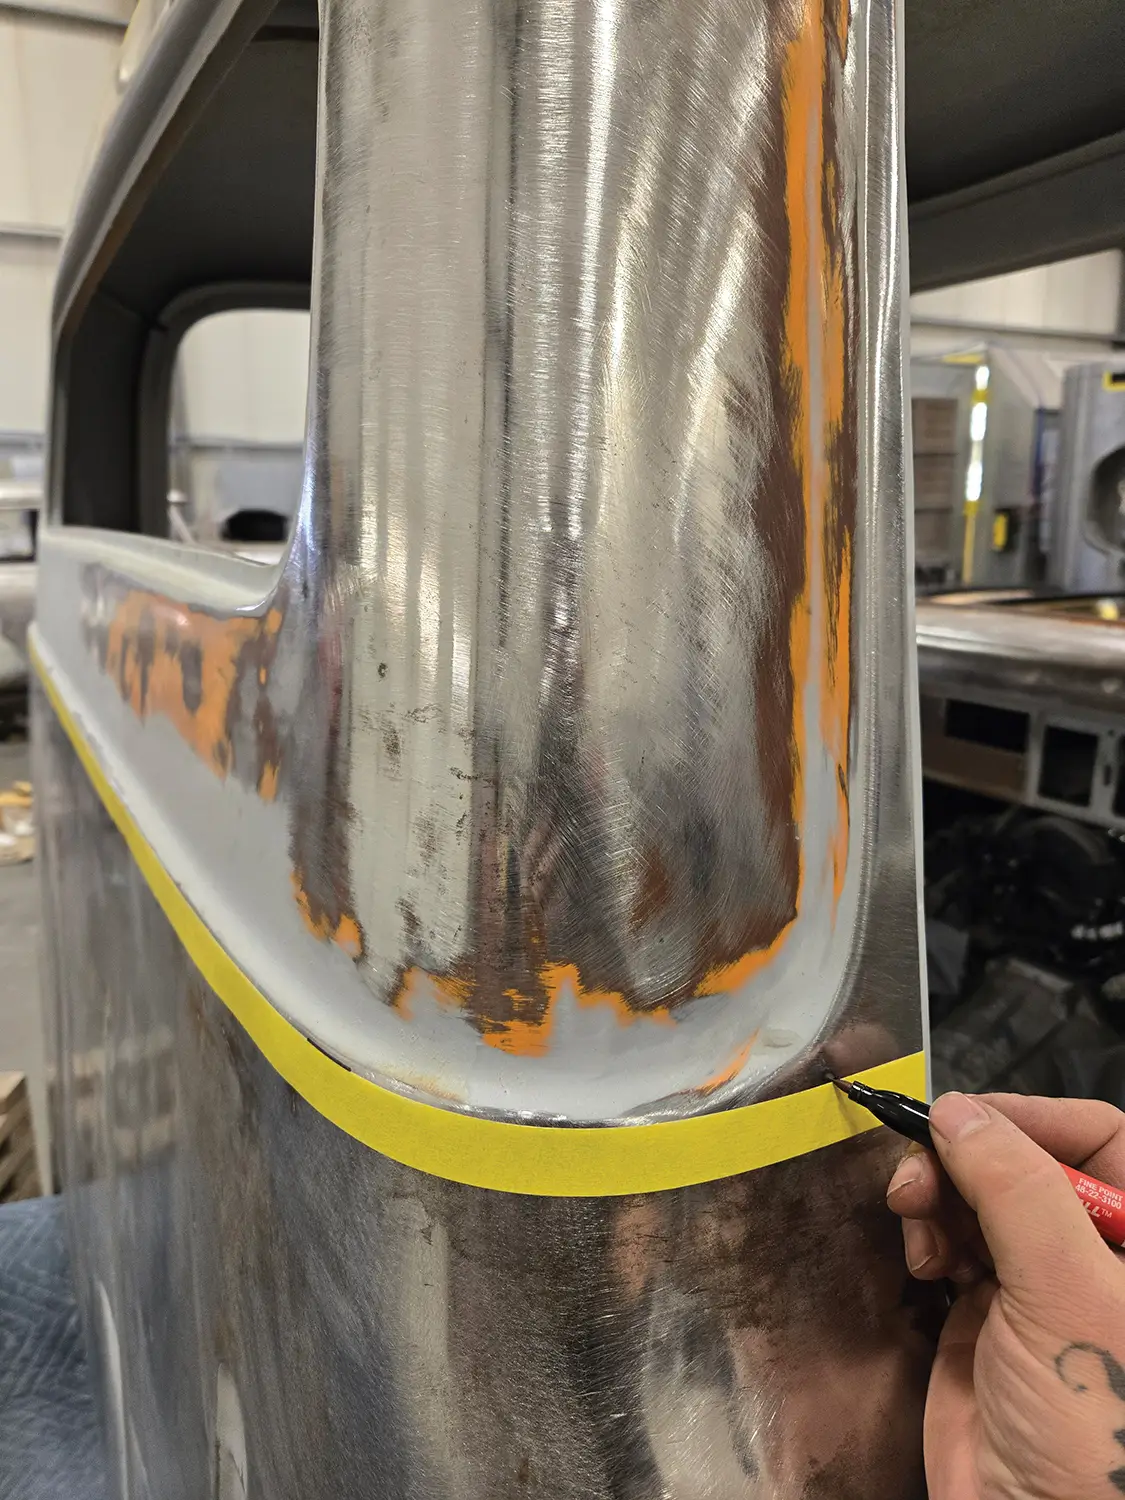
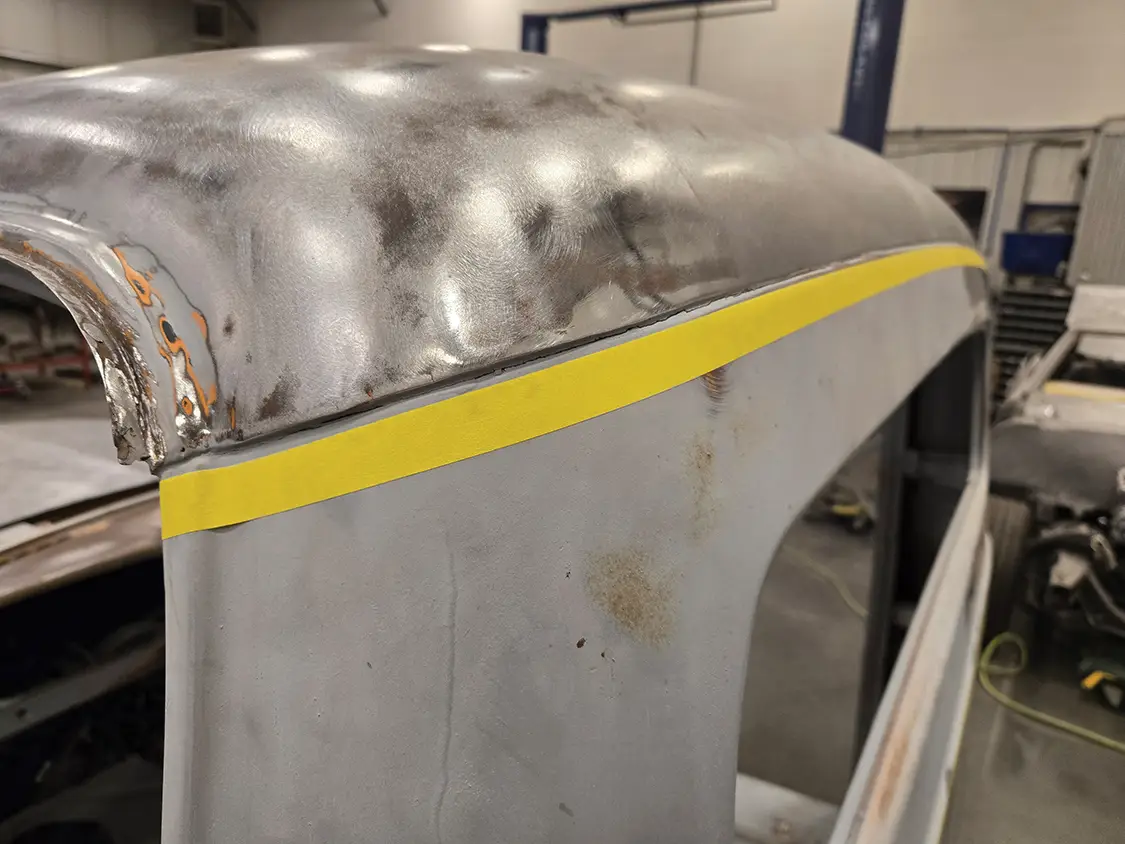
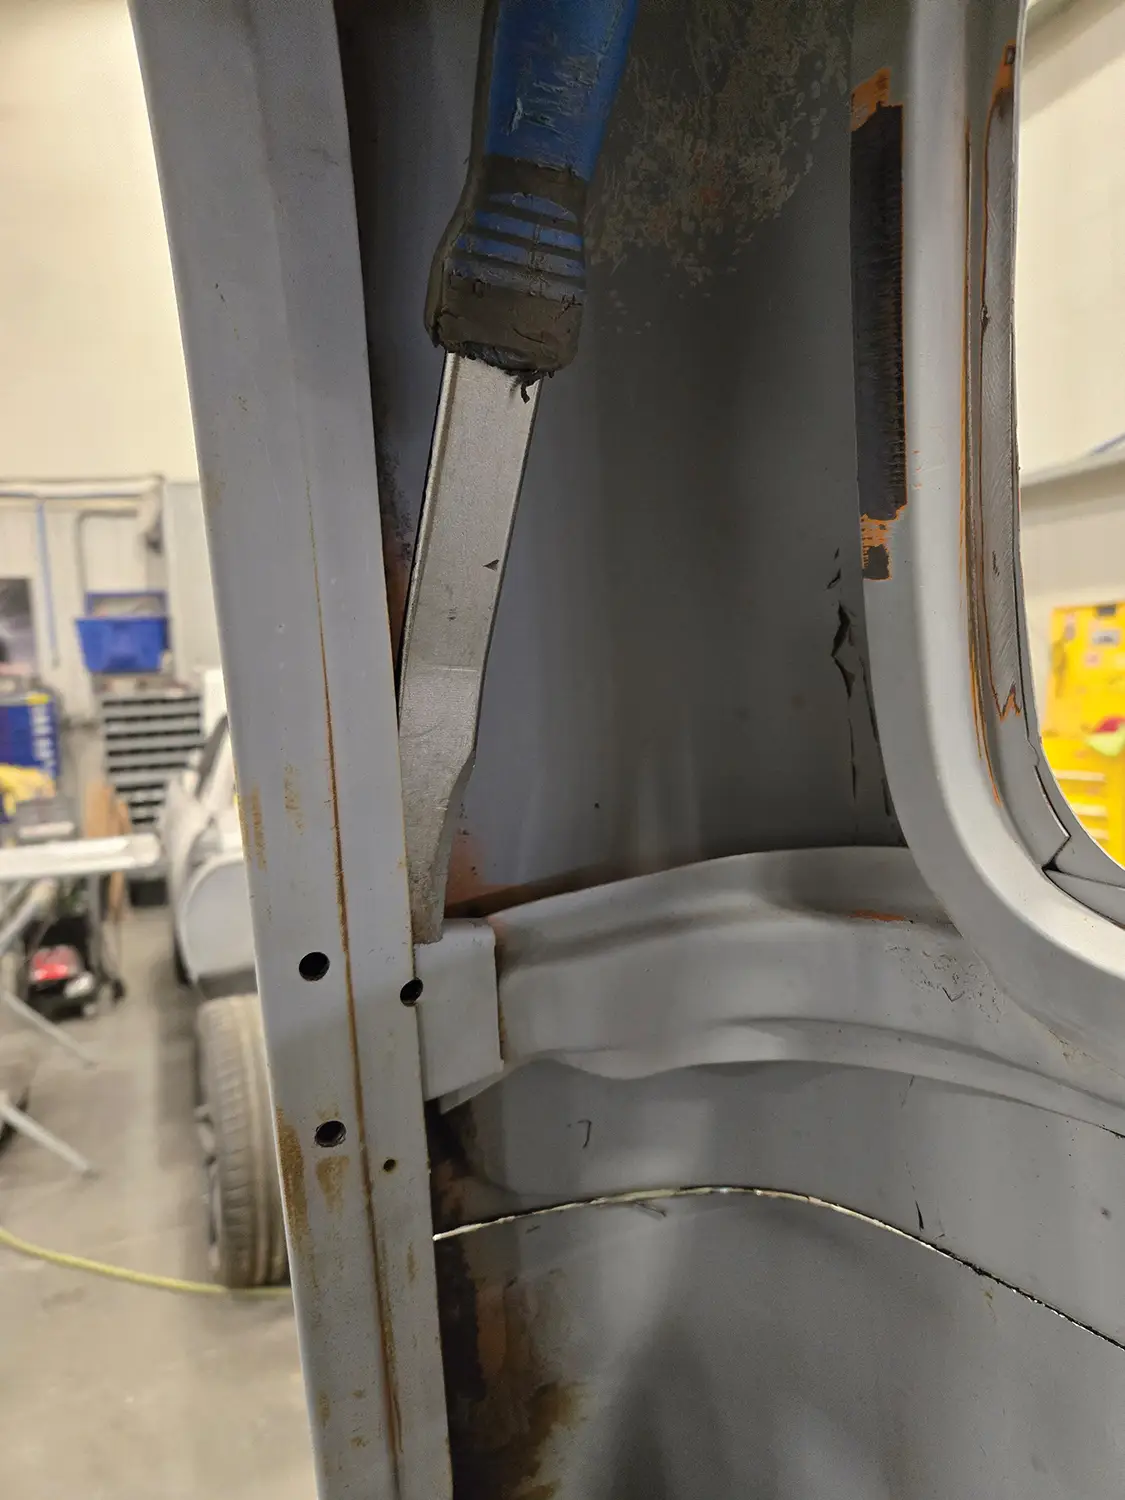
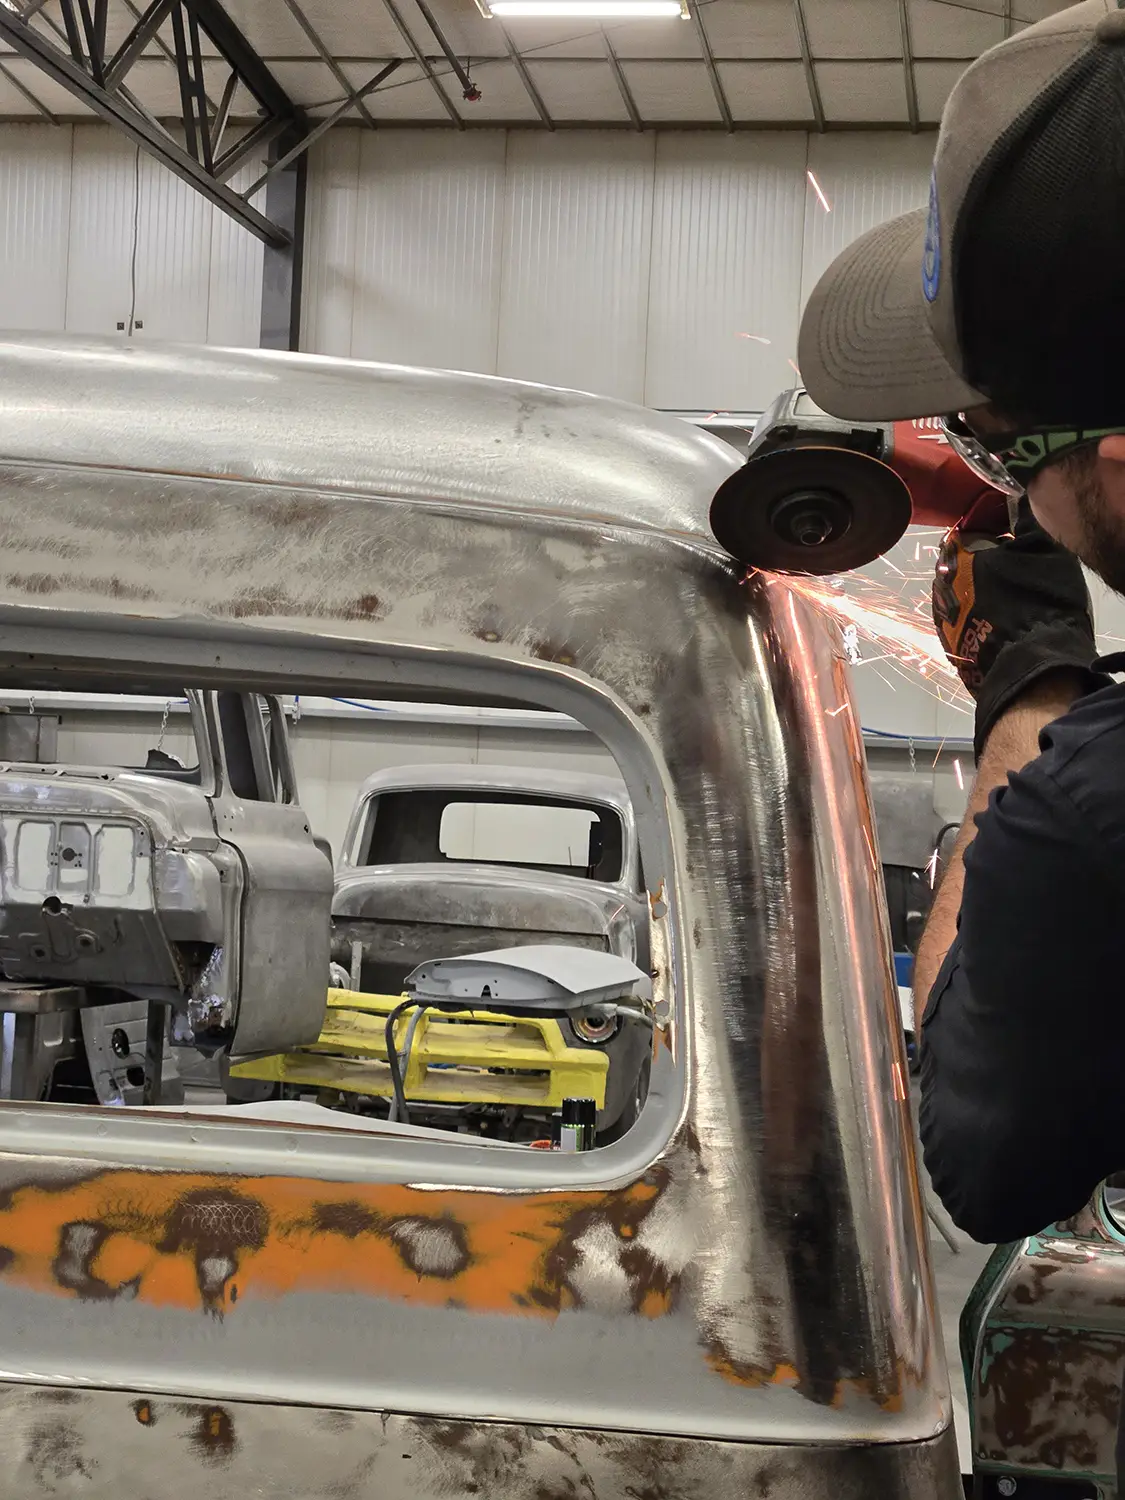
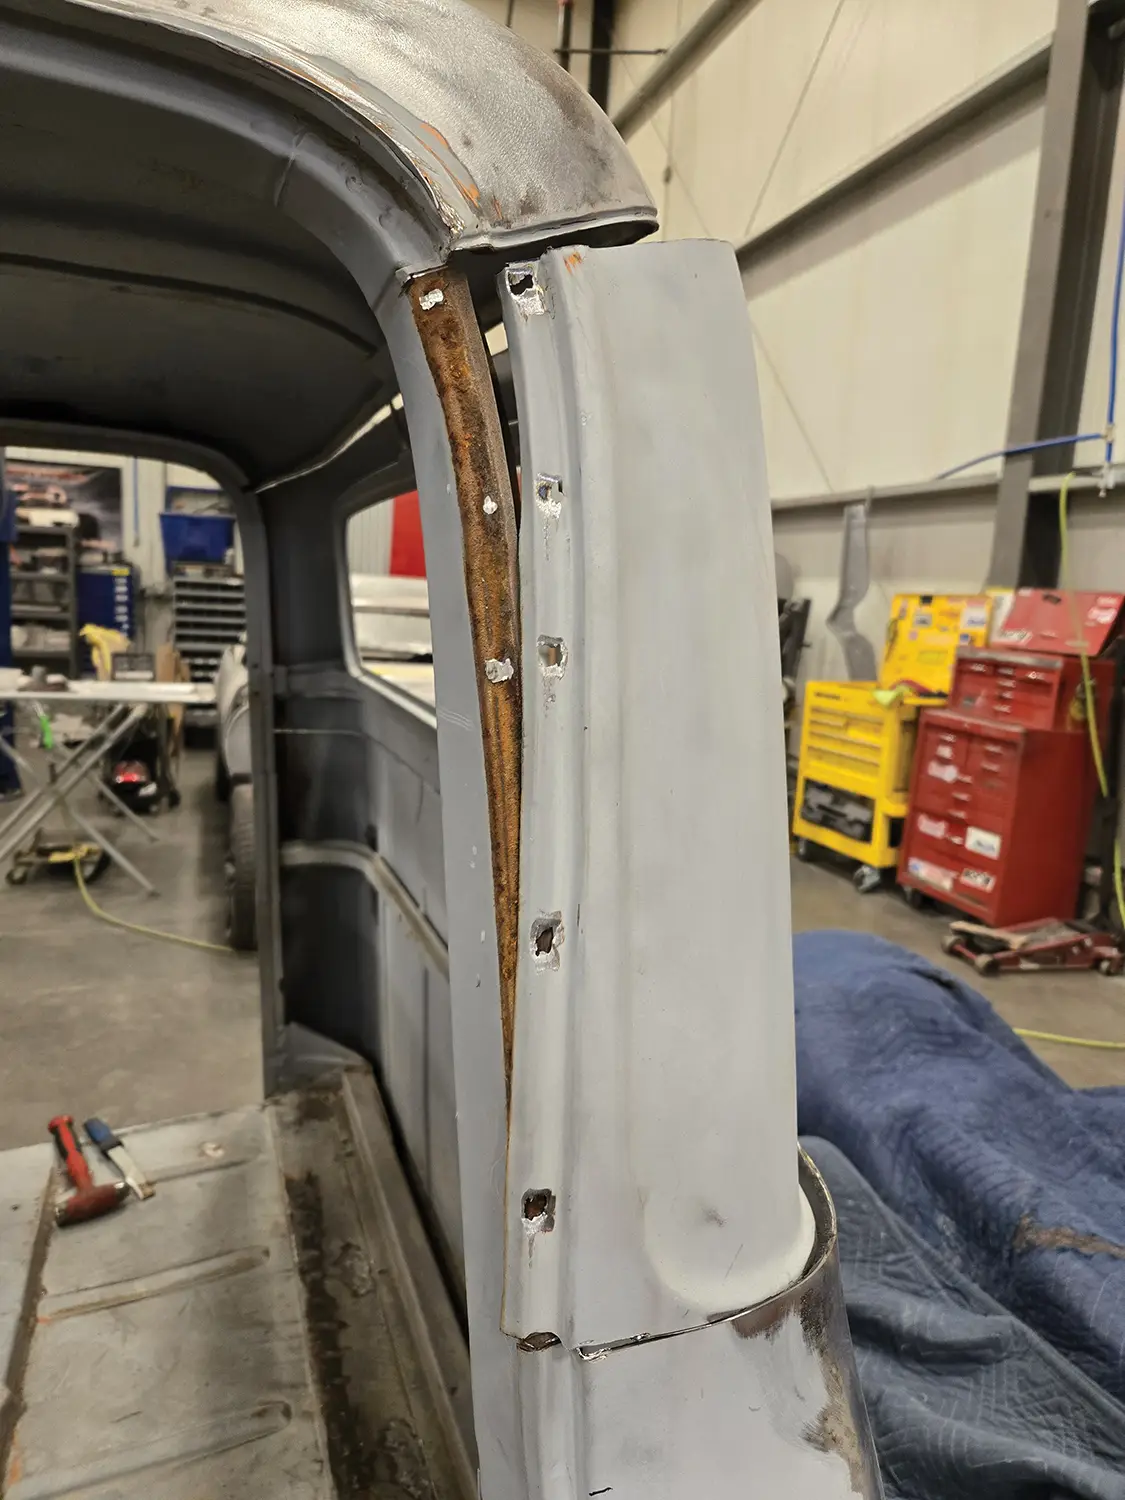
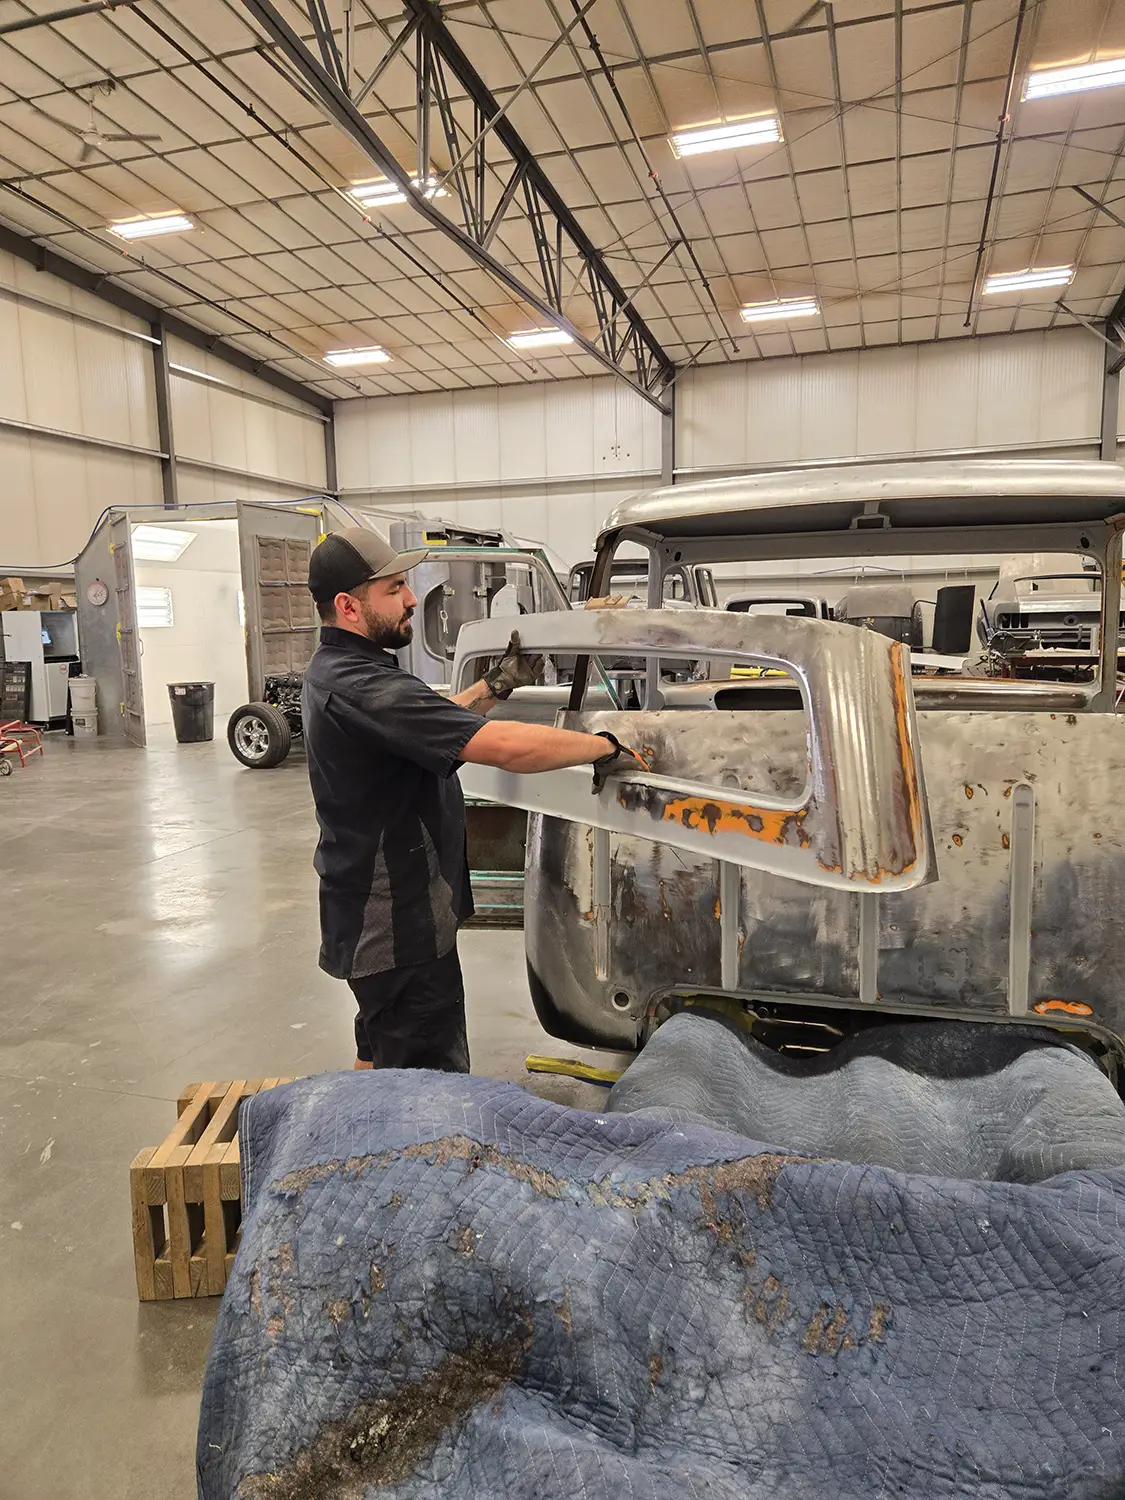
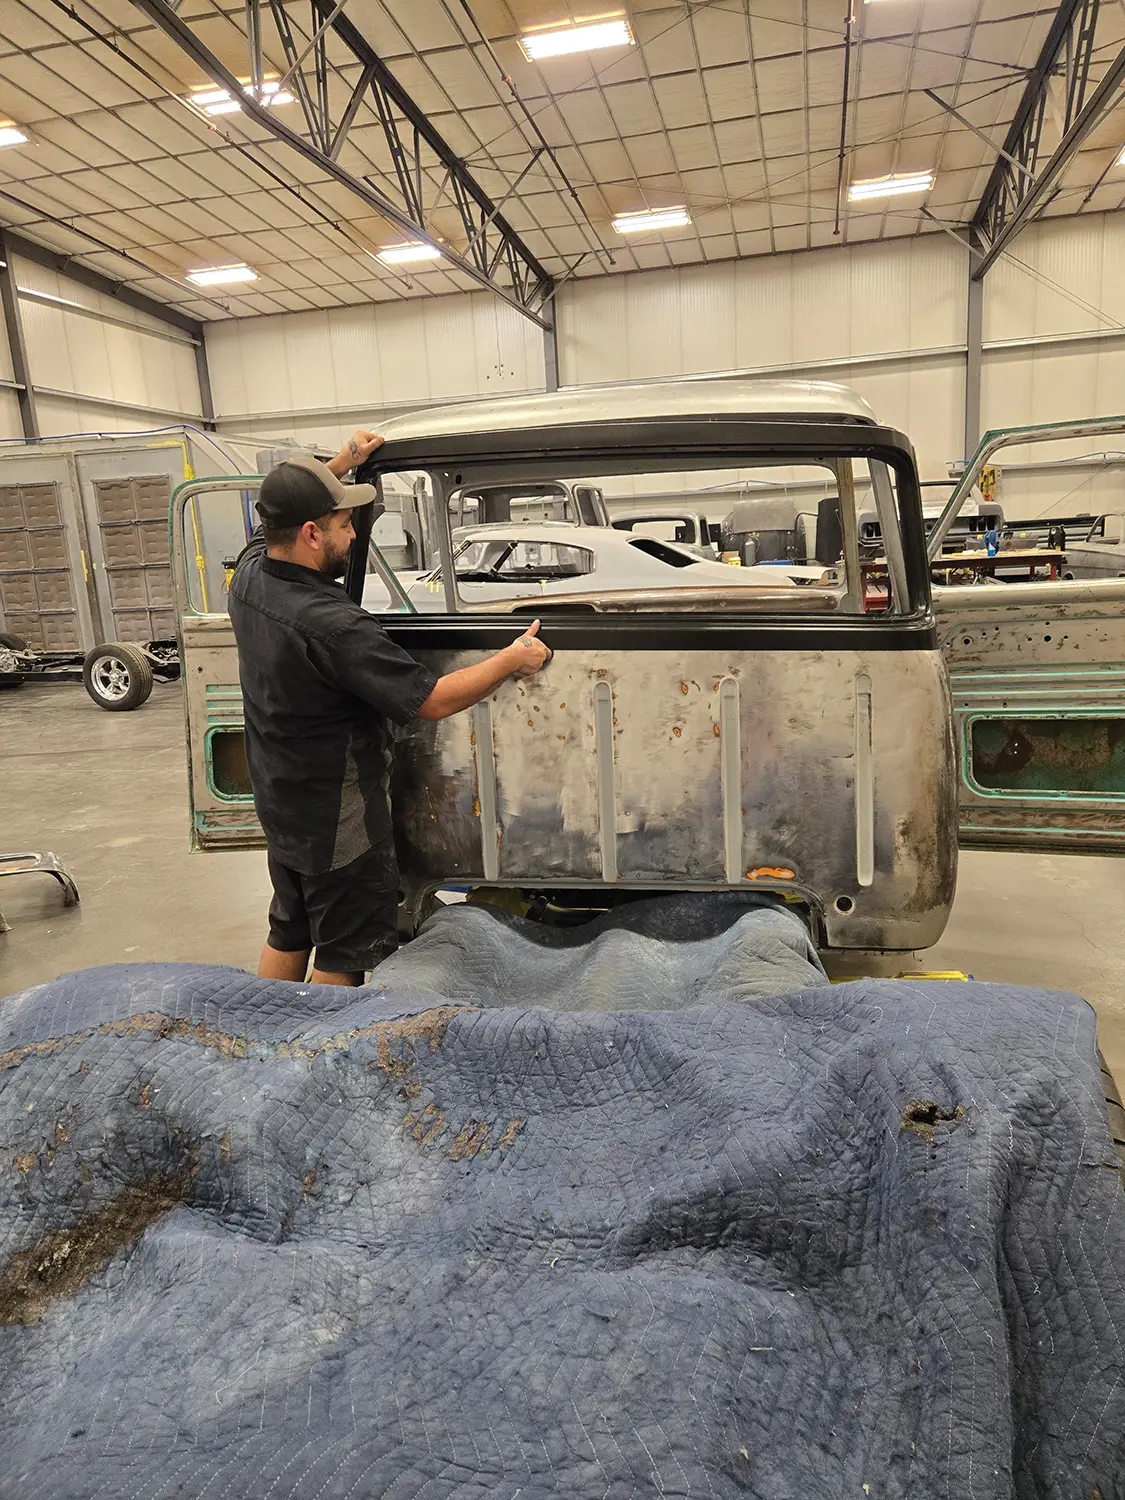
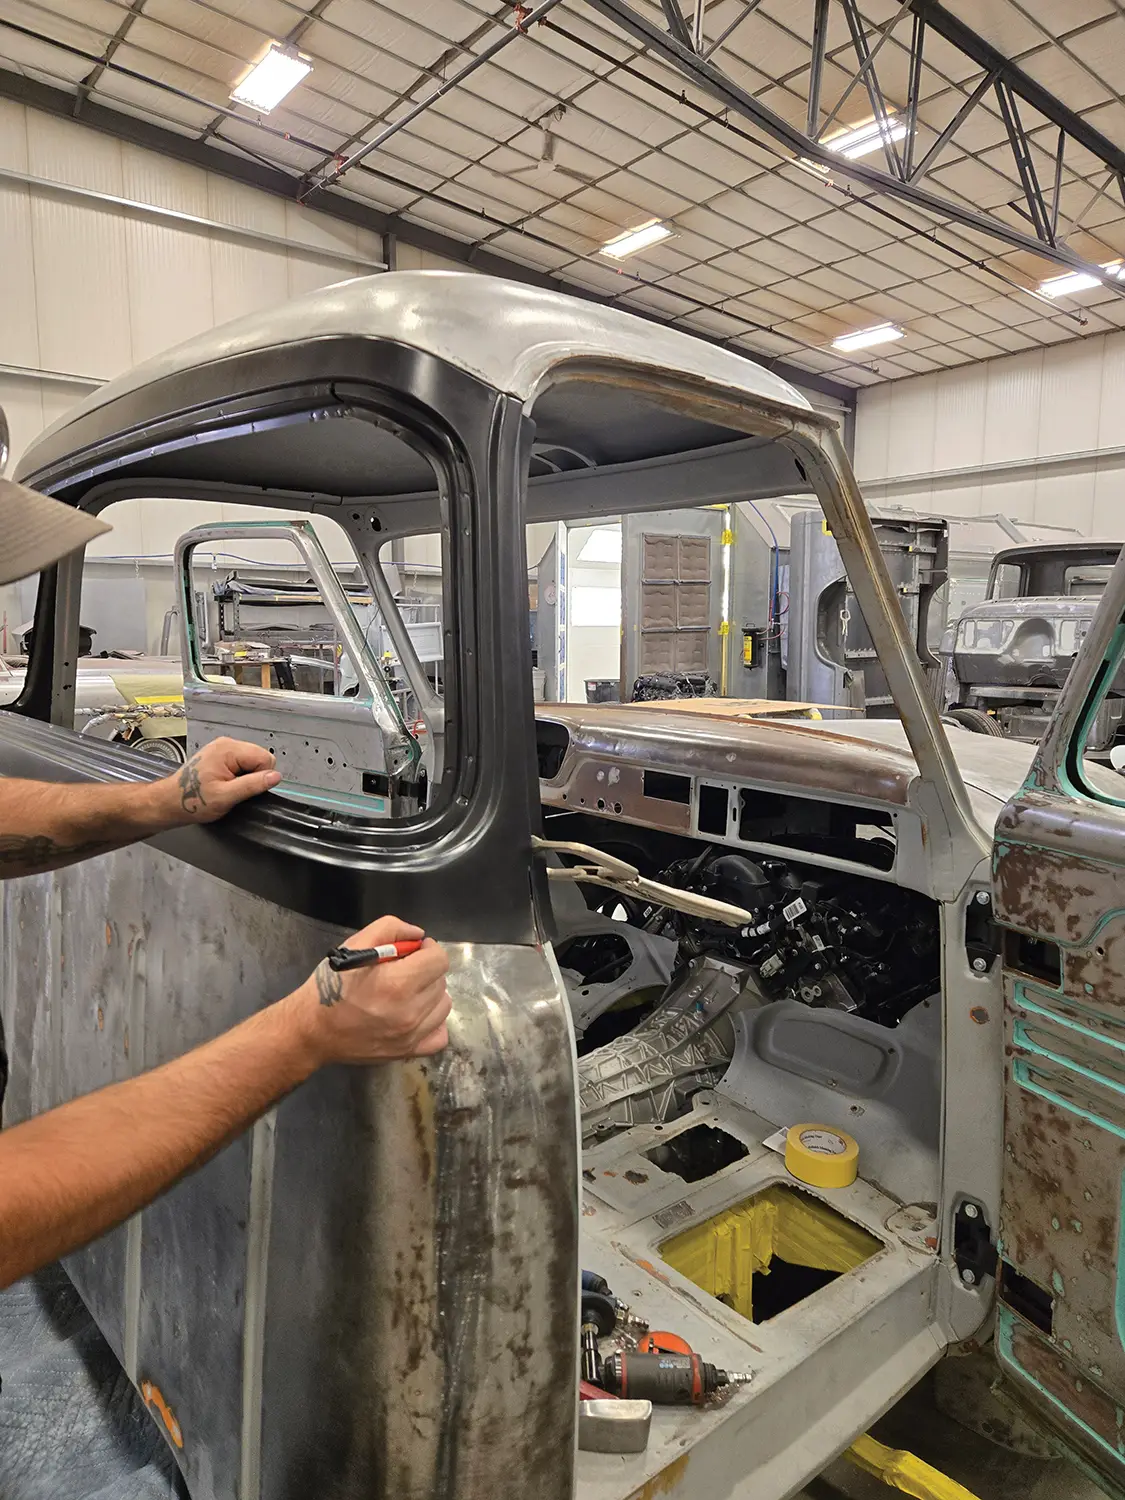
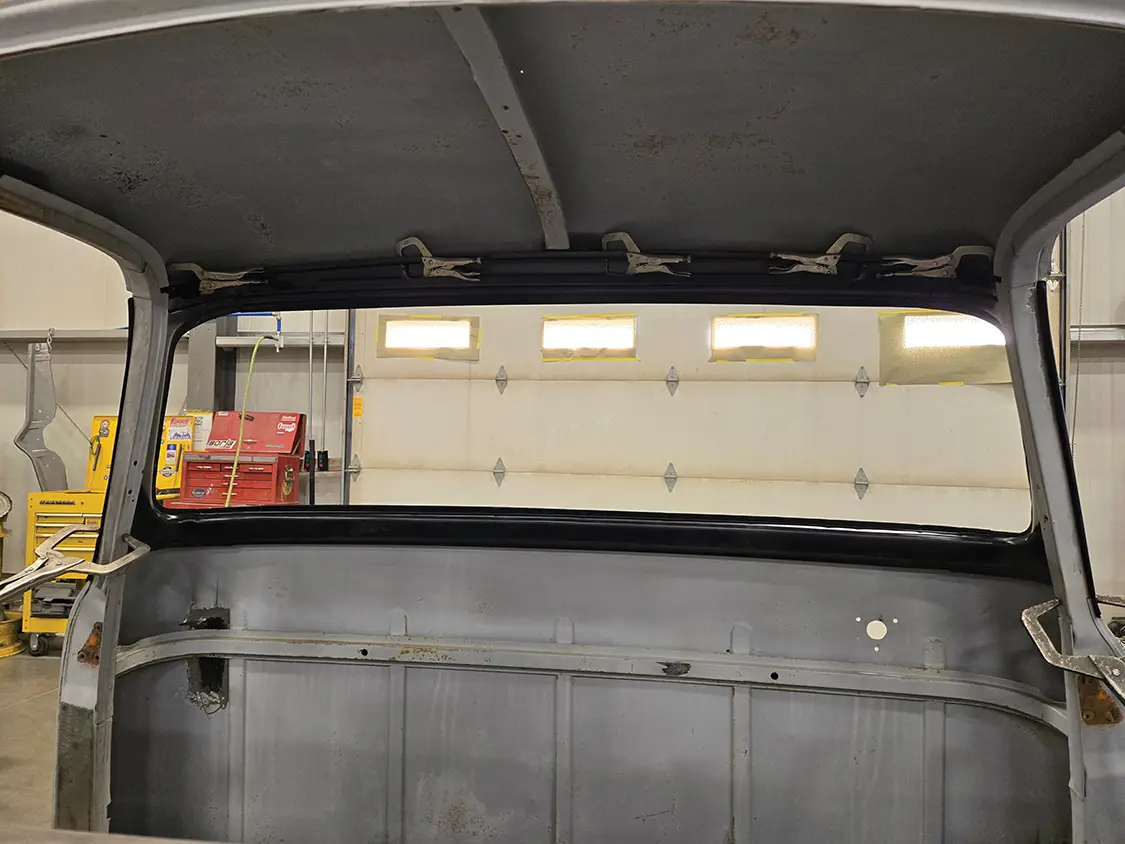
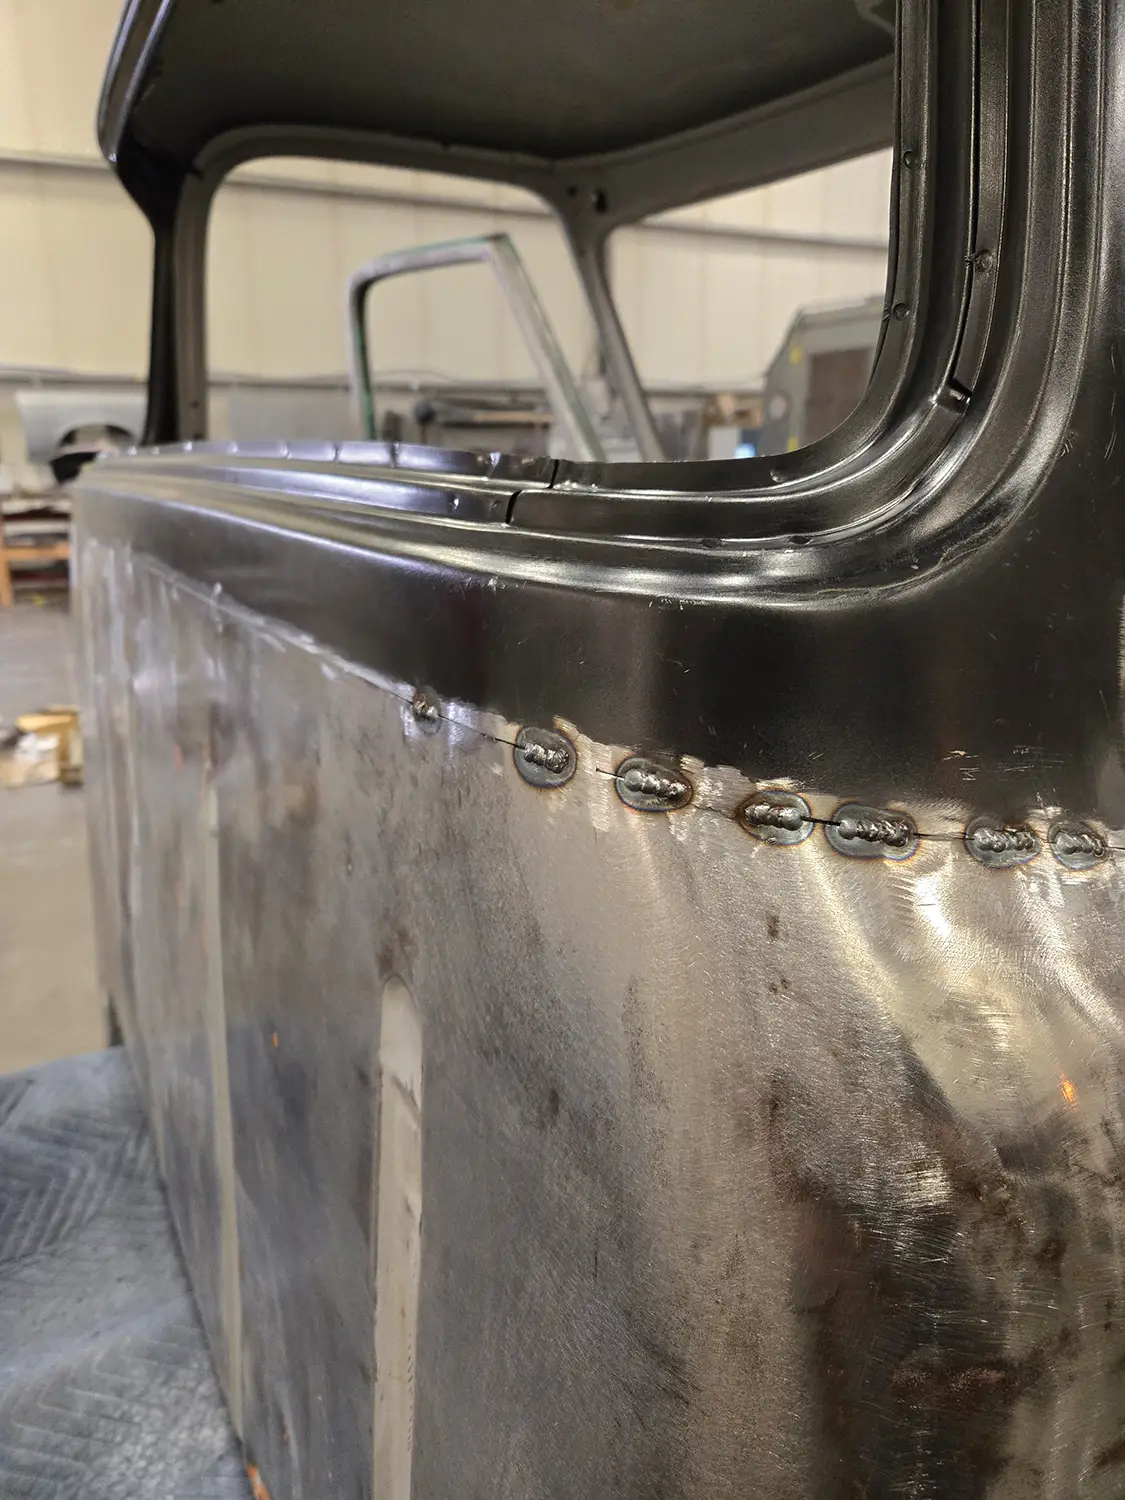
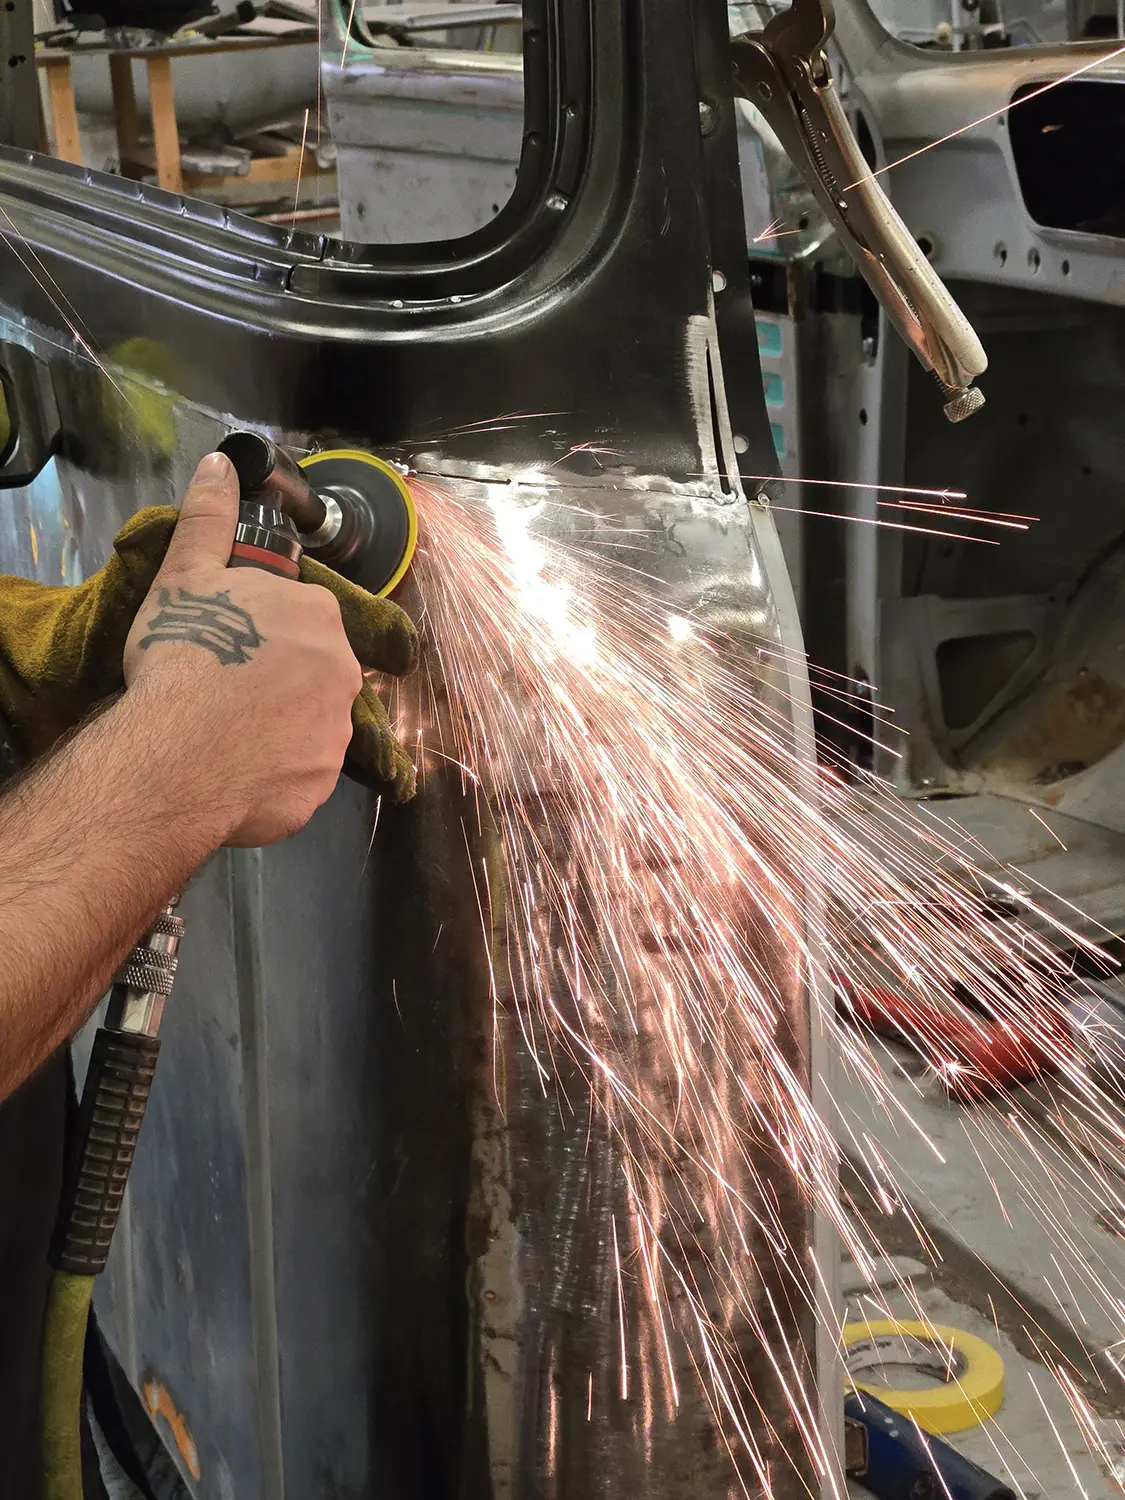
For owners of 1953-’56 Ford F-100 trucks, upgrading from a small back window to a big back window has become a highly sought-after modification that blends style with practicality. The original small rear window, while true to many factory builds, can feel restrictive by today’s standards. In contrast, the big back window option offers a noticeably improved look, giving the cab a more open and proportionate design that stands out at shows and on the road. This change not only elevates the truck’s classic appeal but also enhances the overall driving experience.
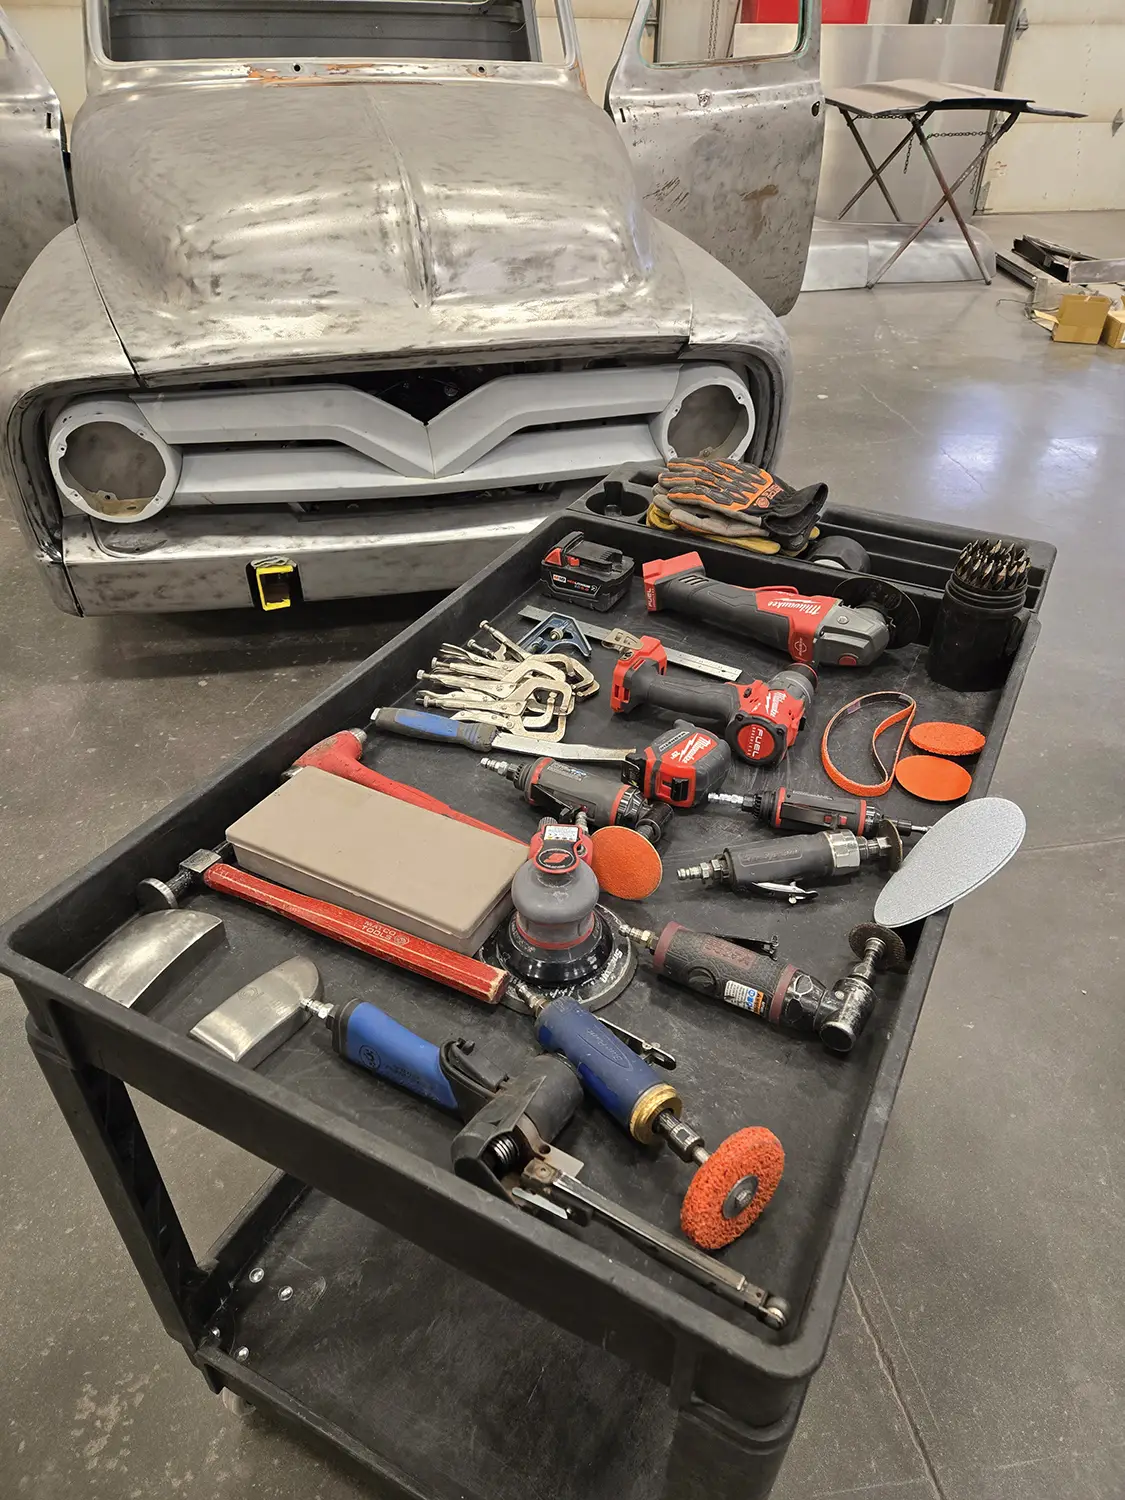
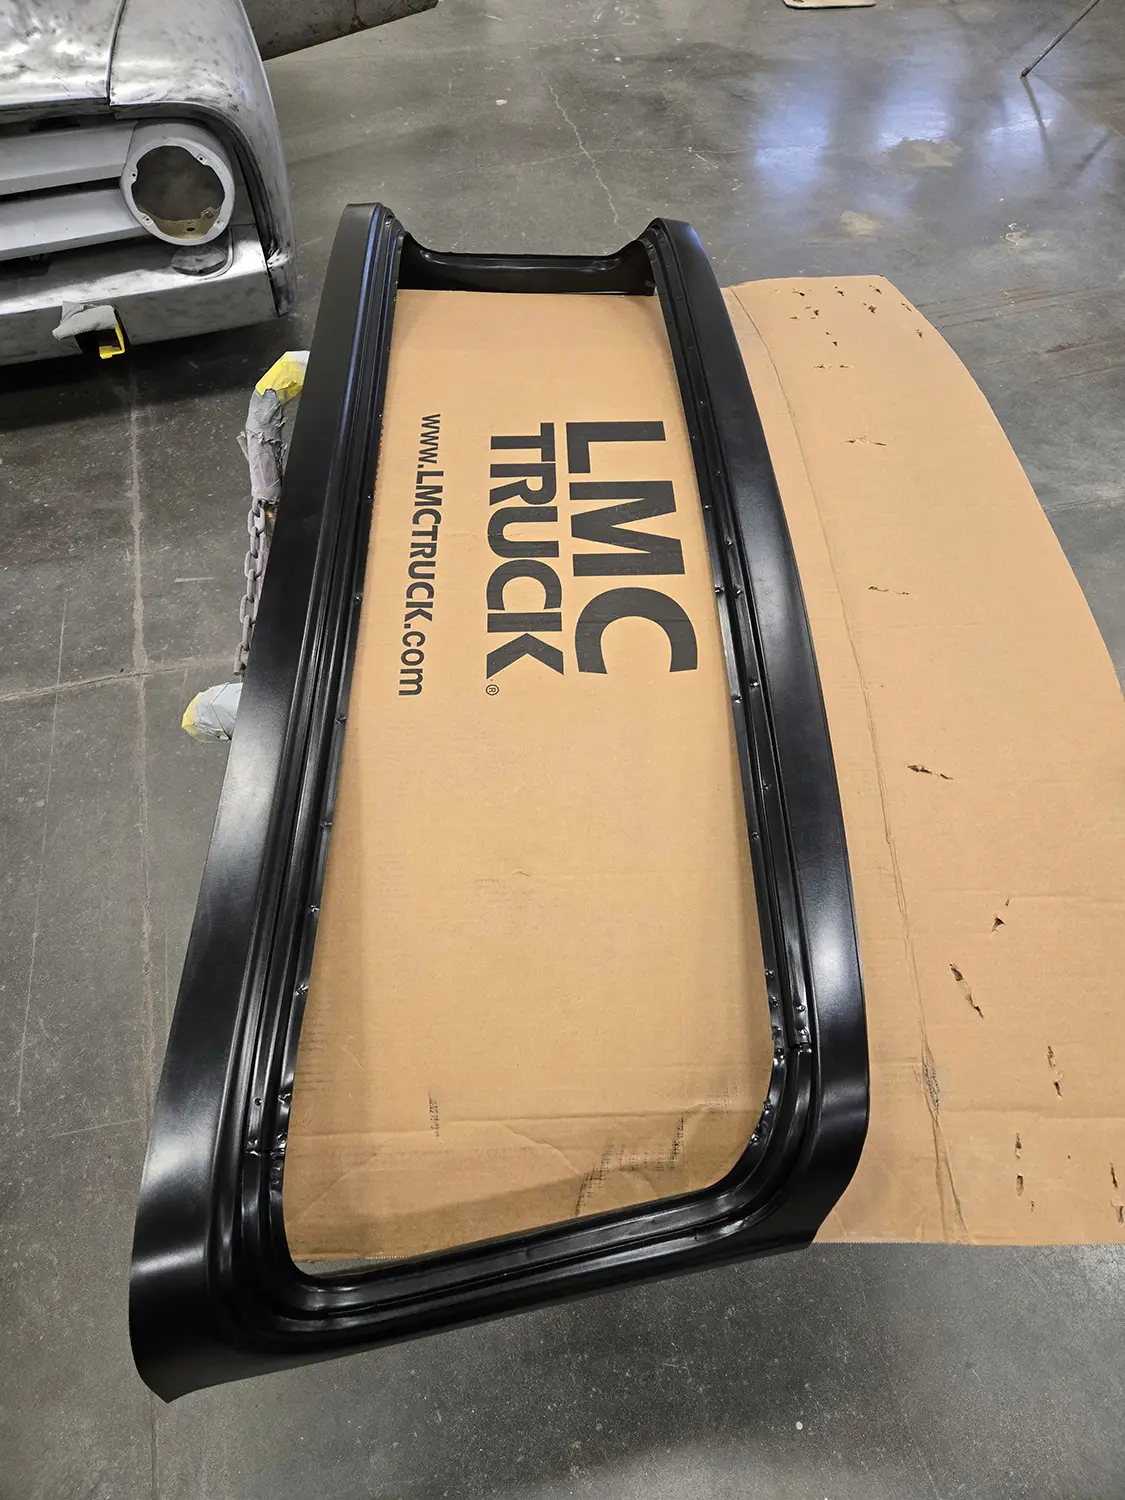
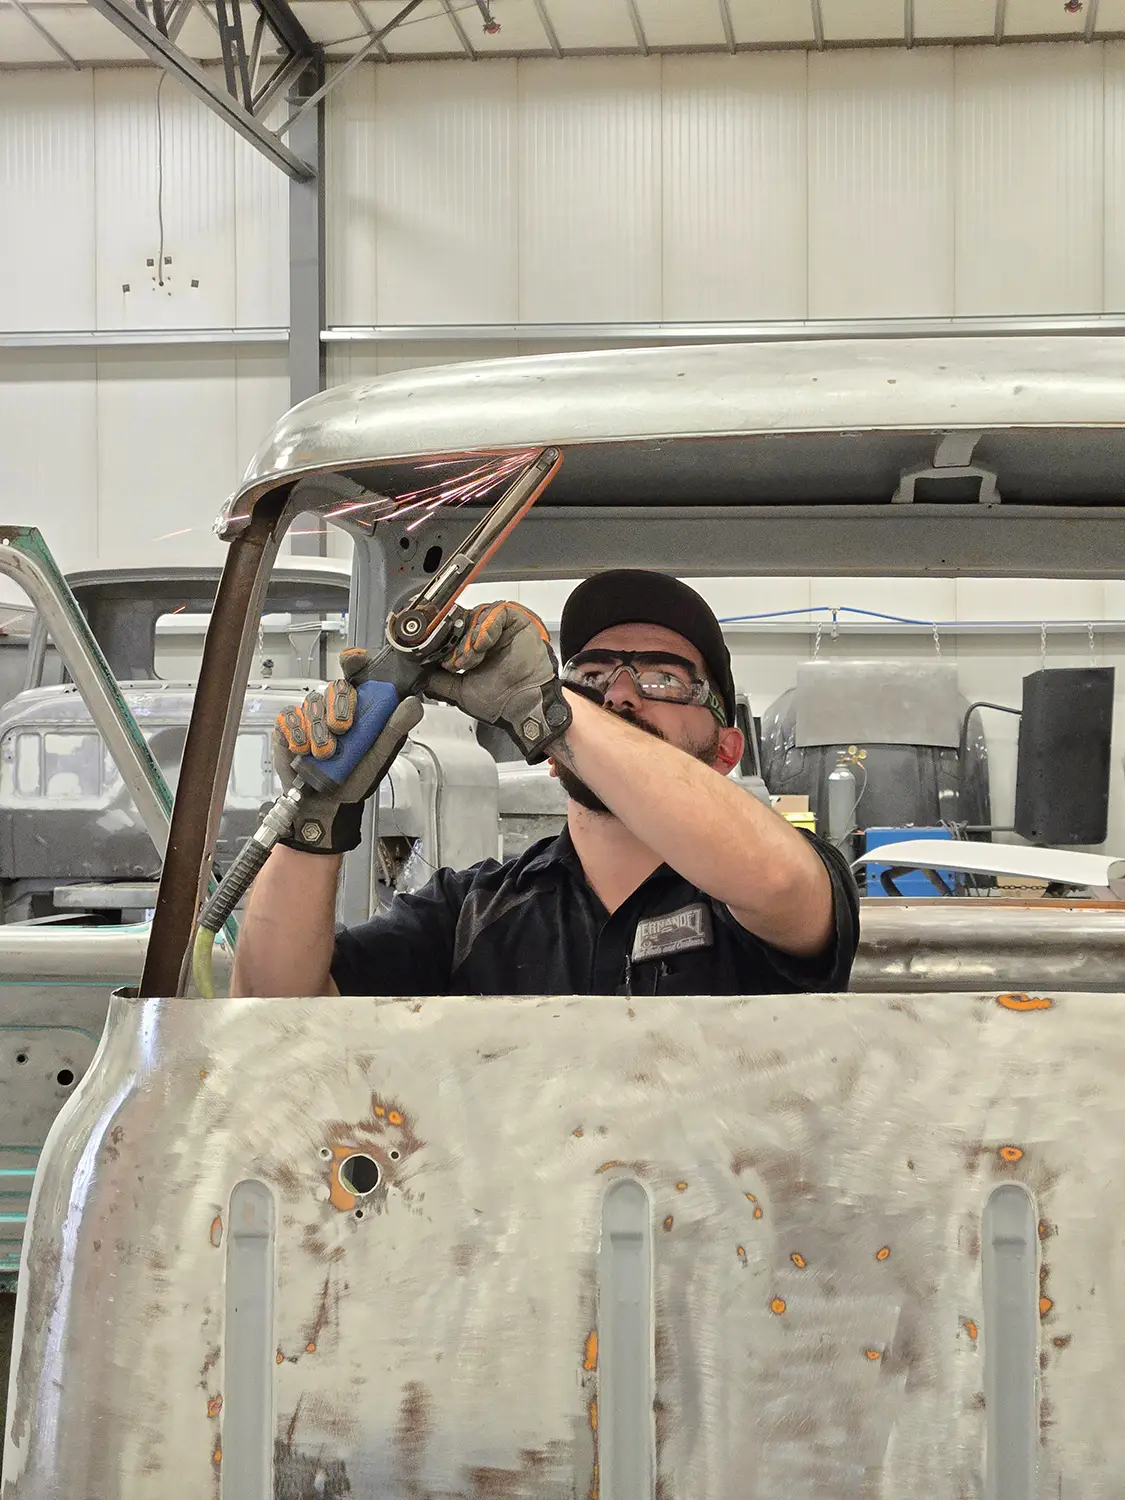
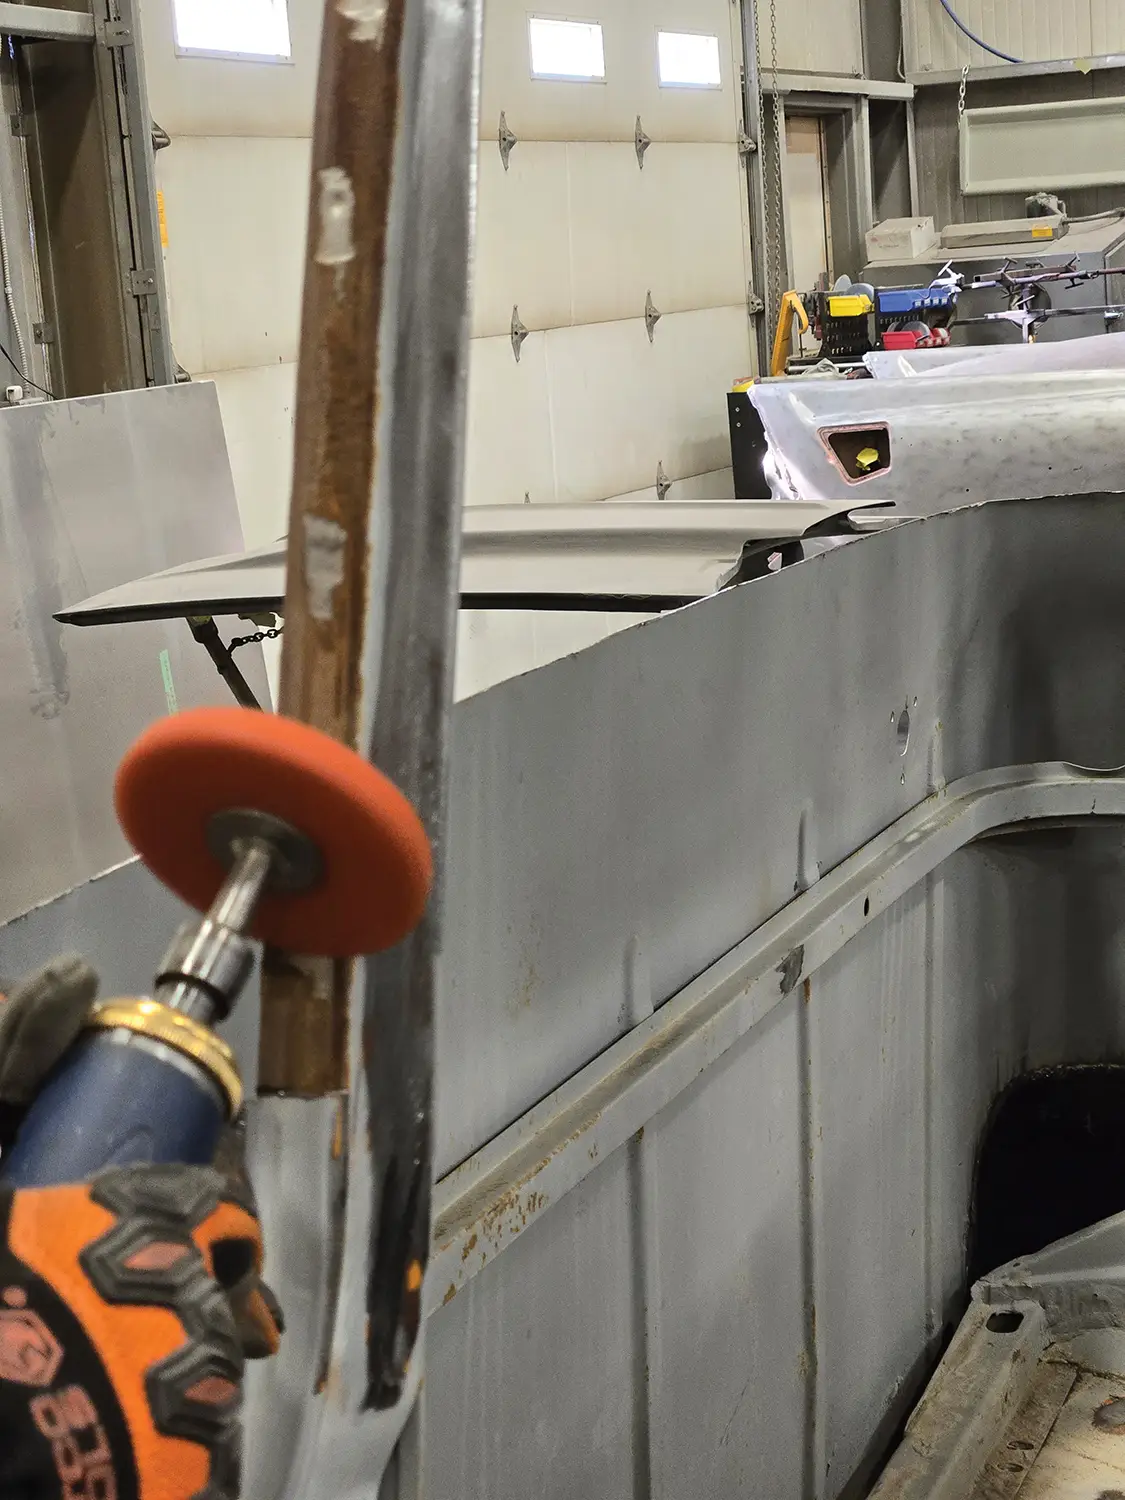
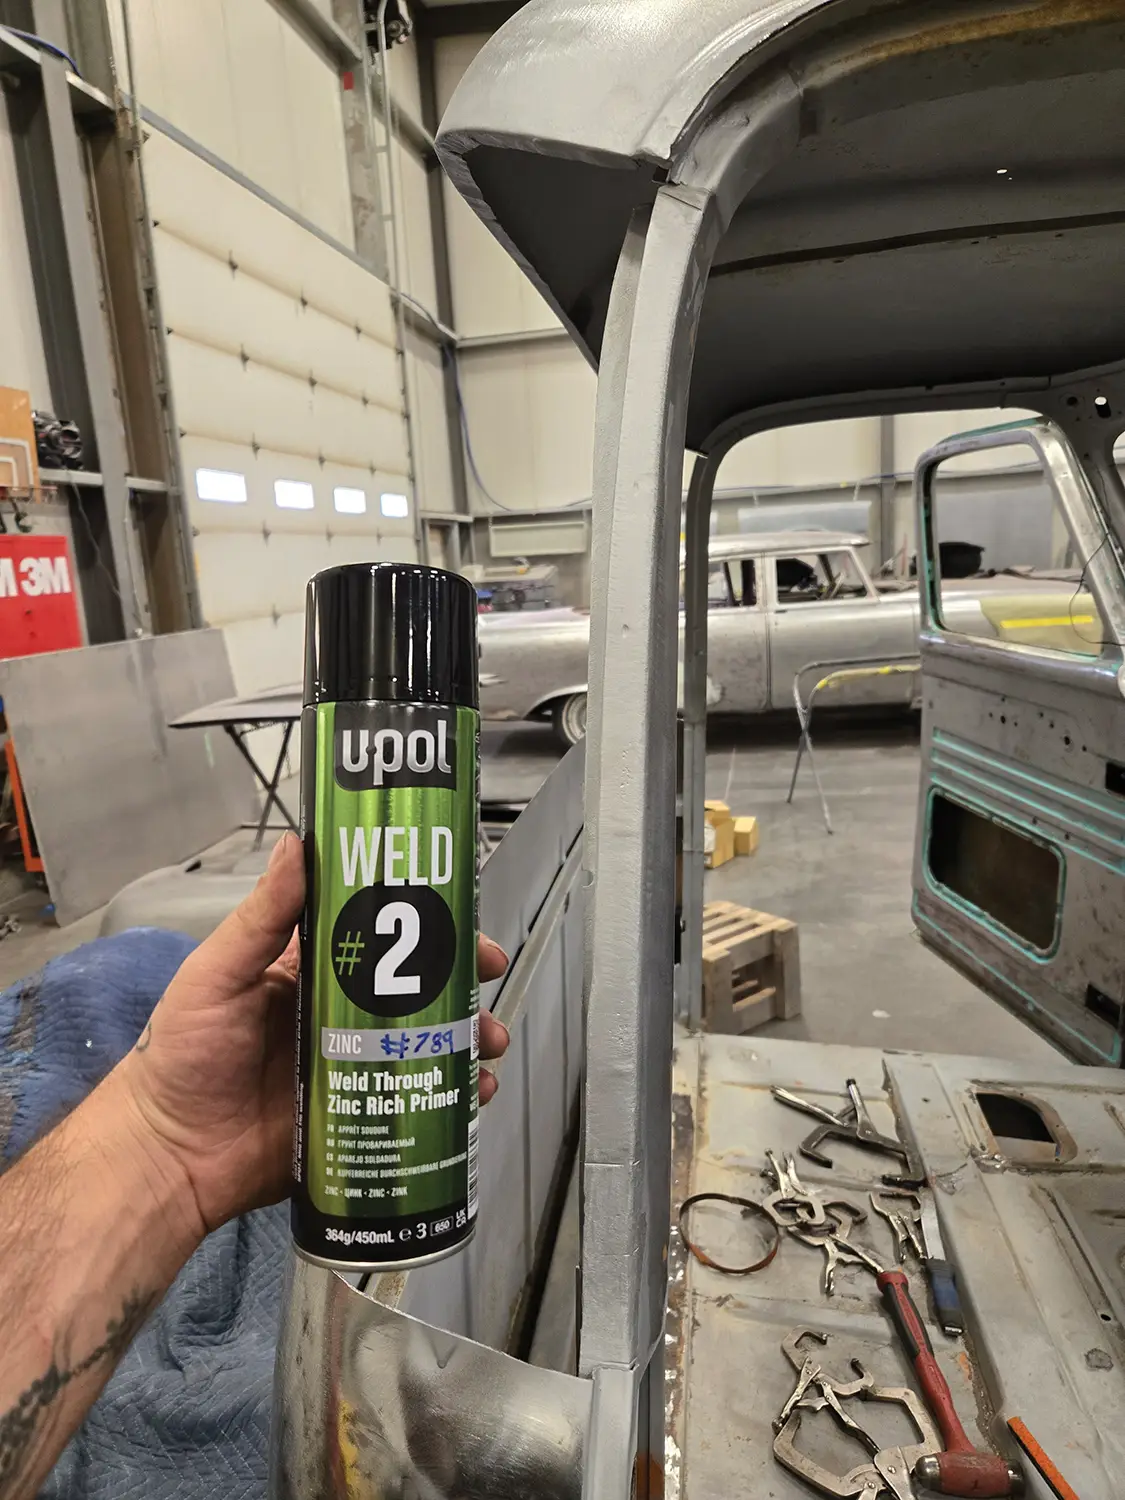
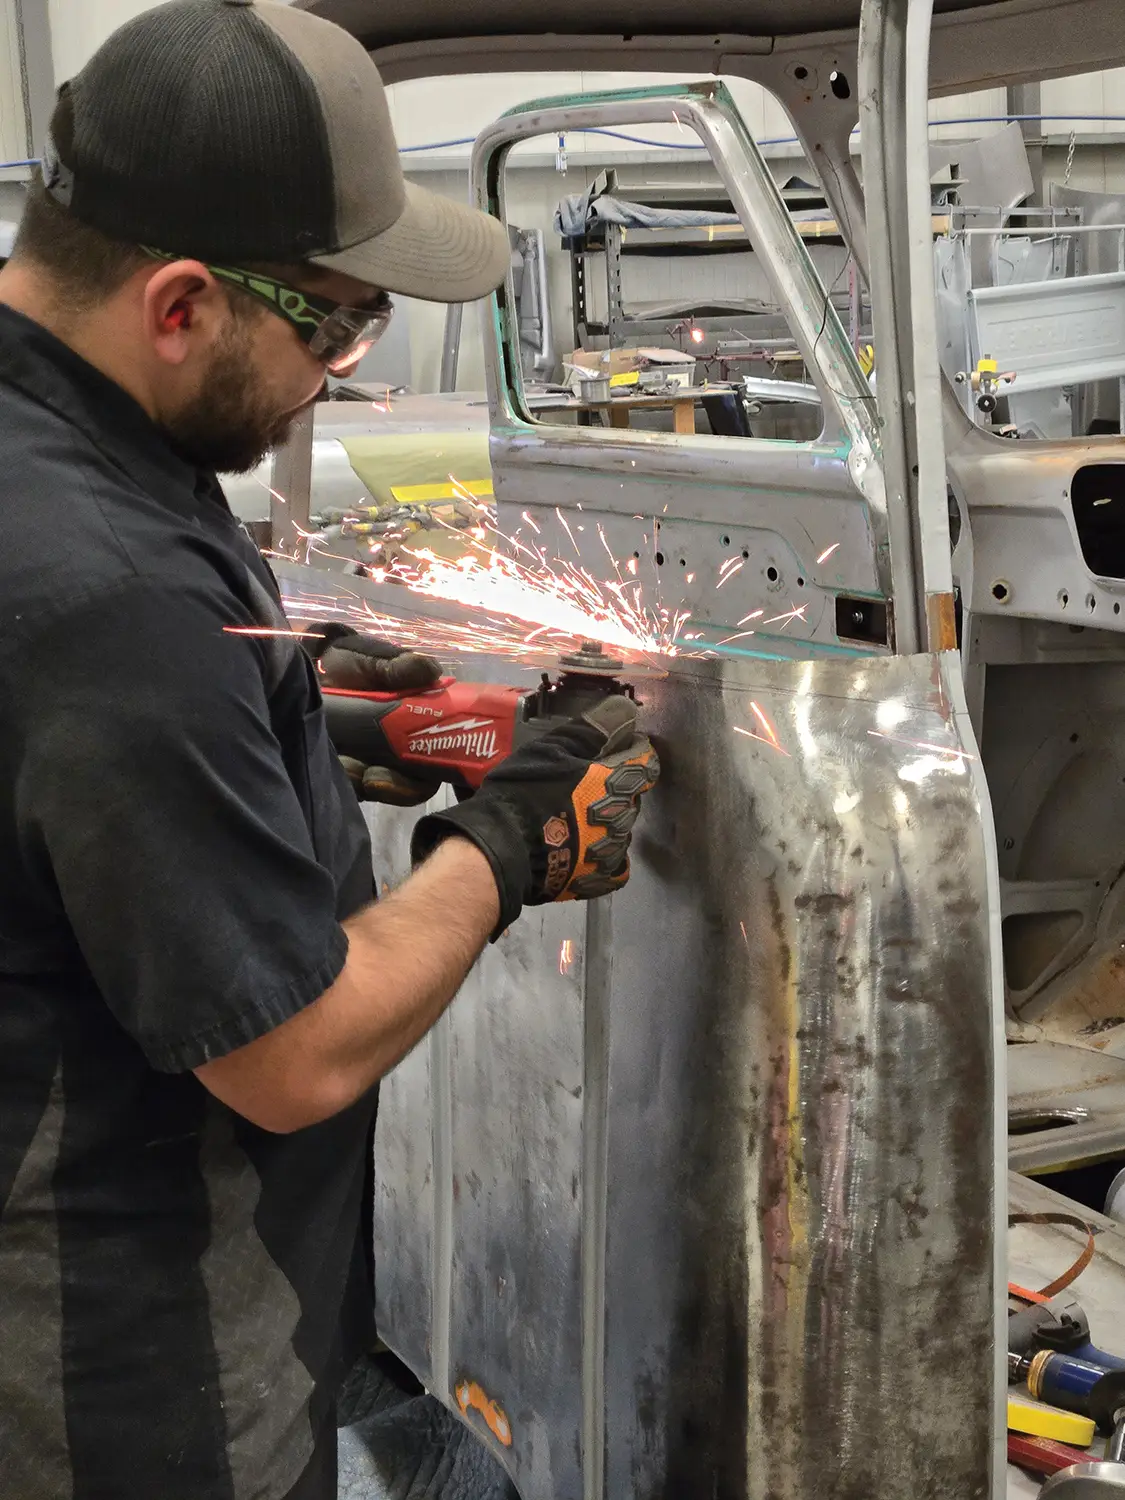
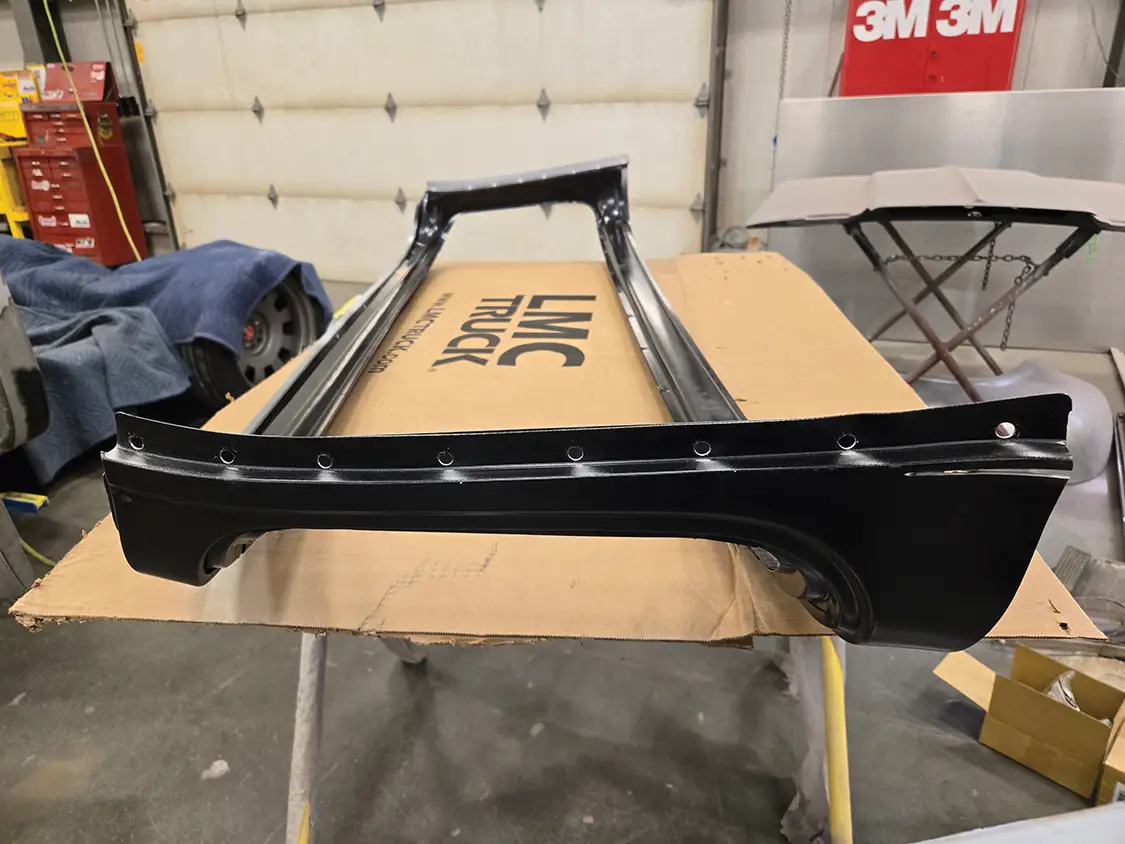
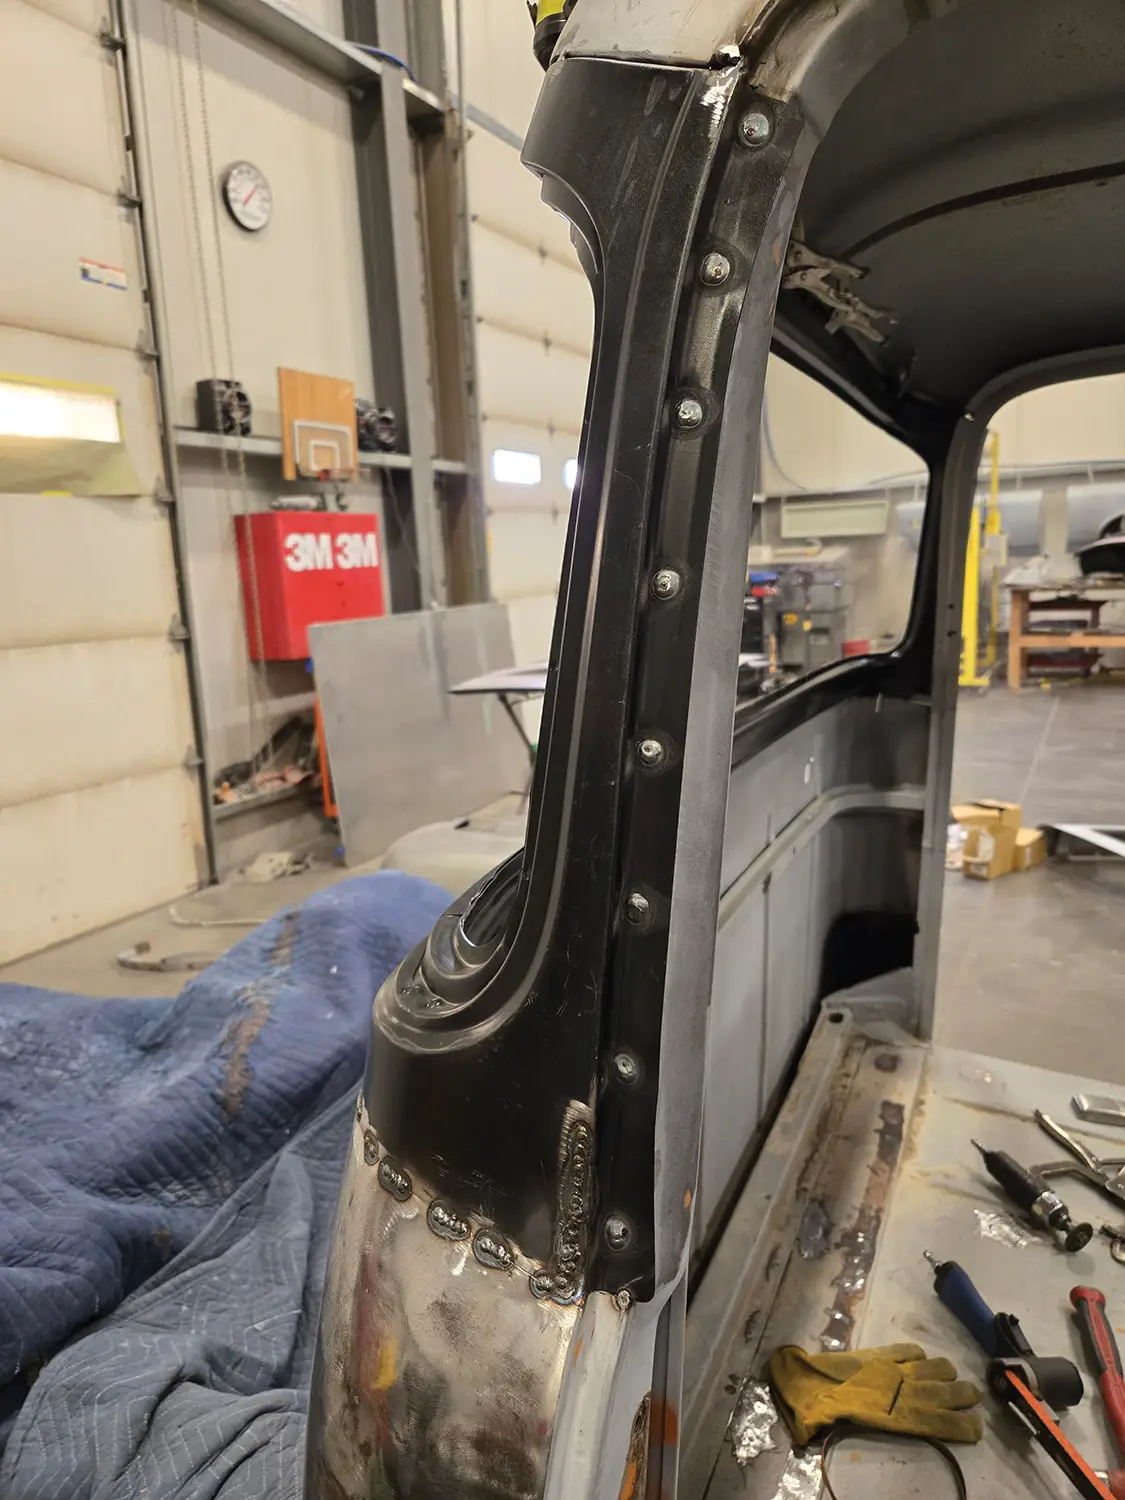
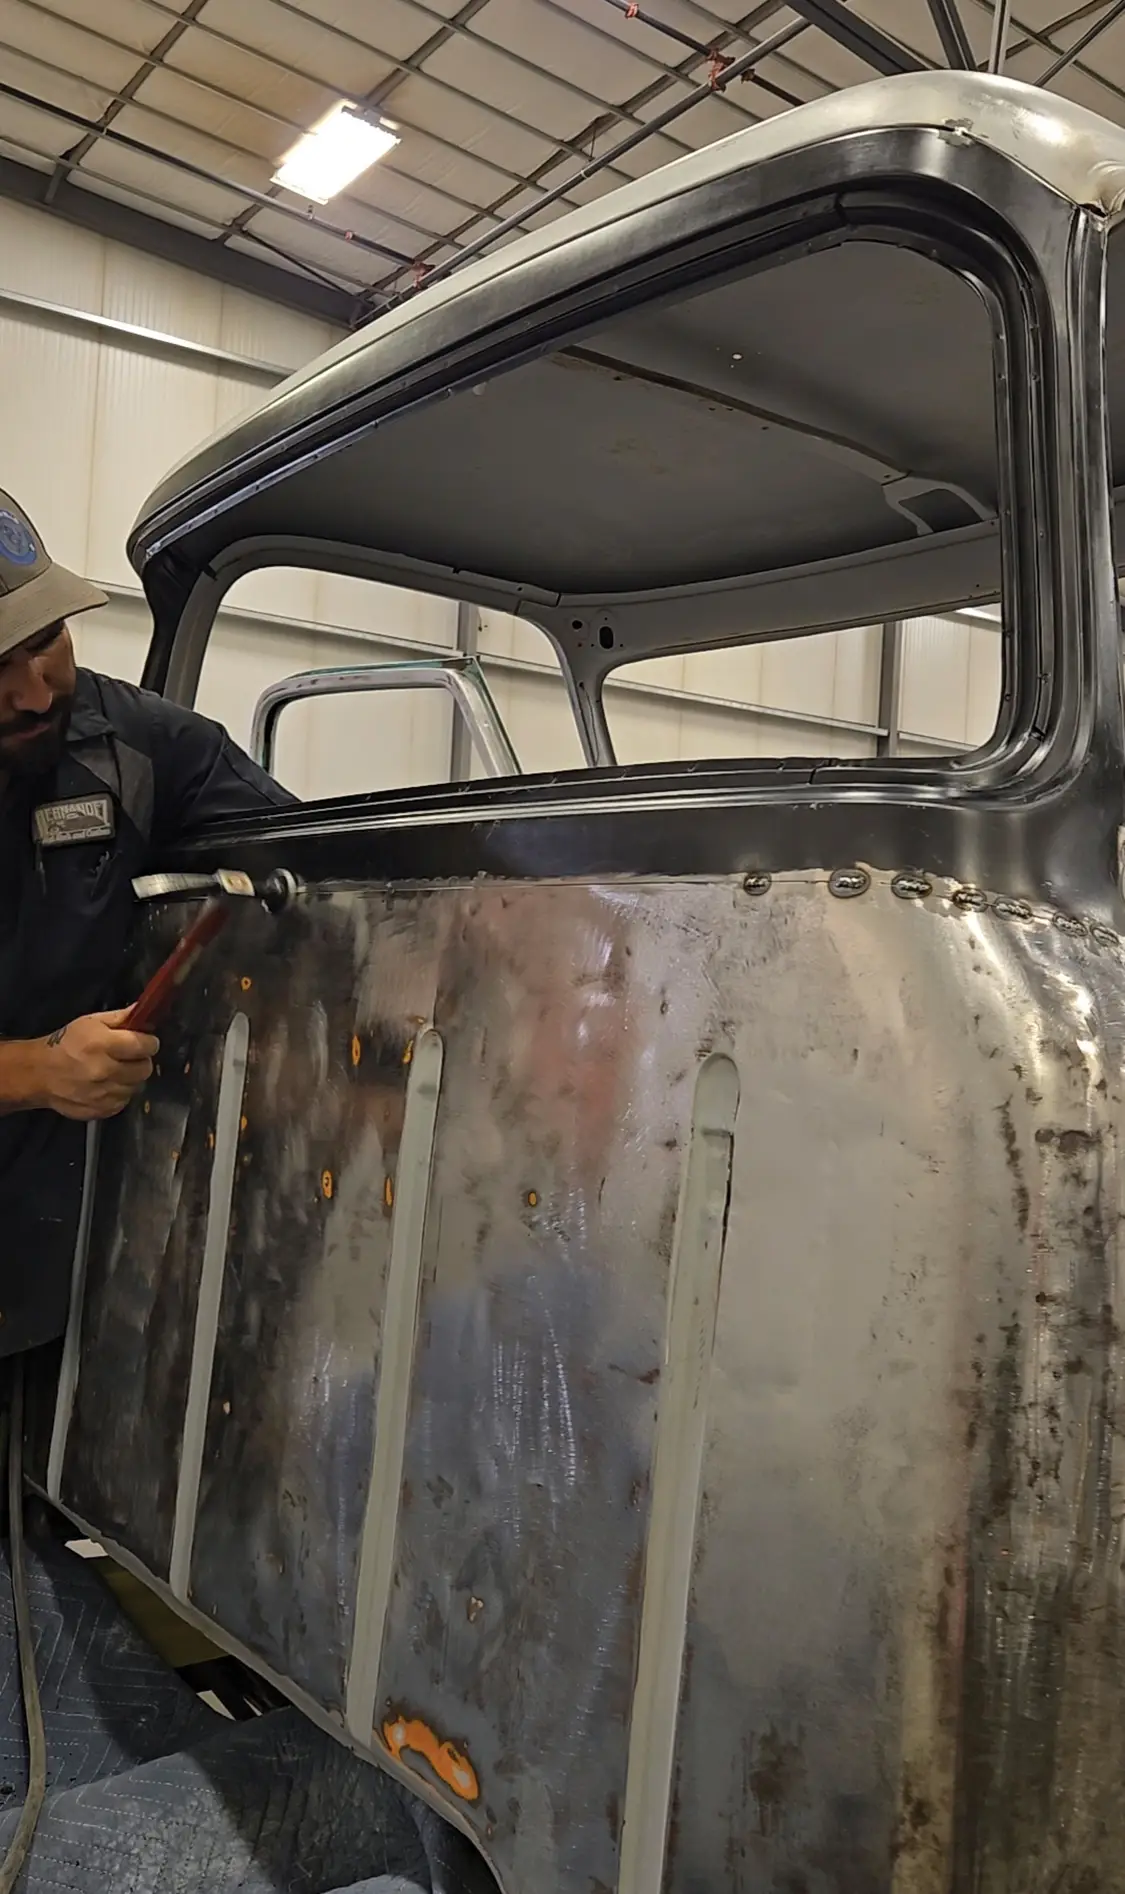
One of the biggest advantages of the larger rear window is the increase in natural light inside the cab, making the interior feel less confined and more inviting. Additionally, the expanded glass area significantly improves visibility, helping to reduce blind spots and making driving safer—especially in traffic. While factory big back window cabs are rare and often difficult to find, aftermarket solutions have simplified the process. LMC Truck provides a big back window conversion panel designed to fit existing small window cabs, allowing enthusiasts to achieve this upgrade without sourcing a new cab. With basic tools and some dedication, the transformation can typically be completed over a single weekend.
Features
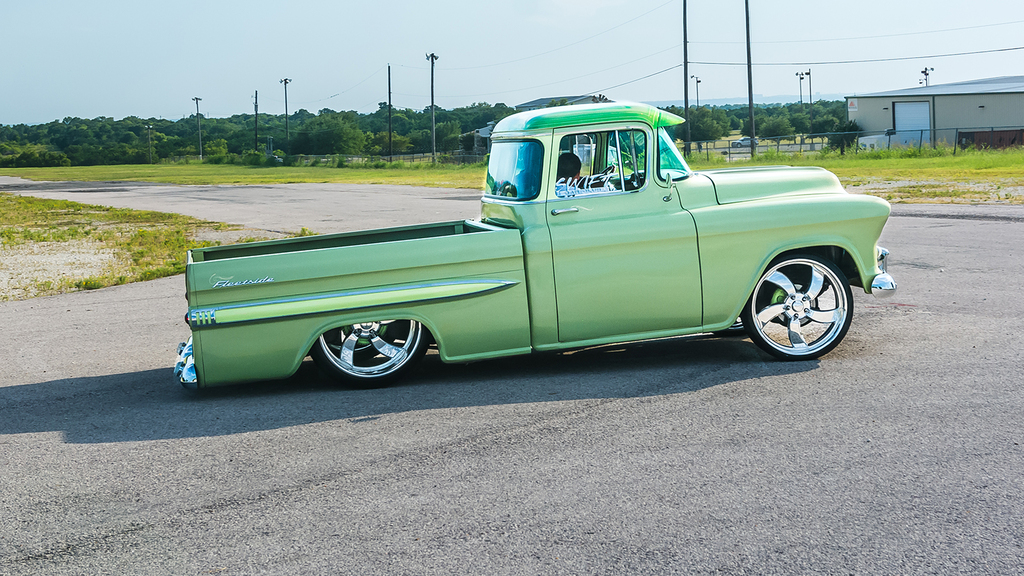
Focused and Driven Time and time again, we see project trucks end up on some online marketplace because the owner is fed up and ready… Continue reading
Chris Hamilton . November 16, 2020
Events
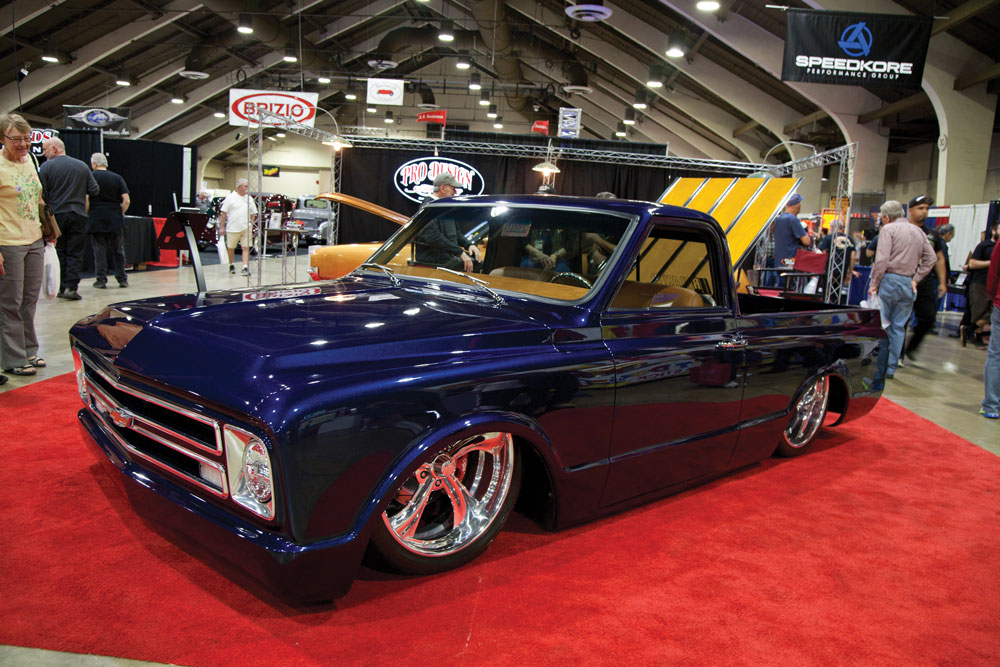
ONE FROM THE ARCHIVES A New Year, a new show season. The first car show of the season usually sets the mood for the rest… Continue reading
ST-STAFF . April 01, 2020
C10 Builders Guide
Adjustable C-10 Coil-Over Suspensions Classic Performance Products’ (CPP) complete front and rear coil-over conversion kits for 1963-87 Chevy trucks are fully ride height adjustable from… Continue reading
Chris Hamilton . November 12, 2018
America
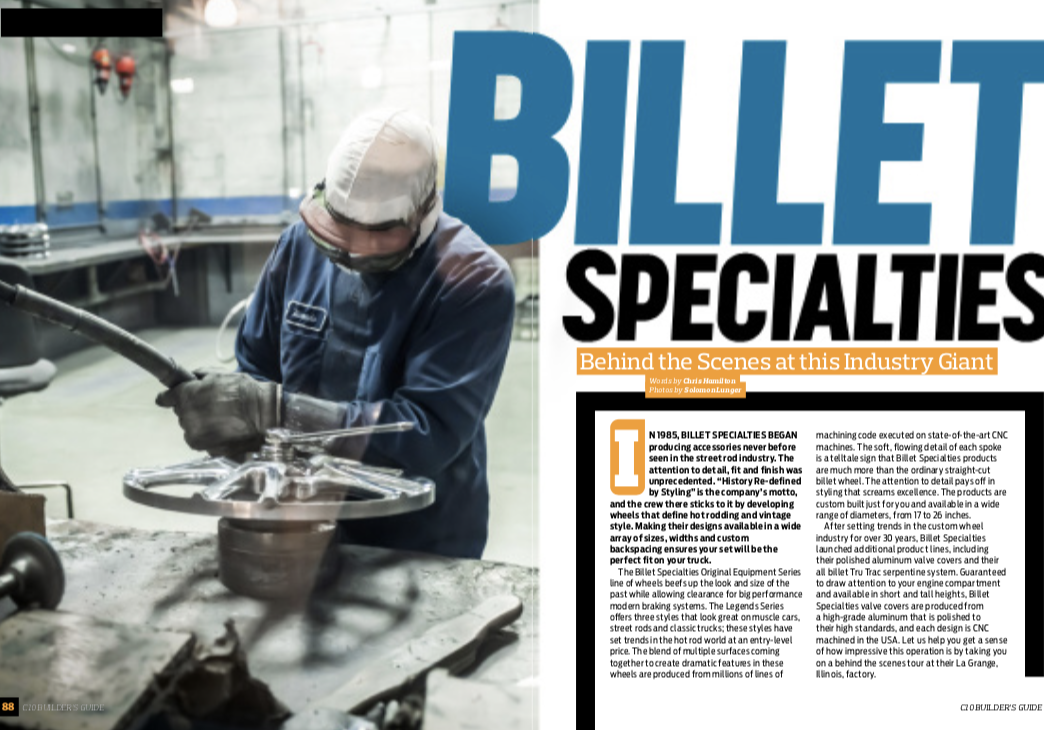
In 1985, Billet Specialties began producing accessories never before seen in the street rod industry. The attention to detail, fit and finish was unprecedented. “History… Continue reading
Chris Hamilton . June 29, 2020
Department
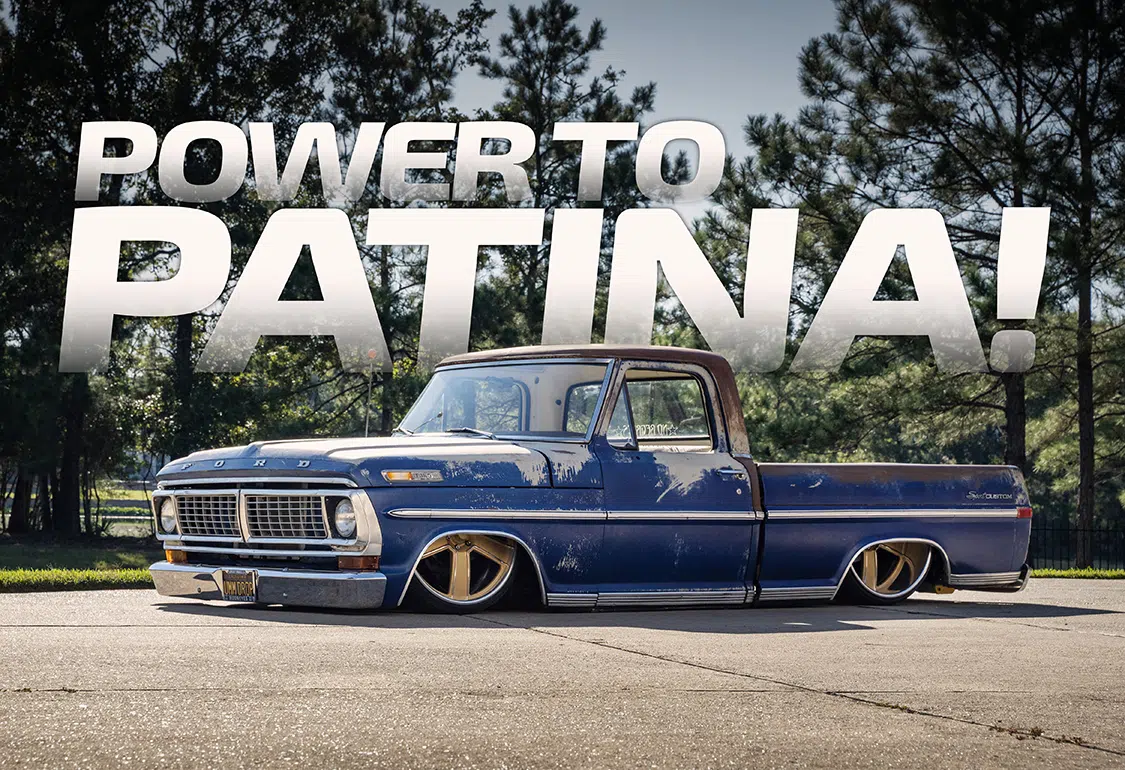
While we never did anticipate the patina look to lose its popularity any time soon, finding new project trucks out there that have a perfect,… Continue reading
John Mata Jr. . October 13, 2023
How to
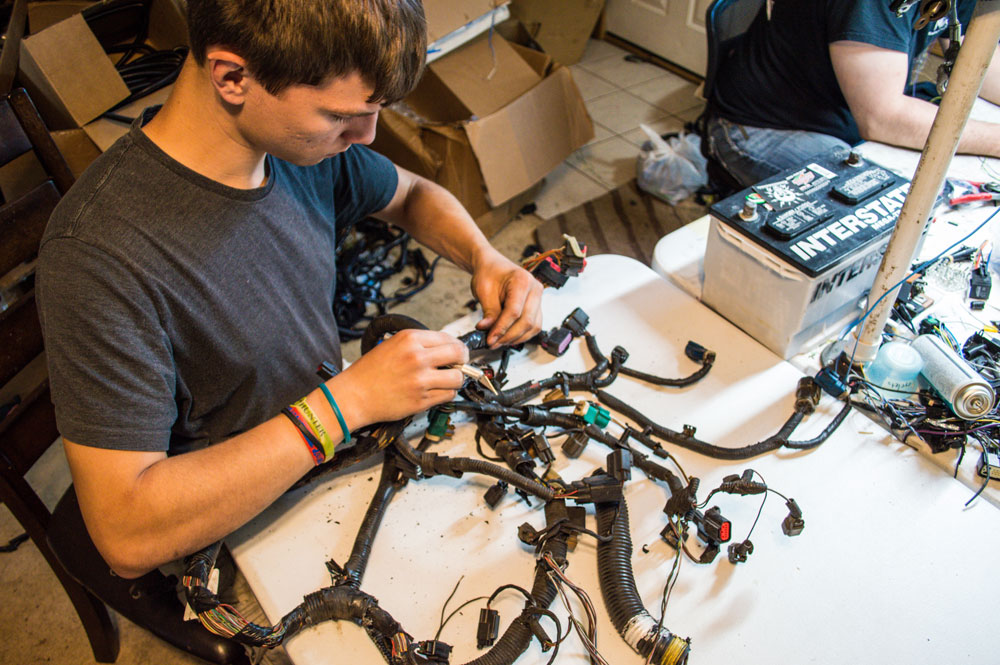
True Blue Wiring Part 1 AS MOST OF YOU HAVE SEEN, WE’VE BEEN hard at work on our 1963 Ford F-100 known as project True… Continue reading
SOLOMON LUNGER . December 05, 2019


We use cookies to enhance your browsing experience, serve personalized ads or content, and analyze our traffic. By clicking "Accept All", you consent to our use of cookies. Visit our Cookie Policy for more info.


Share Link