
BOOSTING BITE FOR 2014-PLUS GM TRUCKS AND SUVS
WITH SEMA TAKING place in the fall, truck builders scheduled to debut their creations under the bright Vegas lights put their projects into overdrive during the lead up to the first week in November. Chad Carothers isn’t exactly new to the slow tightening of the SEMA-crunch noose; he’s been around the block a few times before. In 2016, he built a coil-over-style ’15 Chevy Silverado aimed to deliver optimum on-road performance, and in 2017, he stuck with a similar formula with his Sharknado project.
The ’17 Silverado LTZ71 4×4 that Chad had designed with predatory shark-like style and attitude has come to life with features including a big 9-inch lift on 24-inch wheels with 35-inch tires and performance add-ons that revolved around the newly revamped E-Force supercharger kit from Edelbrock. The E-Force kit has been redesigned to deliver an increased dose of horsepower and torque in a complete kit that includes a minimal component list. The components have also been tailored to tuck neatly underneath the factory hood to eliminate the need to alter or replace the perfectly good OE unit. Best of all, the Edelbrock E-Force supercharger kit offers a healthy boost in towing capabilities that is sure to impress. Edelbrock’s unique 12-inch intake runner design maximizes low-end torque, which makes the noticeable increase in towing and off -road performance possible.
With engine modifications of this magnitude, there are usually concerns about street legality (especially in California). There are absolutely no worries with the Stage 1 (Street Systems) E-Force supercharger kit; it’s legal in all 50 states. Not only is the kit emissions-legal nationwide, it also features the best combination for a daily-driven application that is fueled on a tune for both 91 and 93 octane depending on specific performance modifications. While the ’17 Silverado seen here might not finish as a big tower or off -roader, it’s reassuring to know there’s a deep well of power and torque to tap into if the need arises.
Follow along as Chad pops the hood of his brandnew ’17 Silverado and installs Edelbrock’s E-Force supercharger kit in the comfort of his own driveway. His truck will soon be equipped with one of the hottest performance packages on the market today.
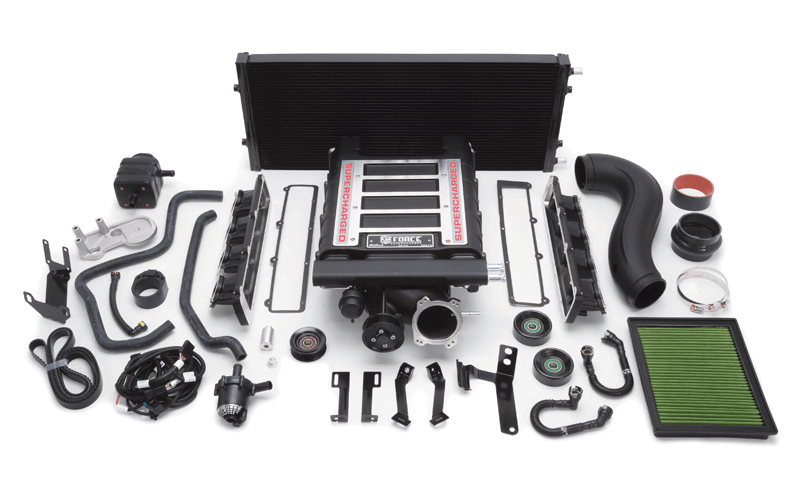
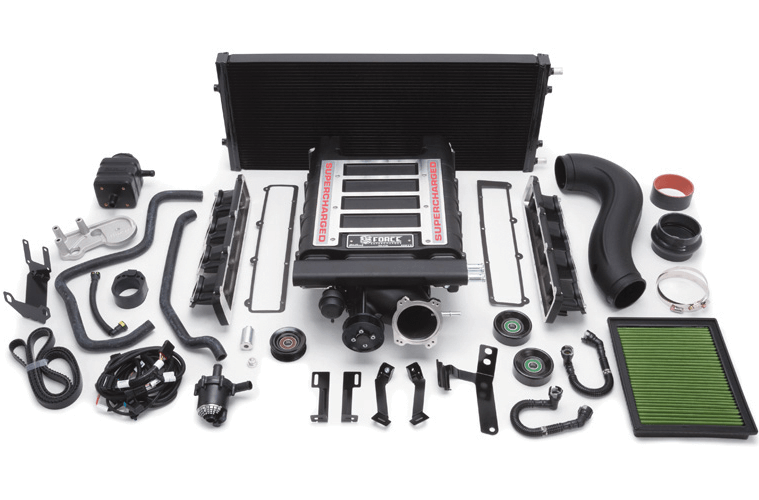
Here’s a detailed look at Edelbrock’s E-Force Stage 1 supercharger kit for GM tucks and SUV applications. This updated system uses the same Eaton Gen VI TVS supercharger rotors as previous E-Force systems just relocated inside a redesigned supercharger manifold. The new design includes a cast water crossover that features streamlined intercooler hose routing and secures to the manifold, which allows the cooled 50/50 coolant mixture from the low temperature radiator to efficiently keep the twin intercoolers at a low operating temp. Best of all, the E-Force supercharger kit is 50-state emissions legal.

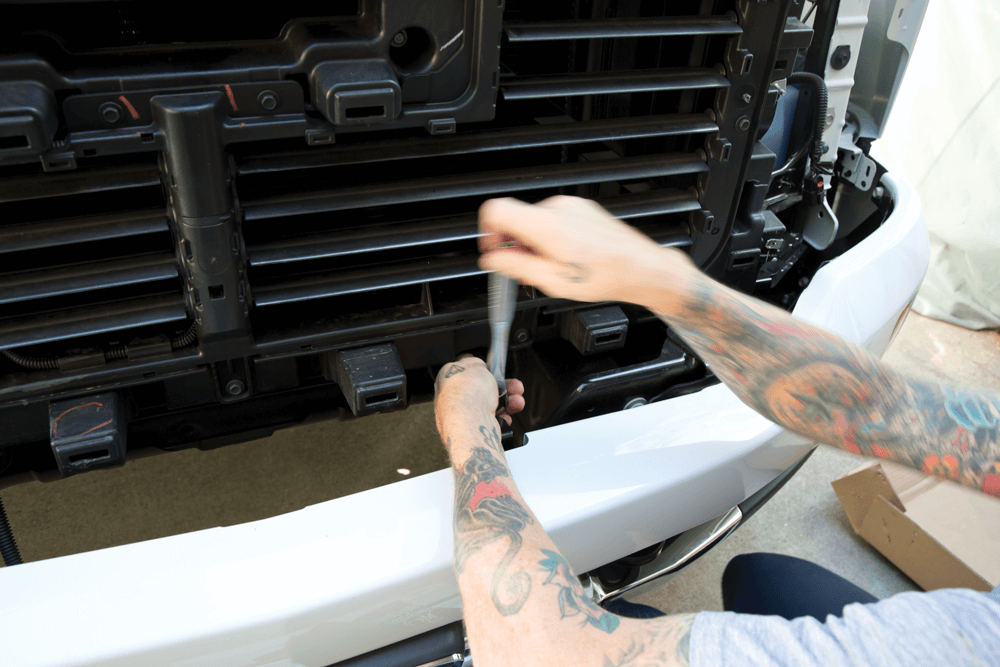
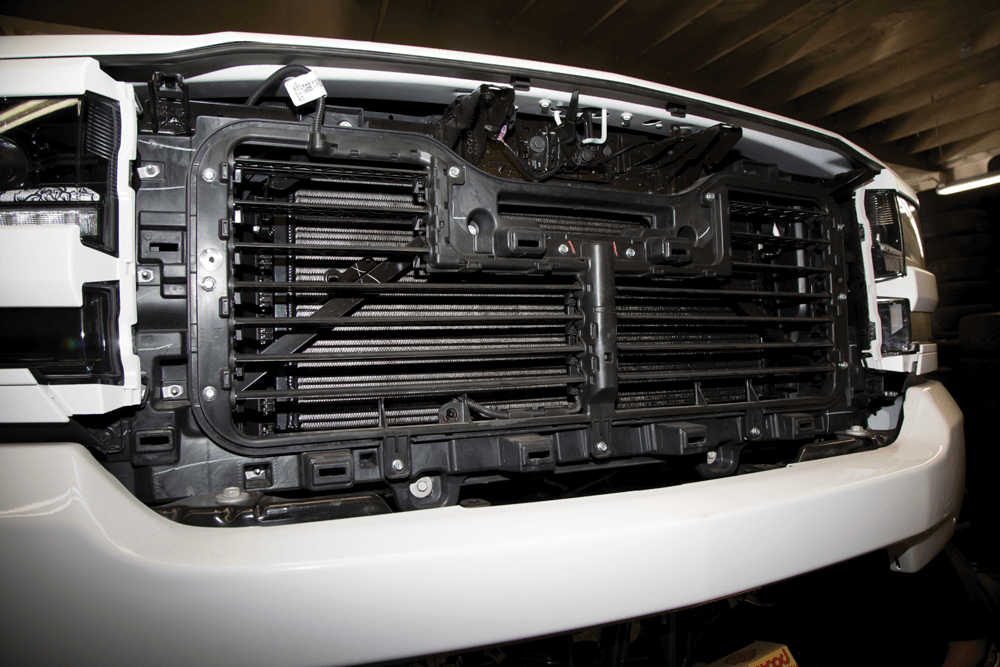
To get the installation started, Chad disconnected the negative battery terminal and disassembled the front fascia and grille assembly.
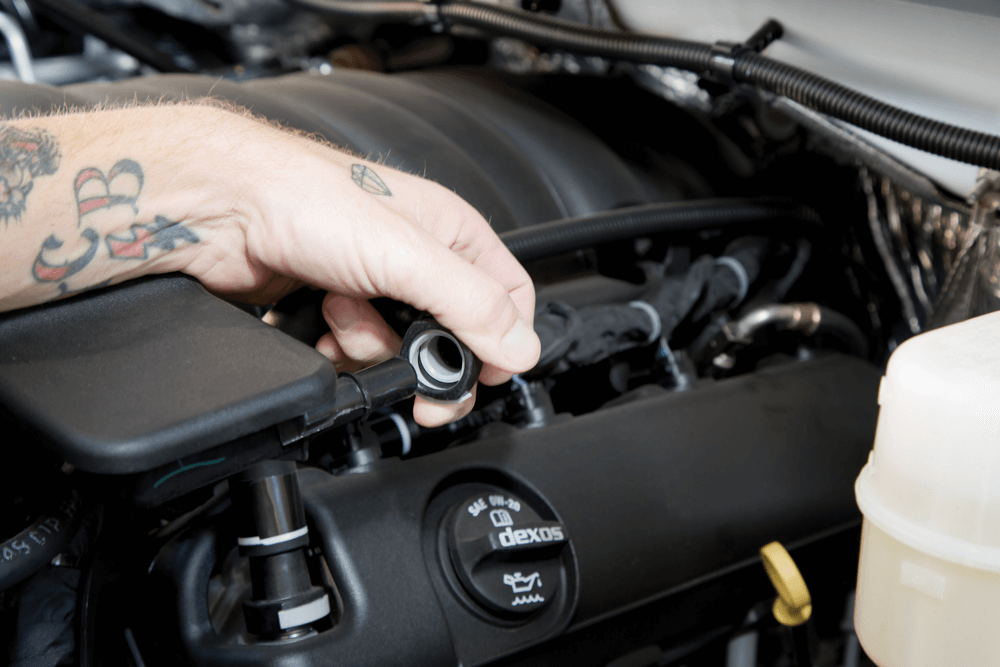
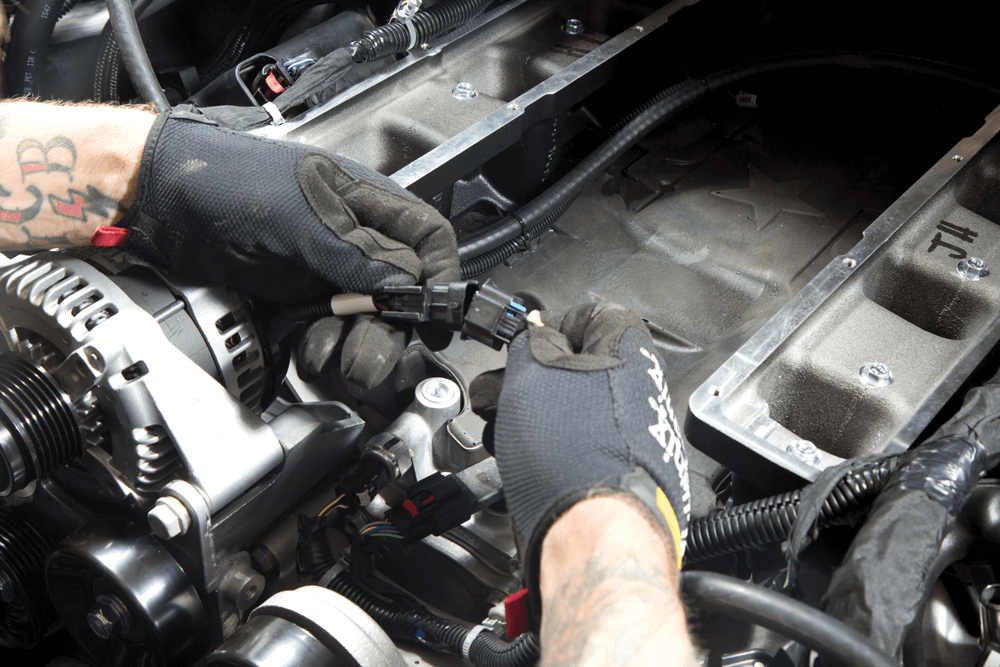
Next, the driver and passenger PCV hoses from the air inlet tube assembly and valve covers were disconnected.
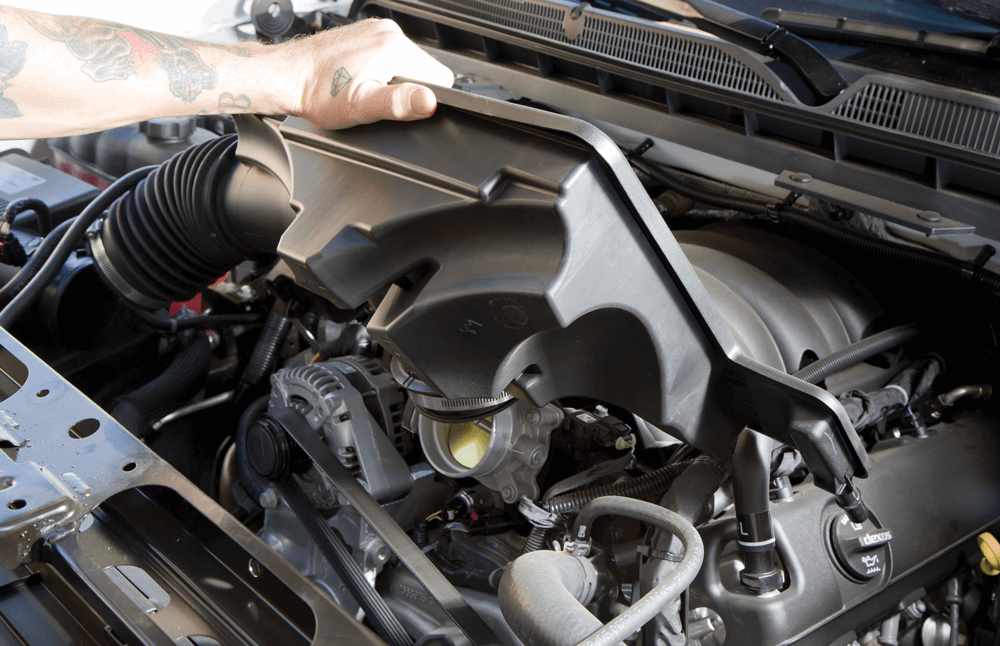
The clamp on the air inlet tube was loosened, and the assembly from the throttle body
and air box was lifted up and set aside.
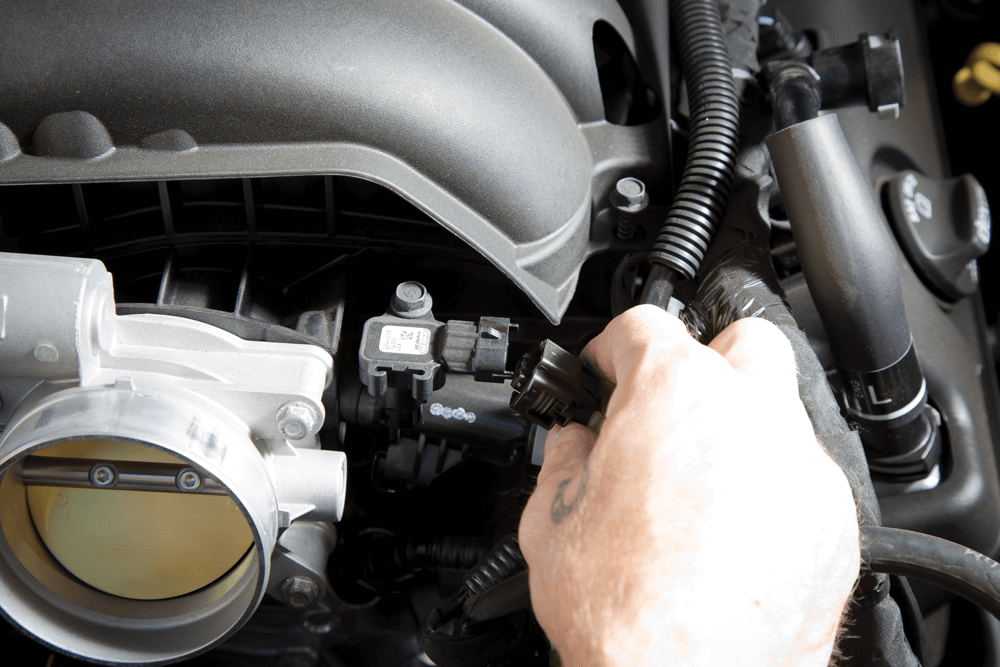
With a better view of what was lurking underneath the assembly cover, Chad unplugged the MAP harness connector from the MAP sensor.
The throttle body harness connector was unplugged from the throttle body assembly.
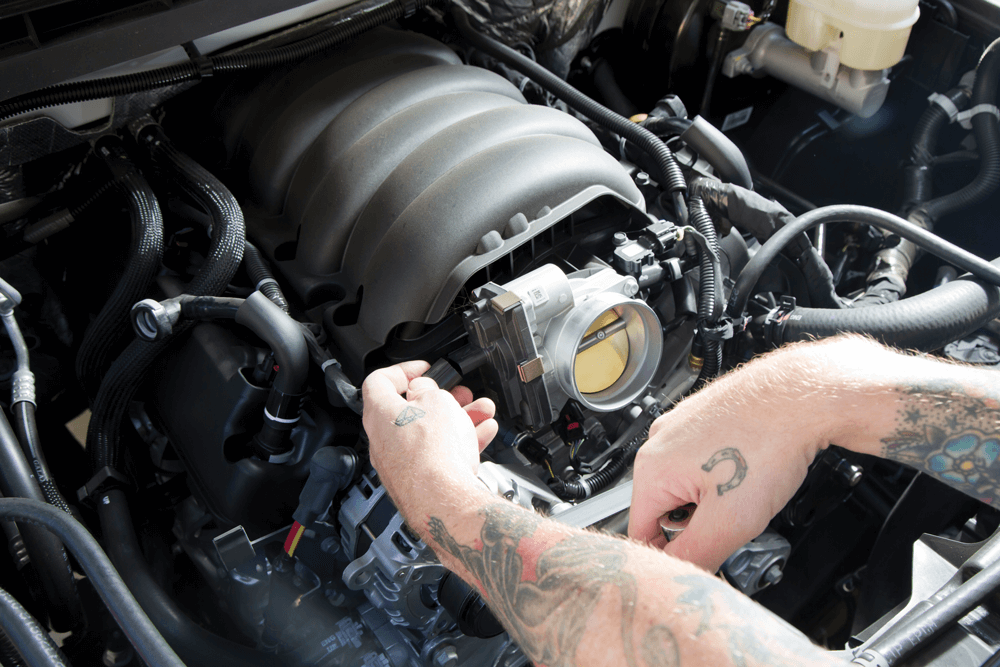
The engine harnesses from both sides of the manifold cover were detached using a panel puller.
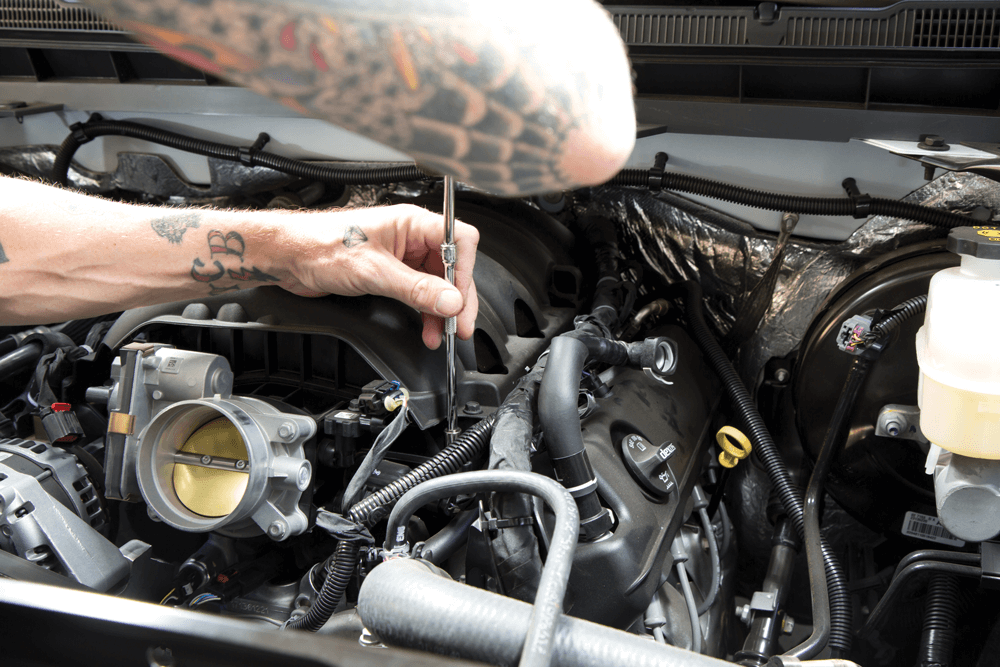
Chad reached for a 10mm socket and extension in order to remove the 10 bolts that attach the intake manifold to the cylinder heads.
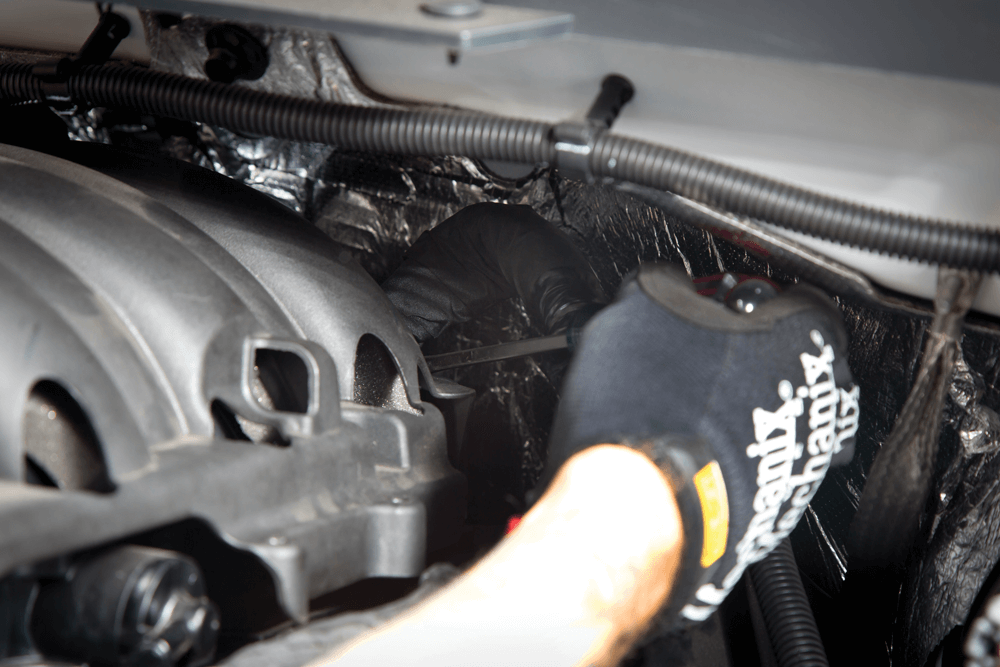
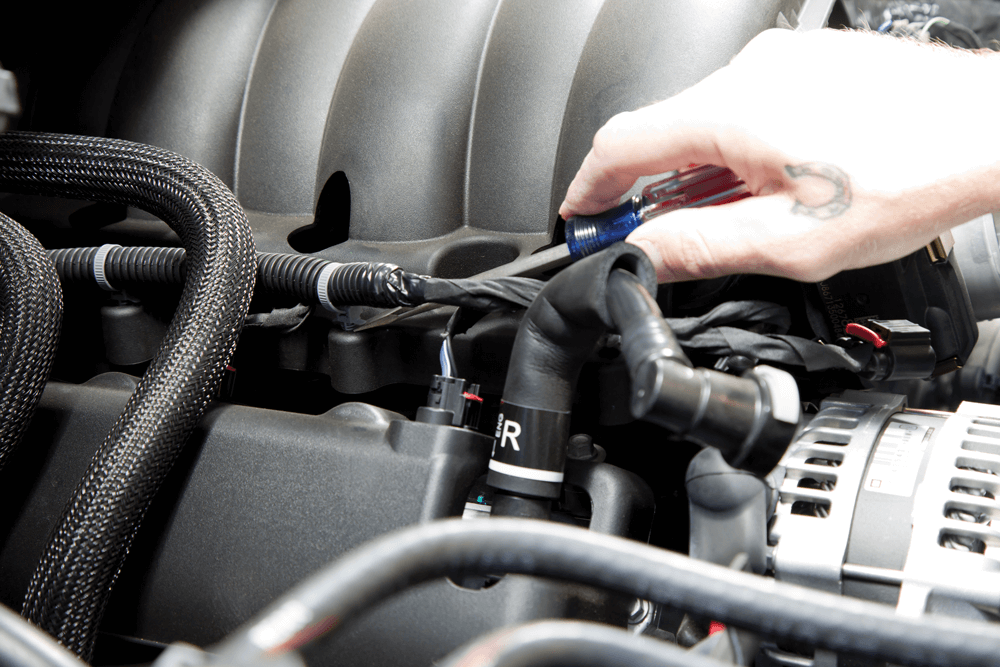
There are four pushpins securing the engine harness to the rear of the manifold cover.
Reaching these is a bit tricky, so Chad used the panel puller to remove them.

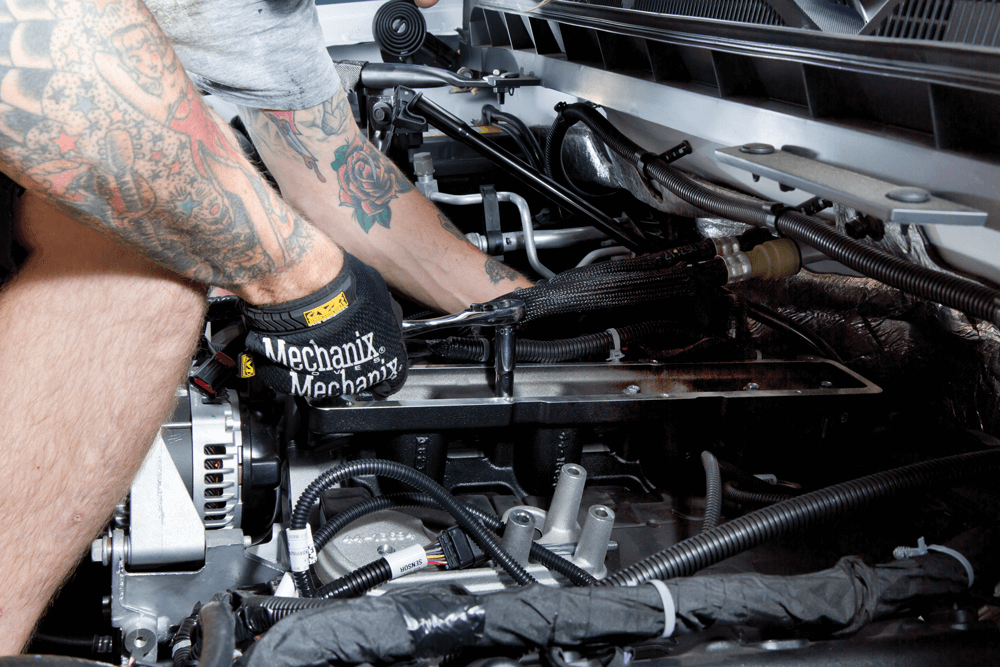
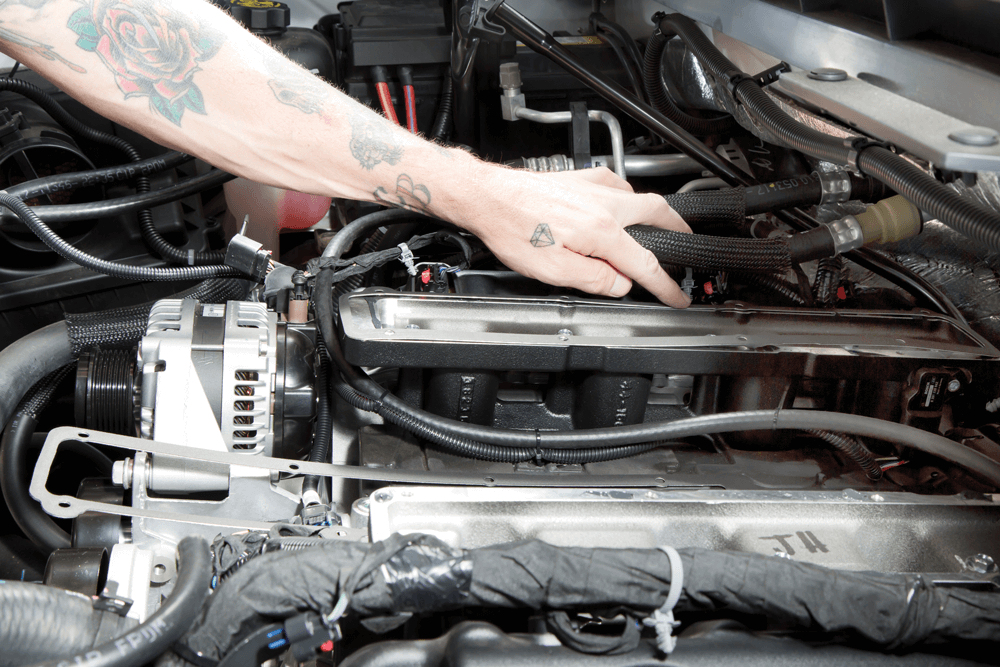
The cover was ready to be pulled from position. Chad took the time to cover the exposed ports with protective tape to prevent any dirt or debris from making its way inside.
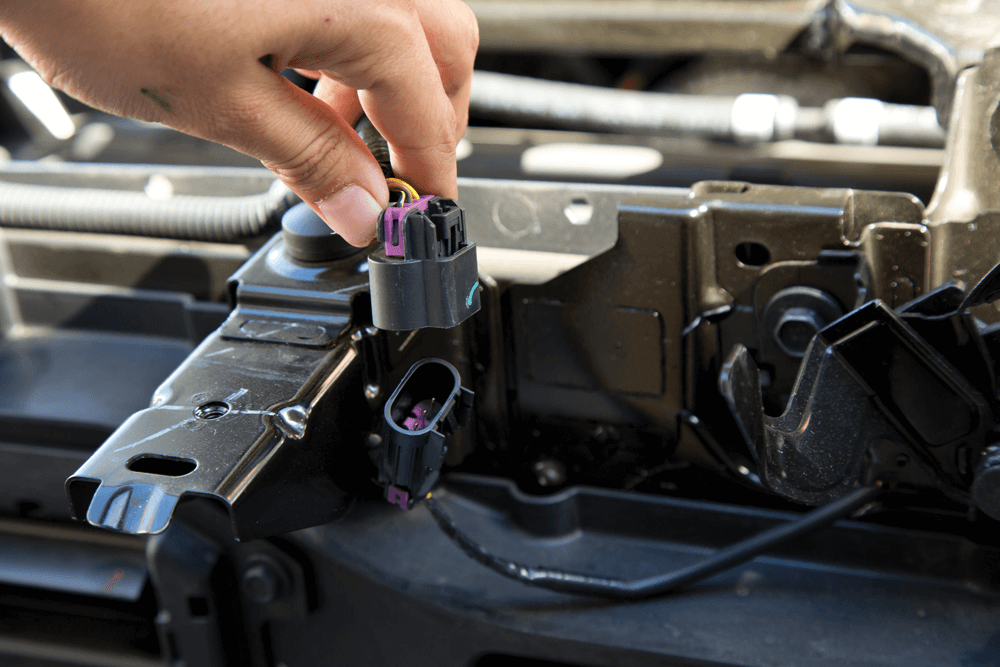
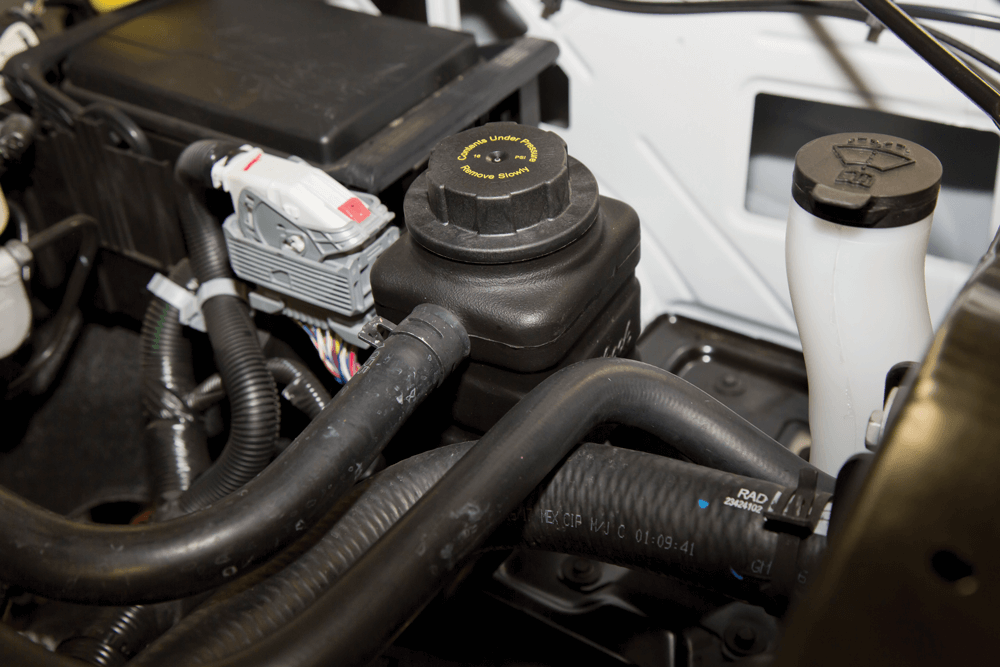
Next up, Chad moved to the front end to prepare for the LTR (low temp radiator) portion of the installation by unplugging the ambient temperature sensor connector.
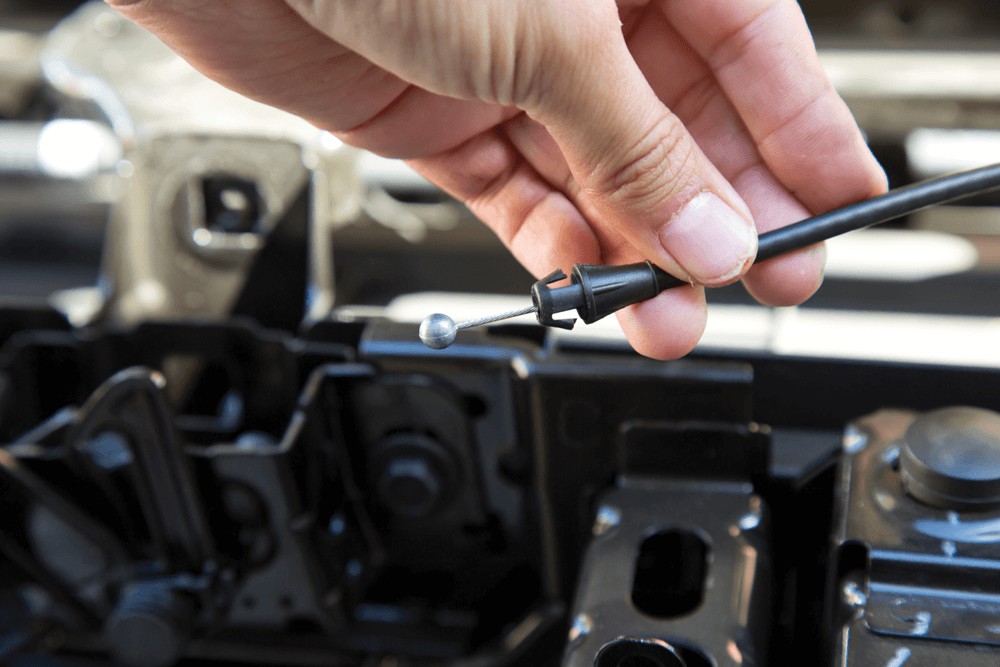
The hood latch assembly was removed via the hood release cable.
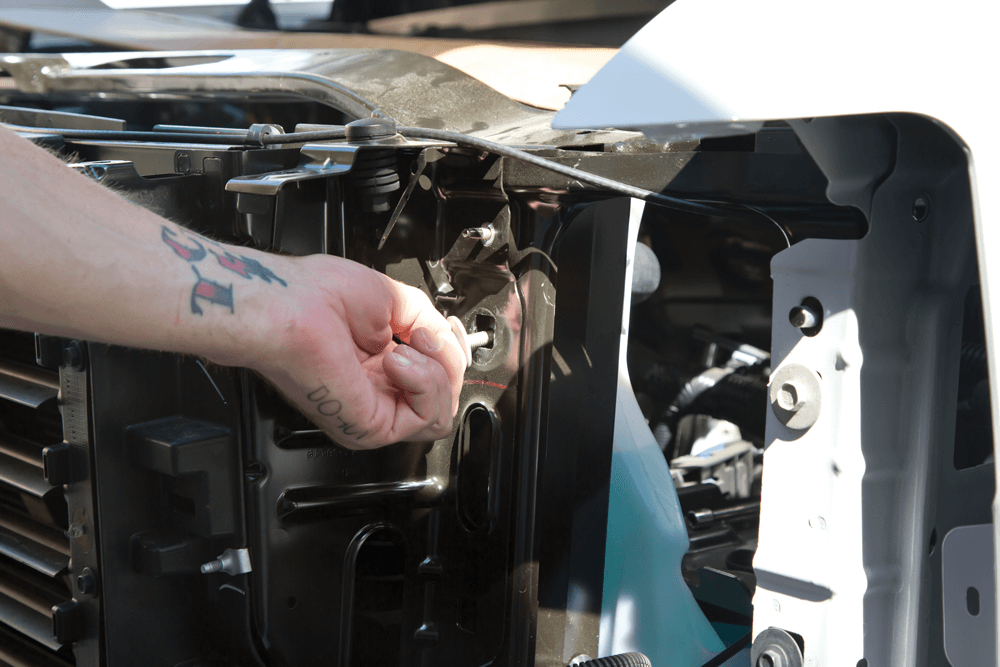
The bolts that hold the front support brace assembly in place were loosened and removed.
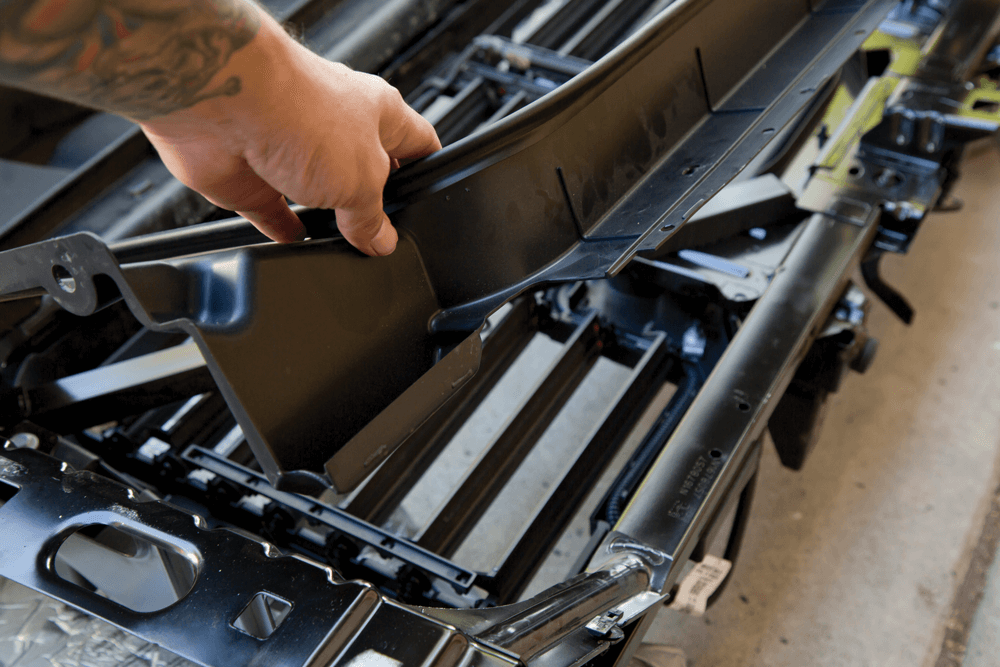
To perform the following steps, the factory plastic shroud needed to be temporarily removed by pulling out 10 plastic pushpins.
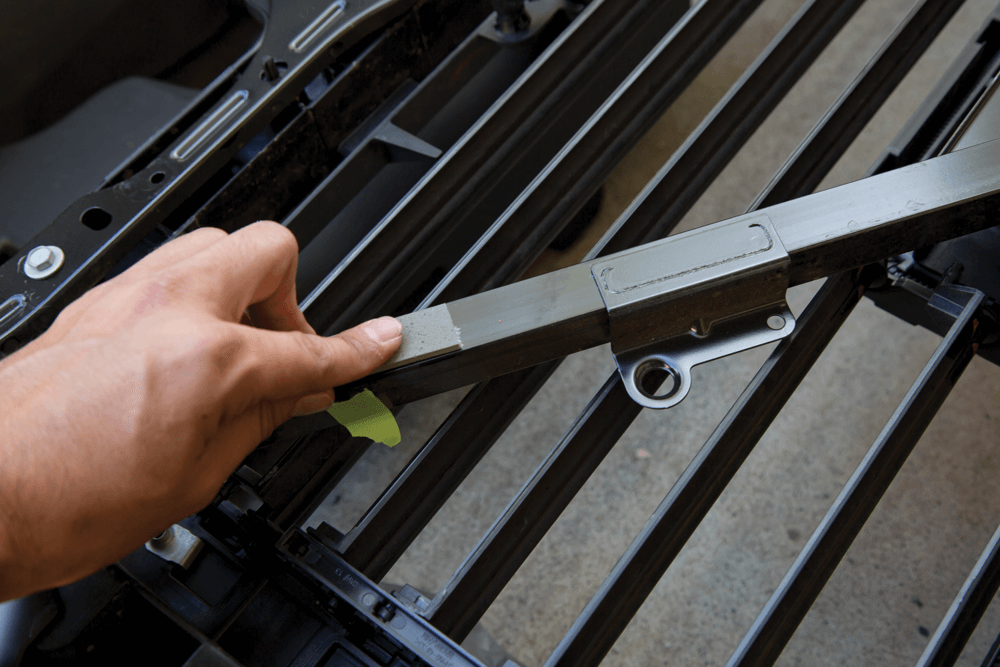
A 4-inch strip of foam tape was applied to both support bars to prevent the LTR and brace from coming in contact with each other.
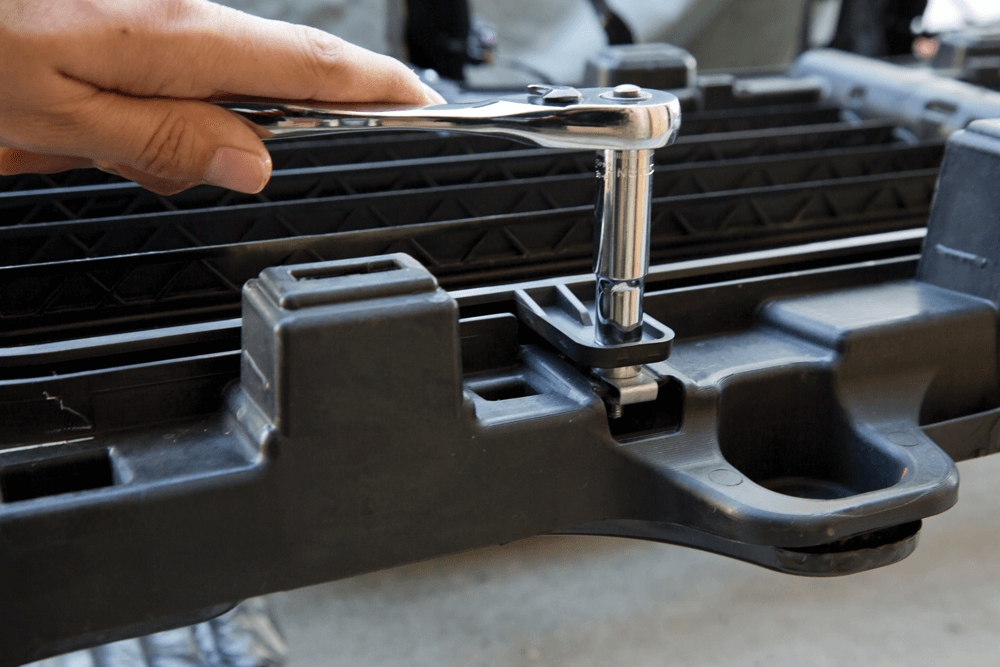
The electronic vent louvers were removed from the support brace, and aluminum spacers supplied in the kit were placed over the mounting points. Then the louvers were secured.

The included LTR brackets were used to secure the LTR to the support brace properly.
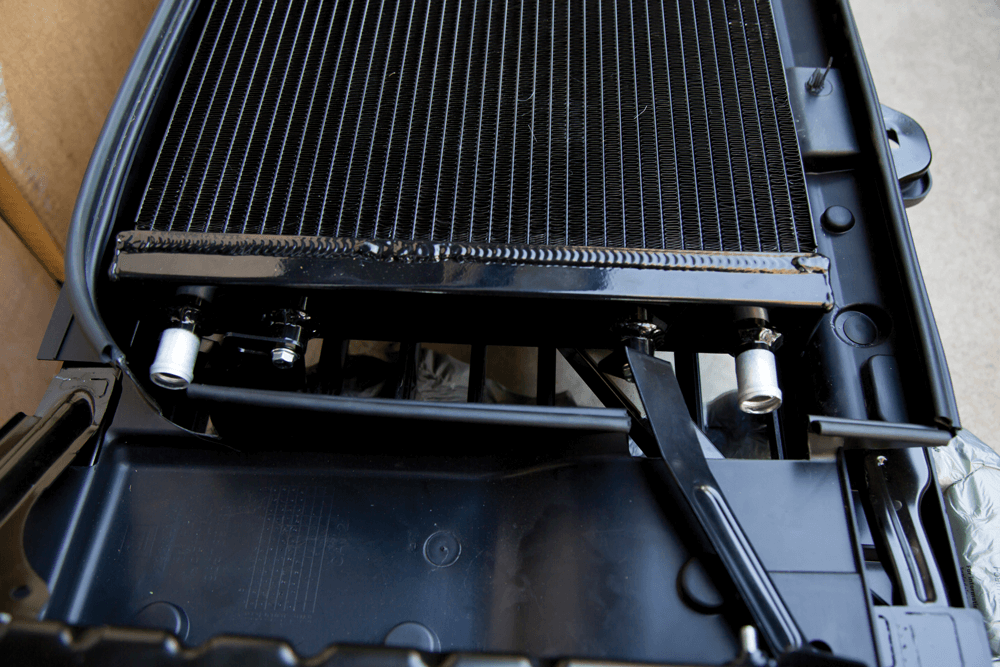
Then the shroud was placed back on and notches were cut along the sides to accommodate the LTR hoses. The provided edge trim pieces were applied as well.
After the hoses were test fit, the support brace was secured to the chassis using the factory hardware.
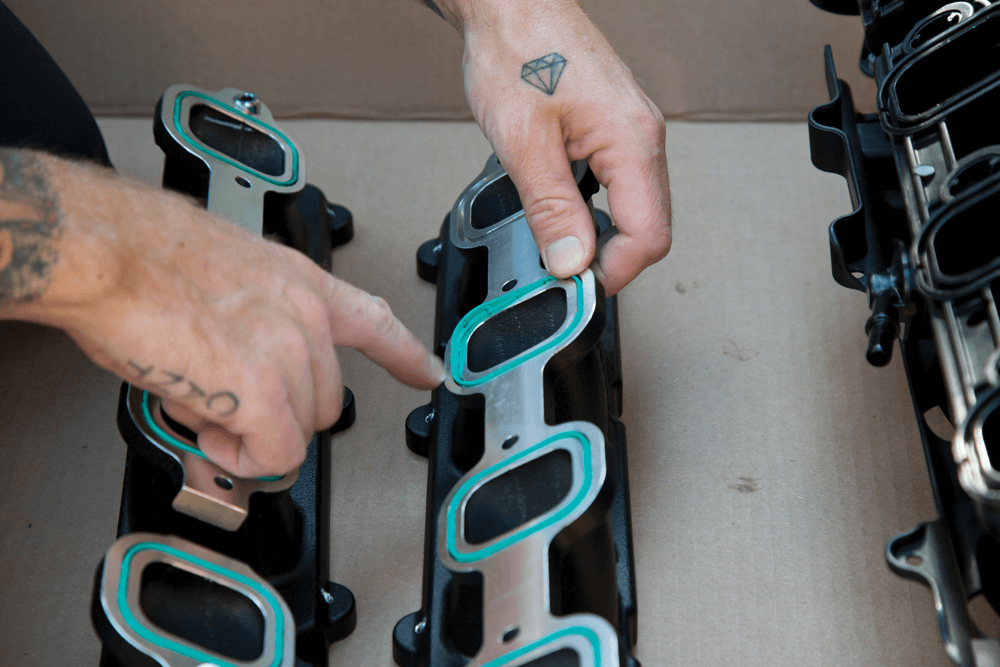
Chad inspected and cleaned the O-ring gaskets that needed attention on the side runner. Chad removed the tips of all eight gaskets using a razor blade and reinstalled them per the instruction manual.
Next, the protective tape was removed from the passenger-side cylinder head, and the side runner was placed on top of the cylinder head using the dowel pins for alignment. The bolts were tightened in sequence based on instructions from the manual.
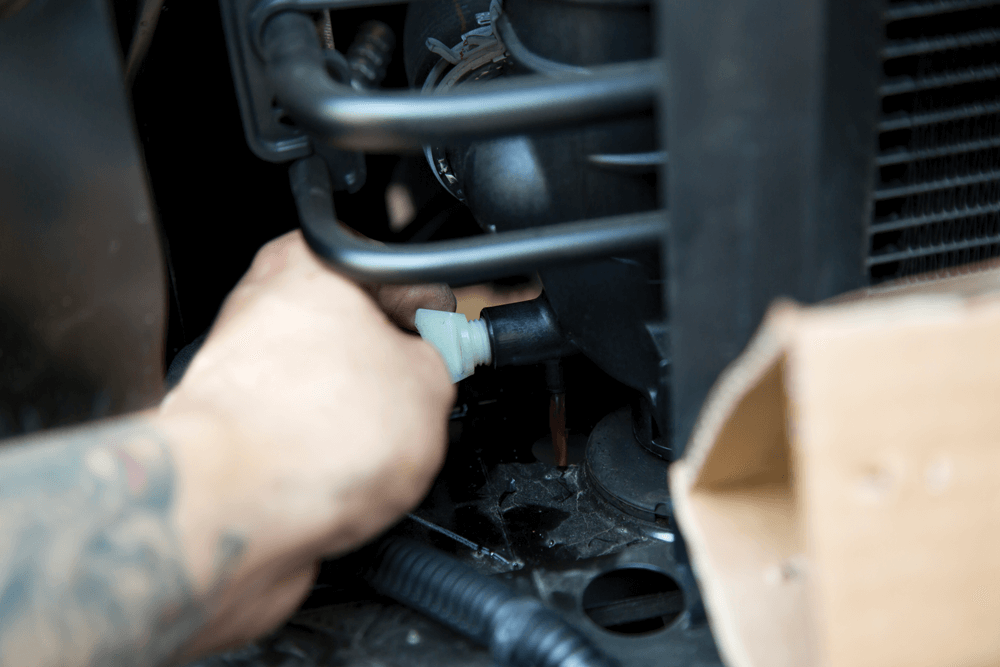
At this time, the coolant was drained from the radiator’s petcock in preparation of the next steps. This is a bit tricky to get to from the underside but easy with the front grille removed.
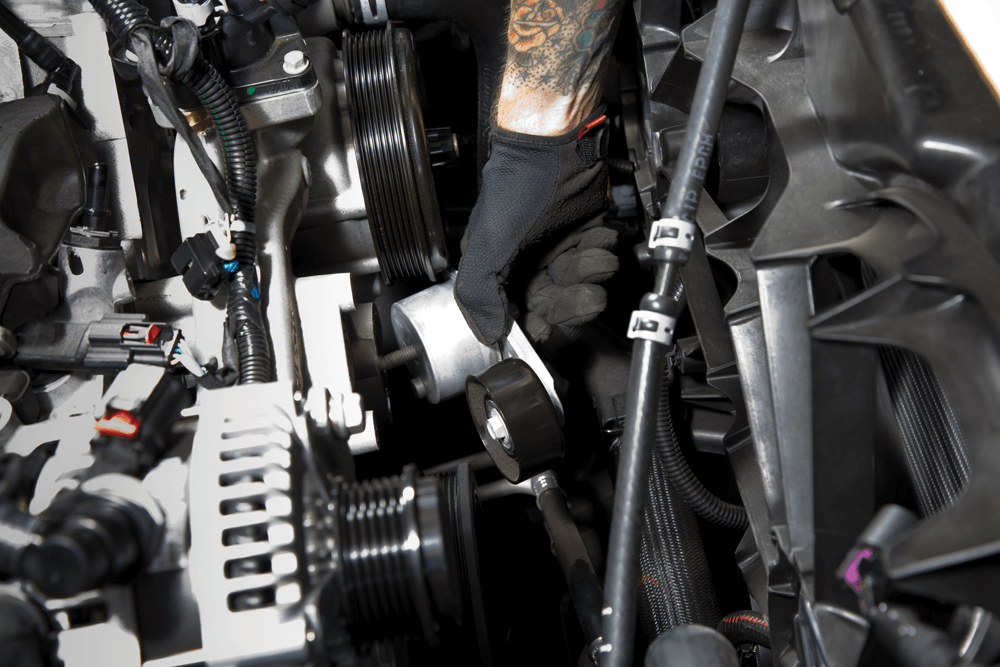
Using a breaker bar, Chad rotated the tension counterclockwise to remove the stock drive belt, and then he unbolted the tensioner.
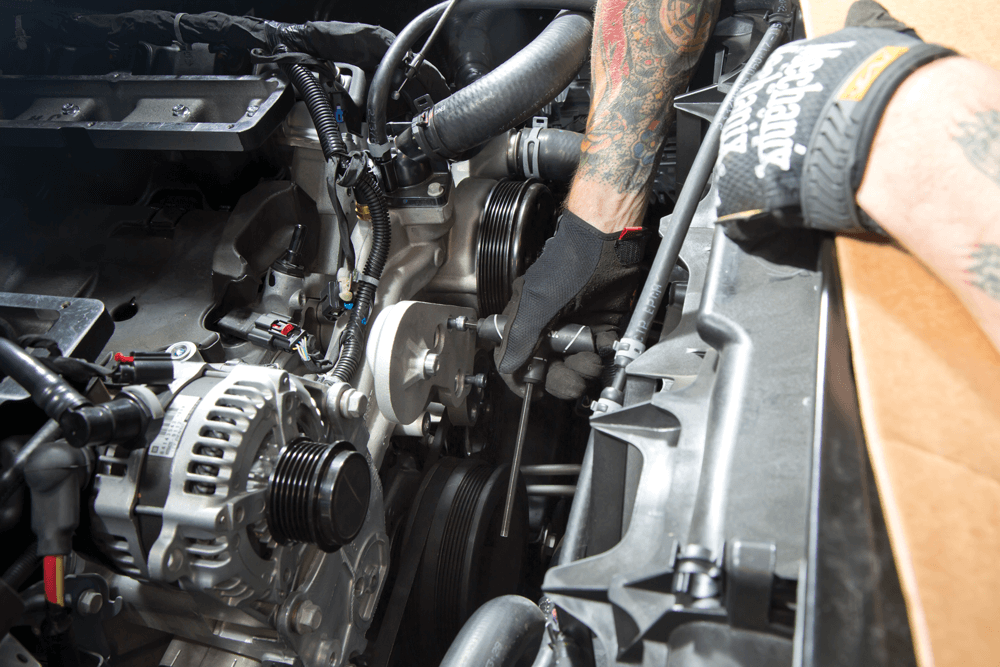
The three bolts from the water pump were removed and the FEAD bracket to the water pump was secured using a 6mm hex key.
A smooth idler pulley was installed into the alternator bracket using the hardware supplied in the kit.
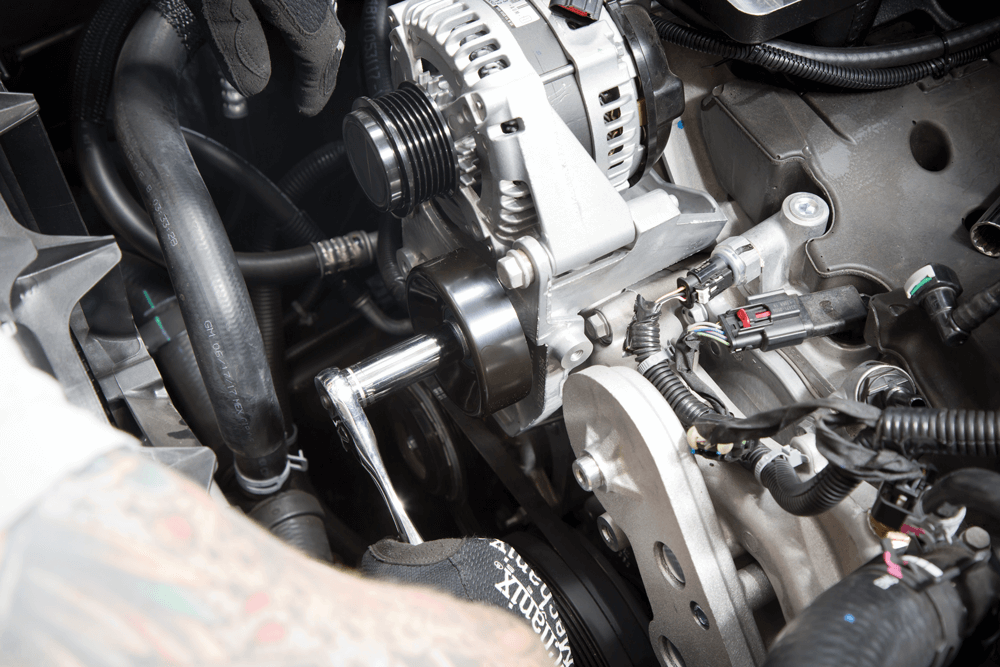
The pulley nut was tightened to 18 ft-lbs.
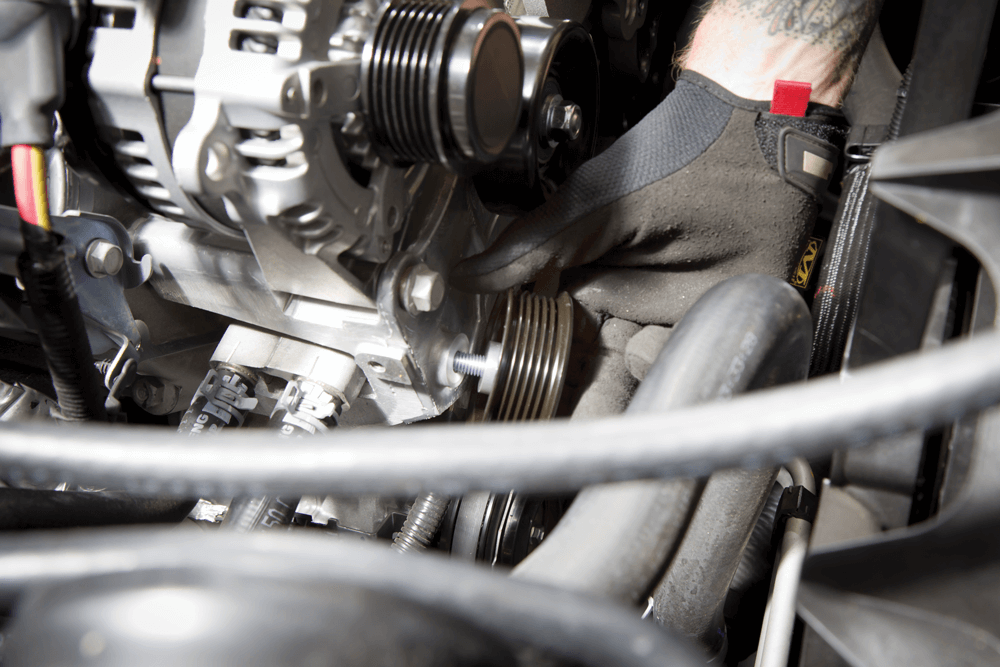
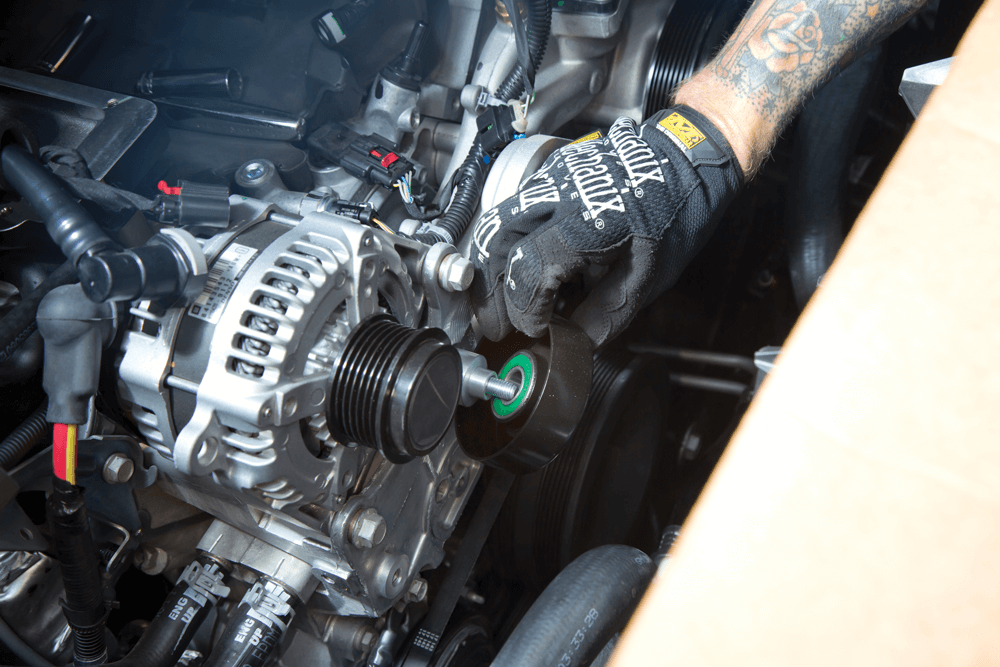
A grooved idler pulley supplied in the kit was installed on the factory FEAD bracket and tightened down.
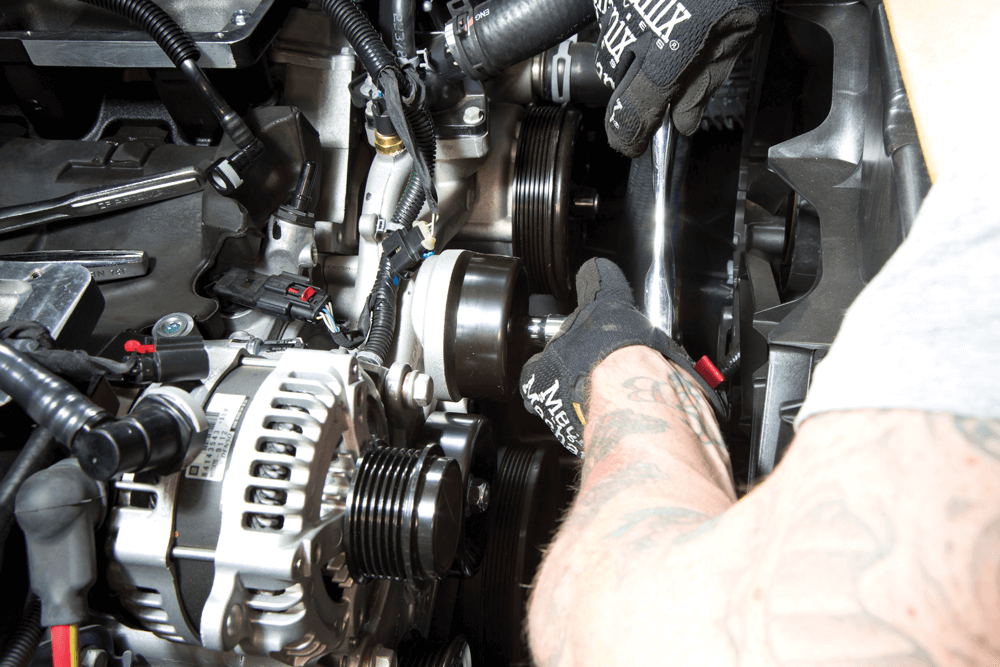
Another smooth idler pulley was mated to the upper portion of the FEAD bracket.
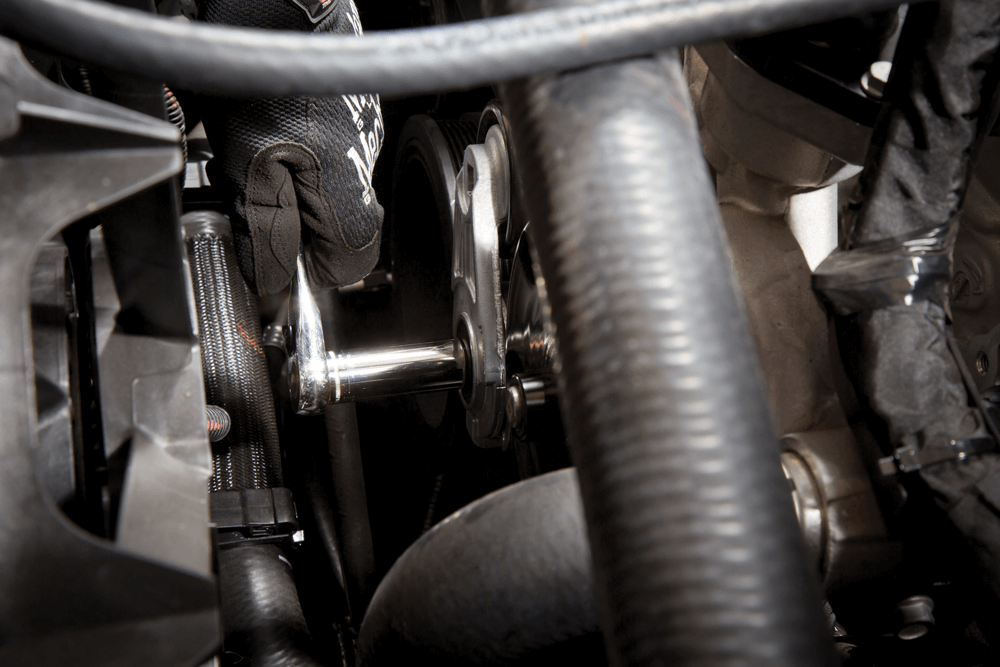
Chad began working on positioning the supplied drive belt onto the factory tensioner pulley.
Next, the MAP connector was routed toward the front of the valley plate and connected to the TMAP harness.
The supplied manifoldto- runner gaskets were installed onto the runners. To keep the gaskets in position, Chad used a touch of silicone to hold them steady during the remainder of the installation.
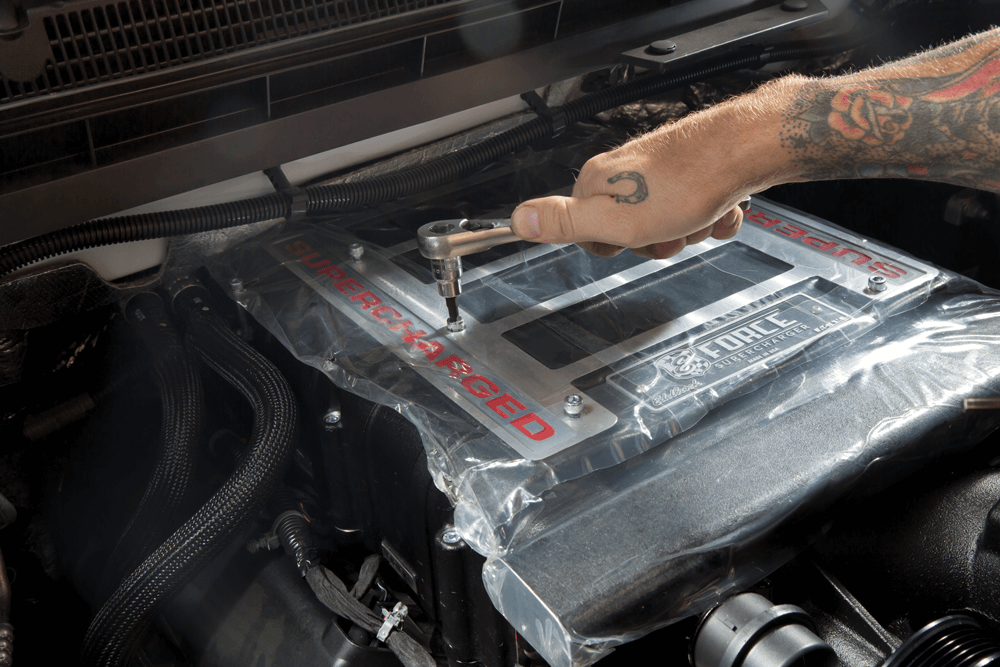
The supercharger manifold was lowered onto the runners while Chad carefully made sure it aligned properly with the runner gaskets.
The factory EVAP solenoid on the intake manifold was removed and installed onto the supercharger manifold using the factory bolt.
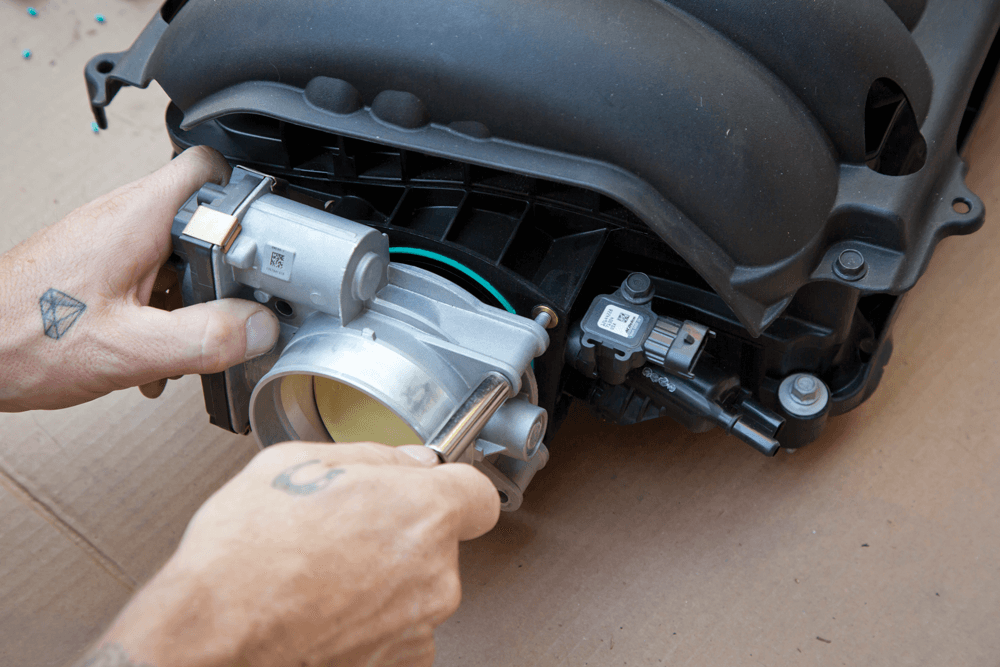
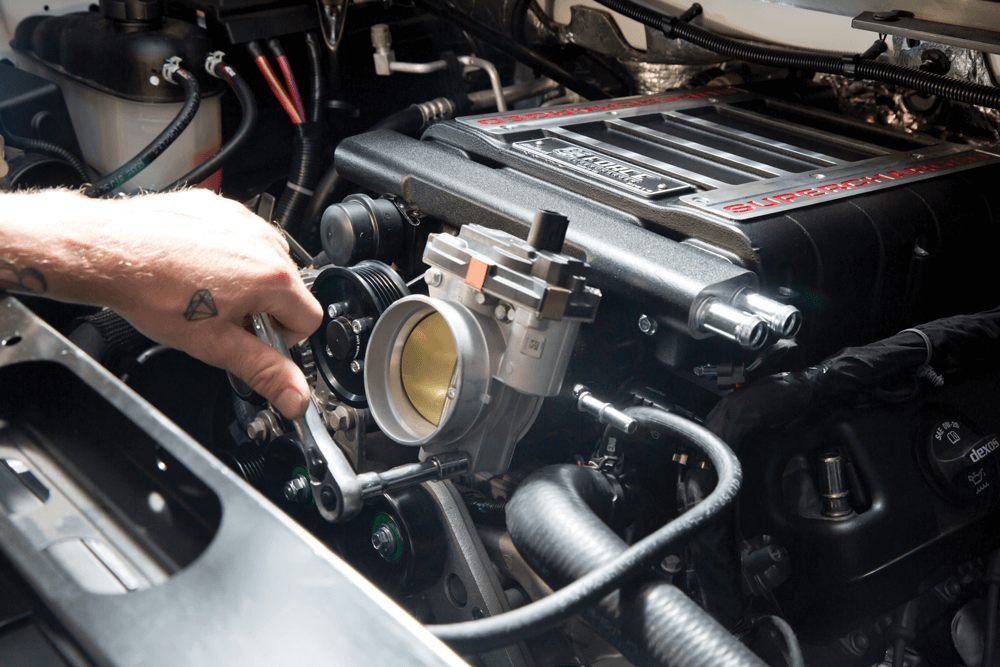
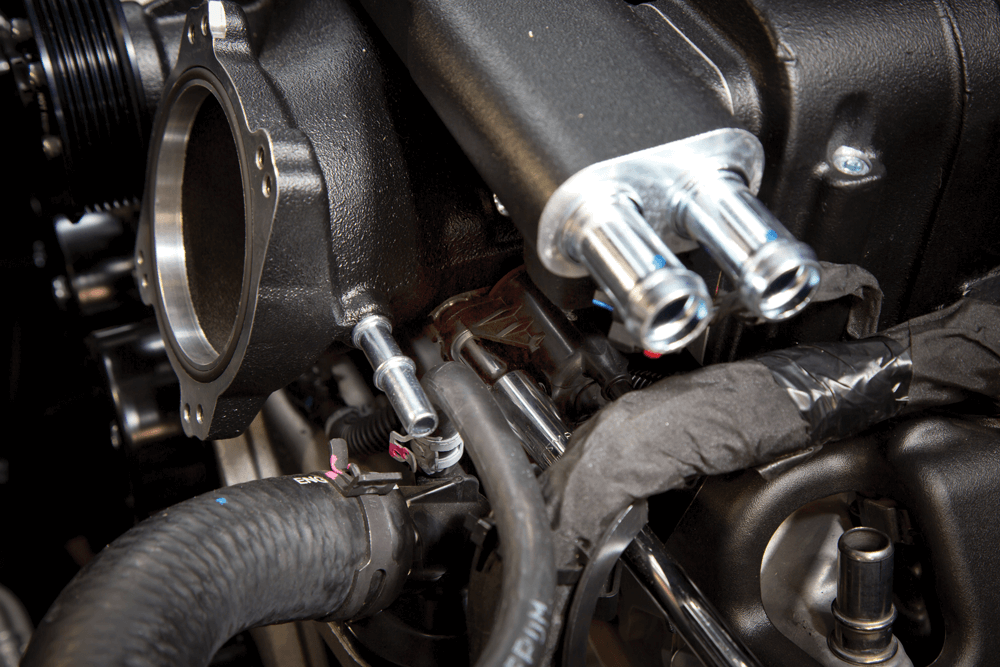
The throttle body from the stock manifold was removed and attached to the supercharger manifold using the factory bolts and supplied throttle body O-ring.
The 90-degree end of the PCV hose was placed onto the quick-connect fitting on the manifold nose.
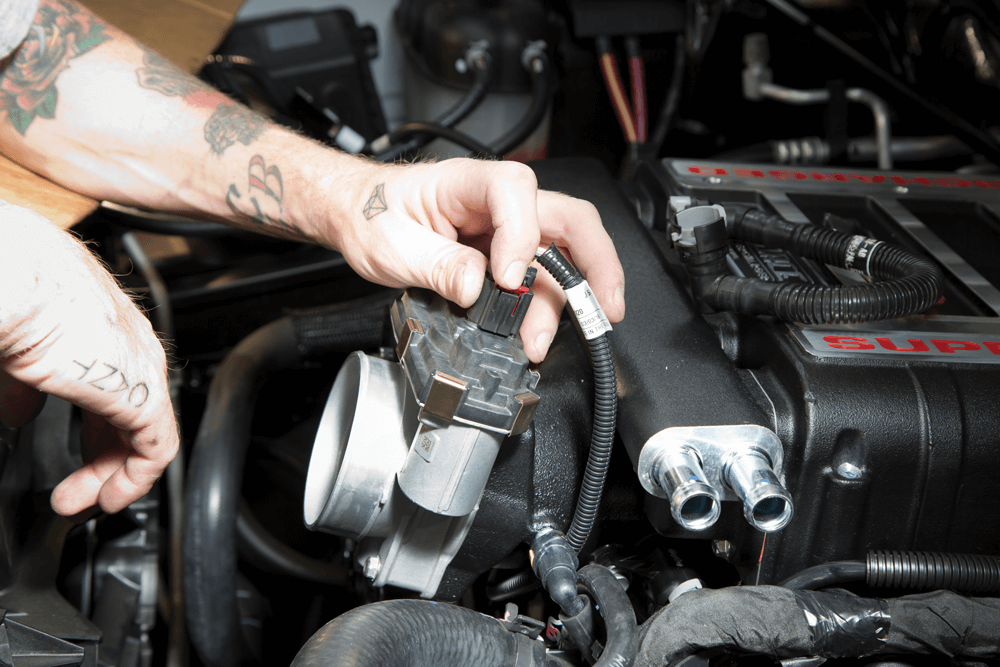
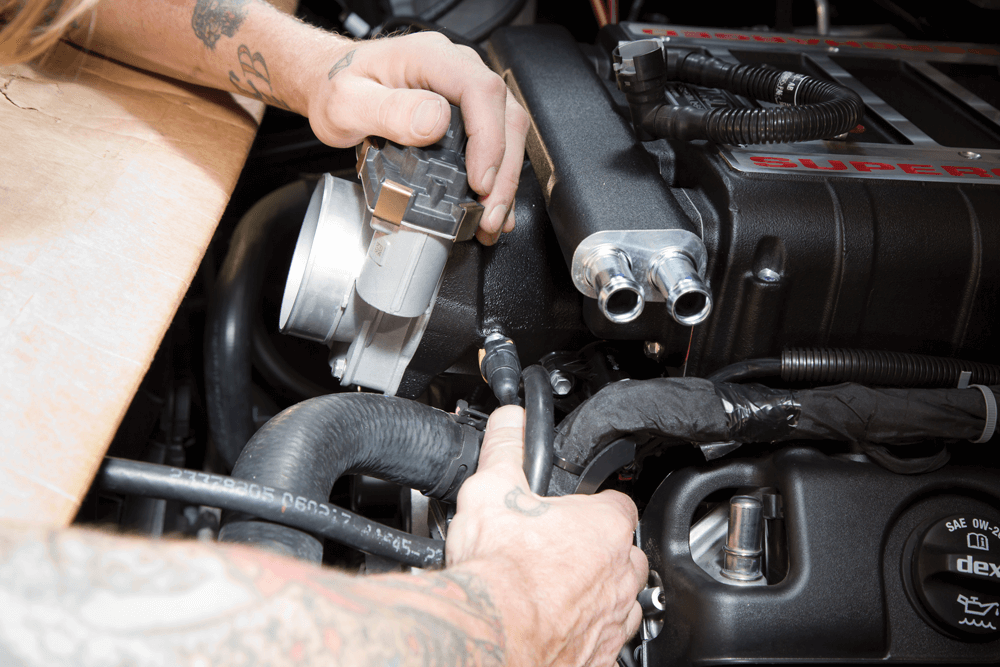
The supplied ETC extension harness was connected to the factory throttle body connector before it was routed under the supercharger nose and plugged into the throttle body.
Chad installed the recovery tank to the battery tray using the provided bracket and the factory hardware.
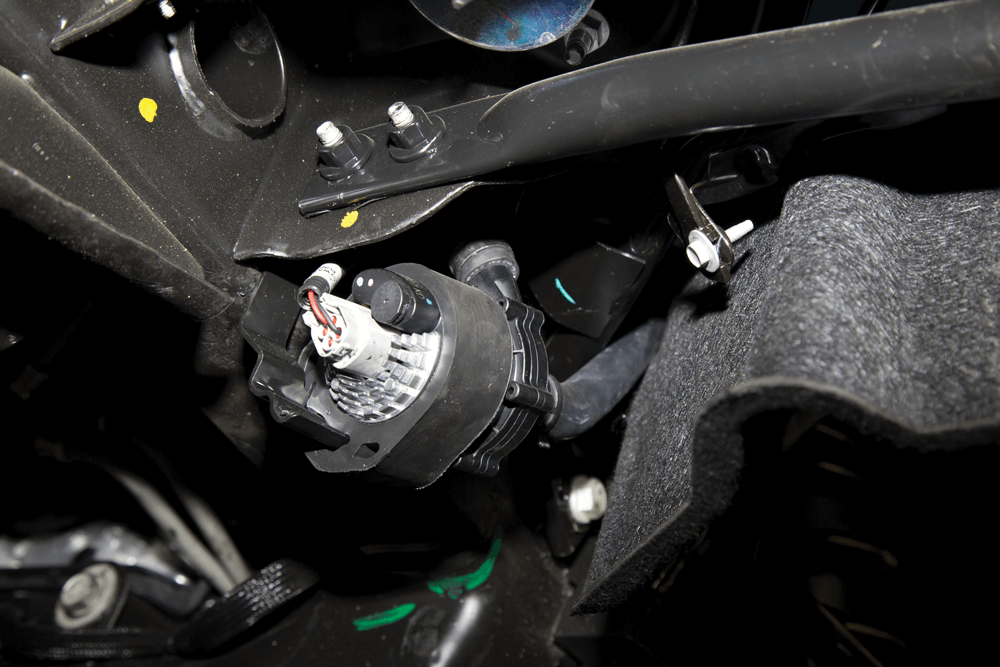
The water pump was outfitted with hoses from the LTR as well as the recovery tank. Lastly, the harness was plugged into the front of the pump.
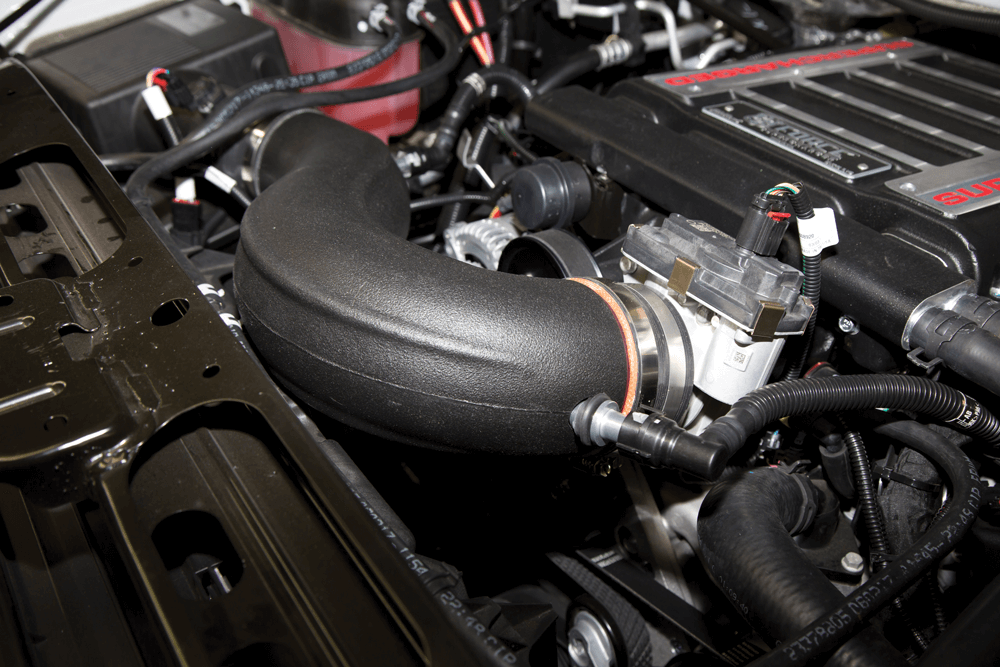
The supplied air inlet tube was installed by attaching the grommets and quick-disconnect fittings, and then it was attached to the air box and throttle body.
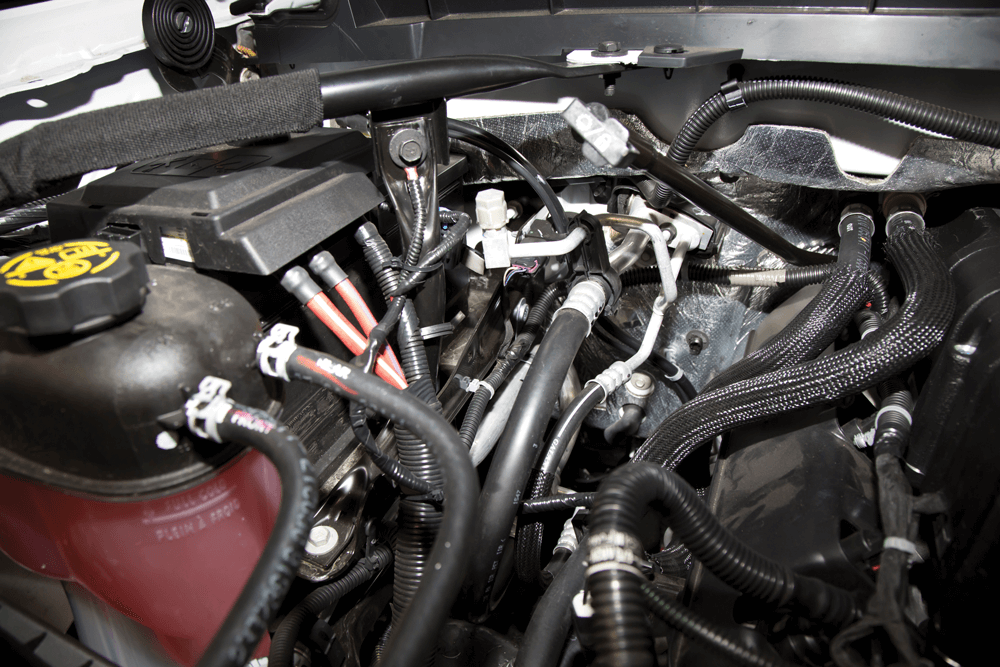
Cable loops and clips routed tubes, hoses and wiring in an orderly manner. The supercharger recovery tank was filled with a 50/50 coolant blend, and the battery was reconnected.
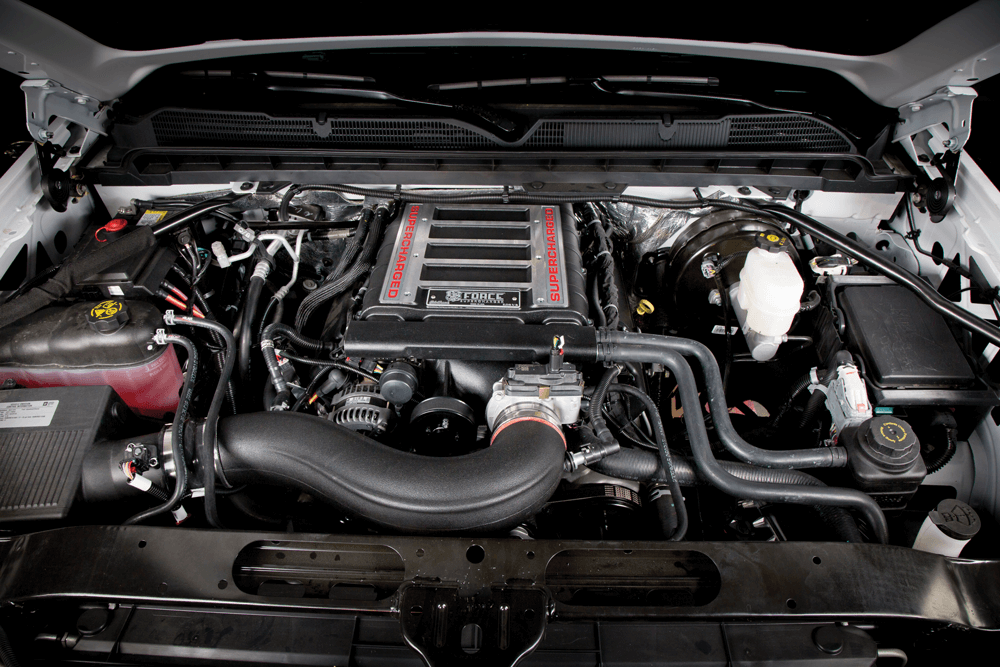
Chad took his time thoroughly checking for any coolant or fuel leaks before turning the key over. All in all, the installation process went off without a hitch. The ECU was shipped to Edelbrock for reprogramming, and it was returned within a reasonable amount of time. One item to note is the shutter/ louvers encountered when installing the radiator. Only GM SUVs were supposed to be outfitted with them (or so we thought), but this particular truck was equipped with them as well. Edelbrock includes instructions for both applications in its manual, so a bit of crossreferencing between both sets of steps was required to make sense of the anomaly. Stay tuned for continuing tech coverage of the Sharknado Silverado in future issues of Street Trucks.
• Edelbrock
310.781.2222
Edelbrock.com
• Index Ink
Inktheworld.com