

Cutting down a ’67-’72 the right way
If you’re in the market for a new C-10, you’re going to hit a harsh reality: Short beds ain’t cheap. If you find one that is, it might have a shotgun hole through the headliner, or maybe it’s missing the bed entirely. Either way, if you’re looking for a good deal, you might want to consider a long bed. After all, you can always cut it down.
Kyle at Metalox Fab has made his living doing just that for loyal customers from all across North America for the past few years. The resulting beds have a tiny scar down the front and back, and sometimes not even that. He knows these trucks so well that the job is done like a surgeon—clean and perfect.
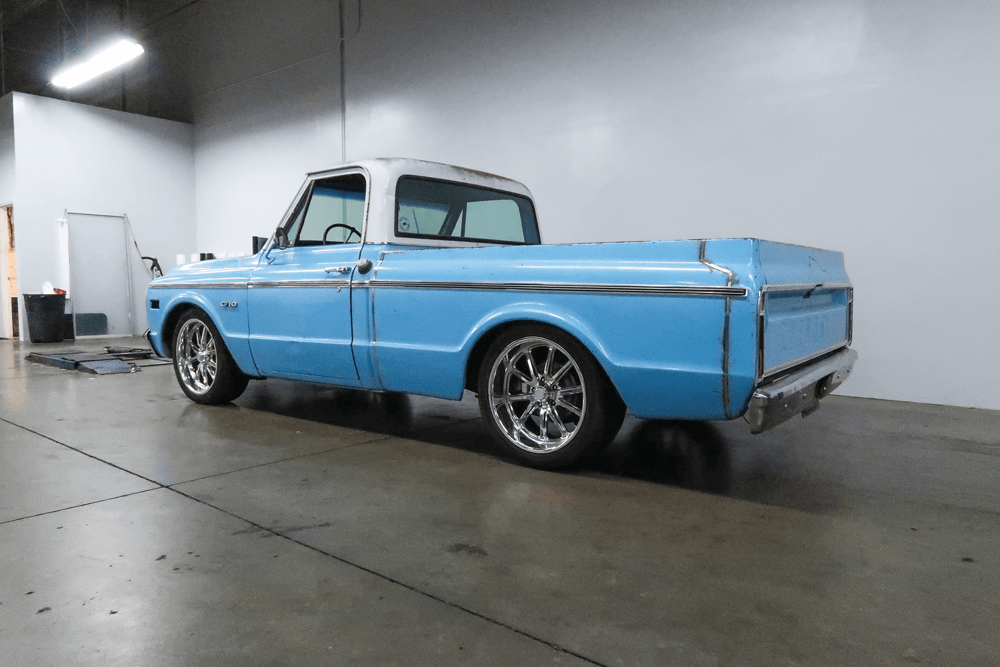
We were fortunate enough to spend some time with him while he cut down a 1969 Chevrolet C-10 long bed. By the time he was done a few days later, the truck was not only 20 inches shorter, but it looked a ton better, too.
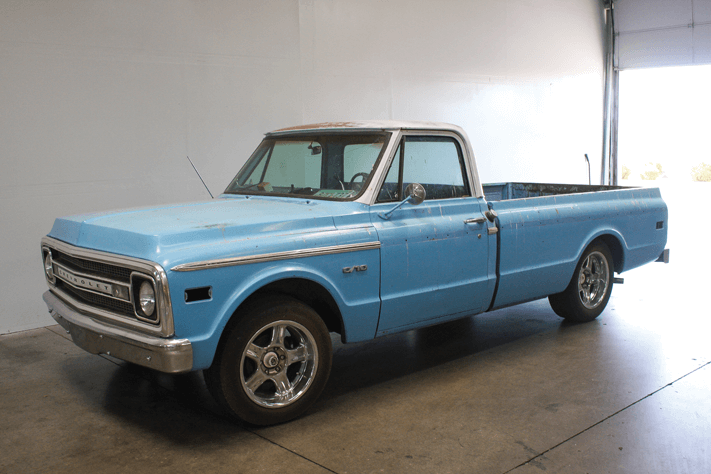
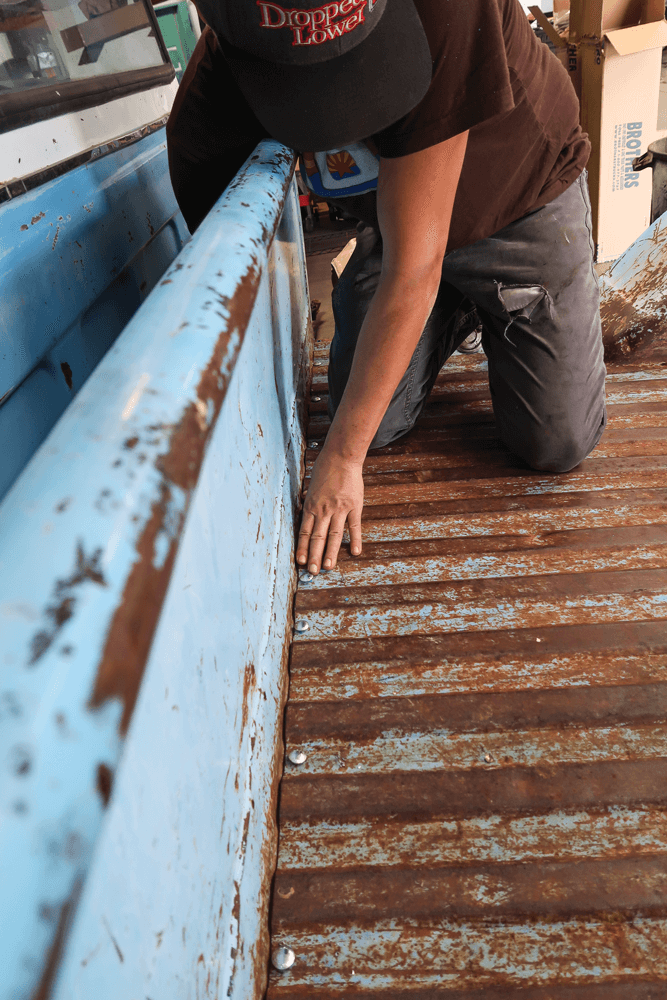
The truck rolled in with a healthy patina and a whole lot of extra sheetmetal. It also had some heated stock springs, which explains the horrible sag.
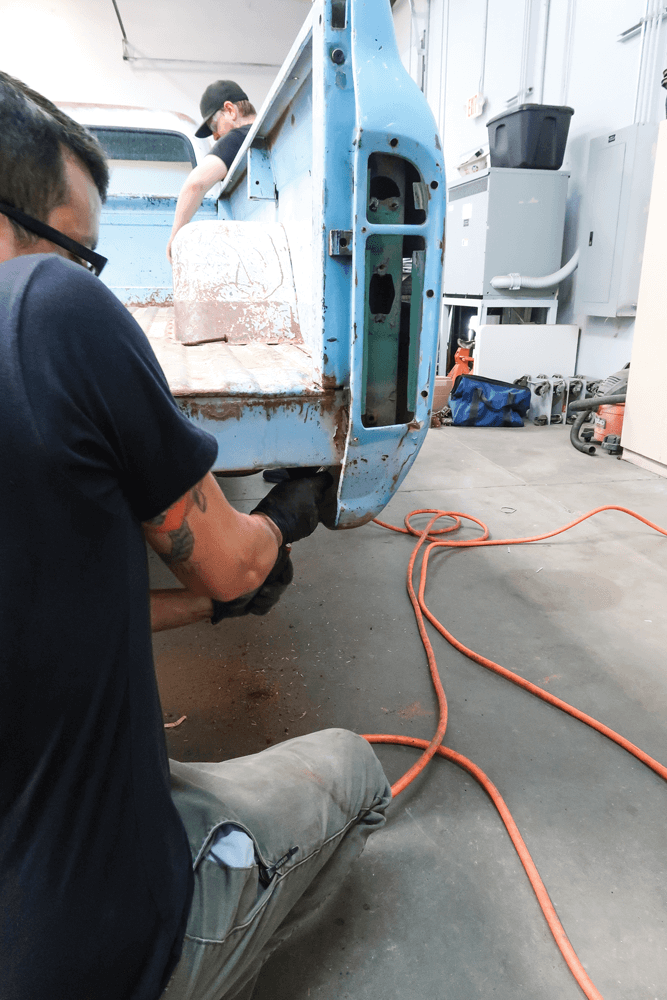
After spraying them with rust penetrant, Kyle from Metalox Fabrication started removing the bed bolts.
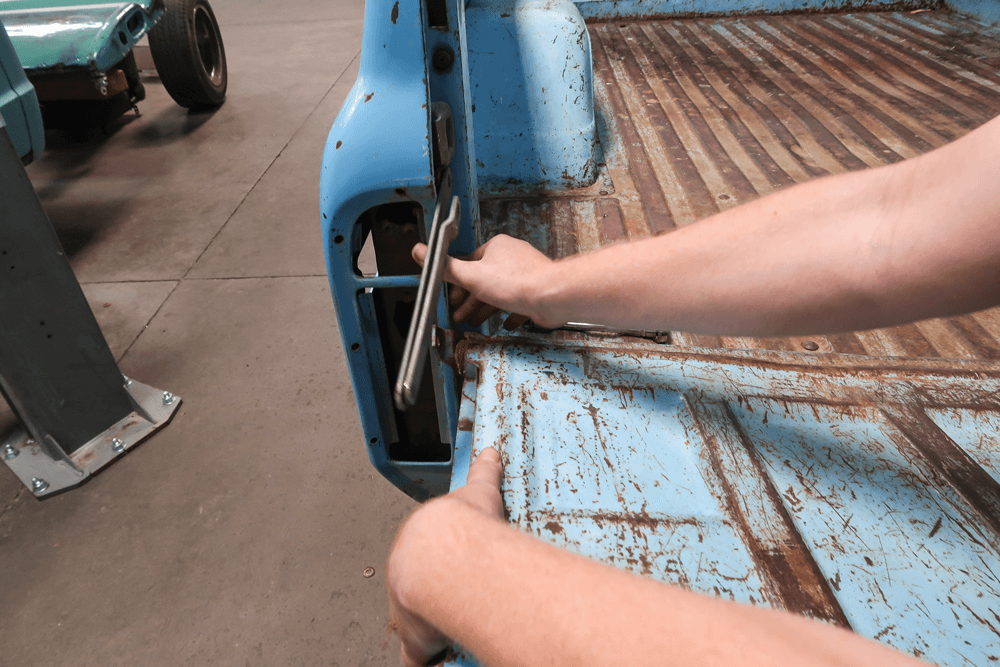
The tailgate came off next so that they could access the rear part of the bed.
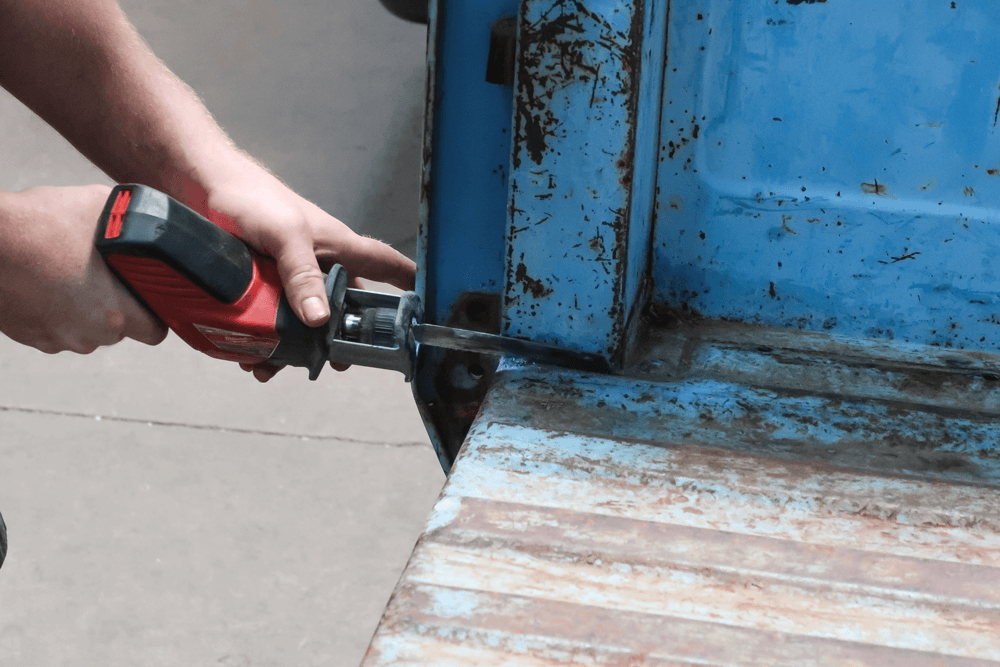
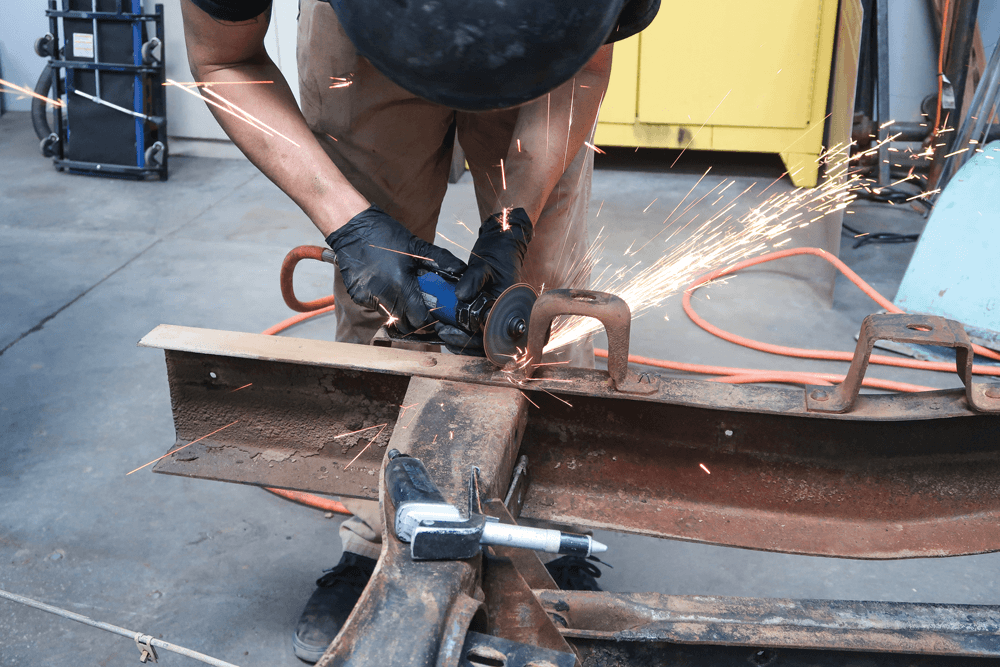
A few welds at the rear of the bed floor by the stake pockets needed to go. A sawzall or angle grinder takes care of them.
The bed floor and sides are bolted together, so from here on out it’s just about unbolting the sides.

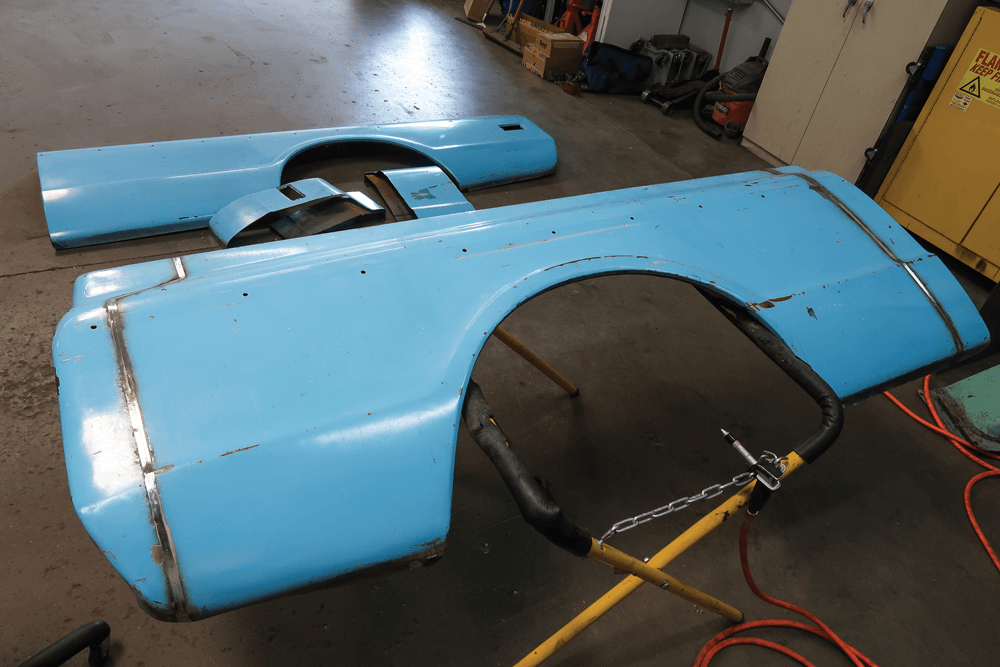
And just like that, one bedside is down. The header panel and passenger bedside are next, and they’re all placed on the bed floor for now.
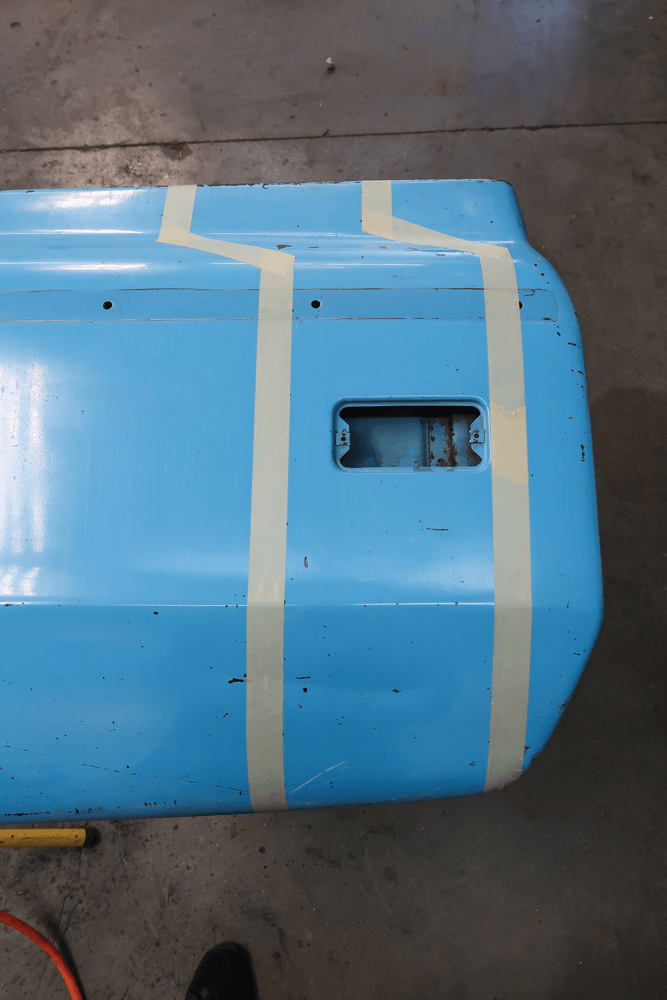
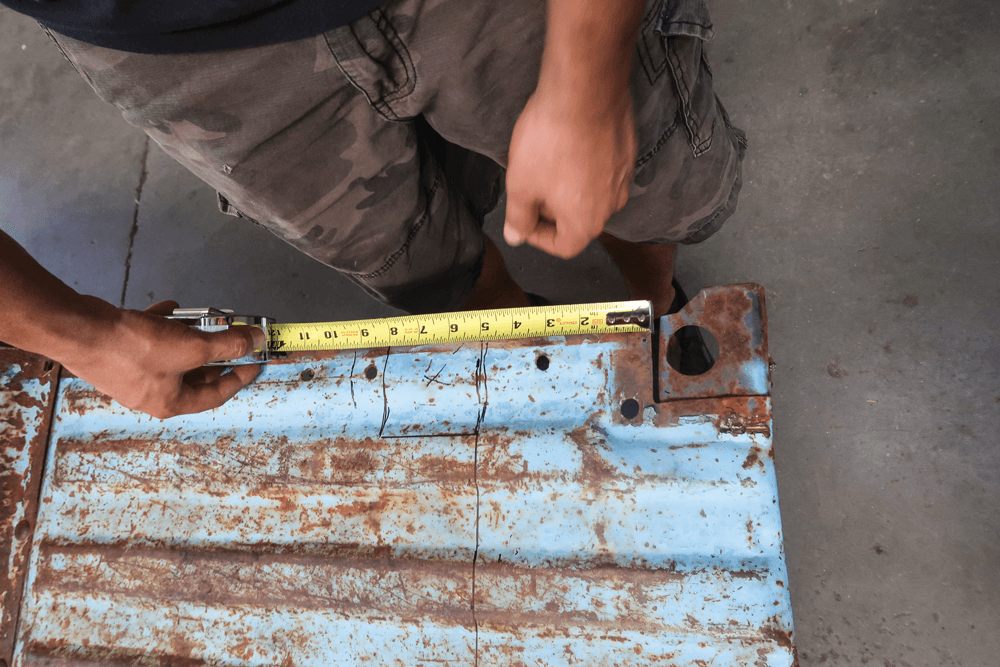
07 Kyle marked out the bedsides for the cuts. You need to take 8 inches out of the rear of the bedside and 12 inches out of the front. And that jog in the tape? That’s to compensate for the bodyline that slopes down by the tailgate.
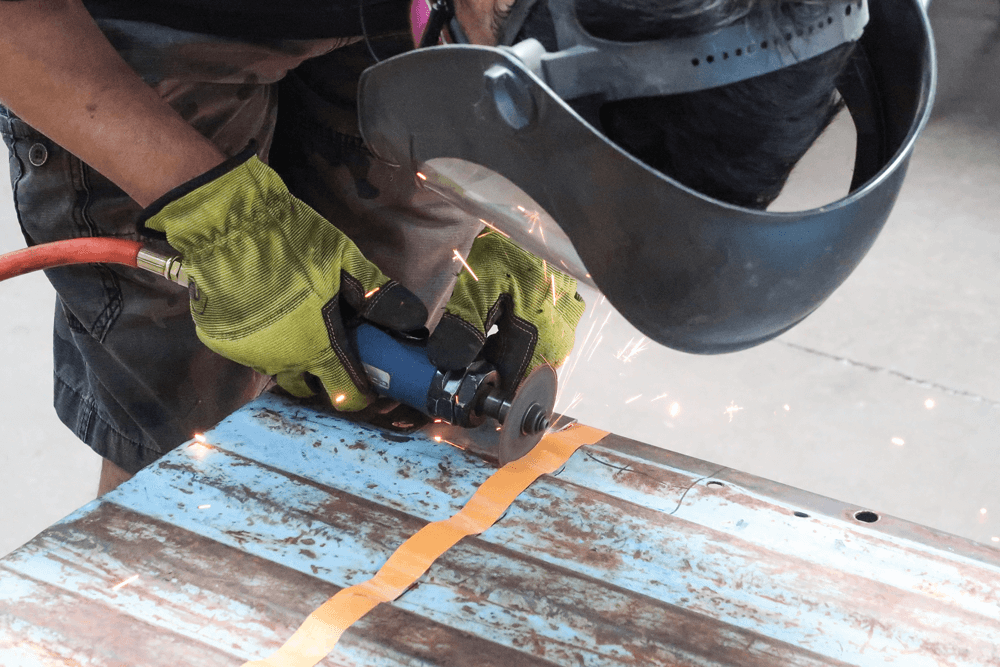
Using a die grinder, Kyle cuts the outer skin on the bedsides.

Once the outside is cut, he tapes and cuts the inside of the bed.
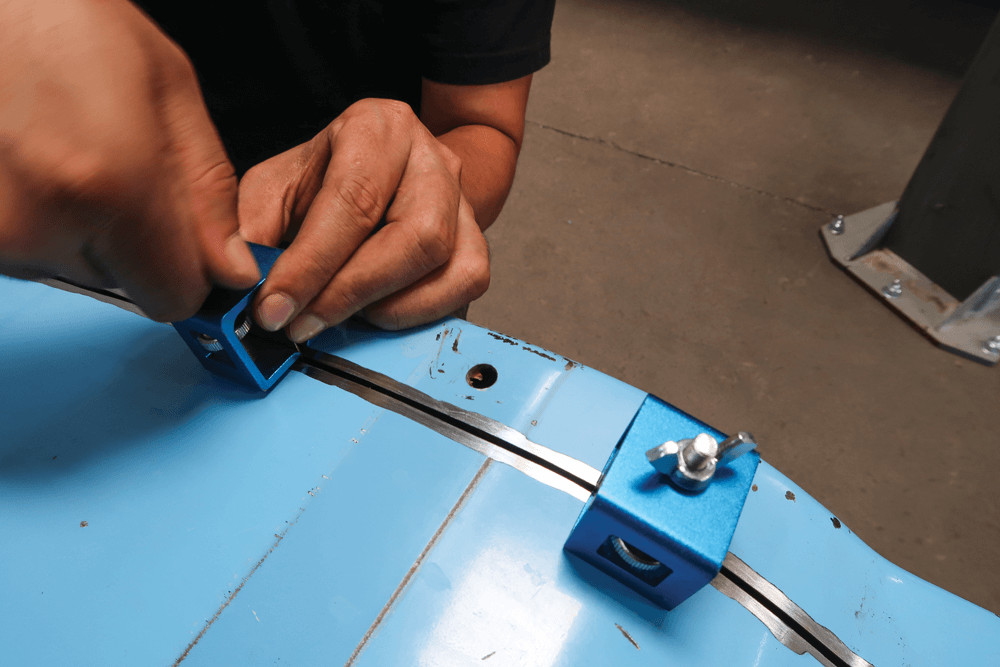
The bed now needs to be welded back together, so Kyle places everything using these sheetmetal clamps that provide just the right amount of gap.
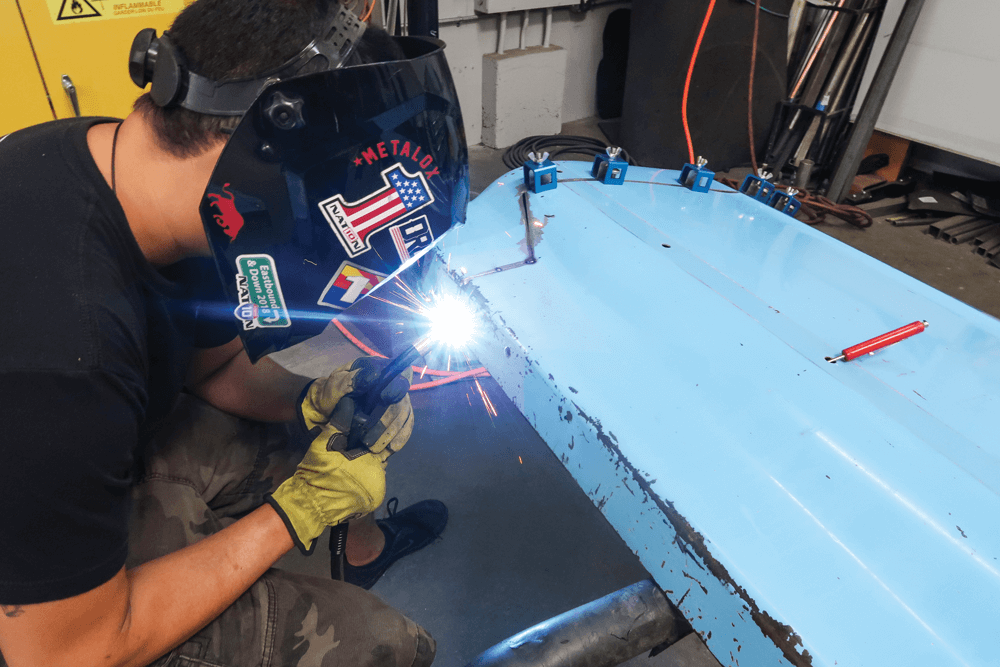
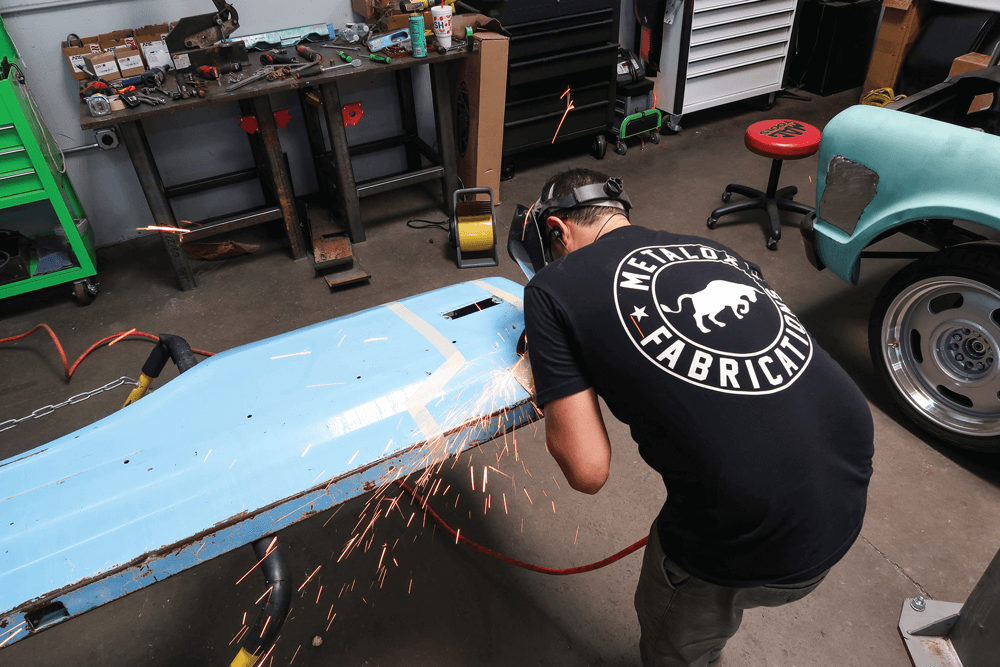
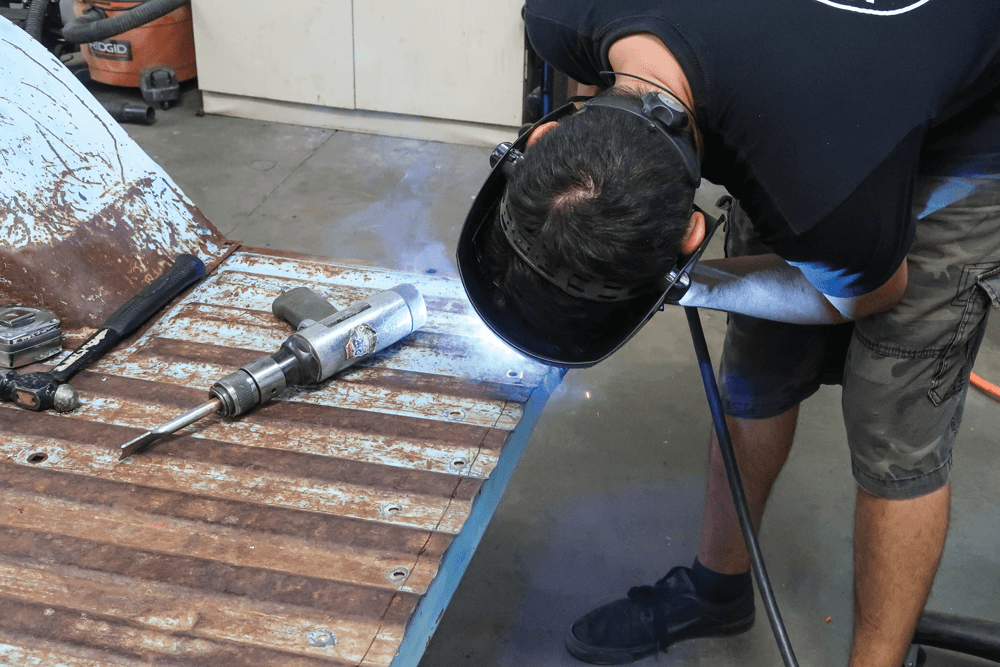
Now it’s time to weld everything back together. It’s a tedious process, but it needs to be done right, otherwise the metal will need a ton of bodywork. The way Kyle does it, everything turns out perfect.
Using a series of sanding discs, Kyle grinds down the welds so they’re flush with the surrounding metal.
The resulting “scars” are ready for some clear coat or body and paint. In this case, the owner’s opting for clear.

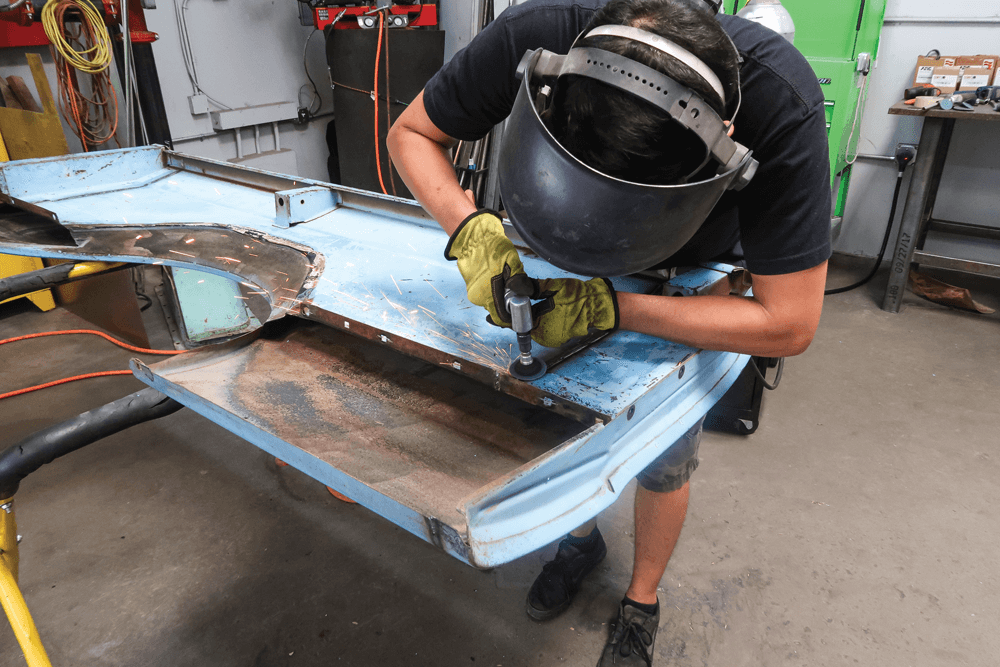
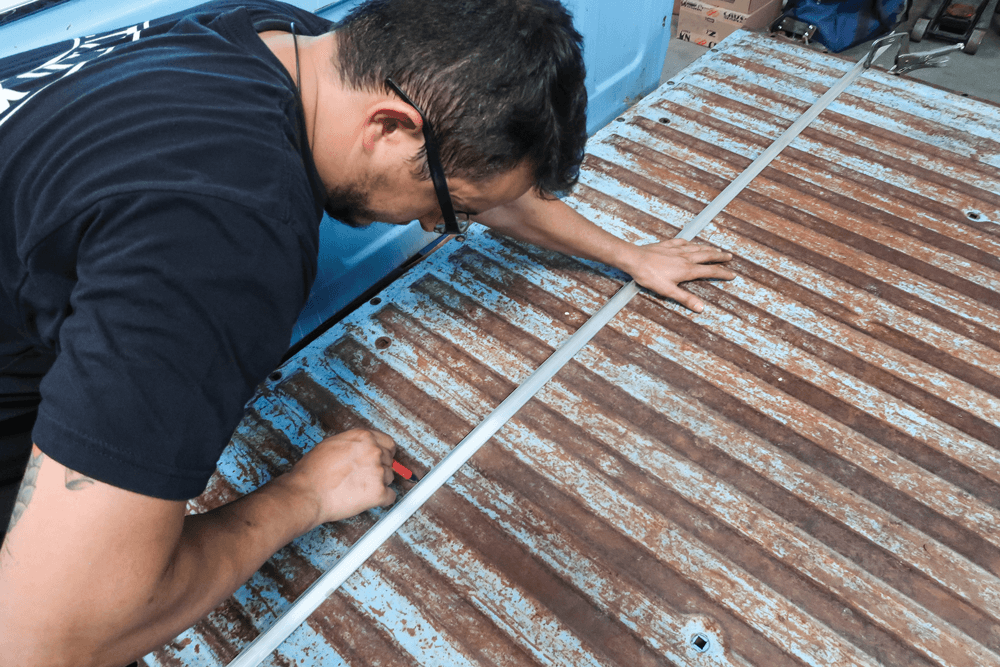
Moving to the bed floor, Kyl marked out 8 inches from the tailgate side of the bed.
He does the same thing with the square notches next to the stake pockets. This will ensure that the floor lines up perfectly with the bedsides once everything is bolted back together.
Now the floor is cut using a die grinder—Kyle’s favorite tool in the world.
The rear cross rail on the bed floor has been drilled out and is now spot welded to the new shorter bed floor.

To give the edge a perfect look, he hammers it down with an air hammer. The resulting metal looks factory.
Moving to the front of the bed, Kyle marks out 12 inches to remove from the floor, then cuts it off.
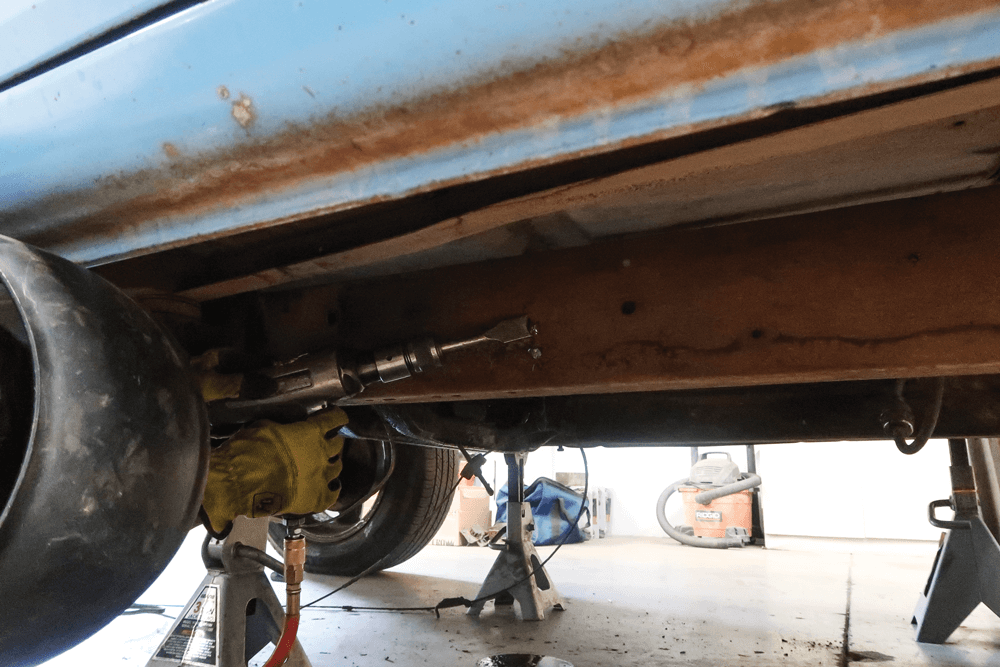
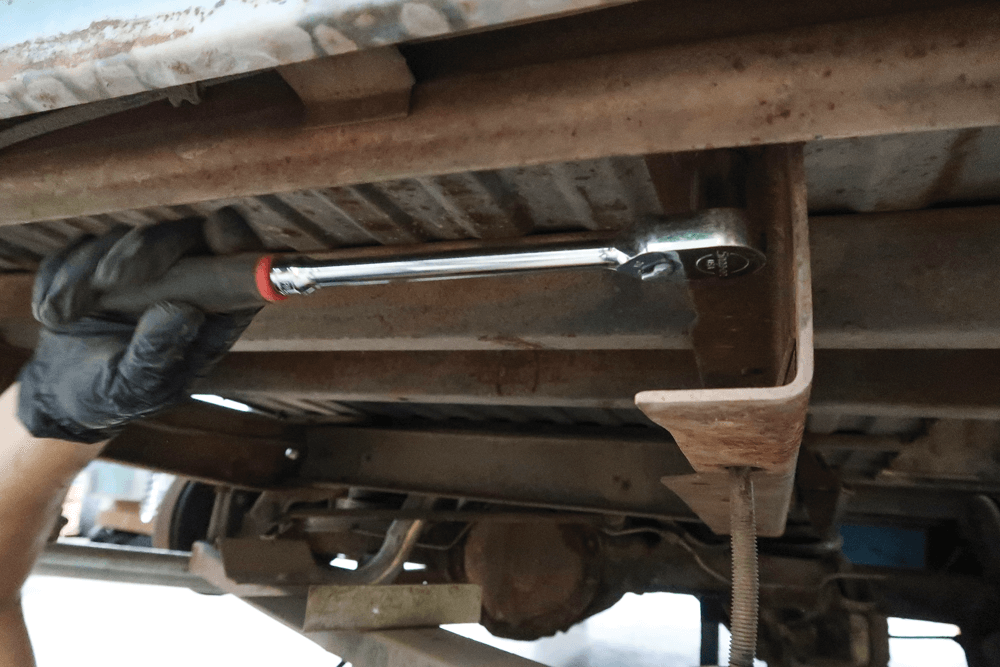
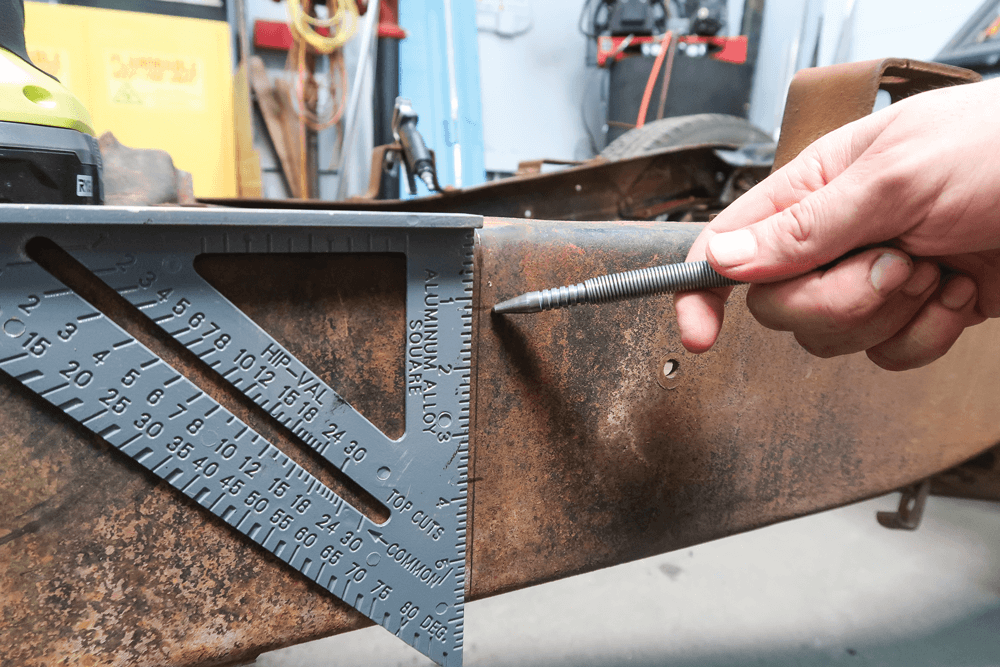
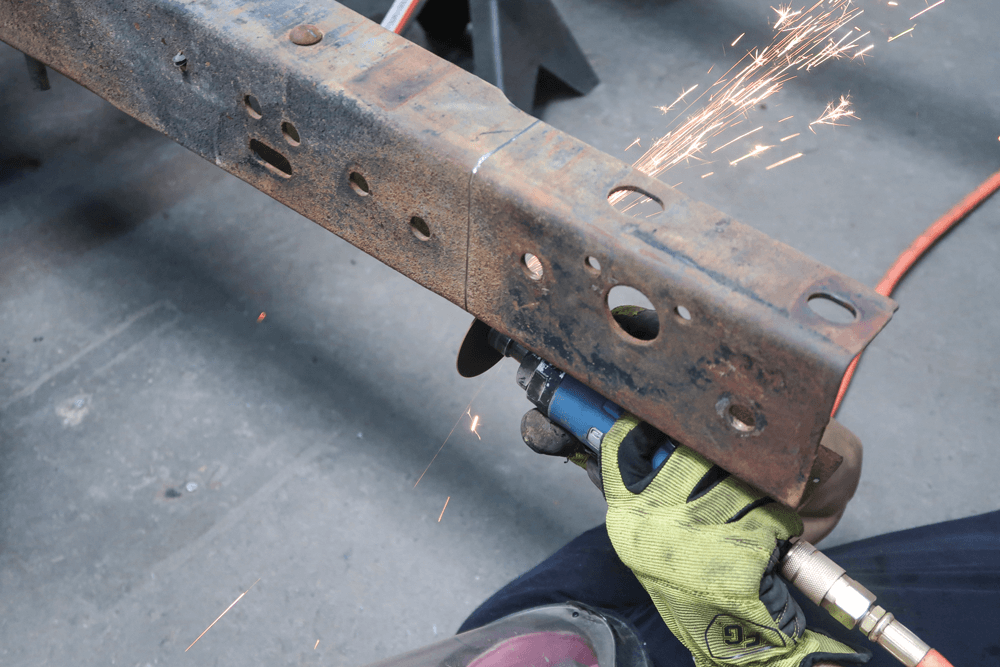
With the truck on jack stands, Kyle locates the rivets on the frame just forward of the rear cab mounts. Then he uses an air chisel to knock them off.
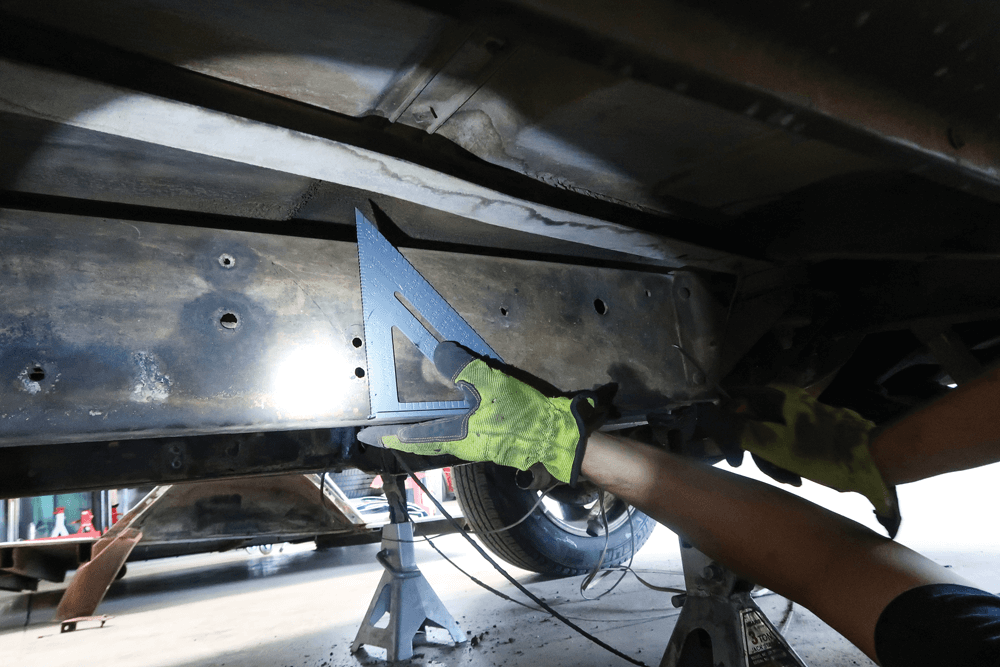
Using those rivets as a point of reference, Kyle marks a spot on the frame where he can remove 12 inches.
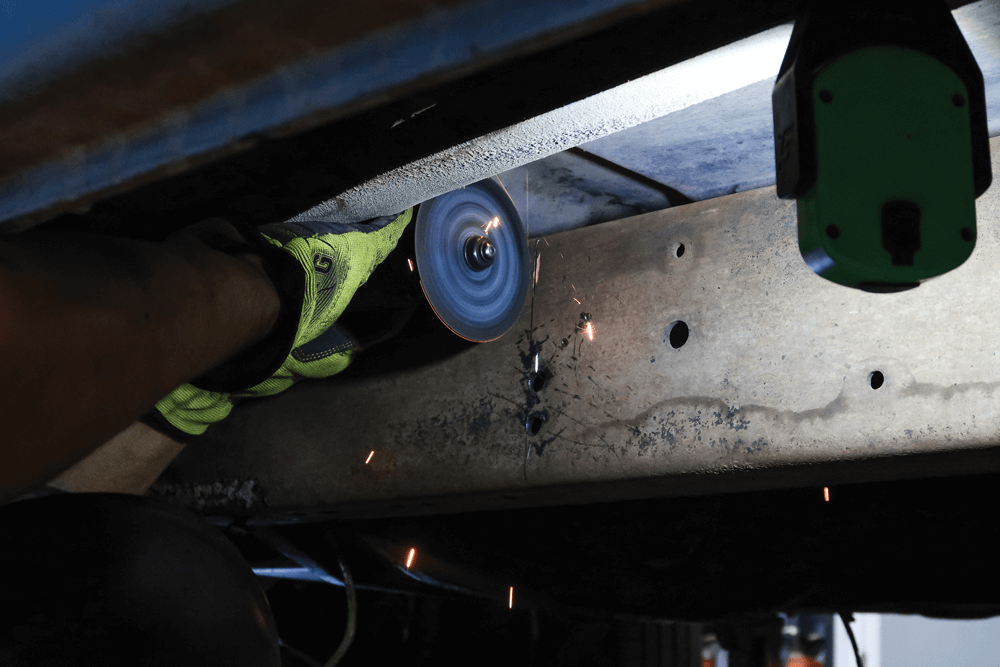
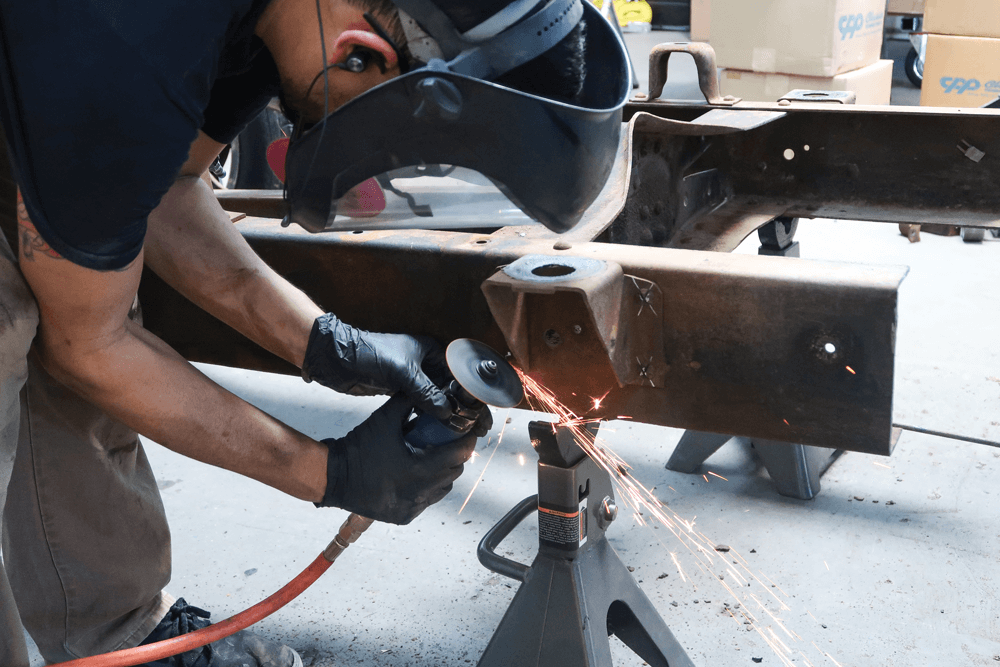
Then Kyle cuts the frame with a die grinder.
The rear part of the frame pulls back relatively easily, just like a very large wheelbarrow.
With clear access to the frame, Kyle lops off the remaining 12 inches with a die grinder.
The forward-most bed mount won’t be needed anymore, so the rivets are cut and punched out.
The rear cab mount comes off next using the same procedure: Cut the heads of the rivet into an X, then use an air chisel to knock them out.
The new holes for the cab mounts are then measured out 12 inches farther back.
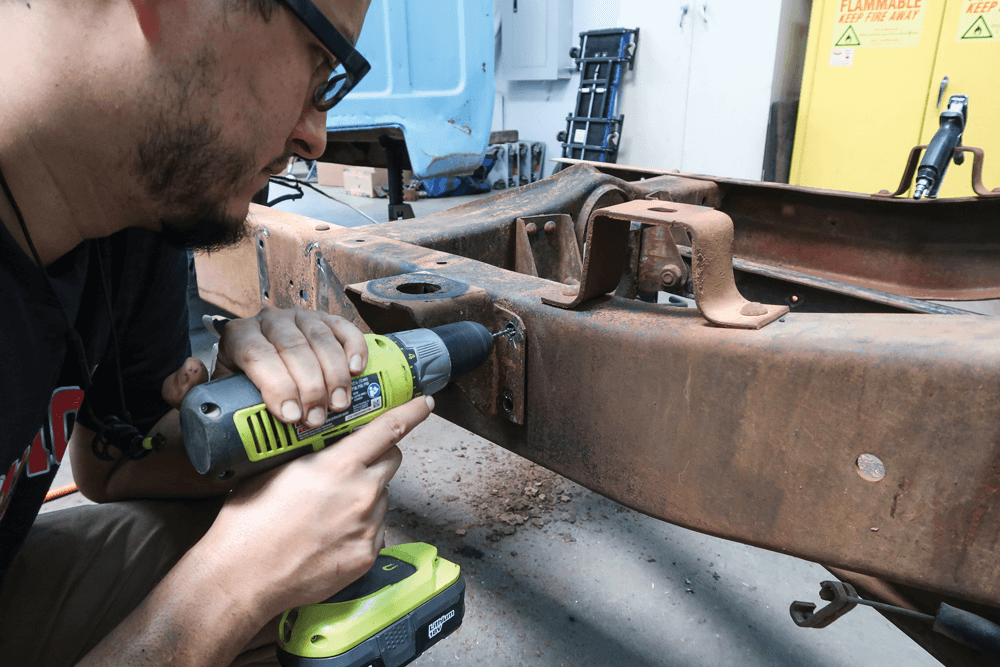
Mounting up the cab mounts is as easy as drilling some new holes and bolting them up.
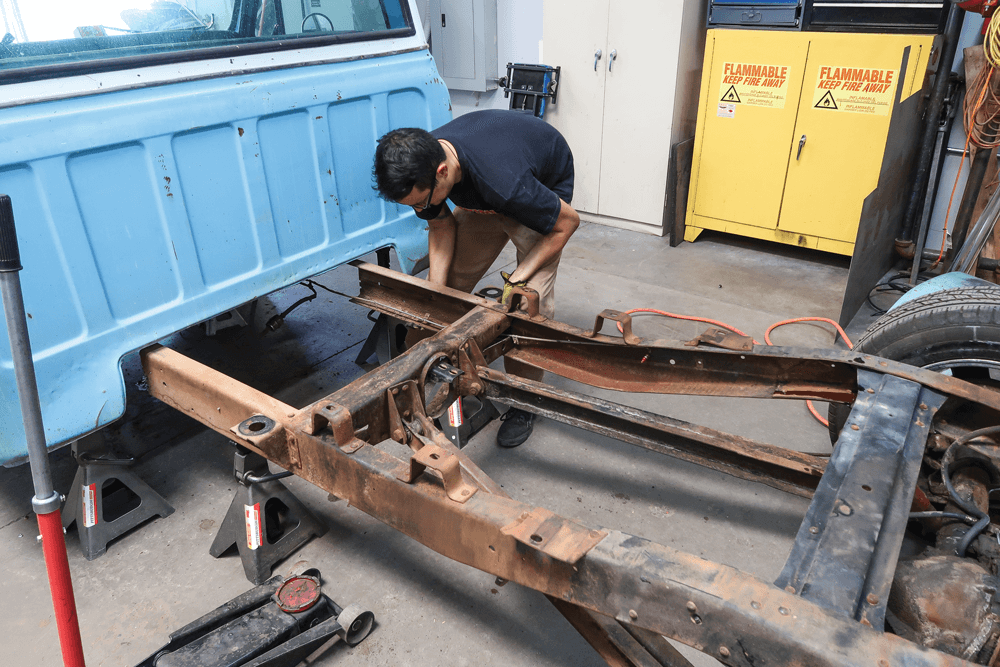
Now the frame is moved back into place and welded up nice and tight. It’s not quite done yet, though, there’s more to come.
Moving to the back of the frame, Kyle measures and cuts eight inches out of the rear.
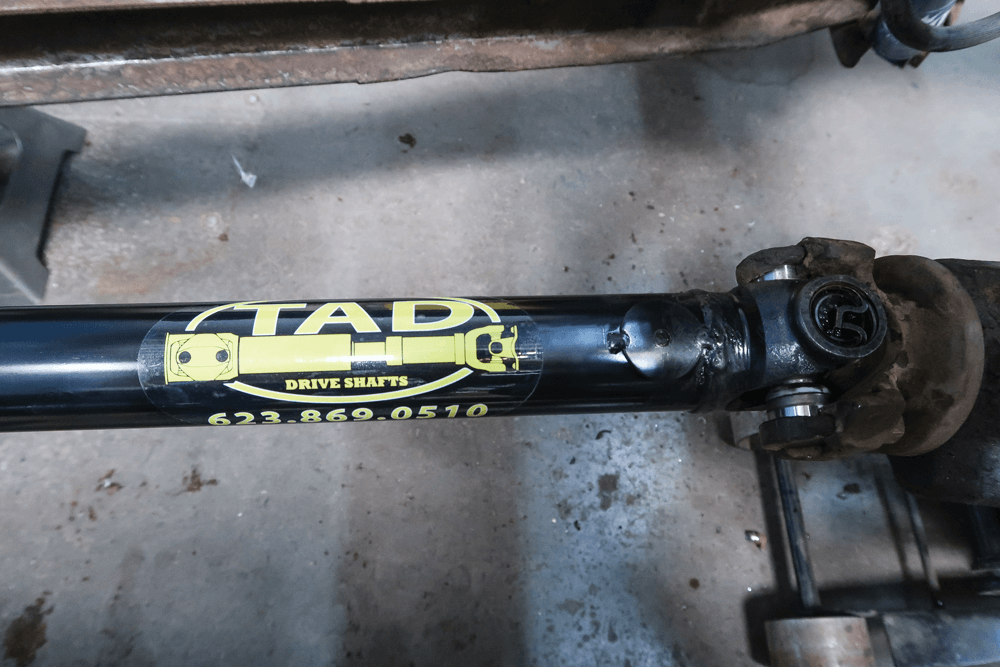
The team at TAD Drive Shafts hooked Kyle up by shortening the driveshaft 12 inches in record time. It turned out great.
Moving back to the bed, Kyle marked and drilled holes in the bed floor for the header panel.
The header panel is bolted to the floor now using a bed bolt kit sourced locally.
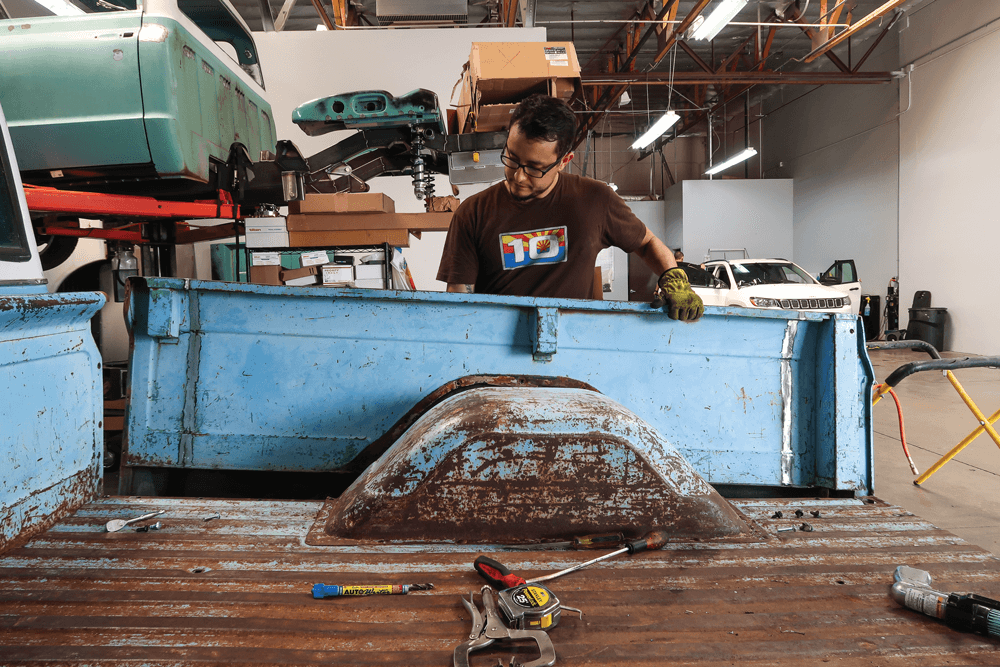
Now it’s time for the bedsides, which get bolted up using that same bed bolt kit.
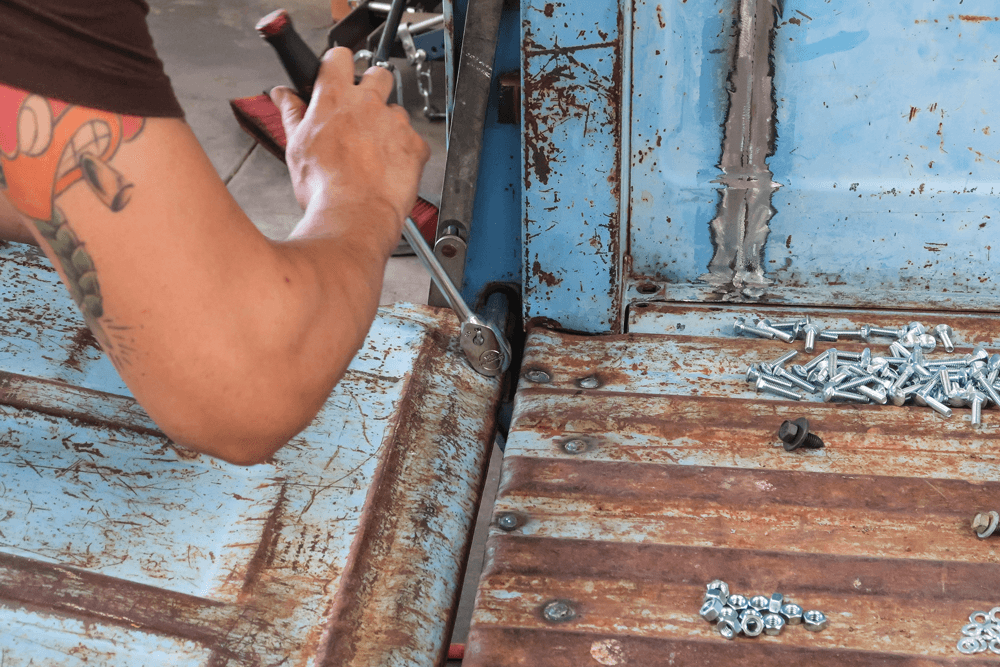
The tailgate goes on next.
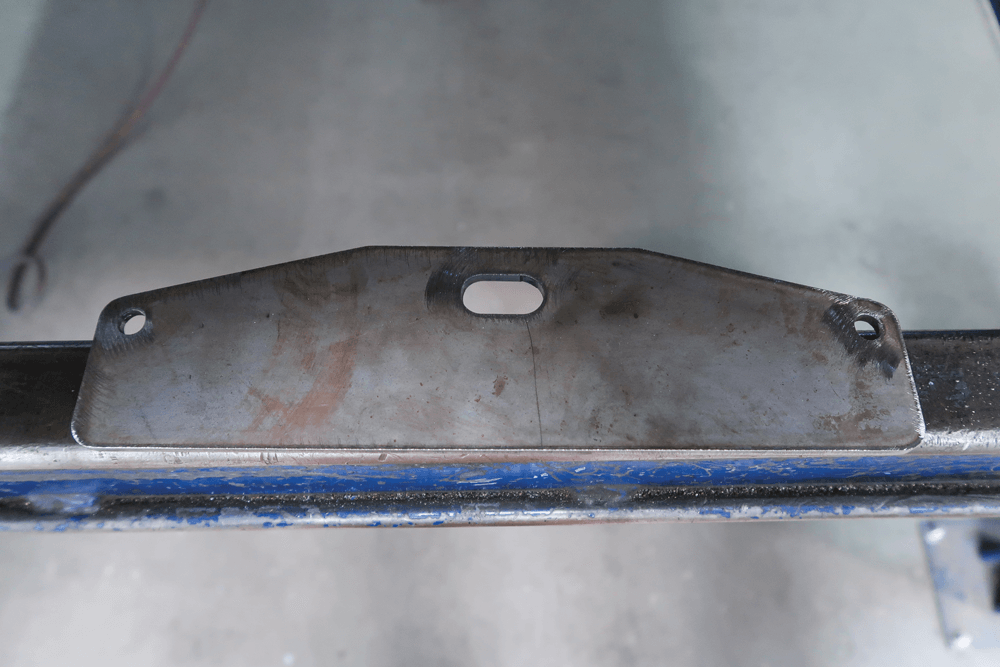
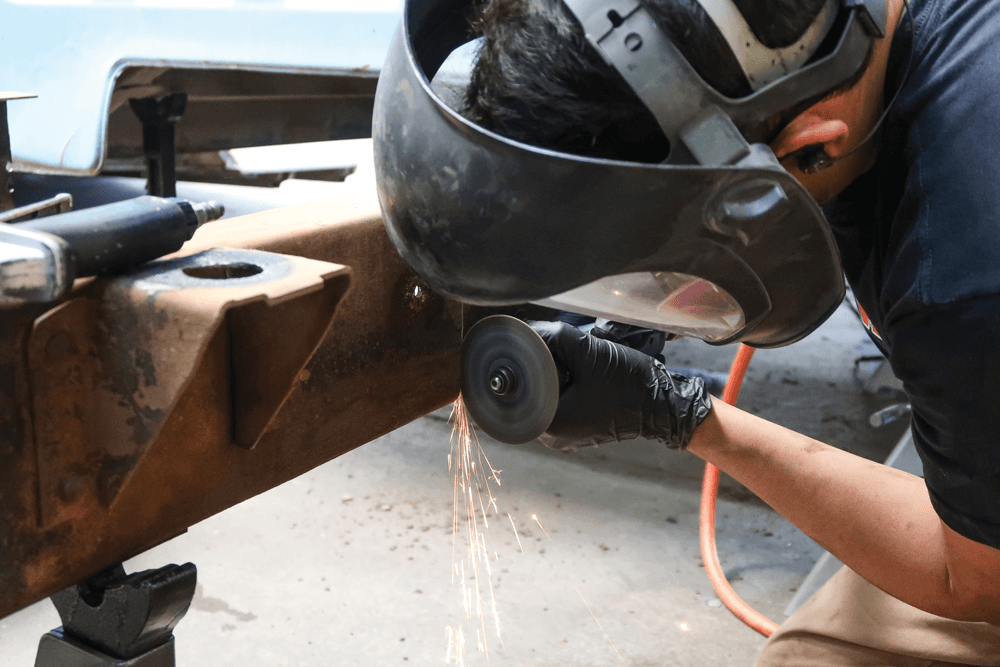
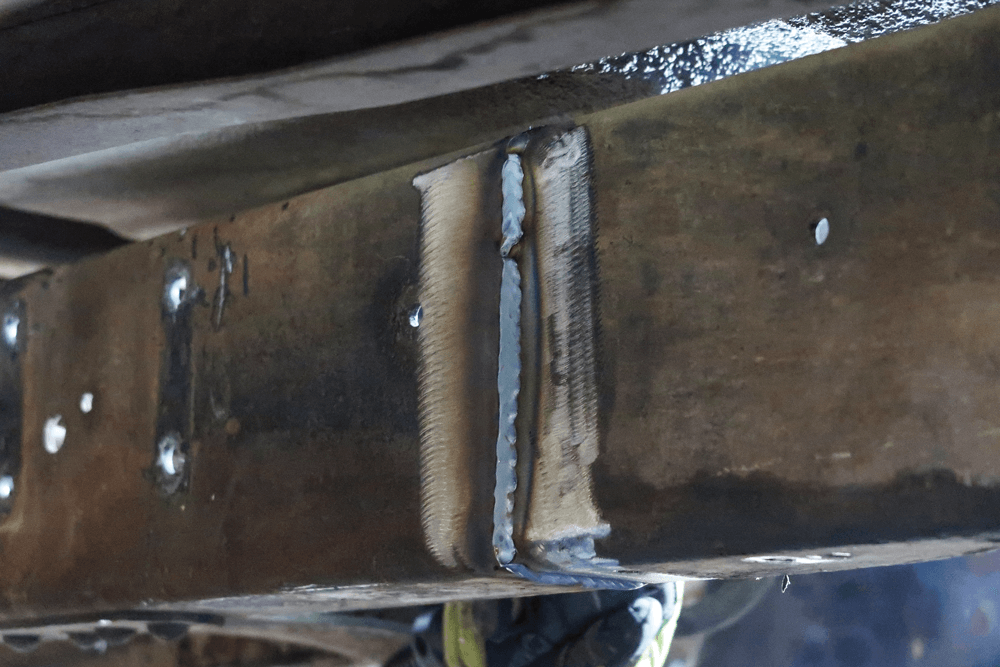
Remember we said that we weren’t done with the welding yet? These fish plates were designed by Kyle to sit on the inside of the c-channel.
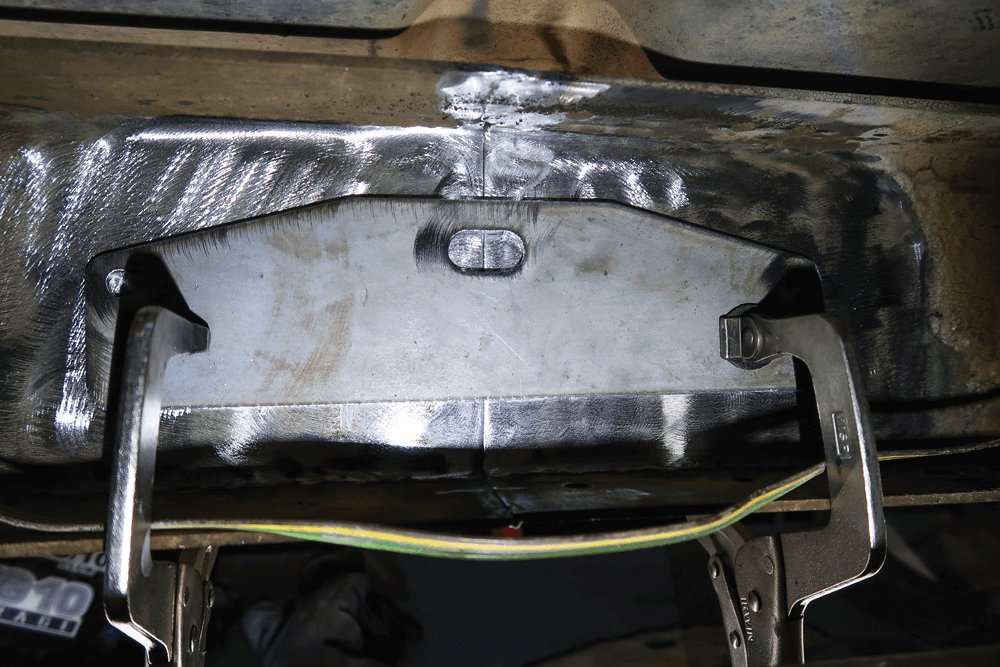
They’re designed to sit right over the seam, then get plug and stitch welded to the frame. This will tighten up the joint substantially.
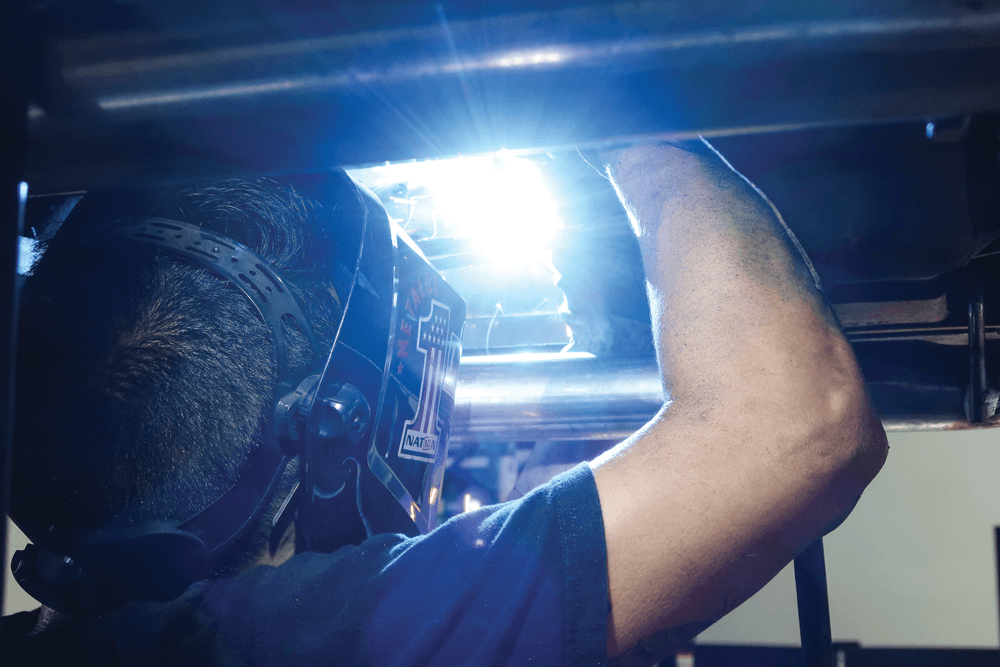
Kyle burns them in, ensuring that the frame is solid as a rock.
They’re designed to sit right over the seam, then get plug and stitch welded to the frame. This will tighten up the joint substantially.
SOURCES
Metalox Fabrication
8615 W. Kelton Lane,
Suite 305
Peoria AZ 85382
@metaloxfab
623-308-1170
TAD Drive Shafts
22010 N. 24th Ave
Phoenix, AZ 85027
623-869-0510
Tadshafts.com